LG Electronics USA 9QK-HB954W Network Blu-Ray Home Theater User Manual HB954PA AD 954SA AP BUSALL ENG
LG Electronics USA Network Blu-Ray Home Theater HB954PA AD 954SA AP BUSALL ENG
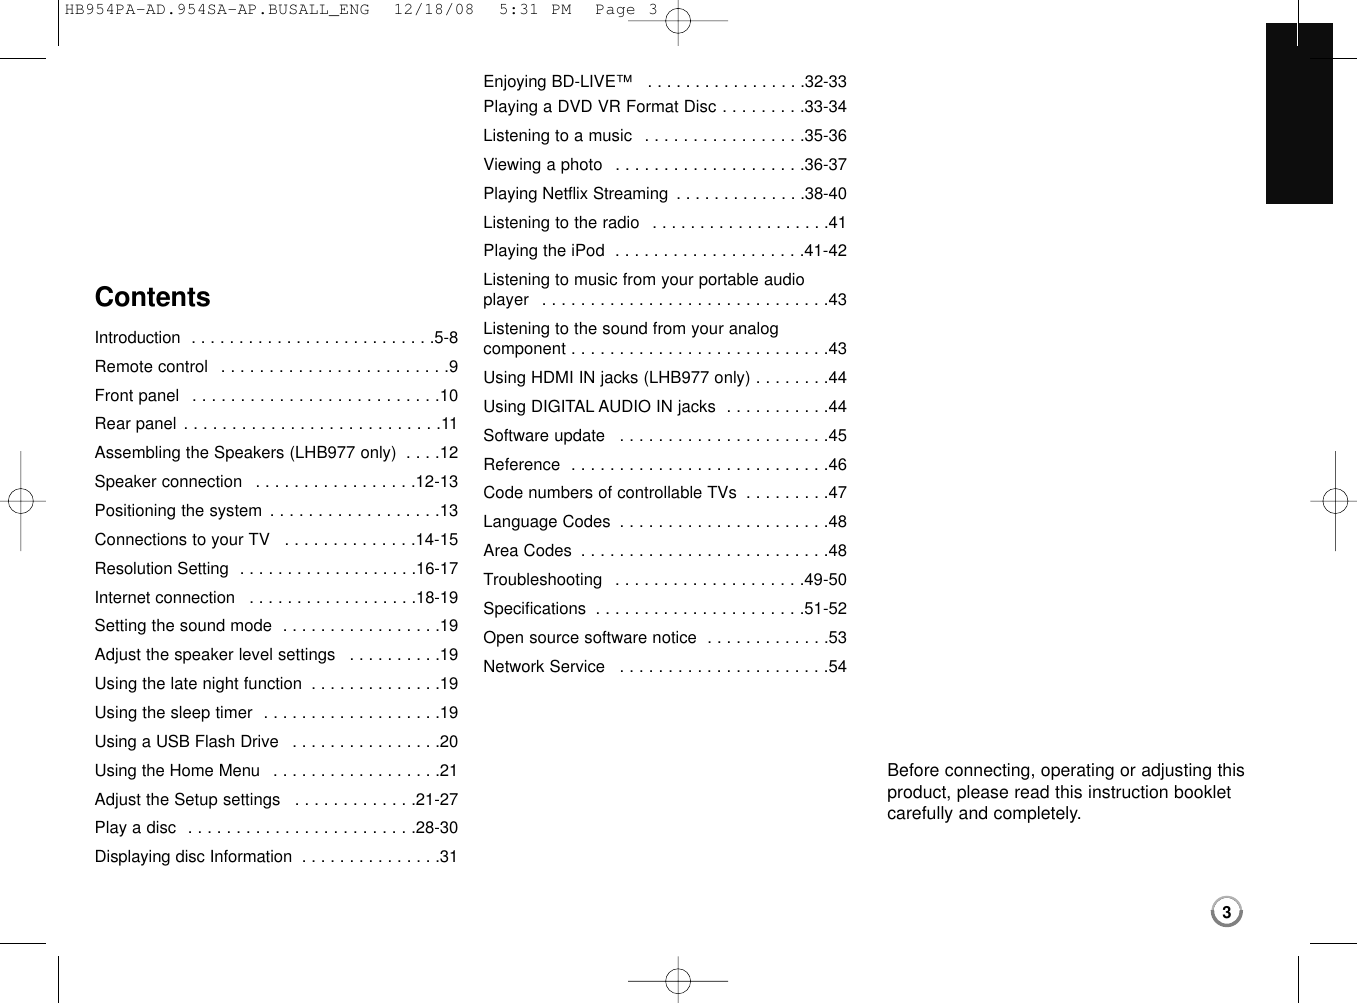
Contents
- 1. User Manual 1 1
- 2. User Manual 1 2
- 3. User Manual 2
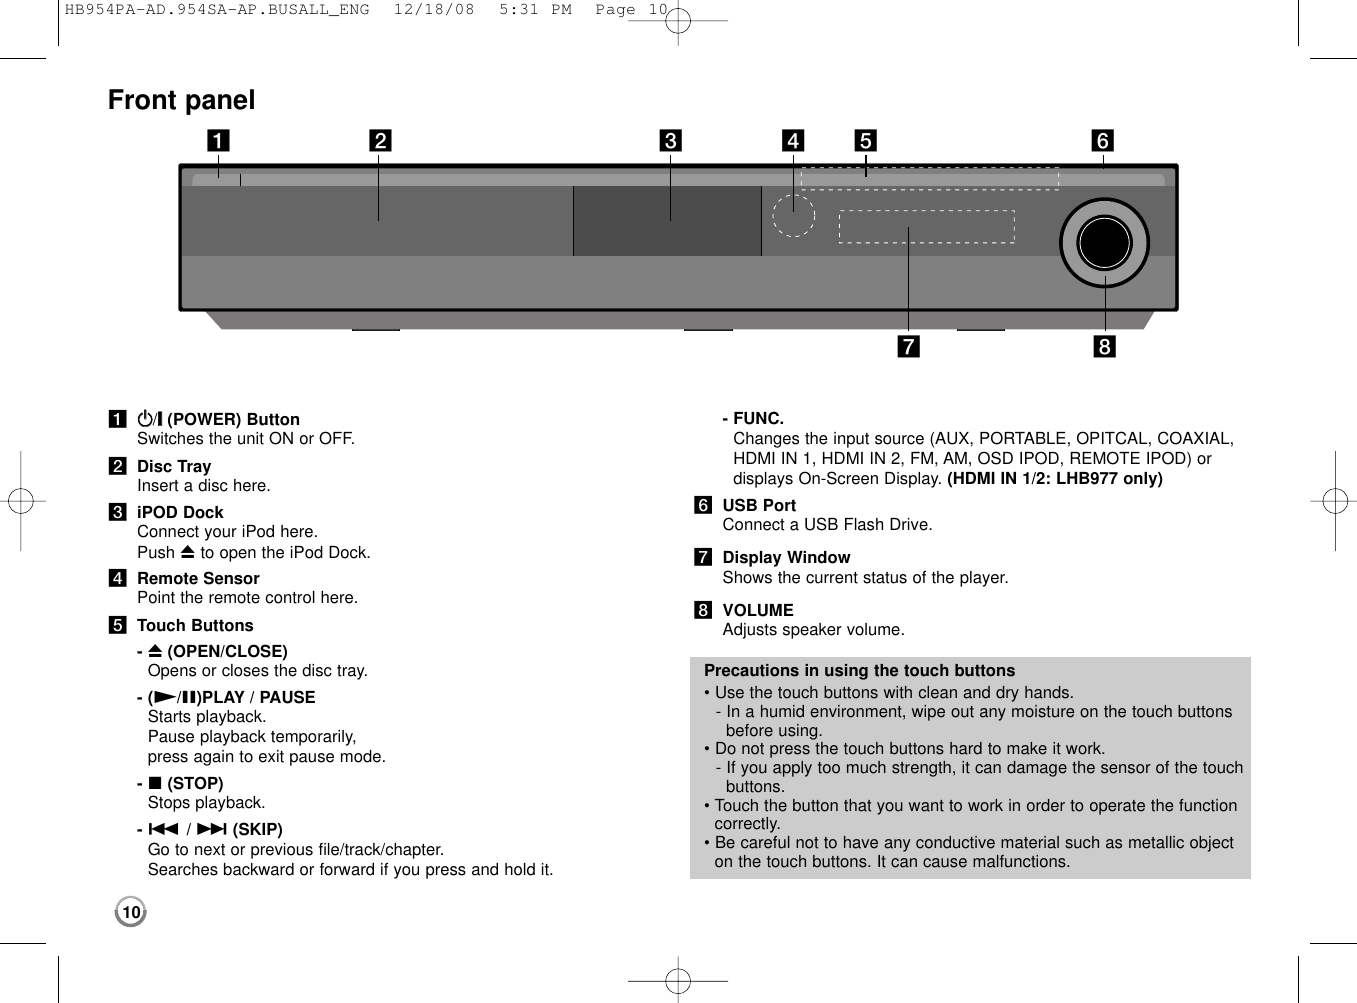
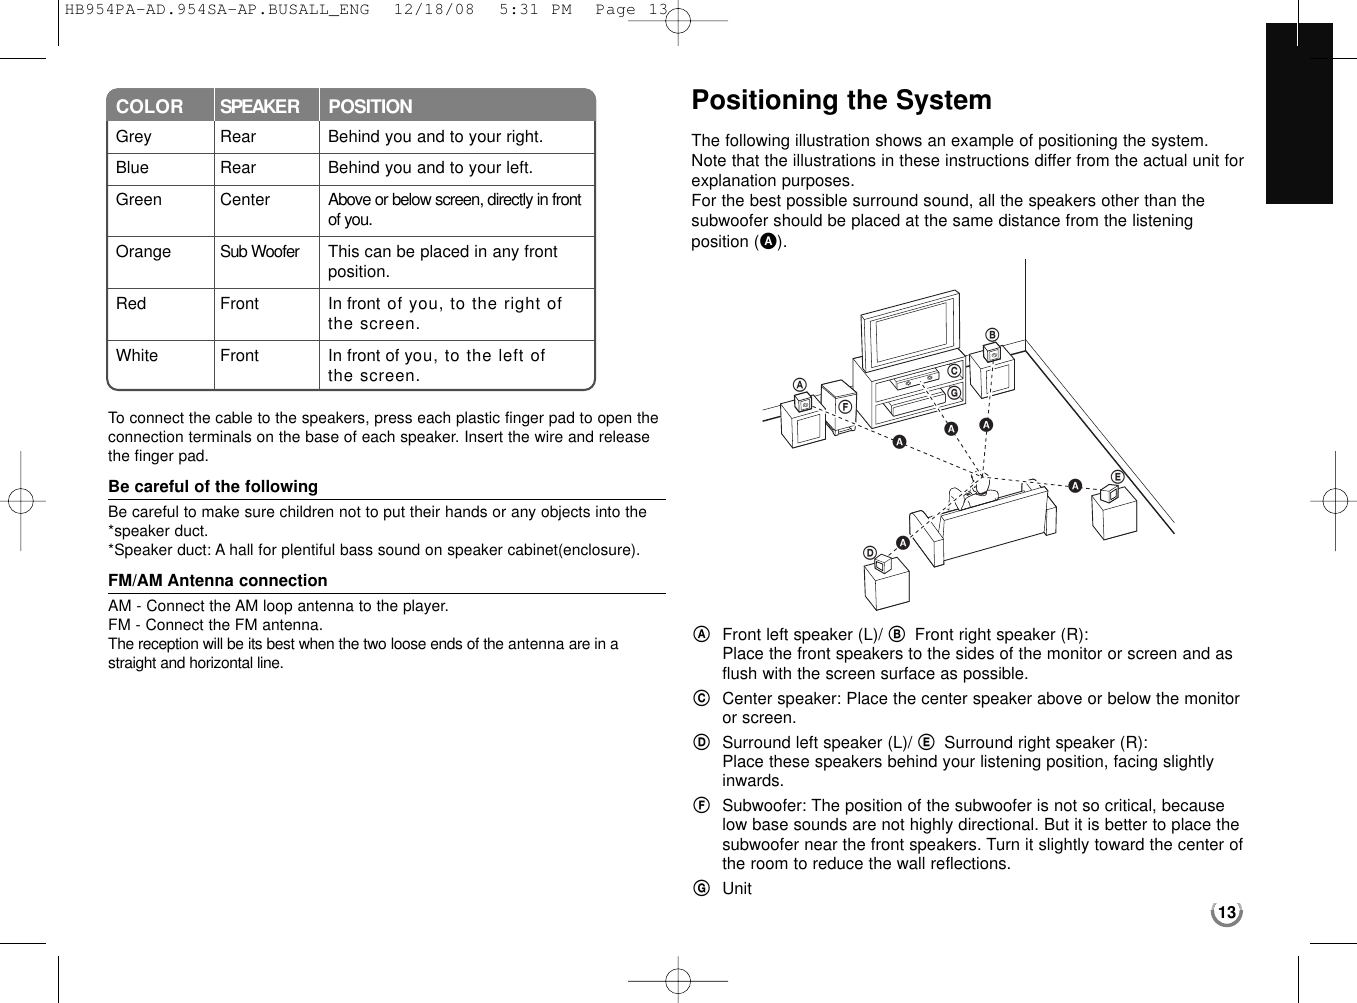
User Manual 1 1

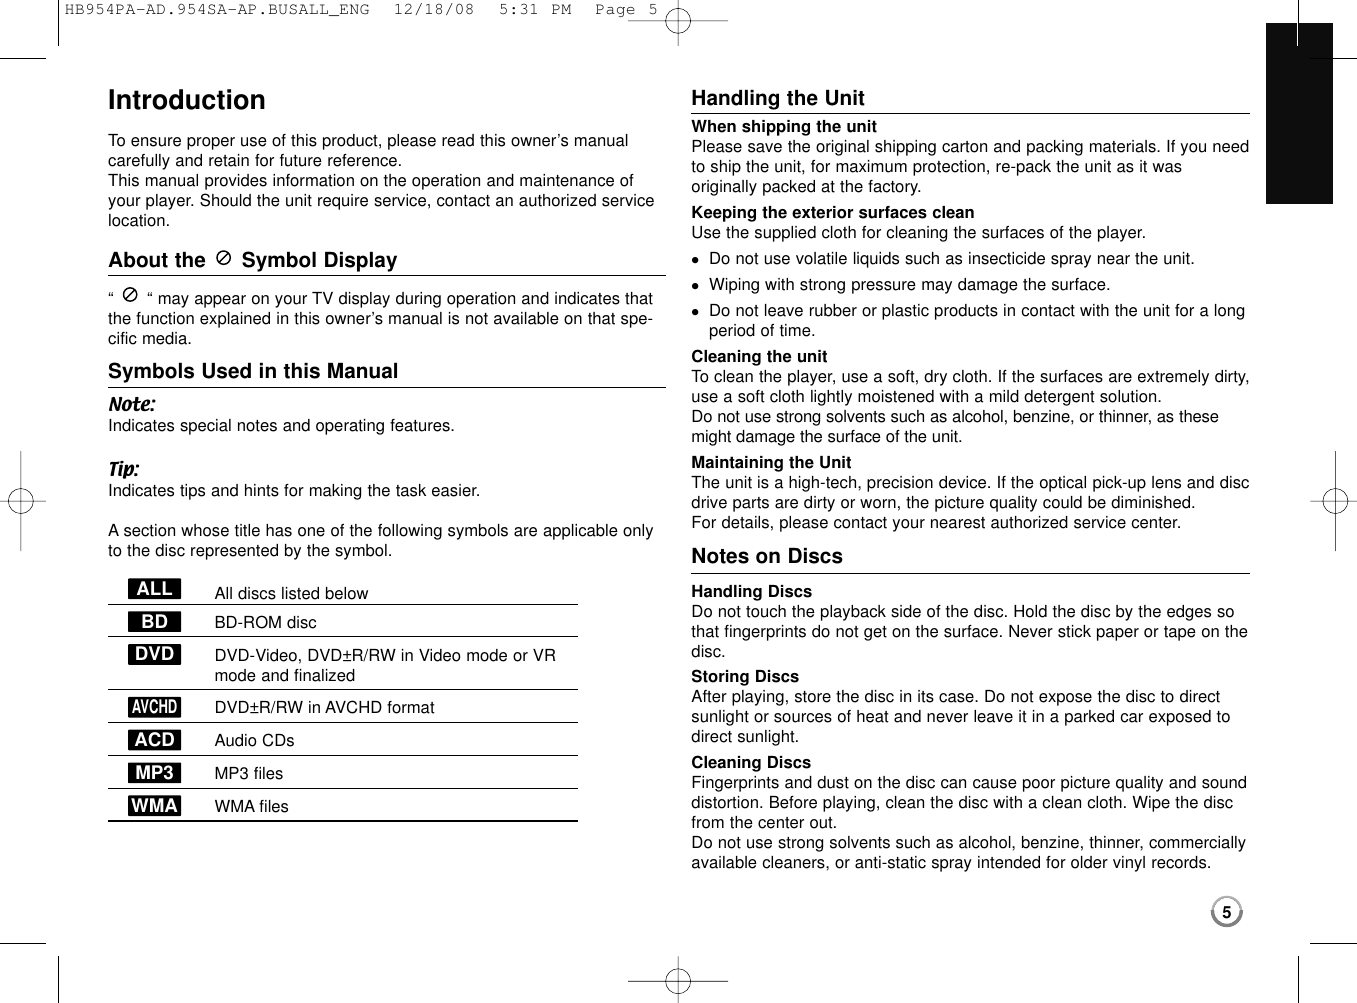

![Remote control a INPUT (TUNER): Changes the input source (AUX, PORTABLE, OPTICAL, COAXIAL, HDMI IN 1, HDMI IN 2, FM, AM).(HDMI IN 1/2: LHB977 only)POWER: Switches the player ON or OFF.OPEN/CLOSE (Z): Opens and closes the disc tray.iPod: Selects REMOTE IPOD or OSD IPOD mode.PIP*: Switches on/off Secondary Video (Picture-in-pic-ture) (BD-ROM only).DISPLAY: Displays or exits On-Screen Display.HOME: Displays or exits the [Home Menu].DISC MENU: Accesses menu on a disc. b Direction buttons: Selects an option in the menu.PRESET (v/V): Selects programme of Radio.TUN. (+/-): Tunes in the desired radio station.ENTER ( ): Acknowledges menu selection.RETURN (O): Exits the menu or resumes playback.The resume play function may work depending on theBD-ROM disc.TITLE/POPUP: Displays the DVD title menu or BD-ROM’s popup menu, if available. c STOP (x): Stops playback.PLAY (N): Starts playback.PAUSE/STEP (X): Pauses playback.SKIP (./ >): Go to next or previous chapter /track / file.SCAN (m/ M): Searches backward or forward.SPK LEVEL ( ): Sets the sound level of desired speaker.SOUND ( ): Selects a sound mode.MUTE: Press MUTE to mute your unit. You can muteyour unit in order, for example, to answer the telephone.VOL. (+/-): Adjusts speaker volume.NIGHT ( ): Sets the late night function. d 0-9 numerical buttons: Select numbered options in amenu.SUBTITLE ( ): Selects a subtitle language.RESOLUTION: Sets the output resolution for HDMI and COMPONENT VIDEO OUT jacks.MARKER: Marks any point during playback.SEARCH: Displays or exits the search menu.REPEAT: Repeat a desired section.CLEAR: Removes a mark on the search menu or anumber when setting the password.Coloured (A, B, C, D) buttons: Use to navigate BD-ROM menus. They are also used for [MOVIE], [PHOTO]and [MUSIC] menu.- D button: Selects MONO or STEREO in FM mode.TV Control Buttons: See page 46.SLEEP: Sets a certain period of time after which the unitwill switch to standby.*Depending on a disc type or the pre-recorded con-tents of the BD-ROM disc, different functions may beexecuted than other media or there are no responsewhen pressing some buttons (depending on mediaused).Remote Control OperationPoint the Remote Control at the remote sensor andpress the buttons.Remote Control Battery InstallationRemove the battery cover on the rear of the RemoteControl, and insert a R03 (size AAA) battery with andmatched correctly.POWERPOWERabcd9HB954PA-AD.954SA-AP.BUSALL_ENG 12/18/08 5:31 PM Page 9](https://usermanual.wiki/LG-Electronics-USA/9QK-HB954W.User-Manual-1-1/User-Guide-1049370-Page-11.png)


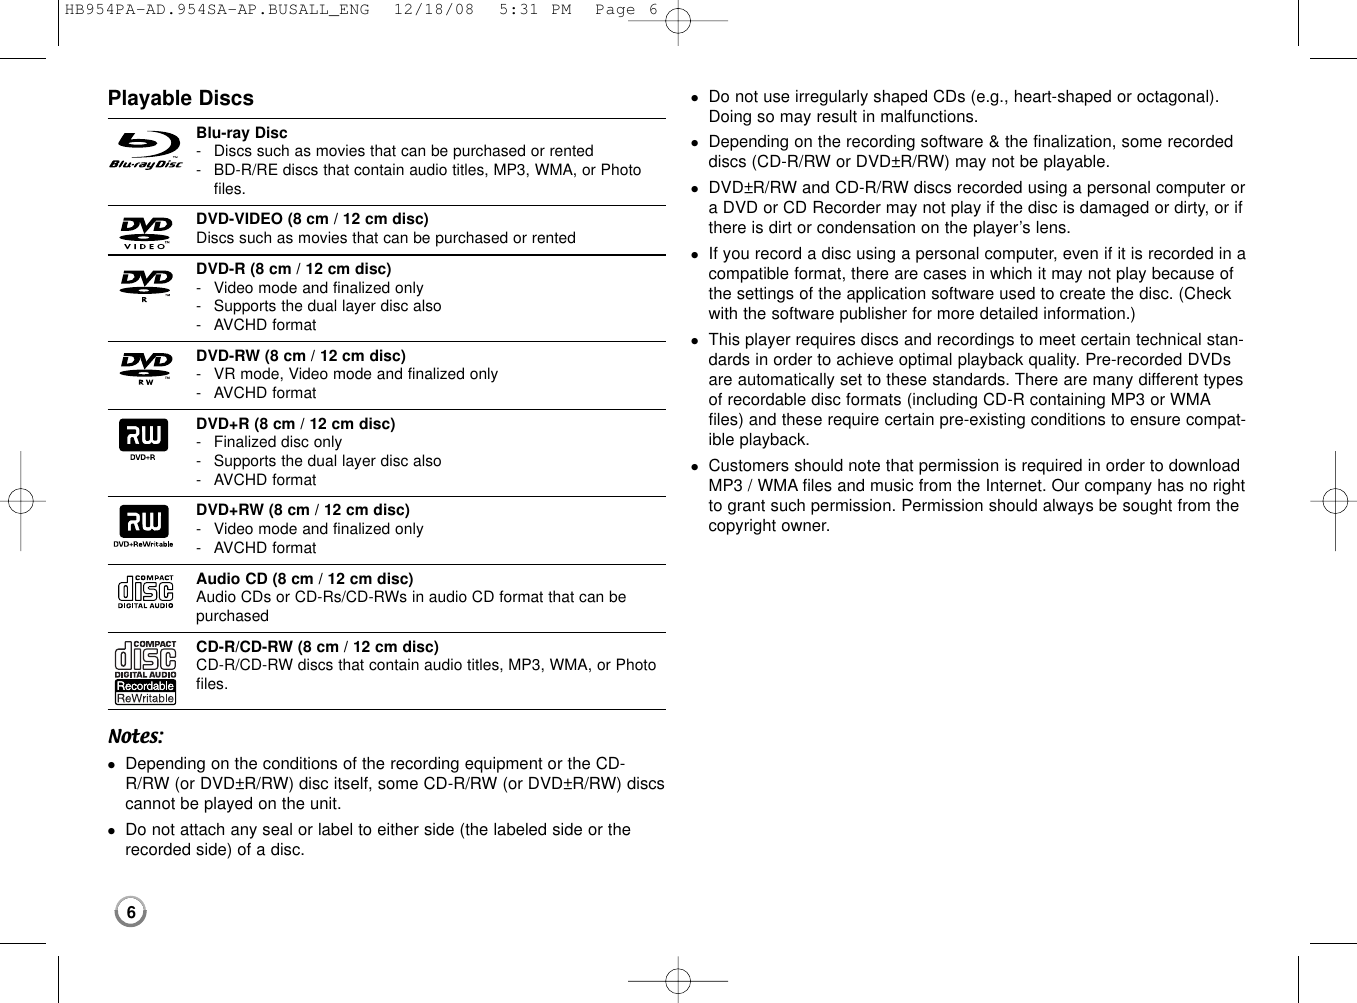
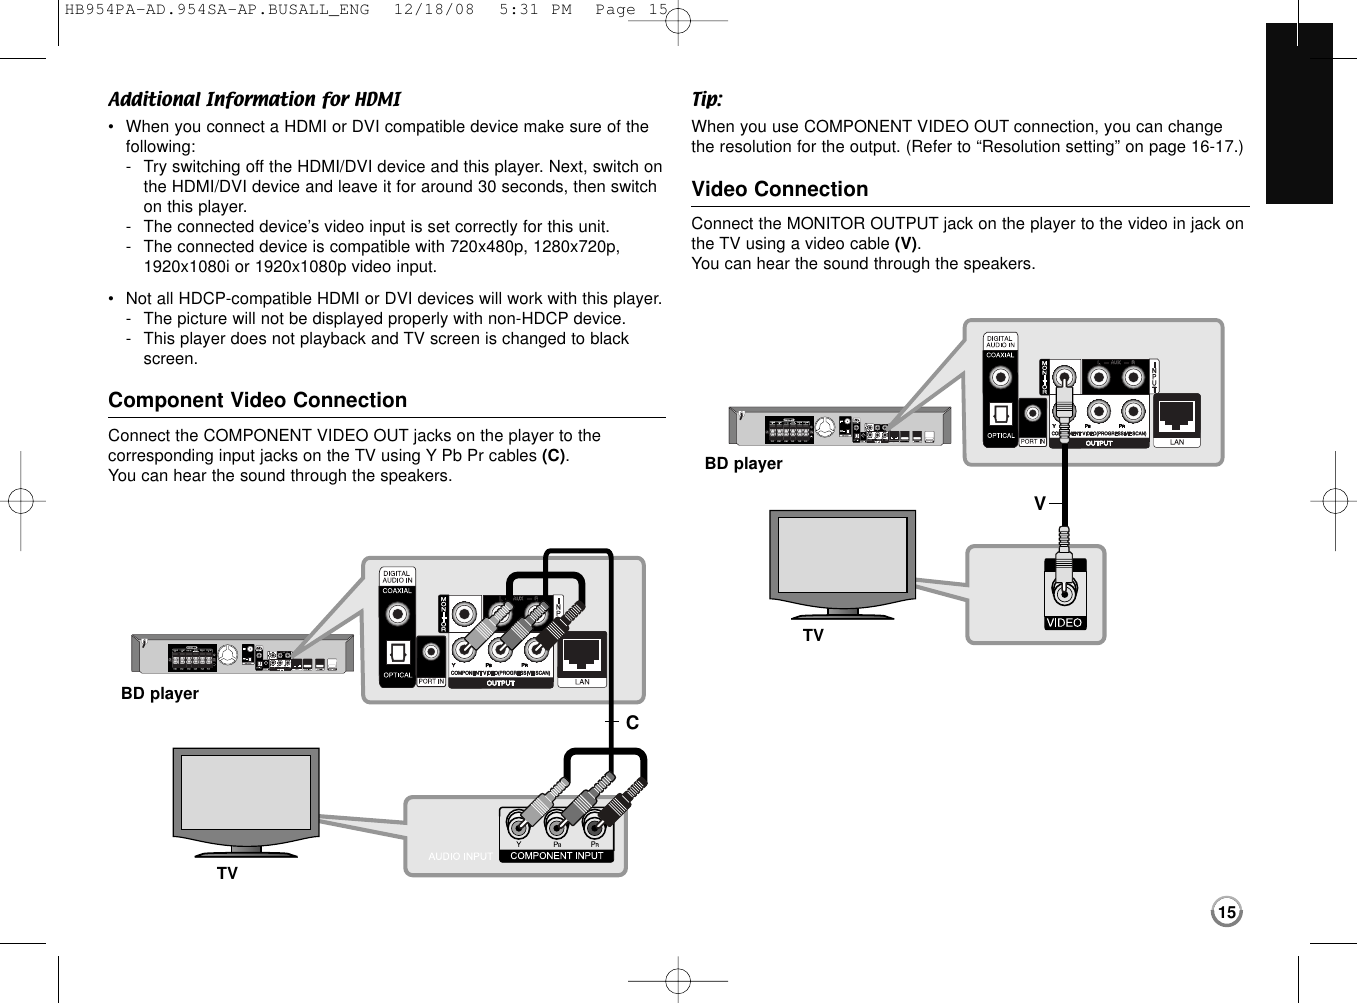
![14Connections to Your TVMake one of the following connections, depending on the capabilities ofyour existing equipment.Tips:•Depending on your TV and other equipment you wish to connect, thereare various ways you could connect the player. Use only one of the con-nections described below.•Please refer to the manuals of your TV or other devices as necessary tomake the best connections.Cautions:•Make sure the player is connected directly to the TV. Tune the TV to thecorrect video input channel.•Do not connect your player via your VCR. The image could be distortedby the copy protection system.HDMI ConnectionIf you have a HDMI TV or monitor, you can connect it to this player using aHDMI cable.Connect the HDMI OUT jack on the player to the HDMI IN jack on a HDMI compatible TV or monitor (H).Set the TV’s source to HDMI (refer to TV’s Owner’s manual).Notes:•You must select a HDMI audio output that your TV accepts using [HDMI Audio] options on the [Setup] menu (see page 24). •If a connected HDMI device does not accept the audio output of the unit,the HDMI device’s audio sound may be distorted or may not output. Tips:•You can fully enjoy digital audio and video signals together with thisHDMI connection.•When you use HDMI connection, you can change the resolution for theHDMI output. (Refer to “Resolution Setting” on page 16-17.)•Select the type of video output from the HDMI OUT jack using [HDMI Color Setting] option on the [Setup] menu (see page 22). Cautions:•Changing the resolution when the connection has already been established may result in malfunctions. To solve the problem, turn off the player and then turn it on again.•When the HDMI connection with HDCP is not verified, TV screen ischanged to black screen. In this case, check the the HDMI connection,or disconnect the HDMI cable.•If there is noise or lines on the screen, please check the HDMI cable(length is generally limited to 15ft).HBD playerTVHB954PA-AD.954SA-AP.BUSALL_ENG 12/18/08 5:31 PM Page 14](https://usermanual.wiki/LG-Electronics-USA/9QK-HB954W.User-Manual-1-1/User-Guide-1049370-Page-16.png)
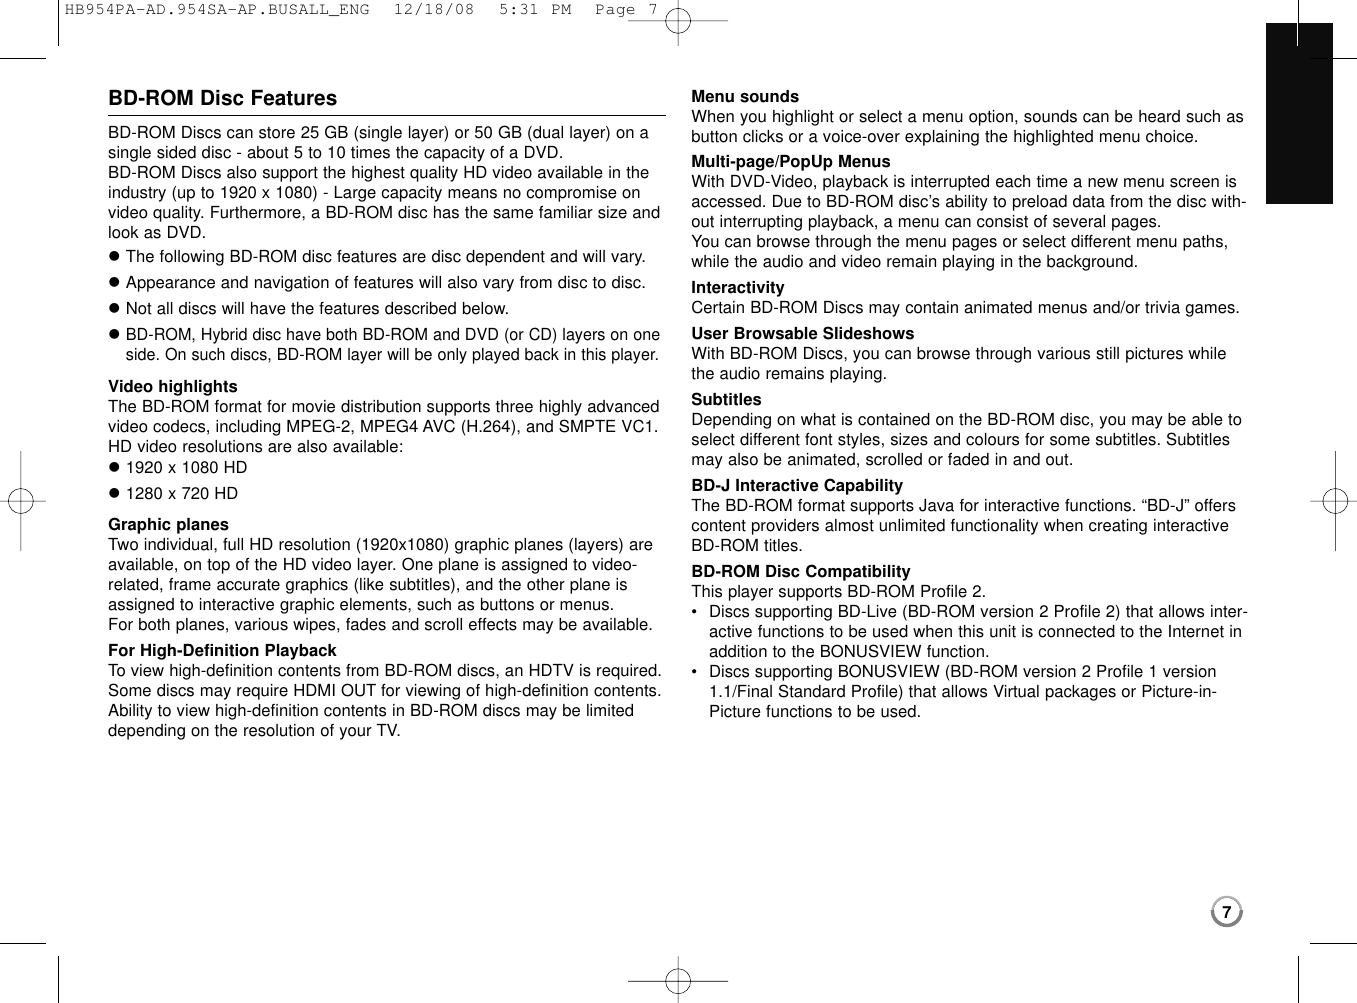
![16Resolution SettingThe player provides several output resolutions for HDMI OUT and COMPONENT VIDEO OUT jacks. You can change the resolution using [Setup] menu or pressing the RESOLUTION button in stop mode.Note:Since several factors affect the resolution of video output, see “Availableresolution according to the resolution setting” on next page.How to change the resolution using RESOLUTION buttonPress RESOLUTION button in stop mode. How to change the resolution using the [Setup] menu1Press HOME and the [Home Menu] appears.2Select the [Setup] and press ENTER. The [Setup] menu appears.3Use v/Vto select [DISPLAY] option then press Bto move to the second level. 4Use v/Vto select the [Resolution] option then press Bto move to thethird level.5Use v/Vto select the desired resolution then press ENTER to confirmyour selection.HB954PA-AD.954SA-AP.BUSALL_ENG 12/18/08 5:31 PM Page 16](https://usermanual.wiki/LG-Electronics-USA/9QK-HB954W.User-Manual-1-1/User-Guide-1049370-Page-18.png)