LG Electronics USA 9QKE40510 VCR/DVD Recorder User Manual 05 RCH7723CML 1ST 0207
LG Electronics USA VCR/DVD Recorder 05 RCH7723CML 1ST 0207
UserManual.wiki
>
LG Electronics USA
>
9QKE40510 User Manual
Users Manual
Navigation menu
Upload a User Manual
Namespaces
Wiki Guide
HTML
PDF
Info
Views
User Manual
Discussion / Help
Navigation
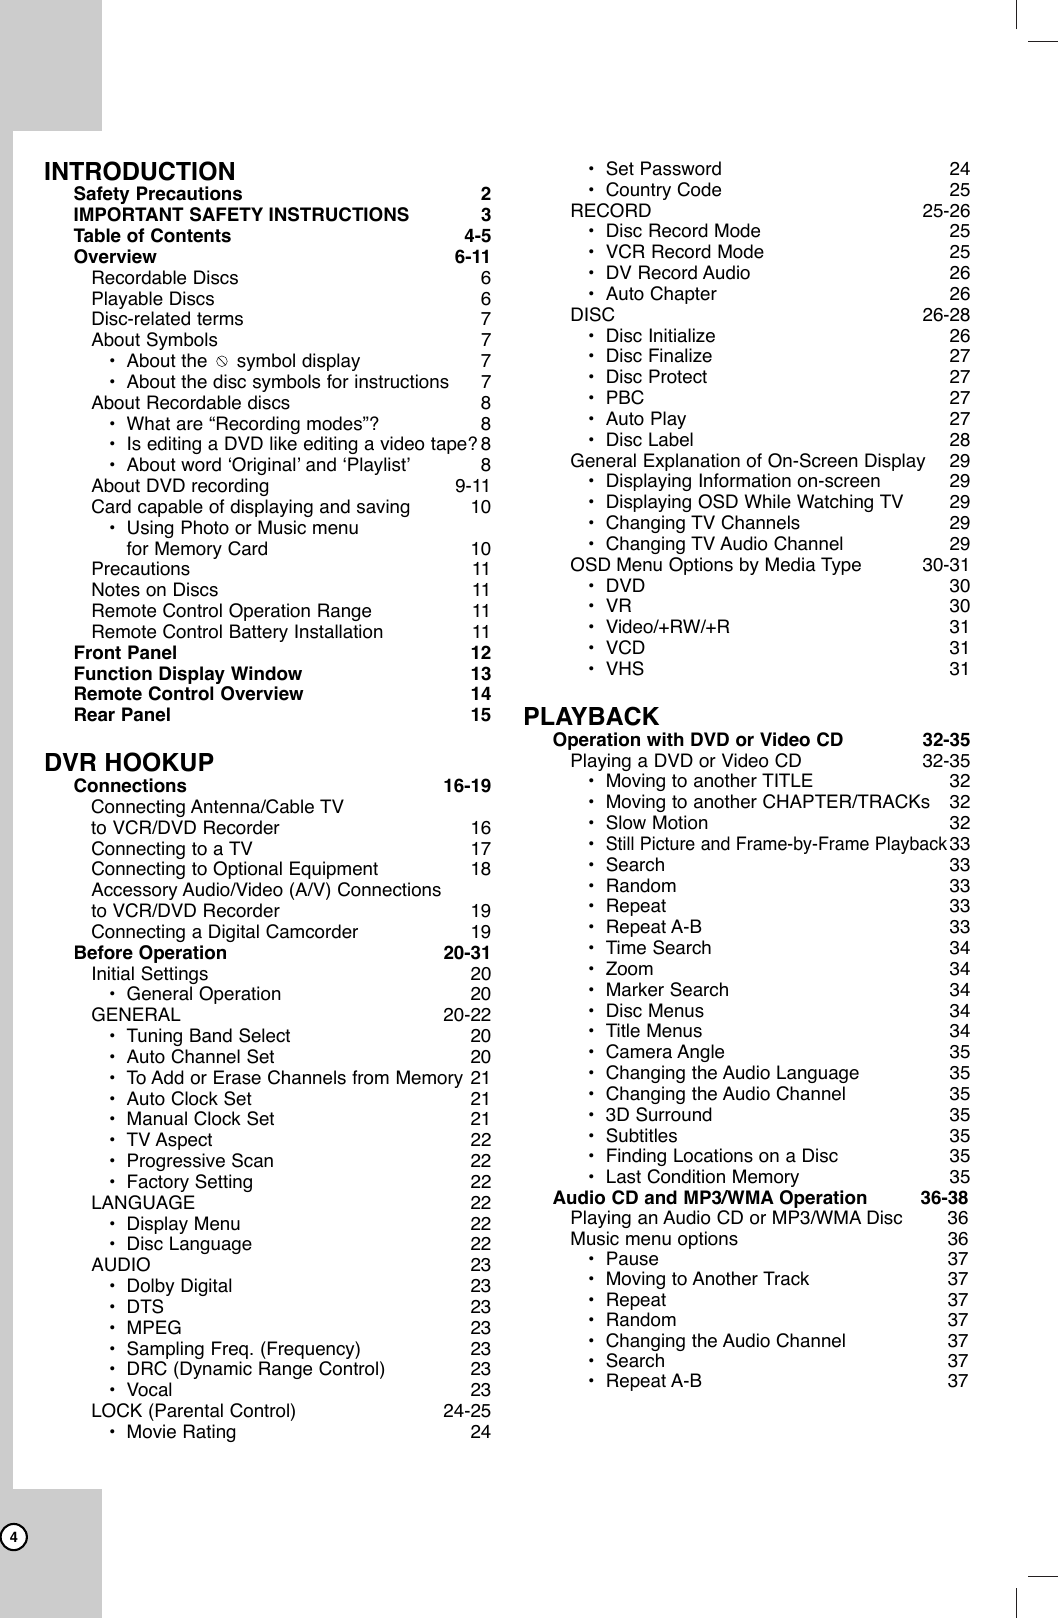
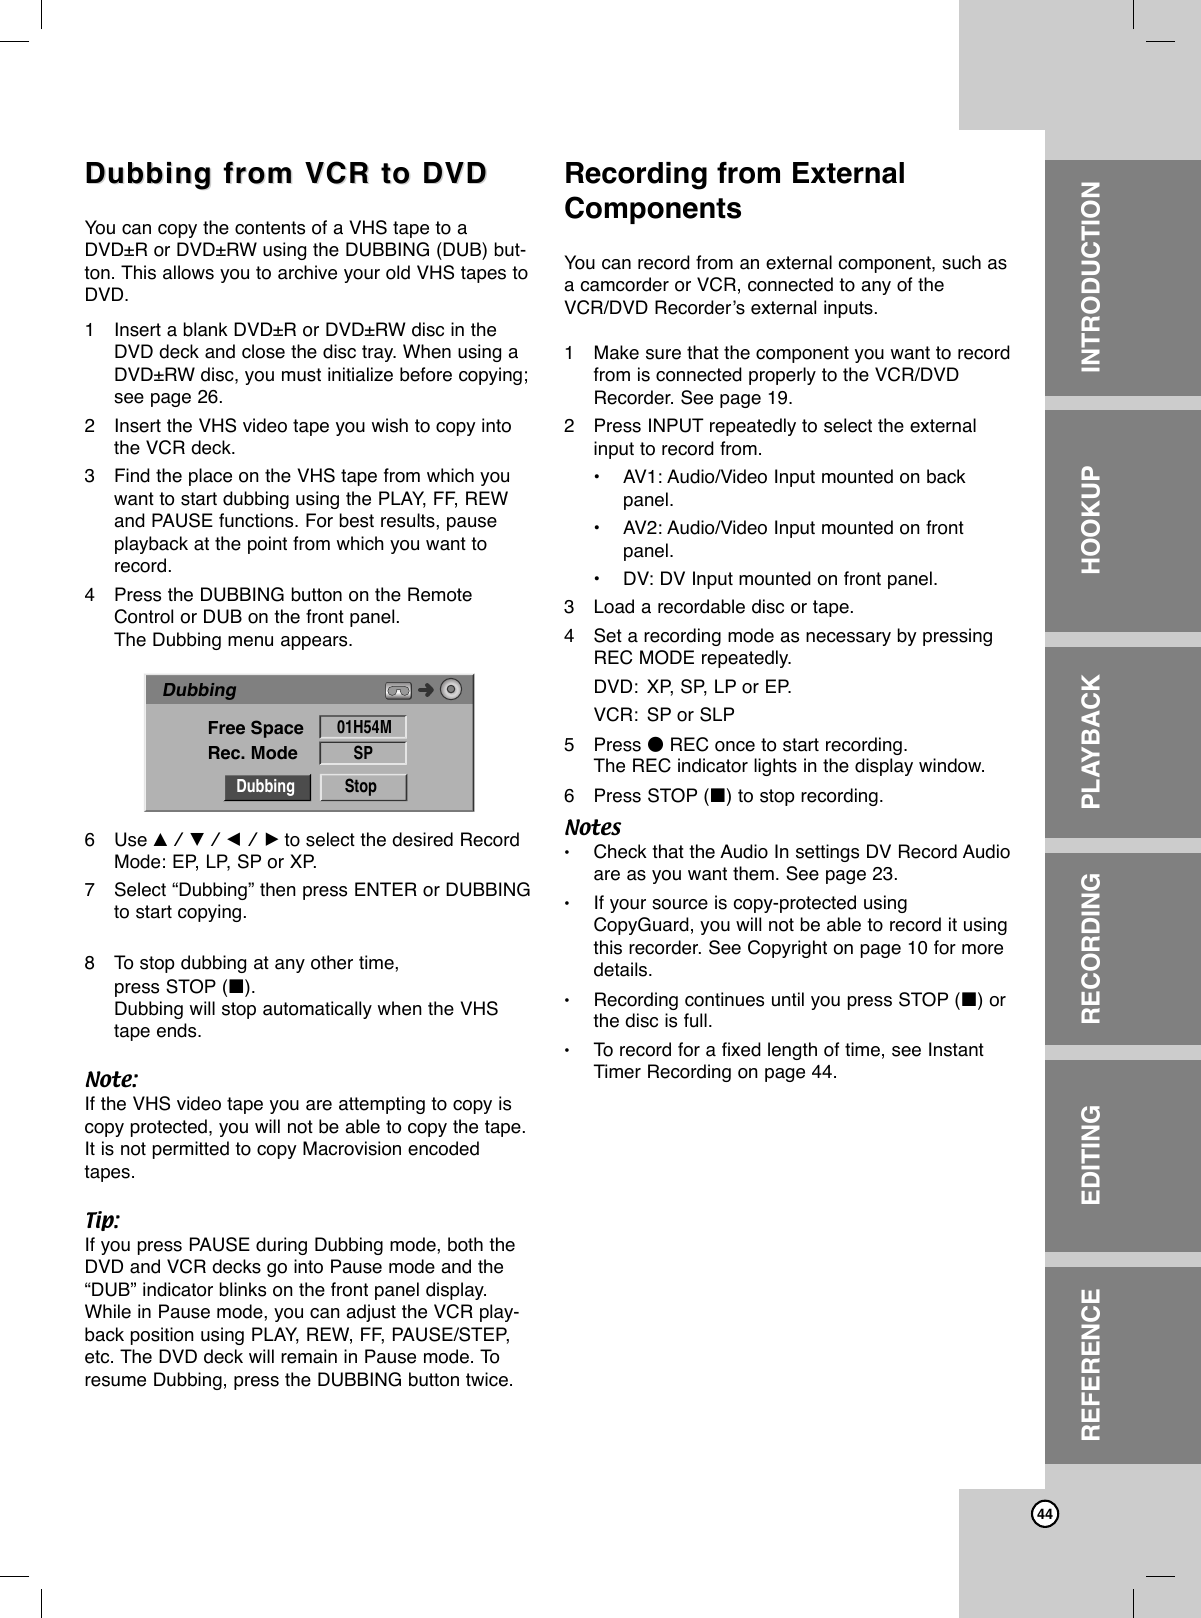
![7Recordable and Playable DiscsDVD-RW (Digital Video Disc - ReWritable): DVD-RW discs can be formatted for VR mode recording or Video mode recording.These Discs can be recorded on repeatedly. Recordings can be erased, then you can recordagain on the same Disc.[VR mode]Recordings can be extensively editedPlayable only on VR mode compatible players (after finalization)[Video mode]Playable on regular DVD players (after finalization)Limited editing featuresDVD-R (Digital Video Disc - Recordable)These Discs can be recorded only once. After you finalize a DVD-R, you cannot record on it oredit it.DVD-R discs can be only formatted to Video mode.Playable on regular DVD players (after finalization)Limited editing featuresDVD-RAM (Digital Video Disc + Recordable)DVD-RAM discs can be formatted for VR mode recording.These Discs can be recorded on repeatedly. Recordings can be erased, then you can recordagain on the same Disc.Playable on regular DVD playersLimited editing featuresDVD+RW (Digital Video Disc + ReWritable) These Discs can be recorded on repeatedly. Recordings can be erased, then you can recordagain on the same Disc.Playable on DVD+RW compatible players (automaticallly finalization)The edited contents is playable on DVD+RW compatible players only after finalizingRecordings can be edited the title/chapterDVD+R (Digital Video Disc + Recordable)These Discs can be recorded only once. After you finalize a DVD+R, you cannot record on it oredit it any more.Playable on DVD+R compatible players (after finalization)Any edited contents are not be compatible on DVD+R compatible players. (Hide, chapter combine,added chapter mark, etc.)Limited title/chapter editing features.INTRODUCTIONHOOKUPPLAYBACKRECORDINGEDITINGREFERENCENotes:–This Recorder cannot record CD-R or CD-RWdiscs.–DVD-R/RW, DVD+R/RW and CD-R/RW discsrecorded using a personal computer or a DVD orCD Recorder may not play if the disc is damagedor dirty, or if there is dirt or condensation on theRecorder’s lens.–If you record a disc using a personal computer,even if it is recorded in a compatible format, thereare cases in which it may not play because of thesettings of the application software used to createthe disc. (Check with the software publisher formore detailed information.)The recommendable recordable DVDdiscsDVD-R DVD+R DVD+R(DL) DVD-RW DVD+RWSONY SONY Mitsubishi Victor SONYTDK TDK Maxell Maxell TDKImation Imation - Imation PhilipsVerbatim Mitsubishi - TDK RicohPanasonic Ricoh - Mitsubishi HP](https://usermanual.wiki/LG-Electronics-USA/9QKE40510/User-Guide-518341-Page-7.png)

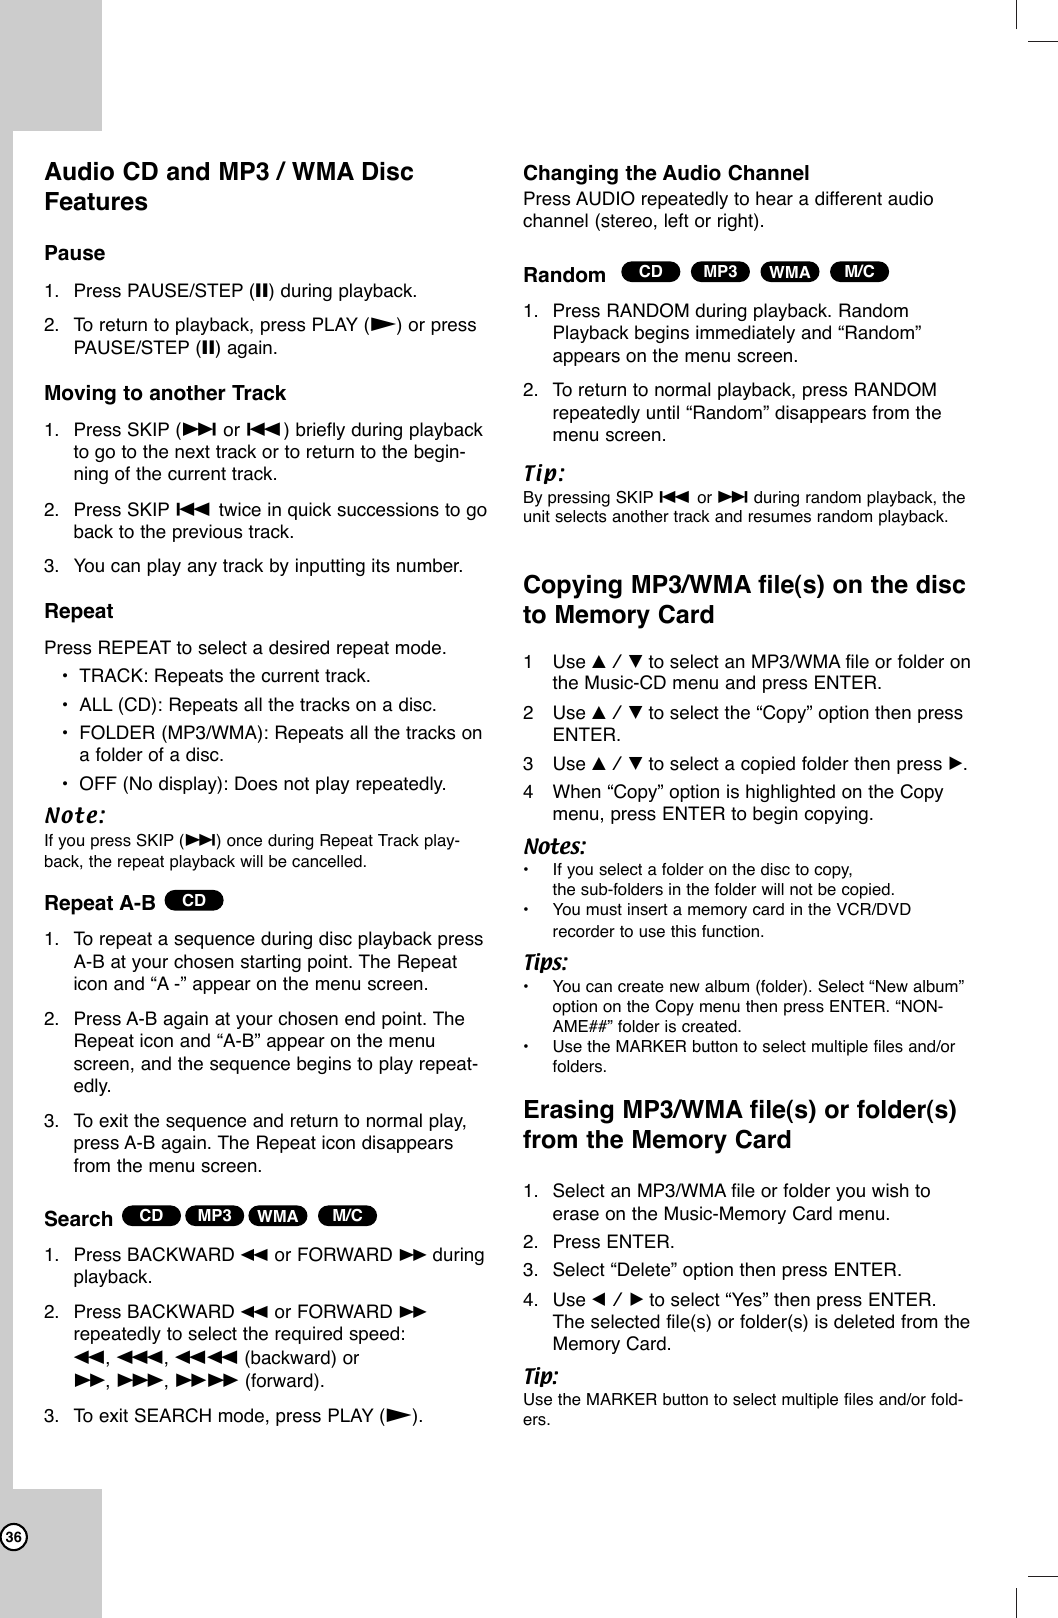
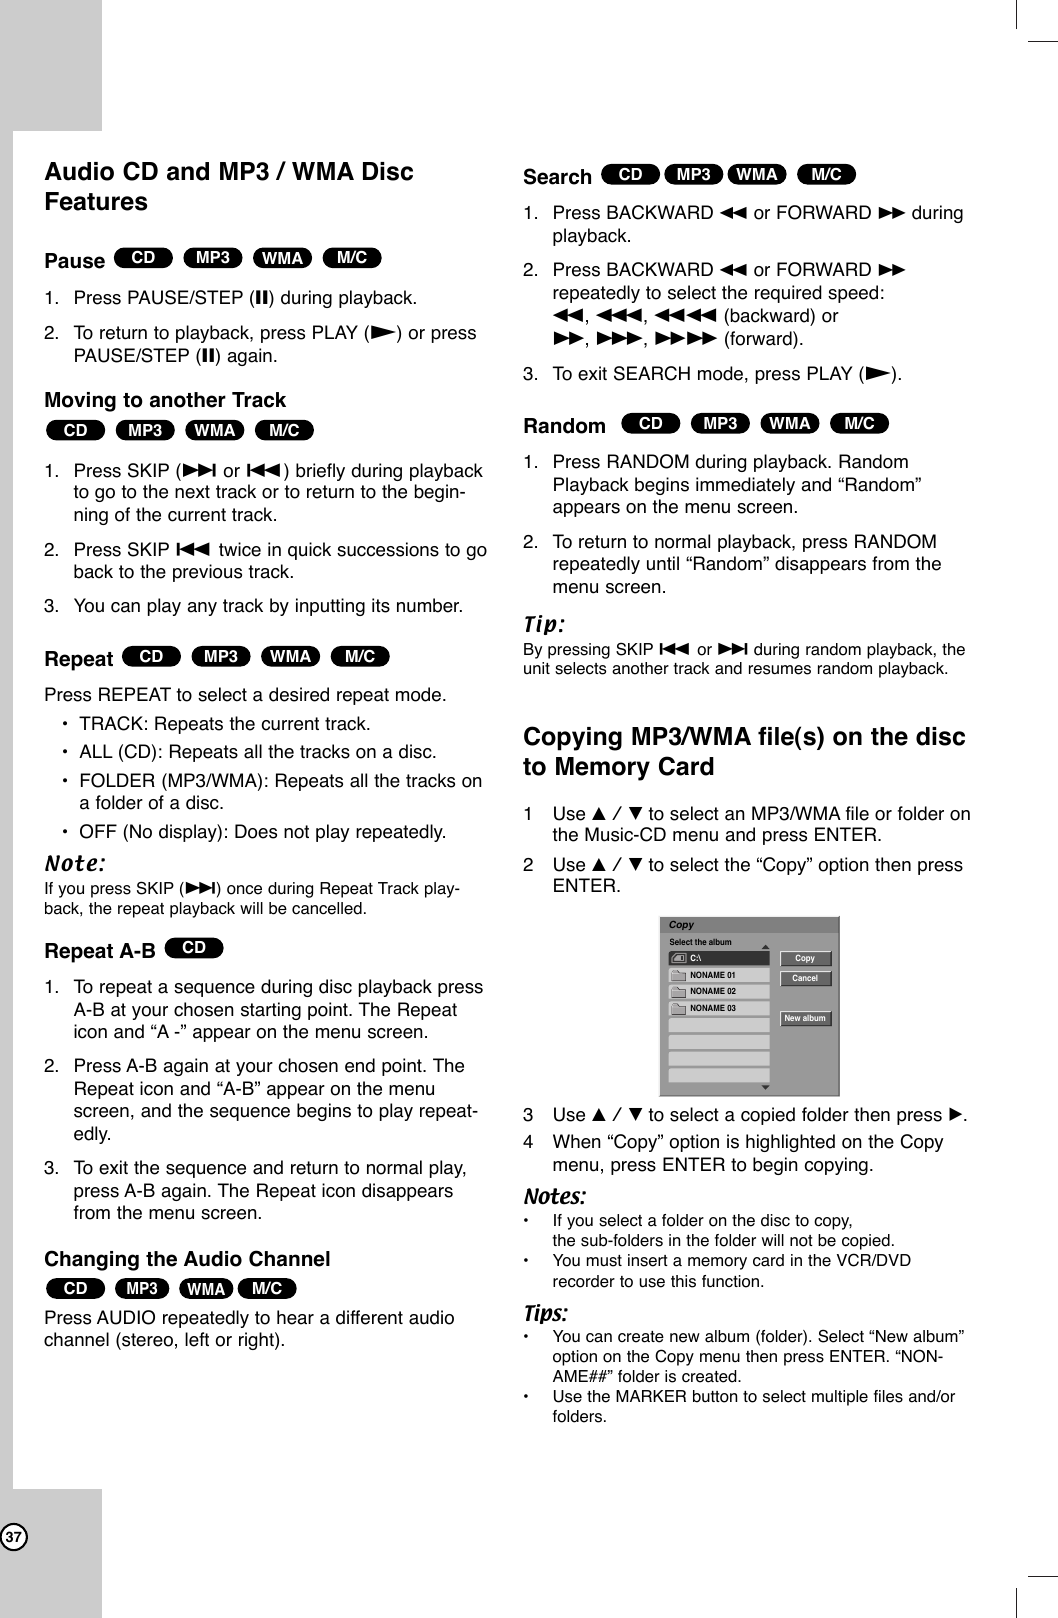
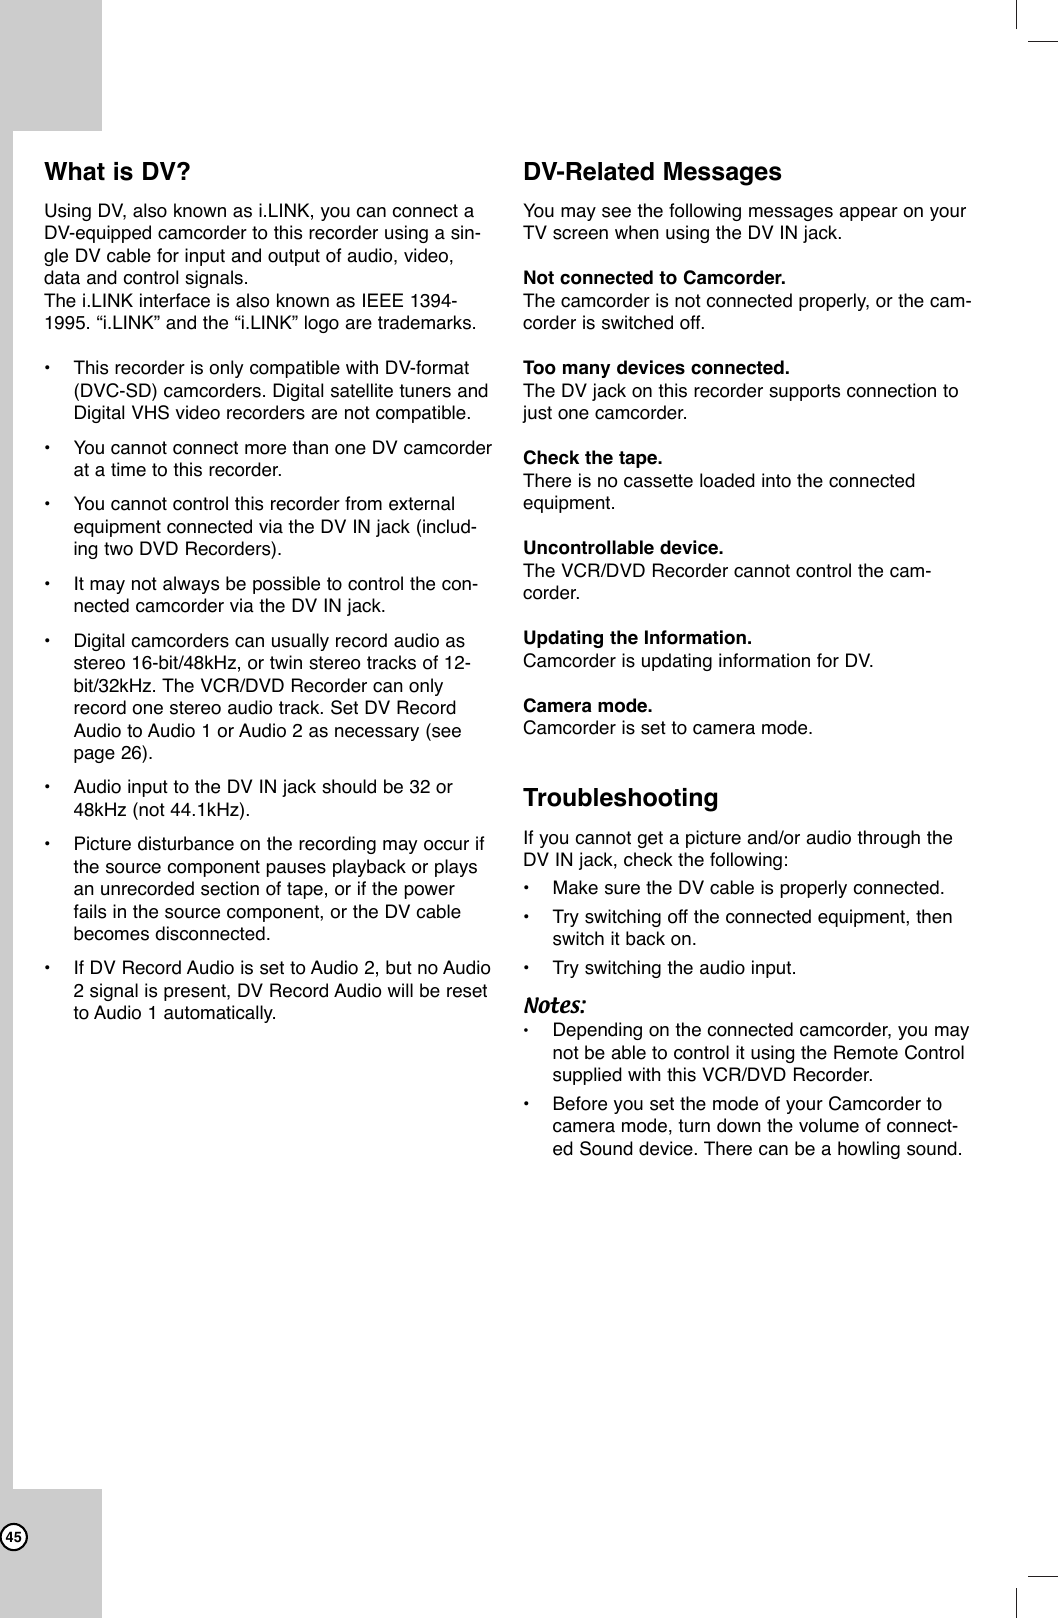
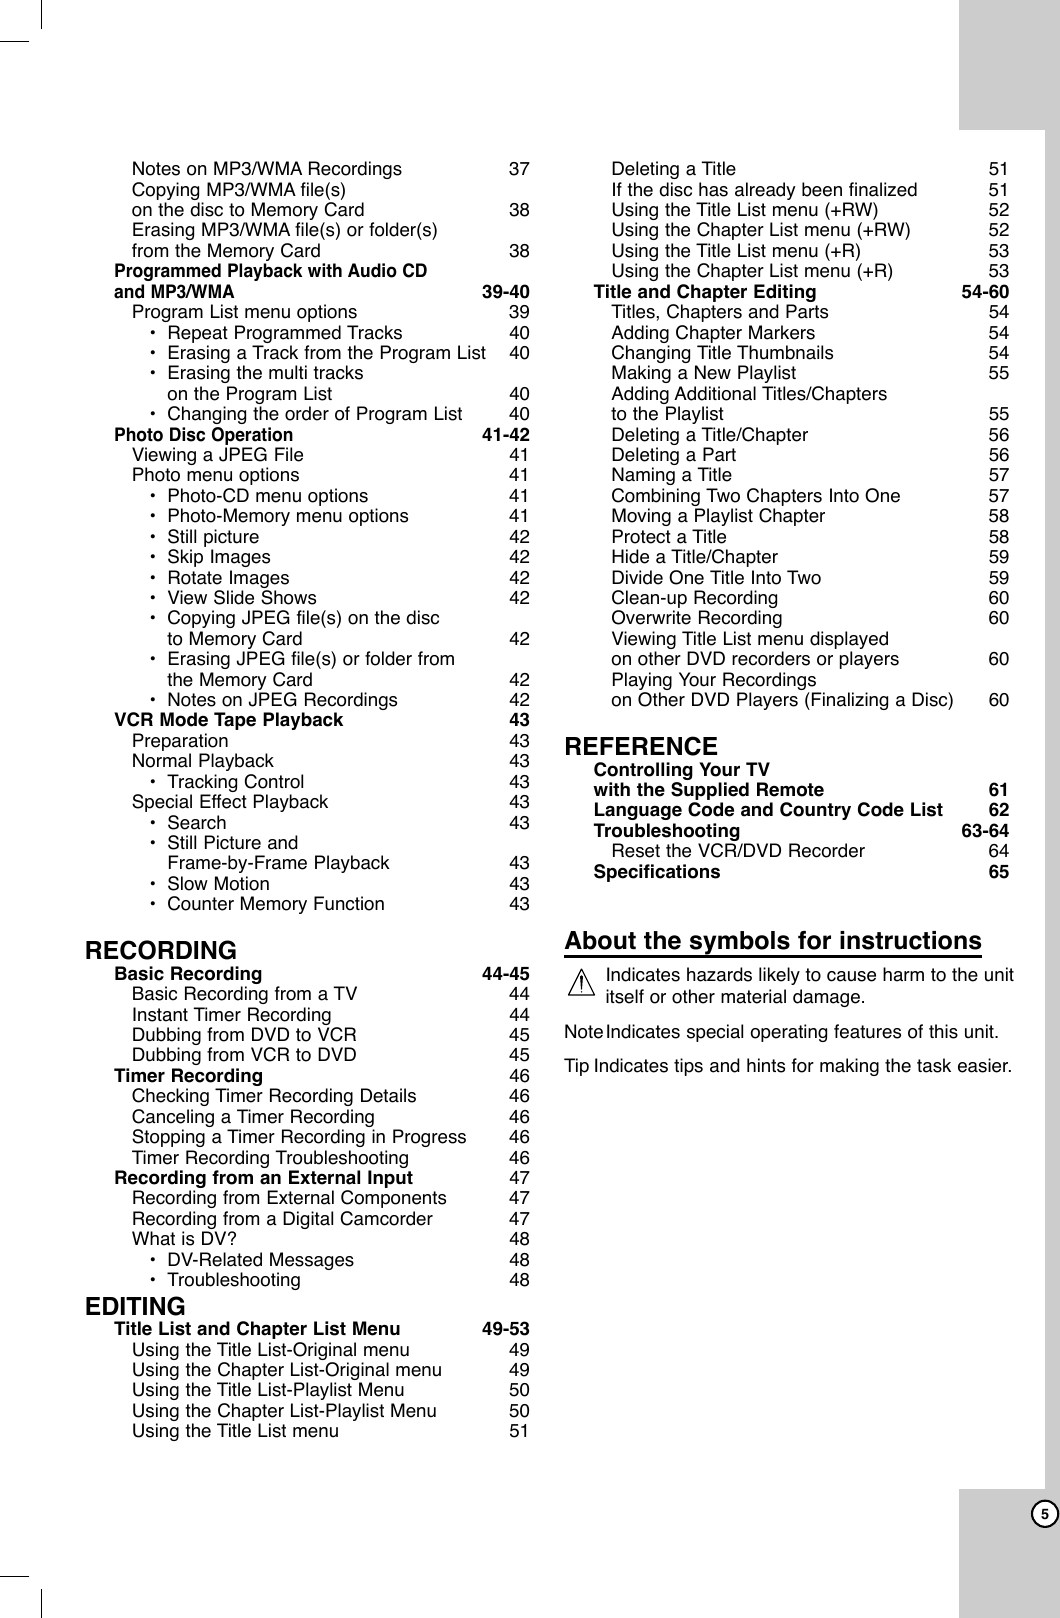
![35Playing an Playing an Audio CD orAudio CD orMP3/WMAMP3/WMA DiscDiscThe VCR/DVD Recorder can play Audio CDs andMP3/WMA files on CD-ROM, CD-R, CD-RW,DVD+R/+RW, DVD-R/-RW discs or Memory Card.Before playing MP3 files, read “Notes on MP3Recordings” on page 8.Audio CD Once you insert an audio CD a menu appears on theTV screen. Press v/Vto select a track then pressN(PLAY) or ENTER and playback starts. MP3 / WMA1. Press v/Vto select a folder, and press ENTERto see the folder contents.2. Press v/Vto select a track then press N(PLAY) or ENTER. Playback starts.ID3 TAG•When playing a file containing information such astrack titles, you can see the information by press-ing DISPLAY. [ Song, Artist, Album, Comment ]•If there is no information, “No ID3 TAG” appear onthe menu screen.Tips:•You can view TV channel or video input source bypressing RETURN. If you want to return to the Music-CD or Music-Audio CD menu, press LIST/DISC MENU.•On the Music-CD menu, you can display the folders onthe disc. Use vVbBto select the “Folder” icon on theMusic-CD menu then press ENTER twice. •On CDs with mixed content (audio tracks, MP3/WMAfiles and JPEG files), you can select among the Music-Audio CD menu, Music-CD menu, and Photo-CD menuby pressing TITLE repeatedly in Stop mode.•If you select a folder and press DISPLAY, the number ofsubfolders and number of MP3/WMA files in the folderare displayed. •If you are in a file list and want to return to the Folderlist, use the v/Vto highlight and press ENTER toreturn to the previous menu screen.Music menu options1. To display menu options, select a tack (or folder)on the menu then press ENTER. 2. Use v/ Vto select an option then press ENTERto confirm your selection.Music-Audio CD menu options Play: Starts playback the select-ed track.Program Add: Adds the track(s)to Program List. (page 39)Music-CD menu options • Track options. • Folder optionsPlay: Starts playback the selected track.Program Add: Adds the track(s) to Program List.(page 39)Copy: Copies the track(s) to the memory card.(page 38)Open: Displays sub-folders and MP3/WMA filesonly in the folder.Music-MP3/WMA Memory menu options • Track options. • Folder optionsPlay: Starts playback the selected track.Program Add: Adds the track(s) to Program List.(page 39)Delete: Deletes the track(s) from the memorycard. (page 38)Open: Displays sub-folders and MP3/WMA filesonly in the folder.M/CWMAMP3CDINTRODUCTIONHOOKUPPLAYBACKRECORDINGEDITINGREFERENCEMusic1:07:30Title DurationTrack 1 04:47Track 2 04:0103:0103:3004:2405:0103:4804:0905:1004:11Track 3Track 4Track 5Track 6Track 7Track 8Track 9Track 10ProgramCloseMarkMARKERSelect LIST- Audio CDMusic00:00Root 152 ItemsFOLDER 01FILE 2.mp3FILE 3.mp3FILE 4.mp3FILE 5.mp3FILE 6.mp3FILE 7.mp3FILE 8.mp3FILE 9.mp3FILE 10.mp3ProgramCloseMarkMARKERSelect LIST- CDPlayProgram AddCopyOpenProgram AddCopyPlayProgram AddDeleteOpenProgram AddDeletePlayProgram Add](https://usermanual.wiki/LG-Electronics-USA/9QKE40510/User-Guide-518341-Page-35.png)