LG Electronics USA 9QKE40620 DVD Player / Video Cassette Recorder User Manual V1940MH Owner Manual
LG Electronics USA DVD Player / Video Cassette Recorder V1940MH Owner Manual
UserManual.wiki
>
LG Electronics USA
>
9QKE40620 User Manual
Users Manual
Navigation menu
Upload a User Manual
Namespaces
Wiki Guide
HTML
PDF
Info
Views
User Manual
Discussion / Help
Navigation
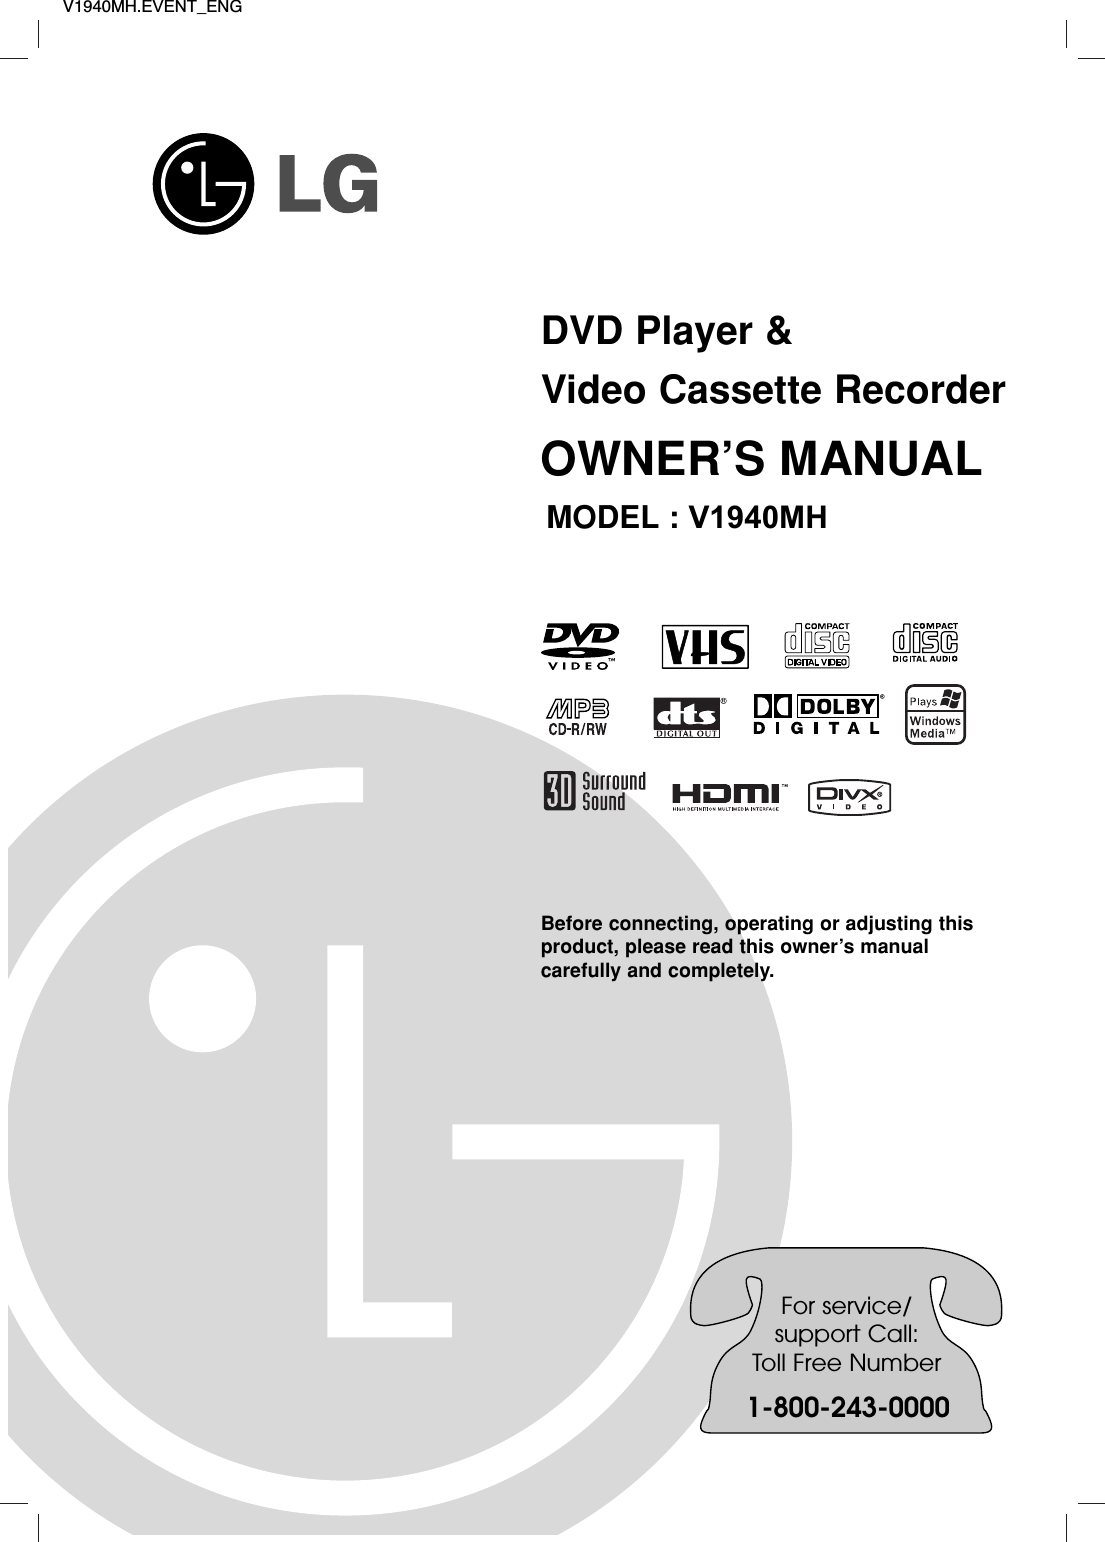
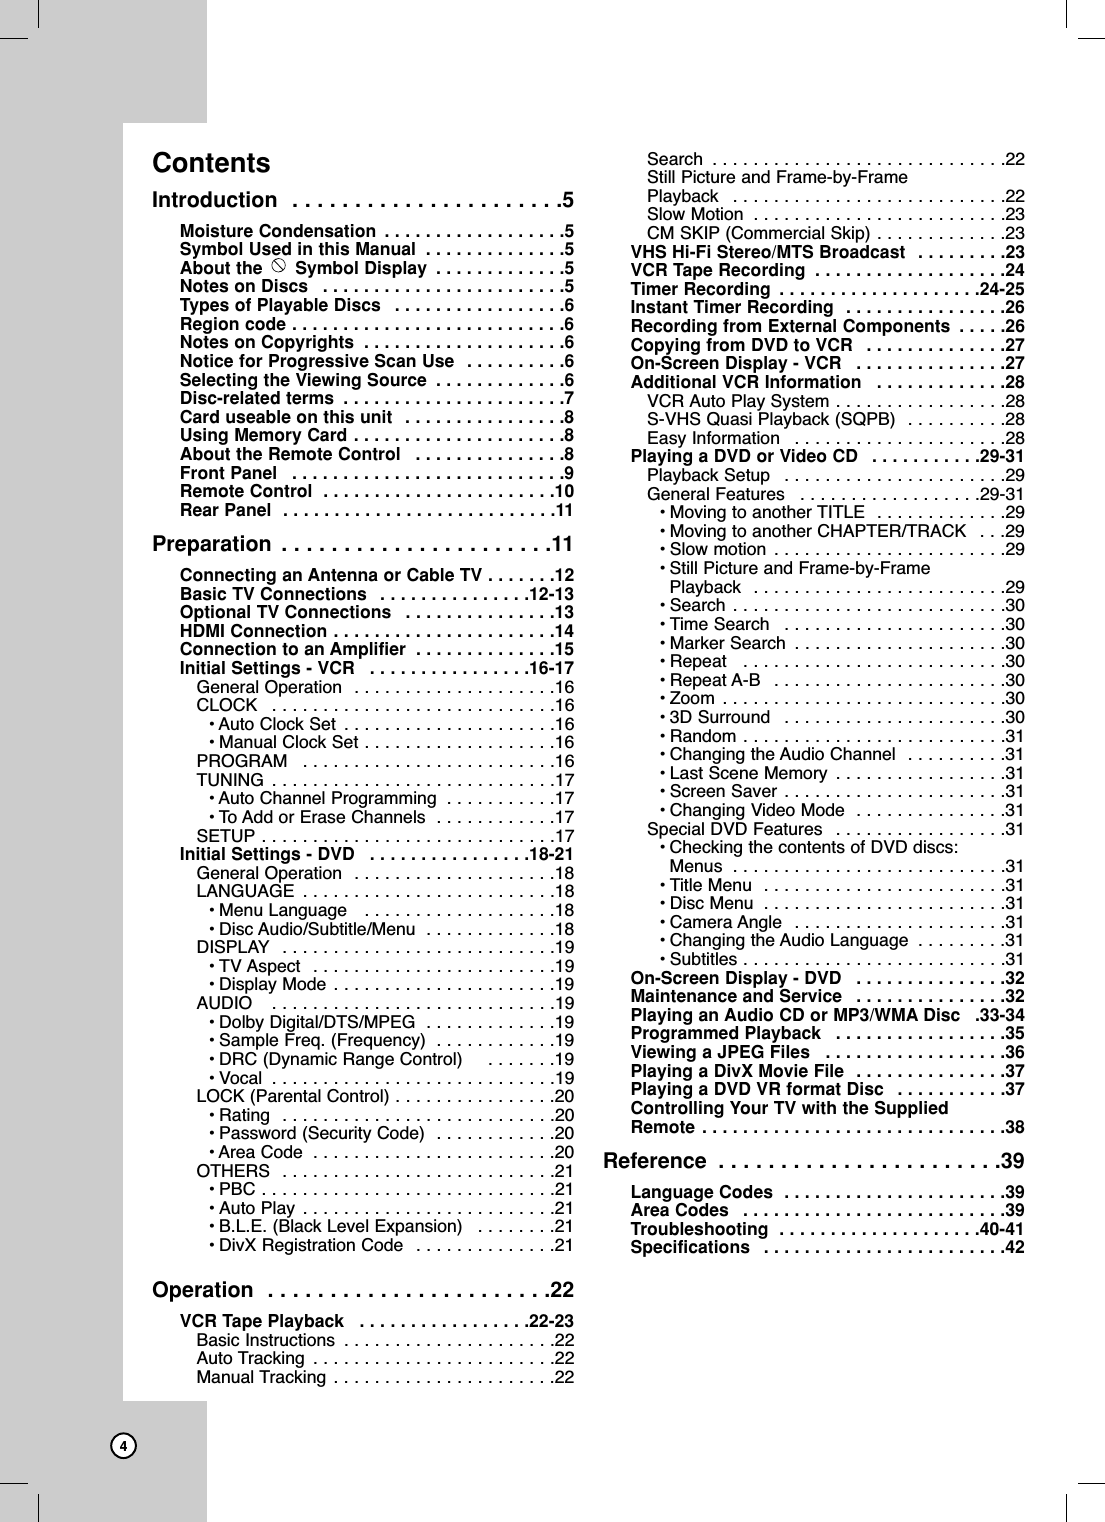
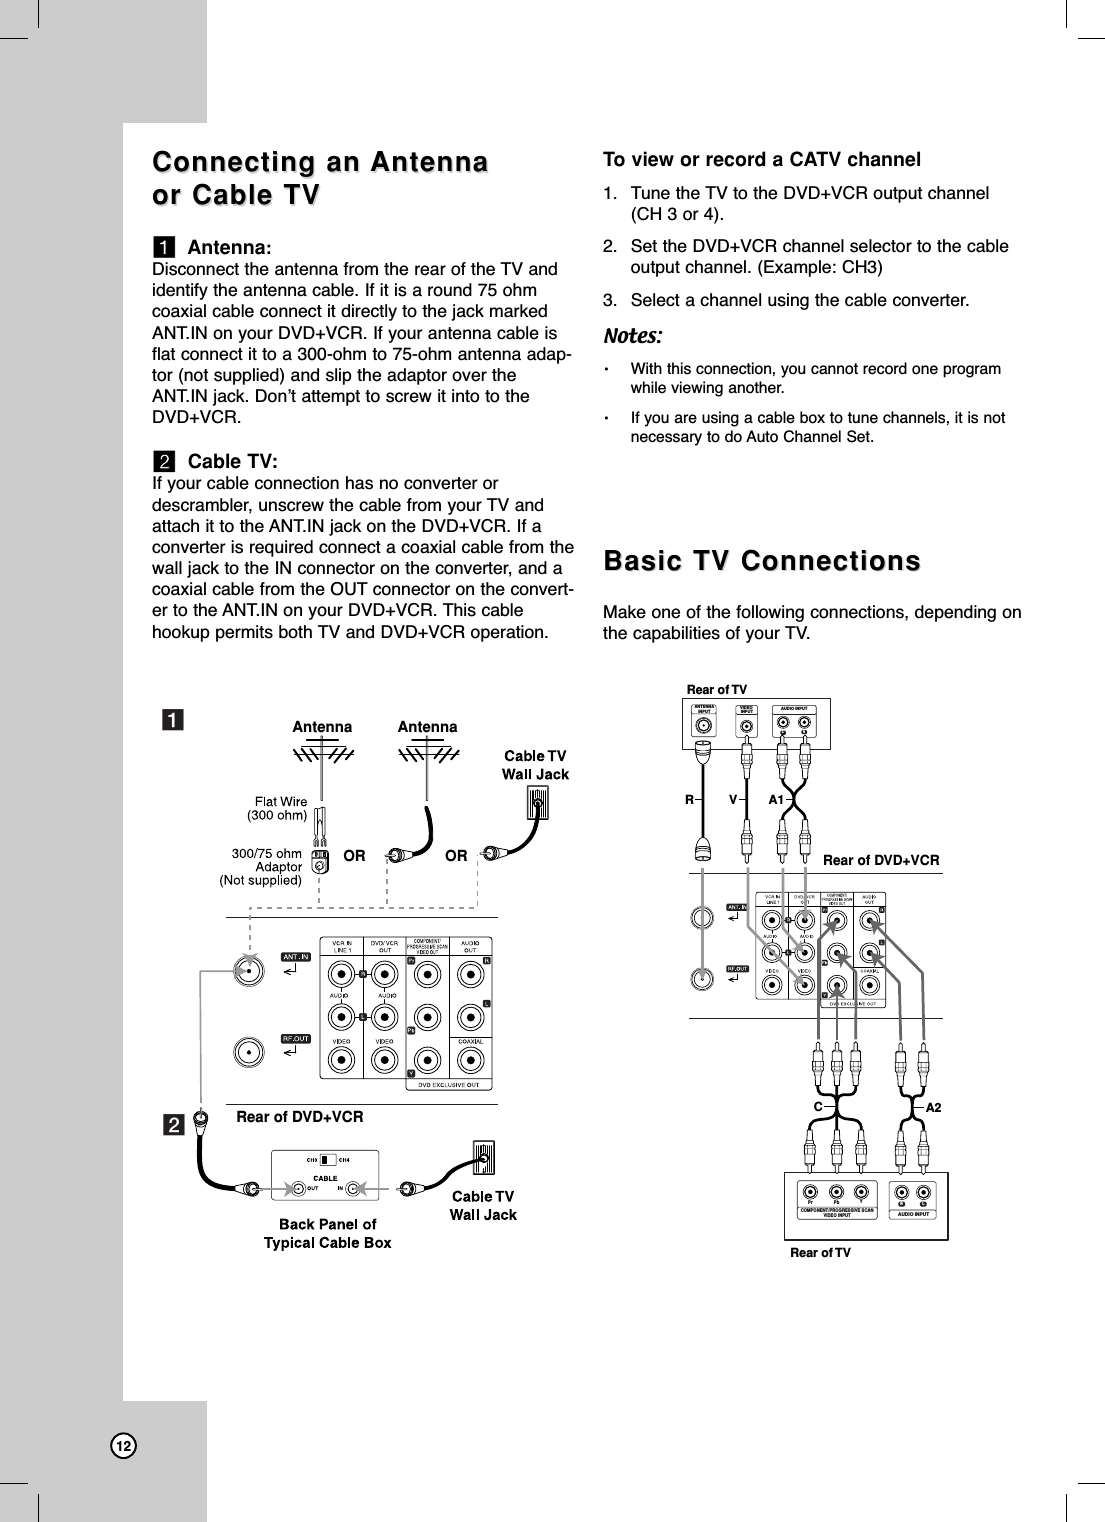
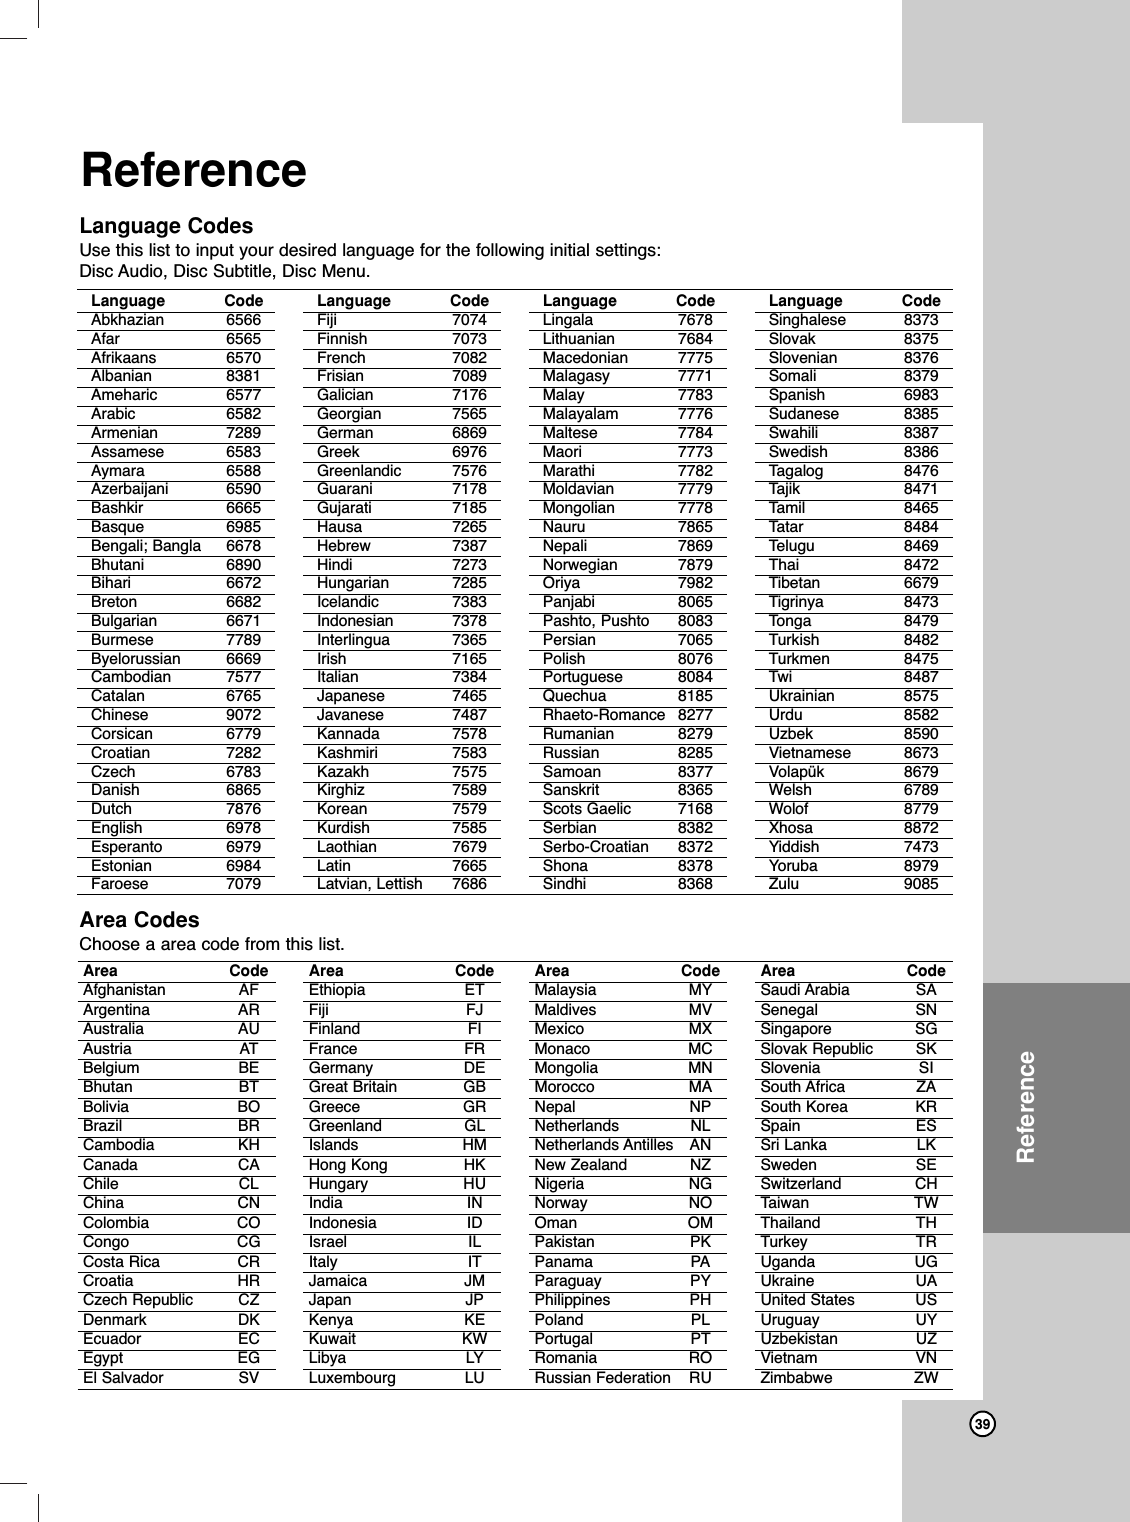
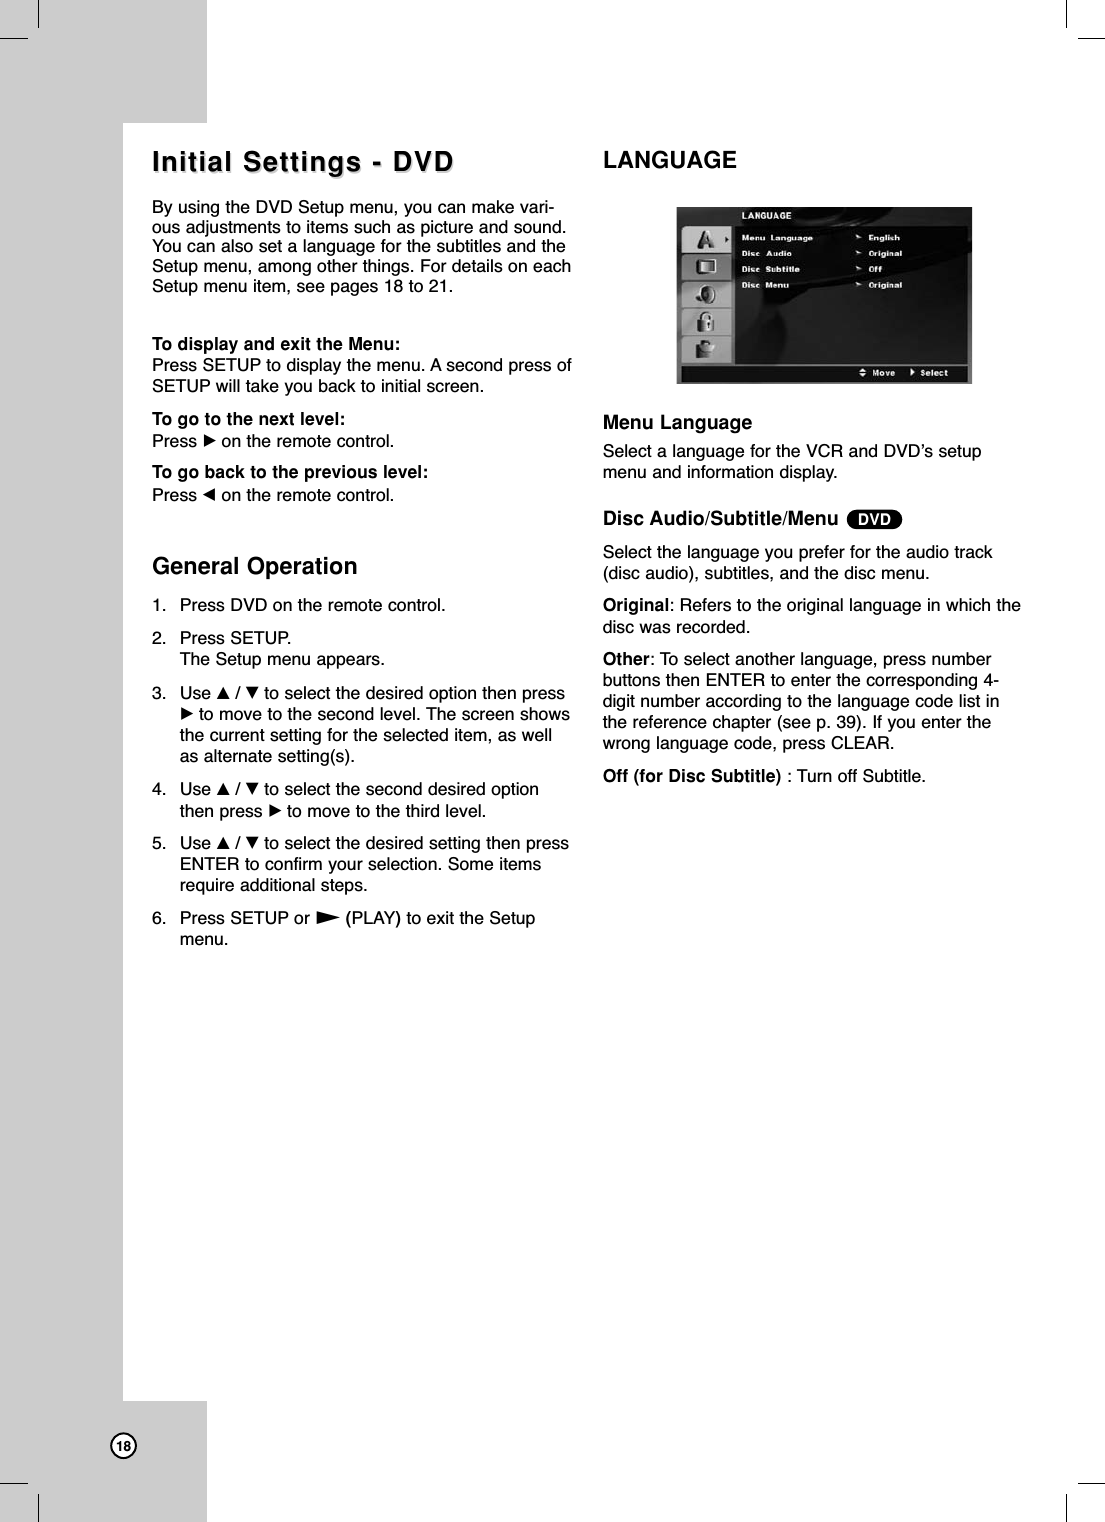
![14HDMI ConnectionHDMI ConnectionIf you have a HDMI TV or monitor, you can connect itto this DVD+VCR using a HDMI cable.1. Connect the HDMI OUT jack on the DVD+VCR tothe HDMI jack on a HDMI compatible TV or monitor (H).2. Set the TV’s source to HDMI (refer to TV’sOwner’s manual).3. In stop mode, select HDMI mode by pressingHDMI on the front panel.“hdmi” will appear on the display window.Notes :•No sound will be output from HDMI cable if the[Dolby Digital] or [MPEG] option is not set toPCM.•The arrow on the cable connector body should beface up for correct alignment with the connectoron the DVD+VCR.•When you use HDMI, the other connections(Yellow VIDEO OUT, S-Video and ComponentVideo (Y Pb Pr)) does not work.•If there is noise or lines on the screen, pleasecheck the HDMI cable.Tip :When you use HDMI connection, you can change theresolution (480p, 720p, 1080i) for the HDMI output bypressing RESOLUTION on the front panel. Softwareincompatibility between this unit and TV/monitor mayresult in getting only 2 options. 480i is not available.You can only change the resolution within your TV’sand Monitor’s resolution capabilities.- For DVD/VCR VIDEO OUT connection, a mes-sage will appear if you select an incompatibleresolution. - For S-VIDEO OUT connection, black and whitescramble signal will appear if you select anincompatible resolution.About HDMIHDMI (High Definition Multimedia Interface) supportsboth video and audio on a single digital connectionfor use with DVD players, Set-Top boxes, and otherAV devices.HDMI was developed to provide the technologies ofHDCP (High Definition Contents Protection). HDCP isused to protect digital content transmitted andreceived.HDMI has the capability to support standard,enhanced, or high-definition video plus standard tomulti-channel surround-sound audio, HDMI featuresinclude uncompressed digital video, a bandwidth ofup to 5 gigabytes per second, one connector (insteadof several cables and connectors), and communica-tion between the AV source and AV devices such asDTVs.HDMI, the HDMI logo and High-Definition MultimediaInterface are trademarks or registered trademarks ofHDMI licensing LLC.HDMIHDMI compatible TVRear of DVD+VCRH](https://usermanual.wiki/LG-Electronics-USA/9QKE40620/User-Guide-611225-Page-14.png)
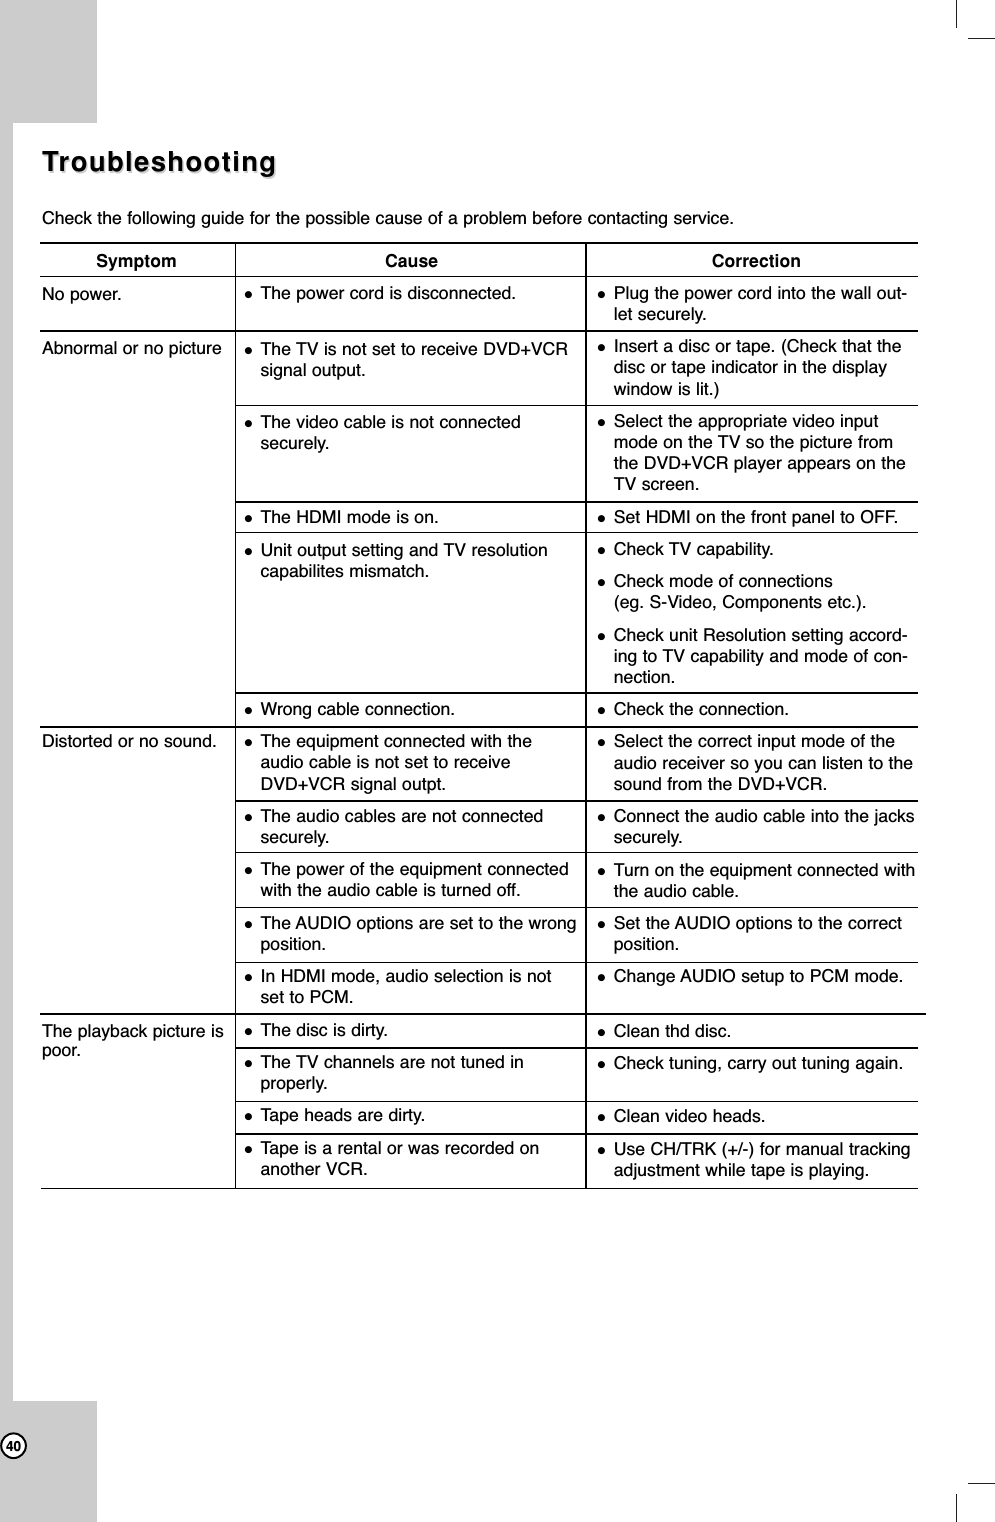
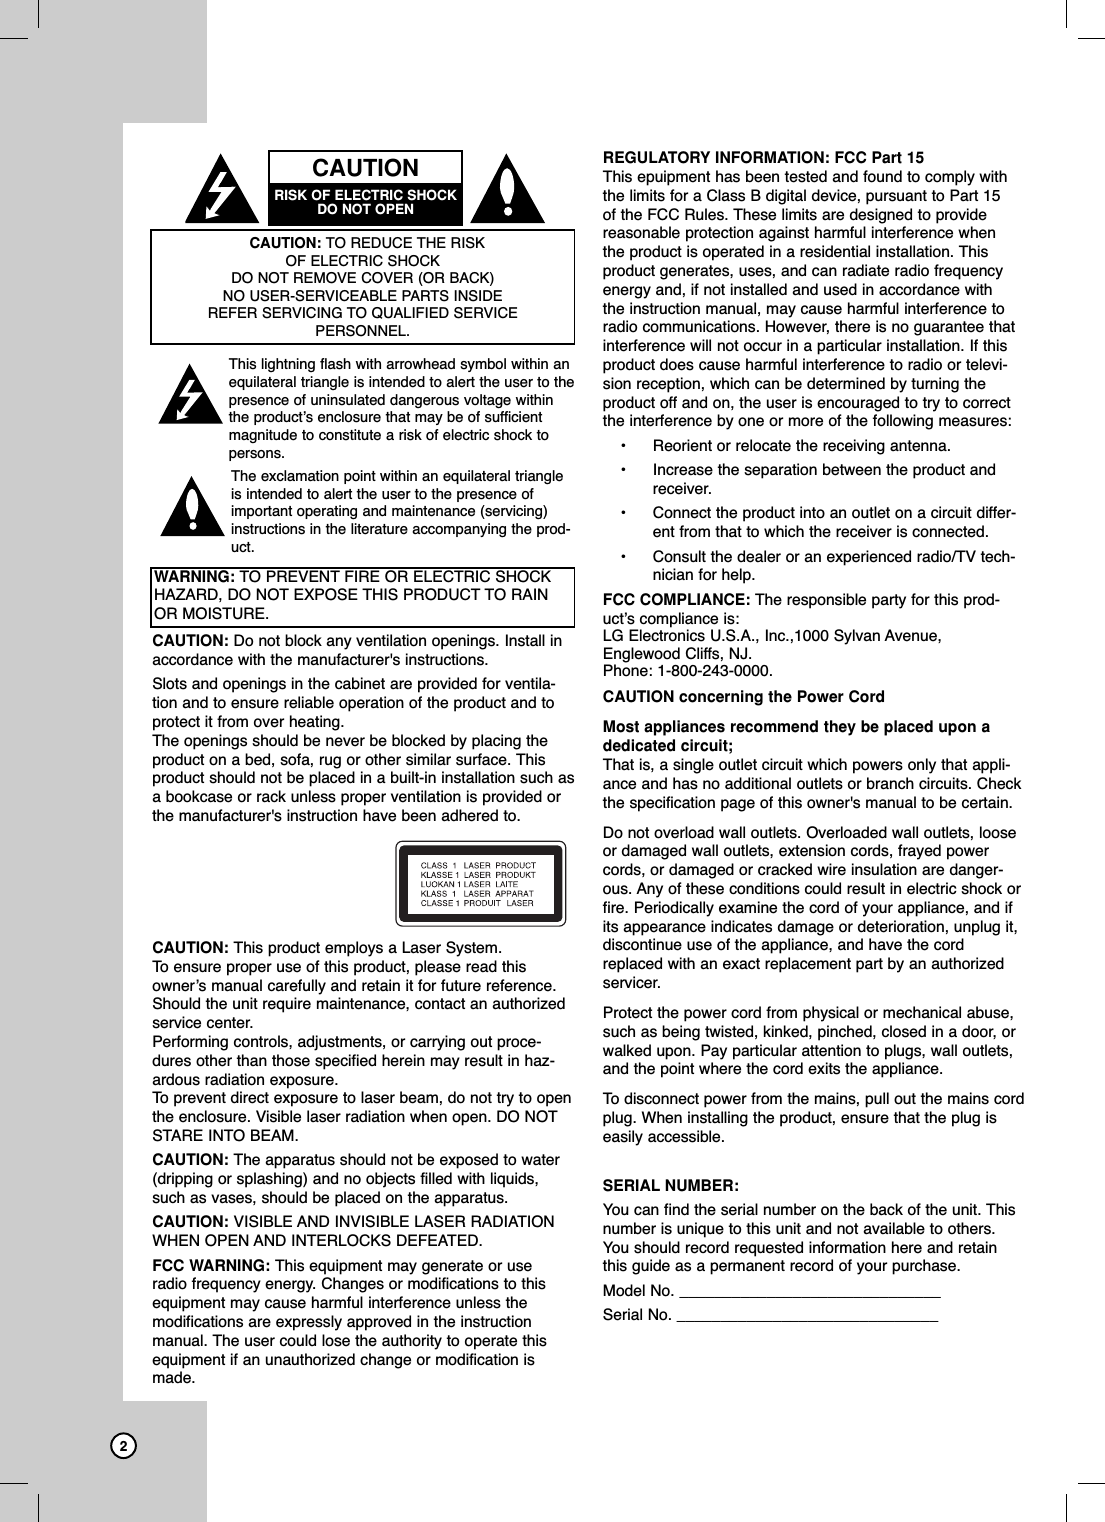
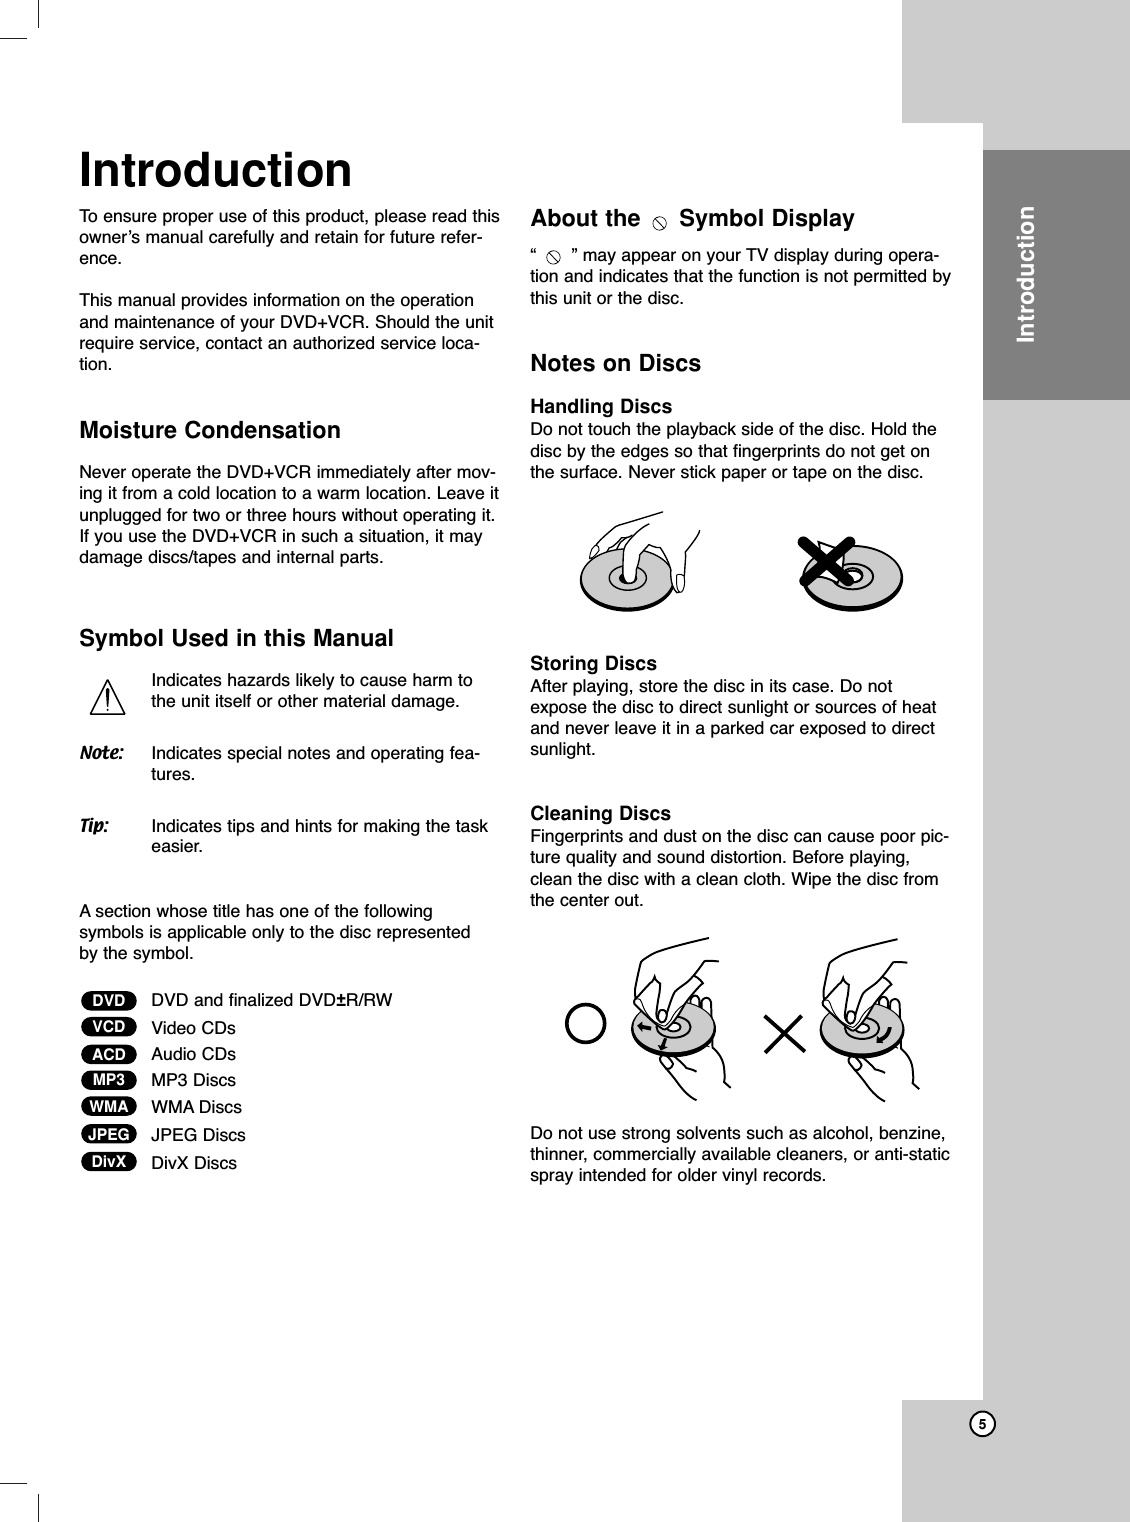
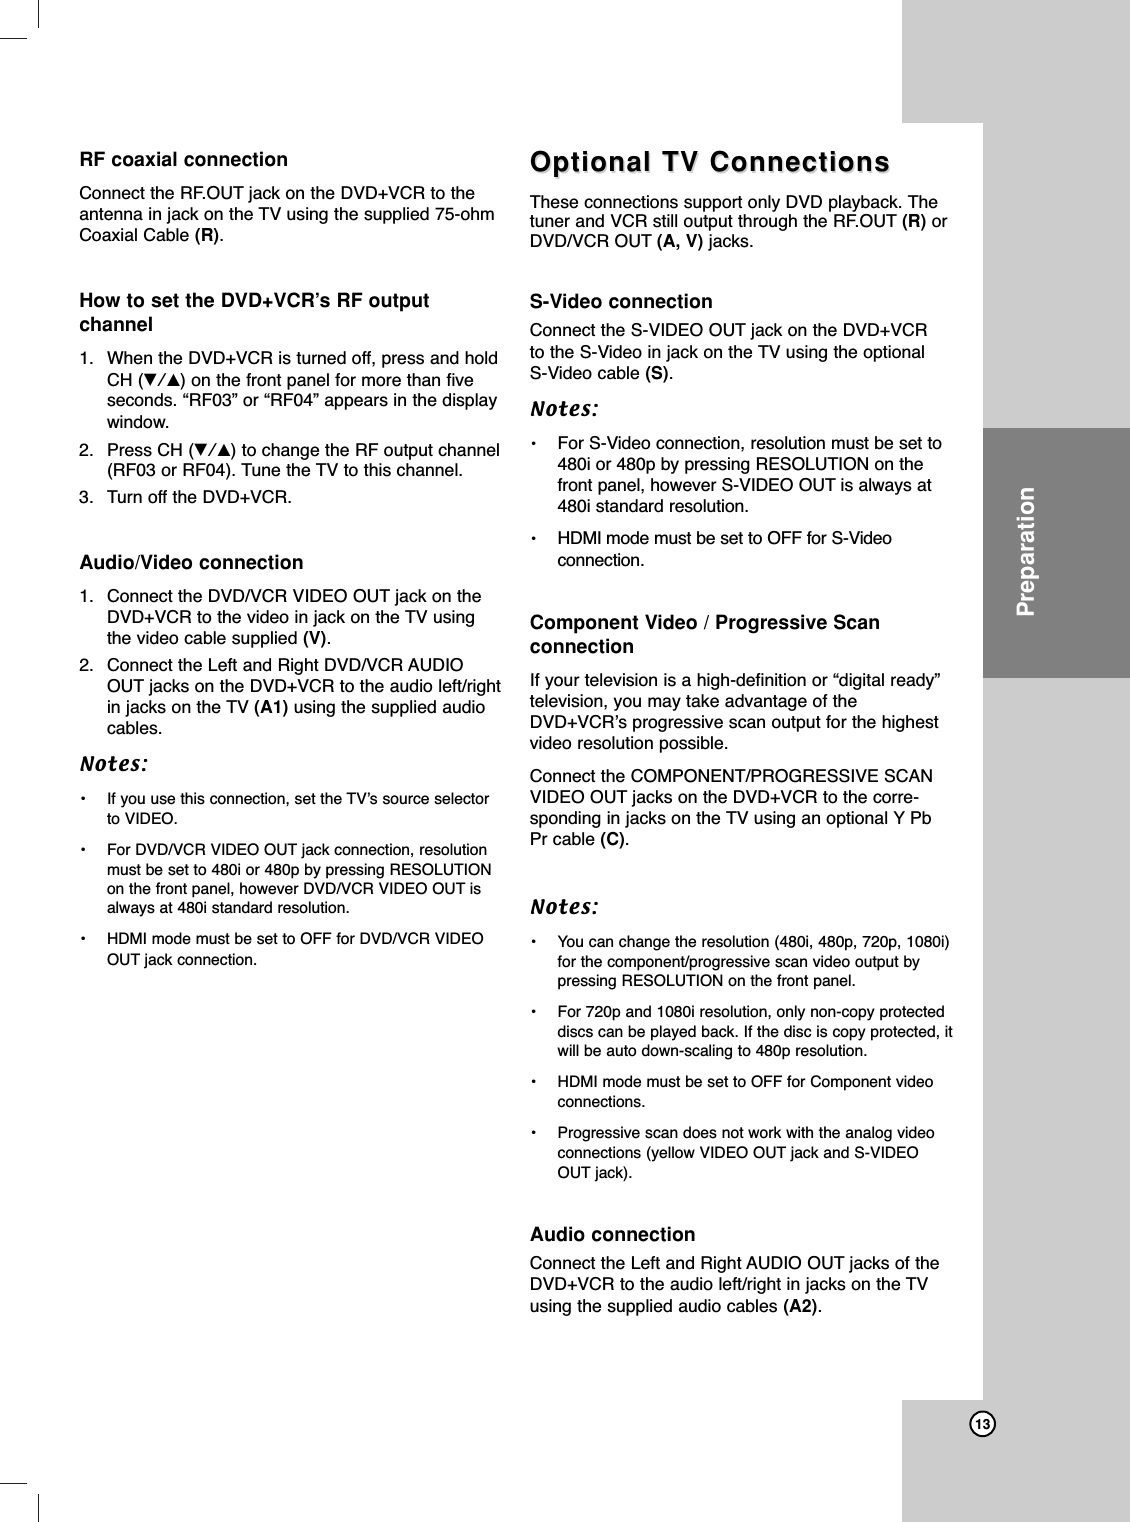
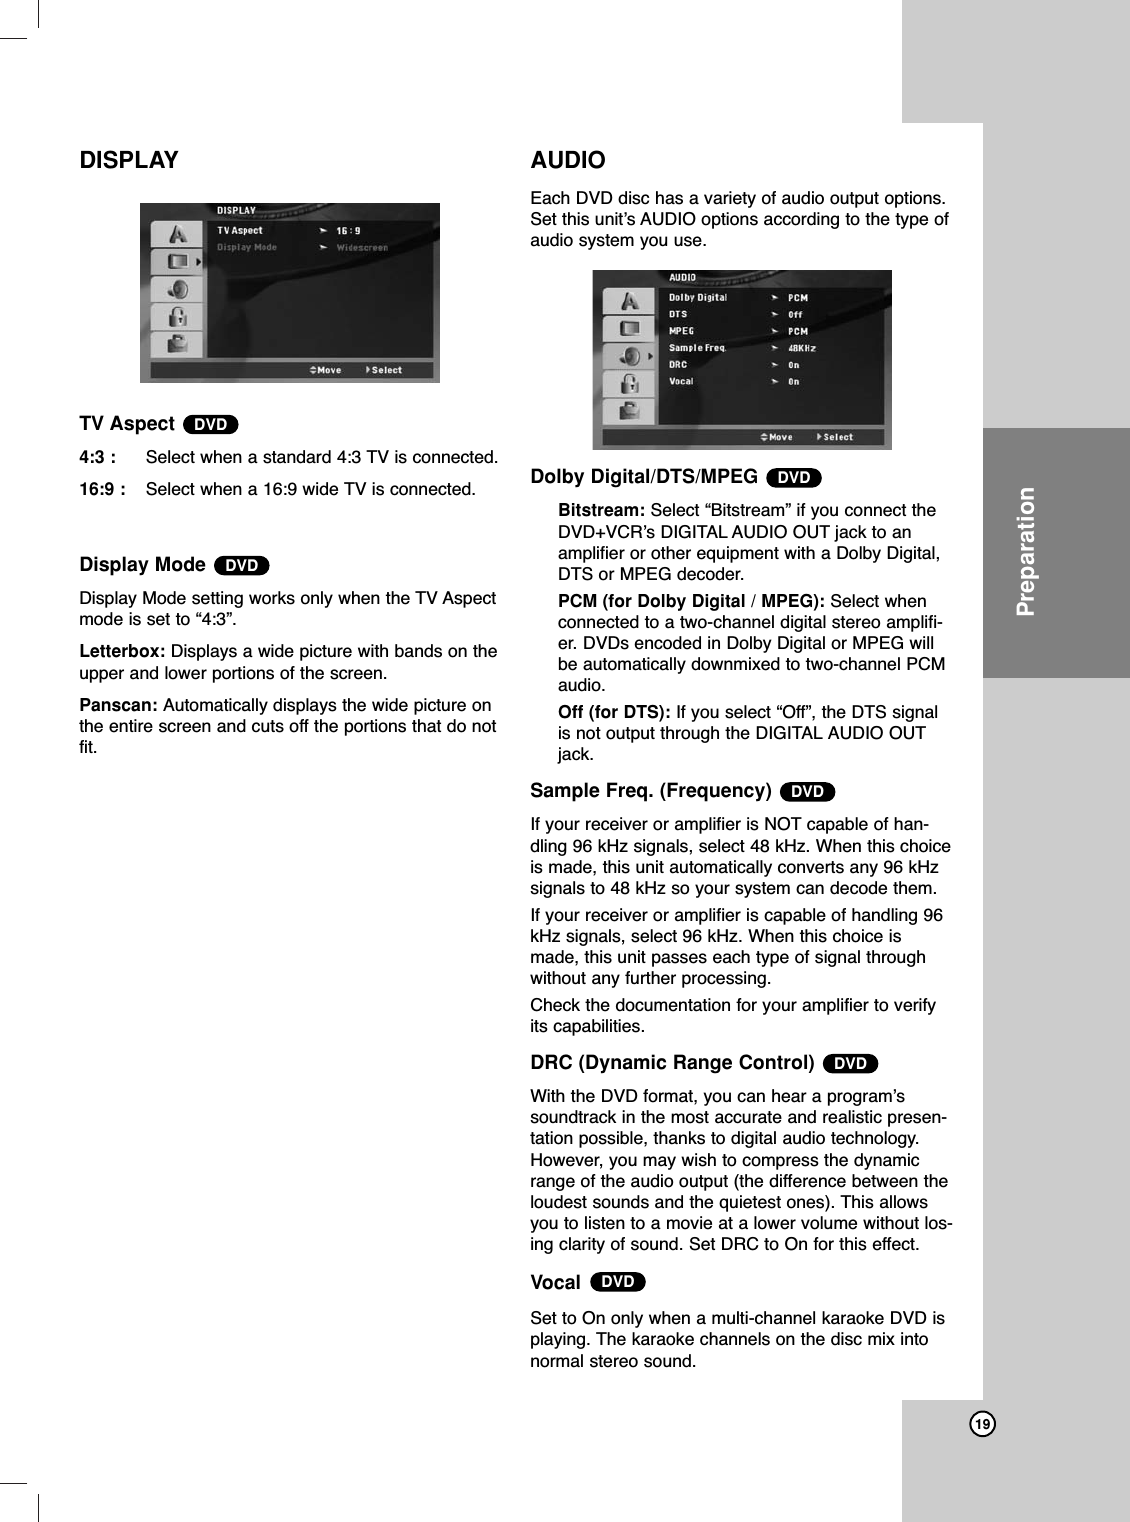
![17PreparationTUNINGThis DVD+VCR is equipped with a frequency synthe-sized tuner capable of receiving up to 181 channels.These include VHF channels 2-13, UHF channels 14-69 and CATV channels 1-125. Auto Channel Programming 1. Choose the SOURCE SELECT option, then useb/Bto select TUNER.Use b/Bto switch among TUNER, LINE1, and LINE2.2. Choose the AUTO CHANNEL SET option, thenuse b/Bto find channels.• The tuner will automatically cycle through all availablechannels (TV/CATV) in the area and place them inthe tuner’s memory.• After the AUTO CHANNEL SET is complete, the TUNING menu will hide and return to the TV screenautomatically.3. Make sure the TUNING BAND is set appropriately(TV or CATV).• TV : If you are using a standard antenna to receivechannels. • CATV : If you are using basic cable to receive channels.To Add or Erase ChannelsThis feature allows you to add or erase channelsfrom memory manually.1. Choose the CH. ADD/DEL option, then use b/Bto select a channel to add or erase.2. Use ENTER to add or erase the channel.Repeat steps 1 and 2 to add or erase other channels.3. Press MENU to return to the TV screen.SETUPFUNCTION OSDThe on-screen display can be turned on or off.AUDIO MODEThe DVD+VCR has two separate audio playback sys-tems, the high quality VHS Hi-Fi system and standardNORMAL mono system. The same audio is generallyrecorded on both systems. The VHS Hi-Fi systemplays on separate (left and right) channels, and theNORMAL system plays monaural sound. The normaltrack is always played so the cassette can be playedon a DVD+VCR that does not have VHS Hi-Fi.BROADCAST TYPE (STEREO/SAP/MONO)Multichannel Television Sound (MTS) carries stereoand/or Second Audio Program (SAP) bilingual sig-nals. Set this display to the desired position whenboth MTS stereo and SAP signals are received.When only one of the MTS signal is received, theDVD+VCR automatically selects the correspondingreceiving mode (Stereo or SAP) regardless of theselected position. For normal operation, the displayshould be in the STEREO position. The DVD+VCRwill then record a STEREO program when available,and record a mono program IF the program is NOTIN STEREO. For weak STEREO and/or SAP broad-casts, changing the display to mono may give clearersound.AUDIO OUTPUT (STEREO/LEFT/RIGHT)Used during playback [when AUDIO MODE (HI-FI/NORMAL) is in HI-FI position] for selecting theaudio output signals from the AUDIO OUT terminals(L ch and R ch), and RF.OUT. This display settingshould normally be left in the stereo position, so thatwhen a stereo tape is played, the stereo sound willbe heard through the left and right channels. If amono tape is played and the audio output is set tostereo, the same mono sound will be heard from bothleft and right channels.](https://usermanual.wiki/LG-Electronics-USA/9QKE40620/User-Guide-611225-Page-17.png)
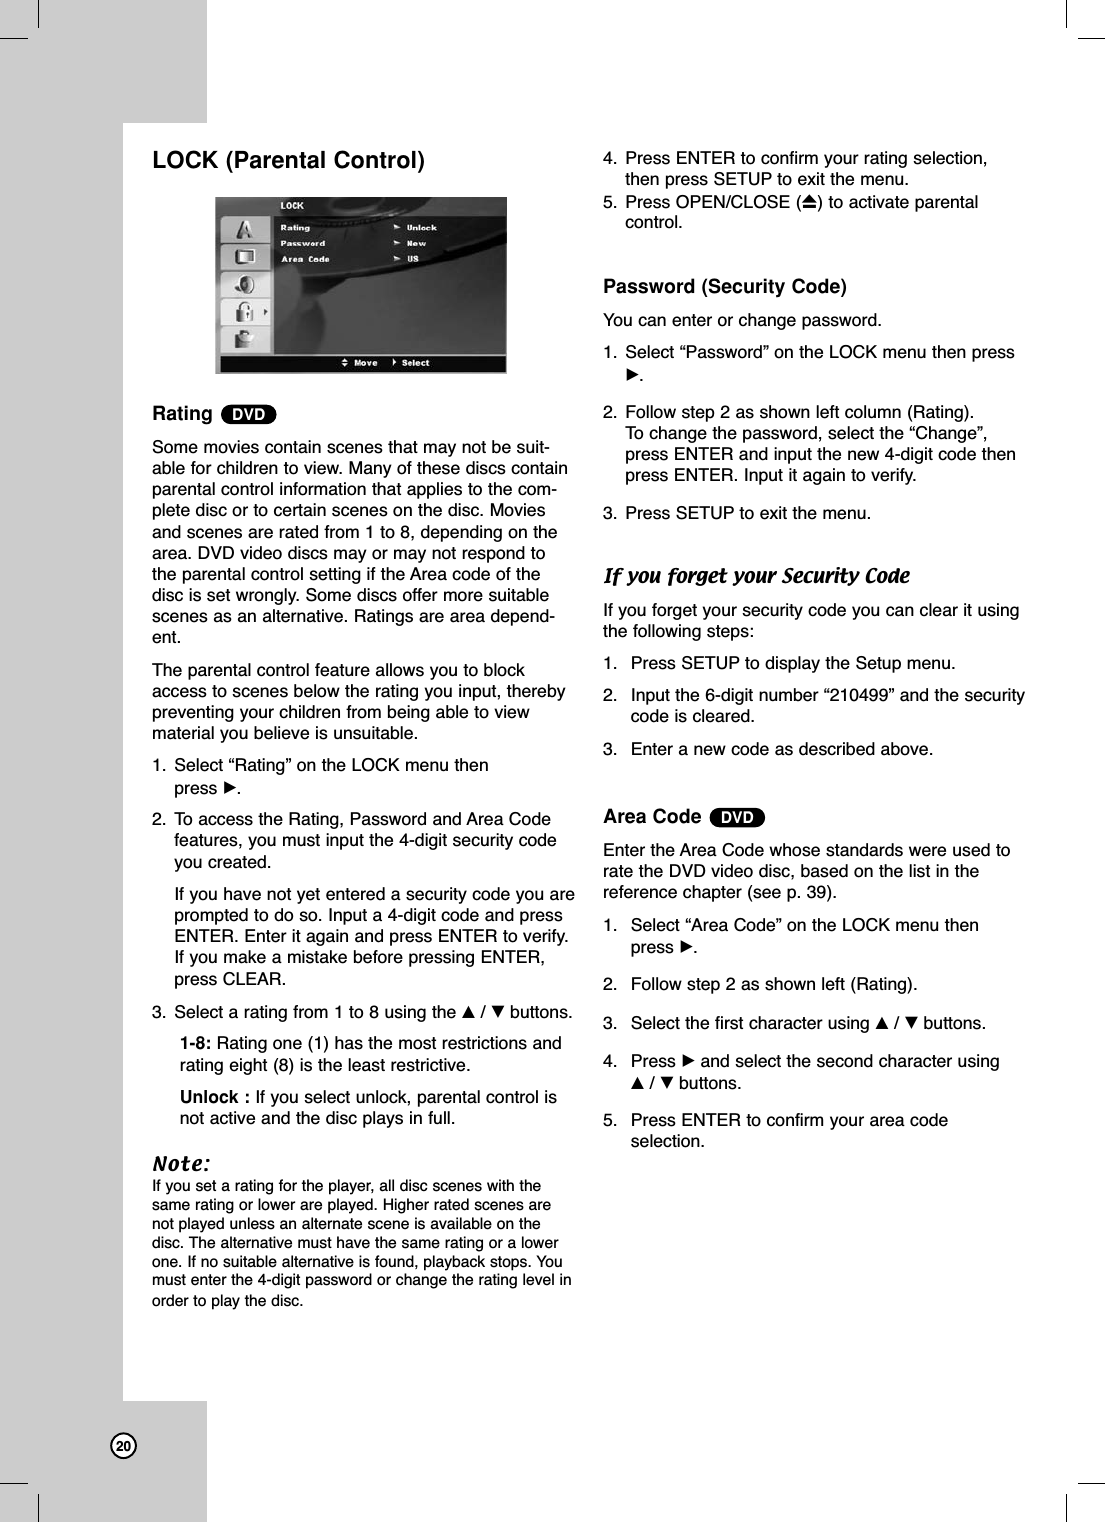
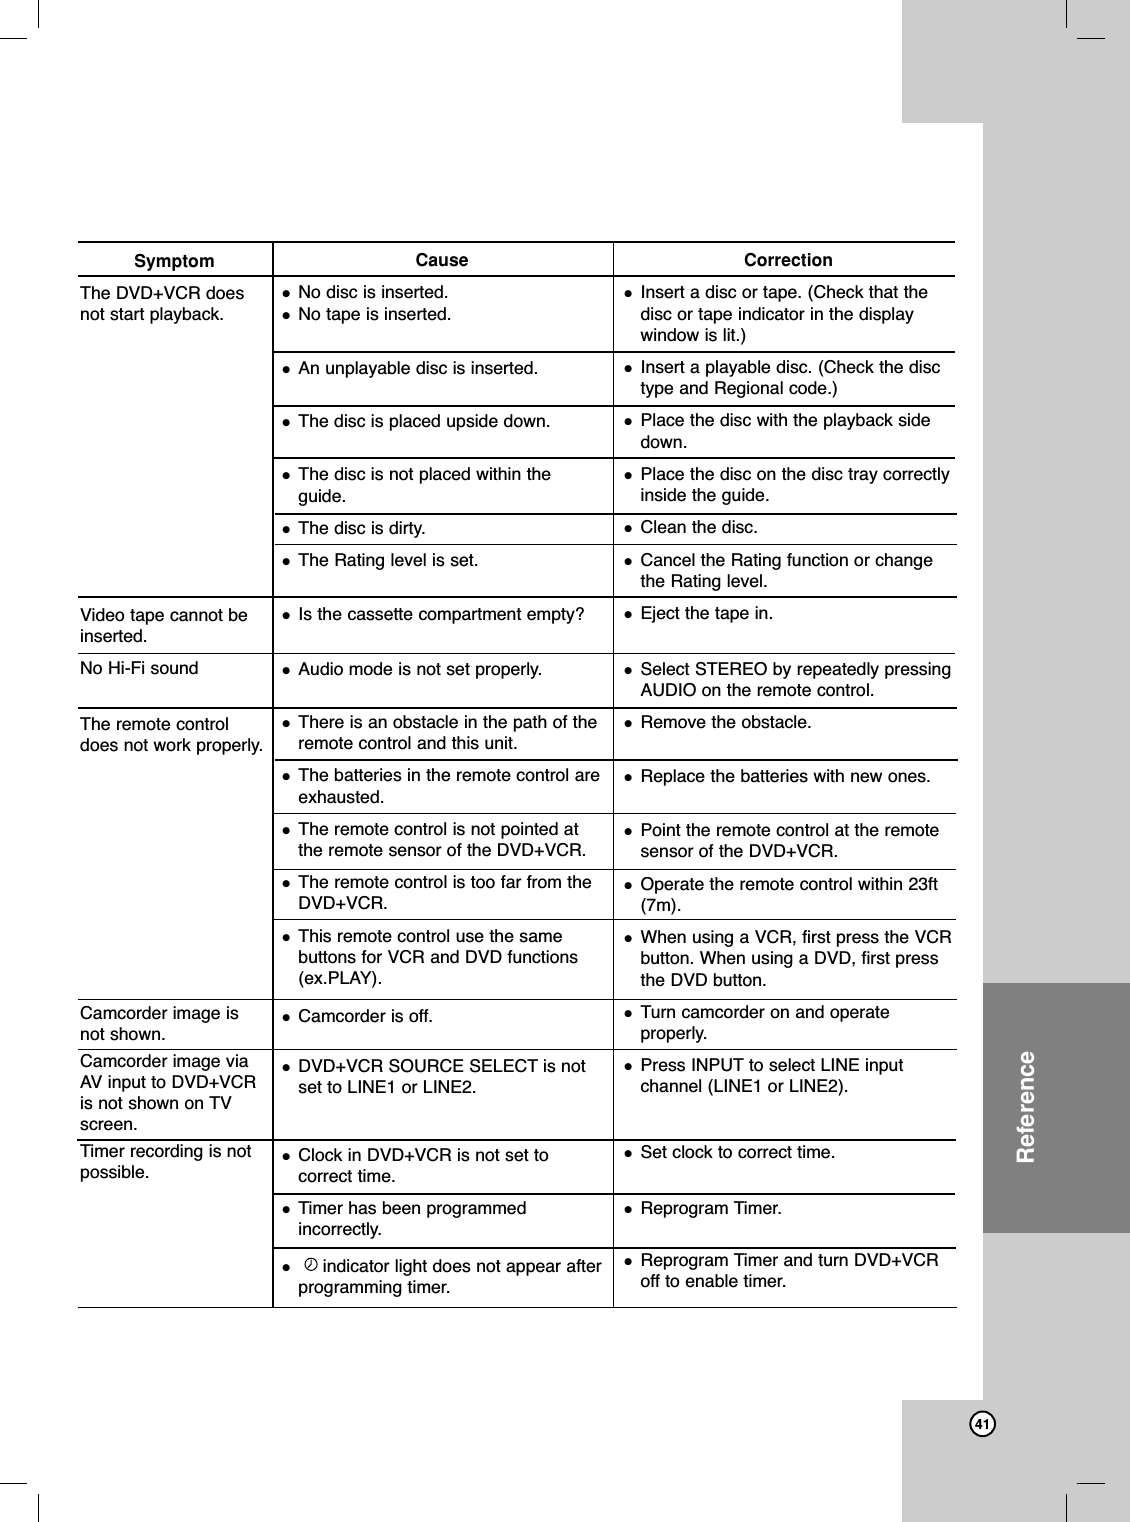
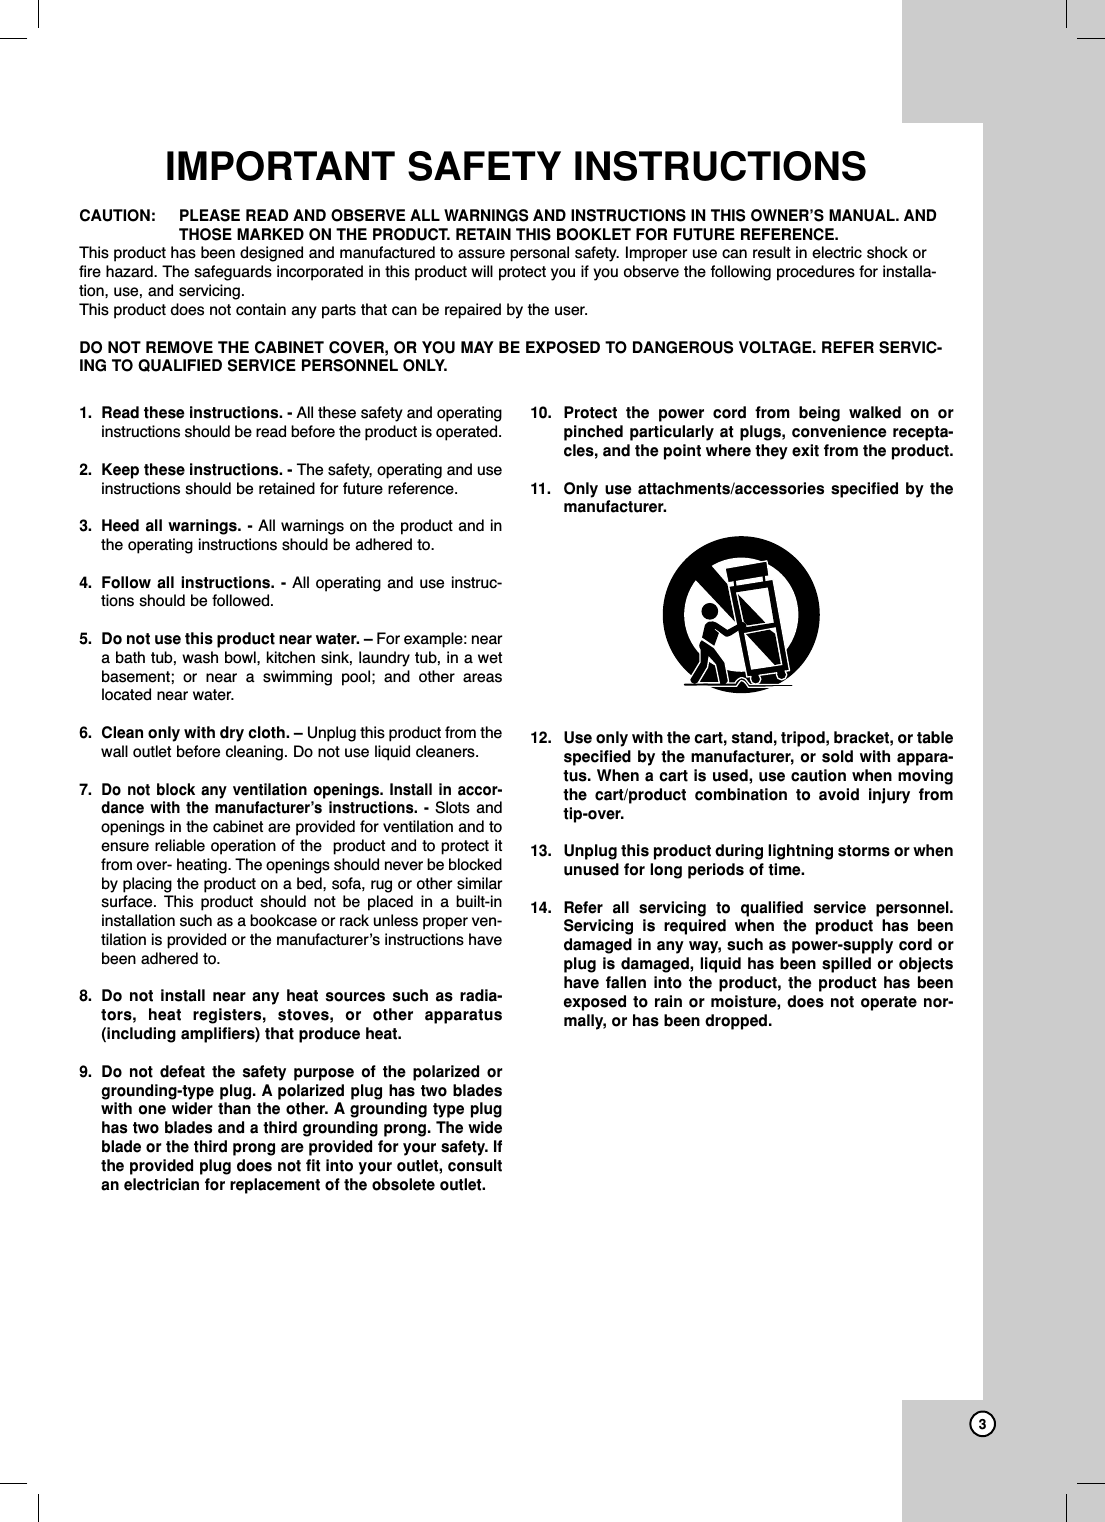
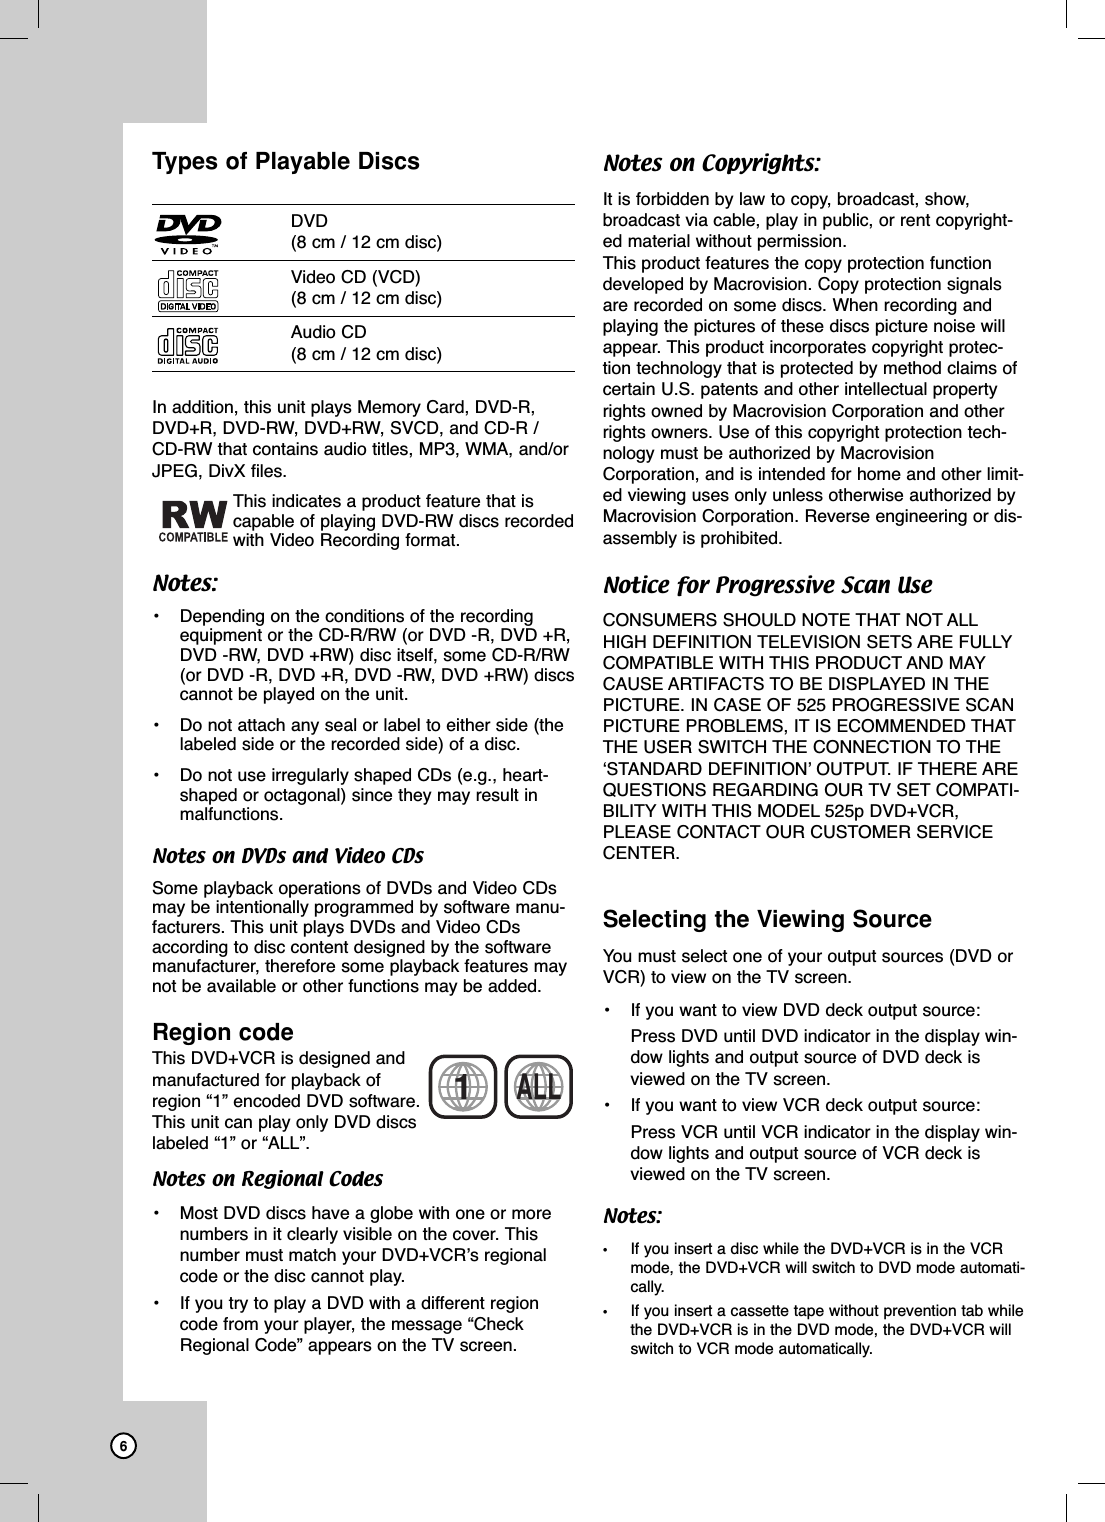
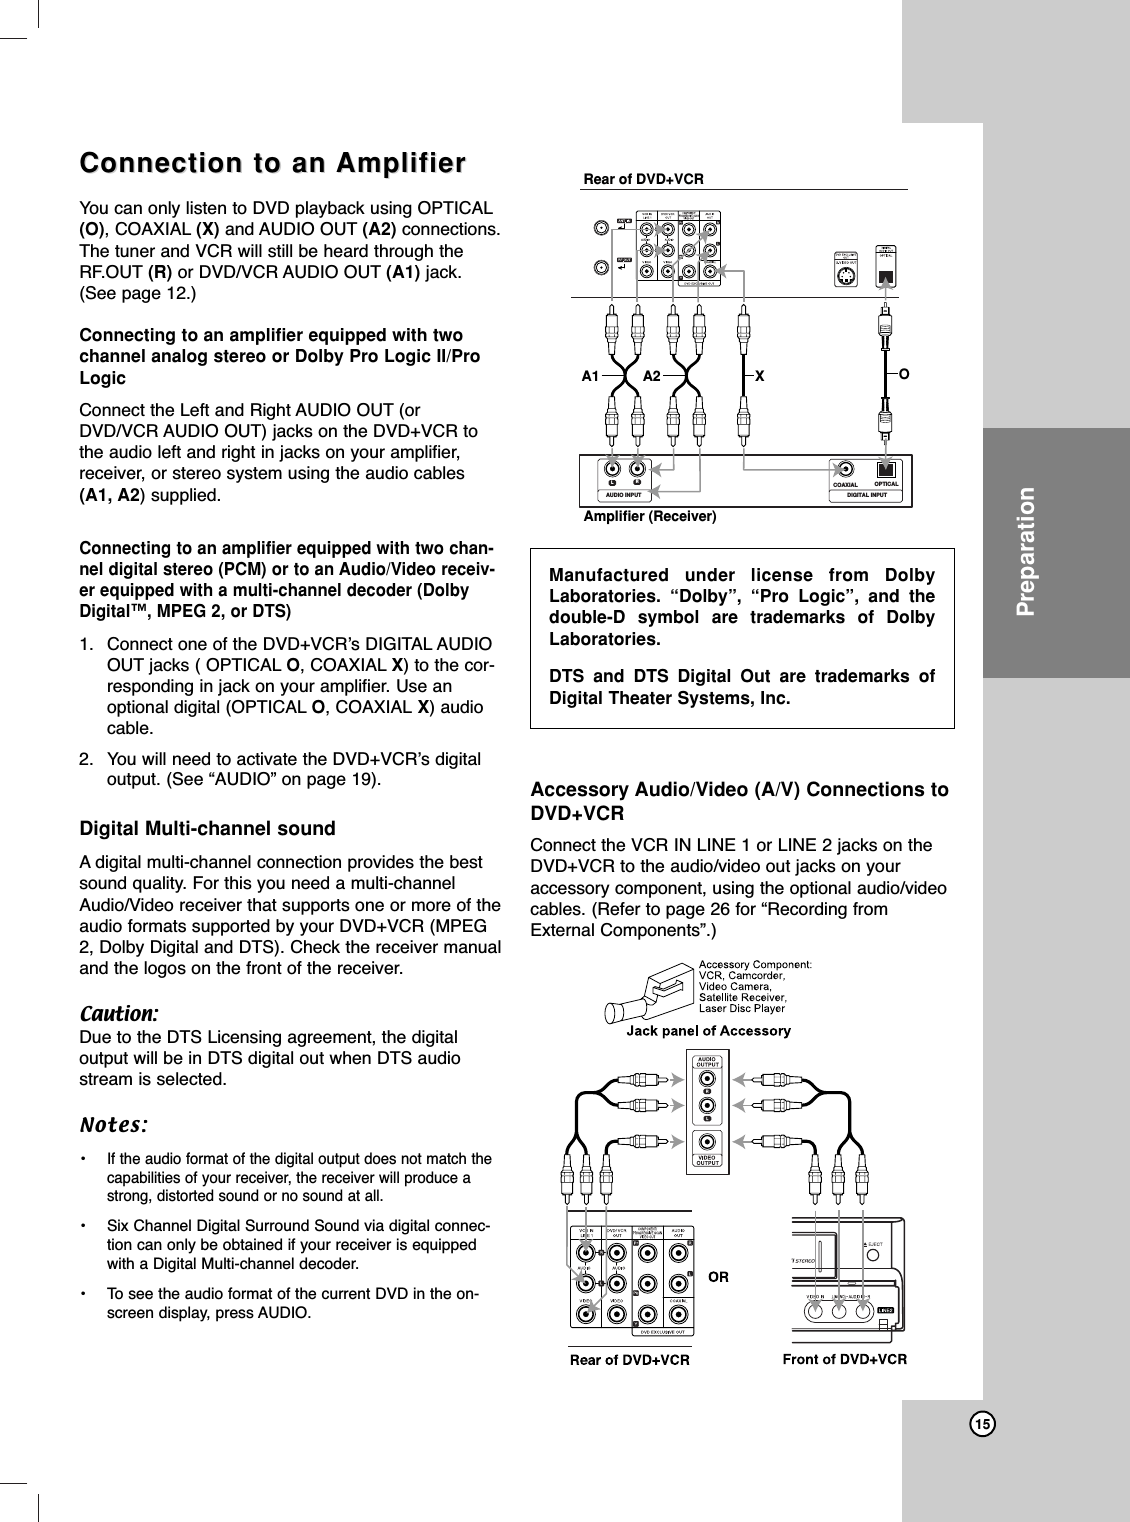
![32On-Screen Display - DVD On-Screen Display - DVD You can display the general playback status on theTV screen. Some items can be changed using themenu. To use the on-screen display:1. Press DISPLAY during playback.2. You can select an item by pressing v/ Vandchange or select the setting by pressing b/ B.The items displayed differ depending on the disctype or playing status. For details about each item, see the pages inparentheses.•[Title]: Current title (or track) number/totalnumber of titles (or tracks) (page 29)•[Chapter]: Current chapter number/total num-ber of chapters (page 29)•[Time]: Elapsed playing time (page 30)•[Audio]: Selected audio language (DVDVIDEO only) or audio channel (page 31)•[Subtitle]: Selected subtitle (page 31)•[Angle]: Selected angle/total number of angles (page 31)•[Sound]: Selected sound mode (page 31)Notes:• Some discs may not provide all of the features shownbelow.• If no button is pressed for 10 seconds, the on-screendisplay disappears.• If is displayed, action prohibited or not available.Maintenance and ServiceMaintenance and ServiceRefer to the information in this chapter before con-tacting a service technician.Handling the UnitWhen shipping the unitPlease save the original shipping carton and packingmaterials. If you need to ship the unit, for maximumprotection, re-pack the unit as it was originally packedat the factory.Keeping the exterior surfaces clean• Do not use volatile liquids such as insecticidespray near the unit. • Do not leave rubber or plastic products in contactwith the unit for a long period of time. since theyleave marks on the surface.Cleaning the unitTo clean the player, use a soft, dry cloth. If the sur-faces are extremely dirty, use a soft cloth lightly mois-tened with a mild detergent solution. Do not use strong solvents such as alcohol, benzine,or thinner, as these might damage the surface of theunit.Maintaining the UnitThe DVD+VCR is a high-tech, precision device. If theoptical pick-up lens and disc drive parts are dirty orworn, the picture quality could be diminished. Depending on the operating environment, regularinspection and maintenance are recommended afterevery 1,000 hours of use. For details, please contact your nearest authorizedservice center.](https://usermanual.wiki/LG-Electronics-USA/9QKE40620/User-Guide-611225-Page-32.png)
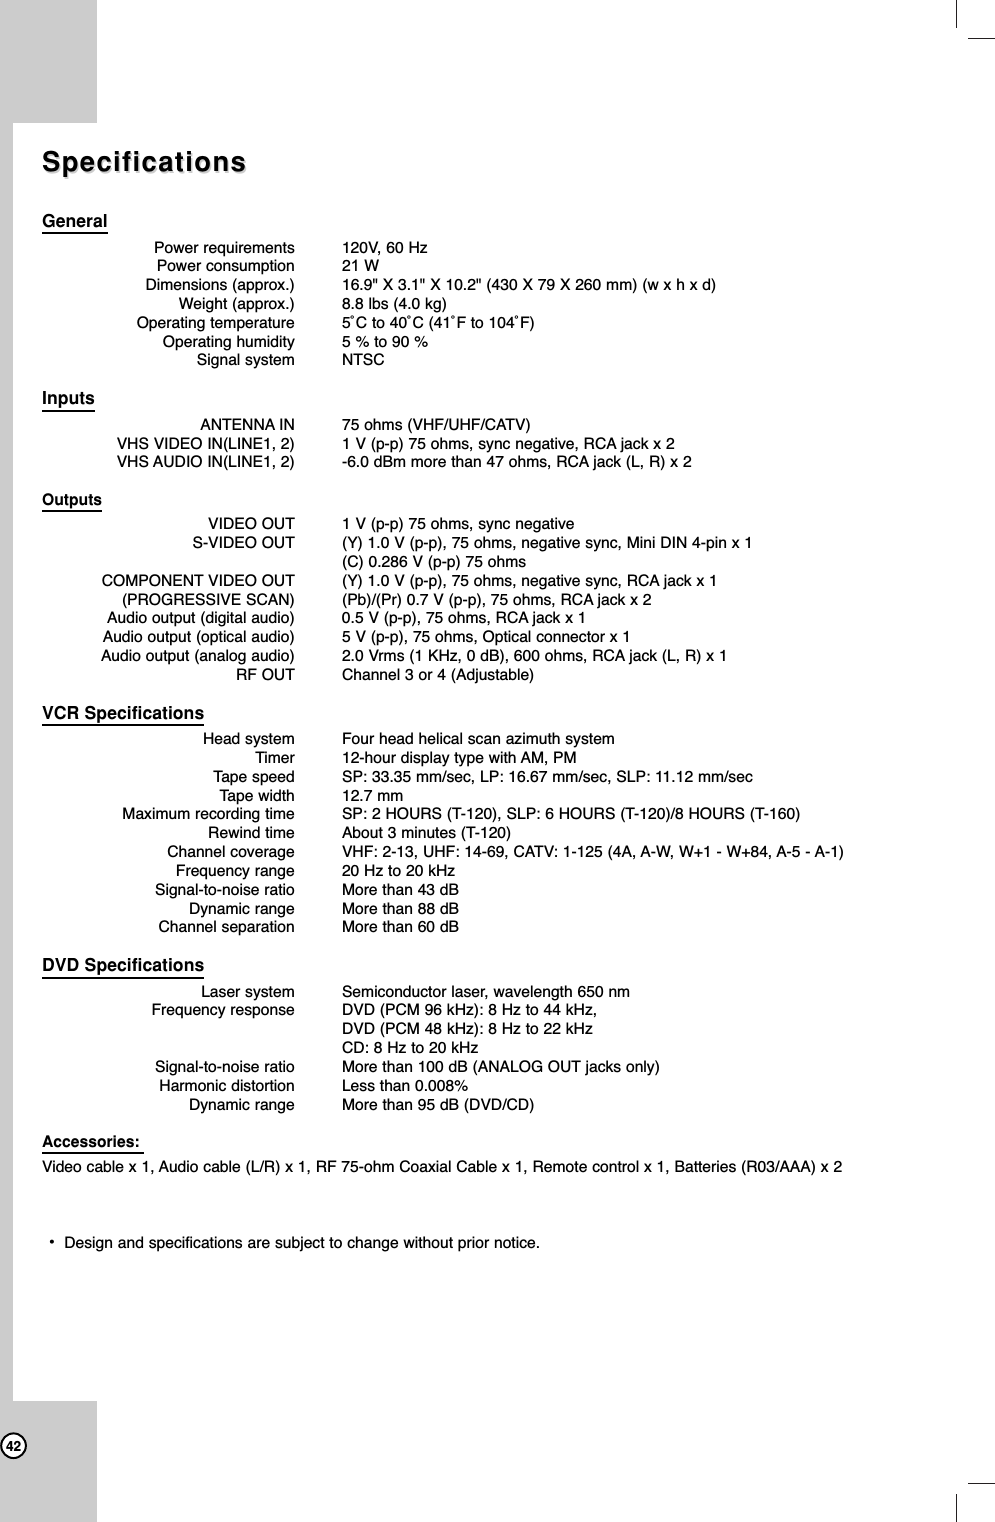
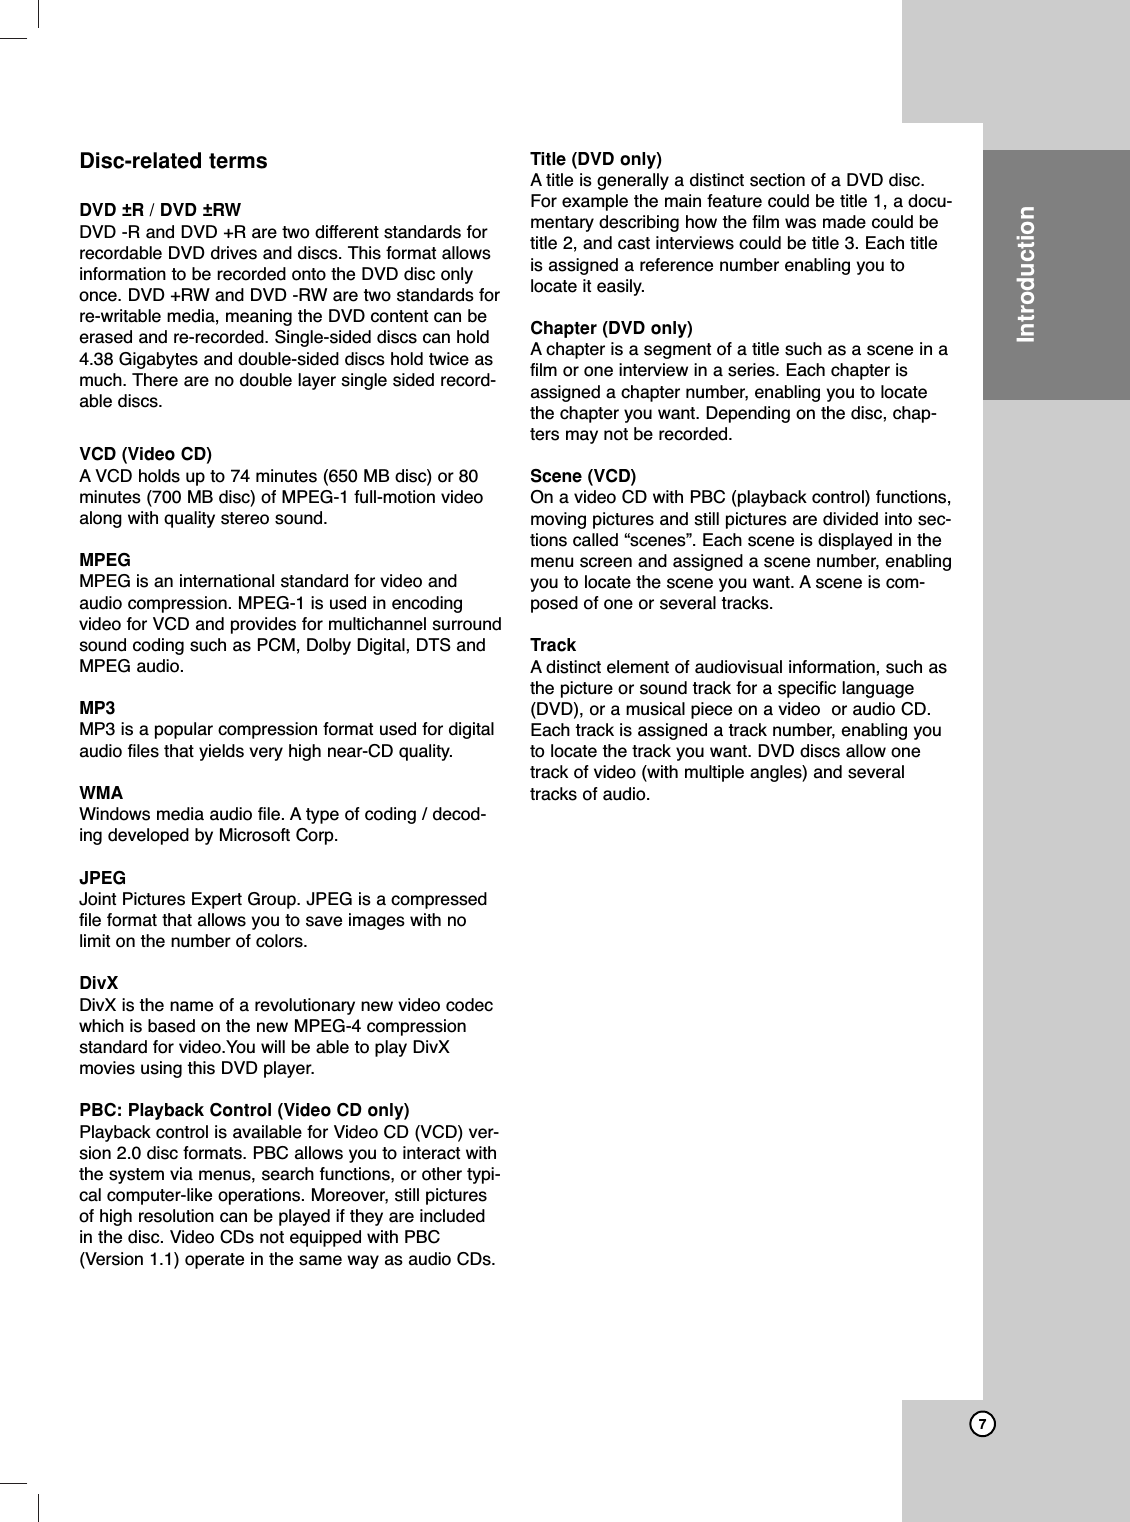
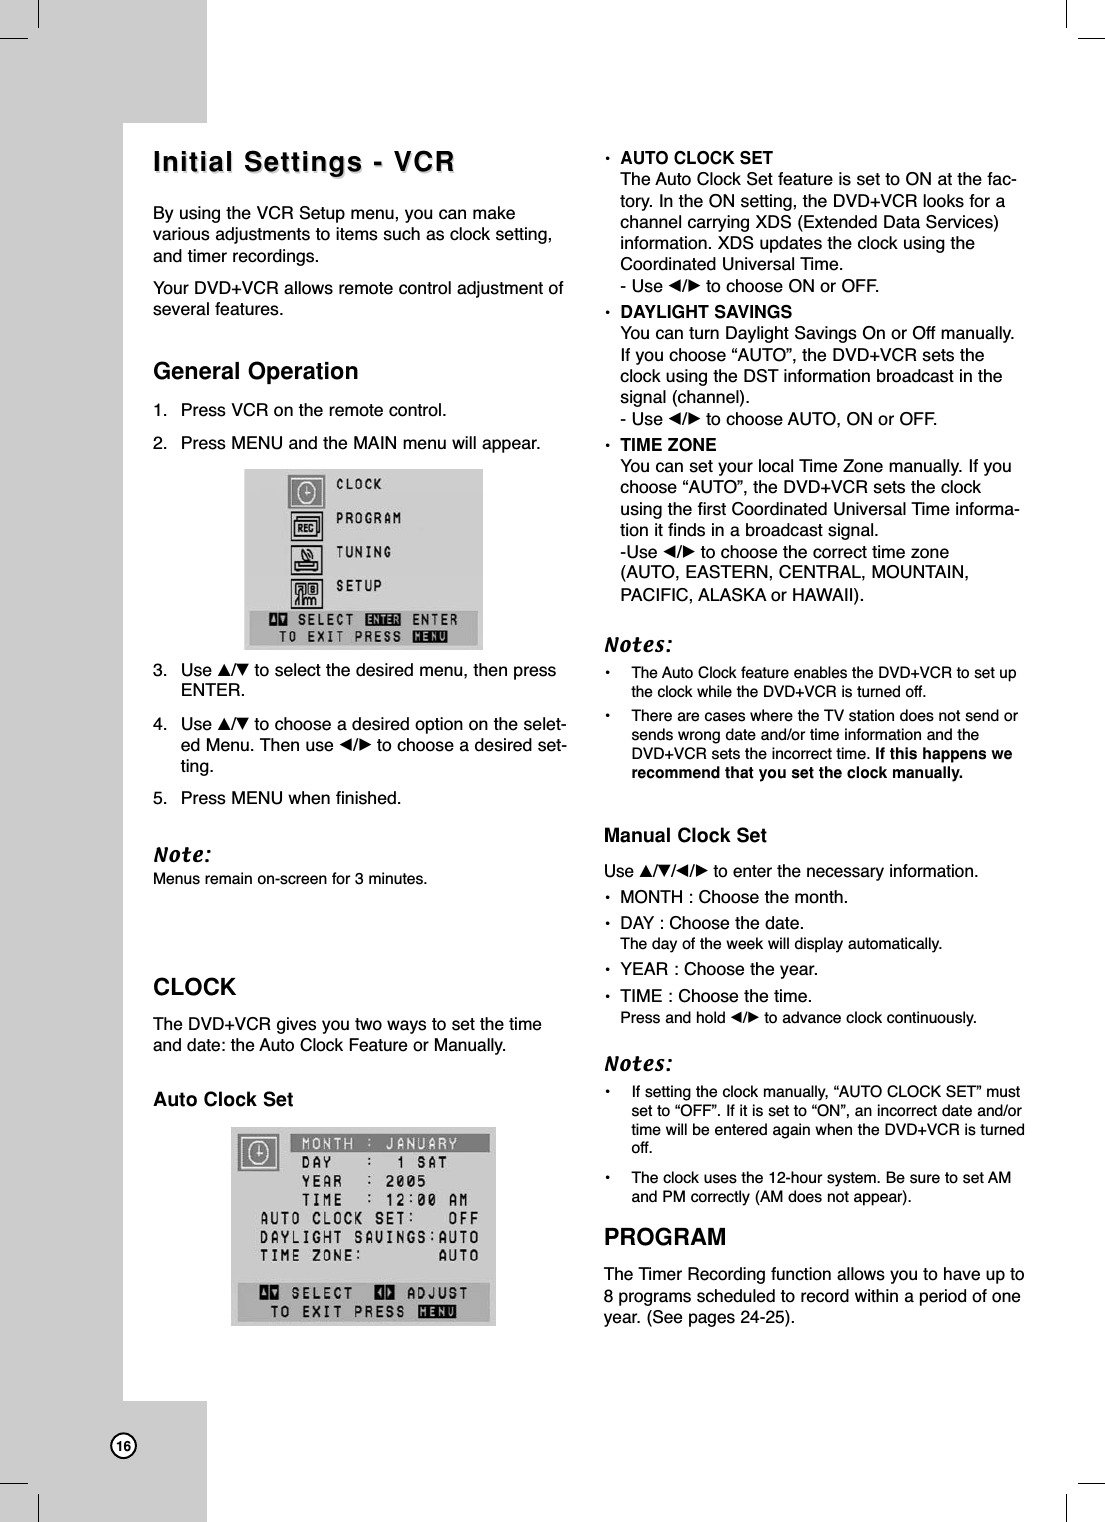
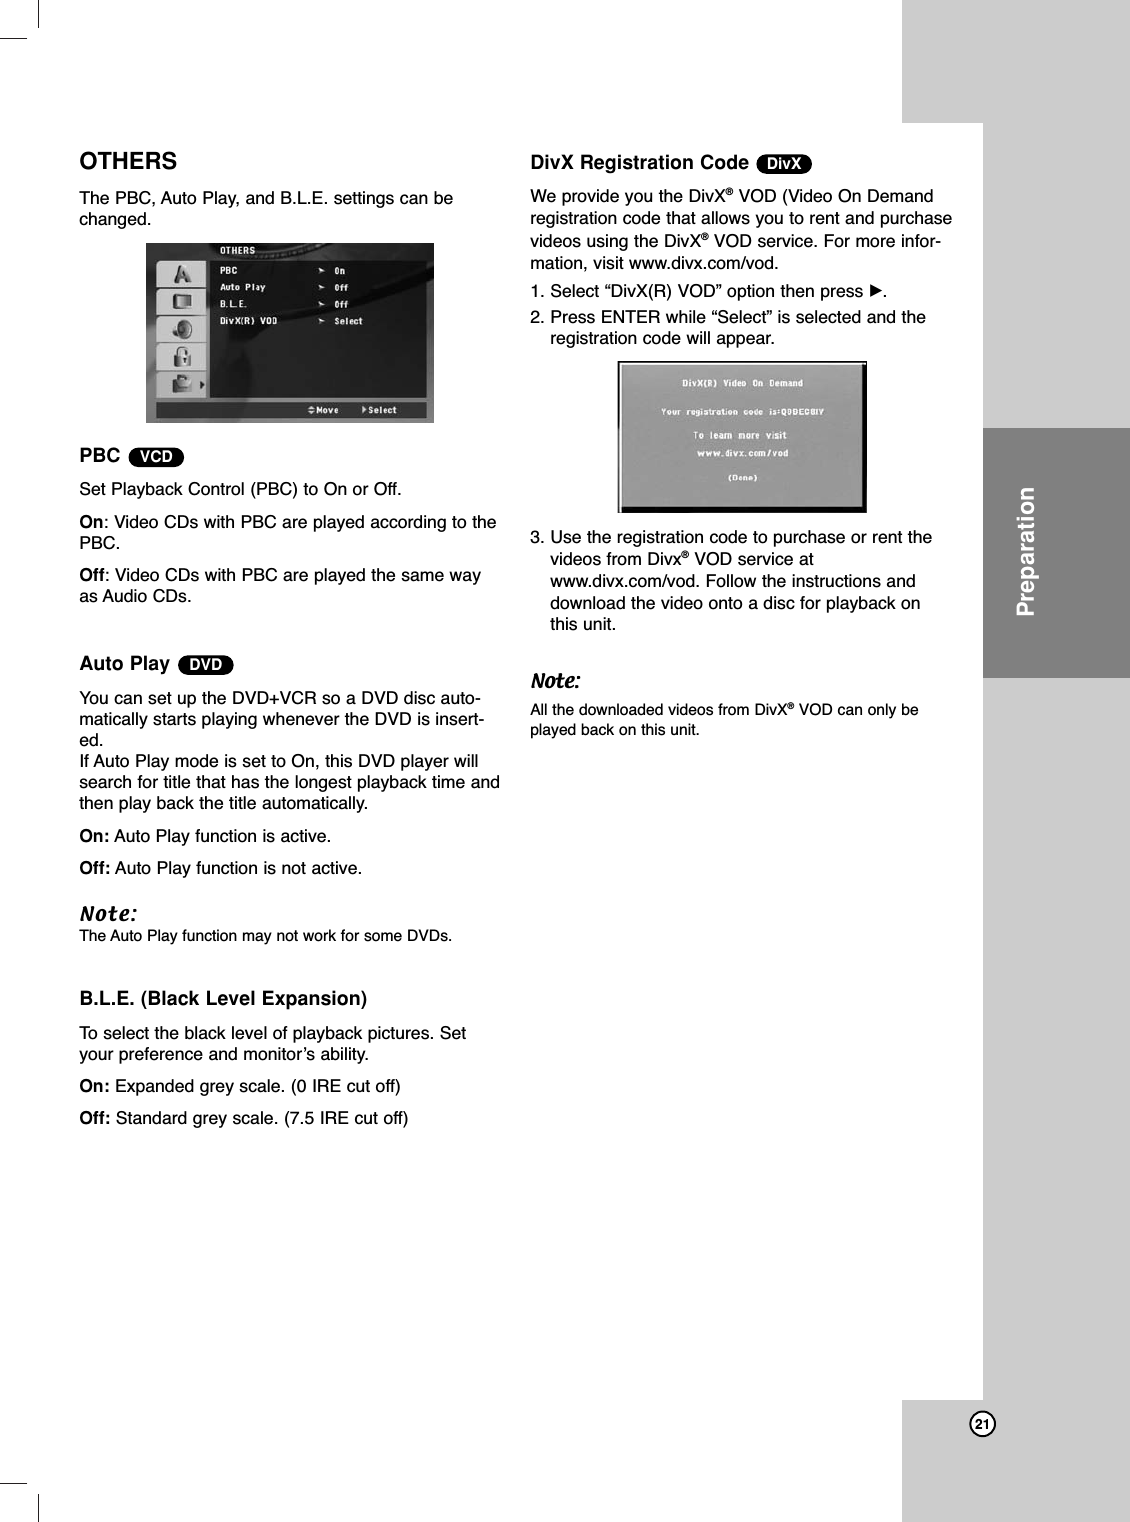
![33Playing an Playing an Audio CD orAudio CD orMP3/WMAMP3/WMA FilesFilesThe DVD+VCR can play Audio CDs and MP3/WMAfiles on CD-ROM, CD-R/RW, DVD+R/RW, DVD-R/RW discs or Memory Card.Audio CDOnce you insert an audio CD a menu appears on theTV screen. Press v/Vto select a track then pressN(PLAY) or ENTER and playback starts. MP3 / WMA1. Press v/Vto select a folder, and press ENTERto see the folder contents.2. Press v/Vto select a track then press N(PLAY)or ENTER. Playback starts.ID3 TAG• When playing a file containing information such astrack titles, you can see the information by pressingDISPLAY. [ Title, Artist, Album, Year, Comment ]• If there is no information, “No ID3 TAG” appear onthe menu screen.Tips:• If you are in a file list on the “MUSIC” menu and want toreturn to the Folder list, use the v/Vto highlight and press ENTER.• Press DISC MENU to move to the next page.• On CDs, DVDs or Memory Card with mixed content(MP3/WMA files, JPEG files or DivX files), you canselect among the Music menu, Movie menu and Photomenu by pressing TITLE repeatedly.OperationMP3 / WMA disc compatibility with this player islimited as follows:• Sampling frequency: within 8 - 48 kHz (MP3),within 32 - 48kHz (WMA)• Bit rate: within 8 - 320kbps (MP3), 32 - 192kbps (WMA)• The player cannot read an MP3/WMA file thathas a file extension other than “.mp3” / “.wma”.• CD-R physical format should be ISO 9660• If you record MP3 / WMA files using software thatcannot create a file system (eg. Direct-CD) it isimpossible to playback MP3 / WMA files. We rec-ommend that you use Easy-CD Creator, whichcreates an ISO 9660 file system.• File names should have a maximum of 8 lettersand must incorporate an .mp3 or .wma exten-sion. • They should not contain special letters such as /? * : “ < > l etc.• The total number of contens on the disc shouldbe less than 650.This DVD+VCR requires discs and recordings tomeet certain technical standards in order toachieve optimal playback quality. Pre-recordedDVDs are automatically set to these standards.There are many different types of recordable discformats (including CD-R containing MP3 or WMAfiles) and these require certain pre-existing condi-tions (see above) to ensure compatible playback.Customers should note that permission isrequired in order to download MP3 / WMA filesand music from the Internet. Our company hasno right to grant such permission. Permissionshould always be sought from the copyrightowner.](https://usermanual.wiki/LG-Electronics-USA/9QKE40620/User-Guide-611225-Page-33.png)