LG Electronics USA BN315JD DLP Projector User Manual U0029A
LG Electronics USA DLP Projector U0029A
UserManual.wiki
>
LG Electronics USA
>
BN315JD User Manual
User Manual
Navigation menu
Upload a User Manual
Namespaces
Wiki Guide
HTML
PDF
Info
Views
User Manual
Discussion / Help
Navigation

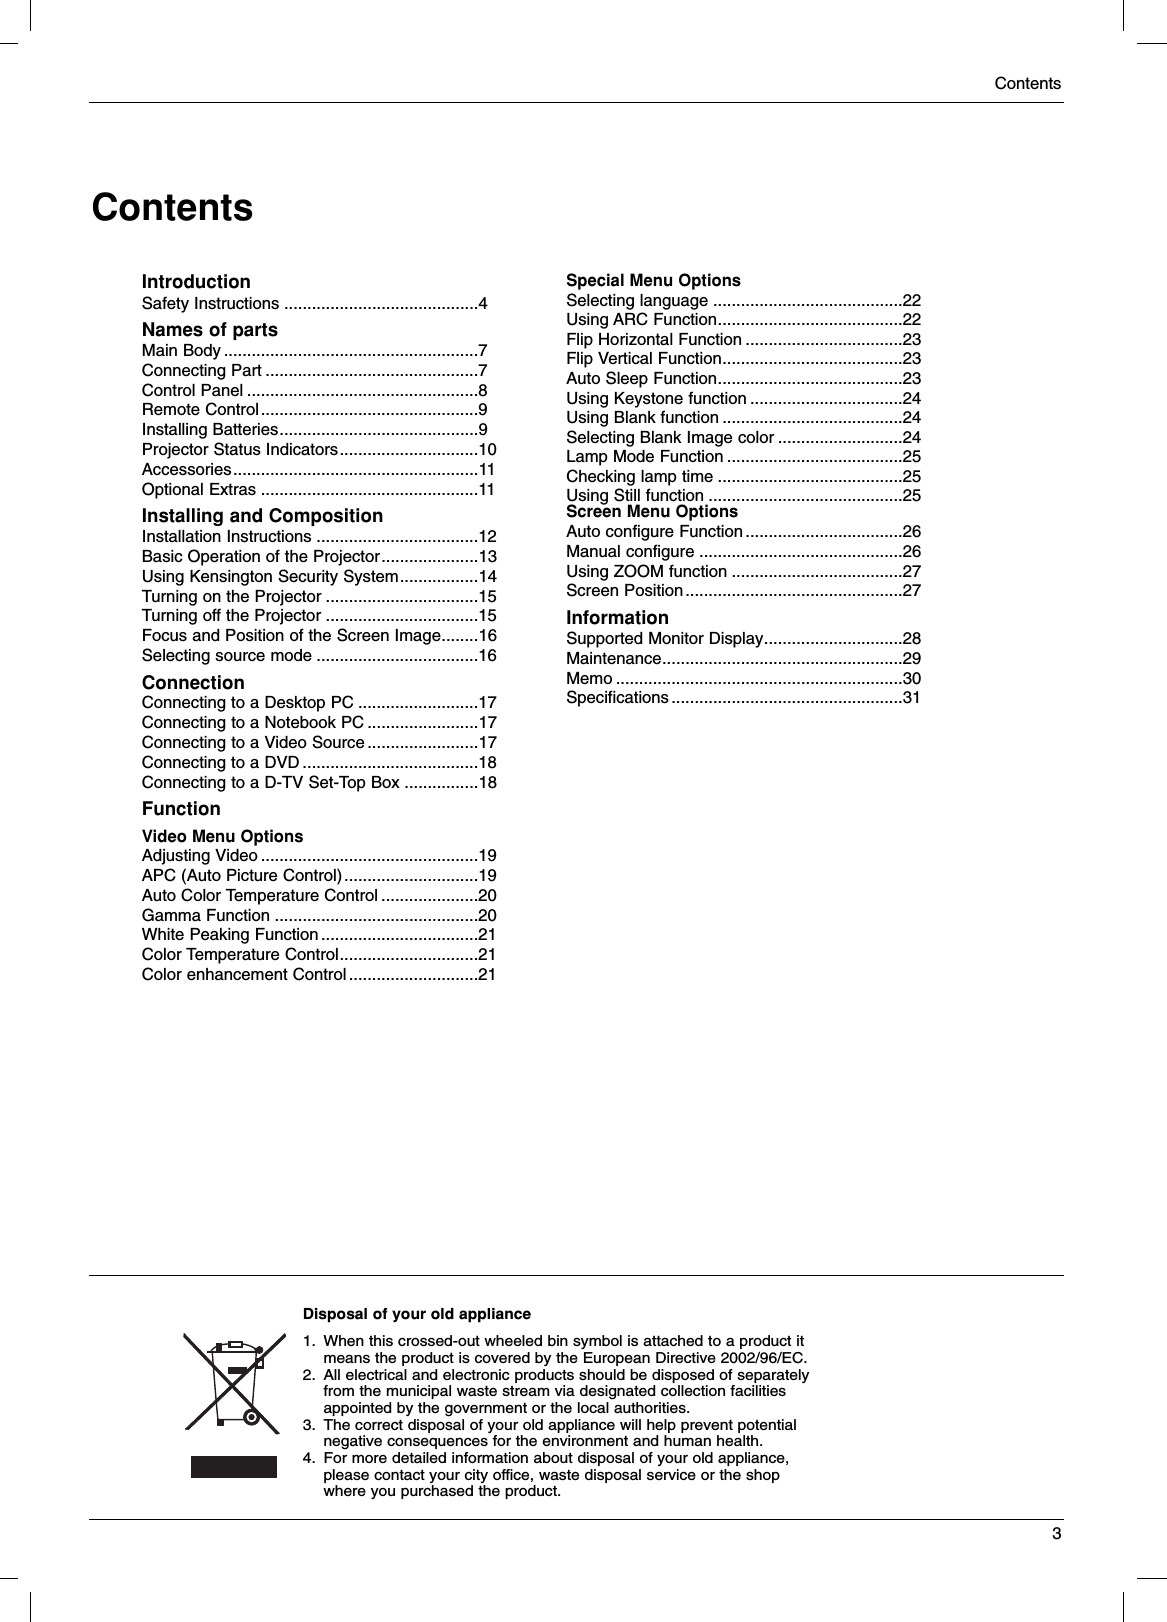
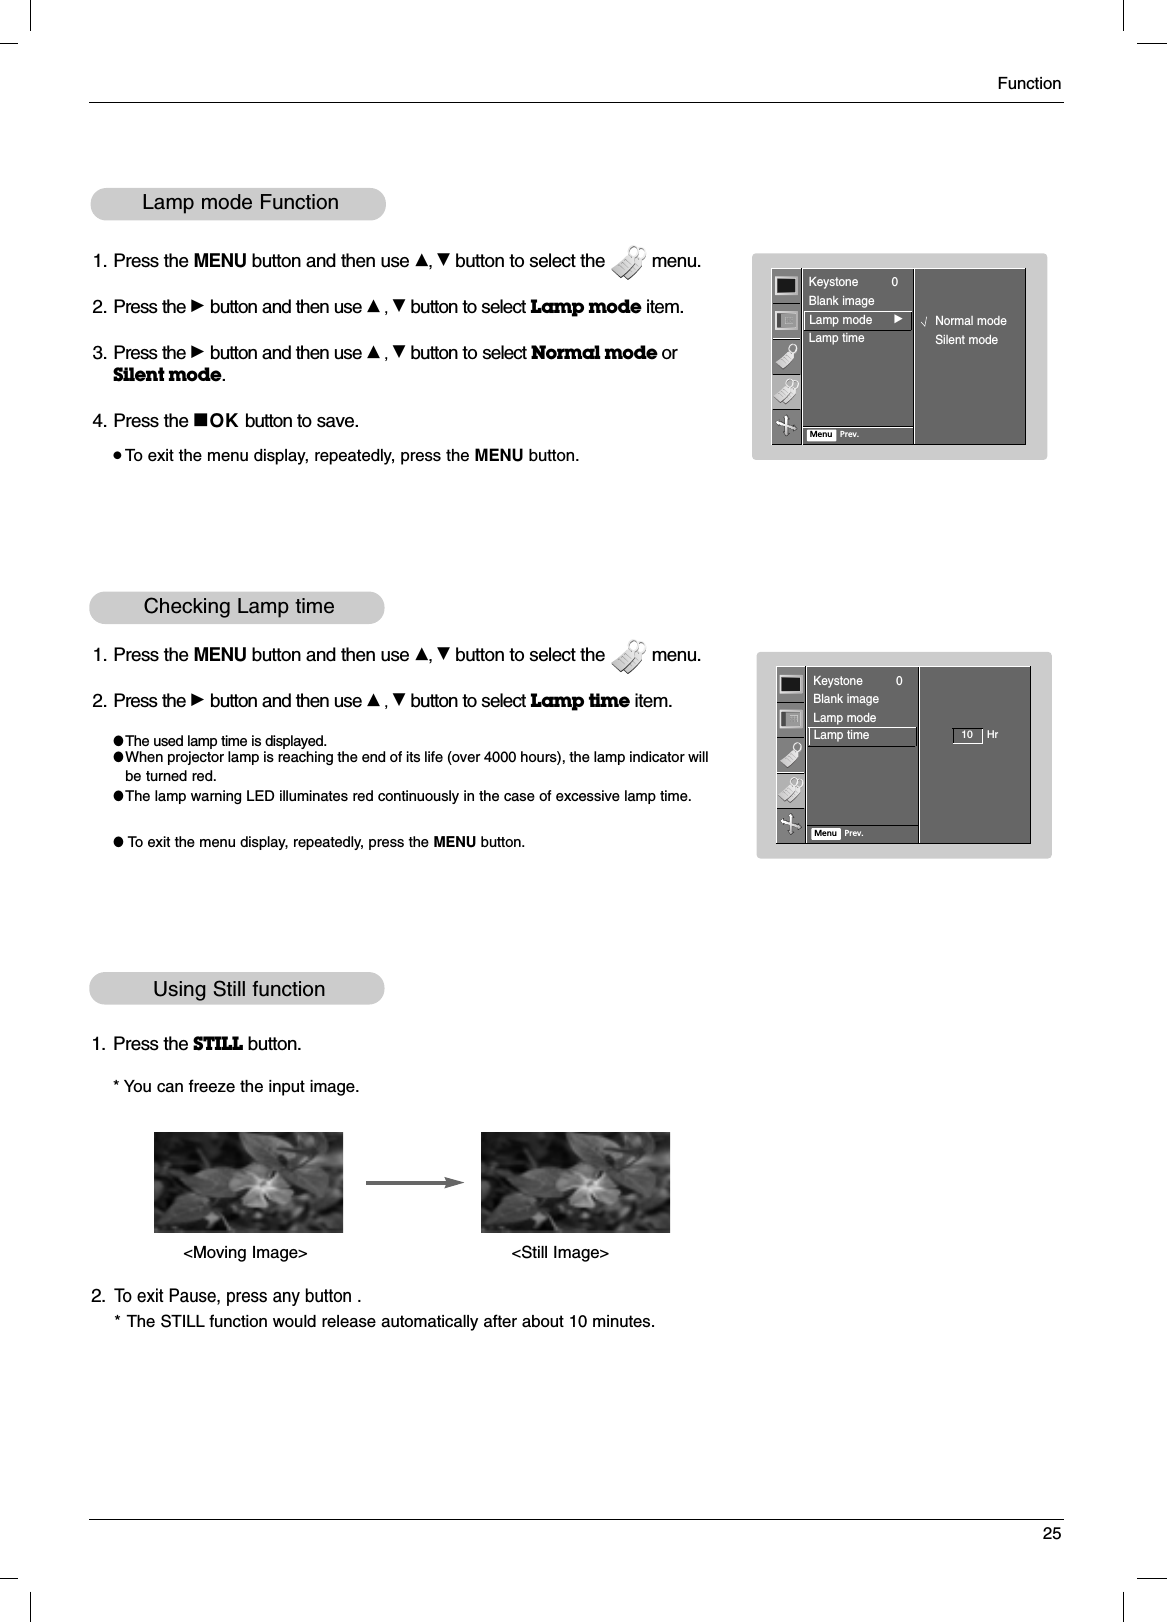
![Function19FunctionVideo Menu Options* In this manual, the OSD(On Screen Display) may be different from your Projector’s because it is just example to help with the Projector operation.* If there is no input signal present, the Menu will not be displayed on the screen.* This operating guide explains operation of RGB(PC) mode mainly.1. Press the MENU button and then use D, Ebutton to select the menu.2. Press the Gbutton and then use D, Ebutton to select a video item you want to adjust.3. Press the F, Gbutton to adjust the screen condition as you want.4. Press the AOK button to save.< RGB mode >< Video mode >●Each adjustment of menu options will not affect other input source. As required, re-adjust menu options for the following input source : Video/S-Video/Component (480i(576i)), Component (480p(576p), 720p, 1080i)●To restore the original image condition after changing it, press AOK button after selecting [Reset] item.●In the broadcasting system NTSC, the picture item Tint is displayed and can be adjusted.●To exit the menu display, repeatedly, press the MENU button.Adjusting Video 1. Press the MENU button and then use D, Ebutton to select the menu.2. Press the Gbutton and then use D, Ebutton to select APC item.3. Press the Gbutton and then use D, Ebutton to adjust the screencondition as you want.4. Press the AOK button to save.APC (Auto Picture Control)* Use APC to set the projector for the best picture appearance.* This function will not work in RGB mode.●Each press of the D, Ebutton changes the screen as shown below.● To exit the menu display, repeatedly, press the MENU button.Clear Soft UserContrast 50Brightness 50ResetMenu Prev.Contrast 50GAPCContrast 80Brightness 50Sharpness 50Menu Prev.APCGClearSoftUserAPCContrast 80Brightness 50Sharpness 50Menu Prev.APCGClearSoftUser](https://usermanual.wiki/LG-Electronics-USA/BN315JD/User-Guide-653762-Page-19.png)
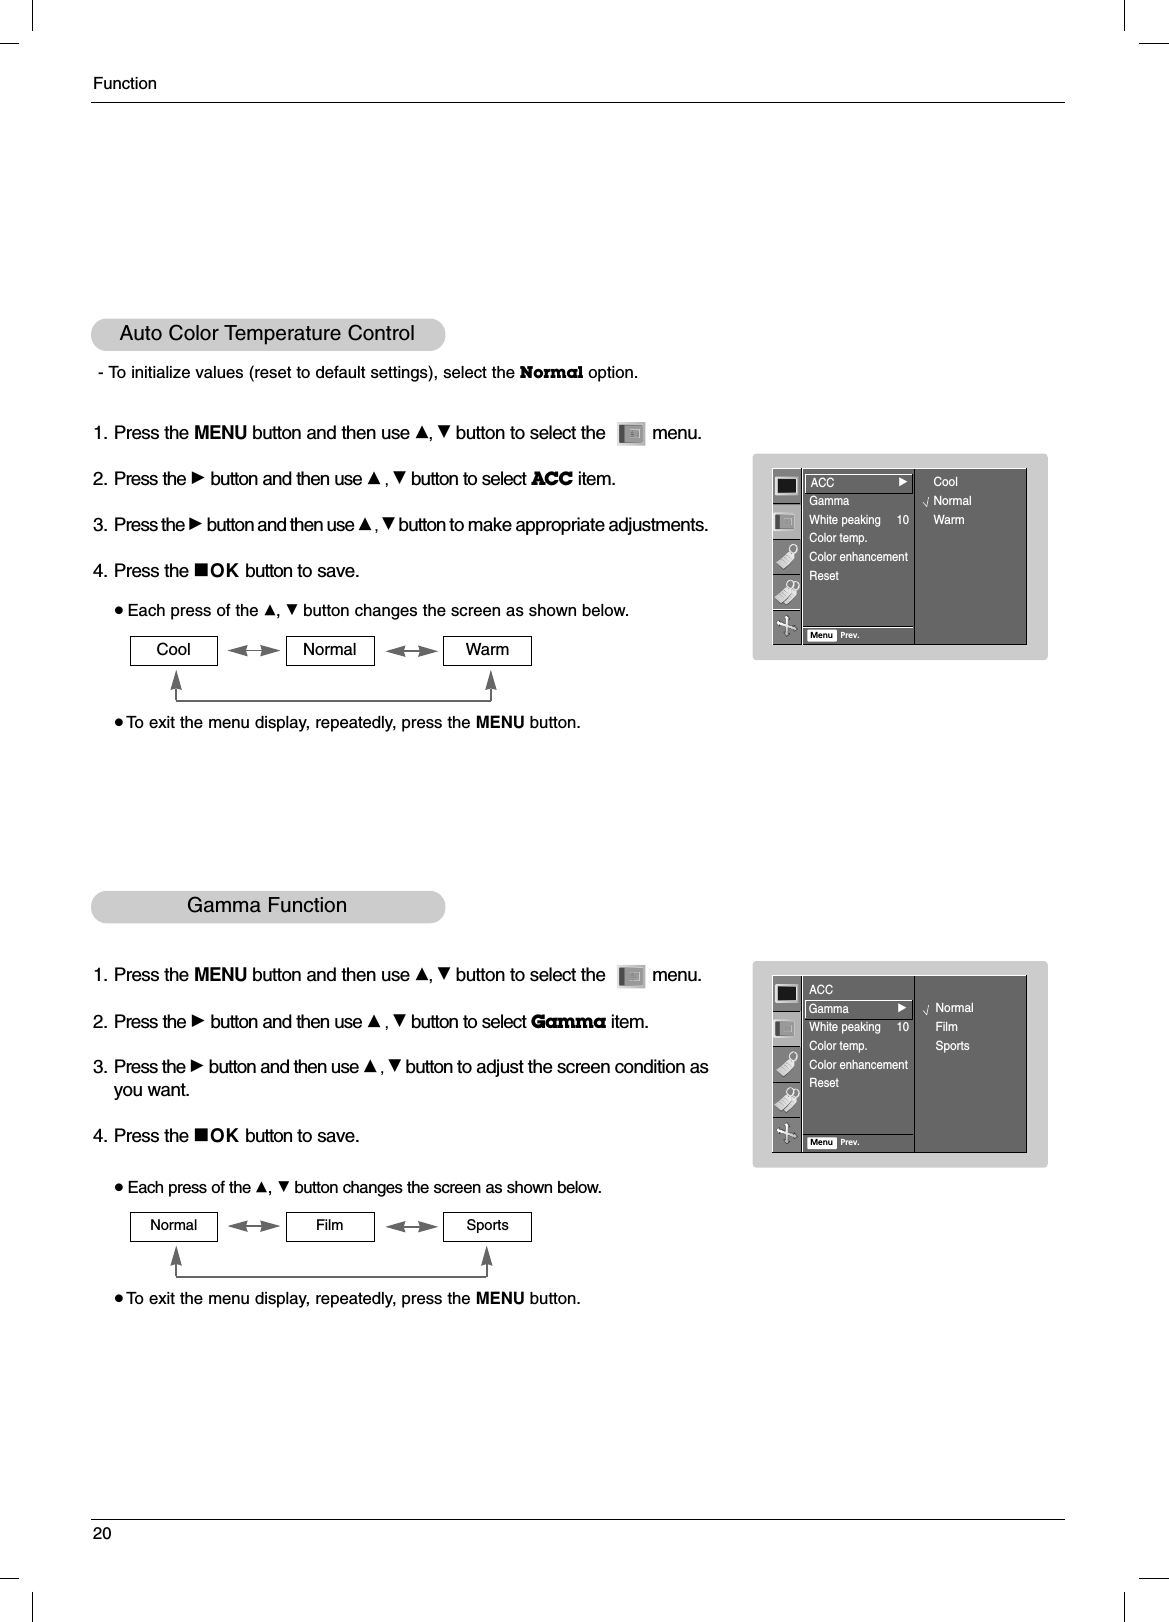
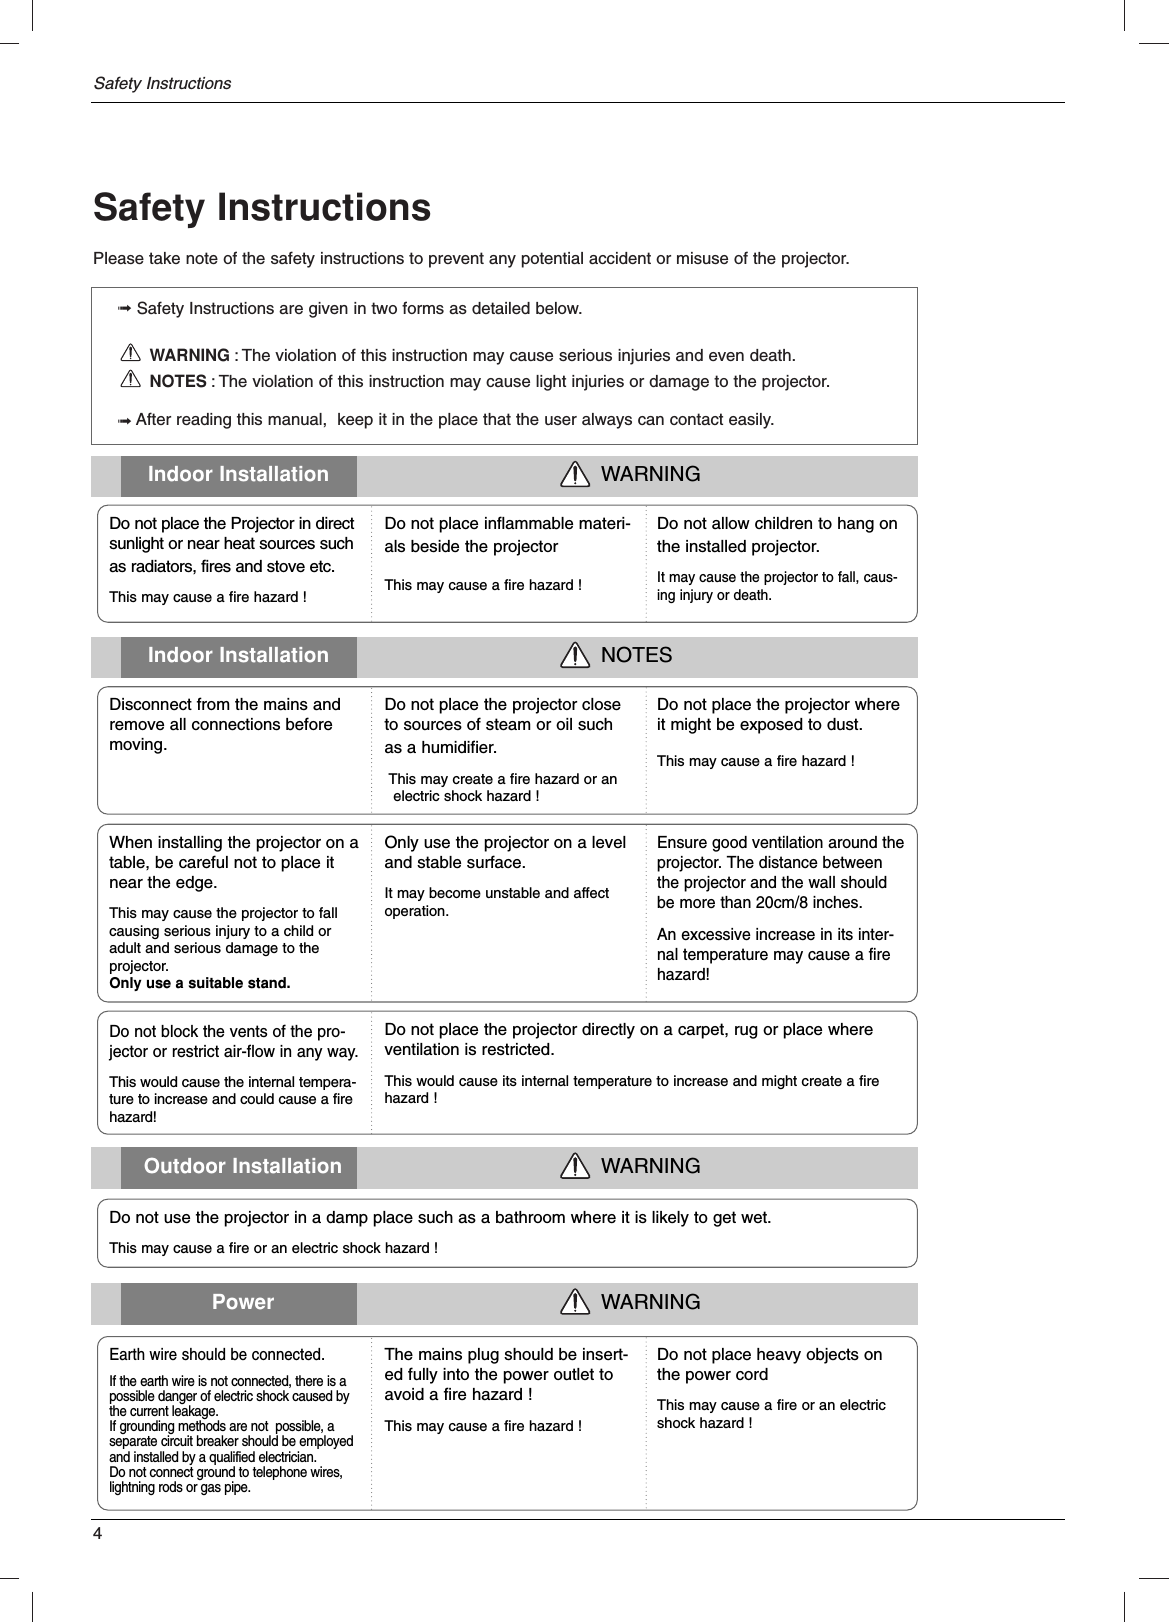
![Function21* You can adjust color to any color temperature you prefer.* You can adjust color to any color enhancement you prefer.1. Press the MENU button and then use D, Ebutton to select the menu.2. Press the Gbutton and then use D, Ebutton to select Color temp. item.3. Press the Gbutton and then use D, Ebutton to select Gain R, Gain G, Gain Bor Offset R, Offset G, Offset B.4. Use the F, Gbutton to make appropriate adjustments.●The Gain R, Gain G, Gain B adjustment range is 0 ~ 100.●The Offset R, Offset G,Offset B adjustment range is -50 ~ +50.5. Press the AOK button to save.●To exit the menu display, repeatedly, press the MENU button.ACCGammaWhite peaking 10Color temp.Color enhancementResetMenu Prev.Gain RGain GGain BOffset ROffset GOffset B505050000Color temp. G1. Press the MENU button and then use D, Ebutton to select the menu.2. Press the Gbutton and then use D, Ebutton to select Color enhancement item.3. Press the Gbutton and then use D, Ebutton to select Color, Red, Green or Blue, Yellow, Cyan, Magenta.4. Use the F, Gbutton to adjust the screen condition as you want.●The adjustment range of Color, Red, Green and Blue, Yellow, Cyan,Magenta is 0~ 100.5. Press the AOK button to save.●To exit the menu display, repeatedly, press the MENU button.●To restore the original image condition after changing it, press AOK button after selecting [Reset] item.ACCGammaWhite peaking 10Color temp.Color enhancementResetMenu Prev.ColorRedGreenBlueYellowCyanMagenta50505050505050Color enhancementGColor Temperature ControlColor enhancement ControlReset (Reset to original factory value)1. Press the MENU button and then use D, Ebutton to select the menu.2. Press the Gbutton and then use D, Ebutton to select White peaking item.3. Press the F, Gbutton to adjust the screen condition as you want.4. Press the AOK button to save.●It’s available to adjust [White peaking] in RGB(PC) and HDMI(DVI) mode only.●The default value may changed based on input mode.●Adjust to higher value to see the bright picture and adjust to lower value to see the quality picture.●To exit the menu display, repeatedly, press the MENU button.White peaking FunctionACCGammaWhite peaking 10Color temp.Color enhancementResetMenu Prev.White peaking5 G](https://usermanual.wiki/LG-Electronics-USA/BN315JD/User-Guide-653762-Page-21.png)
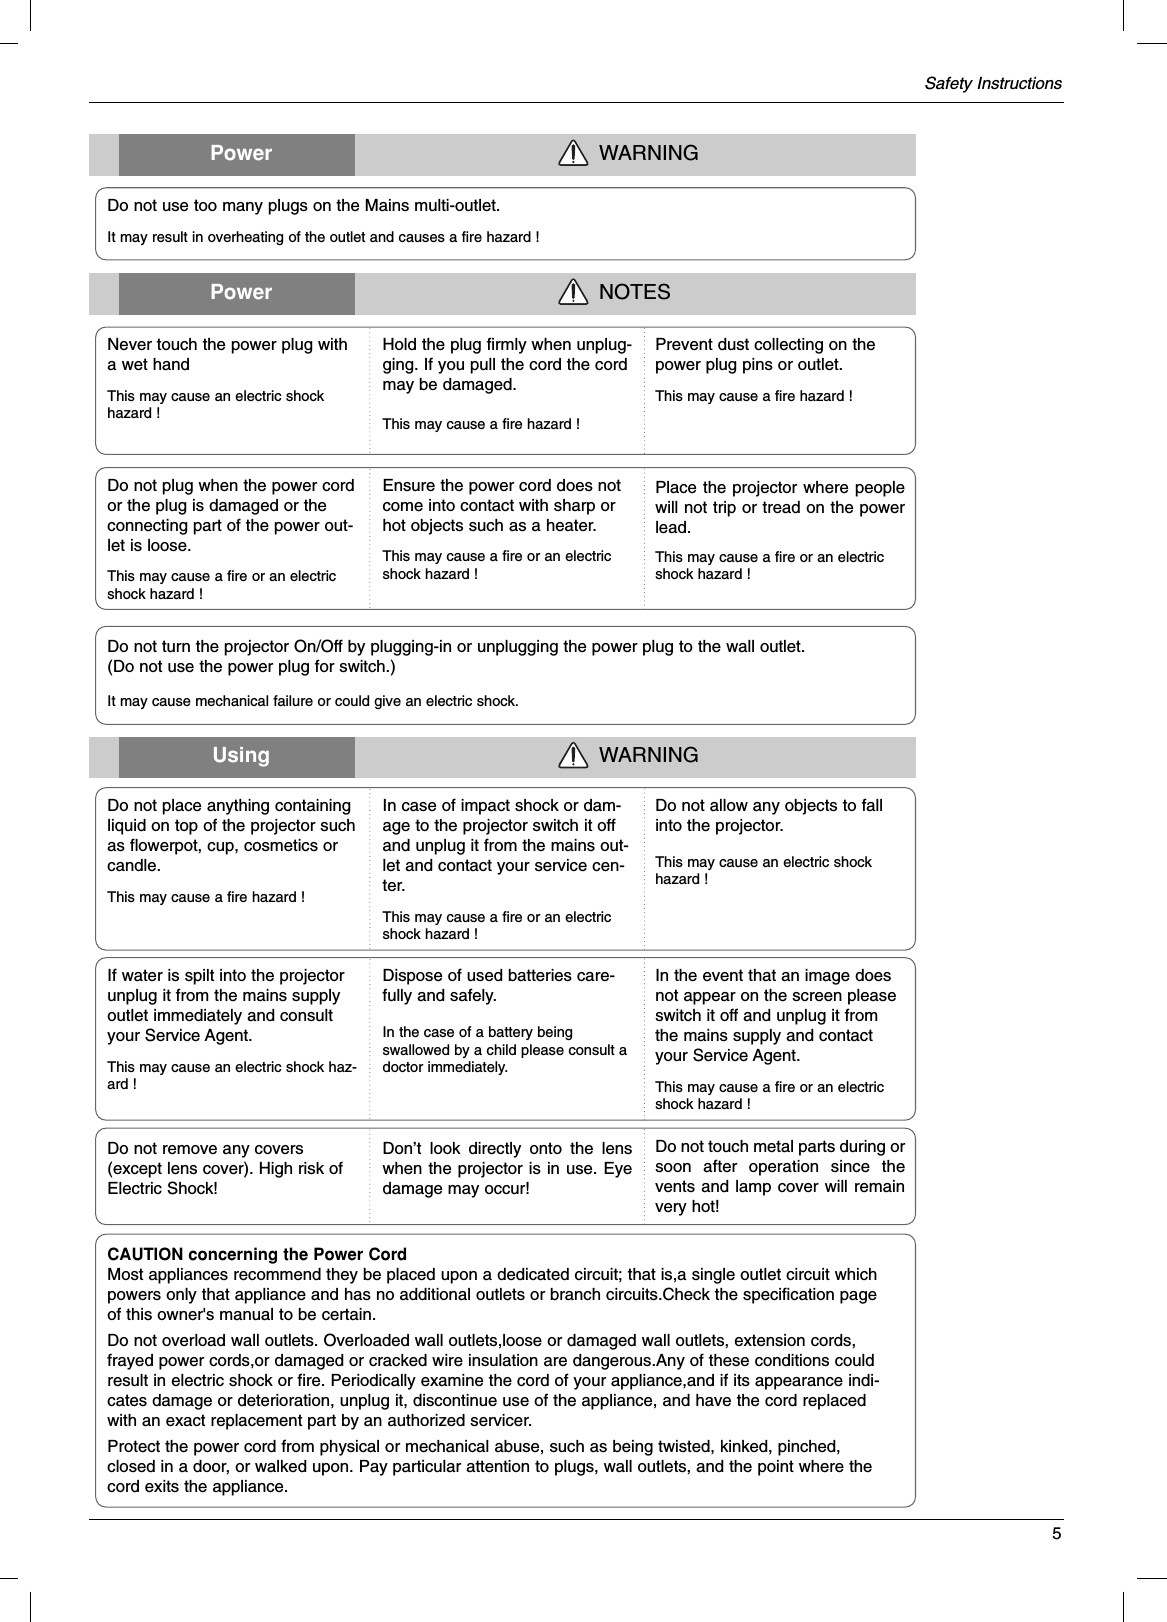
![Function261. Press the MENU button and then use D, Ebutton to select the menu.2. Press the Gbutton and then use D, Ebutton to select Manual configureitem.3. Press the Gbutton and then use D, Ebutton to select Phase, Clock,H Position or V Position.4. Press the F, G button to adjust the screen condition.●The Phase adjustment range is 0 ~ 63.●The Clock adjustment range is -50 ~ +50.●Based on the input mode, the adjustment range may be changed.5. Press the AOK button to save.●To exit the menu display, repeatedly, press the MENU button.*It’s available to adjust [Manual Configure] in RGB mode only.*Phase FunctionThis function is for the detailed adjustment of the clock function.*Clock FunctionThis function adjusts the horizontal width of the projected image to get the image to fit on the screen size.Manual configure1. Press the AUTO button.●Image positioning and synchronization are automatically adjusted.2. Adjust Manual configure in menu after operation of Auto configureif you want to get better picture quality in accordance with diverse PC input modes. In certain circumstances, you can’t get the best picture quality only with auto-correction.Auto configure Function* This function assures you of getting the best video quality by automatically adjusting the difference of horizontal size andsynchronization of the image. * Auto Tracking function works in RGB input only.Auto ConfigureYou can also use this function by using the MENU button. (Only in RGB mode)For best results, perform this function while displaying a still image.Screen Menu OptionsAuto configureManual configureZoom +/-PositionResetMenu Prev.Manual configure GPhaseClockH PositionV Position32000](https://usermanual.wiki/LG-Electronics-USA/BN315JD/User-Guide-653762-Page-26.png)
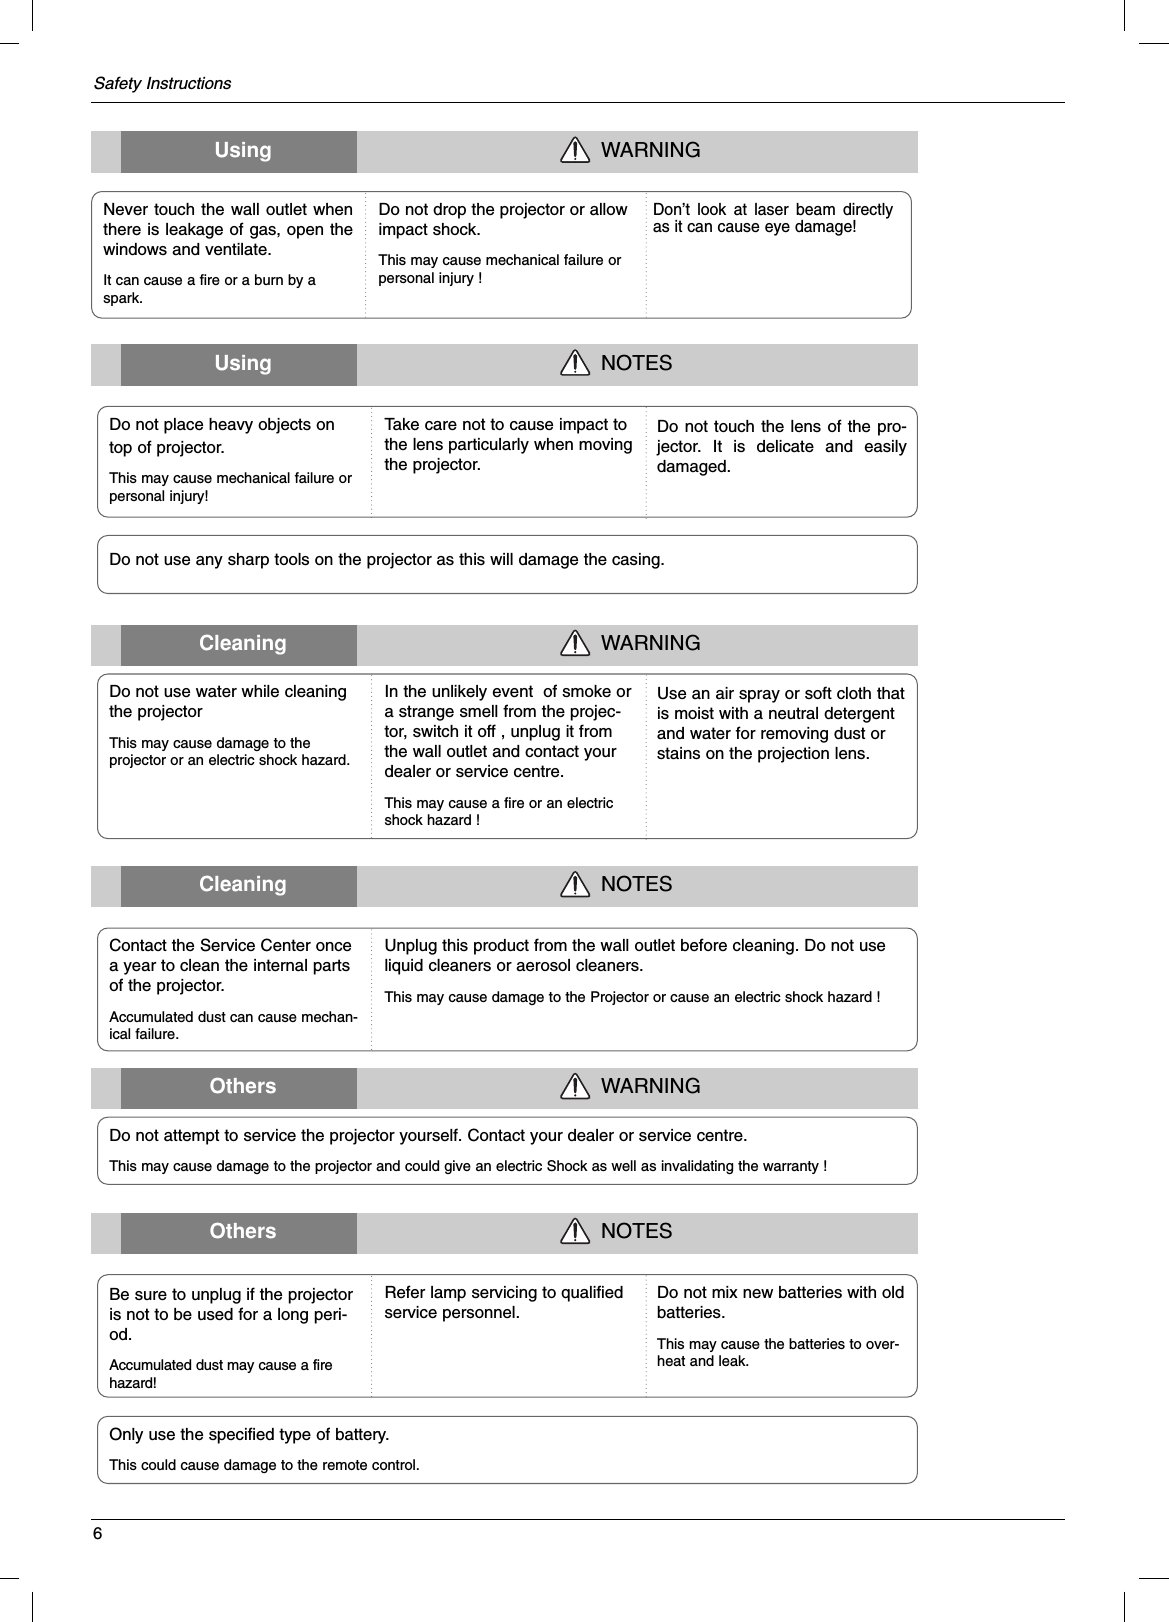
![Function271. Press the MENU button and then use D, Ebutton to select the menu.2. Press the Gbutton and then use D, Ebutton to select Zoom +/- item.3. Press the Gbutton and then use F, G button to zoom in or out the picture size condition as you want.●Zoom +/-adjustment range is 100% ~ 250%.●To exit the menu display, repeatedly, press the MENU button.Auto configureManual configureZoom +/-PositionResetMenu Prev.Zoom +/-G1. Press the MENU button and then use D, Ebutton to select the menu.2. Press the Gbutton and then use D, Ebutton to select Position item.3. Press the Gbutton and then use D, E, F,Gbutton to adjust the position.4. Press the AOK button to save.●To exit the menu display, repeatedly, press the MENU button.* You are available o this function after adjusting Zoom +/-.Screen PositionUsing ZOOM functionAuto configureManual configureZoom +/-PositionResetMenu Prev.PositionGDEFG●To restore the original image condition after changing it, press AOK button after selecting [Reset] item.●You can initialize Manual configure, Zoom +/-, Position.Reset (Reset to original factory value)FG100%](https://usermanual.wiki/LG-Electronics-USA/BN315JD/User-Guide-653762-Page-27.png)