LG Electronics USA MS910 Cellular/PCS/AWS CDMA and PCS/AWS LTE Phone with WLAN and Bluetooth User Manual Layout 1
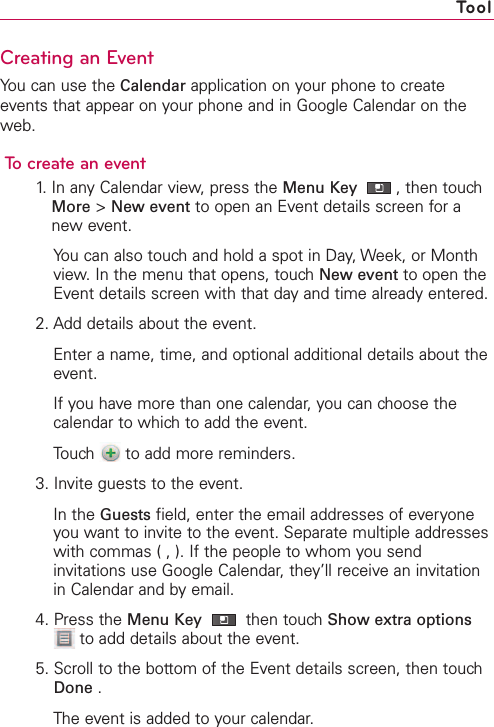
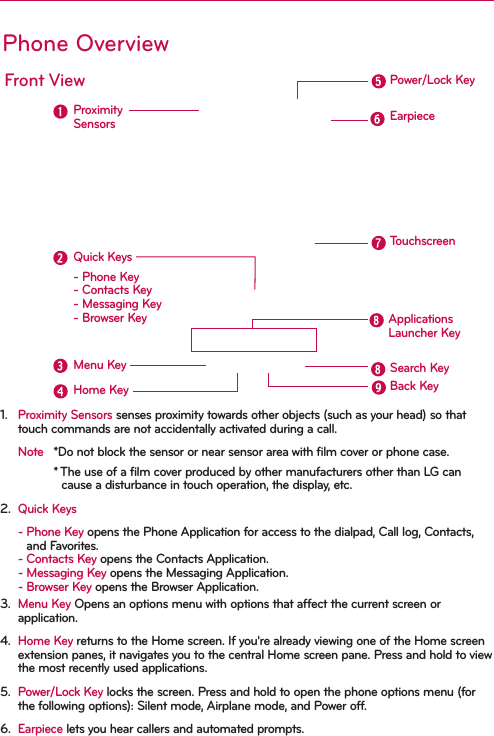
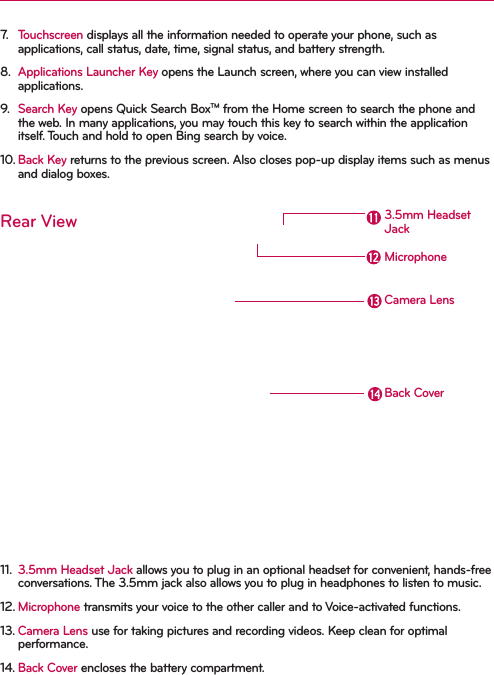
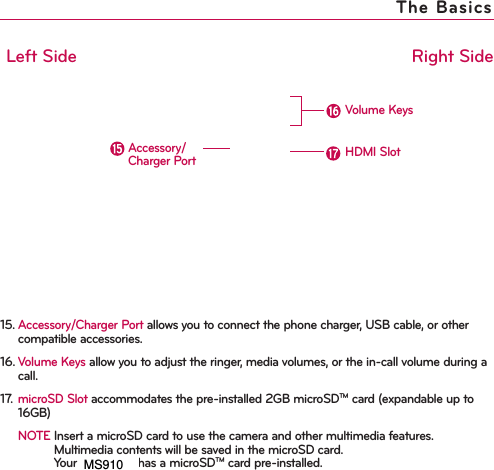
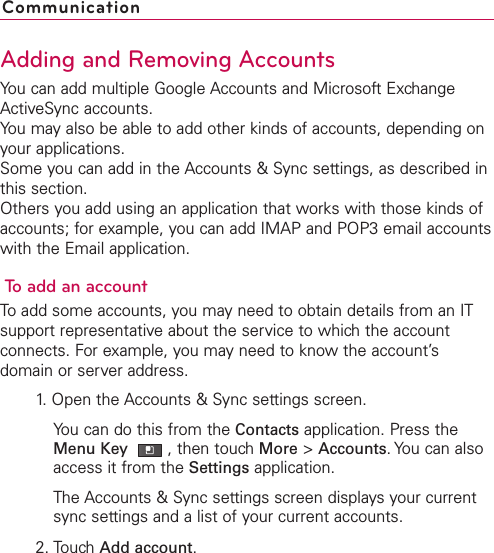
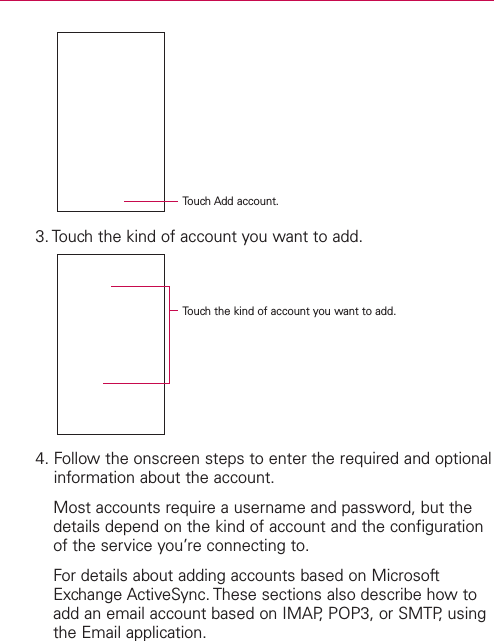
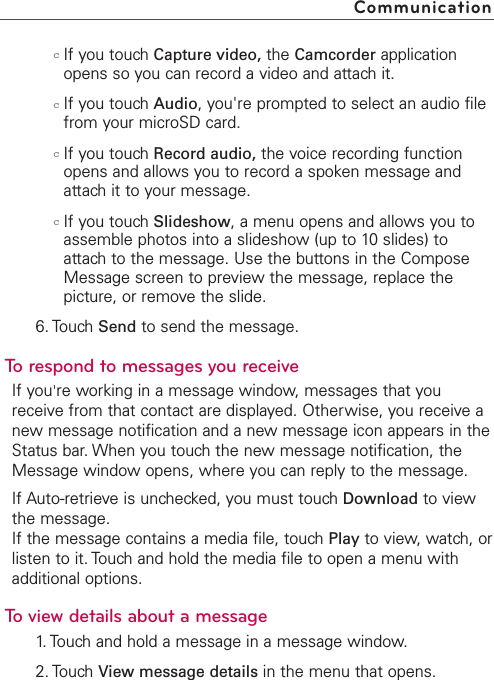
LG Electronics USA Cellular/PCS/AWS CDMA and PCS/AWS LTE Phone with WLAN and Bluetooth Layout 1
UserManual.wiki
>
LG Electronics USA
>
MS910 User Manual
Users Manual
Navigation menu
Upload a User Manual
Namespaces
Wiki Guide
HTML
PDF
Info
Views
User Manual
Discussion / Help
Navigation
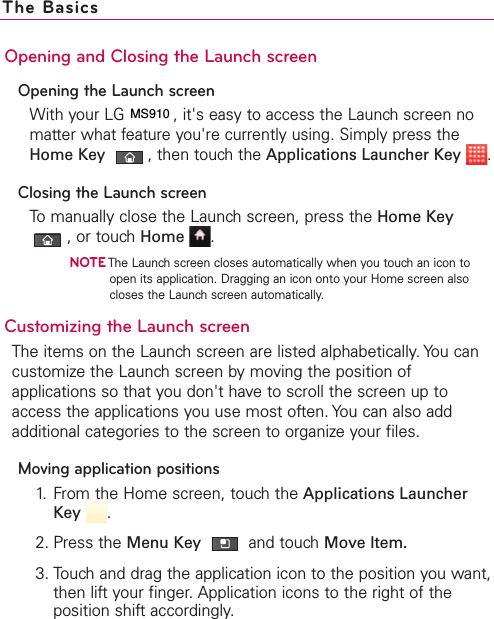


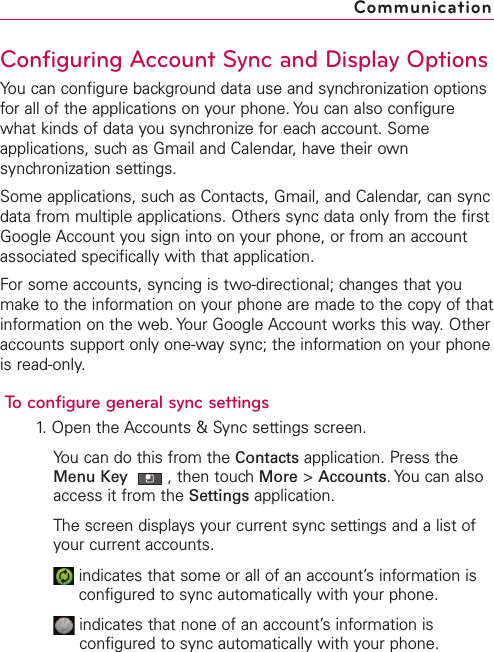


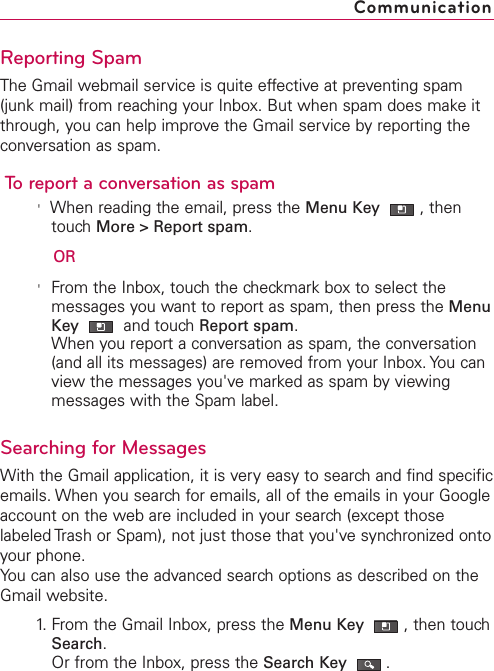


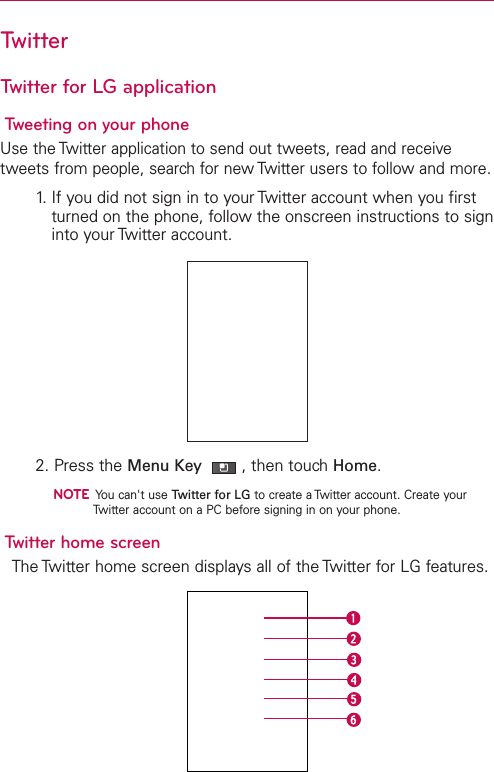
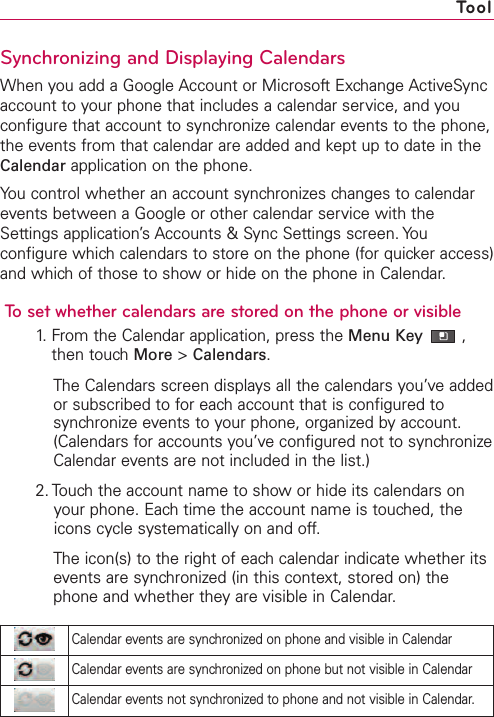
![1. Shows all tweets from people you follow. Press and hold atweet to open an options menu to let you retweet.Touch the username to view its profile. You can also tap thethumbnail image to open a Quick Contact menu.2. Shows all tweets that mention your username using the“@[your username]” convention.3. Touch to view your Twitter profile. This displays all of youraccount tweets.4. Lists people who you choose as your favorites to follow.5. Lists all people you follow and tweets that they've updated.6. Lists all direct messages you have received.Sending a tweet1. On the 'You + Friends' screen, touchthe text field with thewords “What’shappening?”.2. Enter your tweet, then touchUpdate.3. Touch the Photo icon to the right of the status field to post apicture from Gallery or Camera and add the picture link intothe tweet.](https://usermanual.wiki/LG-Electronics-USA/MS910/User-Guide-1497893-Page-192.png)