LG Electronics USA NT-LGX14 NOTEBOOK PC User Manual Golf X140 Win7 UG ENG 100209
LG Electronics USA NOTEBOOK PC Golf X140 Win7 UG ENG 100209
UserManual.wiki
>
LG Electronics USA
>
NT-LGX14 User Manual
>
Users Manual 3
Contents
1.
Users Manual 1
2.
Users Manual 2
3.
Users Manual 3
Users Manual 3
Navigation menu
Upload a User Manual
Namespaces
Wiki Guide
HTML
PDF
Info
Views
User Manual
Discussion / Help
Navigation
![86 System Setup6-4. Restore the Default SettingsIf you have changed the system setup by mistake, you can restore the default settings.1. After opening the system setup screen, use the arrow keys to move to Exit.2. Use the arrow keys to select Load Optimal Defaults, and press [Enter].3. When the following message appears, select [Yes] and press [Enter]. The settings will be reset to their original defaults.4. To save the changes in system setup, press [F10].5. When the following message appears, select [Yes] and press [Enter]. The notebook PC will restart.■ You may also press [F9] to use Load Setup Defaults.](https://usermanual.wiki/LG-Electronics-USA/NT-LGX14.Users-Manual-3/User-Guide-1256090-Page-1.png)


![102 Reinstalling the Driver9-1. Reinstalling the Driver※ The figures herein may differ by language selection and be subject to change without prior notice.▶ Reinstalling the Driver Using LG Intelligent Update1. Select Start > All Programs > LG Software > LG Intelligent Update to continue.※ You can also double-click the LG Intelligent Update icon to run the program.2. Select [Automatic Installation] or [Manual Installation] to reinstall the driver.※ For more details, refer to Help.1. Now, you can install drivers and applications needed for the system.](https://usermanual.wiki/LG-Electronics-USA/NT-LGX14.Users-Manual-3/User-Guide-1256090-Page-17.png)


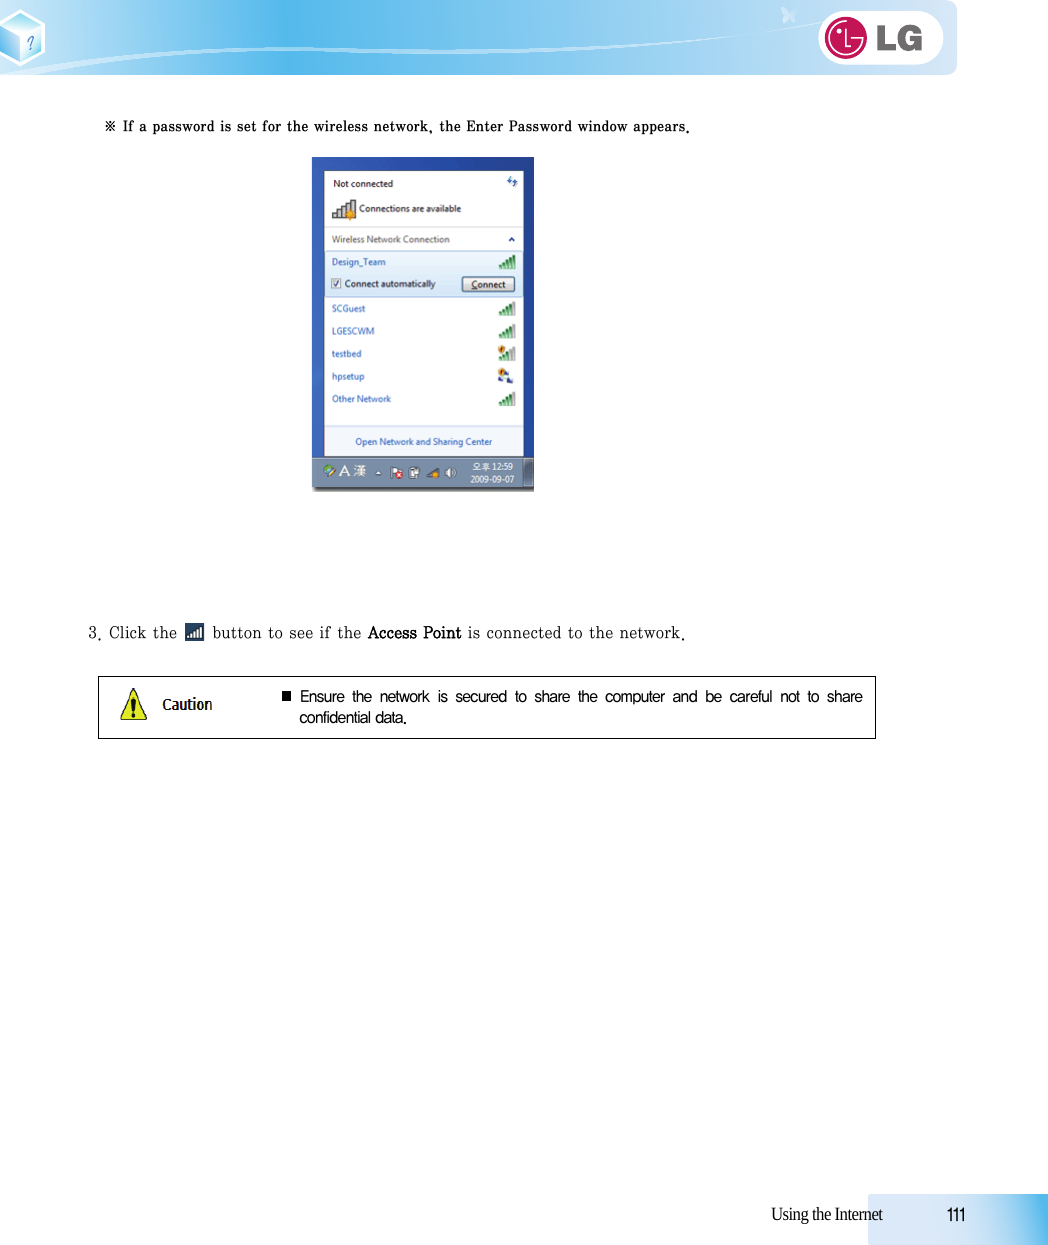
![110 Using the Internetthe button to search for the wireless network again.2. Select the Access Point (wireless network) you want to use and click [Connect] to connect to the Access Point.](https://usermanual.wiki/LG-Electronics-USA/NT-LGX14.Users-Manual-3/User-Guide-1256090-Page-25.png)