LG Electronics USA PF85UJE DLP PROJECTOR User Manual EMISSION TEST REPORT
LG Electronics USA DLP PROJECTOR EMISSION TEST REPORT
UserManual.wiki
>
LG Electronics USA
>
PF85UJE User Manual
User Manual
Navigation menu
Upload a User Manual
Namespaces
Wiki Guide
HTML
PDF
Info
Views
User Manual
Discussion / Help
Navigation


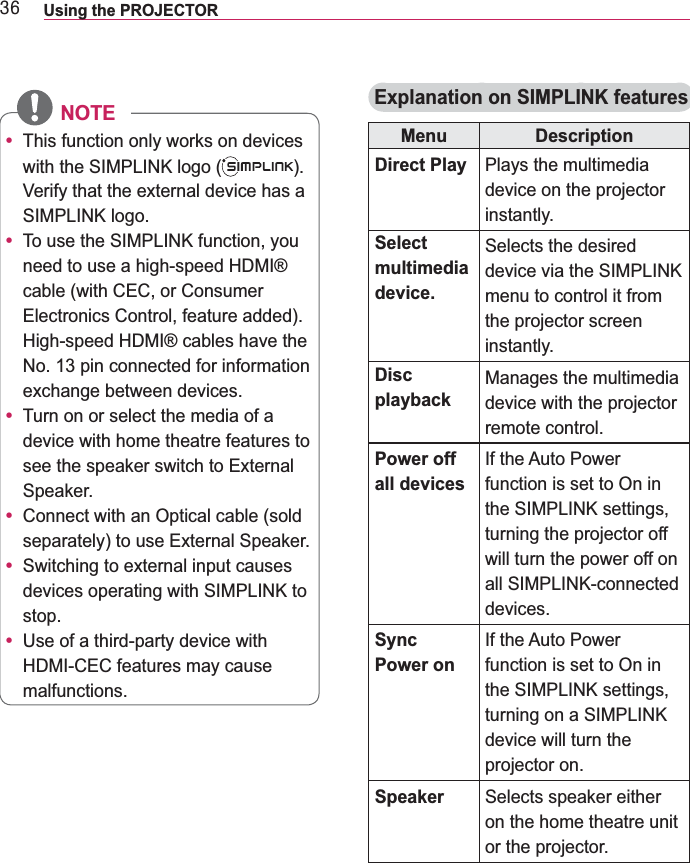


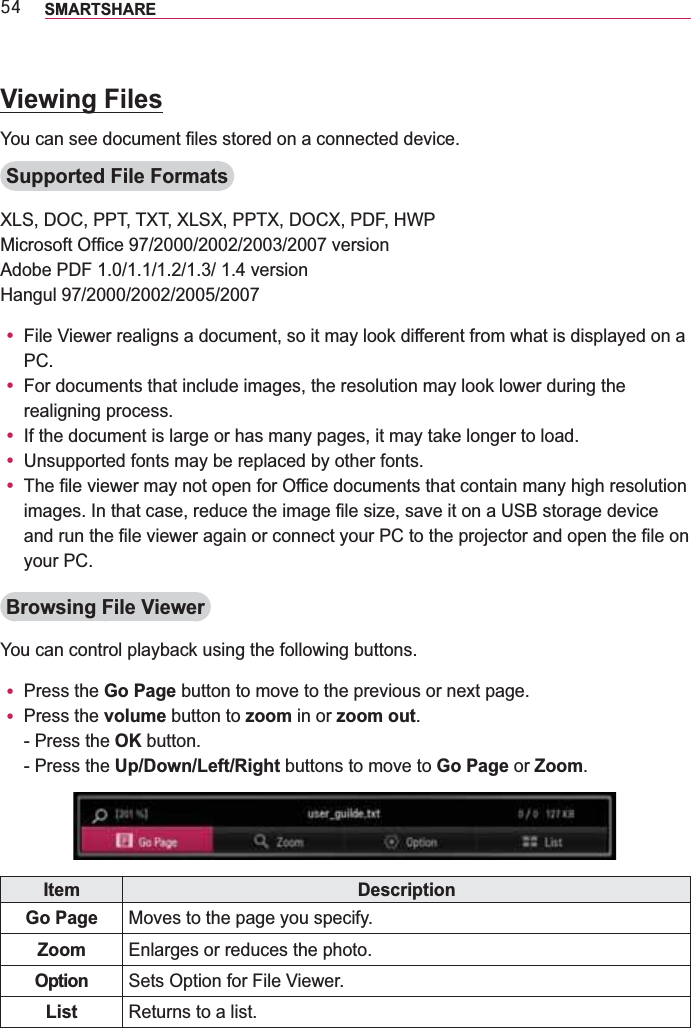
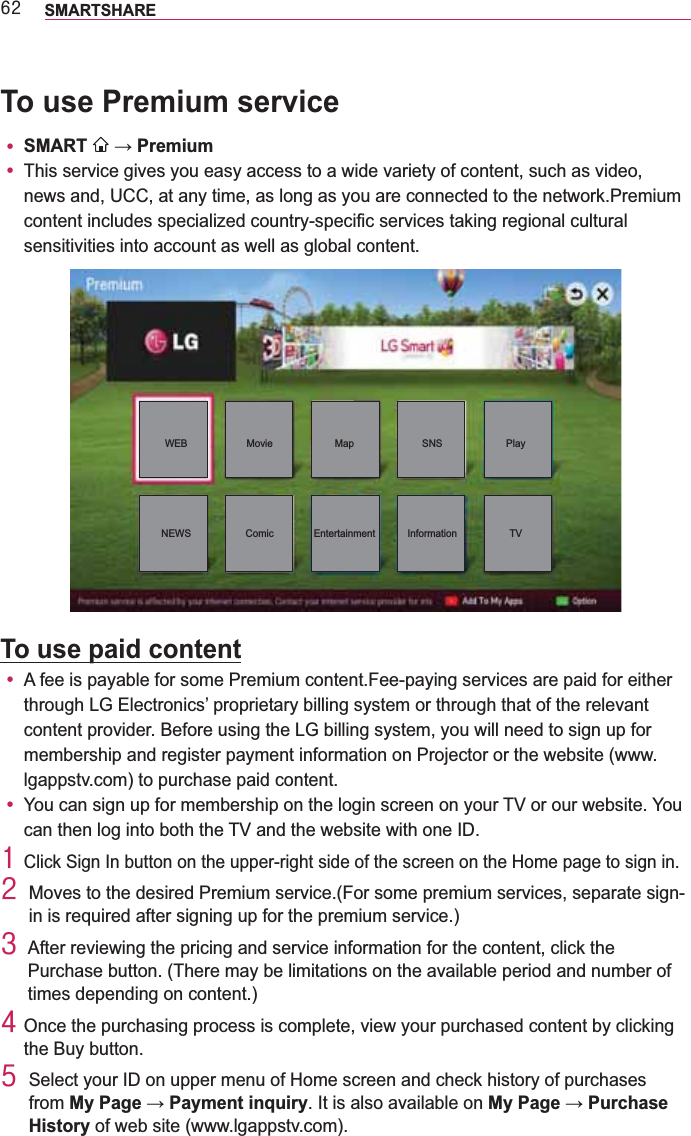
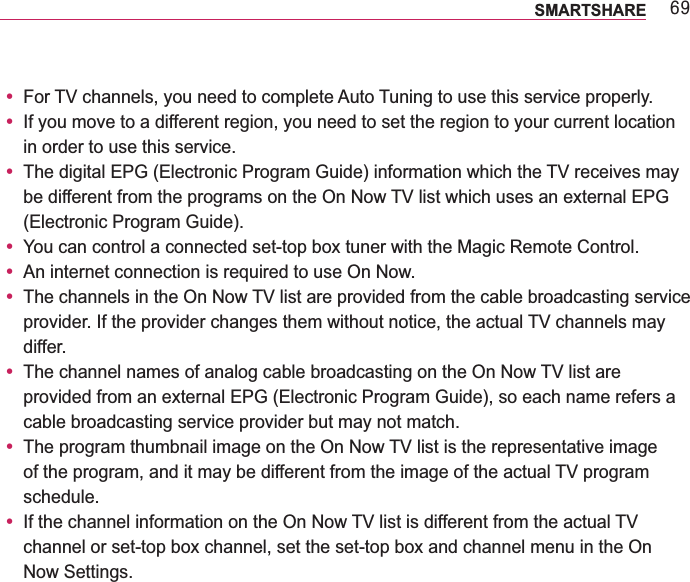
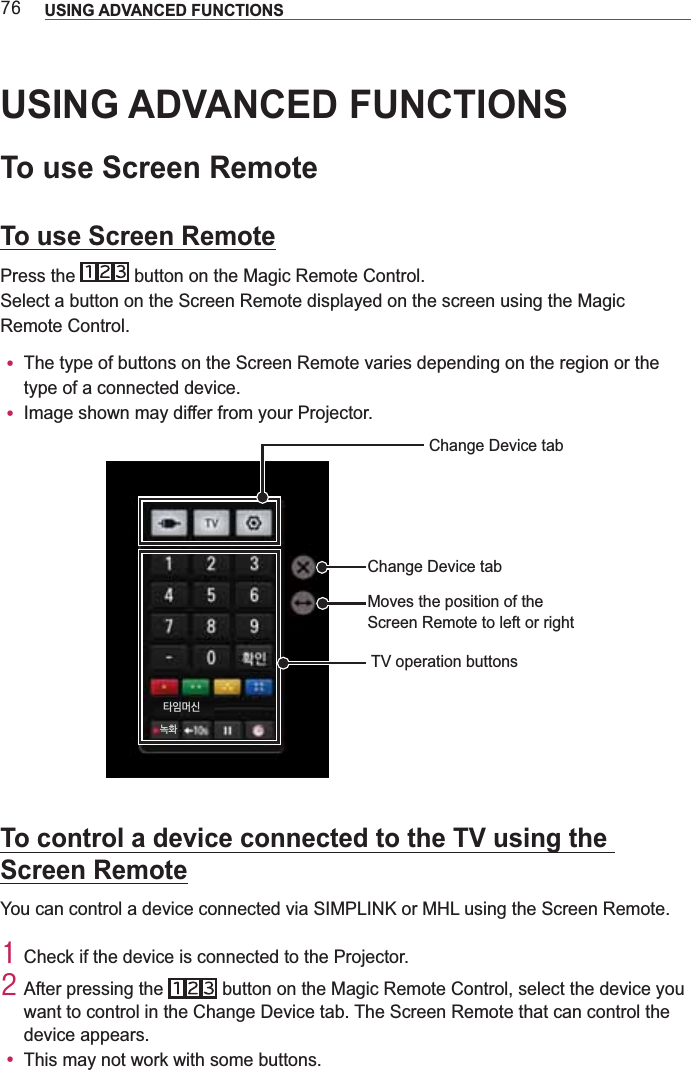
![::USING ADVANCED FUNCTIONS To use the Universal Control function[For Magic Remote Control only]theatre system, etc.4 Check if a device you want to set is connected to your Projector.5 After pressing the button on the Magic Remote Control, select the icon of a device you want in the Change Device tab. If there is no device you want, press the device you want. Once the setup is complete, the name of the selected device is displayed in the Change Device tab.6 When you select a device you want in the Change Device tab, the Screen Remote that can control the device appears on the screen.To change or clear the Universal Control settings4 After pressing the button on the Magic Remote Control, select the (TV/input selection) button.5 Select Change Settings or Cancel Settings at the bottom of the device to be changed.y When Change Setting, check if the power of the device to be changed is turned on.y You can set one device per type.y With the Screen Remote, you can only control the devices of a brand or manufacturer that you can select in the setup screen.y If you connect to a network before setting the universal remote control, update for the latest manufacturer list is available.y y Place the device near the Projector for seamless operation.y If the device is in a drawer, open the drawer.y Go to SMART or, SMART and add, delete, or change a device.](https://usermanual.wiki/LG-Electronics-USA/PF85UJE/User-Guide-2021024-Page-71.png)
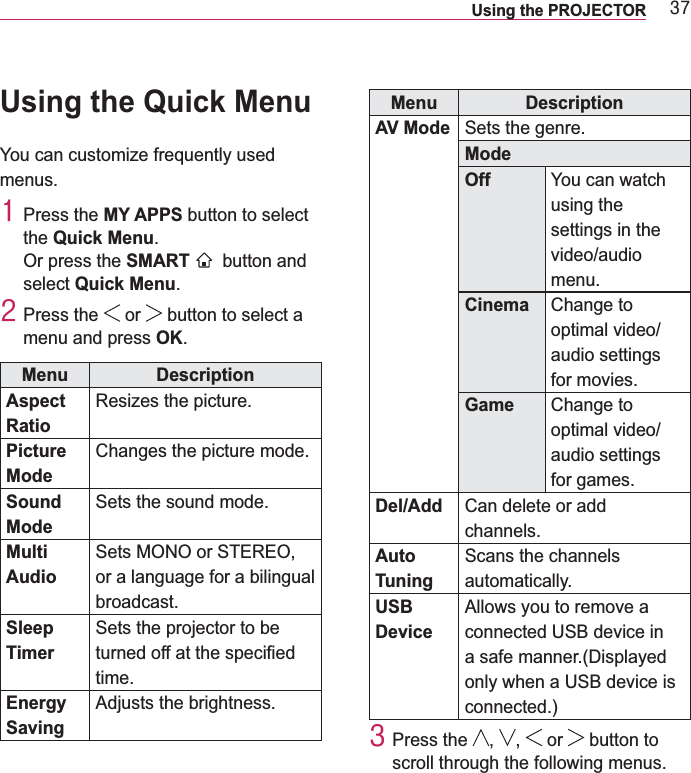
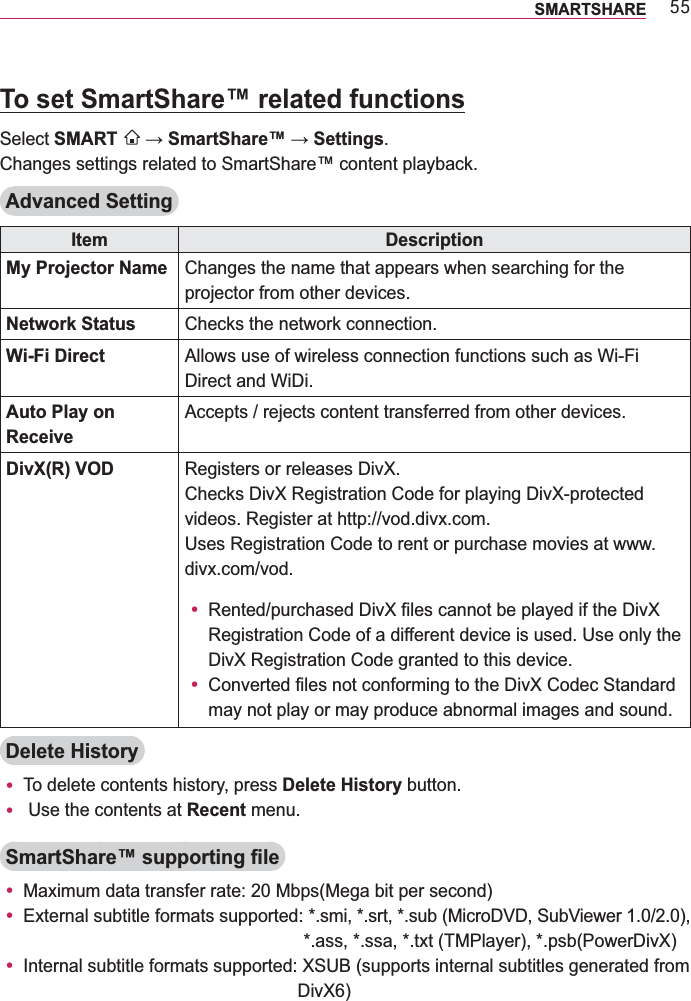
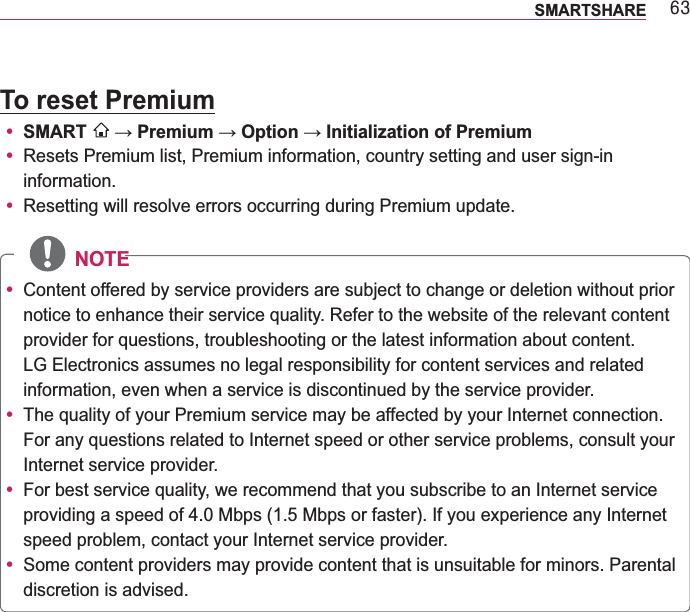
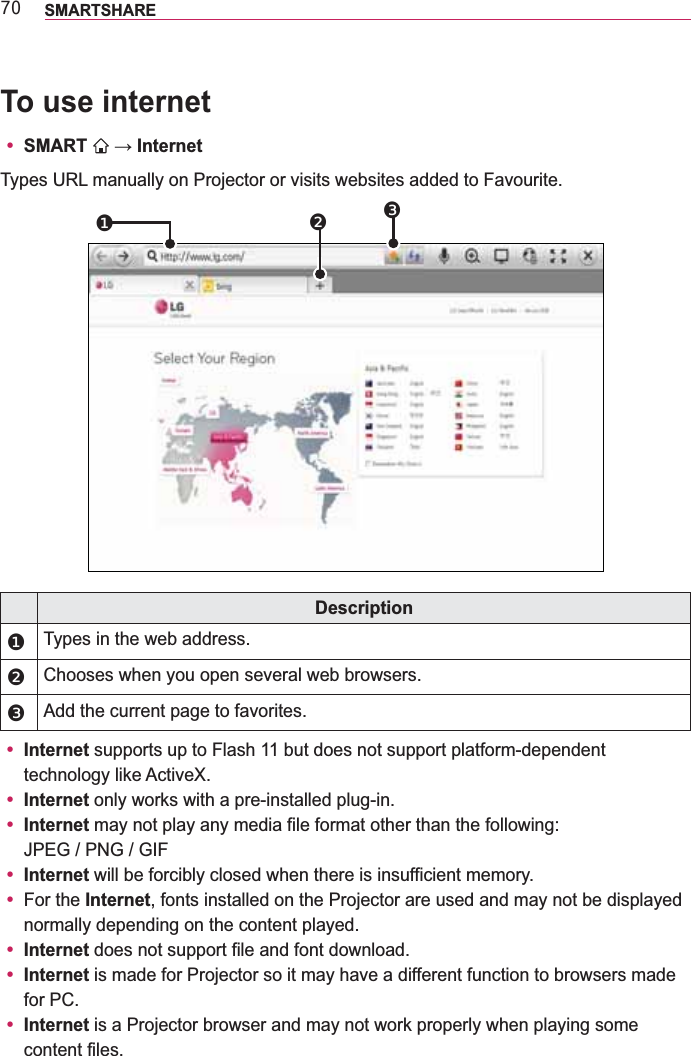
![;7 USING ADVANCED FUNCTIONS To set the Time Machine II functionsy You can change the settings for Time Machine II while using the function.Item DescriptionRecording QualitySets the picture quality of recordings. You can set it to High Quality or Normal Quality.y The recording time may vary depending on the recording quality.TimeShift Plays back a scene that you have missed.y ON: Enables the TimeShift function automatically when you turn on the TV.y OFF: Disables the TimeShift function.USB Device InitializationSets a connected storage device to be used only for Time Machine II. All data saved on the USB device is deleted.Settings for Upload to CloudAutomatically uploads recordings to the Cloud server.[Depending on country]y A storage device on which USB Device initialisation has been performed will not be detected by a PC.y Recordings saved on a USB device can be damaged. The manufacturer is not liable for any damaged recordings since it is the user's responsibility to manage data.To use Time Machine cloudTo upload from Time Machine to Cloudy SMART This function is used to upload recordings to Cloud. You can simply select recordings to upload to Cloud.y You must have the appropriate permission to use the Cloud service.y If there is not enough space on Cloud, you can only upload files that will fit in the free space.y You can manage the recordings on Cloud by using the LG Cloud app.y Smartphone/Tablet PC users can download the LG Cloud app from the Google Play store.](https://usermanual.wiki/LG-Electronics-USA/PF85UJE/User-Guide-2021024-Page-78.png)