LG Electronics USA Q50941C HOUSEHOLD COOKTOP User Manual
LG Electronics USA HOUSEHOLD COOKTOP
UserManual.wiki
>
LG Electronics USA
>
Q50941C User Manual
User Manual
Navigation menu
Upload a User Manual
Namespaces
Wiki Guide
HTML
PDF
Info
Views
User Manual
Discussion / Help
Navigation
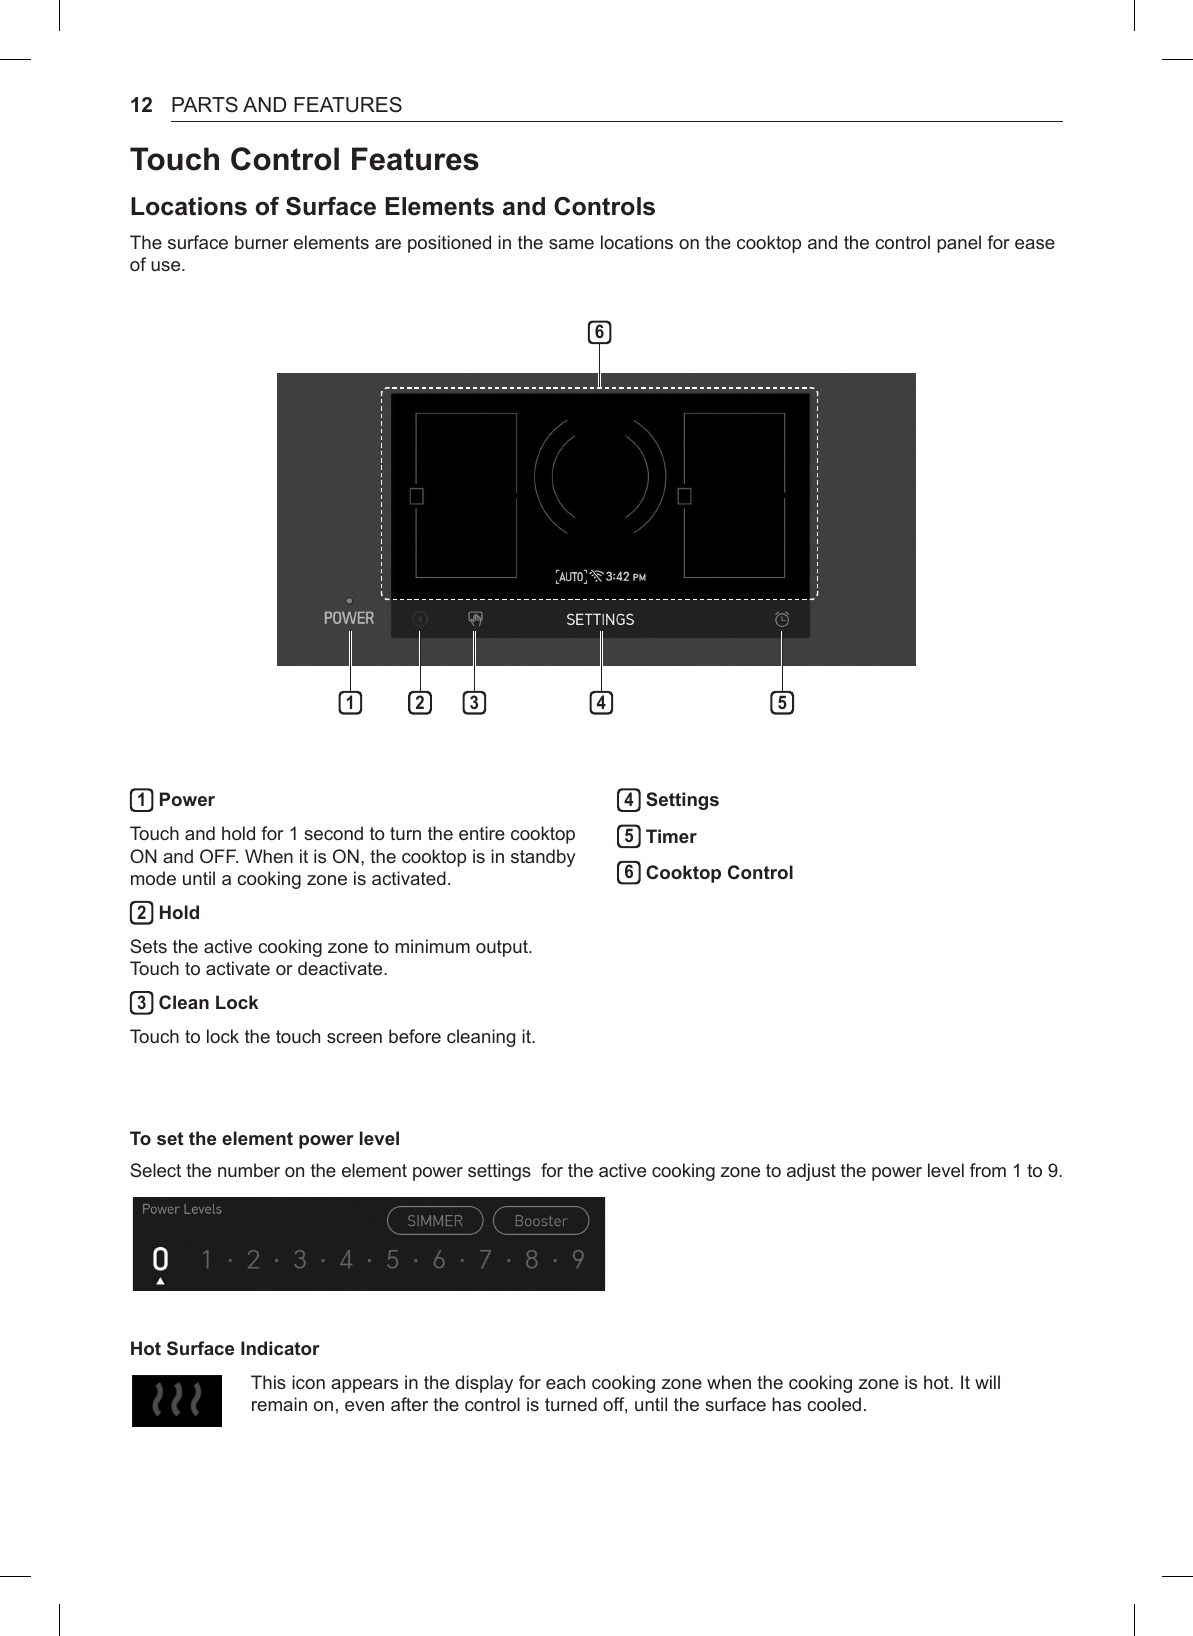
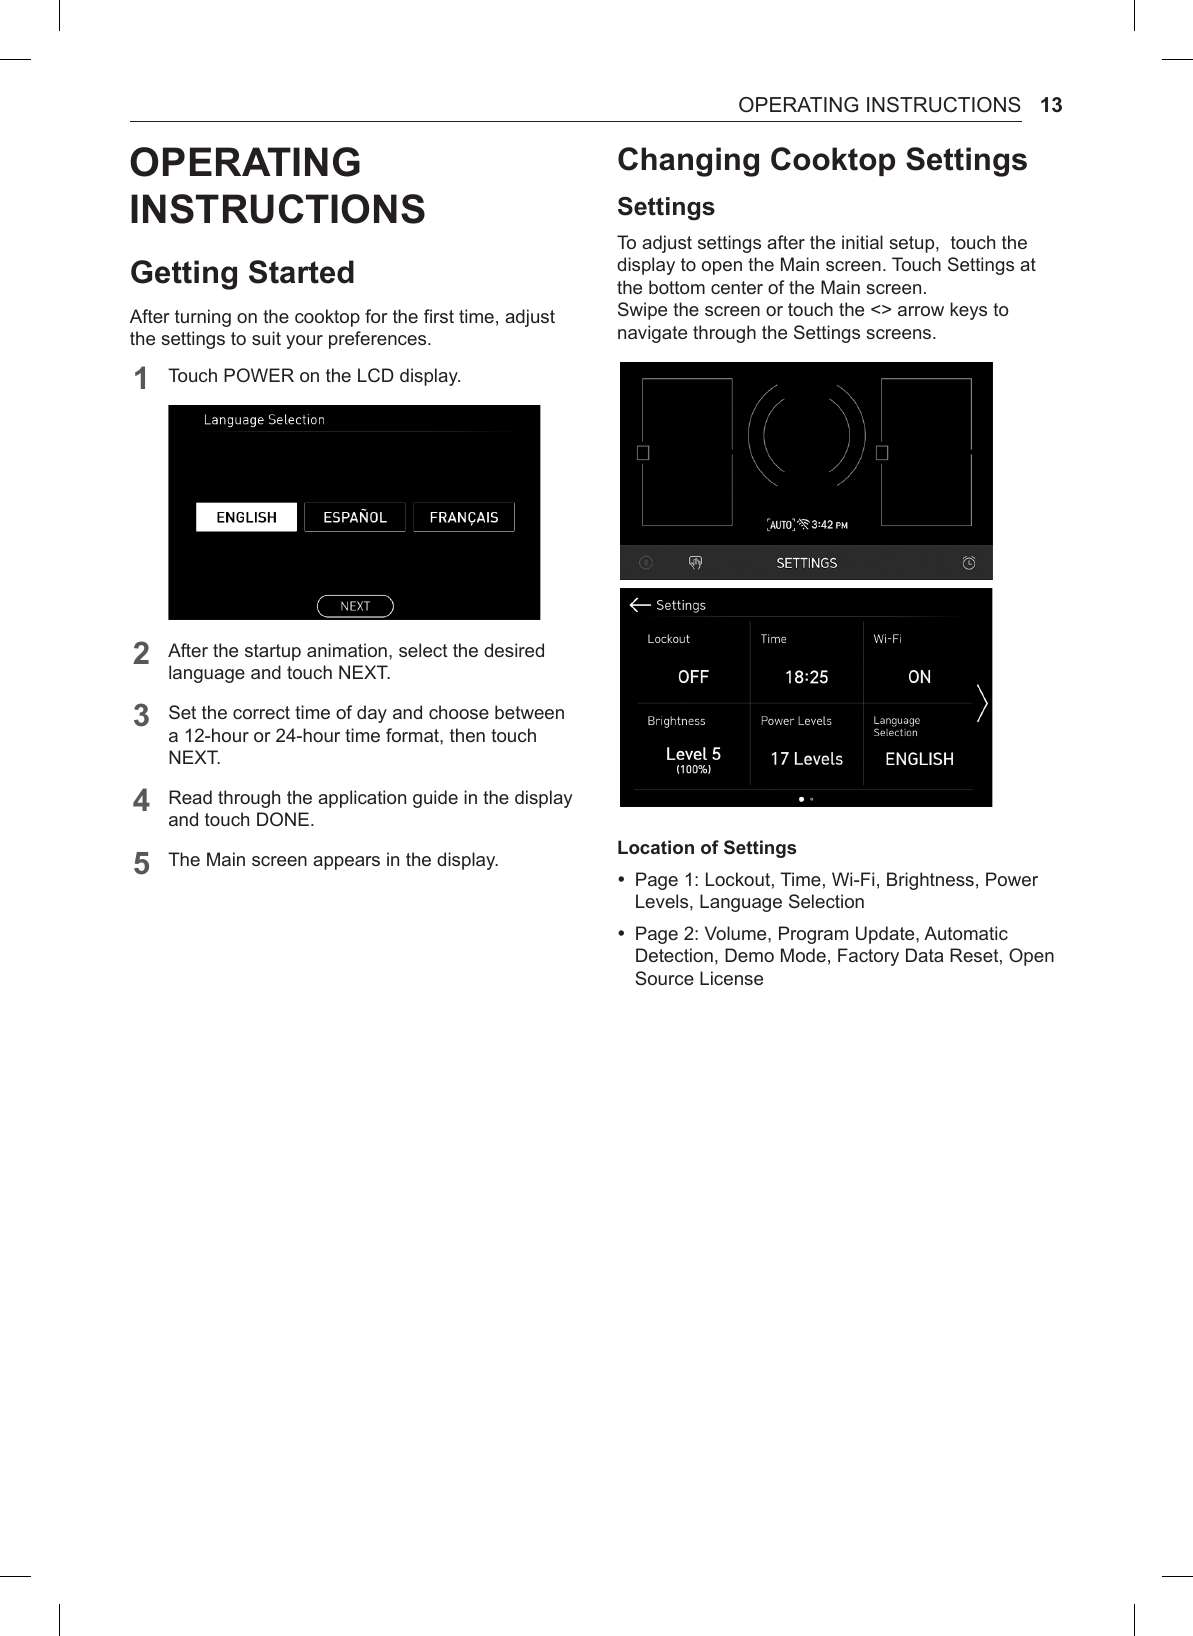
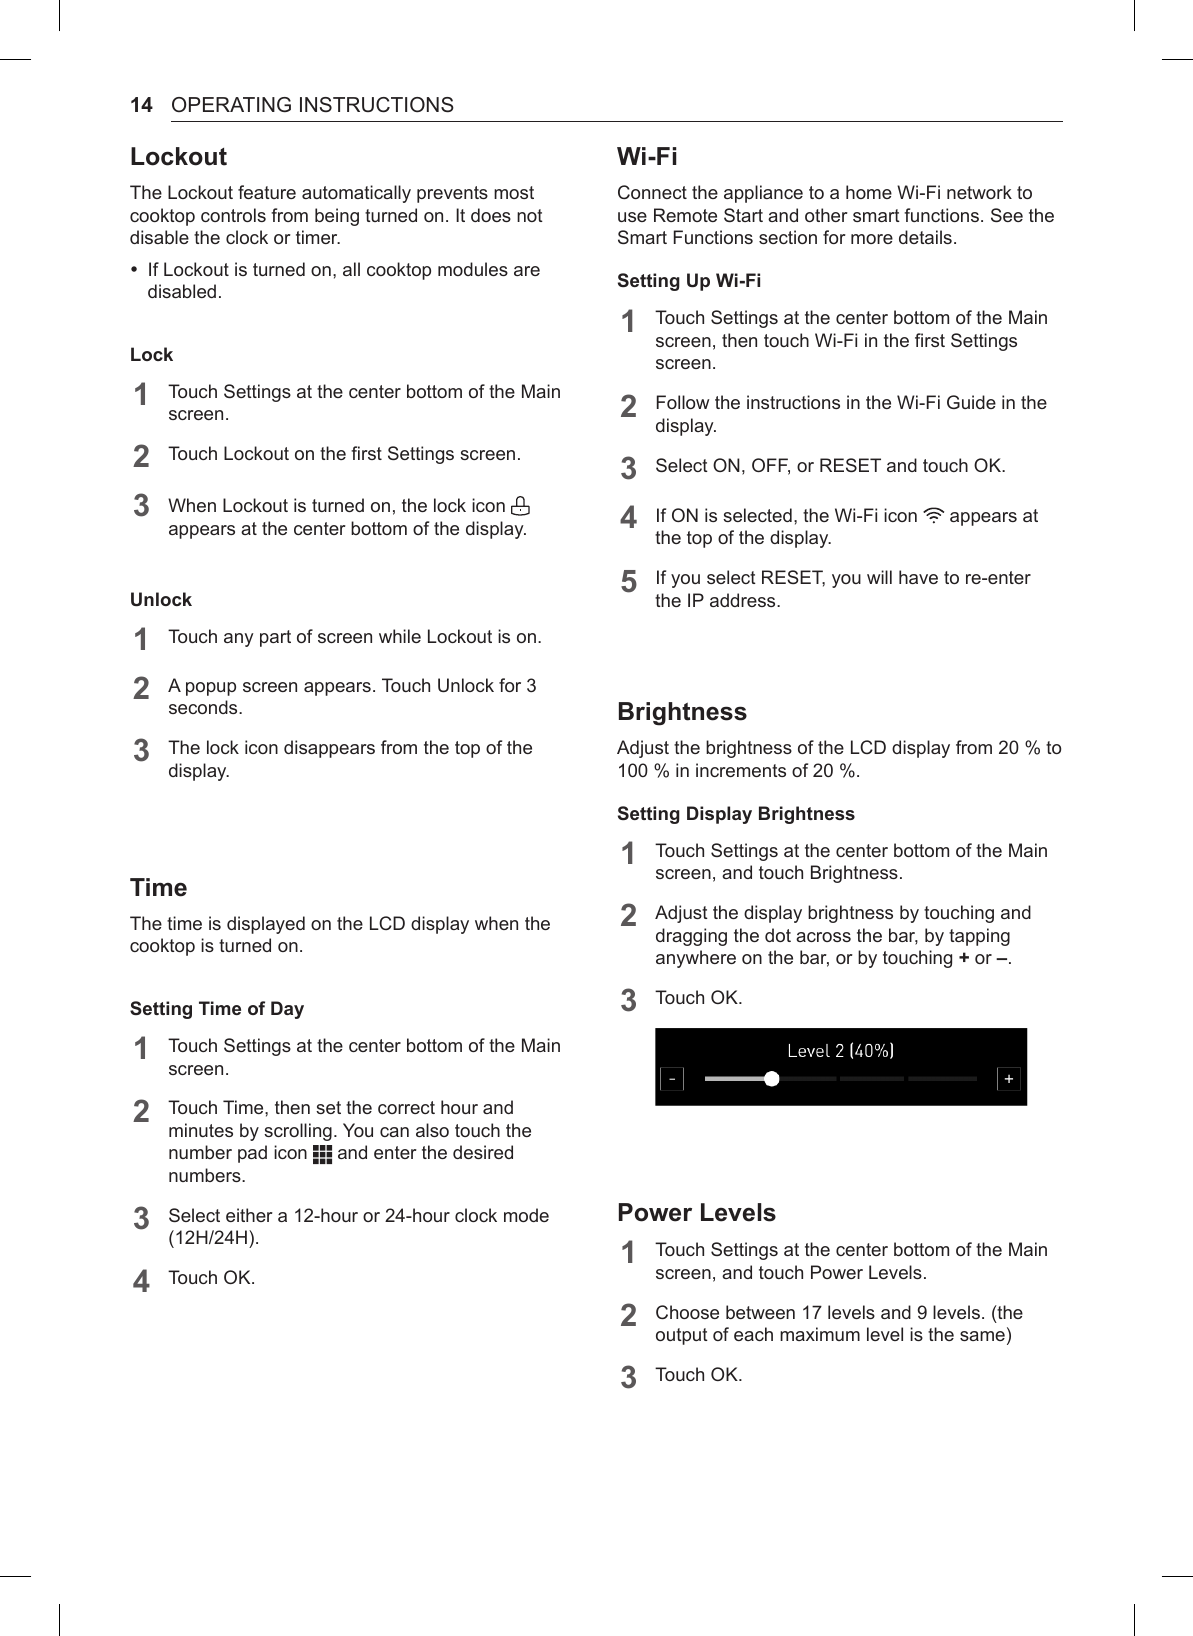
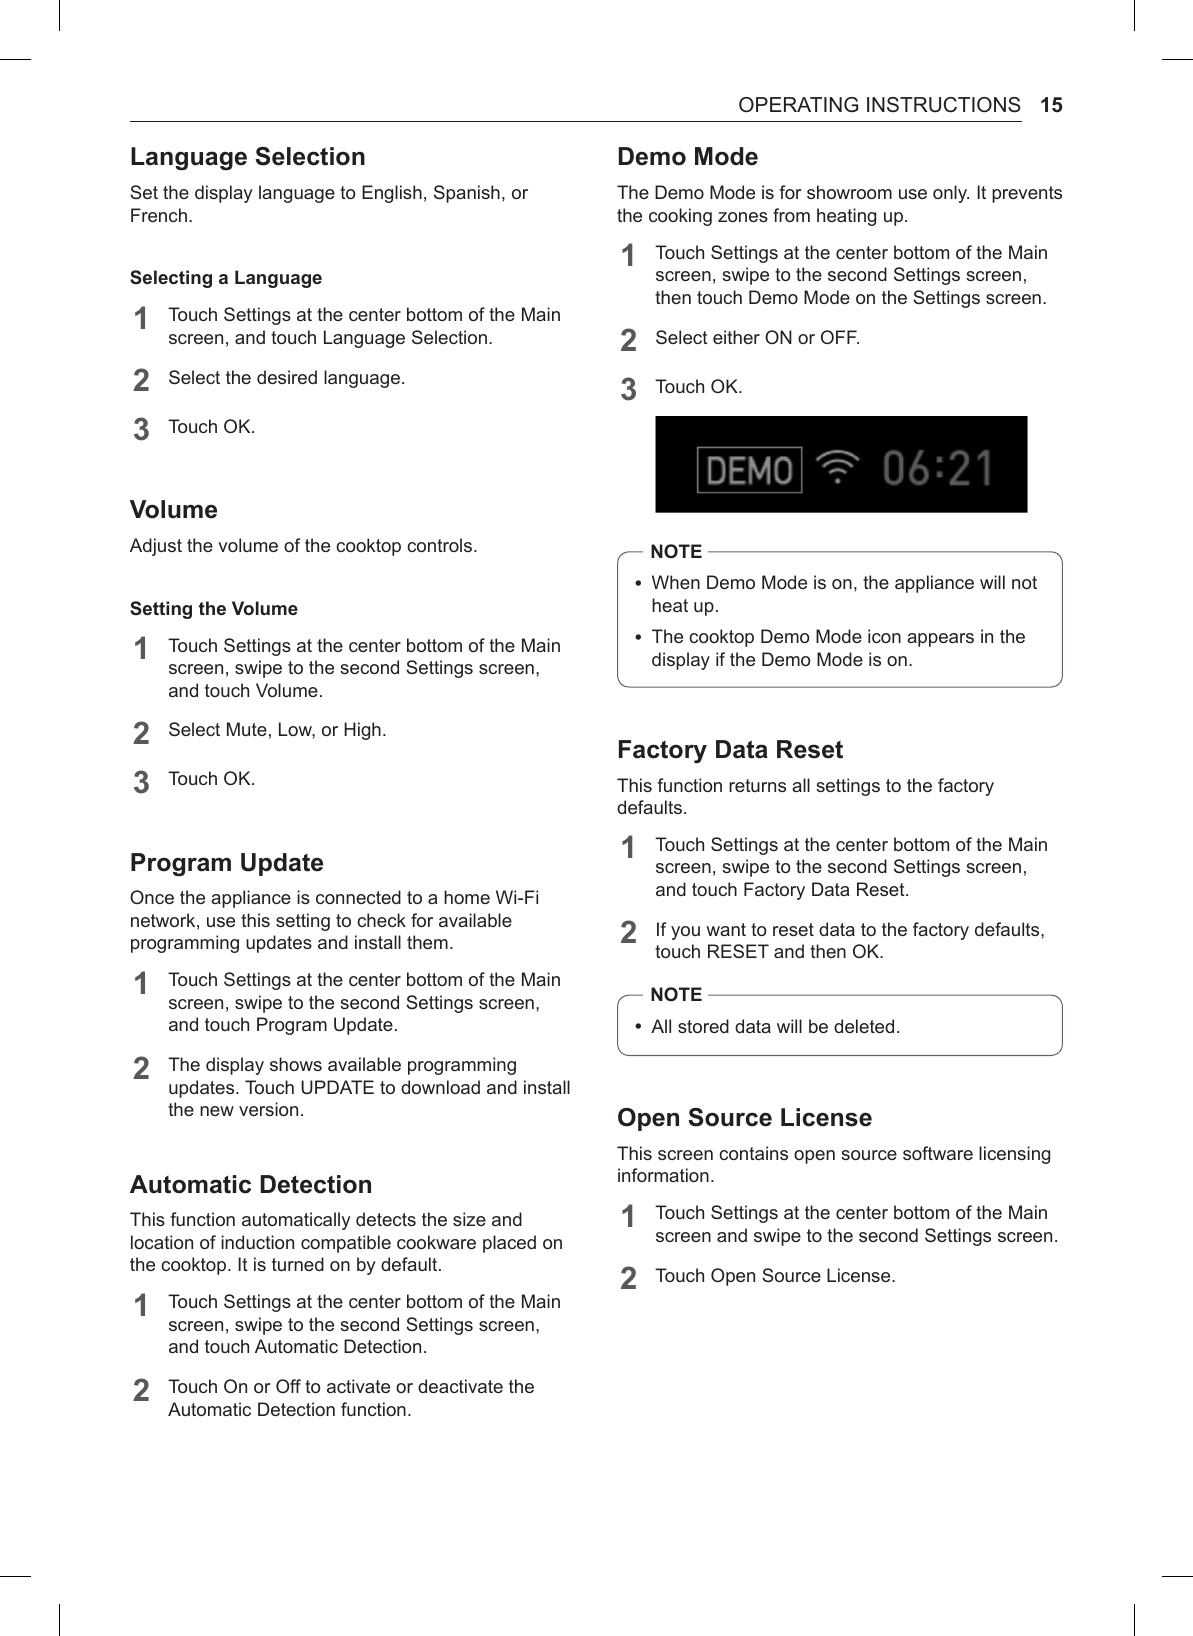
![27INSTALLATION INSTRUCTIONSPreparing the Installation LocationImportant Installation Information •All electric cooktops run off a single phase, three-wire or four-wire cable, 240/208 volt, 60 hertz, AC-onlyelectrical supply with ground. •Minimum distance between cooktop and overhead cabinetry is 30” (762 mm). •Make sure the cabinets and wall coverings around the cooktop can withstand the temperatures (up to 93˚C[200˚F]) generated by the cooktop.1. Standard Installation30" min.(762 mm)Radius36 5/8" (930 mm)33 7/8" (860 mm)21 9/16"(547 mm)19 5/16"(490 mm)3/8"(10 mm)4 1/4" (108 mm)4 1/4" (108 mm)Height of conduit: 2 1/16" (52 mm)2 1/4" (56 mm)4" x 8" (102 mm x 203 mm) opening toroute armored cable if panel is present34 9/16"(878 mm)24" (610 mm)19 11/16"(500 mm)2 1/2" min. (64 mm)1 13/16" min. (46mm)1 1/8" min.(28 mm)Do not obstruct these areas!36 inch Induction Cooktop2. Flush Installation30" min.(762 mm)Radius36 5/8" (930 mm)33 7/8" (860 mm)21 9/16"(547 mm)19 5/16"(490 mm)3/8"(10 mm)4 1/4" (108 mm)4 1/4" (108 mm)Height of conduit: 2 1/16" (52 mm)2 2/8" (56 mm)4" x 8" (102 mm x 203 mm) opening toroute armored cable if panel is presentSame Both side36 3/4"(934 mm)24" (610 mm)21 11/16"(551 mm)2 1/2" min. (64 mm)1 1/8" min. (29 mm)1 1/8" min. (28 mm)1 1/4" (31.5 mm)1/4" (7 mm)6/8" (19.5 mm)1/4" (7 mm)1 1/8" (28 mm)1/4" 7(mm)Radius5/16"(12 mm)Do not obstruct these areas!36 inch Induction Cooktop •All dimensions are stated in inches and millimeters (mm). •Allow 2" (50 mm) space below the armored cable opening to clear the electric cable and allow space forinstallation of the junction box on the wall at the back of the cooktop.](https://usermanual.wiki/LG-Electronics-USA/Q50941C/User-Guide-3940577-Page-27.png)