LG Electronics USA T23HLA 23" LCD TV/ MONITOR User Manual User s Manual H
LG Electronics USA 23" LCD TV/ MONITOR User s Manual H
UserManual.wiki
>
LG Electronics USA
>
T23HLA User Manual
USERS MANUAL
Navigation menu
Upload a User Manual
Namespaces
Wiki Guide
HTML
PDF
Info
Views
User Manual
Discussion / Help
Navigation
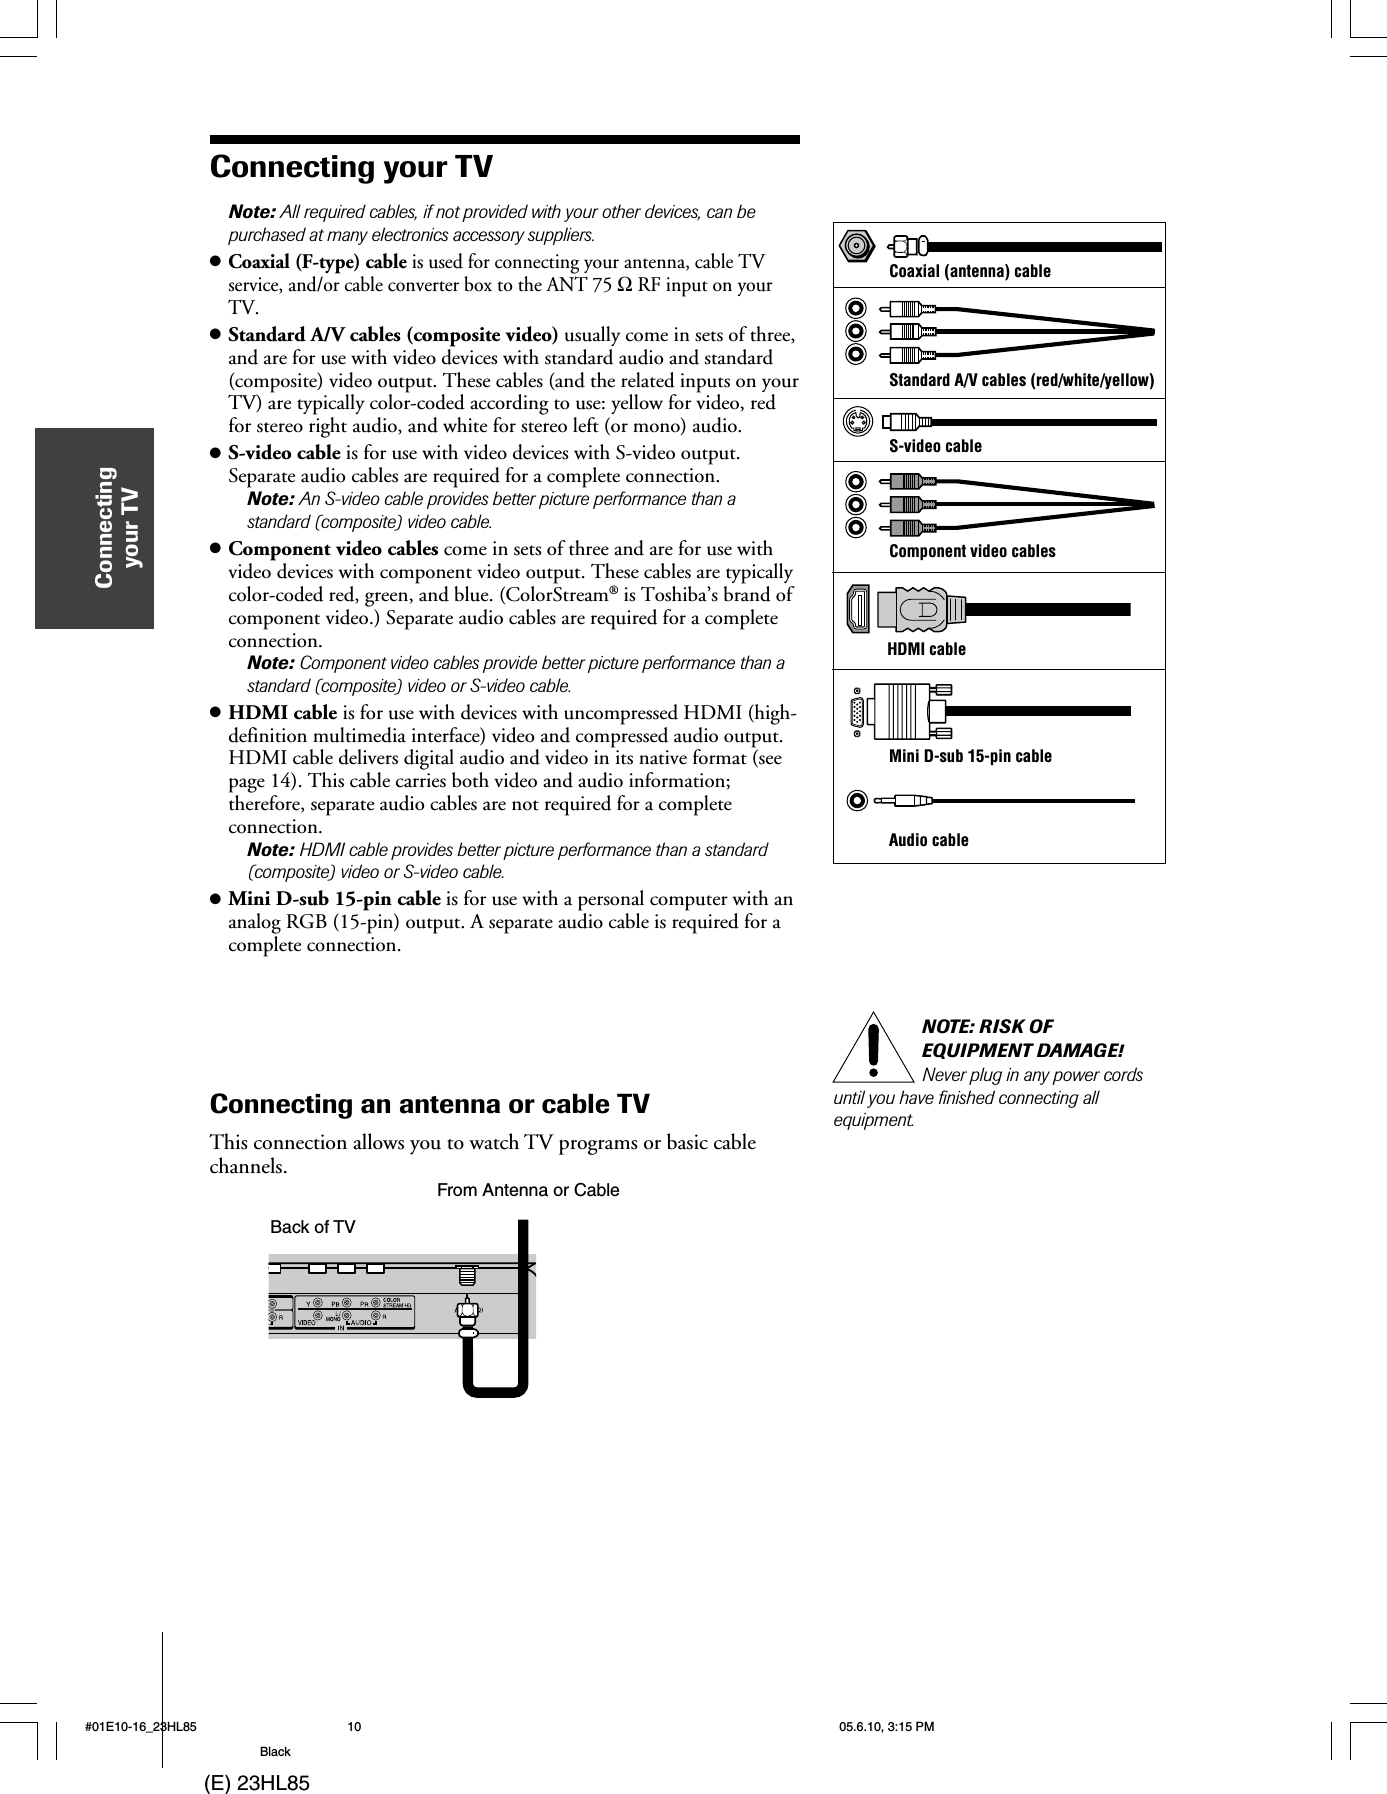
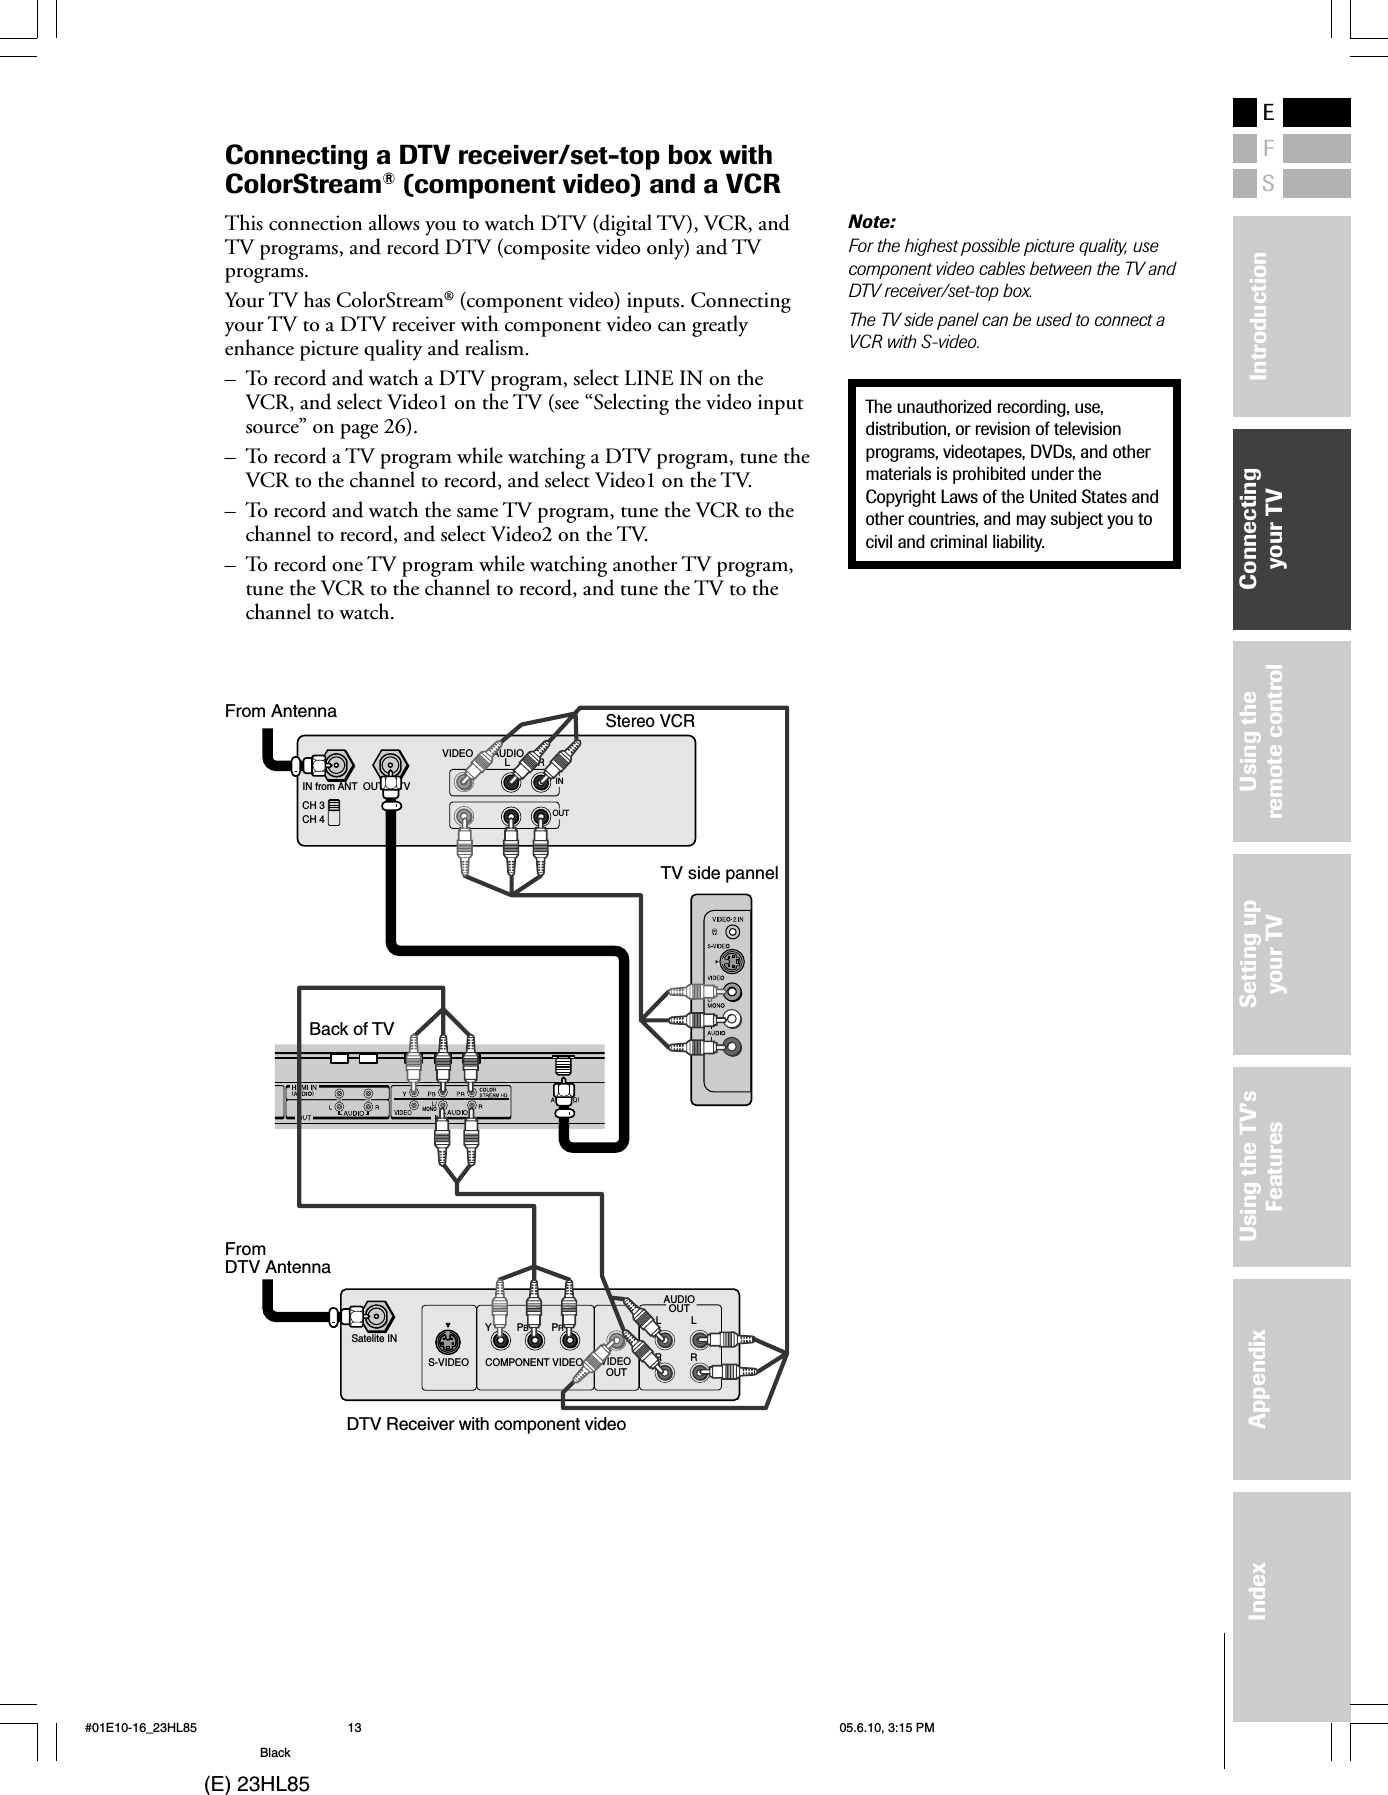
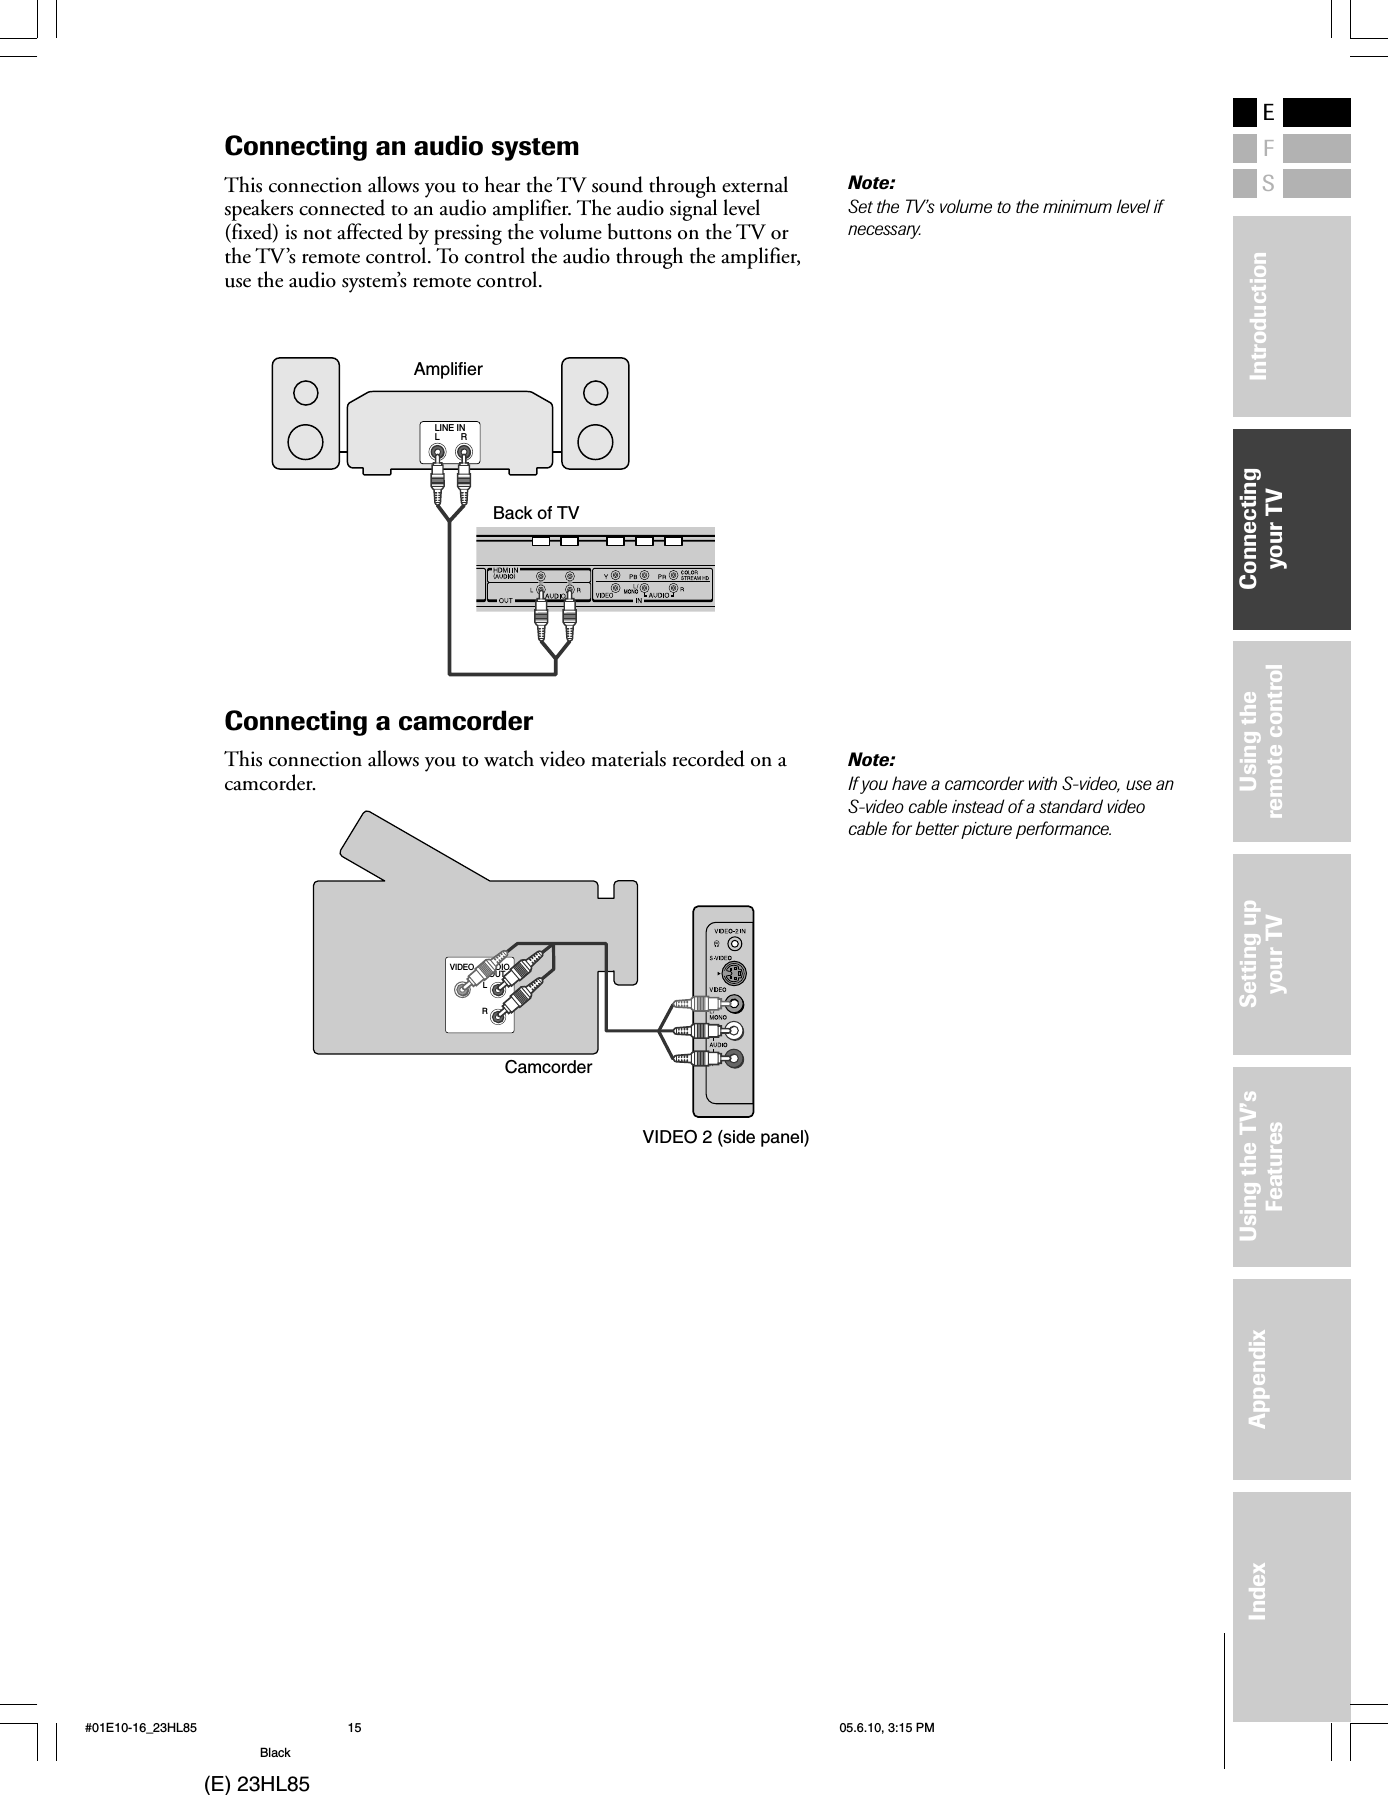
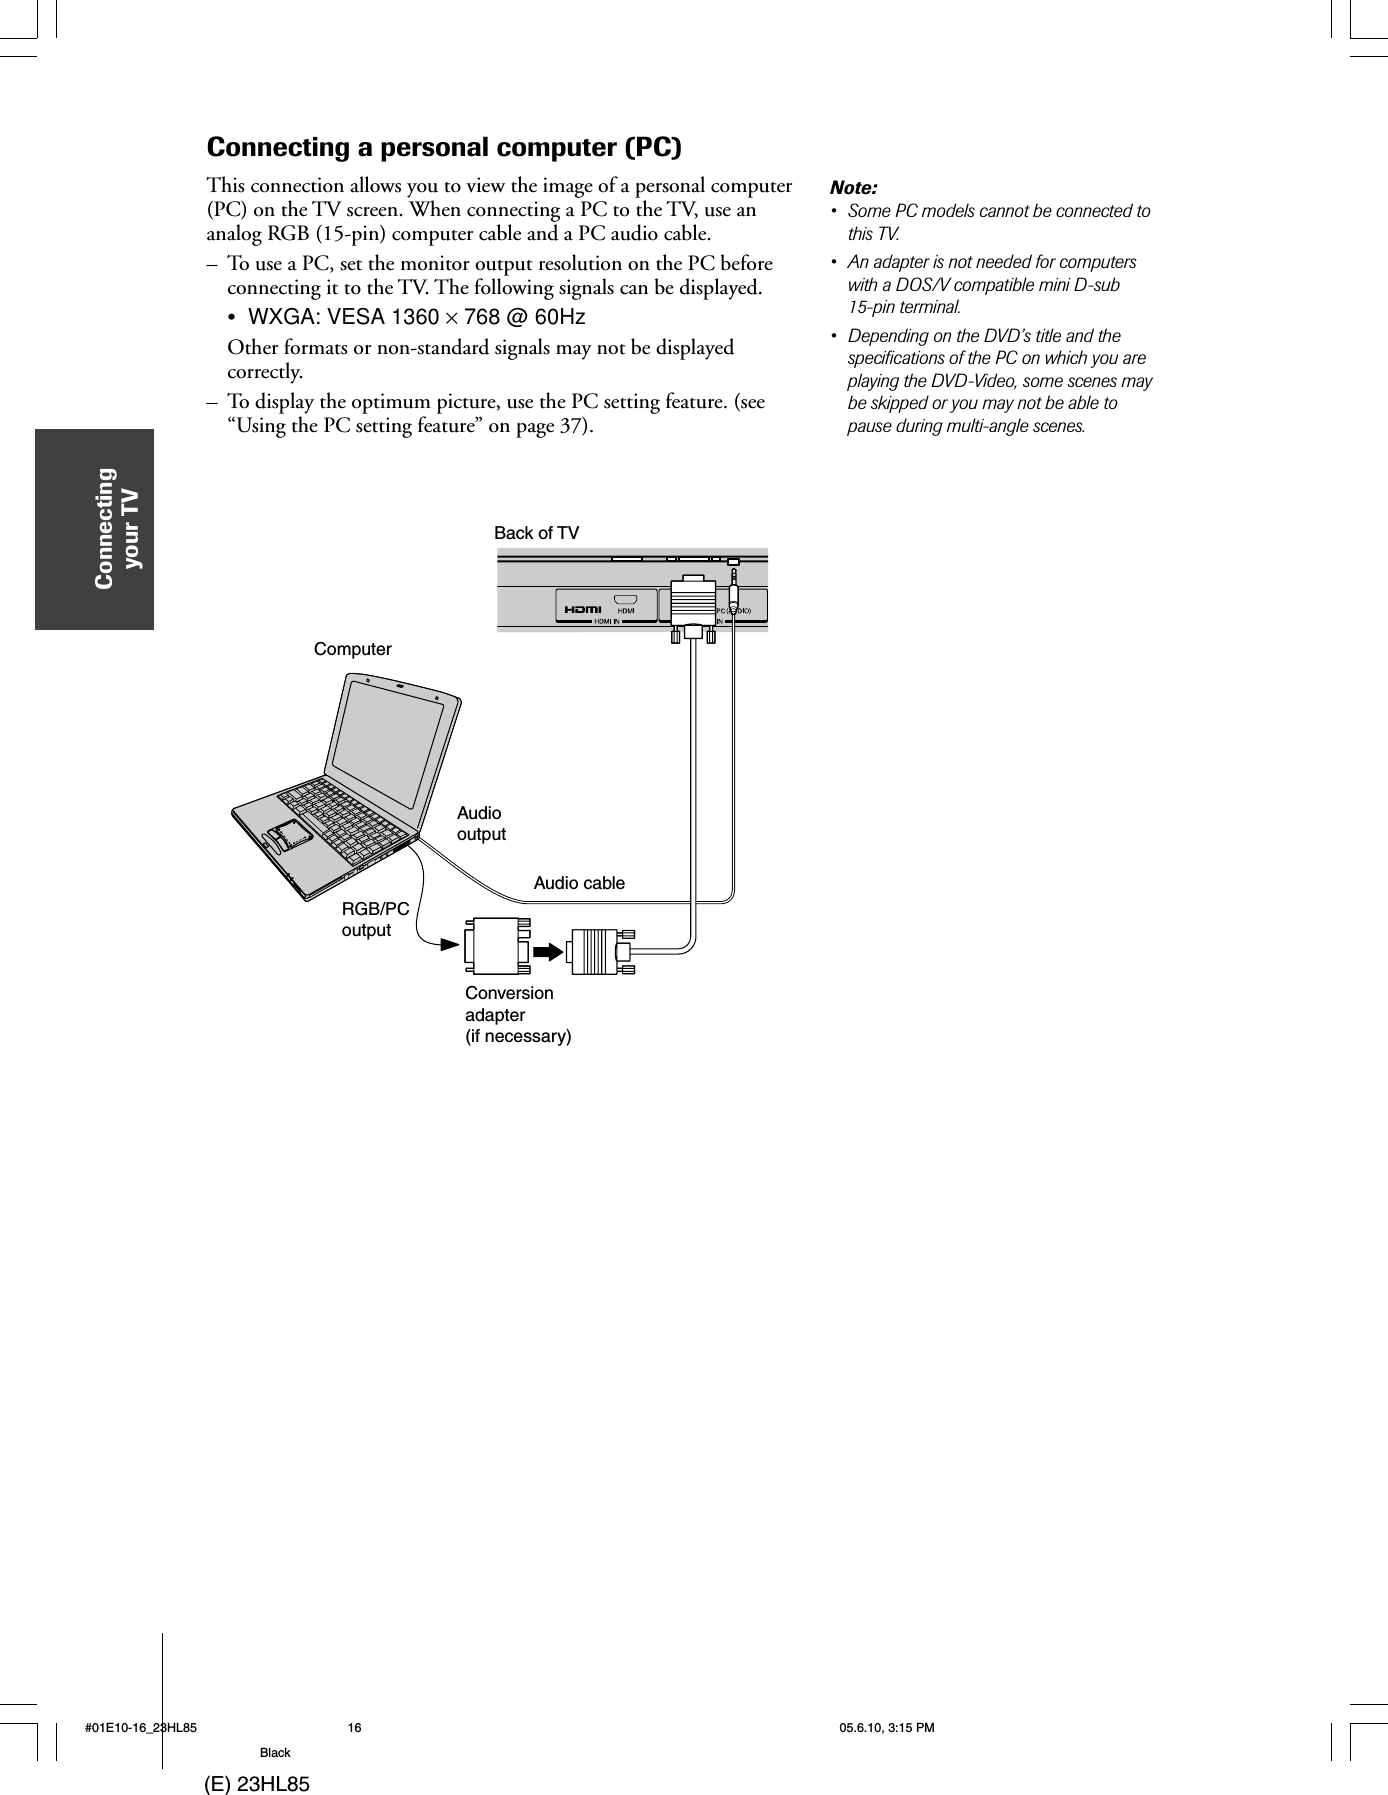
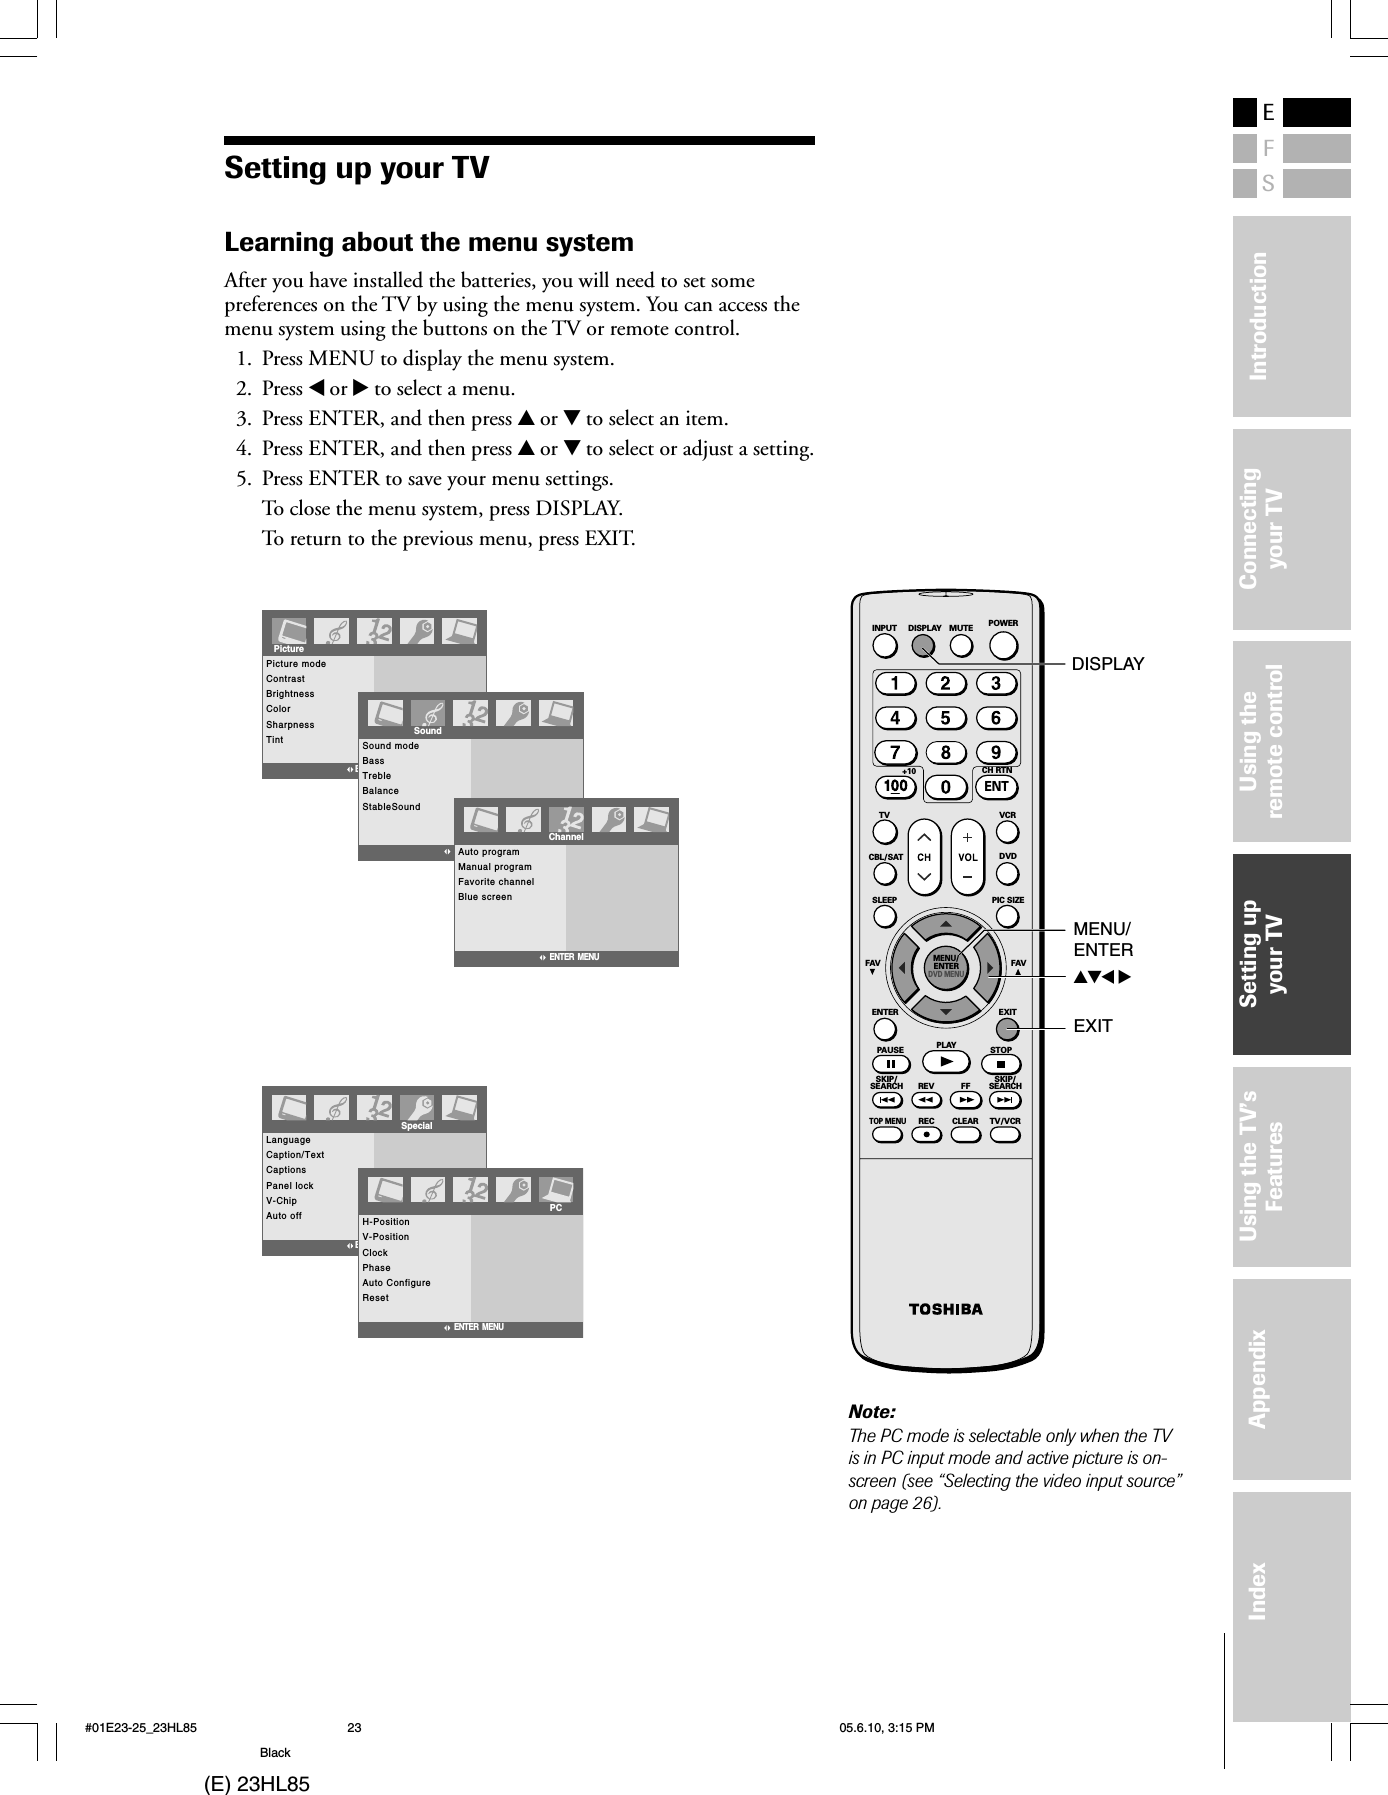
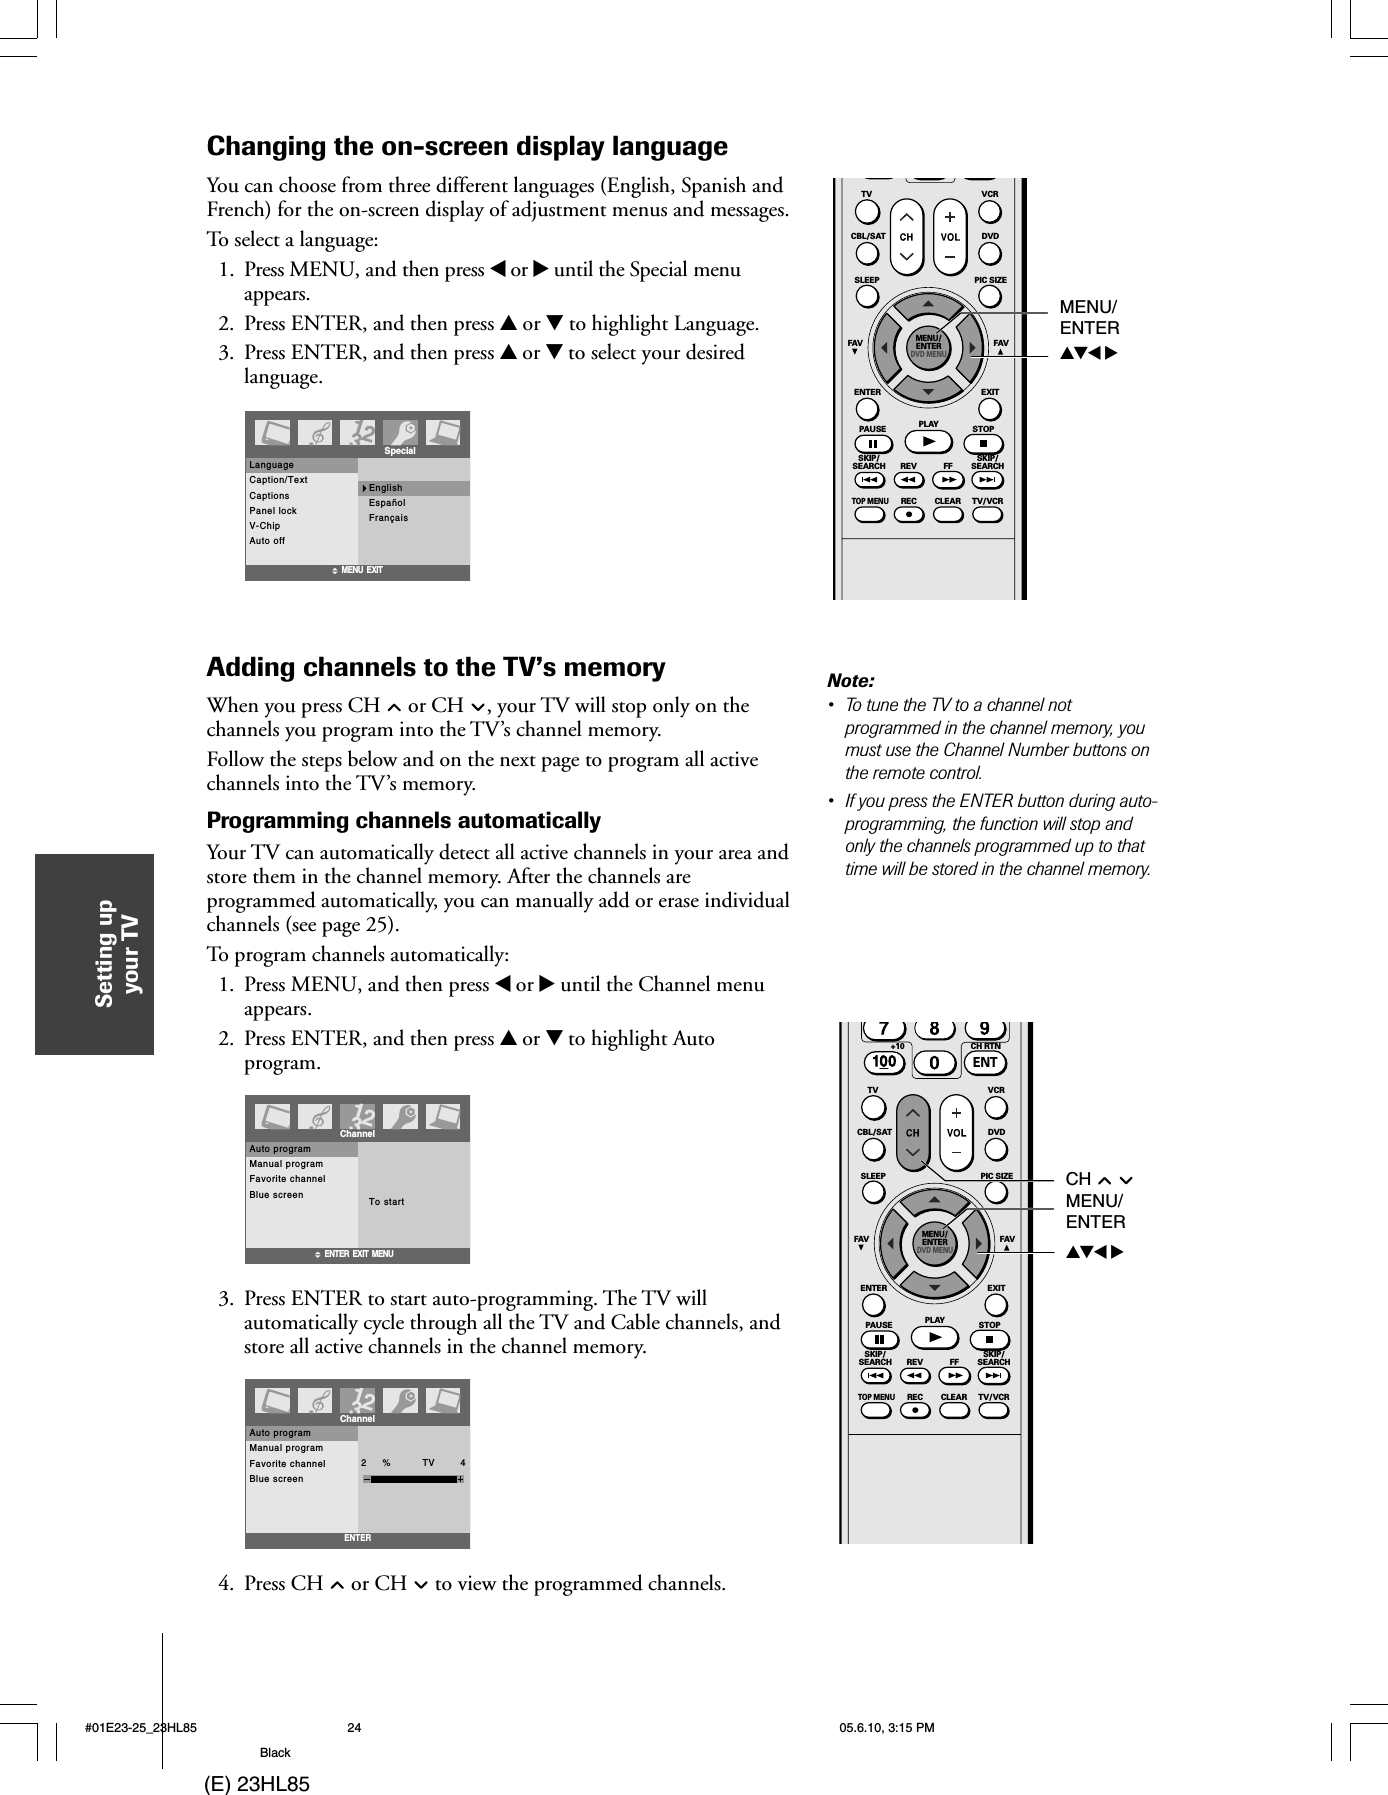
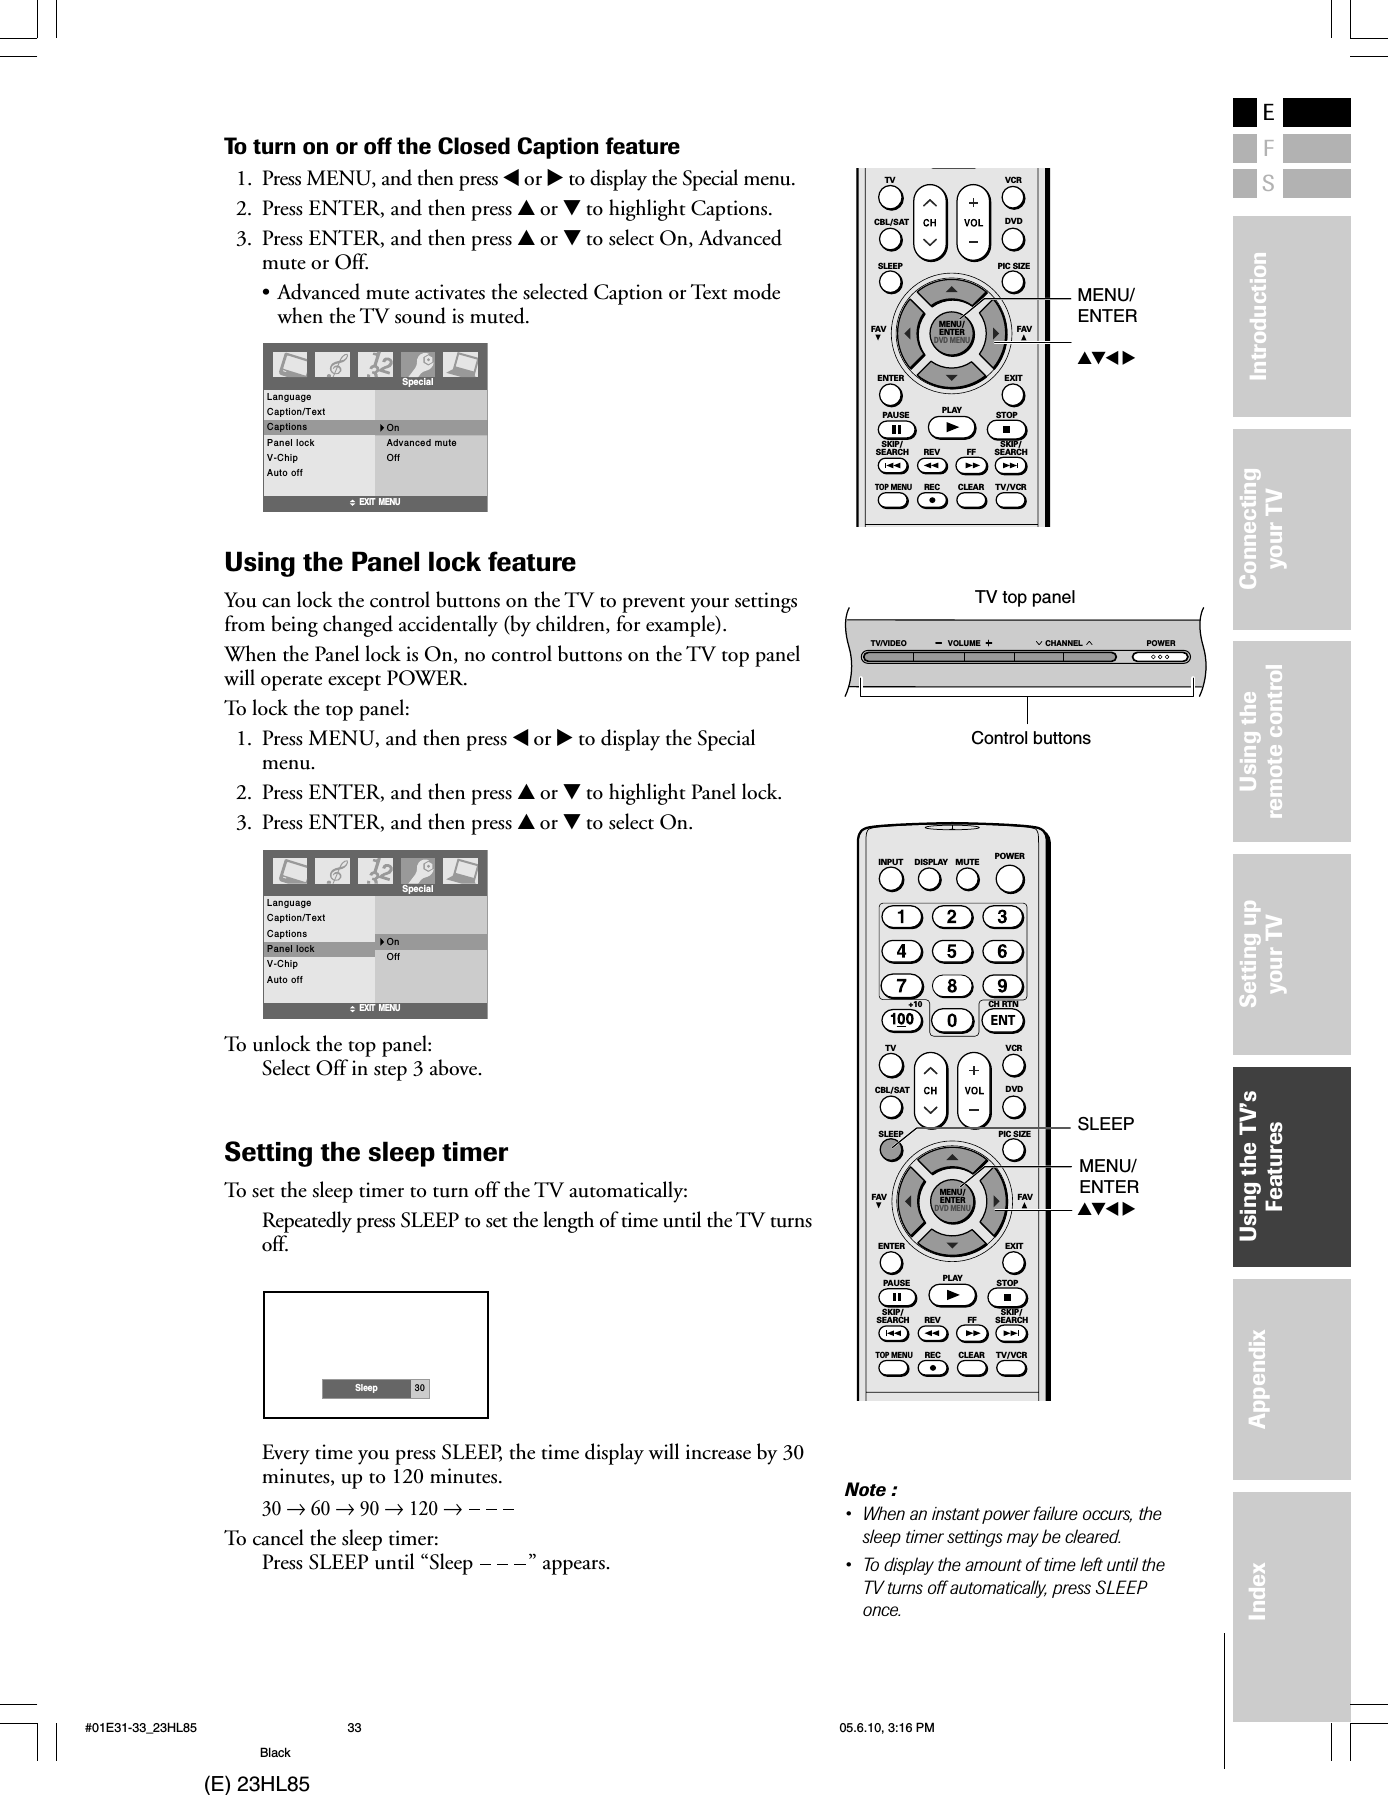
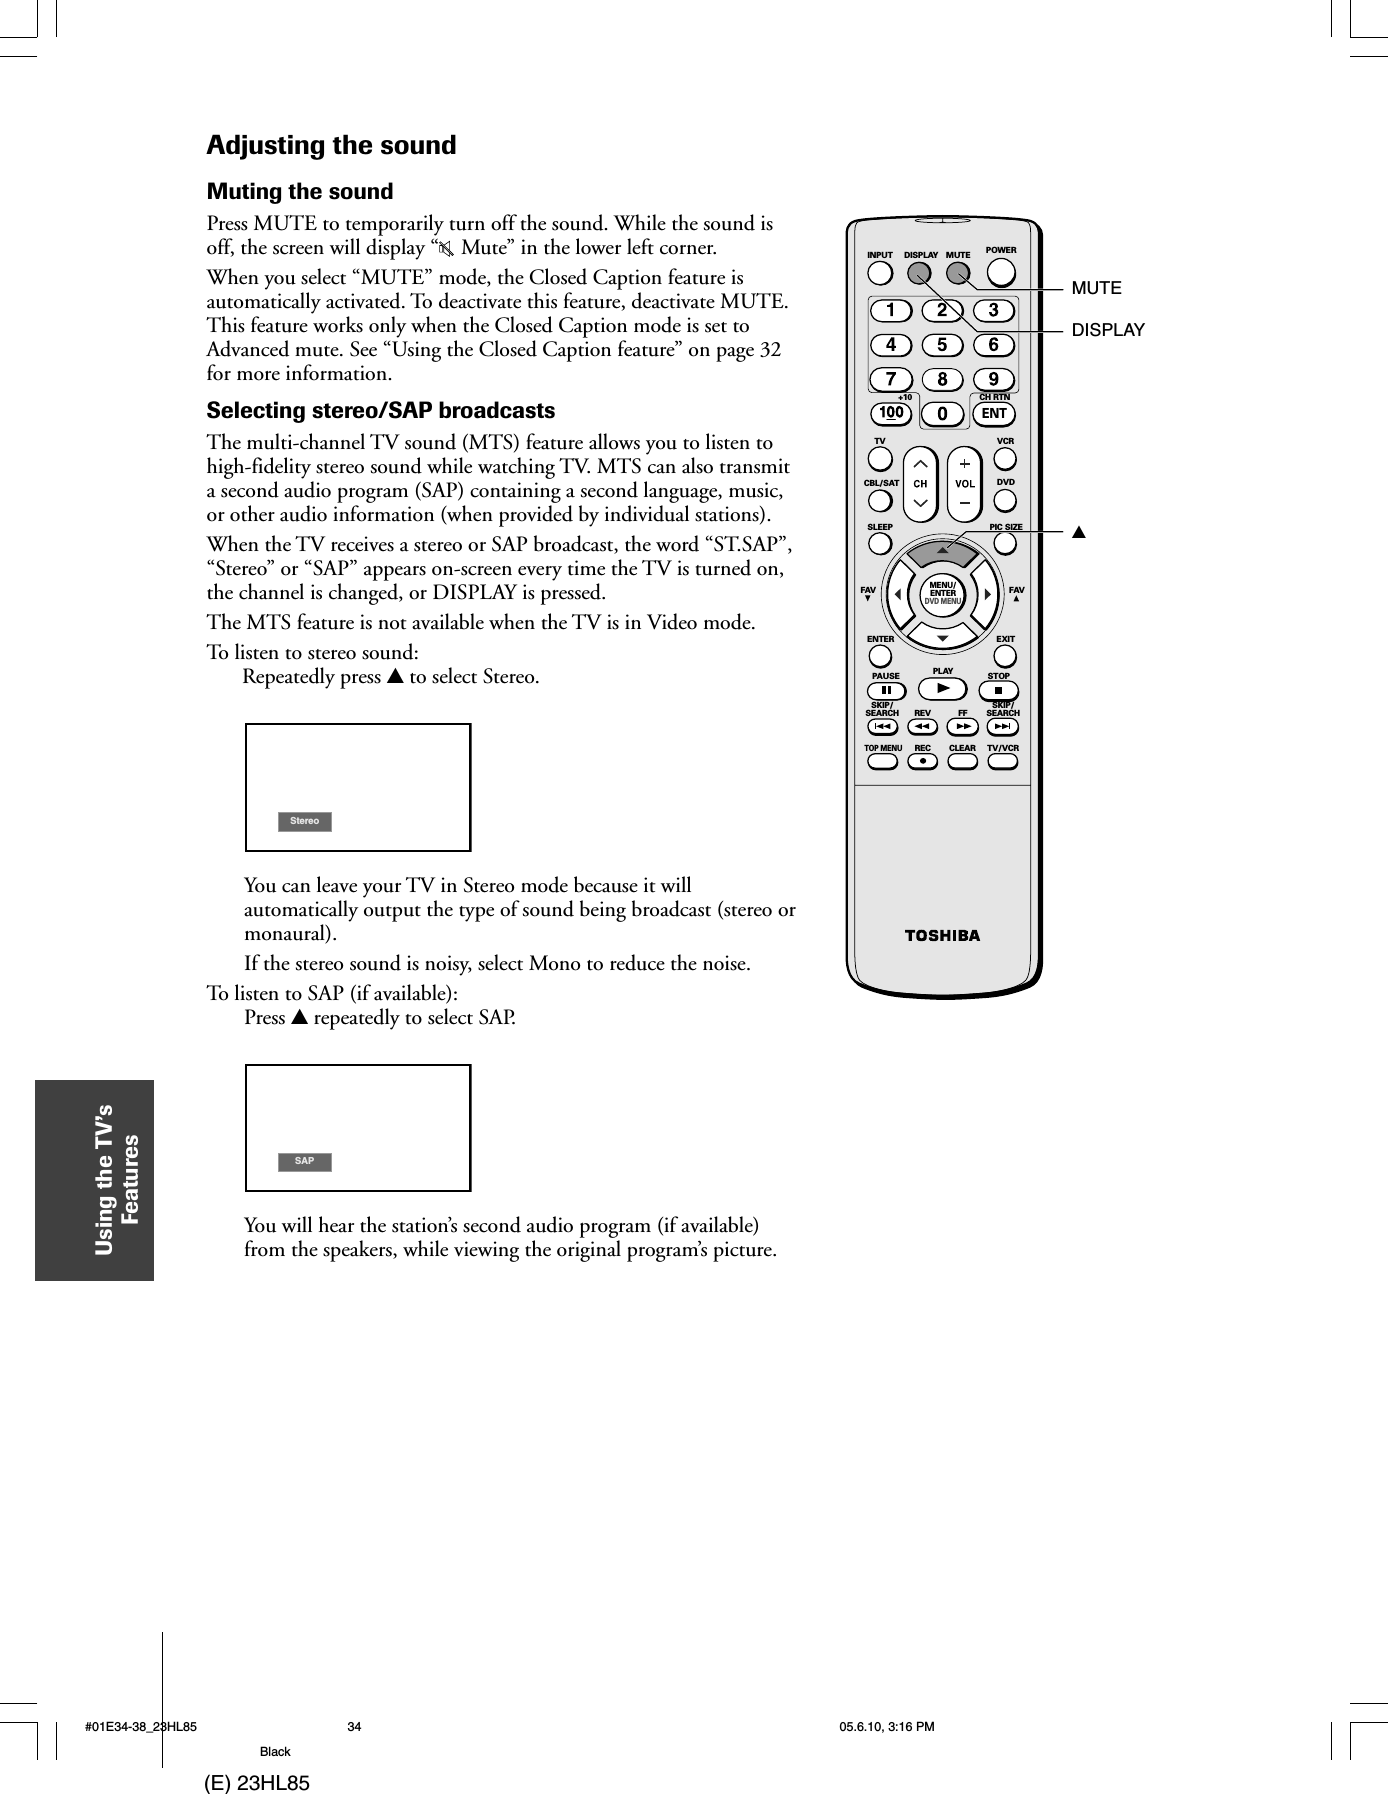
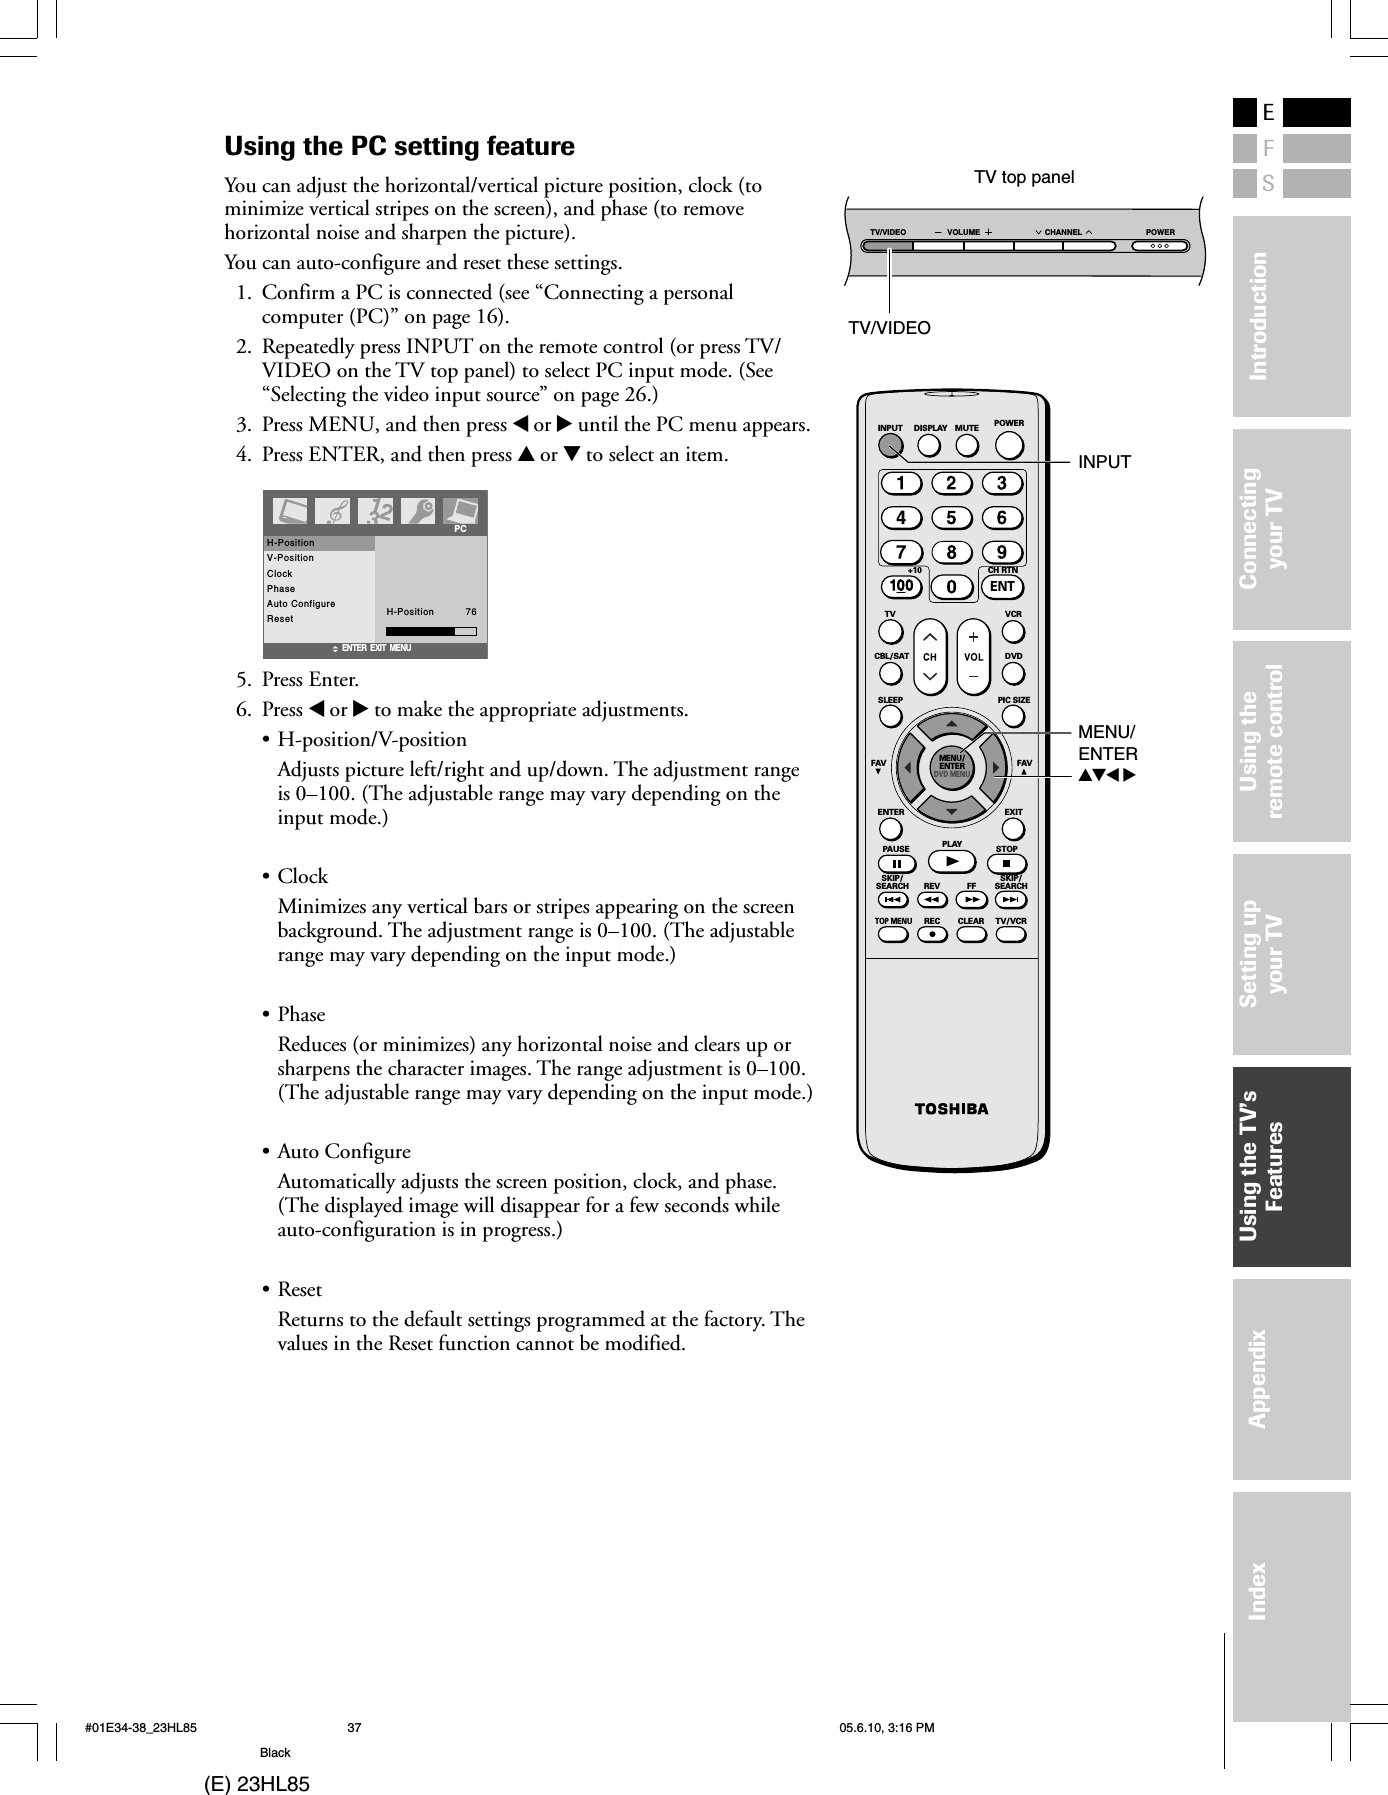
![(E) 23HL85Connectingyour TV[1] HDMI = High-Definition Multimedia Interface.[2] DVI = Digital Video Interface.[3] HDCP = High-bandwidth Digital Content Protection.[4] EIA/CEA-861/861B compliance covers the transmission ofuncompressed digital video with high-bandwidth digitalcontent protection, the technology of which is beingstandardized for reception of high-definition video signals.Because this is an evolving technology, it is possible thatsome devices may not operate properly with the TV.Connecting an HDMI™ or a DVI device to the HDMI inputHDMI, the HDMI logo and High-Definition Multimedia Interface aretrademarks or registered trademarks of HDMI Licensing LLC.To connect a DVI device, you will need:•one HDMI–to–DVI adapter cable(HDMI type A connector)For proper operation, the length of an HDMI-to-DVIadapter cable should not exceed 9.8 ft (3m). Therecommended length is 6.6 ft (2m).•one pair of standard analog audio cablesAn HDMI-to-DVI adapter cable transfers only video.Separate analog audio cables are required (seeillustration below).VIDEO AUDIOLRINOUTDVIOUTTo ensure that the HDMI or DVI device is resetproperly, it is recommended that you followthese procedures:•When turning on your electronic components,turn on the TV first, and then the HDMI orDVI device.•When turning off your electronic components,turn off the HDMI or DVI device first, andthen the TV.The HDMI[1] input on your TV receives digital audioand uncompressed digital video from an HDMIdevice or uncompressed digital video from a DVI[2]device.This input is designed to accept HDCP[3] programmaterial in digital form from EIA/CEA-861/861B–compliant[4] consumer electronic devices (such as a set-top box or DVD player with HDMI or DVI output).The HDMI input is designed for best performancewith 1080i high-definition video signals, but will alsoaccept and display 480i, 480p, and 720p signals.To connect an HDMI device, you will need:• one HDMI cable (type A connector)For proper operation, it is recommended that youuse a short HDMI cable.HDMI cable transfers both video and audio. Separateanalog audio cables are not required (see illustrationbelow). Some CDVs (Video CDs) may not outputdigital audio signals, in which case you may be ableto hear sound by connecting analog audio cables.However, if you connect analog audio cables with thisconnection, the HDMI terminal on the TV will notreceive the HDMI digital audio signal and you willhear analog audio only.VIDEO AUDIOLRINOUTHDMI OUTTV lower back panelHDMI deviceTV lower back panelDVI deviceNote: The HDMI jack is not intended for connection toand should not be used with a personal computer. For PCconnection, see page 16.#01E10-16_23HL85 05.6.10, 3:15 PM14Black](https://usermanual.wiki/LG-Electronics-USA/T23HLA/User-Guide-552342-Page-11.png)