LG Electronics USA TBLT20 Tablet/Notebook PC with WLAN and Bluetooth User Manual 1
LG Electronics USA Tablet/Notebook PC with WLAN and Bluetooth 1
UserManual.wiki
>
LG Electronics USA
>
TBLT20 User Manual
>
Users manual 3
Contents
1.
users manaul 1
2.
users manual 2
3.
Users manual 3
Users manual 3
Navigation menu
Upload a User Manual
Namespaces
Wiki Guide
HTML
PDF
Info
Views
User Manual
Discussion / Help
Navigation

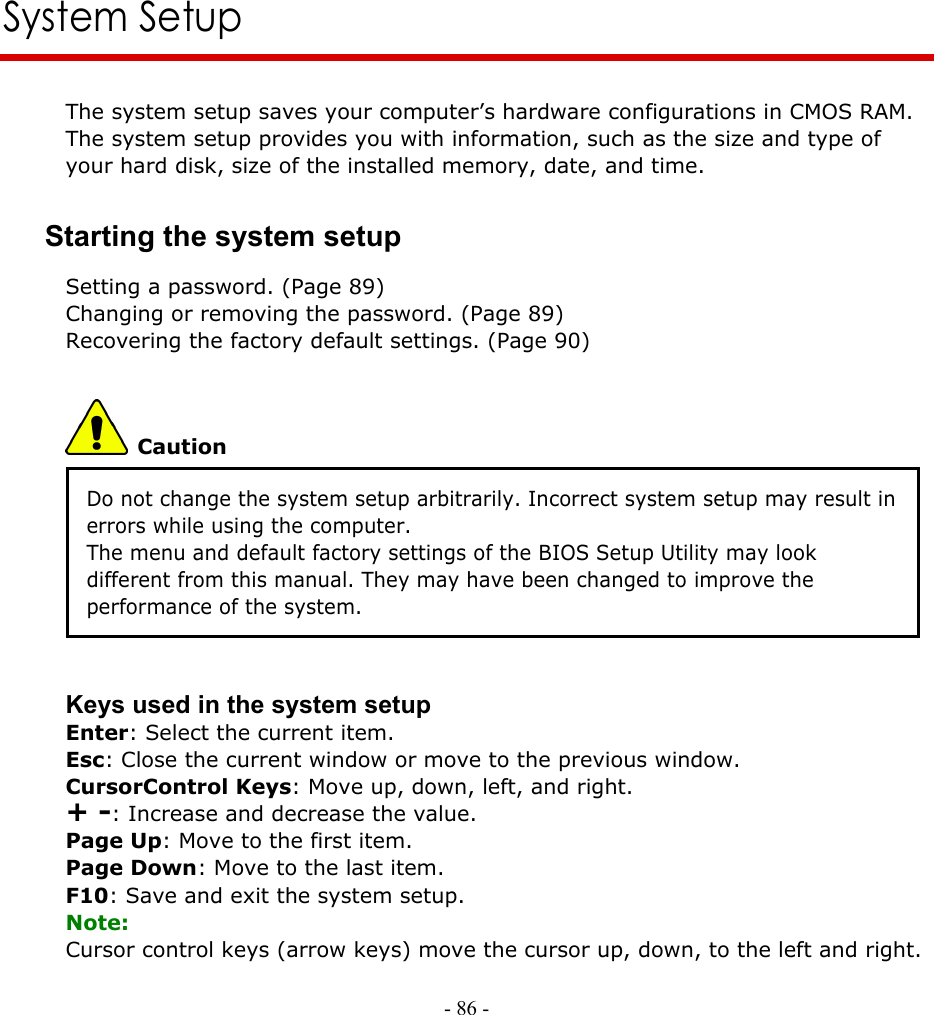
![ClickLock: enables you to select text or drag a file without having to continuously hold down the mouse button or touch pad button. Follow the instruction below to enable ClickLock. If ClickLock is enabled, you can hold down the mouse button or touch pad button for a moment and then release it, and still get the same effect as continuously holding down the button. You can drag an object with ClickLock enabled and press again to release the button and drop the object. Click and open the Mouse Properties window. On the Buttons tab, under ClickLock, select Turn on ClickLock check box. Click Settings and adjust how long you need to hold down a mouse or touch pad button to enable ClickLock, and then Select [OK]. - 84 -](https://usermanual.wiki/LG-Electronics-USA/TBLT20.Users-manual-3/User-Guide-403602-Page-4.png)
![Press F10 to save the new settings. If the following message appears, select [Yes] and press Enter to restart the computer. Setting a user password A user password is a secondary compared to a supervisor password. You must set a supervisor password in order to set a power-on password. Start the BIOS Setup Utility and use arrow keys to select Security menu. Use arrow keys to select Set User Password and press Enter. Note: A power-on password gives limited access for changing the settings in the BIOS Setup Utility compared to a supervisor password. If the following message appears, enter a new password and then press Enter. A - 89 -](https://usermanual.wiki/LG-Electronics-USA/TBLT20.Users-manual-3/User-Guide-403602-Page-9.png)
![password must be consisted of character A~Z and numbers 0~9, and have the maximum length of 8. If the following message appears, press Enter. Press F10 to save the new settings. If the following message appears, select [Yes] and press Enter to restart the computer. Changing or removing the password You must know the password to change or remove it. Start the BIOS Setup Utility, enter your password, and then press Enter. To change the password, follow the instruction on Setting a password. To remove the password, follow the instructions below. Use arrow keys to select Security menu, and select a password you want to remove, and then press Enter. If the following message appears, enter the current password in the bracket next to Enter Current Password, and then press Enter. Press Enter without entering a password in the brackets next to Enter New Password and Confirm New Password. - 90 -](https://usermanual.wiki/LG-Electronics-USA/TBLT20.Users-manual-3/User-Guide-403602-Page-10.png)
![If the following message appears, press Enter. Press F10 to save the new settings. If the following message appears, select [Yes] and press Enter to restart the computer. Recovering the factory default settings If a user accidentally modifies the system setup, follow the instruction below to recover the factory default settings. Start the BIOS Setup Utility, and use arrow keys to select Exit. Use arrow keys to select Load Setup Defaults, and press Enter. If the following message appears, select [Yes] and press Enter to recover the factory default settings. - 91 -](https://usermanual.wiki/LG-Electronics-USA/TBLT20.Users-manual-3/User-Guide-403602-Page-11.png)
![Press F10 to save the new settings. If the following message appears, select [Yes] and press Enter to restart the computer. System Recovery System Recovery offers to format the hard disk as shipping statement of the product. User must make backup files to minimize a risk of losing data. Windows CD is not provided separately with the product that offers system recovery contracted by Microsoft. Using Full Recovery To recover hard disk completely user must make backup for all software and data on the computer. If Windows installation is complete, user must fill out Windows user registration information as the first time to buy the product. Press F11 with appearing preload image on the screen. - 92 -](https://usermanual.wiki/LG-Electronics-USA/TBLT20.Users-manual-3/User-Guide-403602-Page-12.png)
![2. If the following screen appears, select one of items for work. 3. Select [Full Recovery without Format], or [Full Recovery after format]. * In the case of selecting [Full Recovery without Format]. - 93 -](https://usermanual.wiki/LG-Electronics-USA/TBLT20.Users-manual-3/User-Guide-403602-Page-13.png)
![[Recovering factory default] appears. * In the case of selecting [Full Recovery after format] Click [Start Recovery] . - 94 -](https://usermanual.wiki/LG-Electronics-USA/TBLT20.Users-manual-3/User-Guide-403602-Page-14.png)
!["Formatting to NTFS" appears. When starting [Full Recovery], next procedures appears on the screen. If the following screen appears after restarting system, fill out Windows user registraion information. When clicking [Finish], the system returns to normal. - 95 -](https://usermanual.wiki/LG-Electronics-USA/TBLT20.Users-manual-3/User-Guide-403602-Page-15.png)
![Driver Installation 1. Turn on the computer and go to [Start]-[All Programs]-[GIL JABI]. 2. Select the device driver you want to install. 3. Follow the instructions to complete the installation. Some device drivers require you to restart the computer after the installation. - 96 -](https://usermanual.wiki/LG-Electronics-USA/TBLT20.Users-manual-3/User-Guide-403602-Page-16.png)