LITE ON TECHNOLOGY DP803AH HP SMART WI-FI DISPLAY User Manual Manual
LITE-ON Technology Corp. HP SMART WI-FI DISPLAY Manual
UserManual.wiki
>
LITE ON TECHNOLOGY
>
DP803AH User Manual
Users Manual
Navigation menu
Upload a User Manual
Namespaces
Wiki Guide
HTML
PDF
Info
Views
User Manual
Discussion / Help
Navigation
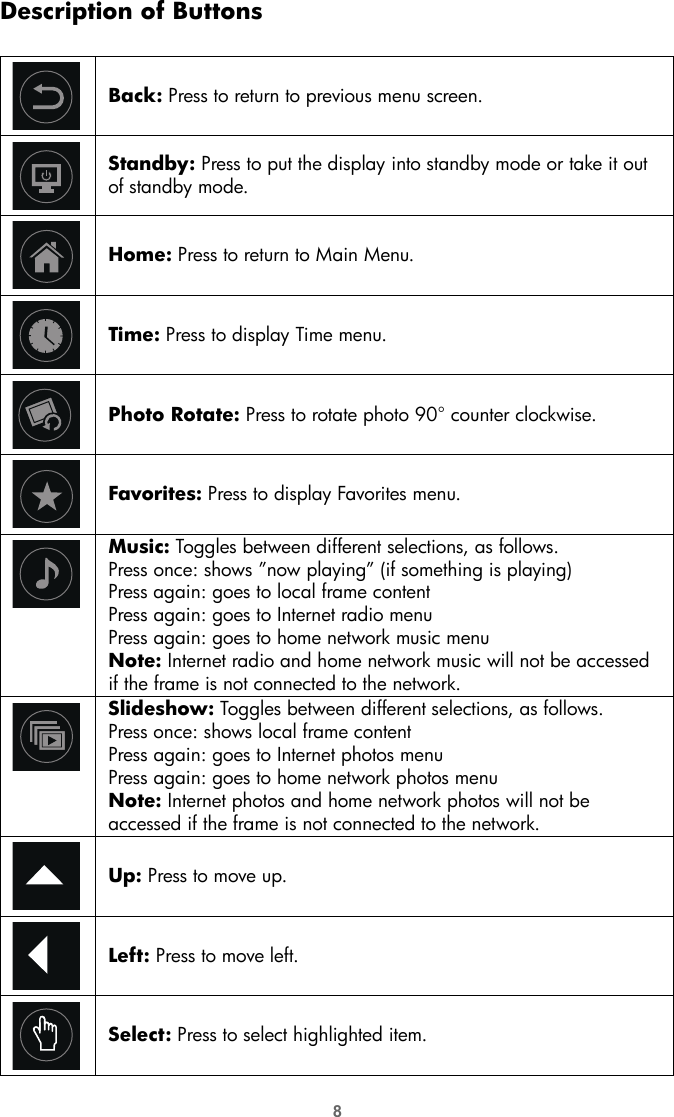
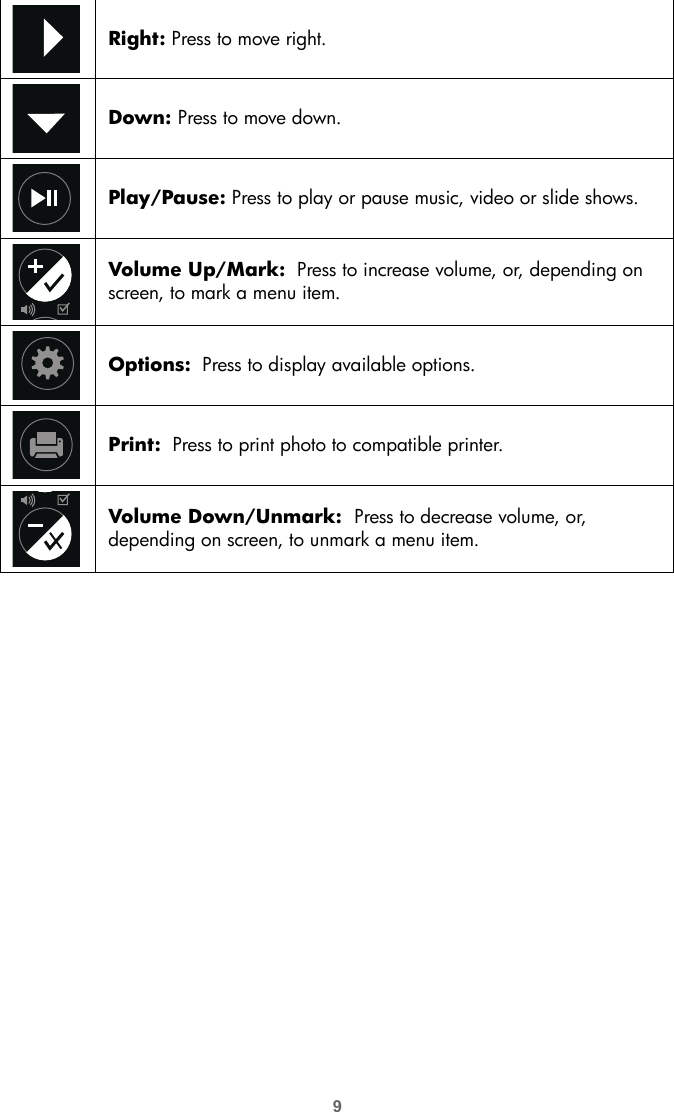
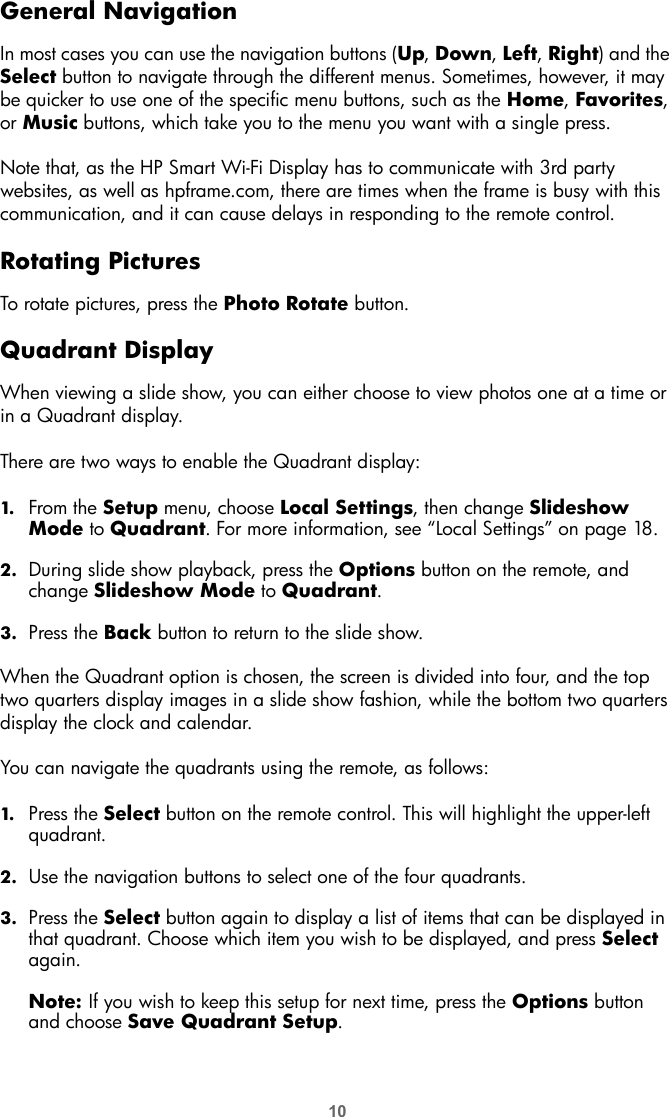
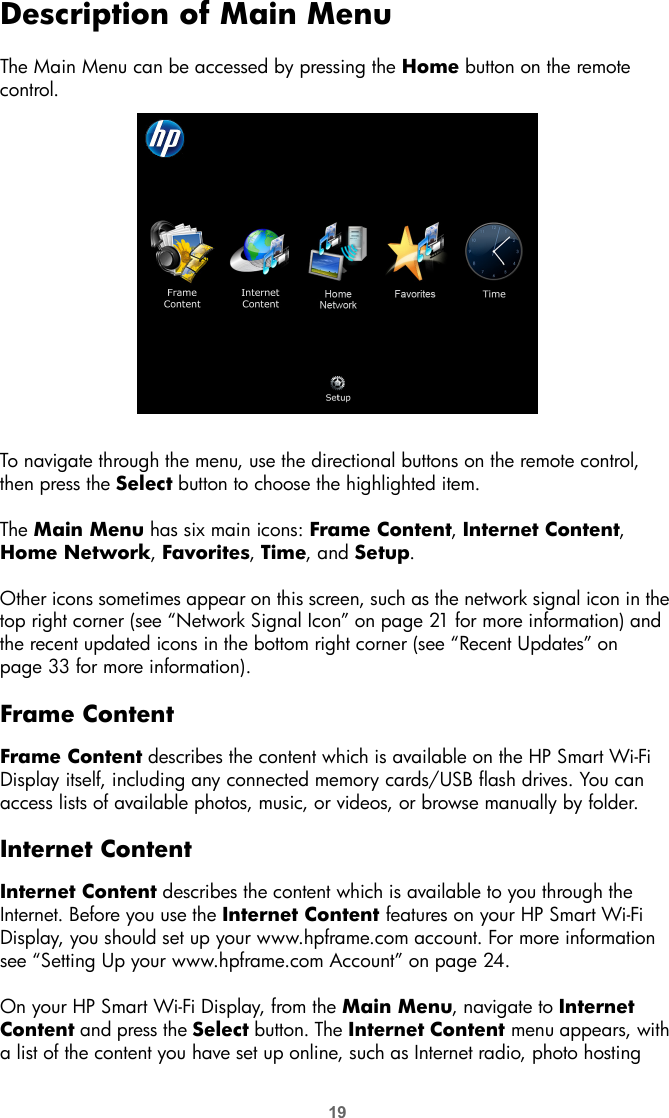
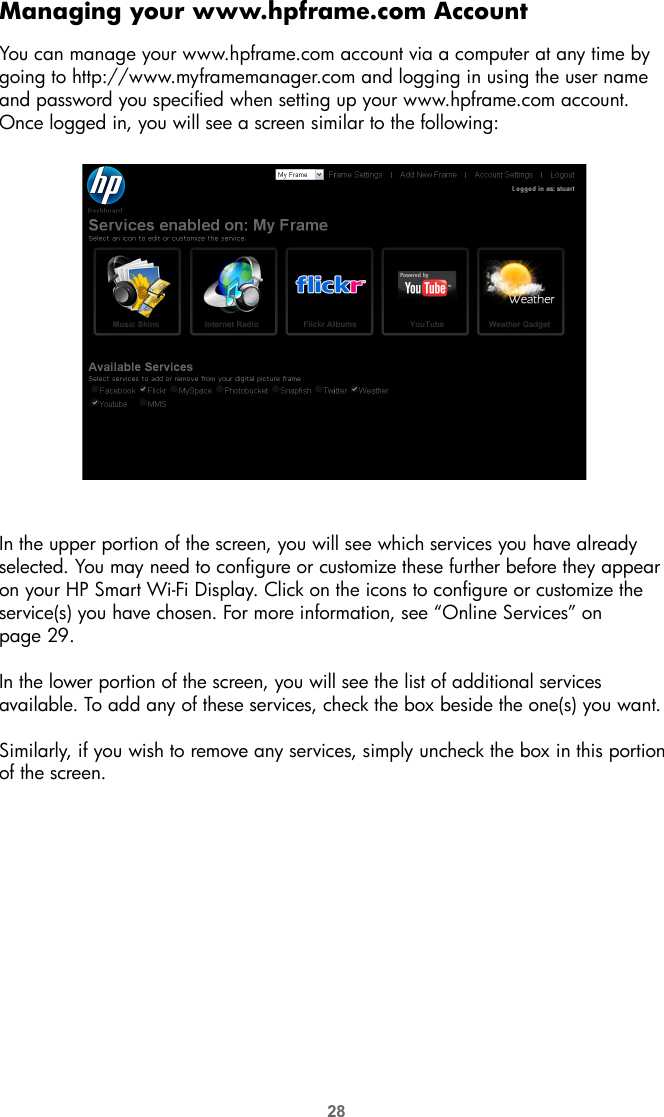
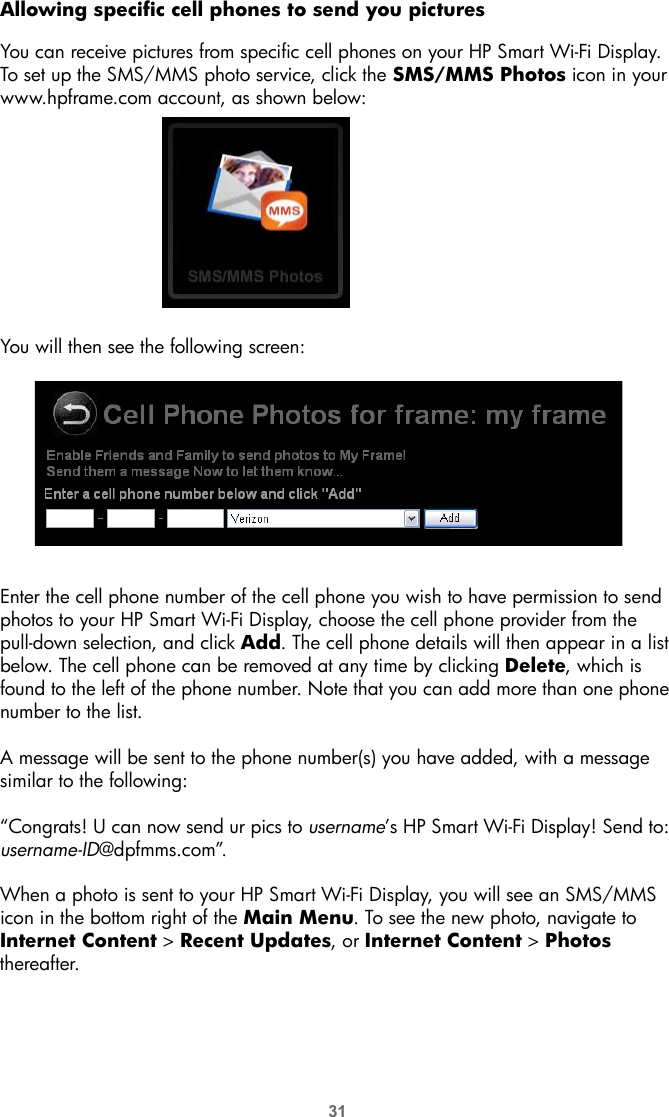
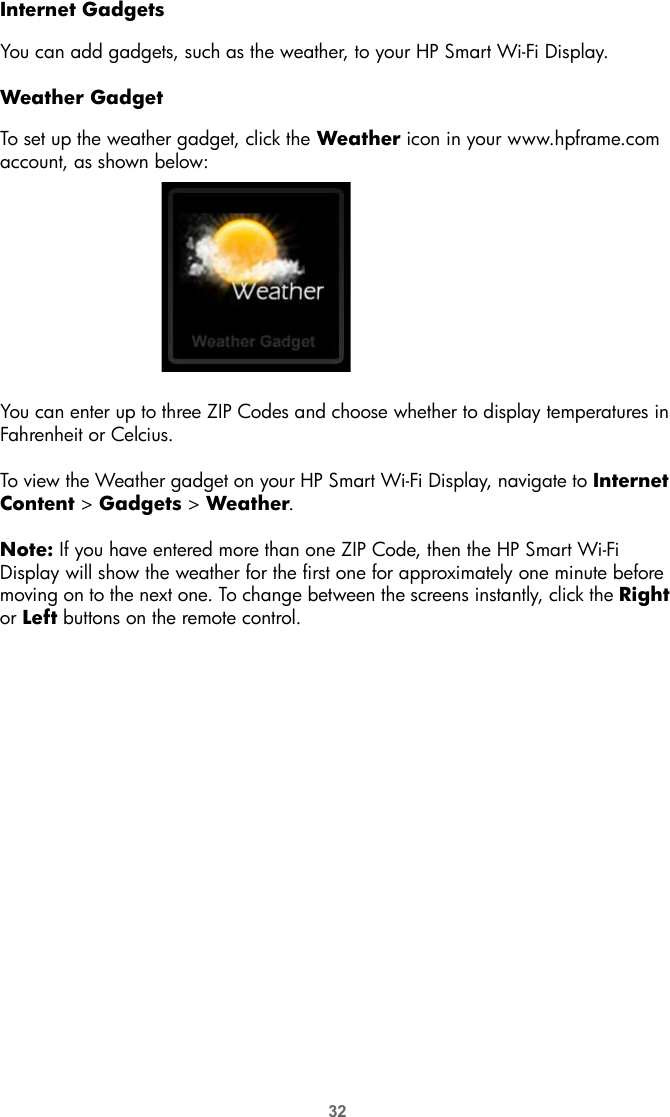
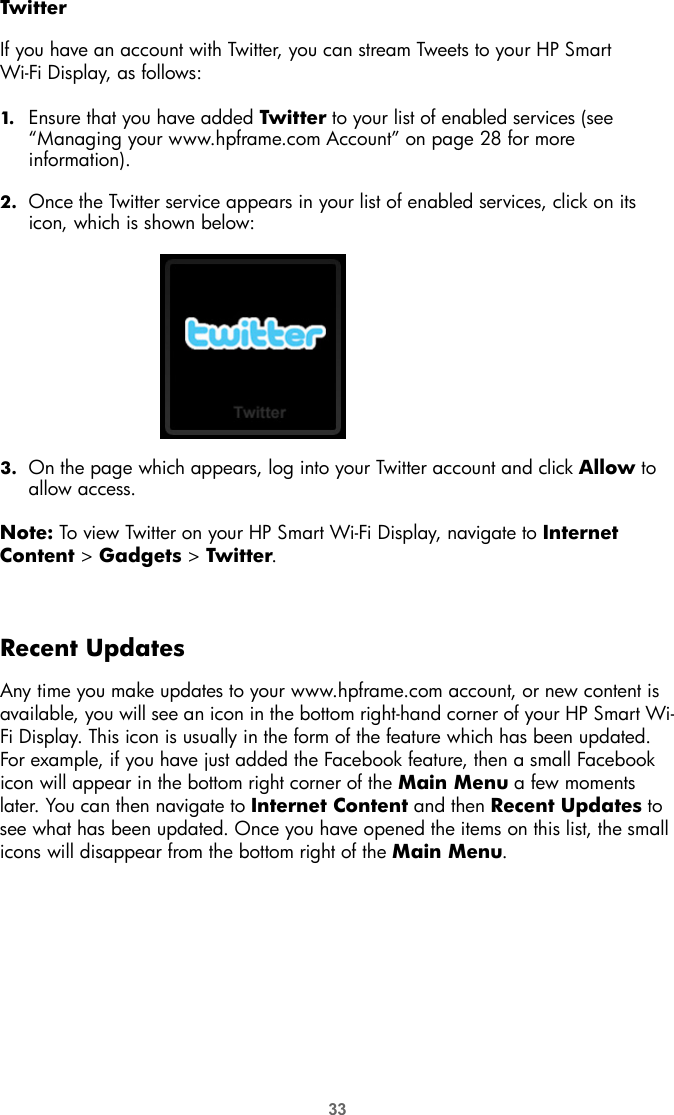
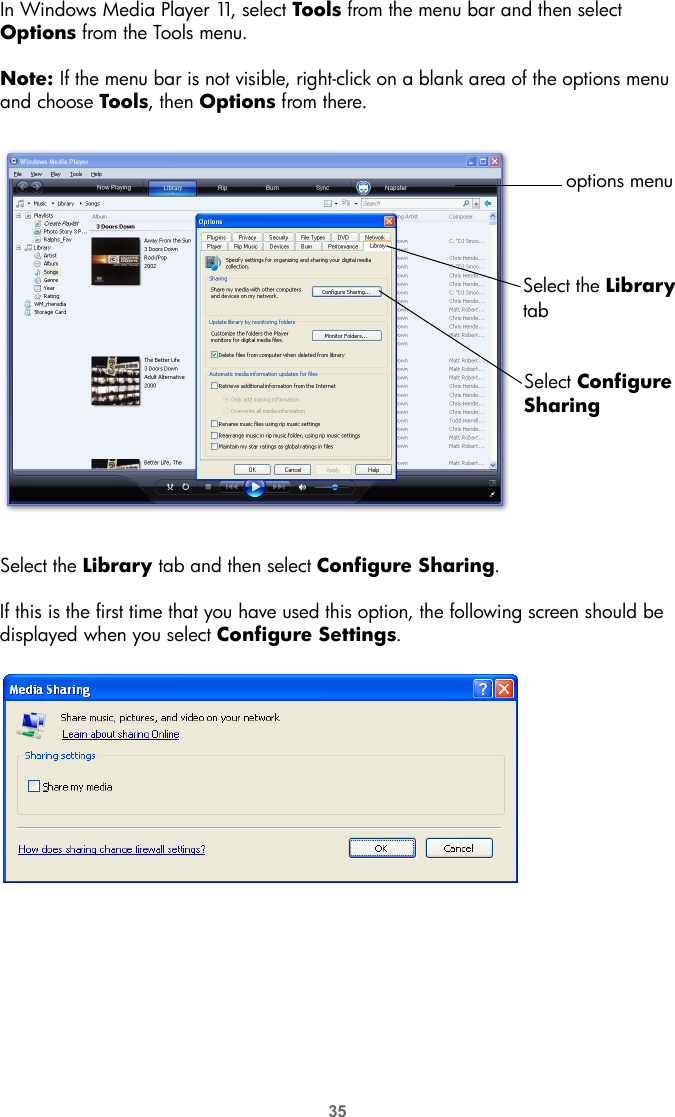
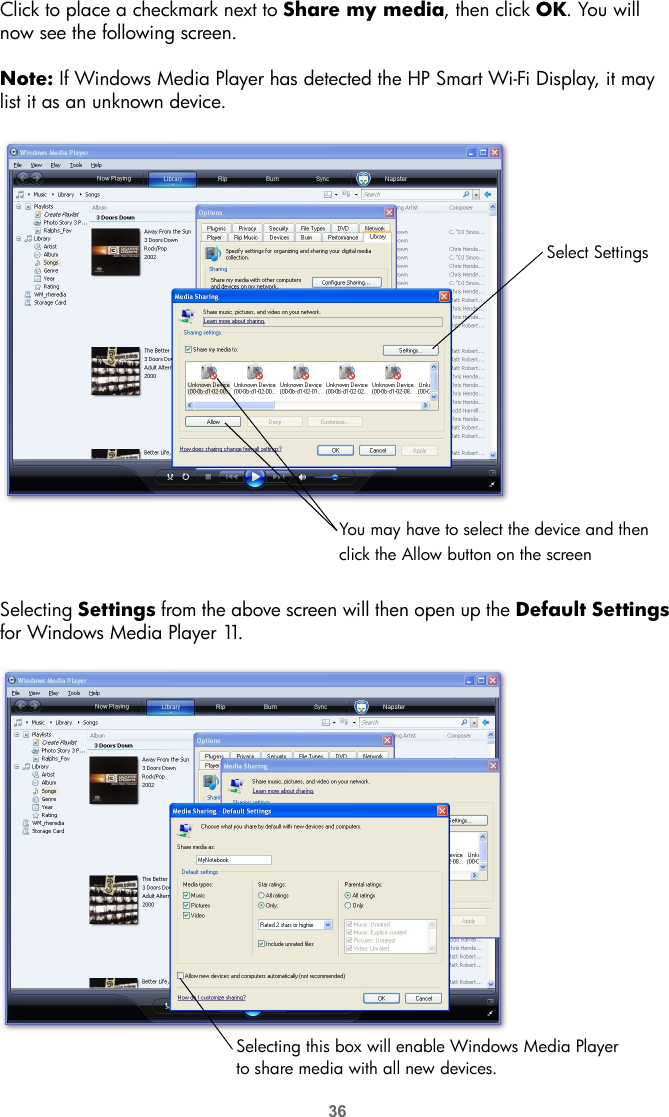
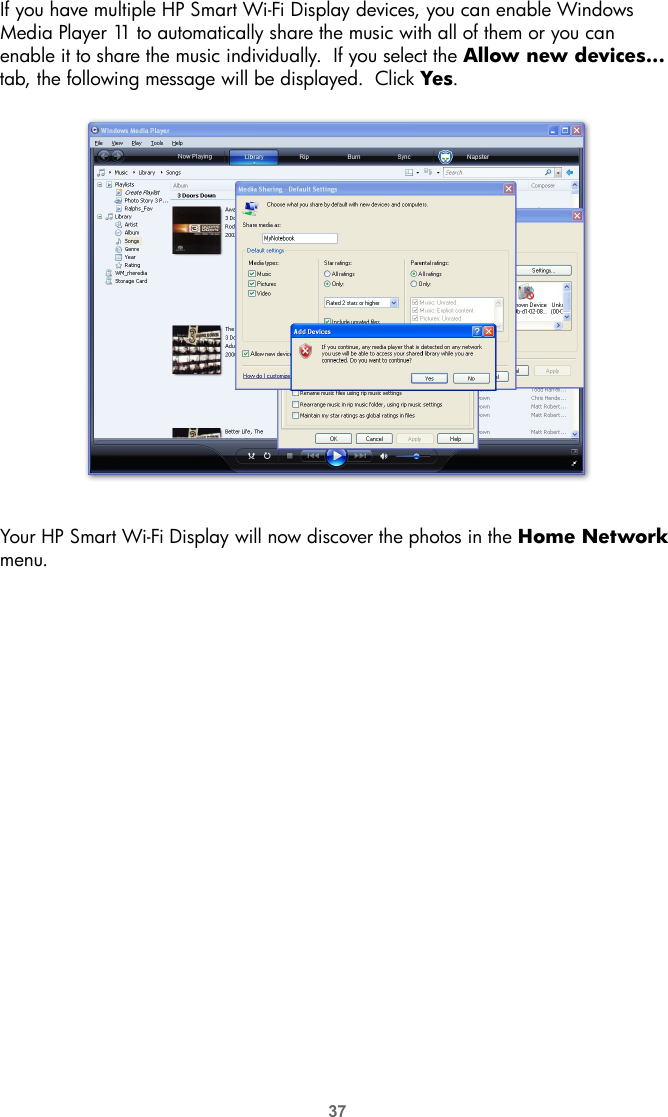
![18Local SettingsThe Local Settings menu lets you configure various settings on your HP Smart Wi-Fi Display.From the Setup menu, navigate to Local Settings and press the Select button. The following options are displayed. Use the navigation buttons to highlight the option you wish to change, then use the Select button to change the setting.•Set Wake/Sleep/Alarm - Set the wake time, sleep time, or alarm. See “Setting Wake/Sleep/Alarm times” on page 21 for more information.•Slideshow Mode - Choose between [Single] or [Quadrant]. [Quadrant] divides the screen into four, and shows photos in the top too quadrants and the clock and calendar in the bottom two during slide shows. You can also customize what is displayed in Quadrant mode. See “Quadrant Display” on page 10 for more details.•Slideshow Shuffle - Displays photos in random order during slide show.•Slideshow Repeat - Repeats the slide show once the last photo is displayed.•Slideshow Interval - Lets you set the amount of time each photo is displayed during slide shows. •Music Shuffle - Plays music in random order•Music Repeat - Repeats music once the last track is finished.•Music Autoplay - Automatically plays music during slide shows when music files are present in the same folder at the photo files.•Photo Autoplay - Automatically starts a slide show when the HP Smart Wi-Fi Display is switched on and a memory card or USB storage device is inserted.•USB Mode - Choose whether to use the mini-USB port to connect to a computer or a printer (using the included mini-USB to USB cable).•Photo Mode - Choose whether to see photos at an optimized size [Optimal] or in its original size [Original]. When [Optimal] is chosen, the photo size may be increased to fit the height or width of the screen.•Photo Effect - Choose to see your photos in their original color [Normal], Black & White [Black & White], or with an old-fashioned look [Old-Fashioned].•Photo Auto-Compress - Choose whether or not to automatically compress the photo file size.](https://usermanual.wiki/LITE-ON-TECHNOLOGY/DP803AH/User-Guide-1145212-Page-18.png)