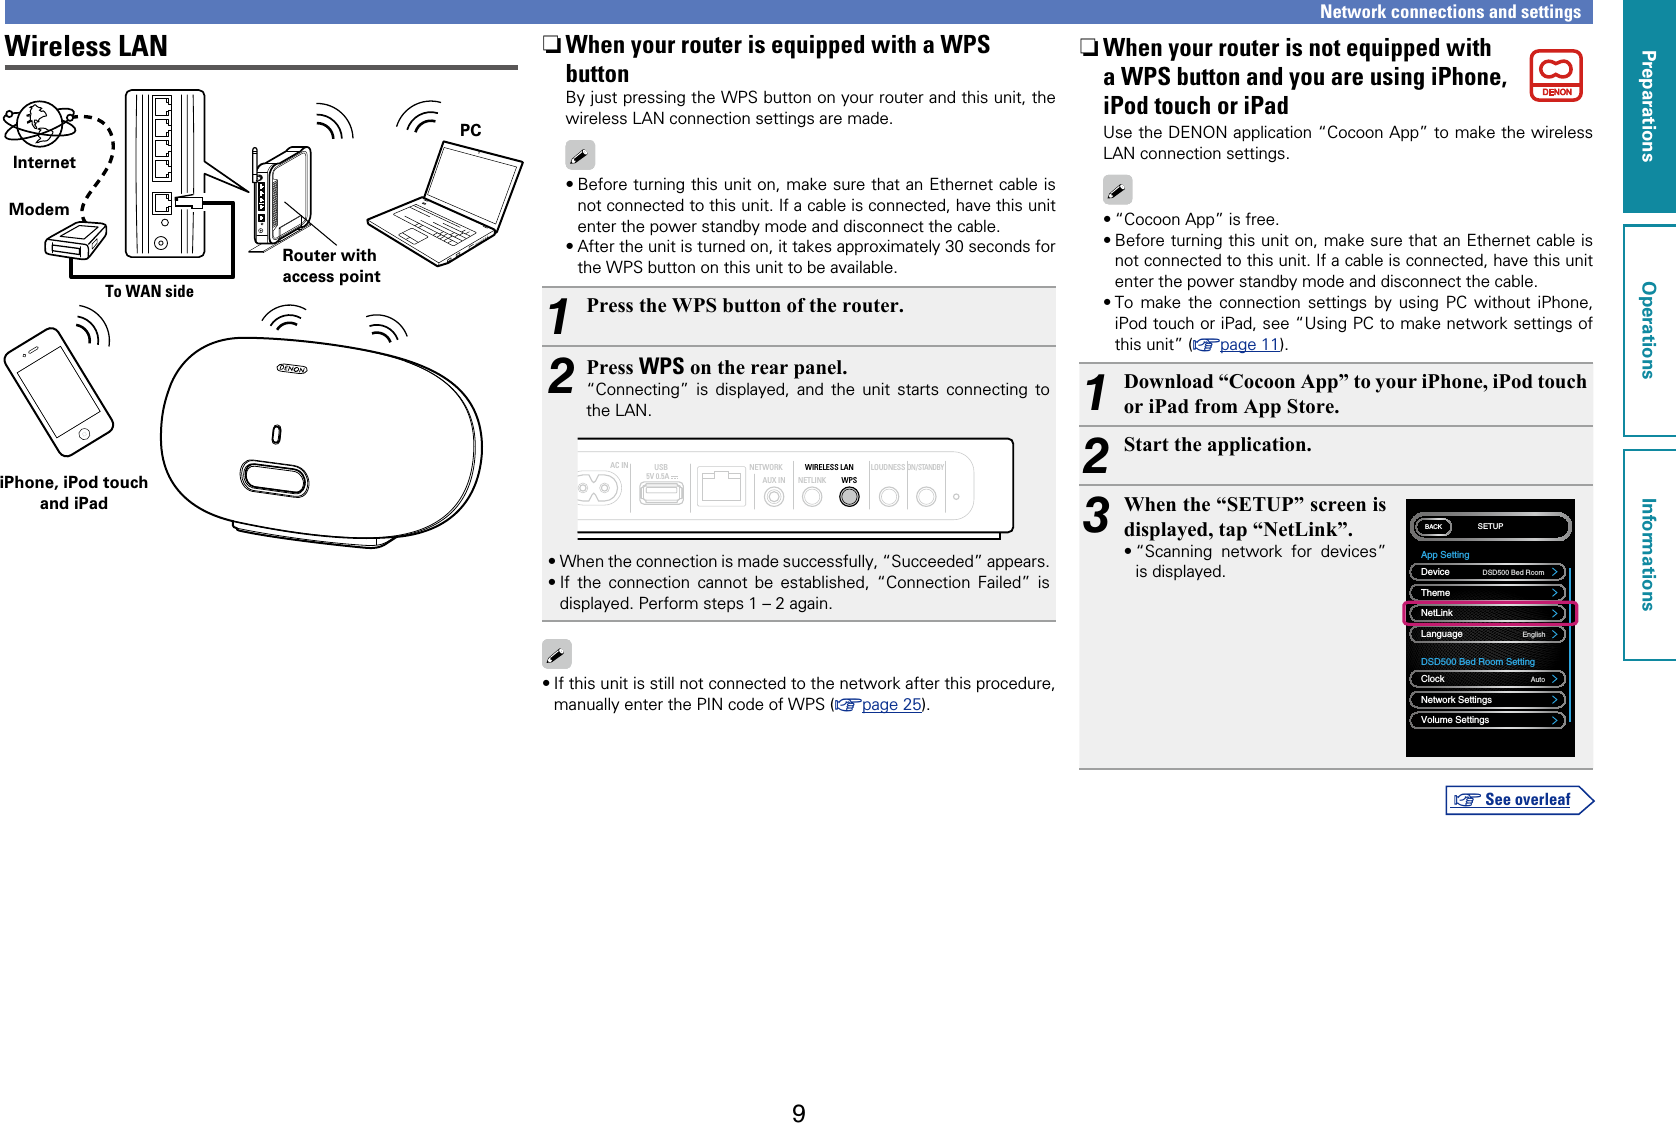
LITE ON TECHNOLOGY DSD500 SPEAKER DOCK User Manual Unlocked
LITE-ON Technology Corp. SPEAKER DOCK Unlocked
UserManual.wiki
>
LITE ON TECHNOLOGY
>
DSD500 User Manual
manual
Navigation menu
Upload a User Manual
Namespaces
Wiki Guide
HTML
PDF
Info
Views
User Manual
Discussion / Help
Navigation
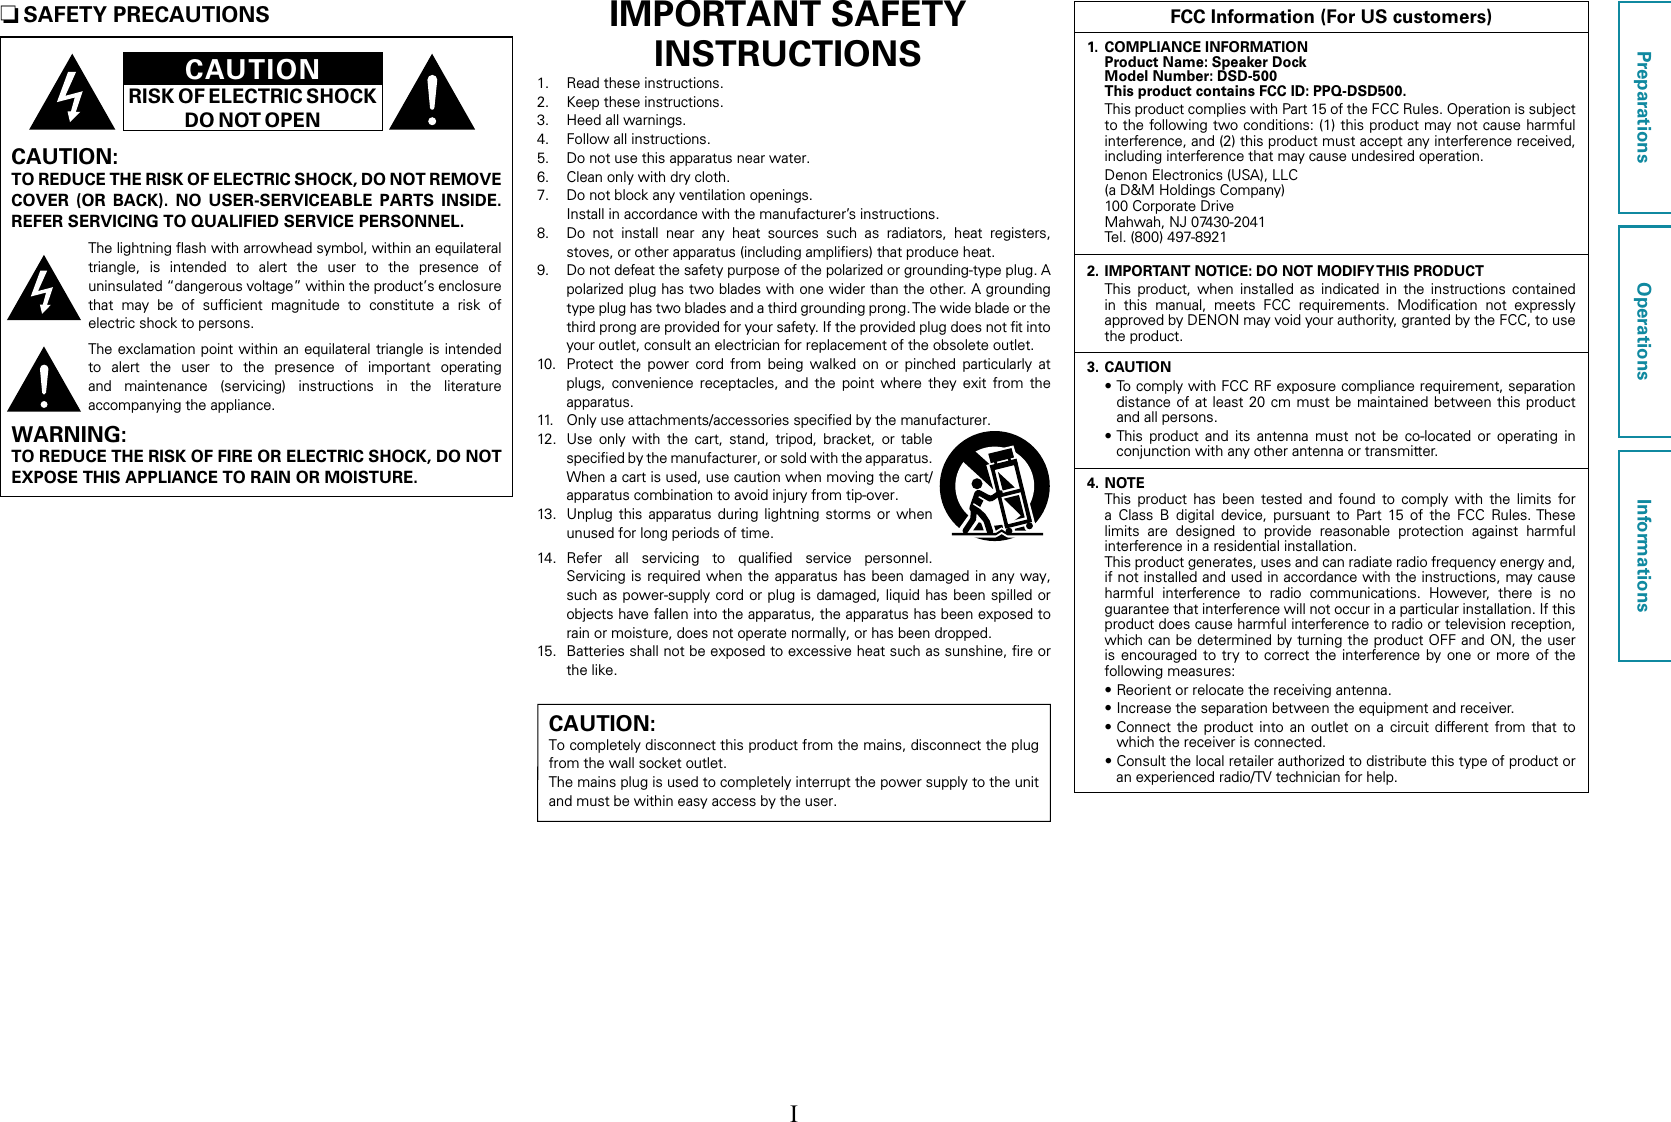
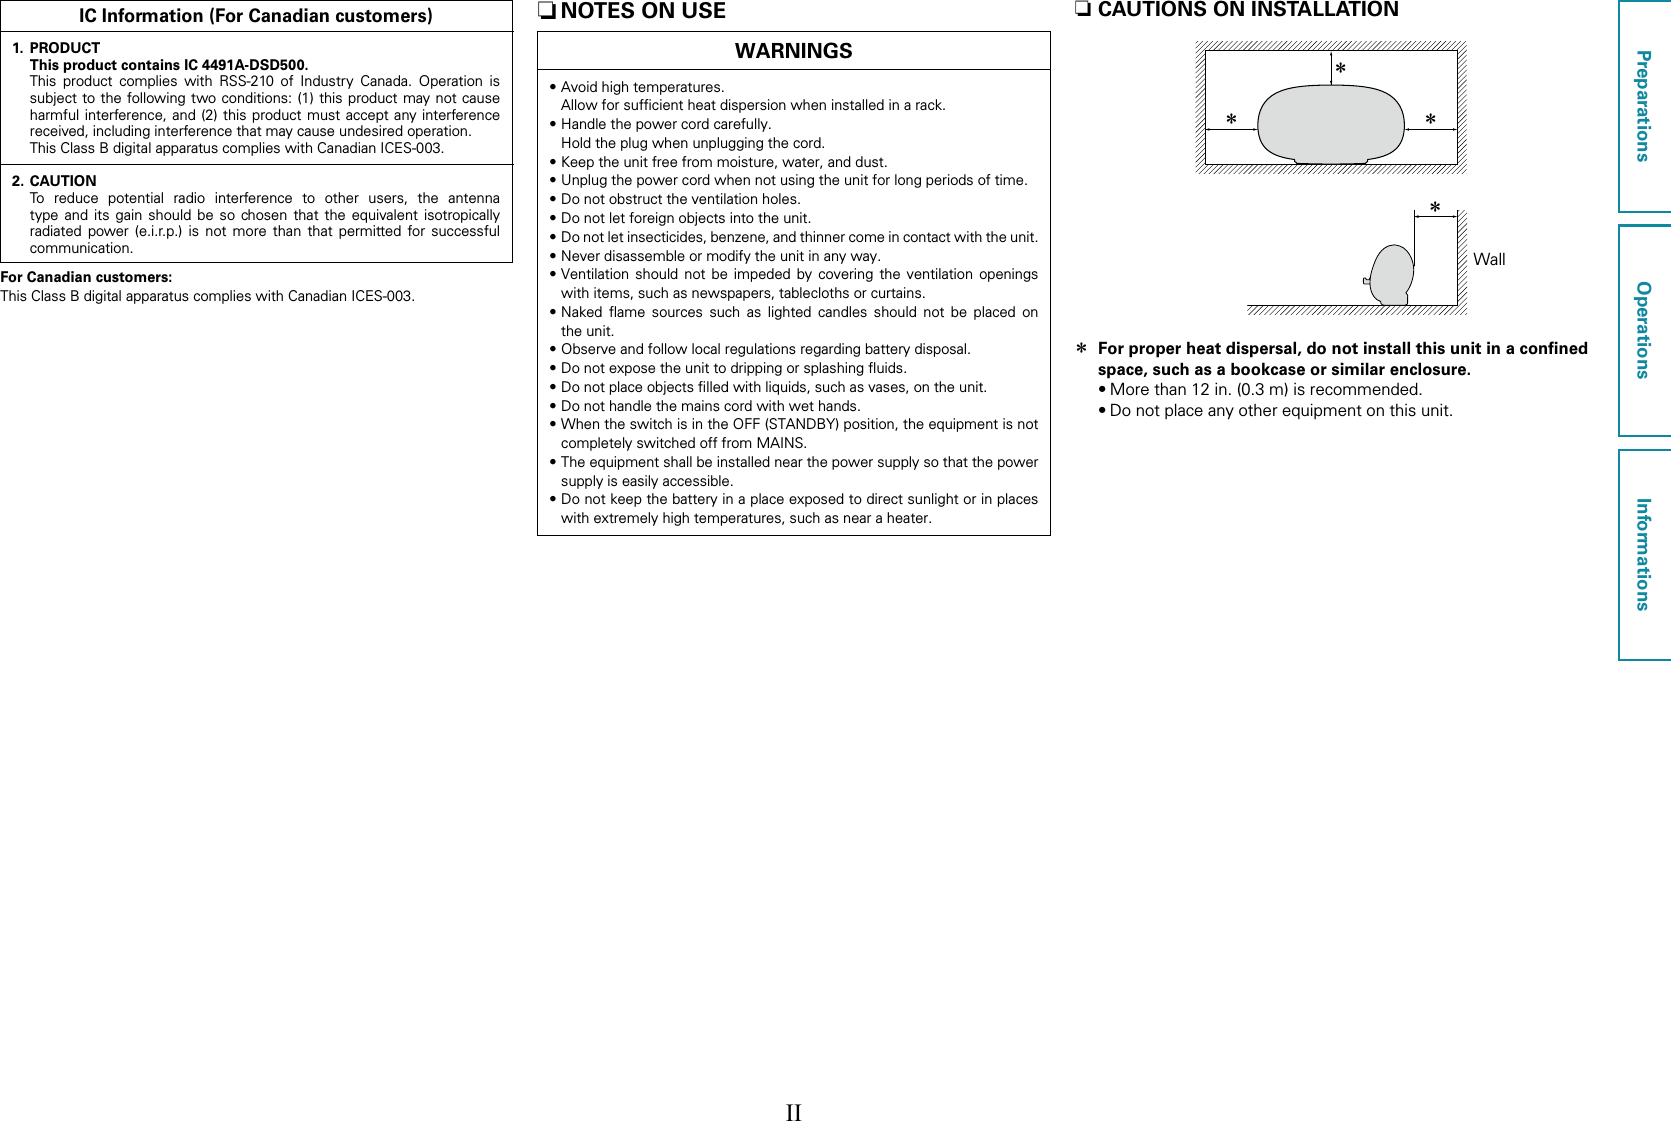

![USA CANADA nFCC Information (For US customers)1. IMPORTANT NOTICE : DO NOT MODIFY THIS PRODUCTAny changes or modifications not expressly approved by the grantee of this device could void the user’s authority to operate the equipment.2. CAUTIONThis equipment must be installed and operated in accordance with provided instructions and the antenna(s) used for this transmitter must be installed to provide a separation distance of at least 20 cm from all persons and must not be co-located or operating in conjunction with any other antenna or transmitter. End-users and installers must be provide with antenna installation instructions and transmitter operating conditions for satisfying RF exposure compliance. 3. COMPLIANCE INFORMATION Product Name : Wireless headphonesThis device complies with Part 15 of the FCC Rules. Operation is subject to the following two conditions: (1) this device may not cause harmful interference, and (2) this device must accept any interference received, including interference that may cause undesired operation.Denon Electronics (USA), LLC(a D & M Holdings Company) 100 Corporate Drive Mahwah, NJ 07430-2041 Tel. (800) 497-8924. NOTEThis equipment has been tested and found to comply with the limits for a Class B digital device, pursuant to part 15 of the FCC Rules. These limits are designed to provide reasonable protection against harmful interference in a residential installation. This equipment generates, uses and can radiate radio frequency energy and, if not installed and used in accordance with the instructions, may cause harmful interference to radio communications. However, there is no guarantee that interference will not occur in a particular installation. If this equipment does cause harmful interference to radio or television reception, which can be determined by turning the equipment off and on, the user is encouraged to try to correct the interference by one or more of the following measures:•Reorient or relocate the receiving antenna.•Increase the separation between the equipment and receiver.•Connect the equipment into an outlet on a circuit different from that to which the receiver is connected.•Consult the dealer or an experienced radio/ TV technician for help. nIC Information (For Canadian customers)CAUTIONTo reduce potential radio interference to other users, the antenna type and its gain should be so chosen that the equivalent isotropically radiated power (e.i.r.p.) is not more than that permitted for successful communication.ATTENTIONAfin de reduire le risque d’interference aux autres utilisateurs, il faut choisir le type d’antenne et son gain de facon a ce que la puissance isotrope rayonnee equivalente (p.i.r.e.) ne soit pas superieure au niveau requis pour l’obtention d’une communication satisfaisante.This equipment complies with FCC/IC radiation exposure limits set forth for an uncontrolled environment and meets the FCC radio frequency (RF) Exposure Guidelines in Supplement C to OET65 and RSS-102 of the IC radio frequency (RF) Exposure rules. This equipment has very low levels of RF energy that are deemed to comply without testing of specific absorption ratio (SAR).For Canadian customers:This Class B digital apparatus complies with Canadian ICES-003 and RSS-210. Operation is subject to the following two conditions: (1) this device may not cause interference, and (2) this device must accept any interference, including interference that may cause undesired operation of the device.The radiated output power of the Wireless Device is below the Industry Canada (IC) radio frequency exposure limits. The Wireless Device should be used in such a manner such that the potential for human contact during normal operation is minimized. This device has also been evaluated and shown compliant with the IC RF Exposure limits under mobile exposure conditions. (antennas are greater than 20 cm from a person’s body).APPAREIL Cet appareil numérique de classe B est conforme aux normes canadiennes ICES-003 et RSS-210. Son fonctionnement est soumis aux deux conditions suivantes : (1) cet appareil ne doit pas causer d’interférence et (2) cet appareil doit accepter toute interférence, notamment les interférences qui peuvent affecter son fonctionnement.La puissance de sortie émise par l’appareil de sans fil est inférieure à la limite d’exposition aux fréquences radio d’Industry Canada (IC). Utilisez l’appareil de sans fil de façon à minimiser les contacts humains lors du fonctionnement normal.Ce périphérique a également été évalué et démontré conforme aux limites d’exposition aux RF d’IC dans des conditions d’exposition à des appareils mobiles (les antennes se situent à moins de 20 cm du corps d’une personne).EUNotes on radio[ENGLISH]1. IMPORTANT NOTICE: DO NOT MODIFY THIS PRODUCT This product, when installed as indicated in the instructions contained in this manual, meets R&TTE directive requirements. Modication of the product could result in hazardous Radio and EMC radiation.2. CAUTION Separation distance of at least 20 cm must be maintained between this product and all persons. This product and its antenna must not be co-located or operating in conjunction with any other antenna or transmitter.[DEUTSCH]1. WICHTIGER HINWEIS: NEHMEN SIE KEINE VERÄNDERUNGEN AN DIESEM PRODUKT VOR Wenn dieses Produkt entsprechend dieser Bedienungsanleitung aufgebaut wird, entspricht es den Anforderungen der R&TTE-Richtlinie. Veränderungen am Produkt können zu gefährlicher Funk- und EMV-Strahlung führen.2. VORSICHT Zwischen dieses Produkts und Personen muss ein Schutzabstand von 20 cm eingehalten werden. Dieses Produkt und seine Antenne dürfen nicht neben anderen Antennen oder Sendern aufgestellt oder zusammen mit ihnen verwendet werden.[FRANÇAIS]1. MISE EN GARDE IMPORTANTE : NE JAMAIS MODIFIER CE PRODUIT Si toutes les consignes indiquées dans ce mode ont été respectées pendant son installation, ce produit est conforme aux directives R&TTE. Toute modication du produit risquerait alors de générer des radiations radio et EMC dangereuses.2. ATTENTION L’appareil devra être située à une distance de 20 cm au moins des personnes. Ce produit ainsi que son antenne ne devront en aucun cas être utilisés à proximité d’une autre antenne ou transmetteur.[ITALIANO]1. AVVERTENZA IMPORTANTE: NON MODIFICARE QUESTO PRODOTTO Se installato come indicato nelle istruzioni del presente manuale, questo prodotto soddisfa i requisiti della direttiva R&TTE. Eventuali modiche apportate al prodotto potrebbero causare pericolose radiazioni radio ed EMC.2. ATTENZIONE È necessario mantenere una distanza minima di 20 cm tra questo prodotto e le persone. Questo prodotto e la relativa antenna non devono essere posizionati in prossimità di altre antenne o trasmettitori e non devono essere utilizzati congiuntamente a questi ultimi.[ESPAÑOL]1. NOTA IMPORTANTE: NO MODIFIQUE ESTE PRODUCTO Este producto, si es instalado de acuerdo con las instrucciones contenidas en este manual, cumple los requisitos de la directiva R&TTE. La modicación del producto puede producir radiación de Radio y EMC peligrosa.2. PRECAUCIÓN Se debe mantener una separación de al menos 20 cm del producto y las personas. Este producto y su antena no debe instalarse ni utilizarse conjuntamente con otra antena o transmisor.R&TTE Directive 1999/5/ECThis product may be operated in the following countries;AT BE CZ DK FIFR DE GR HU IEIT NL PL PT SKES SE GB NO CHIndoor use only.[NEDERLANDS]1. BELANGRIJKE MEDEDELING: BRENG AAN DIT PRODUCT GEEN AANPASSINGEN AAN Dit product, indien geïnstalleerd volgens de aanwijzingen in deze gebruiksaanwijzing, voldoet aan de vereisten van de R&TTE-richtlijn. Aanpassing van dit product kan gevaarlijke radio- en EMC-straling tot gevolg hebben.2. LET OP Houd tussen en personen altijd een afstand van tenminste 20 cm aan. Dit product en zijn antenne mogen niet in de buurt van een andere antenne of zender worden geplaatst of in combinatie daarmee worden gebruikt.[SVENSKA]1. VIKTIGT: APPARATEN FÅR INTE MODIFIERAS Under förutsättning att apparaten installeras enligt anvisningarna i denna bruksanvisning, uppfyller denna kraven i R&TTE-direktivet. Ev. modiering av apparaten kan resultera i farlig radio- och elektromagnetisk strålning.2. FÖRSIKTIGT Se till att det nns ett avstånd på minst 20 cm mellan apparatens och personer i omgivningen. Apparaten och dess antenn får inte placeras eller användas i närheten av andra antenner eller sändare.[РУССКИЙ]1.ВАЖНО!НЕИЗМЕНЯЙТЕДАННЫЙПРОДУКТ Продукт, установленный согласно инструкциям в настоящем руководстве, отвечает требованиям директивы R&TTE. Изменение продукта может привести к появлению опасного электромагнитного излучения.2.ПРЕДУПРЕЖДЕНИЕ Не приближайтесь к данного изделия ближе, чем на 20 см. Запрещается использовать данный продукт и антенну с другой антенной или передатчиком.[POLSKI]1.UWAGA: MODYFIKACJA TEGO URZĄDZENIA JESTZABRONIONA Po zainstalowaniu zgodnie z instrukcjami zawartymi w niniejszej instrukcji obsługi urządzenie to będzie spełniać wymogi dyrektywy R&TTE. Wprowadzanie modykacji do tego urządzenia może skutkować powstaniem niebezpiecznego promieniowania elektromagnetycznego oraz radiowego.2.OSTRZEŻENIE Między tego produktu i wszelkimi osobami musi być zachowana odległość przynajmniej 20 cm. Urządzenia wraz z anteną nie można instalować w połączeniu z inną anteną lub nadajnikiem.DSD500_E2E3_Notes on radio_120723.indd 1 2012/07/23 17:46:39](https://usermanual.wiki/LITE-ON-TECHNOLOGY/DSD500/User-Guide-1752390-Page-43.png)