La Crosse Technology M-19 QUADROCOPTER REMOTE CONTROL 2.4GHz FHSS User Manual
La Crosse Technology Ltd. QUADROCOPTER REMOTE CONTROL 2.4GHz FHSS
UserManual.wiki
>
La Crosse Technology
>
M 19 User Manual
User Manual
Navigation menu
Upload a User Manual
Namespaces
Wiki Guide
HTML
PDF
Info
Views
User Manual
Discussion / Help
Navigation
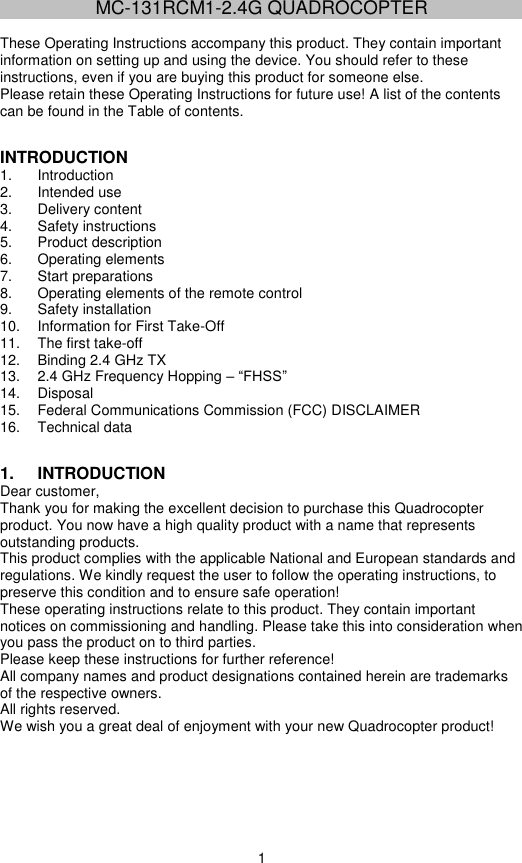
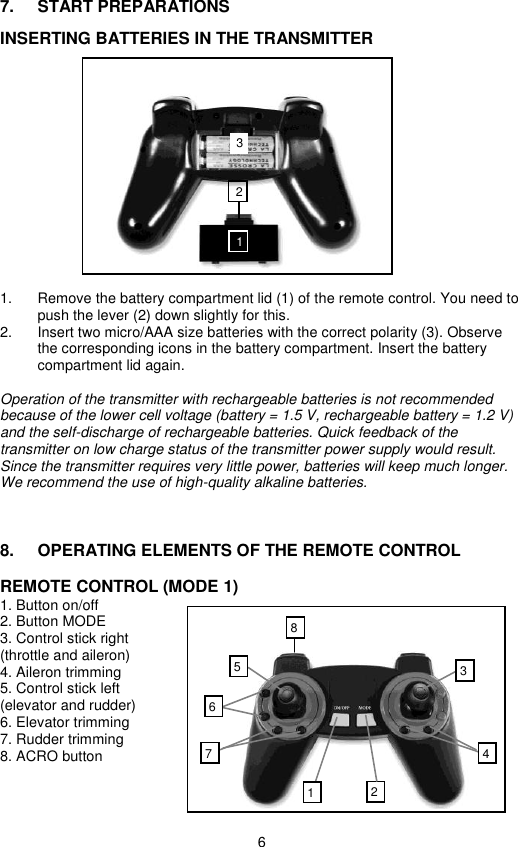
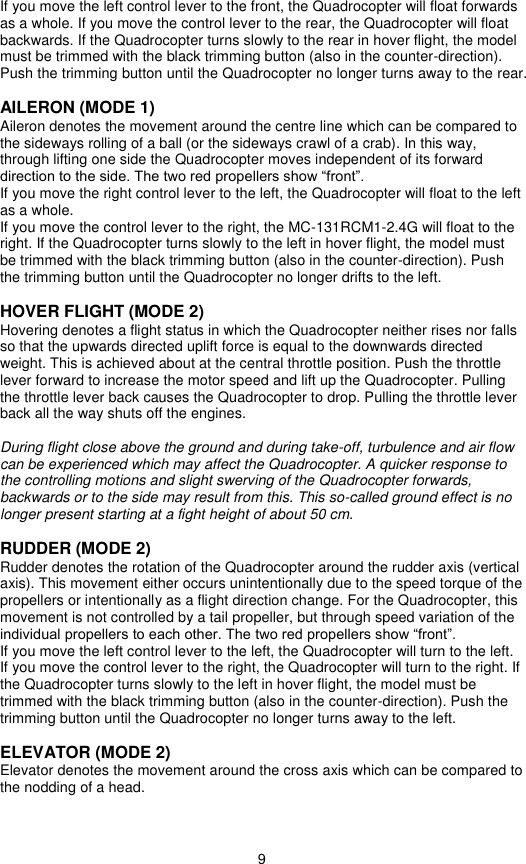
![7 REMOTE CONTROL (MODE 2) 1. Button on/off 2. Button MODE 3. Control stick left (throttle and rudder) 4. Rudder trimming 5. Control stick right (aileron and elevator) 6. Elevator trimming 7. Aileron trimming 8. ACRO button 9. SAFETY INSTALLATION The “MC-131RCM1-2.4G Quadrocopter” has a range of safety devices in the remote control and model which protect the model from damage and/or should reduce possible damage to a minimum. The protection mechanisms are identified by LED indicators (model) or an acoustic warning signal (transmitter). REMOTE CONTROL > The charge condition of the inserted batteries is inspected every time the remote control is switched on. If the charge condition is too low, the remote control switches off immediately again. The remote control signals this by three subsequent warning sounds. > The charge condition is continually inspected while the transmitter is in operation. If the charge condition drops below a certain value, the remote control also signals this with a triple warning sound. In this case, stop flying at once and replace the batteries of the transmitter. > The remote control also has a deactivation automatic integrated. If no control element is operated for more than five minutes, the remote control switches off automatically. > Remote control with fixed timer function: Alarm I : 4 min 1 x beep [3 sec pause], 1 x beep [3 sec pause], 1 x beep [3 sec pause], 1 x beep Alarm II : 5 min 2 x beep [3 sec pause], 2 x beep [3 sec pause], 2 x beep [3 sec pause], 2 x beep 5 3 1 2 4 7 6 8](https://usermanual.wiki/La-Crosse-Technology/M-19/User-Guide-2010586-Page-7.png)
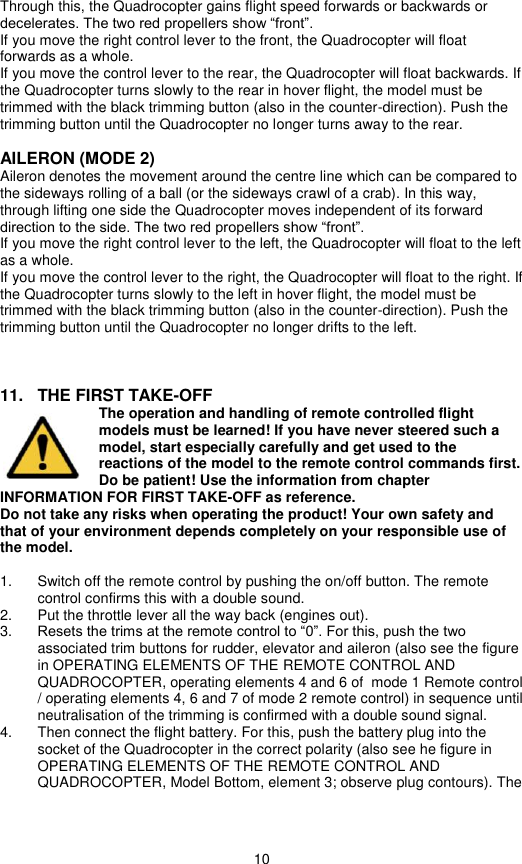
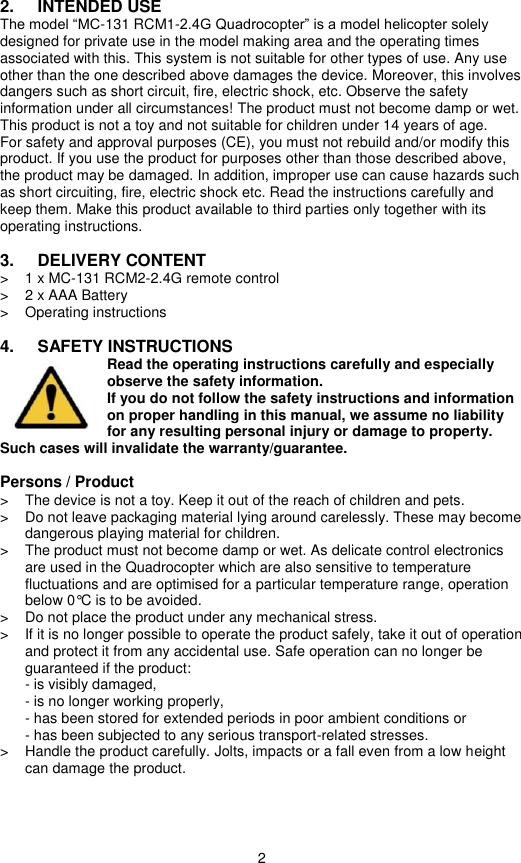
![8 Alarm III : 6 min 3 x beep [3 sec pause], 3 x beep [3 sec pause], 3 x beep [3 sec pause], 3 x beep Alarm IV : 7 min 4 x beep [3 sec pause], 4 x beep [3 sec pause], 4 x beep [3 sec pause], 4 x beep 10. INFORMATION FOR FIRST TAKE-OFF For a simpler and consistent explanation of steering, classic terminology is used here as well. This comes from flight language and is widely used. Direction descriptions are always to be interpreted from the perspective of a “virtual” pilot in the model. The two red propellers are considered direction indicators. They mean “front”. HOVER FLIGHT (MODE 1) Hovering denotes a flight status in which the Quadrocopter neither rises nor falls so that the upwards directed uplift force is equal to the downwards directed weight. This is achieved about at the central throttle position. Push the throttle lever forward to increase the motor speed and lift up the Quadrocopter. Pulling the throttle lever back causes the Quadrocopter to drop. Pulling the throttle lever back all the way shuts off the engines. During flight close above the ground and during take-off, turbulence and air flow can be experienced which may affect the Quadrocopter. A quicker response to the controlling motions and slight swerving of the Quadrocopter forwards, backwards or to the side may result from this. This so-called ground effect is no longer present starting at a flight height of about 50 cm. RUDDER (MODE 1) Rudder denotes the rotation of the Quadrocopter around the rudder axis (vertical axis). This movement either occurs unintentionally due to the speed torque of the propellers or intentionally as a flight direction change. For the Quadrocopter, this movement is not controlled by a tail propeller, but through speed variation of the individual propellers to each other. The two red propellers show “front”. If you move the left control lever to the left, the Quadrocopter will turn to the left. If you move the control lever to the right, the Quadrocopter will turn to the right. If the Quadrocopter rotates slowly around its own axis in hover flight, the model must be trimmed with the black trimming button (also in the counter-direction). Push the trimming button until the Quadrocopter no longer rotates around its own axis. ELEVATOR (MODE 1) Elevator denotes the movement around the cross axis which can be compared to the nodding of a head. Through this, the Quadrocopter gains flight speed forwards or backwards or decelerates. The two red propellers show “front”.](https://usermanual.wiki/La-Crosse-Technology/M-19/User-Guide-2010586-Page-8.png)