Lathem Time PC6 PayClock Terminal User Manual FCC Part 15
Lathem Time Corporation PayClock Terminal FCC Part 15
UserManual.wiki
>
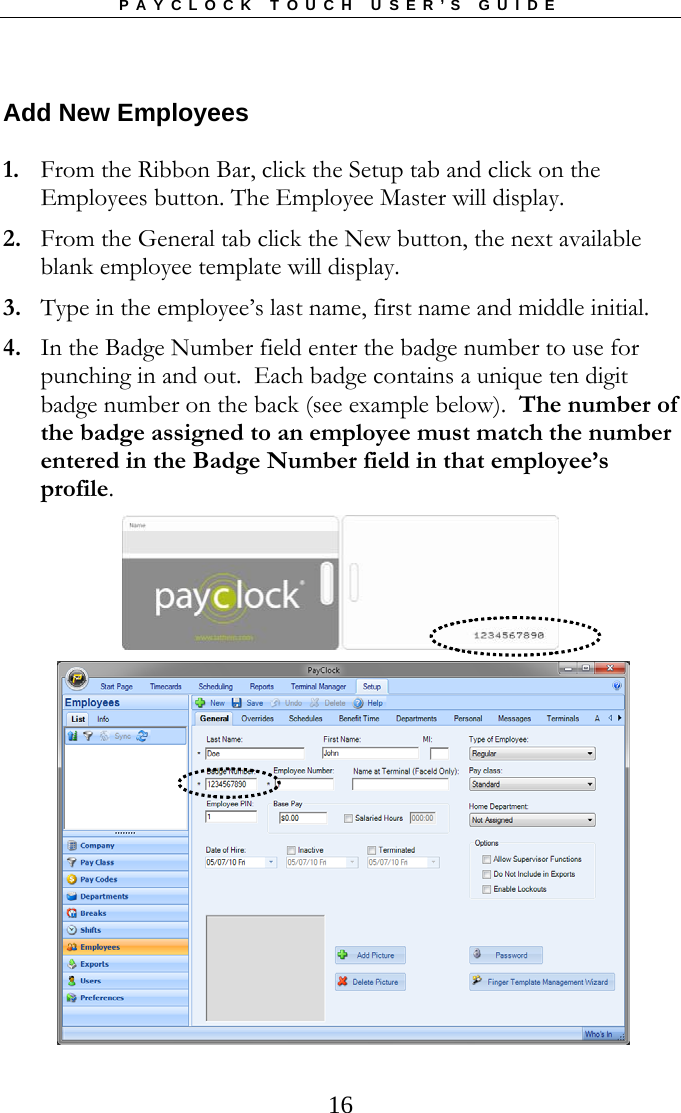
Lathem Time
>
PC6 User Manual
Manual
Navigation menu
Upload a User Manual
Namespaces
Wiki Guide
HTML
PDF
Info
Views
User Manual
Discussion / Help
Navigation
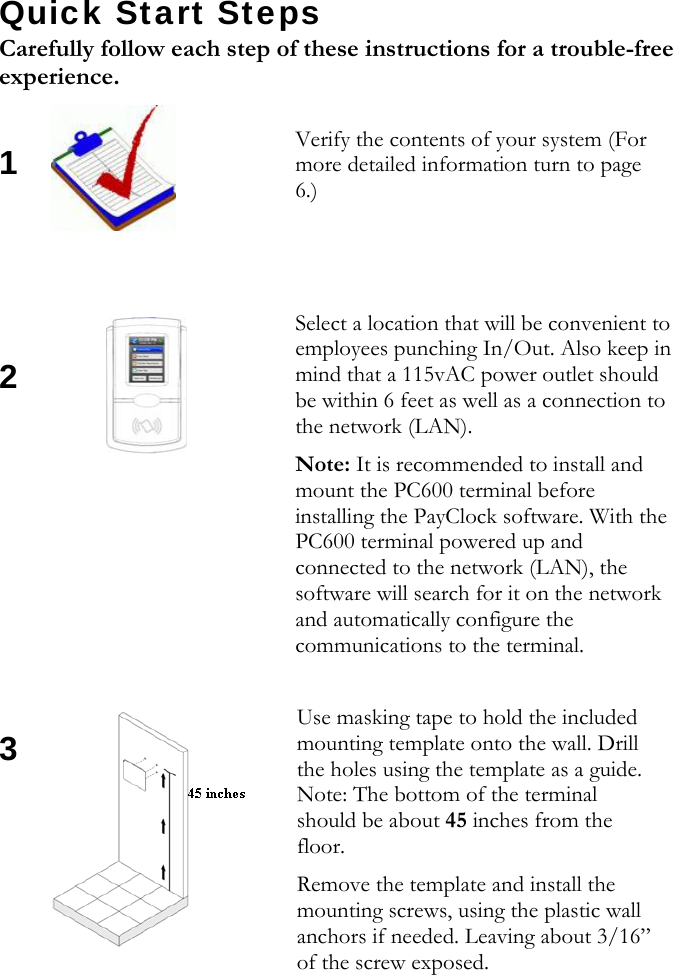
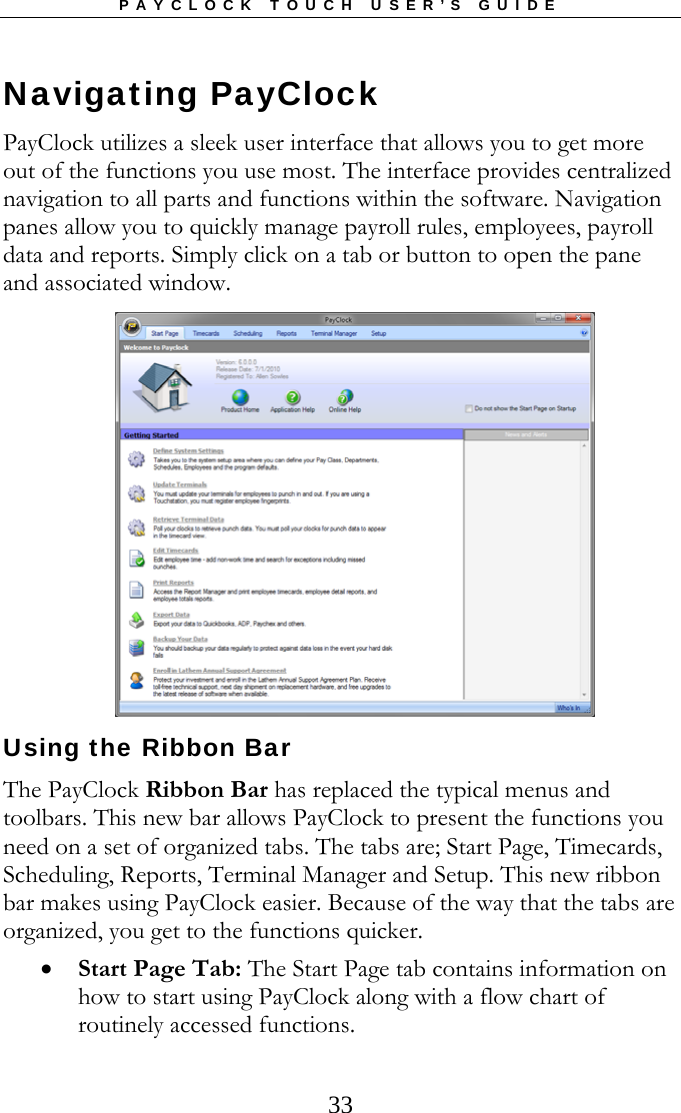
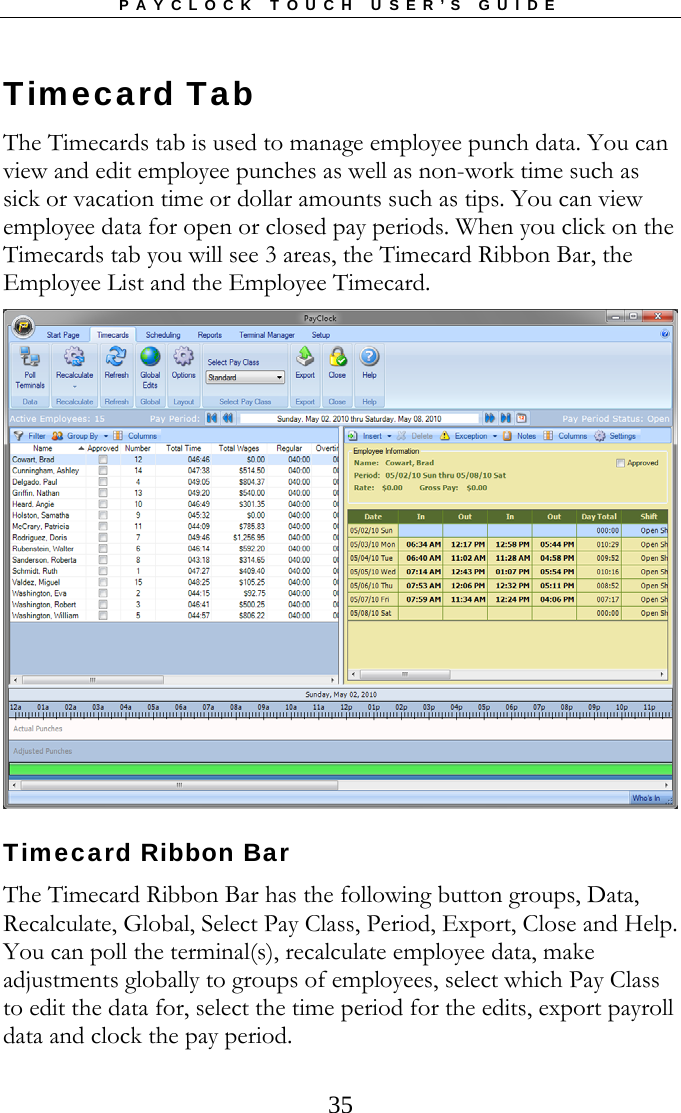
![PAYCLOCK TOUCH USER’S GUIDE 5Package Contents Please verify that your package includes ALL of the following items. If your package is missing an item, please call Lathem technical support at (404) 691-1065. Recommended Installation Tools Installation & User’s Guide PC600 Terminal AC Wall Adapter Screws (3) to mount the terminal to the wall Anchors (3) [use for masonry wall installation] Securing clip, screw and anchor Software CD Tape Measure Pencil Philips Head Screw Driver Optional-Power Drill & Drill Bits](https://usermanual.wiki/Lathem-Time/PC6/User-Guide-1316763-Page-12.png)