Leadtek Research 8A10 Portable Videophone User Manual manual indd
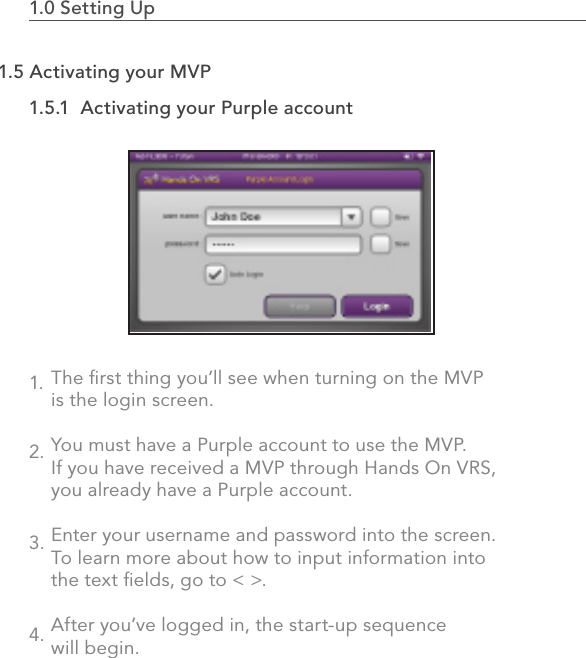
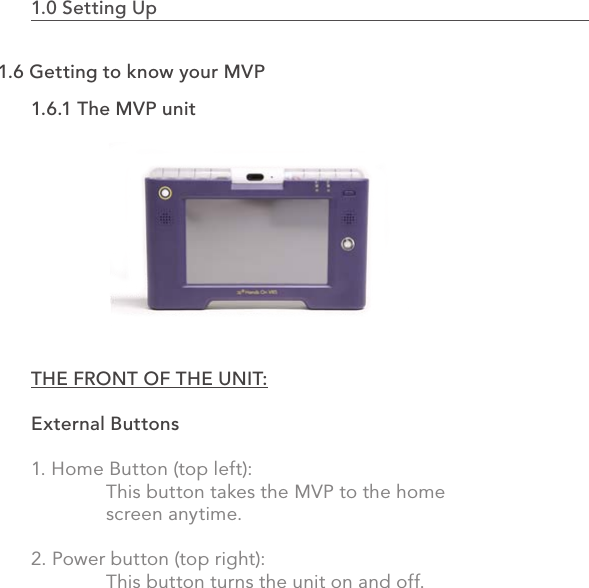
Leadtek Research Inc Portable Videophone manual indd
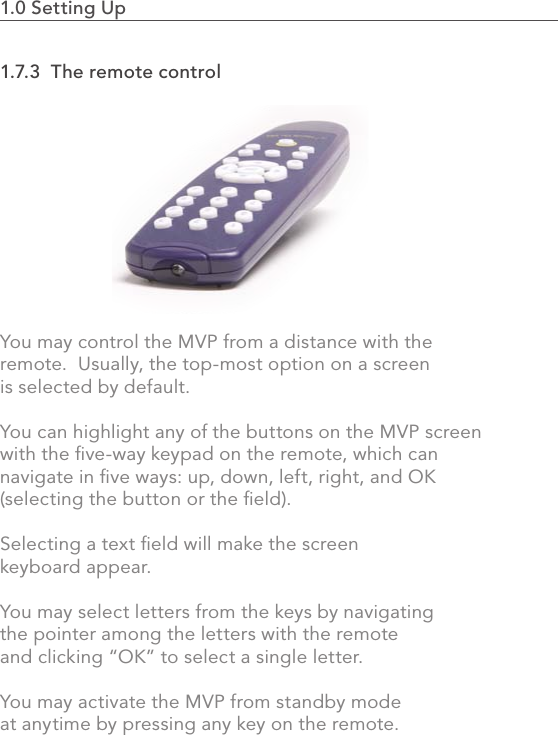
UserManual.wiki
>
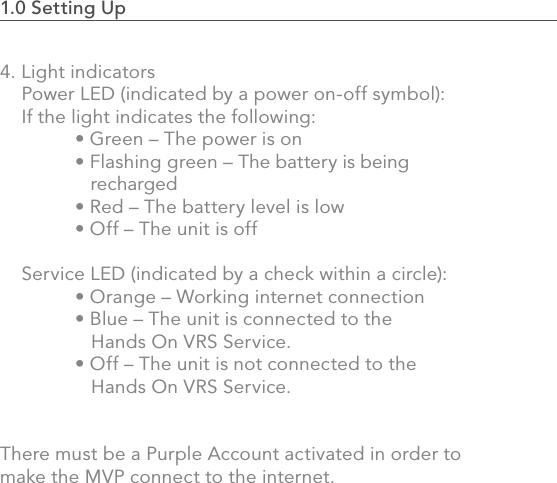
Leadtek Research
>
8A10 User Manual
User Manual
Navigation menu
Upload a User Manual
Namespaces
Wiki Guide
HTML
PDF
Info
Views
User Manual
Discussion / Help
Navigation

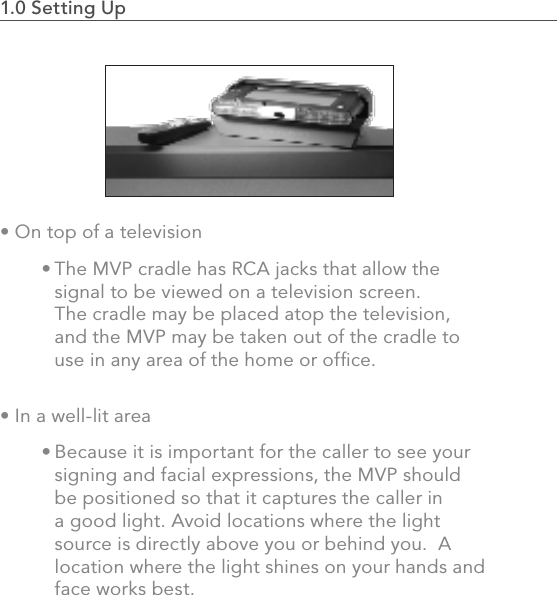


![2.0 Setting Up 312.1.2 Logging inTouch the username field. This will activate the keyboard.Enter your username by typing on the keyboard.Touch the password field. Touch on the [Done] button to finish. This will make the keyboard disappear.Click on “Login”.2.1.3 The “Remember me” checkboxCheck the option box to have the MVP remember your Purple name, but not your password.2.1.4 The “Remember my password” checkboxCheck the option box to have the MVP remember your Purple name and your password, but not to take you directly to the login screen. Do not keep this box checked if you want to keep your call log and address book private from others who may use the MVP.](https://usermanual.wiki/Leadtek-Research/8A10/User-Guide-938351-Page-39.png)