Lexmark RJ596 802.llb/g Wireless Network Card User Manual 13A1711
Lexmark International Inc 802.llb/g Wireless Network Card 13A1711
Lexmark >
Contents
- 1. Users Manual 1
- 2. Users Manual 2
- 3. Users Manual 3
Users Manual 1
Dell™ All-In-One Printer 966
Wireless/Ethernet Card
Installation Guide
www.dell.com/supplies | support.dell.com
English Dansk Suomi Deutsch 日本語 Polski Русский Svenska
Čeština Nederland Français Italiano Norsk Português Español

Installing and Configuring the Dell™
Wireless/Ethernet Card
Tools required: a Phillips screwdriver
Notes and Cautions
NOTE: A NOTE indicates important information that helps you make better
use of your printer.
CAUTION: A CAUTION indicates a potential for property damage,
personal injury, or death.
Installing the Card
1 Turn off your printer, and then unplug the power cable from the wall.
CAUTION: Failure to unplug the printer can cause damage to
your printer and card. Make sure the power is off and the power
cable is unplugged from the wall before proceeding.
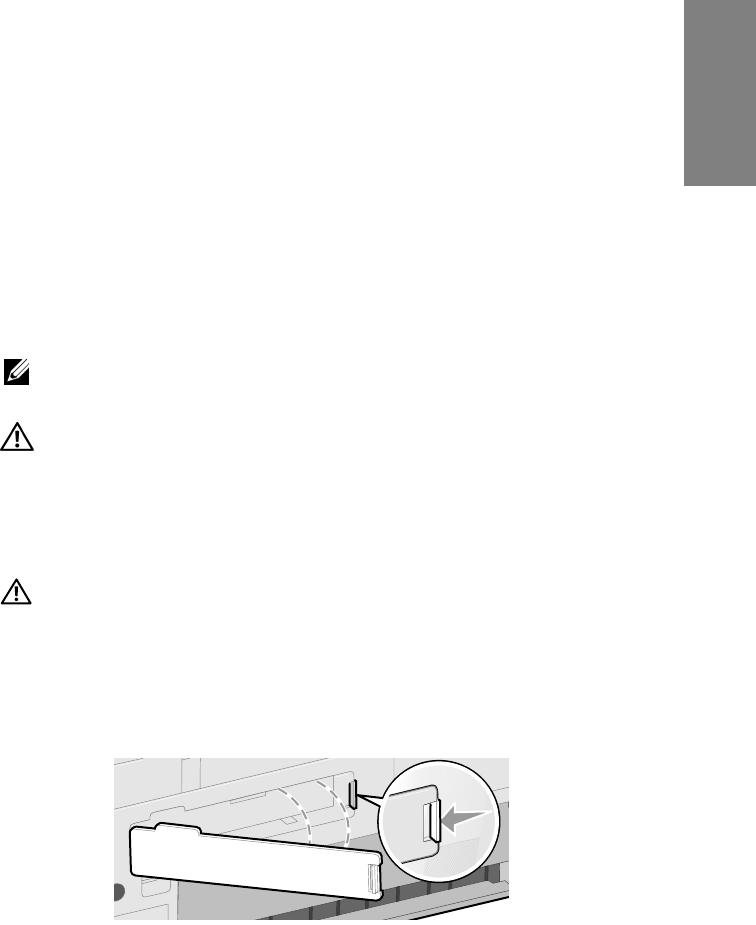
2 Remove the back cover by pushing the tab to the left and then pulling
the cover away from the printer.
English
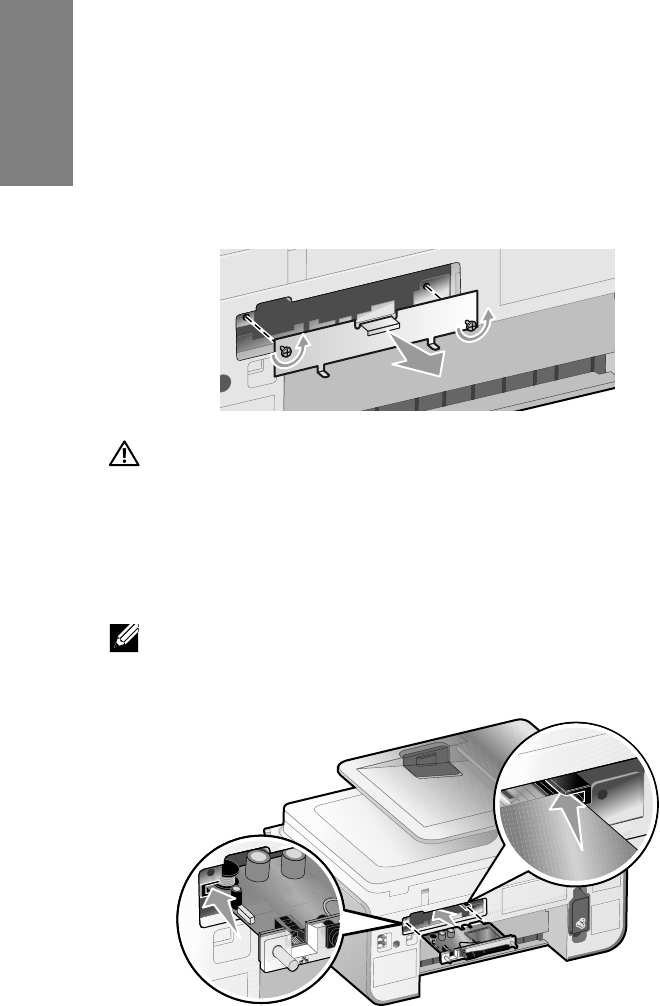
3 Remove the screws and the cover plate.
CAUTION: Wireless cards are easily damaged by static
electricity. Touch something metal such as the printer frame
before you touch the card.
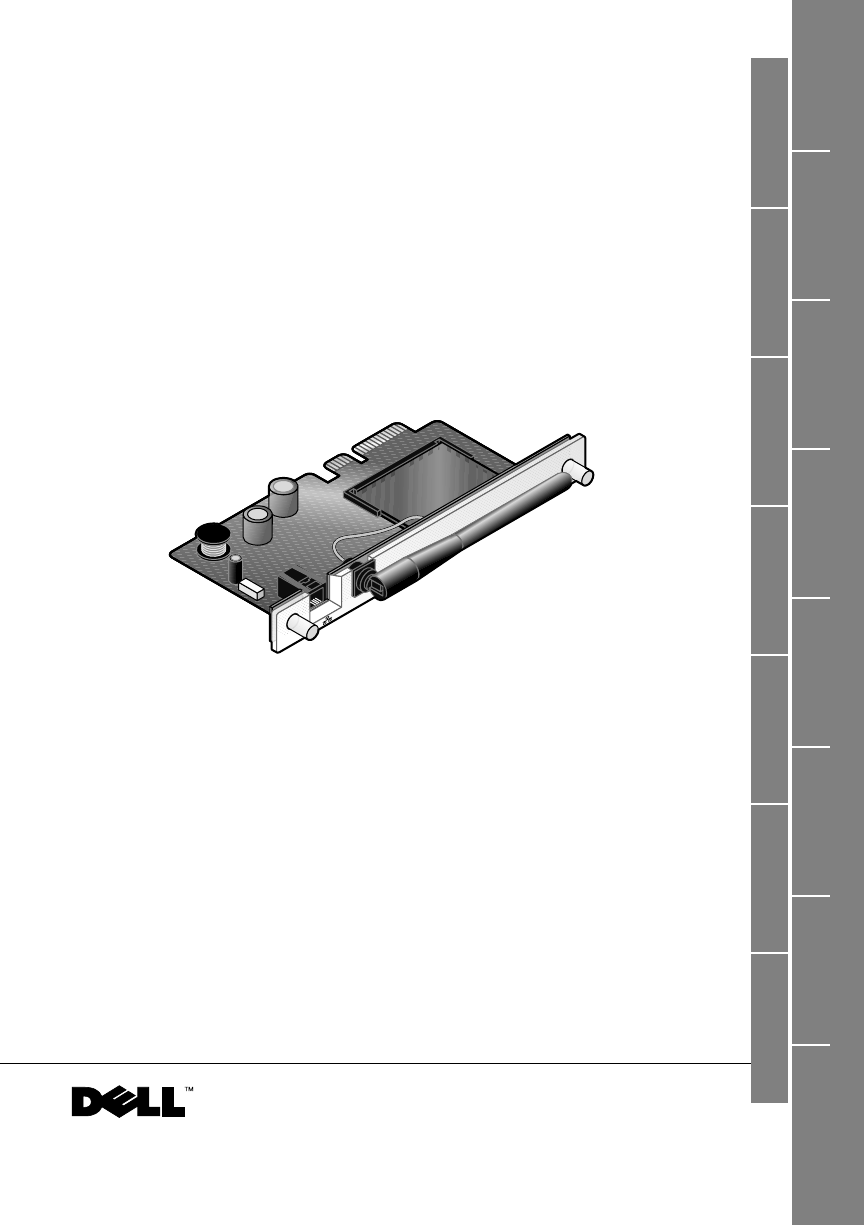
4 Unpack the card. Save the packaging materials.
5 Align the edges of the card into the guides on the left and right, and
then slide the card into the printer.
NOTE: To verify that your card is aligned properly, make sure the Ethernet
port is located on the left side of the card.
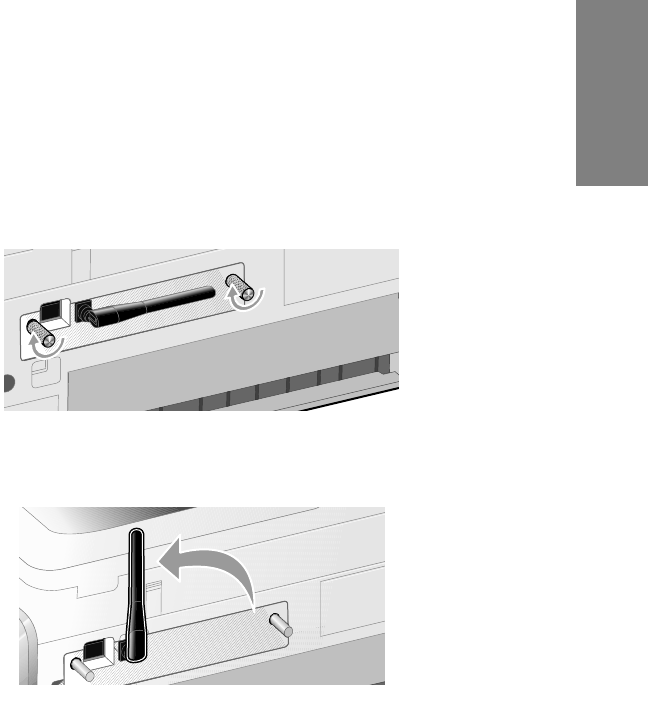
6 Tighten the thumb screws on the left and right to secure the card.
7 Rotate the antenna until it points up.
You are now ready to configure your card to work on your wireless or
Ethernet network.
English

Setting up the Card to Work on a Wireless Network
1 Connect the power cord to the wall, and then press the
Power button .
2 Connect your printer to your computer using a USB cable (sold
separately).
If any New Hardware Wizard screens appear, click Cancel.
3 Insert the Drivers and Utilities CD that came with your printer. The
CD launches automatically.
NOTE: If you do not have your
Drivers and Utilities
CD, you can download
the appropriate software from support.dell.com.
4Select Network Installation, and then click Next.
5Click Agree to accept the license agreement.
6Click Setup Wireless.
7Select I want to configure my Internal Wireless Network Adapter.
8 Follow the instructions on the screen to configure the adapter to work
with your wireless network.
For additional information on configuring your card, refer to the
User’s Guide located in the Dell Printers folder of your computer’s
Start menu or on the CD that came with your printer.

Setting up the Card to Work on an Ethernet Network
1 Connect your printer to your network using an Ethernet cable (sold
separately).
2 Connect the power cord to the wall, and then press the
Power button .
3 Insert the Drivers and Utilities CD that came with your printer. The
CD launches automatically.
NOTE: If you do not have your
Drivers and Utilities
CD, you can download
the appropriate software from support.dell.com.
4Select Network Installation, and then click Next.
5Click Agree to accept the license agreement.
6 Your printer should appear in the printer list, and it should already be
selected. Click Next to begin the installation process.
If your printer is not shown, you may need to manually configure your
card’s IP address to work with your network.
For additional information on configuring your card, refer to the
User’s Guide located in the Dell Printers folder of your computer’s
Start menu or on the CD that came with your printer.
____________________
Information in this document is subject to change without notice.
© 2006 Dell Inc. All rights reserved.
Reproduction in any manner whatsoever without the written permission of Dell Inc. is strictly
forbidden.
Trademarks used in this text: Dell and the DELL logo are trademarks of Dell Inc.
Other trademarks and trade names may be used in this document to refer to either the entities
claiming the marks and names or their products. Dell Inc. disclaims any proprietary interest in
trademarks and trade names other than its own.
English

Printed in China
May 2006
L. P/N 13A1711
E.C. 3A0631
*13A1711*