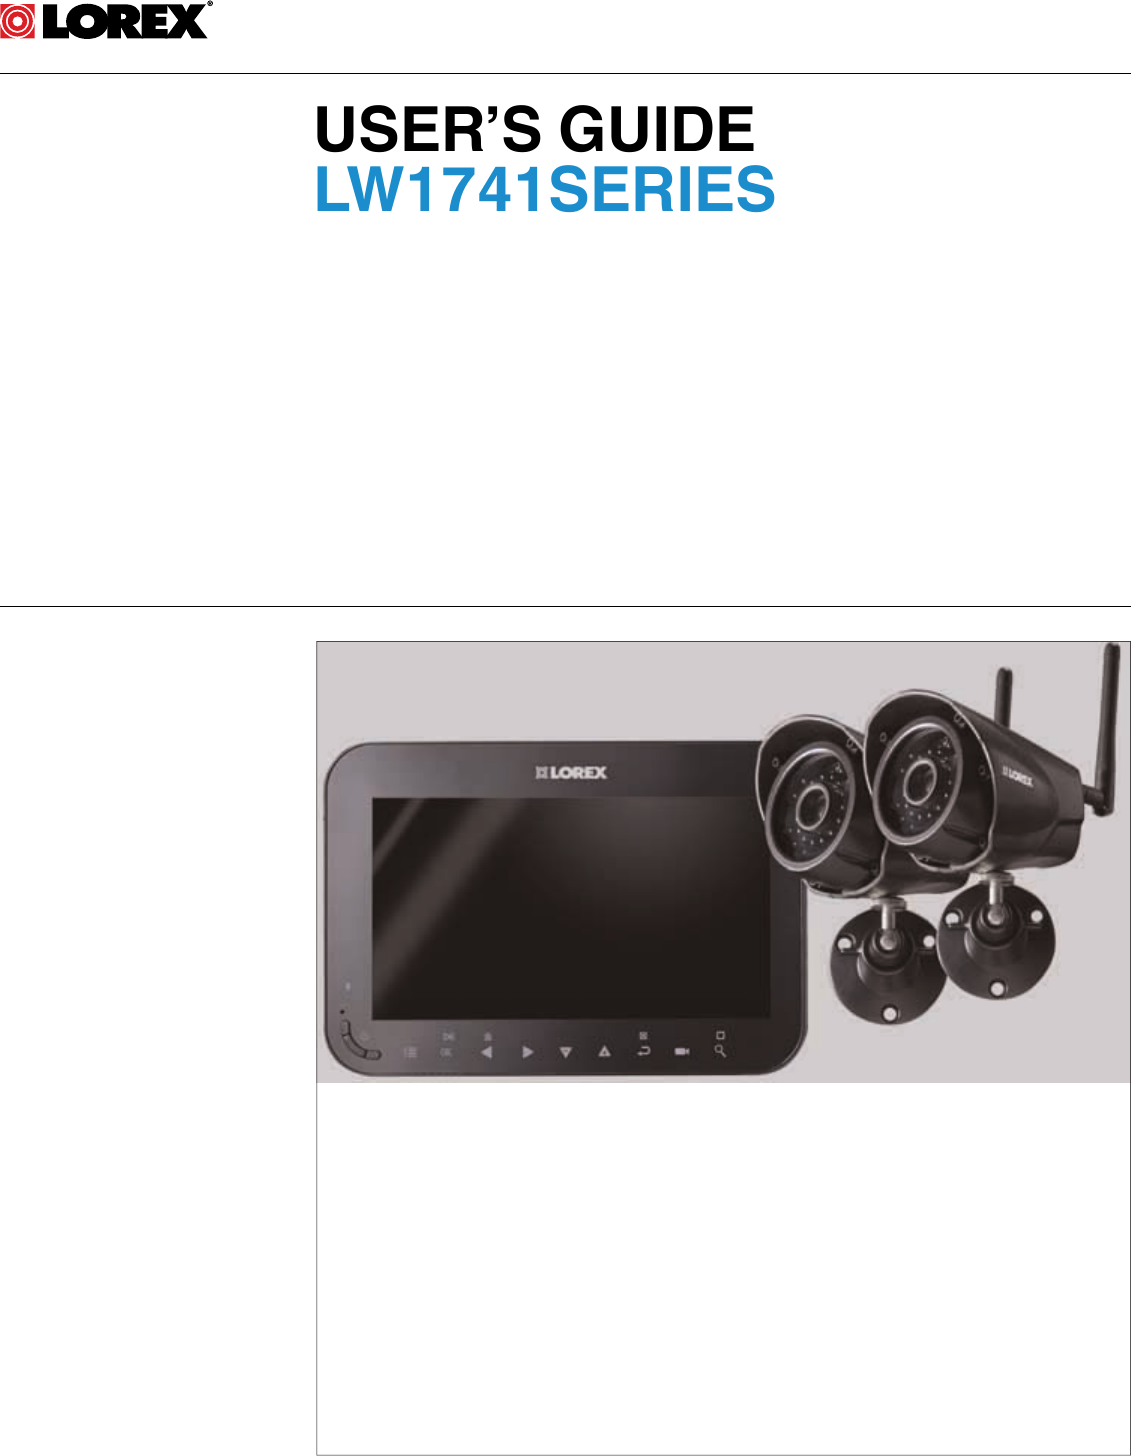
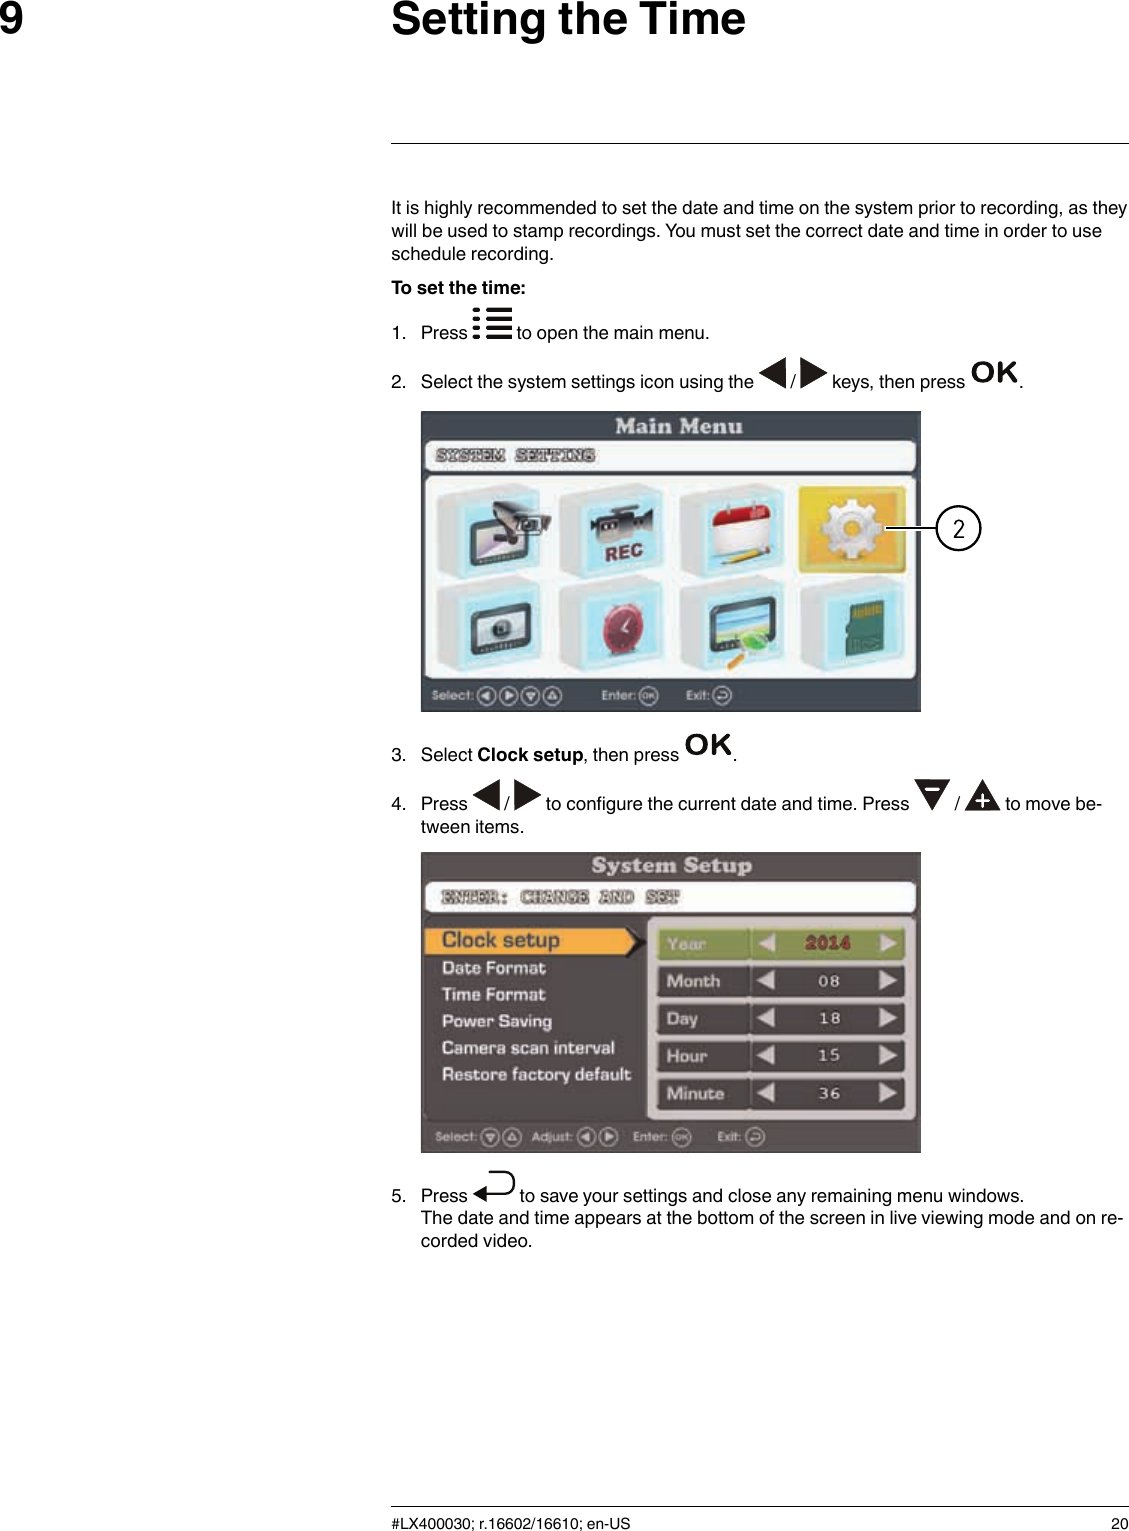
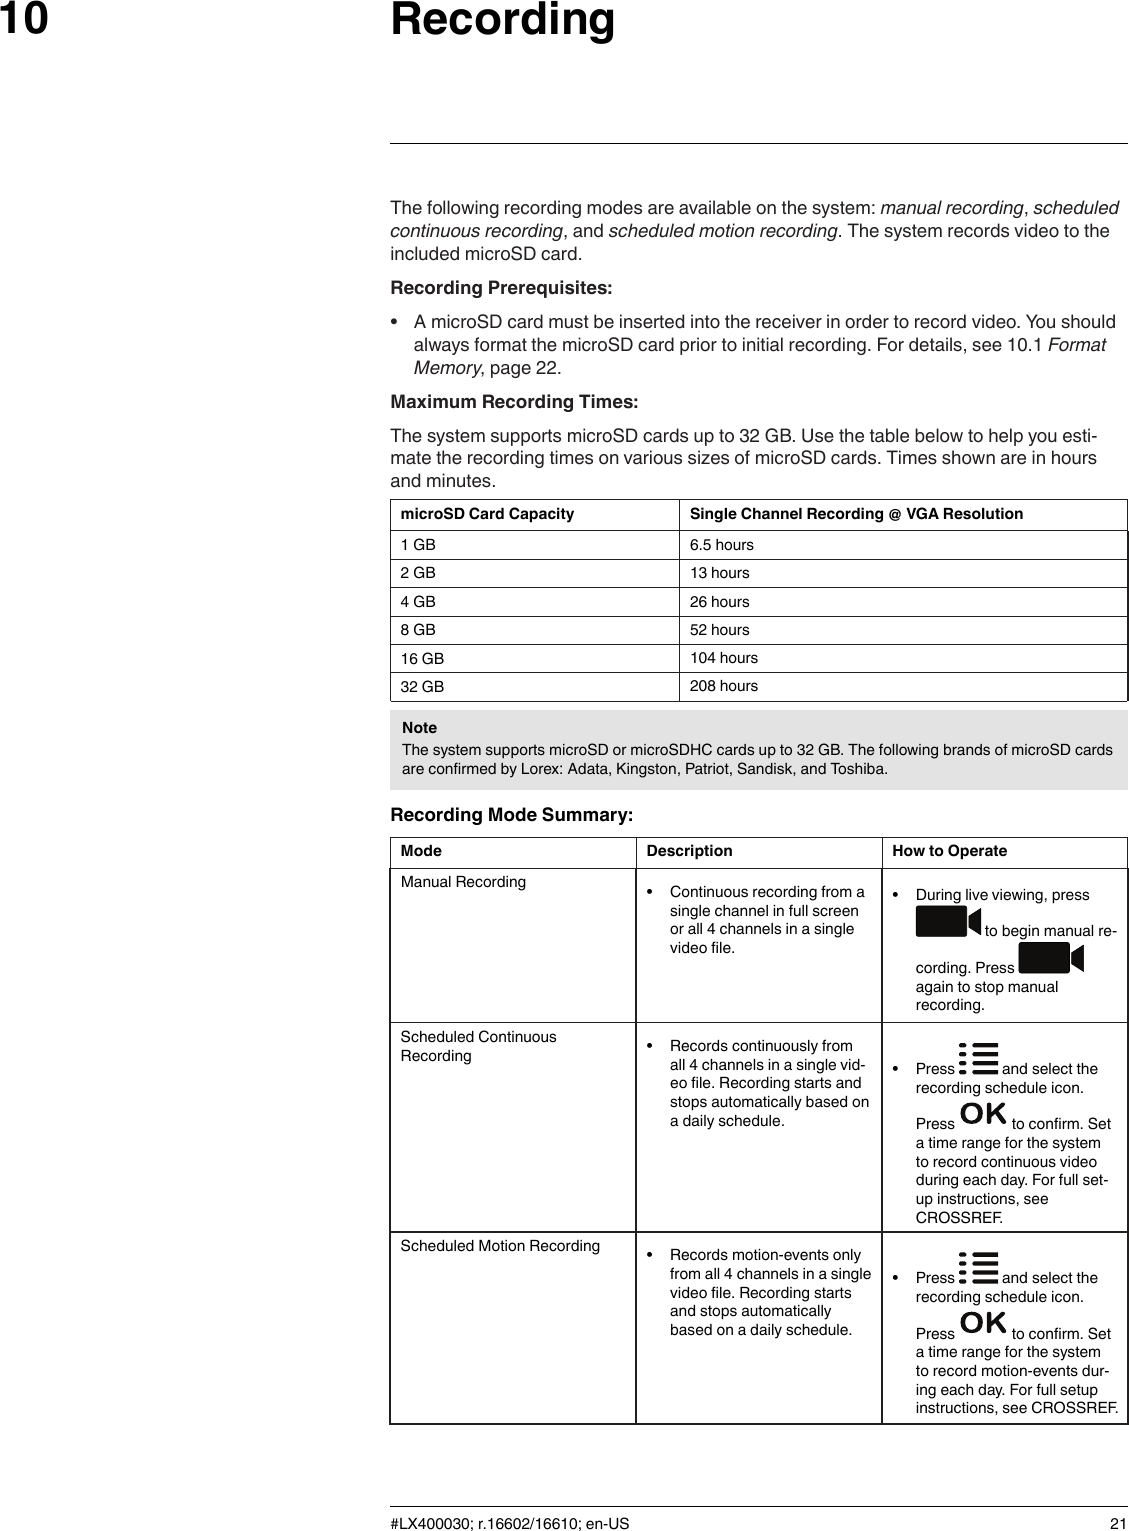
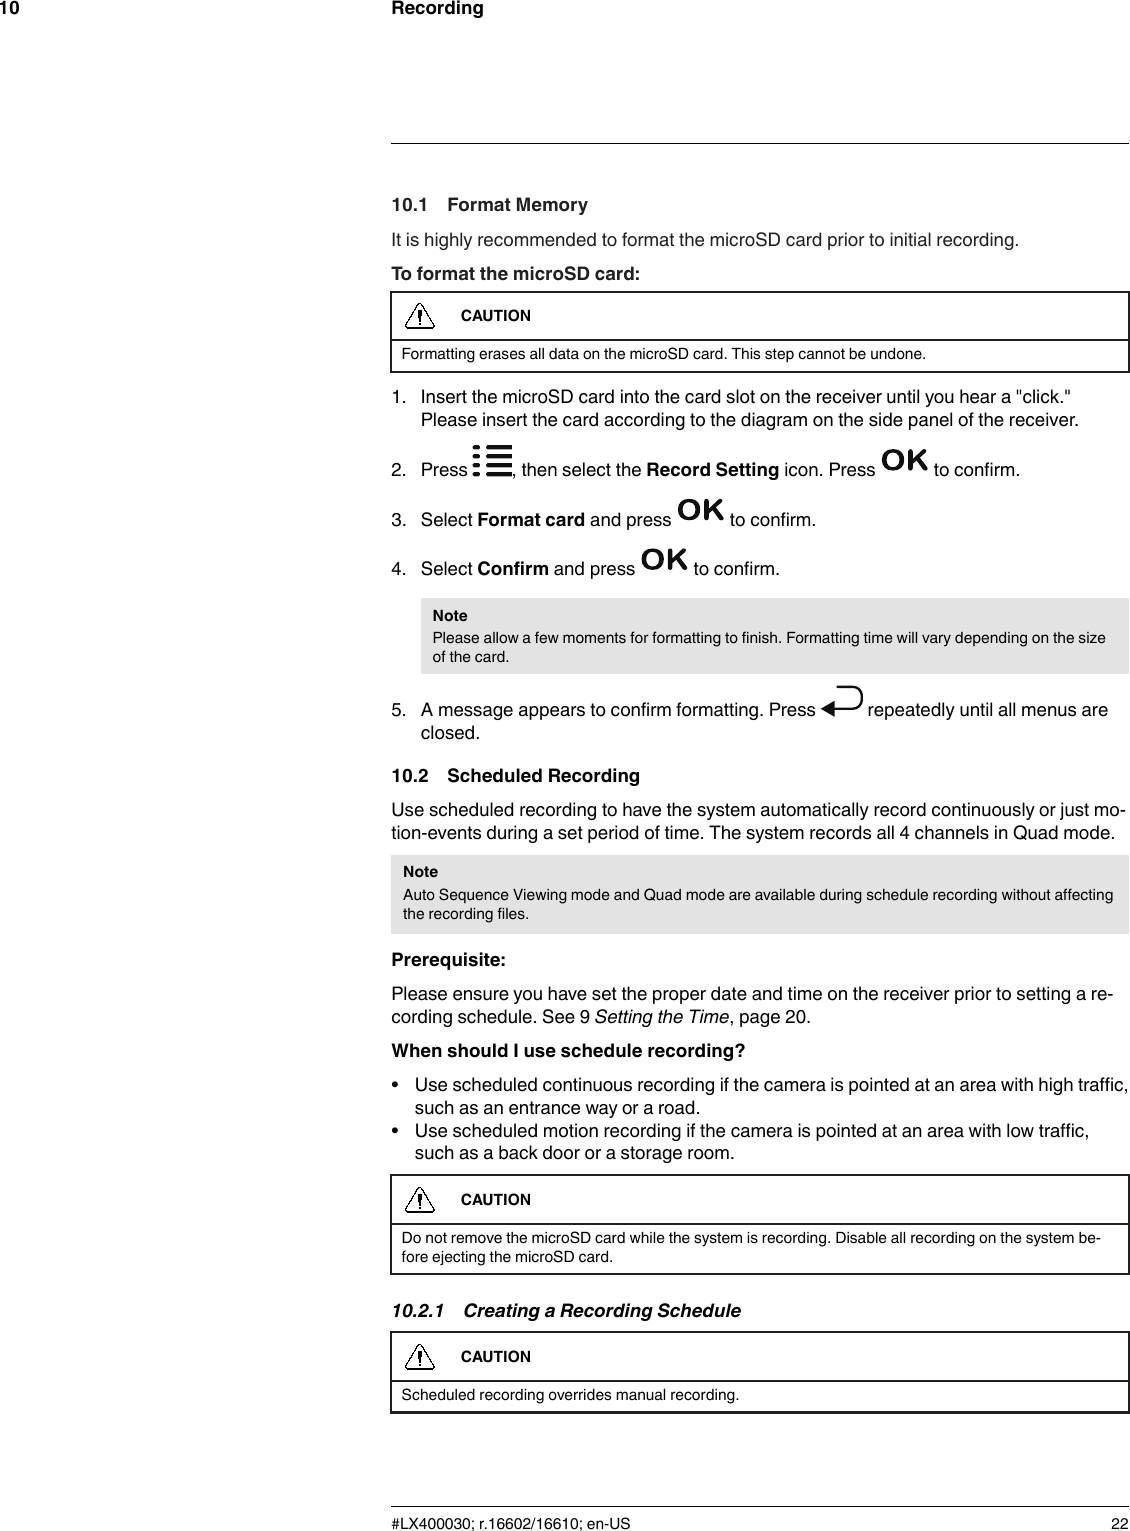
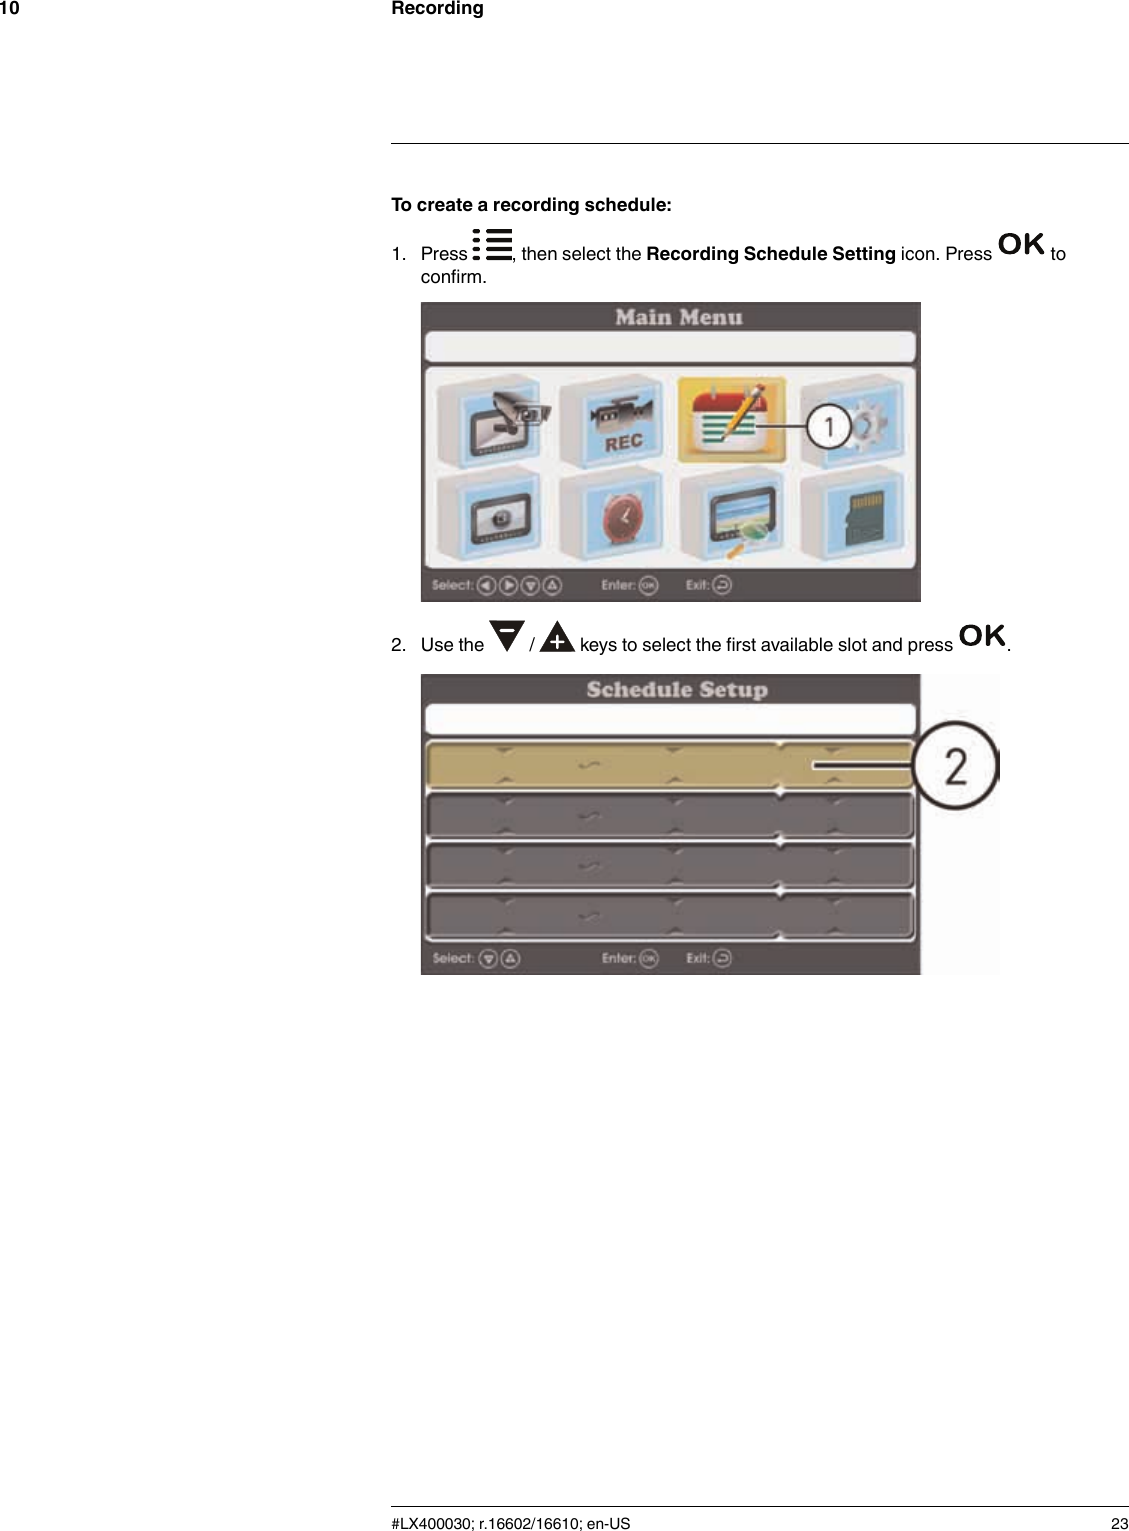
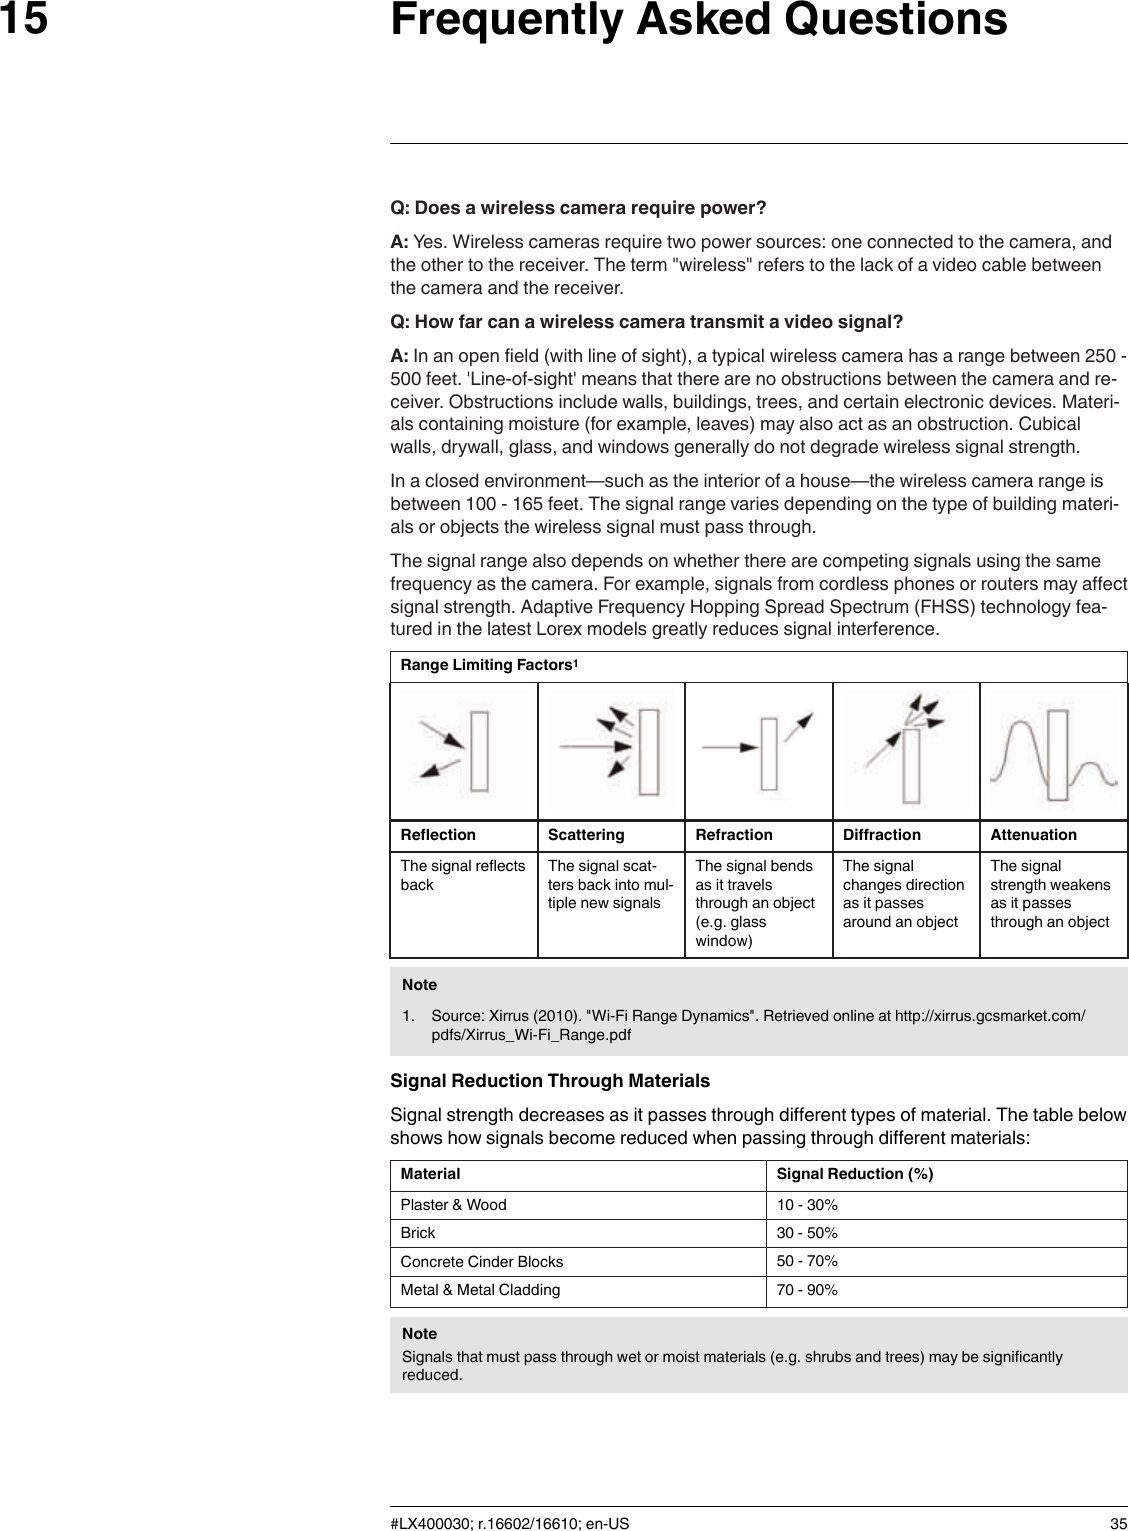
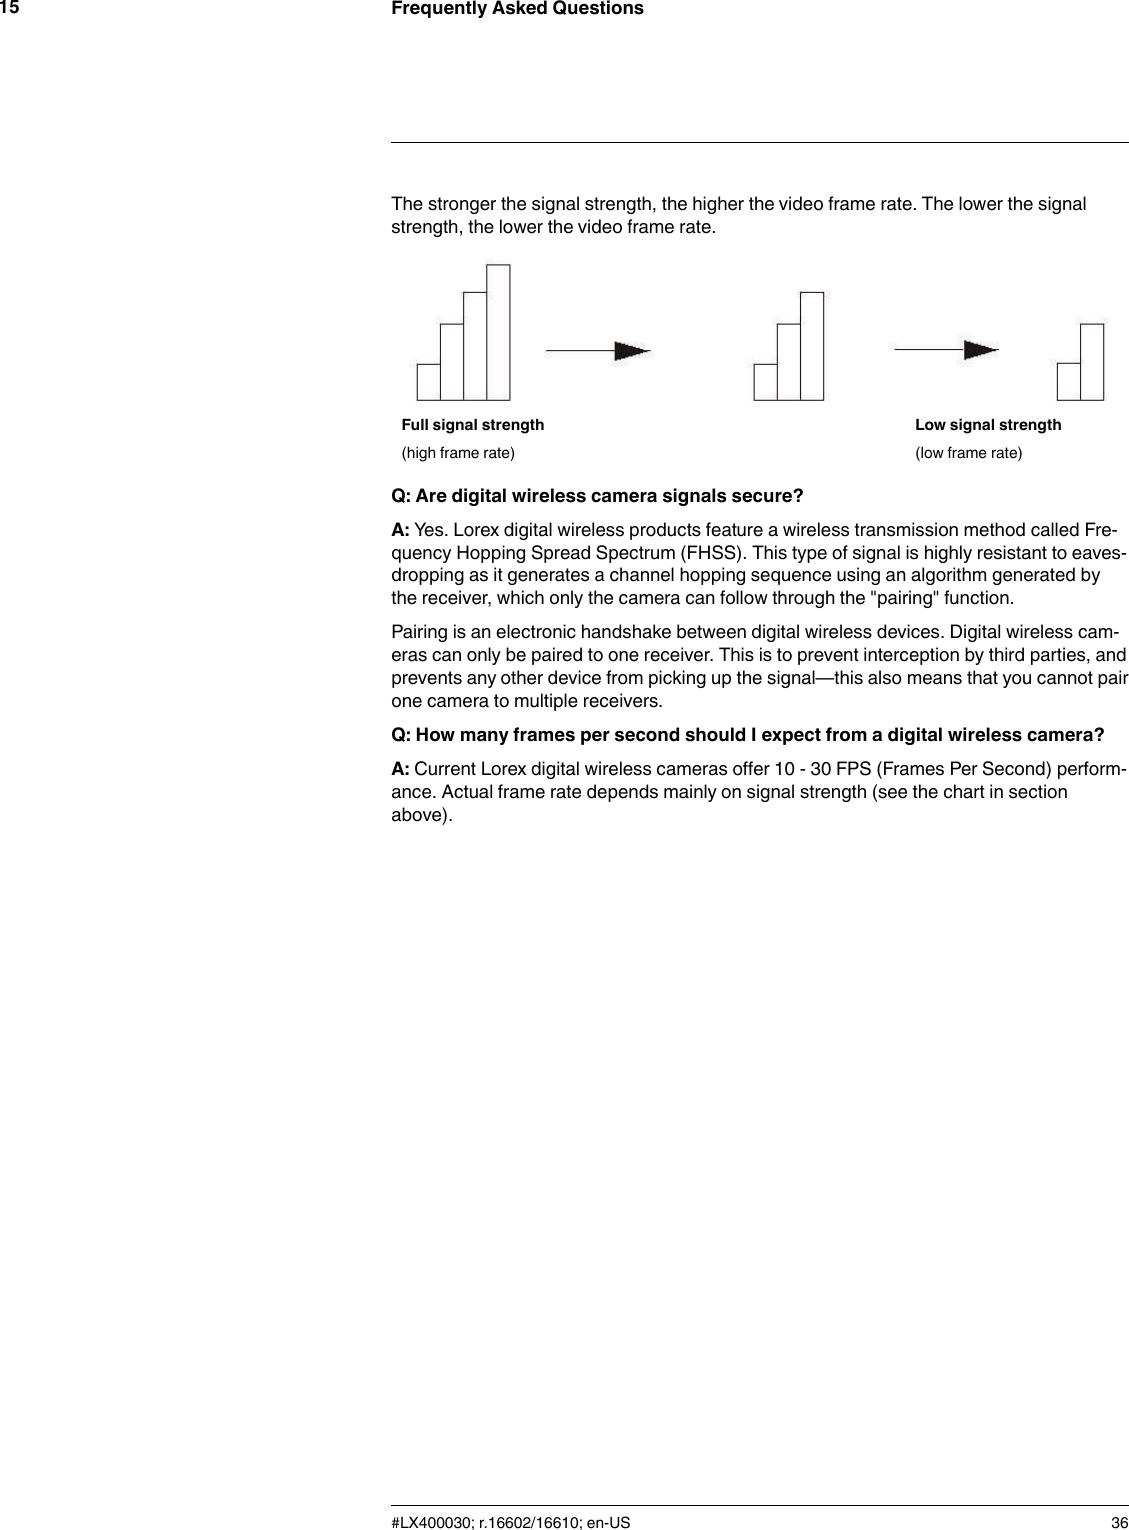
Lorex Technology WL1741 7 inches Security Video Monitor User Manual LW1740 SERIES USER S GUIDE
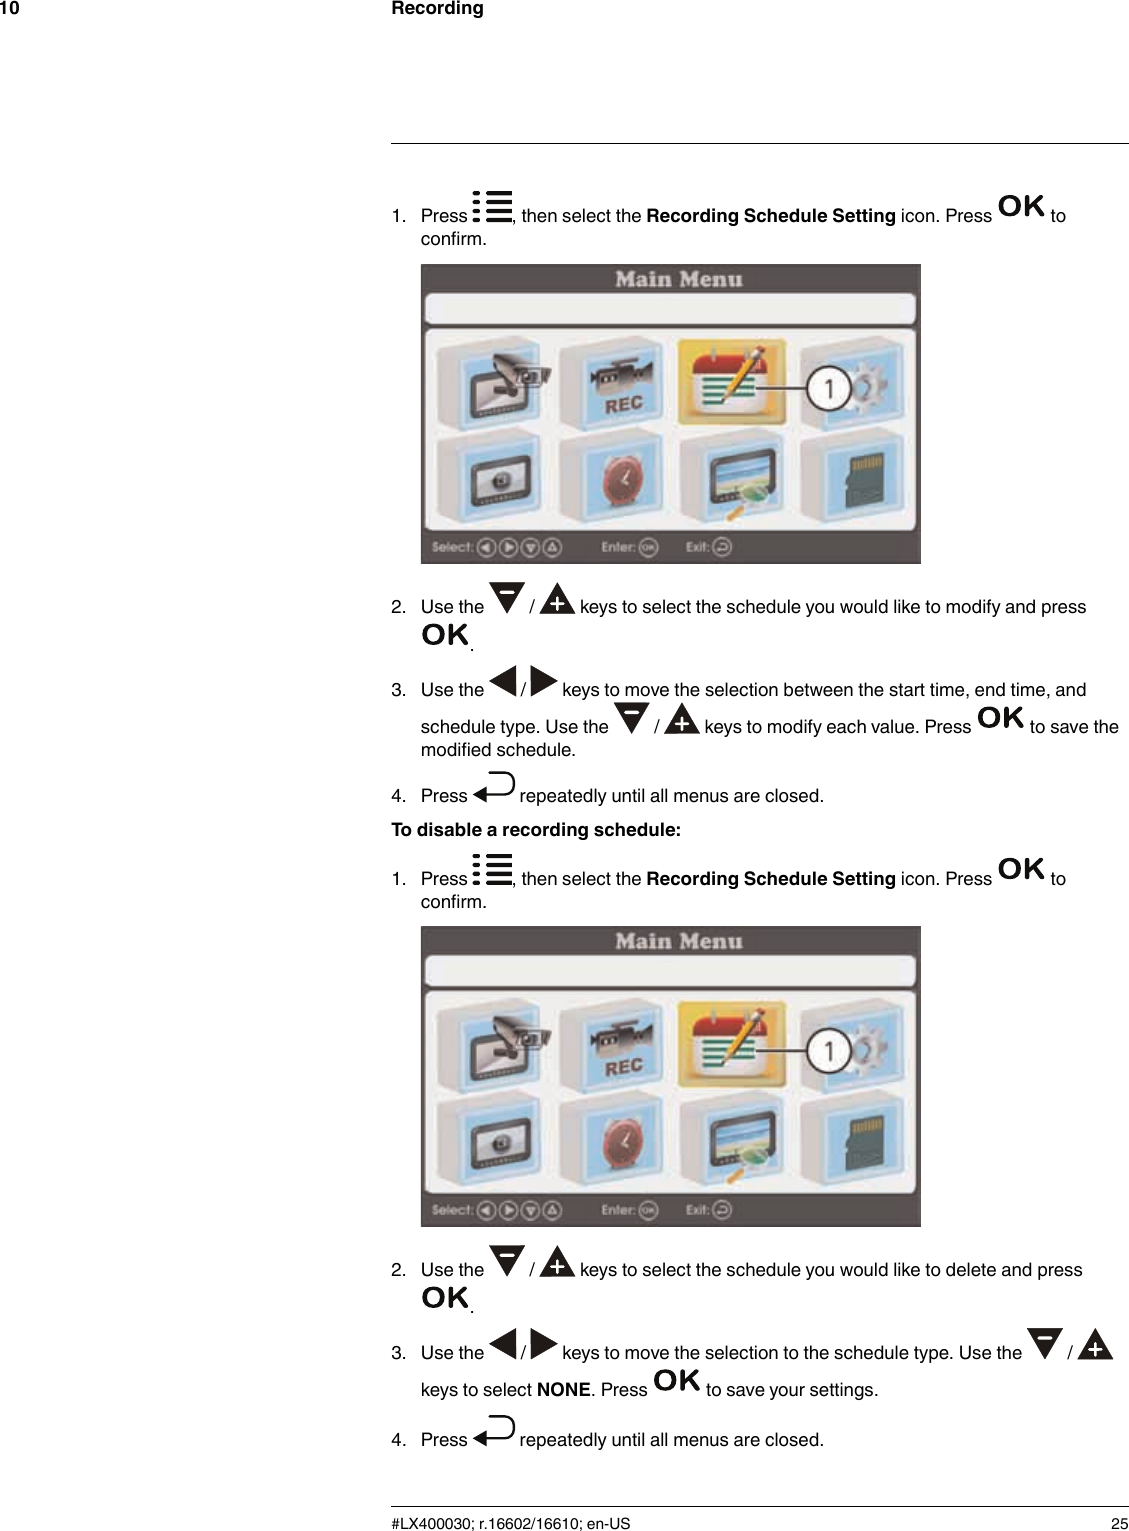
Lorex Technology Inc. 7 inches Security Video Monitor LW1740 SERIES USER S GUIDE
UserManual.wiki
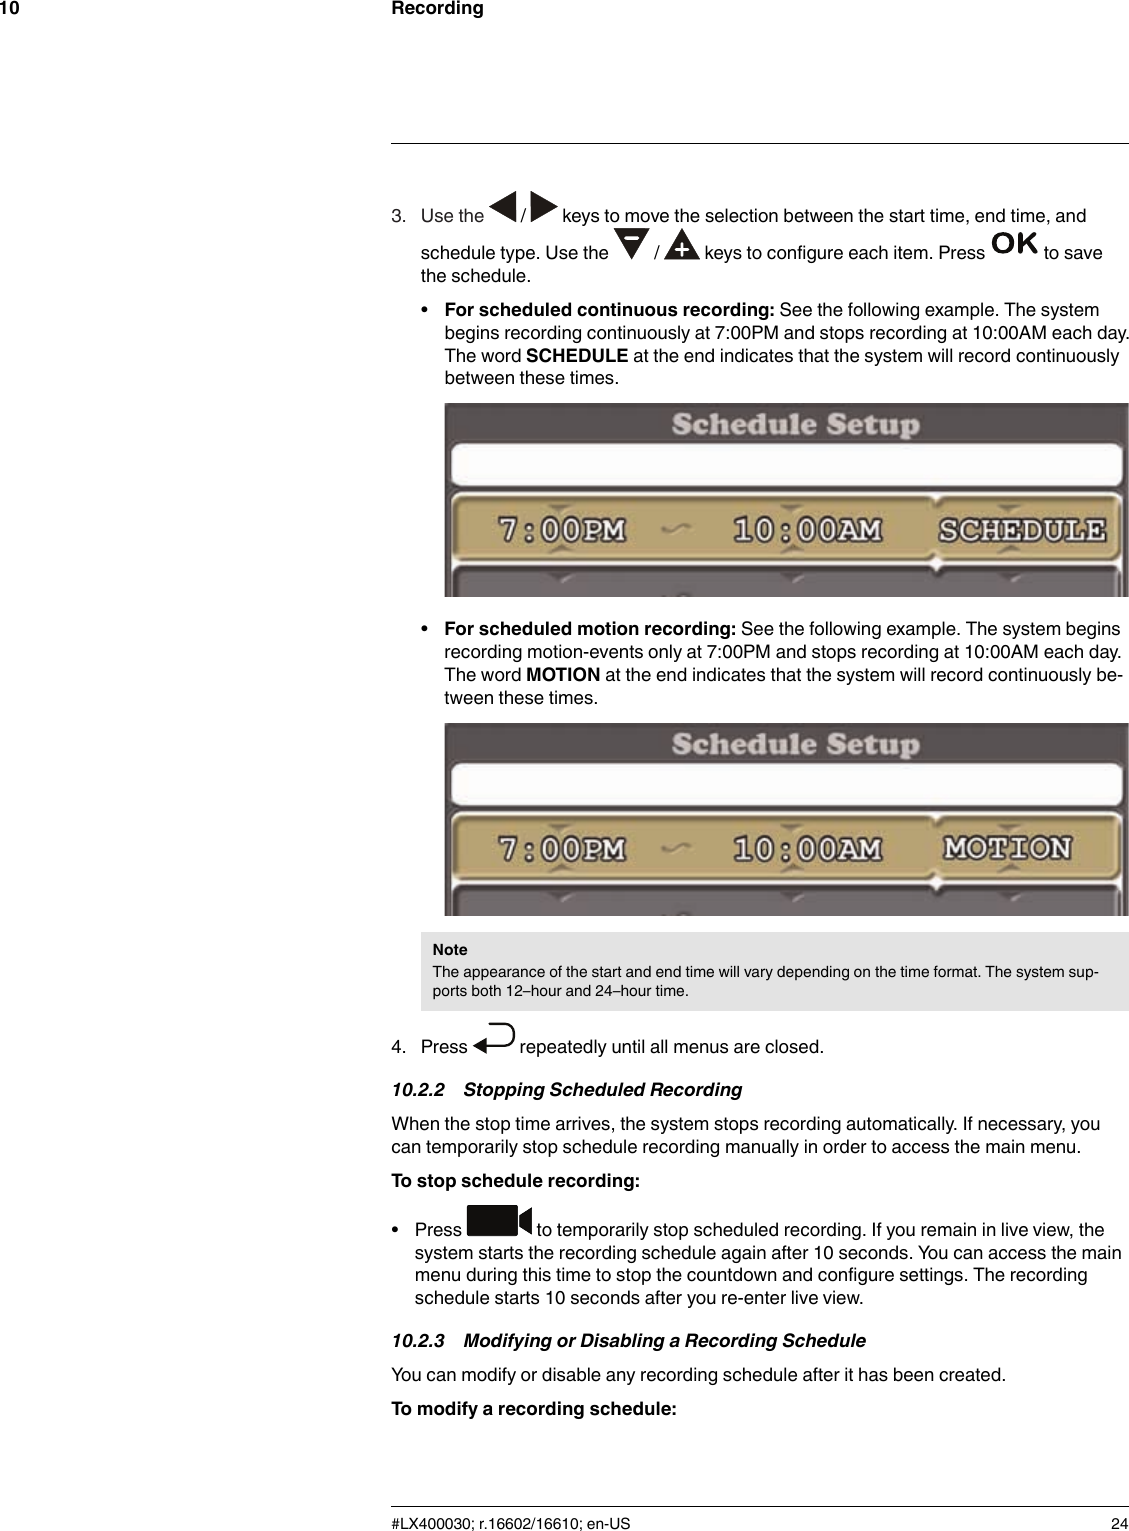
>
Lorex Technology
>
WL1741 User Manual
Users Manual
Navigation menu
Upload a User Manual
Namespaces
Wiki Guide
HTML
PDF
Info
Views
User Manual
Discussion / Help
Navigation