Lotek Wireless SRX600 Telmetry Receiver User Manual Guide to the SRX 600 Receiver Rev A 10112
Lotek Wireless, Inc Telmetry Receiver Guide to the SRX 600 Receiver Rev A 10112
Contents
- 1. Guide to Keypad and LCD display
- 2. Guide to SRX600 Receiver
Guide to SRX600 Receiver
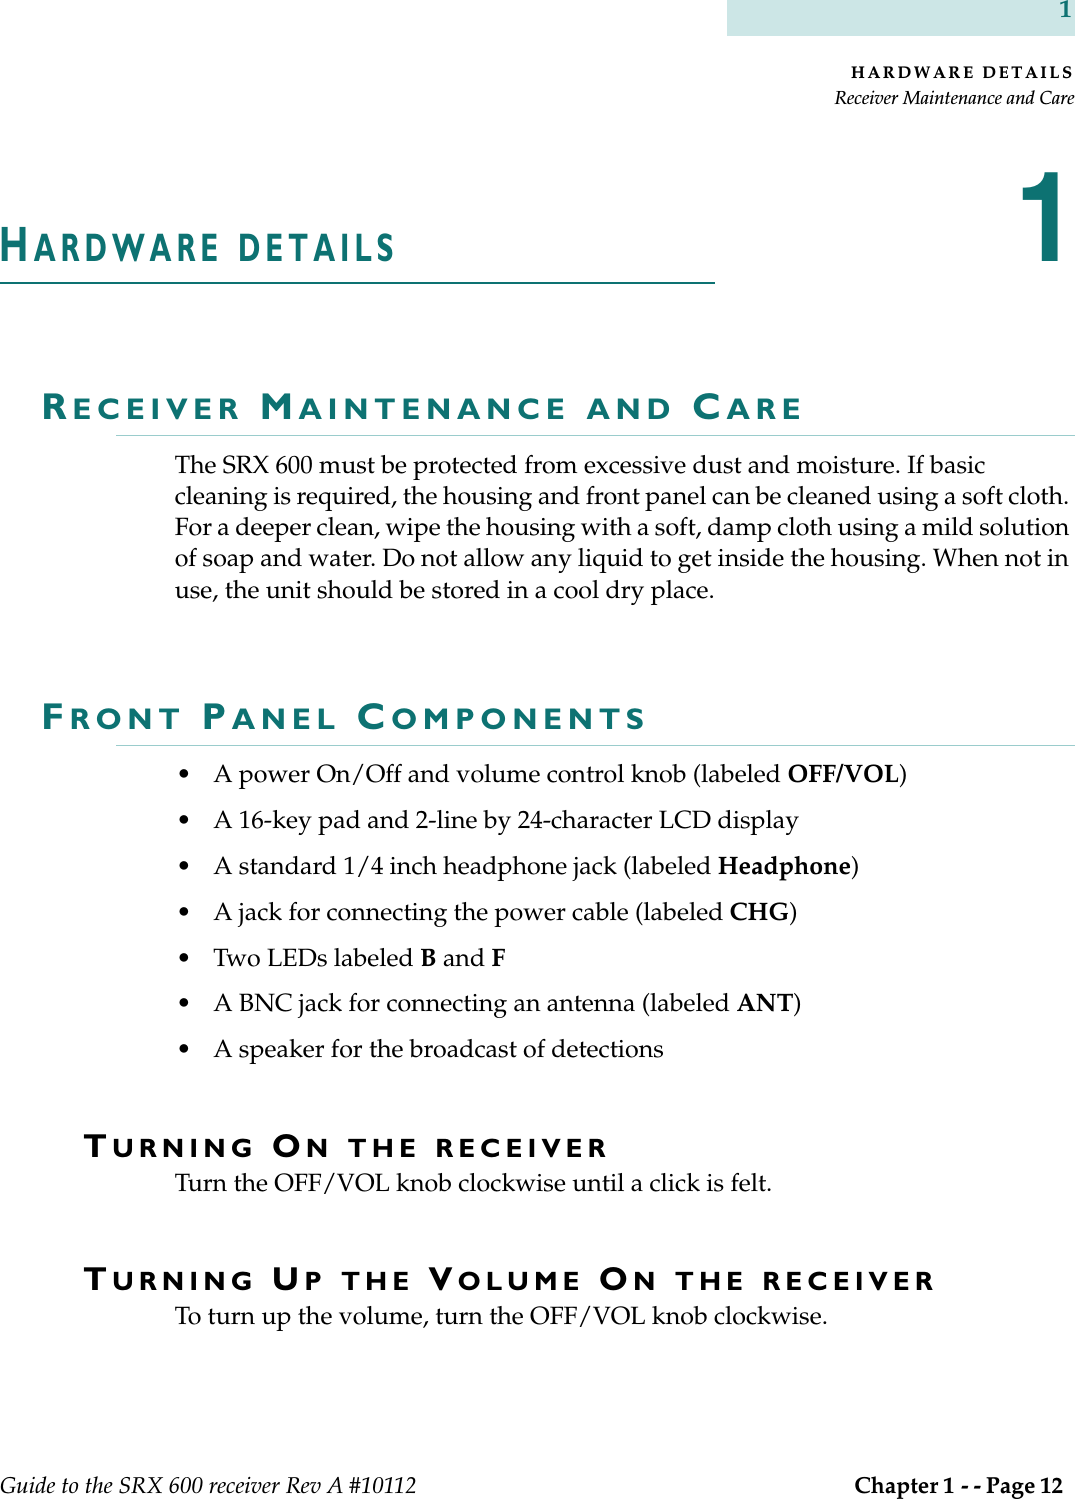
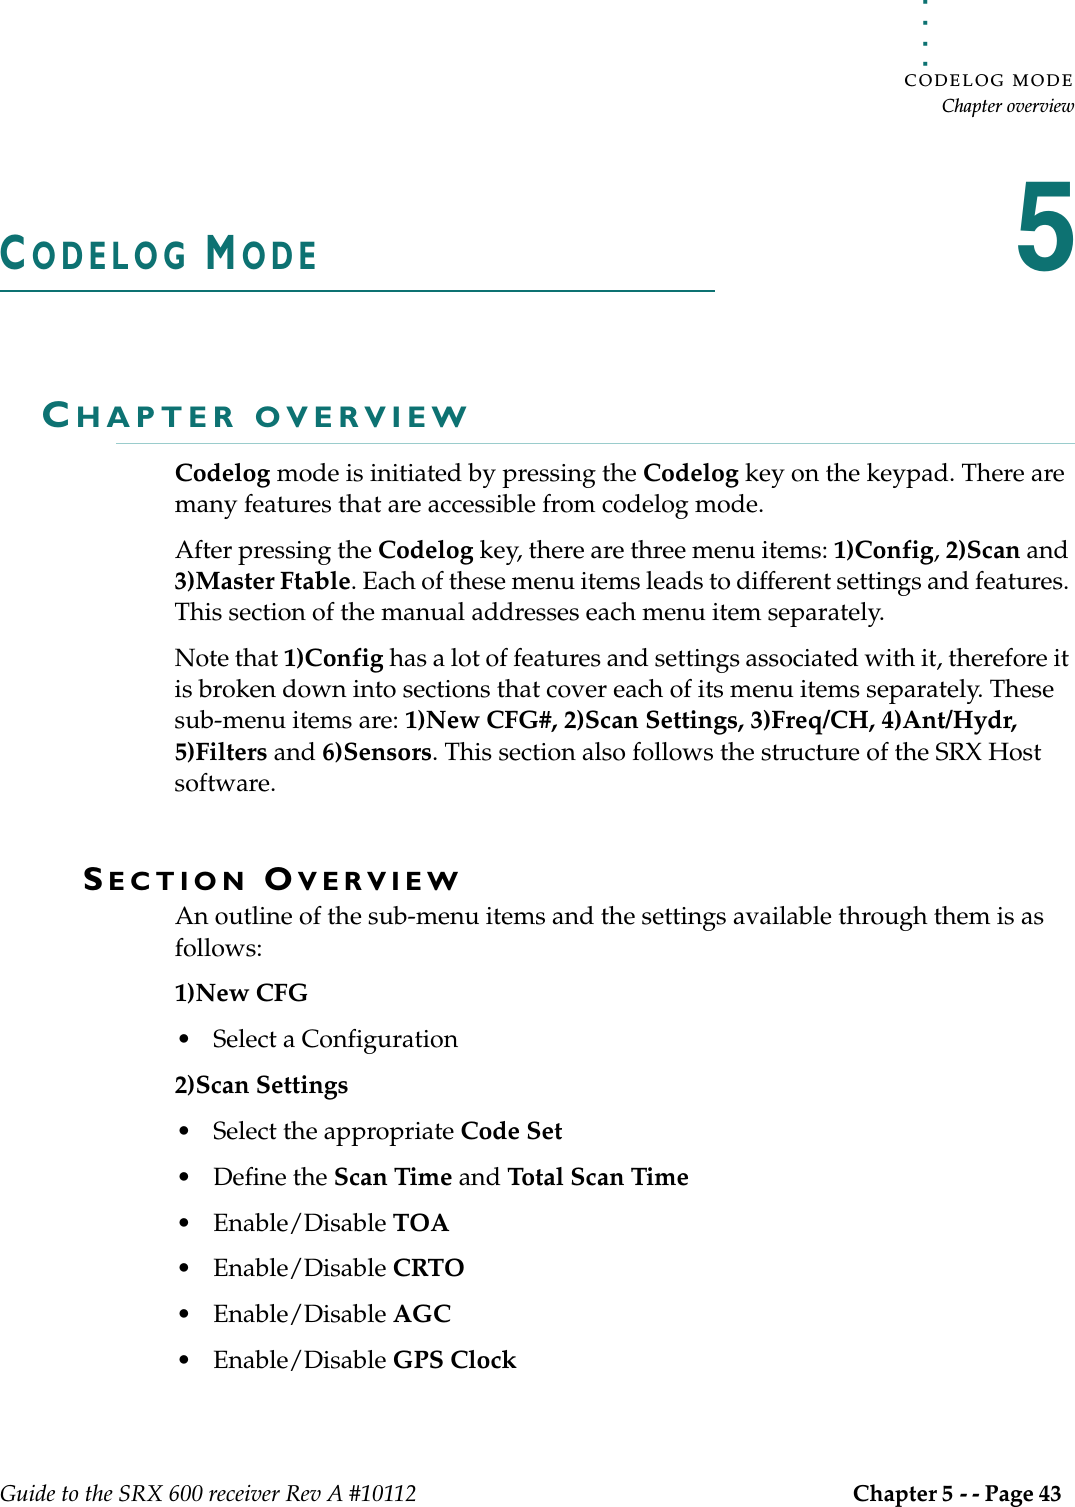
![THE KEYPAD AND LCD DISPLAYChanging a log on passwordGuide to the SRX 600 receiver Rev A #10112 Chapter 2 - - Page 18 2CHANGING A LOG ON PASSWORDAccess to this feature is only provided in Setup Mode. A password can be changed as long as the receiver is Online. Changing the password requires that the old password be entered followed by the new one. The receiver automatically places a slash [/] between the two passwords as they are entered. The password must be made up of 6 numbers.Change the password via Setup > 3)Change Password.RESETTING A LOG ON PASSWORDAccess to this feature is only provided in Setup Mode. A password can only be reset if the receiver is Offline.Resetting the password is not normally used, except to provide a recovery mechanism if the current password has been lost or forgotten. In such an event, Lotek support staff can take information about the receiver’s serial number and the six digit number associated with the Reset Password function and provide a password that can be used to log on to the receiver. Go to Setup > 3)Reset Password to reset the password.](https://usermanual.wiki/Lotek-Wireless/SRX600.Guide-to-SRX600-Receiver/User-Guide-586908-Page-18.png)

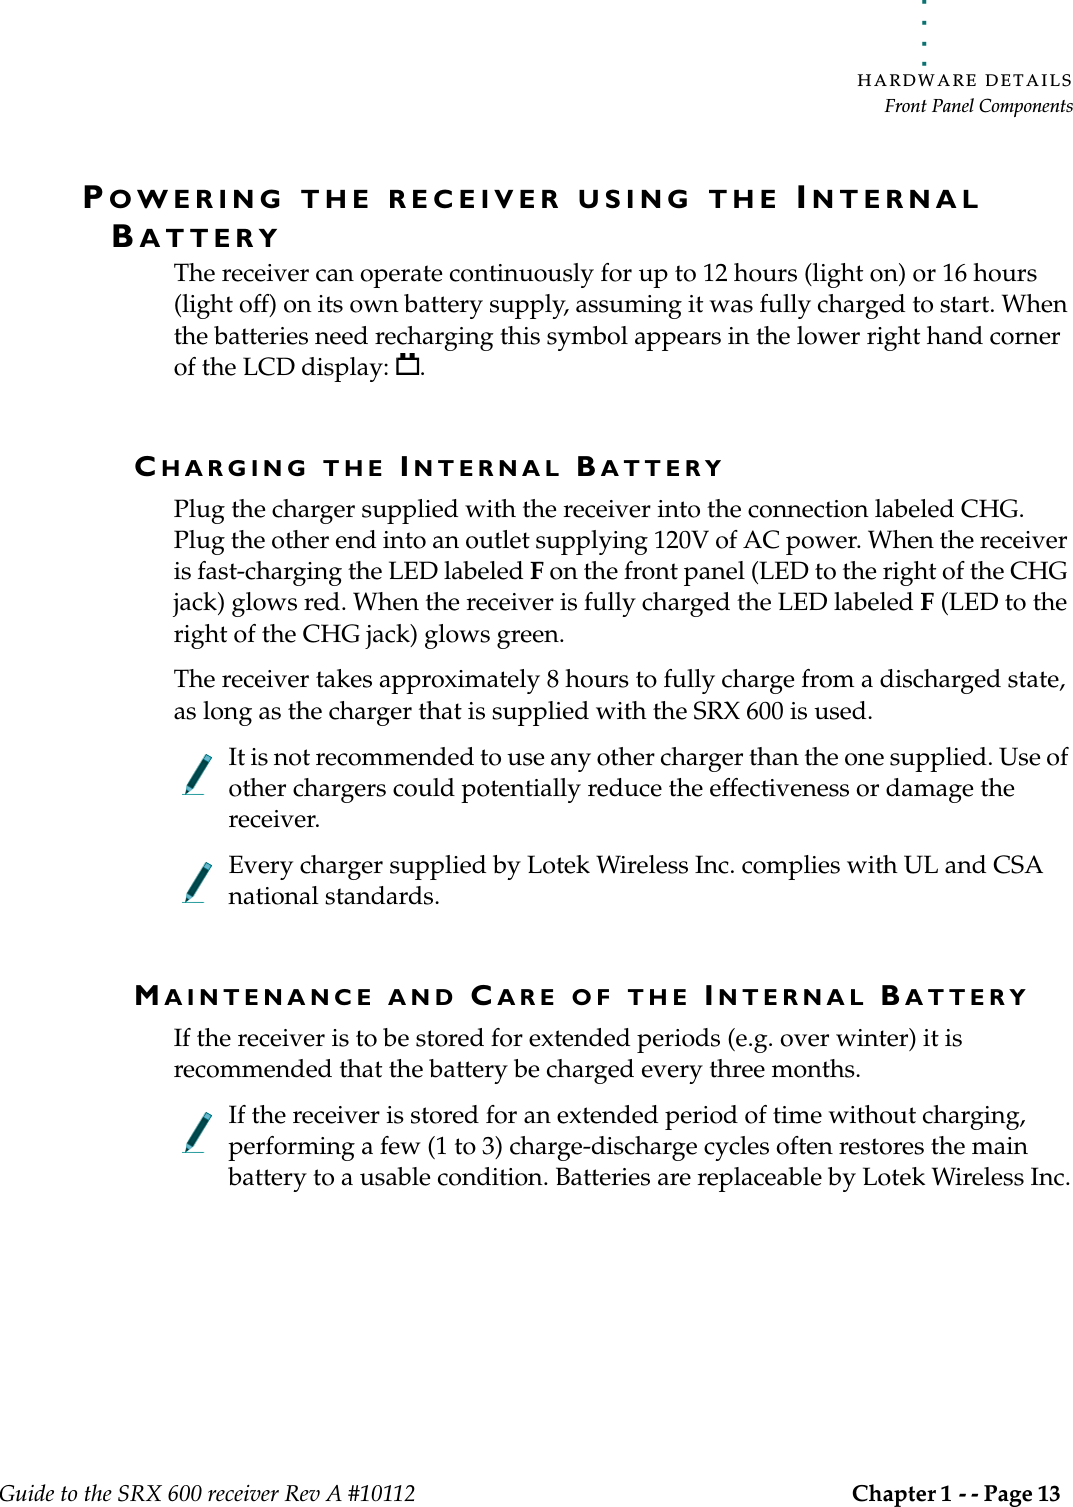
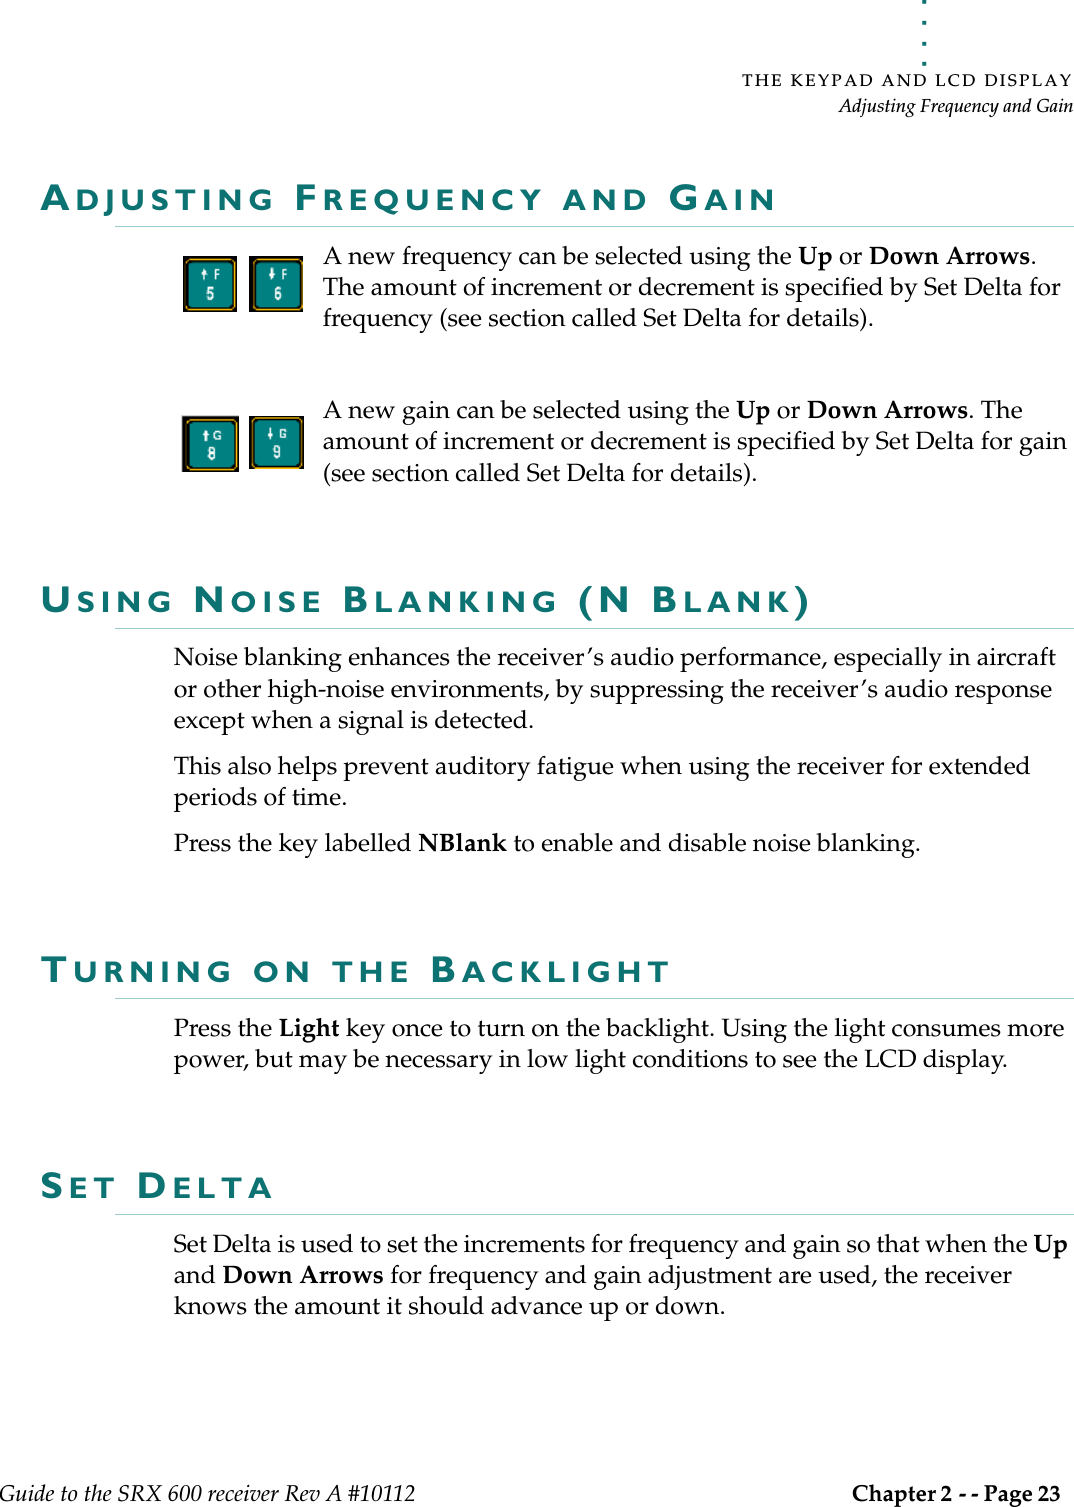
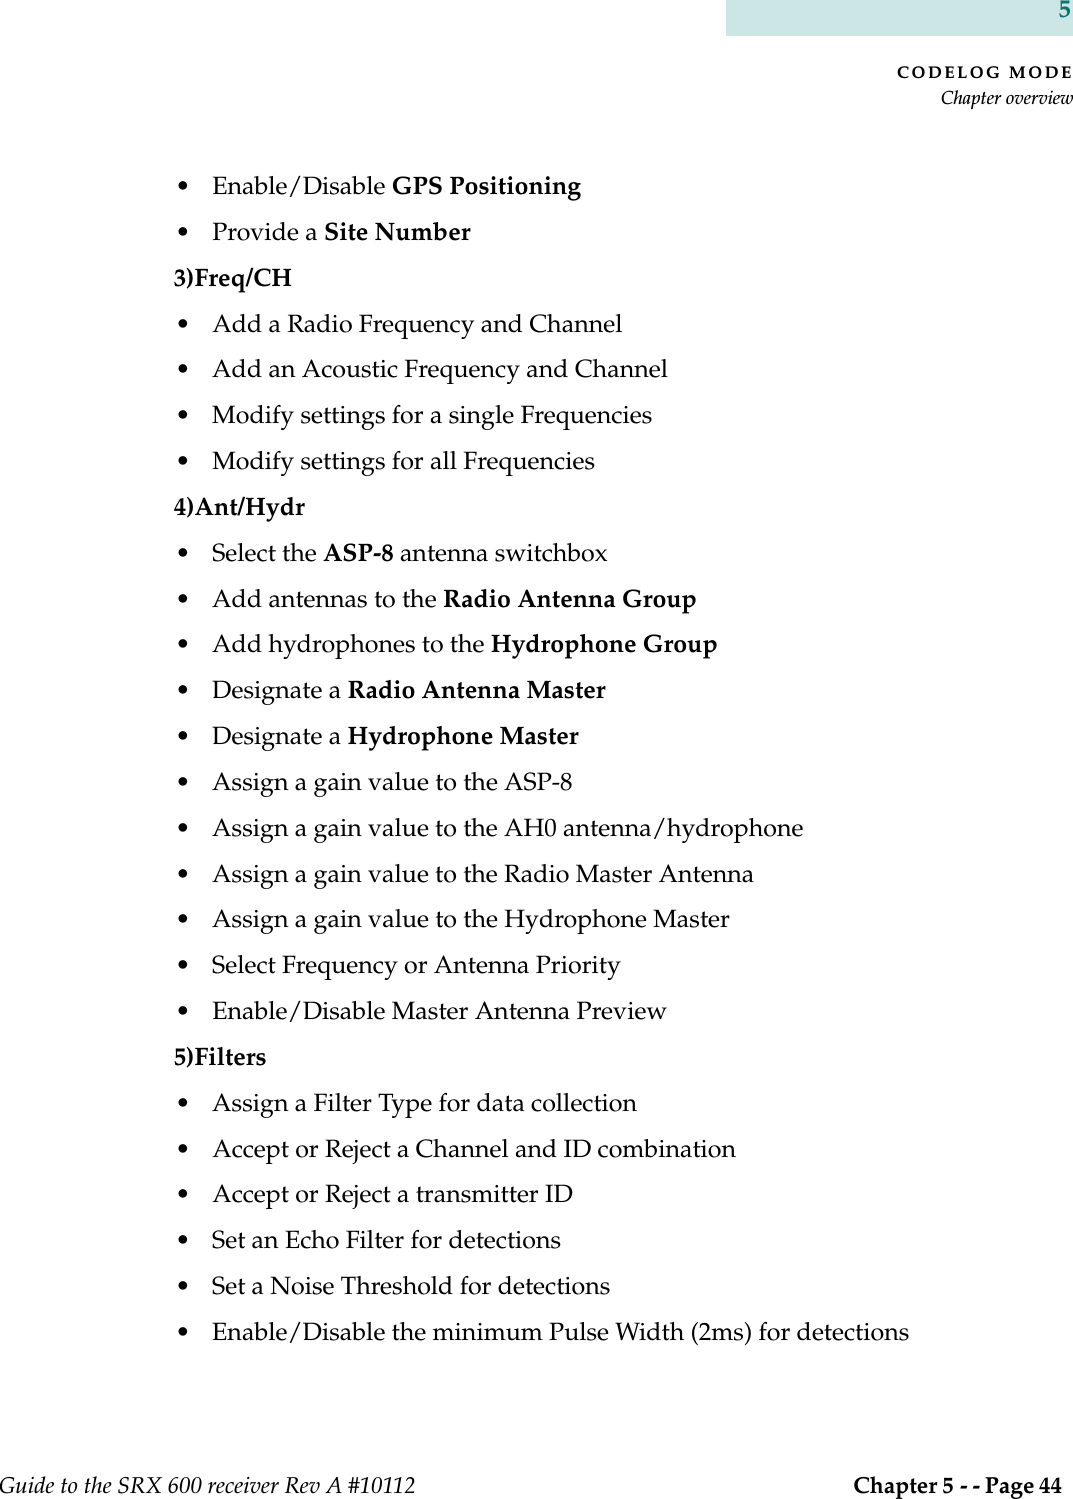
![THE KEYPAD AND LCD DISPLAYUsing the Info keyGuide to the SRX 600 receiver Rev A #10112 Chapter 2 - - Page 22 2USING THE INFO KEYThe Info key provides access to the following:• Battery voltage (main and backup) [1)Bat]• Available memory (in Kilobytes) [2)Mem]• Start frequency, Intermediate Filter Frequency (I.F.) and Local Oscillator Frequency (L.O.) [3)Freq]• Version numbers of the Boot Code, Master and Slave [4)Ver]• Configuration settings (Scan Time and Code Set) [5)Cfg]• Service information (the receiver’s Serial Number and the number of hours that the receiver has been in operation since its last service) [6)Service]• The factory password (123456) [7)Factory Password]• Ability to answer an incoming call via the Modem [8)Answer Incoming Call]The backup battery is 3.3V at full capacity. If this value should drop to 2.8V or less, the receiver should be returned for service. Regardless of the status of the battery, the receiver should be serviced every two years.Start frequency, I.F. and L.O. are only used by Lotek Wireless Inc. for manufac-turing purposes.When accessing the Info key menu items it is not possible log on to the receiver; these features are mutually exclusive. ANSWERING AN INCOMING CALLThis feature is provided for testing and troubleshooting purposes. When a modem is being used to access the receiver it rings when a call is made. The receiver is programmed to automatically answer all calls made. If the receiver does not answer after the modem rings 4 or more times there may be a problem with the auto-answer feature.However, the call can still be answered via Info > 8)Answer Incoming Call.](https://usermanual.wiki/Lotek-Wireless/SRX600.Guide-to-SRX600-Receiver/User-Guide-586908-Page-22.png)
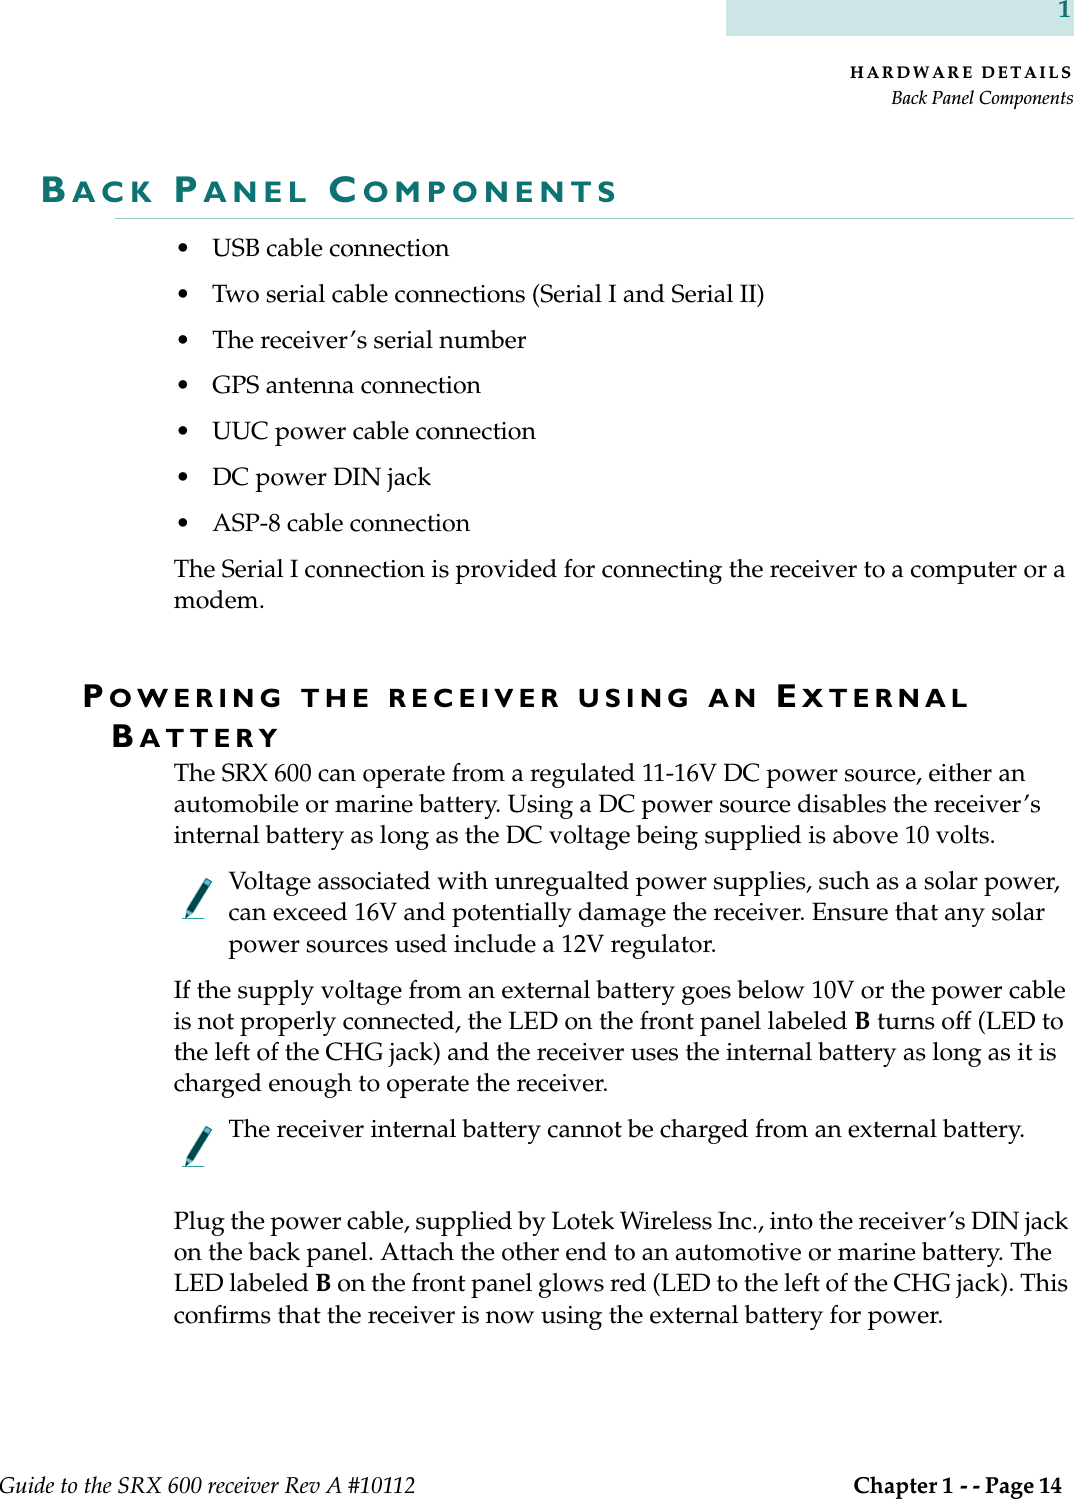
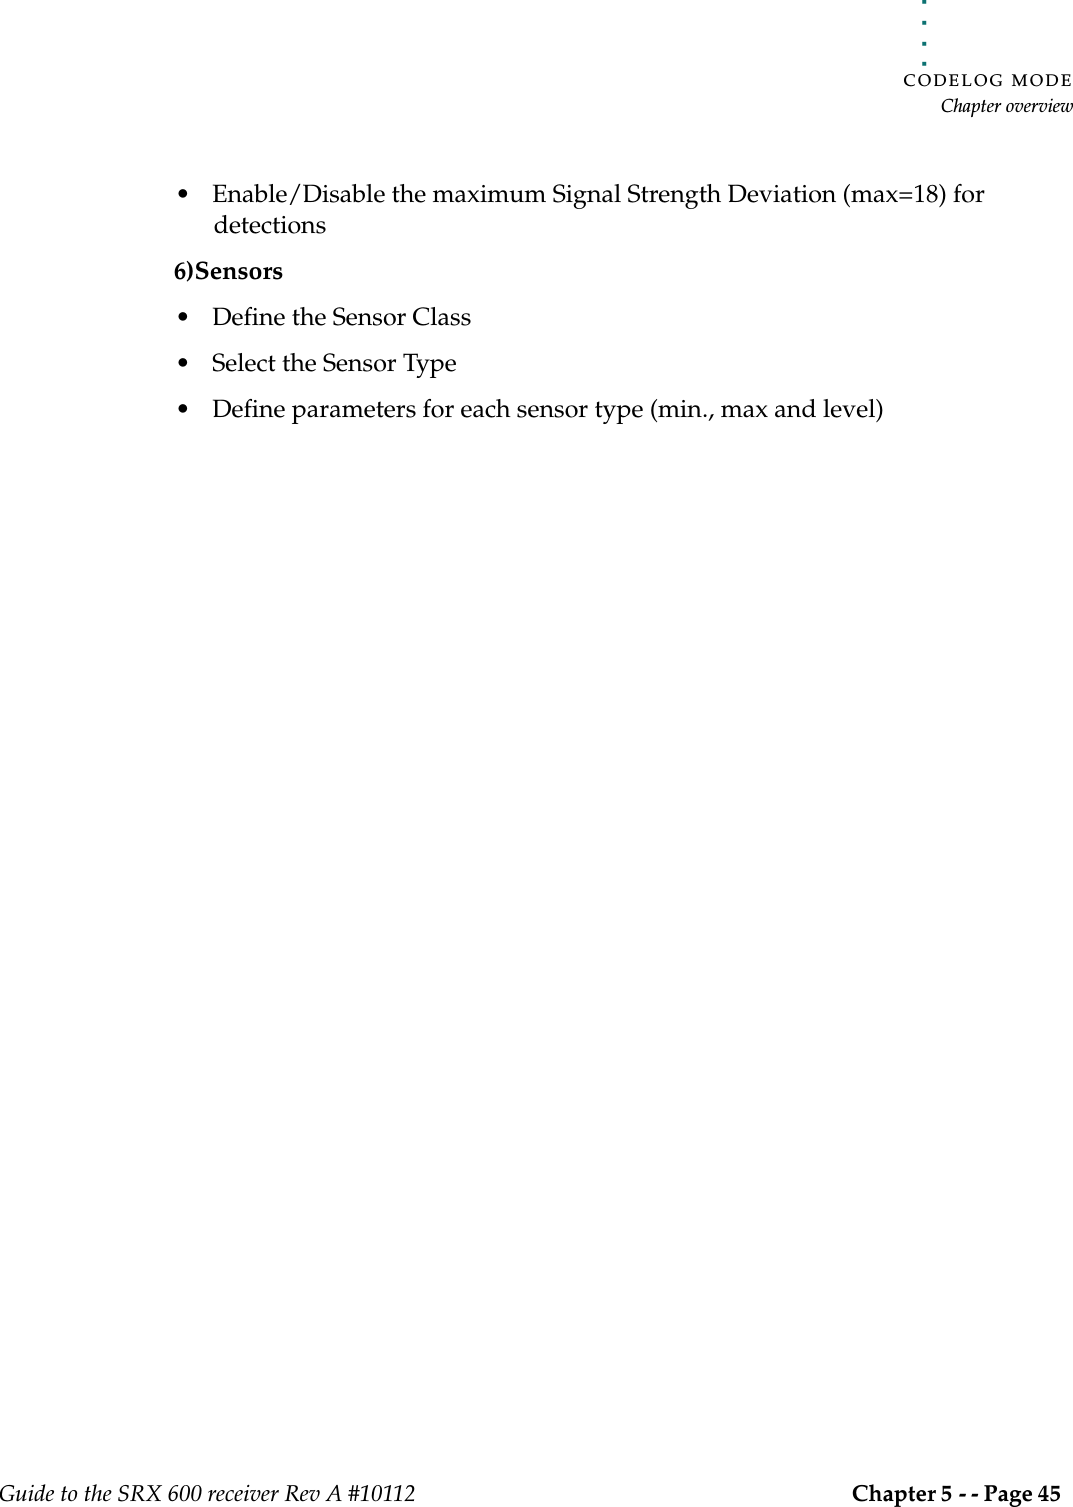
![SETUP MODE3)Reset/Change PasswordGuide to the SRX 600 receiver Rev A #10112 Chapter 3 - - Page 30 33)RESET/CHANGE PASSWORDCHANGING A LOG ON PASSWORDAccess to this feature is only provided in Setup Mode. A password can be changed as long as the receiver is Online. Changing the password requires that the old password be entered followed by the new one. The receiver automatically places a slash [/] between the two passwords as they are entered. The password must be made up of 6 numbers.Change the password via Setup > 3)Change Password.RESETTING A LOG ON PASSWORDAccess to this feature is only provided in Setup Mode. A password can only be reset if the receiver is Offline.Resetting the password is not normally used, except to provide a recovery mechanism if the current password has been lost or forgotten. In such an event, Lotek support staff can take information about the receiver’s serial number and the six digit number associated with the reset password function and provide a password that can be used to log on to the receiver. Go to Setup > 3)Reset Password to reset the password.](https://usermanual.wiki/Lotek-Wireless/SRX600.Guide-to-SRX600-Receiver/User-Guide-586908-Page-30.png)


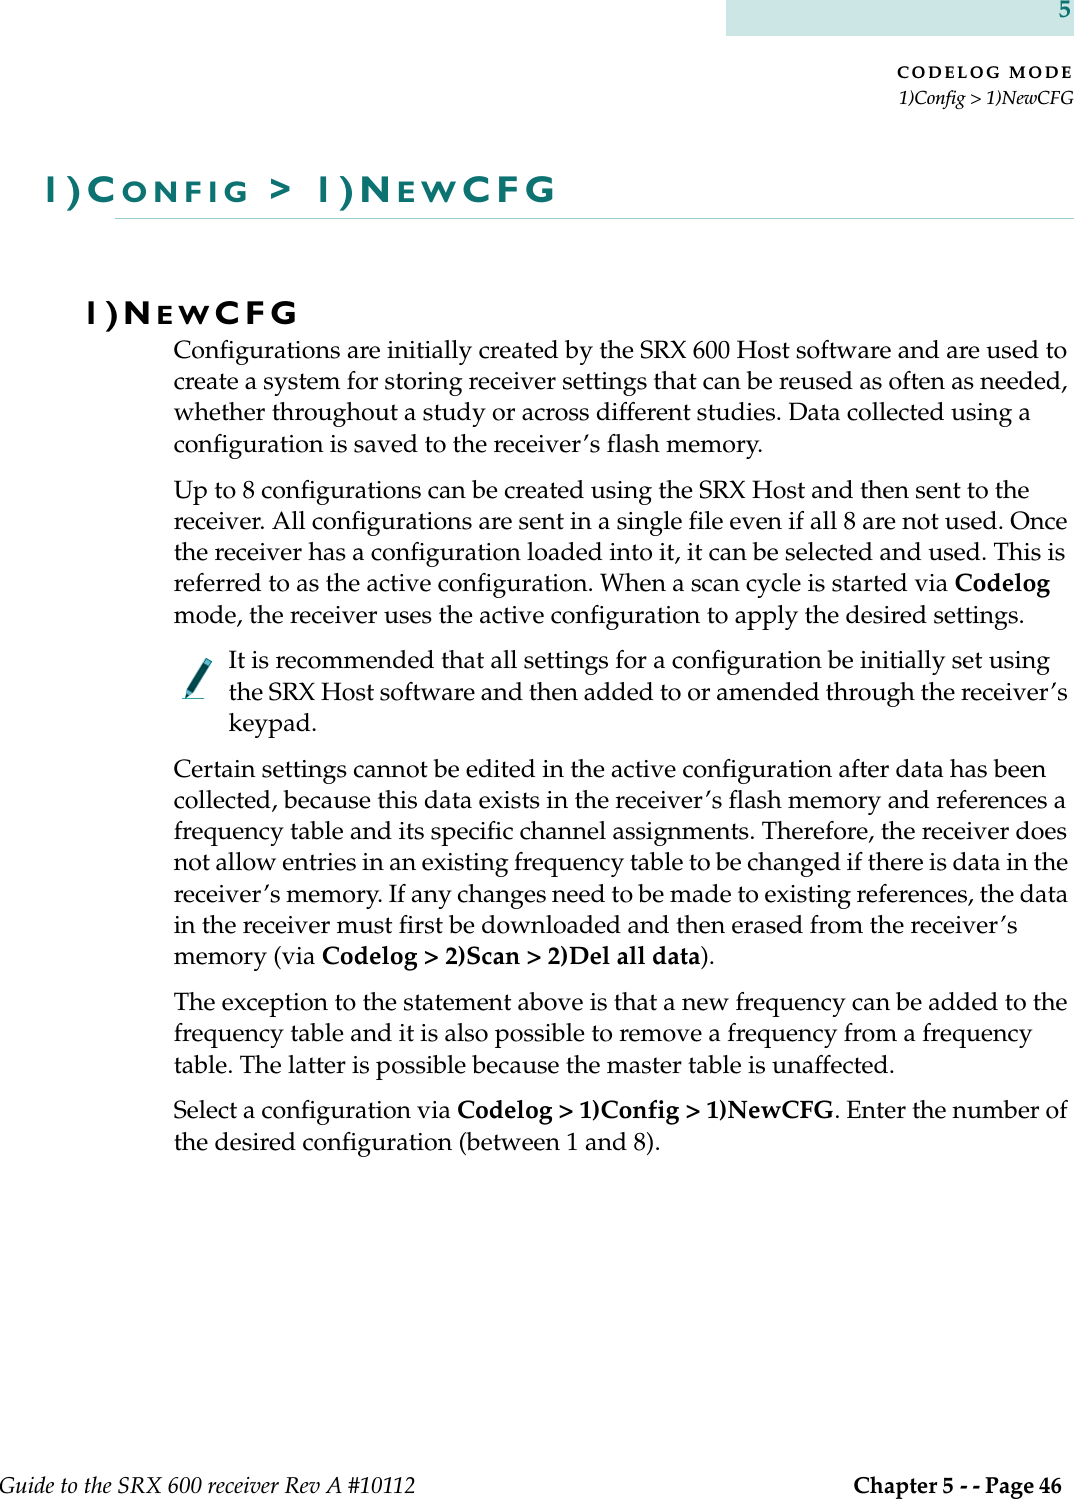
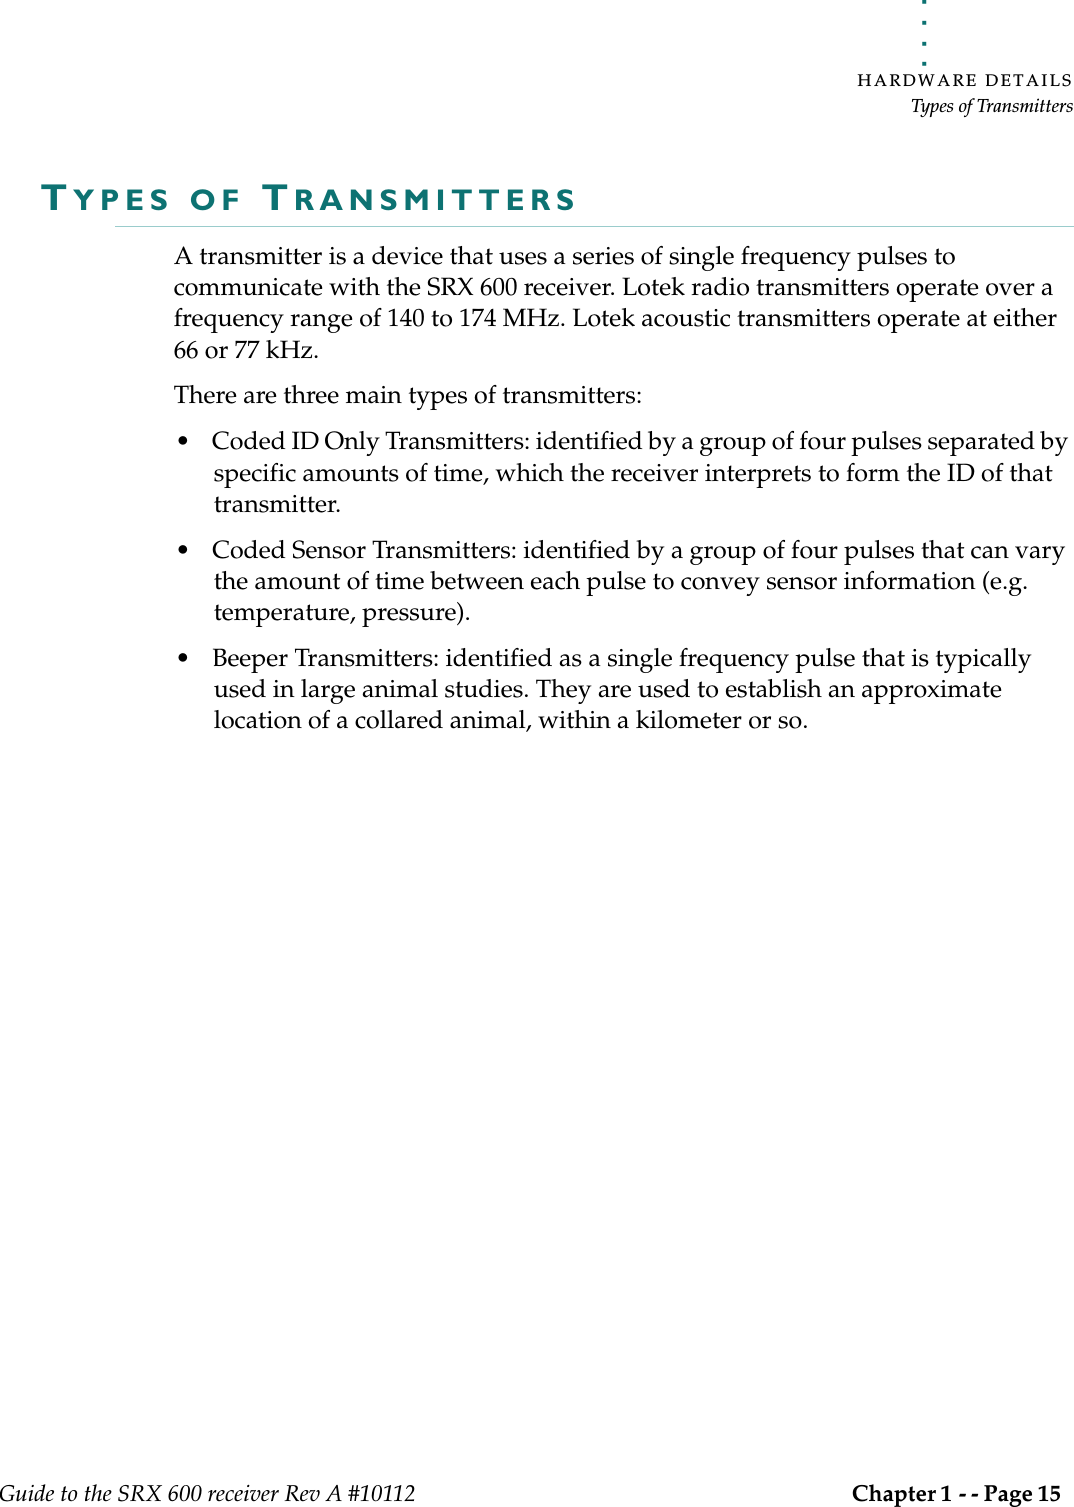
![. . . . .CODELOG MODE1)Config## > 2)Scan SettingsGuide to the SRX 600 receiver Rev A #10112 Chapter 5 - - Page 49 SETTING TOTAL SCAN TIMEThe total scan time is the maximum amount of time a complete scan cycle can take, but the actual time to complete a scan cycle can be less than this, since other settings, like TOA, may cause the receiver to adjust the scan time adaptively. If a scan cycle takes less than the calculated total scan time calculated then the receiver can be setup to wait until the total scan time has elapsed before it starts another scan cycle. Setting the total scan time allows multiple receivers to synchronize their scan cycles and it is a power saving option, because the receiver shuts down all antennas and lowers their Gain while it waits for the total scan time to elapse.Set Total Scan Time via Codelog > 1)Config## > 2)Scan Settings > 2)Param > 2)Total Scan Time. Total scan time format is minutes/seconds (mm/ss).If a total scan time is not set (left as 00:00) then the receiver immediately starts another scan cycle.If the total scan time set is less than the calculated total scan time (see below) then the value entered is ignored and the receiver treats it as if no total scan time was set.CALCULATING TOTAL SCAN TIMEThe following formula should be used to determine the maximum amount of time a scan cycle could take. Use the results of this calculation for the Total Scan Time value.(# of Radio Frequencies) x (# of Radio Antennas [including Master])+(# of Acoustic Frequencies) x (# of Hydrophones [including Master])=Total Number of Scan CyclesxScan Time (e.g. 15 seconds)=To t a l S c a n Ti m e](https://usermanual.wiki/Lotek-Wireless/SRX600.Guide-to-SRX600-Receiver/User-Guide-586908-Page-49.png)


![. . . . .CODELOG MODE1)Config## > 4)Ant/HydrGuide to the SRX 600 receiver Rev A #10112 Chapter 5 - - Page 59 UNDERSTANDING ANTENNA GROUPSAntennas can be radio or upconverted hydrophones. However, they are treated as separate groups by the receiver. For example, in an 8 antenna configuration, if radio antennas are connected to antenna ports 1,2, 4 and 6 then this is referred to as the Radio Group. If the rest of the ports available (3, 5, 7 and 8) are upconverted hydrophones then they are referred to as the Hydrophone Group.If there are no hydrophones used then there is no hydrophone group (likewise for radio antennas).ADDING ANTENNAS (RADIO AND HYDROPHONE)Antennas/hydrophones must be added in the order in which they should be scanned (scan order). However, the receiver treats the radio antennas as a radio group and the hydrophones as a hydrophone group (see Understanding Antenna Groups above for details). For example, the radio group may be connected to antenna ports 1, 2, 4 and 6, but if they are entered into the receiver in this order: 4, 2, 1 and 6, then that is their scan order. The same scenario could apply to a hydrophone group.Add an antenna to a group via Codelog > 1)Config## > 3)Ant or 4)Hydr > 1)Radio Ant Grp or 1)Acoustic Hydr Grp. The type of antenna must be selected first, whereby 3)Ant goes to the Radio Antenna Group page and 4)Hydr goes to the hydrophone group page.It is possible to add radio antennas and hydrophones alternately, but it requires switching back and forth between the radio antenna and hydrophone pages, which could be time consuming.Antennas are added using antenna port numbers and should be entered in the order that they should be scanned. Available antenna port numbers are from 1 through 8. After each antenna port number is entered, a slash [/] automatically appears to separate the antennas being entered (e.g. 1/4/5/2/8/6). Press the ENTER key to apply the changes (do not press the END/ESC key).](https://usermanual.wiki/Lotek-Wireless/SRX600.Guide-to-SRX600-Receiver/User-Guide-586908-Page-59.png)
![CODELOG MODE1)Config## > 4)Ant/HydrGuide to the SRX 600 receiver Rev A #10112 Chapter 5 - - Page 62 5ASSIGNING GAIN VALUES TO MASTER ANTENNASAssign gain values to master antennas via Codelog > 1)Config## > 4)Ant/Hydr > 4)Gain > 3)Radio Master Gain or 4)Acoustic Master Gain. If the master designation has been set for all radio antennas or hydrophones in either the radio or hydrophone groups, then that gain value is used for all members of the group.SETTING A SCAN PRIORITYThere are three scan priorities to choose from: Frequency, Master Antenna Preview and Antenna. Antenna priority is completely independent of the other two, whereas Master Antenna Preview always uses Frequency Priority first and then uses its own rules to complete a scan.USING FREQUENCY PRIORITY FOR A SCANFrequency priority is used when it is desired to scan a single frequency using every applicable antenna before moving on to the next frequency in the frequency table selected. Any valid detections of transmitters that occur during scanning are recorded.Frequency priority is, by default, always enabled unless antenna priority is enabled.The antenna used to begin a scan depends on the type of frequency (radio or acoustic) that was the first entered into the frequency table. If this frequency was a radio frequency then the receiver starts with either the first radio antenna or the Radio Master Antenna in the radio group. If this frequency is an acoustic frequency then the receiver starts with either the first hydrophone or the hydrophone master in the hydrophone group. The following provides an example of how a simple configuration would proceed with scanning using frequency priority.In this example there are three frequencies, two radio and one acoustic, in a selected frequency table (on s 1 [acoustic], 2 [radio] and 3[radio]). They were entered into the frequency table in the scan order: {2, 3 and 1}. Frequency priority has been selected and there are 2 radio antennas in the radio group (4 and 7) and 2 hydrophones in the hydrophone group (5 and 8). Antenna 4 is the radio master](https://usermanual.wiki/Lotek-Wireless/SRX600.Guide-to-SRX600-Receiver/User-Guide-586908-Page-62.png)
![. . . . .CODELOG MODE1)Config## > 4)Ant/HydrGuide to the SRX 600 receiver Rev A #10112 Chapter 5 - - Page 65 In this example there are three frequencies, two radio and one acoustic, in a selected frequency table (on channels 1 [acoustic], 2 [radio] and 3[radio]). They were entered into the frequency table in the scan order: {2, 3 and 1}. Antenna priority has been selected and there are 2 antennas in the radio group (4 and 7) and 2 hydrophones in the hydrophone group (5 and 8). Antenna 4 is the radio master antenna and antenna 8 is the hydrophone master. The scan time is set to 15 seconds. The following illustrates the order in which scanning would take place:• Radio master antenna 4 scans channel 2 for 15 seconds• Radio master antenna 4 scans channel 3 for 15 seconds• [radio master] antenna 4 scans channel 2 for 15 seconds• [radio master] antenna 4 scans channel 3 for 15 seconds• Radio antenna 7 scans channel 2 for 15 seconds• Radio antenna 7 scans channel 3 for 15 seconds• The receiver has now scanned both radio antennas for all radio frequencies and then moves on to the hydrophones• Hydrophone master 8 scans channel 1 for 15 seconds• Hydrophone 5 scans channel 1 for 15 seconds• [hydrophone master] hydrophone 8 scans channel 1 for 15 seconds• The receiver then returns to the radio master antenna and repeats the cycle until the scan is stopped, the battery expires or all the receiver’s data memory is usedWhen an antenna is being scanned the frequencies are scanned according to their scan order (the order they were entered into the frequency table).If an antenna group is designated as a master then all of the antennas/hydrophones in the group are scanned simultaneously.When antenna priority is enabled, master antenna preview is disabled.](https://usermanual.wiki/Lotek-Wireless/SRX600.Guide-to-SRX600-Receiver/User-Guide-586908-Page-65.png)
![. . . . .CODELOG MODE1)Config## > 5)FiltersGuide to the SRX 600 receiver Rev A #10112 Chapter 5 - - Page 67 1)CONFIG## > 5)FILTERSReceived signals can be qualified for storage and display using a set of filters. This section of the manual describes two filter classes, one pertaining to signals (frequency/channel and transmitter ID) and the other to signal quality (signal strength and pulse timing).ID FILTERFiltering provides the ability to filter channel+ID combinations or IDs only without altering a configuration’s frequency table. IDs or channel+ID combinations can be accepted or rejected by creating accept or reject lists. Each accept or reject list can have up to 100 entries. There are four types of filters to choose from, but only one filter type can be selected at a time. Once a filter type is selected, the receiver uses the list created for that filter type to apply the settings.SETTING THE FILTER TYPEOnly one filter type can be selected at a time. Select the filter type via Codelog > 1)Config > 5)Filters > 1)ID Filter. There are four choices: 1)No Filter, 2)Reject Ch/ID, 3)Accept Ch/ID, 4)Reject ID and 5)Accept ID.NO FILTERIf no filtering is desired, select 1)No Filter.REJECTING CHANNEL+IDUse this feature to create a list of channel+ID combinations that will be rejected during a scan. All channel+ID combinations added to this list are rejected (and all combinations that are not in the list are accepted). Any detections with the specified channel+ID combination in the list are NOT recorded by the receiver or displayed (in the LCD display or the SRX Host).Add a channel+ID combination to the reject list via Codelog > 1)Config > 5)Filters > 1)ID Filter > 2)Set Reject Ch/ID >1)Add. Enter the channel followed by the ID. The display automatically inserts a slash [/] between the two values as](https://usermanual.wiki/Lotek-Wireless/SRX600.Guide-to-SRX600-Receiver/User-Guide-586908-Page-67.png)
![CODELOG MODE1)Config## > 5)FiltersGuide to the SRX 600 receiver Rev A #10112 Chapter 5 - - Page 68 5they are entered. The number in brackets in the first line of the display corresponds to the entries in the list (e.g. entry #33 in the reject list).Any entry in the reject list can also be viewed and deleted. View an entry via Codelog > 1)Config > 5)Filters > 1)ID Filter > 2)Set Reject Ch/ID > 2)View/Del. The first entry is shown in the first line of the display. To view the next entry use the Right Arrow key to advance through the list. At any time an entry in the list can be deleted by pressing the 1 key (1)Del).ACCEPTING CHANNEL+IDUse this feature to create a list of channel+ID combinations that should be accepted during a scan. All channel+ID combinations added to this list are accepted (and all combinations that are not in the list are rejected). Any detections with the specified channel+ID combination in the list are recorded by the receiver and displayed (in the LCD display and the SRX Host).Add a channel+ID combination to the accept list via Codelog > 1)Config > 5)Filters > 1)ID Filter > 3)Set Accept Ch/ID >1)Add. Enter the channel followed by the ID. The display automatically inserts a slash [/] between the two values as they are entered. The number in brackets in the first line of the display corresponds to the entries in the list (e.g. entry #33 in the accept list).Any entry in the accept list can also be viewed and deleted. View an entry via Codelog > 1)Config > 5)Filters > 1)ID Filter > 3)Set Accept Ch/ID > 2)View/Del. The first entry is shown in the first line of the display. To view the next entry use the Right Arrow key to advance through the list. At any time an entry in the list can be deleted by pressing the 1 key [1)Del].REJECTING ID ONLYUse this feature to create a list of transmitter IDs that will be rejected during a scan. All IDs added to this list are rejected (and all IDs that are not in the list are accepted). Any detections with the specified ID in the list are NOT recorded by the receiver or displayed (in the LCD display or the SRX Host).](https://usermanual.wiki/Lotek-Wireless/SRX600.Guide-to-SRX600-Receiver/User-Guide-586908-Page-68.png)
![. . . . .CODELOG MODE1)Config## > 5)FiltersGuide to the SRX 600 receiver Rev A #10112 Chapter 5 - - Page 69 Add an ID to the reject list via Codelog > 1)Config > 5)Filters > 1)ID Filter > 4)Set Reject ID >1)Add. The number in brackets in the first line of the display corresponds to the entries in the list (e.g. entry #33 in the reject list).Any entry in the reject list can also be viewed and deleted. View an entry via Codelog > 1)Config > 5)Filters > 1)ID Filter > 4)Set Reject ID > 2)View/Del. The first entry is shown in the first line of the display. To view the next entry use the Right Arrow key to advance through the list. At any time an entry in the list can be deleted by pressing the 1 key (1)Del).ACCEPTING ID ONLYUse this feature to create a list of transmitter IDs that should be accepted during a scan. All IDs added to this list are accepted (and all IDs that are not in the list are rejected). Any detections with the specified ID in the list are recorded by the receiver and displayed (in the LCD display and the SRX Host).Add an ID to the accept list via Codelog > 1)Config > 5)Filters > 1)ID Filter > 5)Set Accept ID >1)Add. The number in brackets in the first line of the display corresponds to the entries in the list (e.g. entry #33 in the accept list).Any entry in the accept list can also be viewed and deleted. View an entry via Codelog > 1)Config > 5)Filters > 1)ID Filter > 5)Set Accept ID > 2)View/Del. The first entry is shown in the first line of the display. To view the next entry use the Right Arrow key to advance through the list. At any time an entry in the list can be deleted by pressing the 1 key [1)Del].PULSE FILTER (SIGNAL QUALITY)There are four filters available that pertain to the signal strength and timing characteristics of pulsed signals: Echo Filter, Noise Threshold, Pulse Width and Signal Strength Deviation. All of these filters set pass/fail boundaries based on selected pulse characteristics.SETTING AN ECHO FILTERThe Echo Filter sets the time in milliseconds after a valid detection during which any additional detections are considered to be echos.](https://usermanual.wiki/Lotek-Wireless/SRX600.Guide-to-SRX600-Receiver/User-Guide-586908-Page-69.png)

![CODELOG MODE1)Config## > 6)SensorsGuide to the SRX 600 receiver Rev A #10112 Chapter 5 - - Page 72 51)CONFIG## > 6)SENSORSThe receiver needs to know the Sensor Class and the types of sensors that are used by the transmitters in a study.There are four types of sensors available: temperature, pressure, activity and EMG. Only three types can be used by the receiver at any given time. In order for the receiver to interpret and display the sensor data properly, it must know the sensor’s range and granularity. These are characterized by three numbers: the Minimum and Maximum (measurement values) and the Level (number of measurement levels). All of these values entered here (class and type, as well as minimum, maximum and levels for all types) are normally provided on the shipping sheet that came with the transmitters from Lotek Wireless Inc.SETTING THE SENSOR CLASSThe sensor class is an internal parameter that the receiver needs to interpret and display sensor data. All transmitters in a study must belong to the same class. Set the sensor class via Codelog > 1)Config > 6)Sensors > 1)Class. Enter a value between 0 and 9. After a value has been entered the receiver automatically returns to the Sensors page.SELECTING THE SENSOR TYPESCoded transmitters equipped with sensors can combine up to three sensor types in a single transmitter. The particular sensor combination in use must be known to the receiver.Select the sensor types via Codelog > 1)Config > 6)Sensors > 2)Type. The display automatically places a slash [/] between each selection (e.g. 1/2/3). A maximum of three sensor types can be entered. The number of the selection corresponds to the menu item number, for example, press key 3 to select the activity sensor type and the number 3 appears in the display. After three selections have been made the receiver automatically returns to the Sensors page. If fewer than three selections are made, press the Enter key to apply the changes and go back to the Sensors page.](https://usermanual.wiki/Lotek-Wireless/SRX600.Guide-to-SRX600-Receiver/User-Guide-586908-Page-72.png)