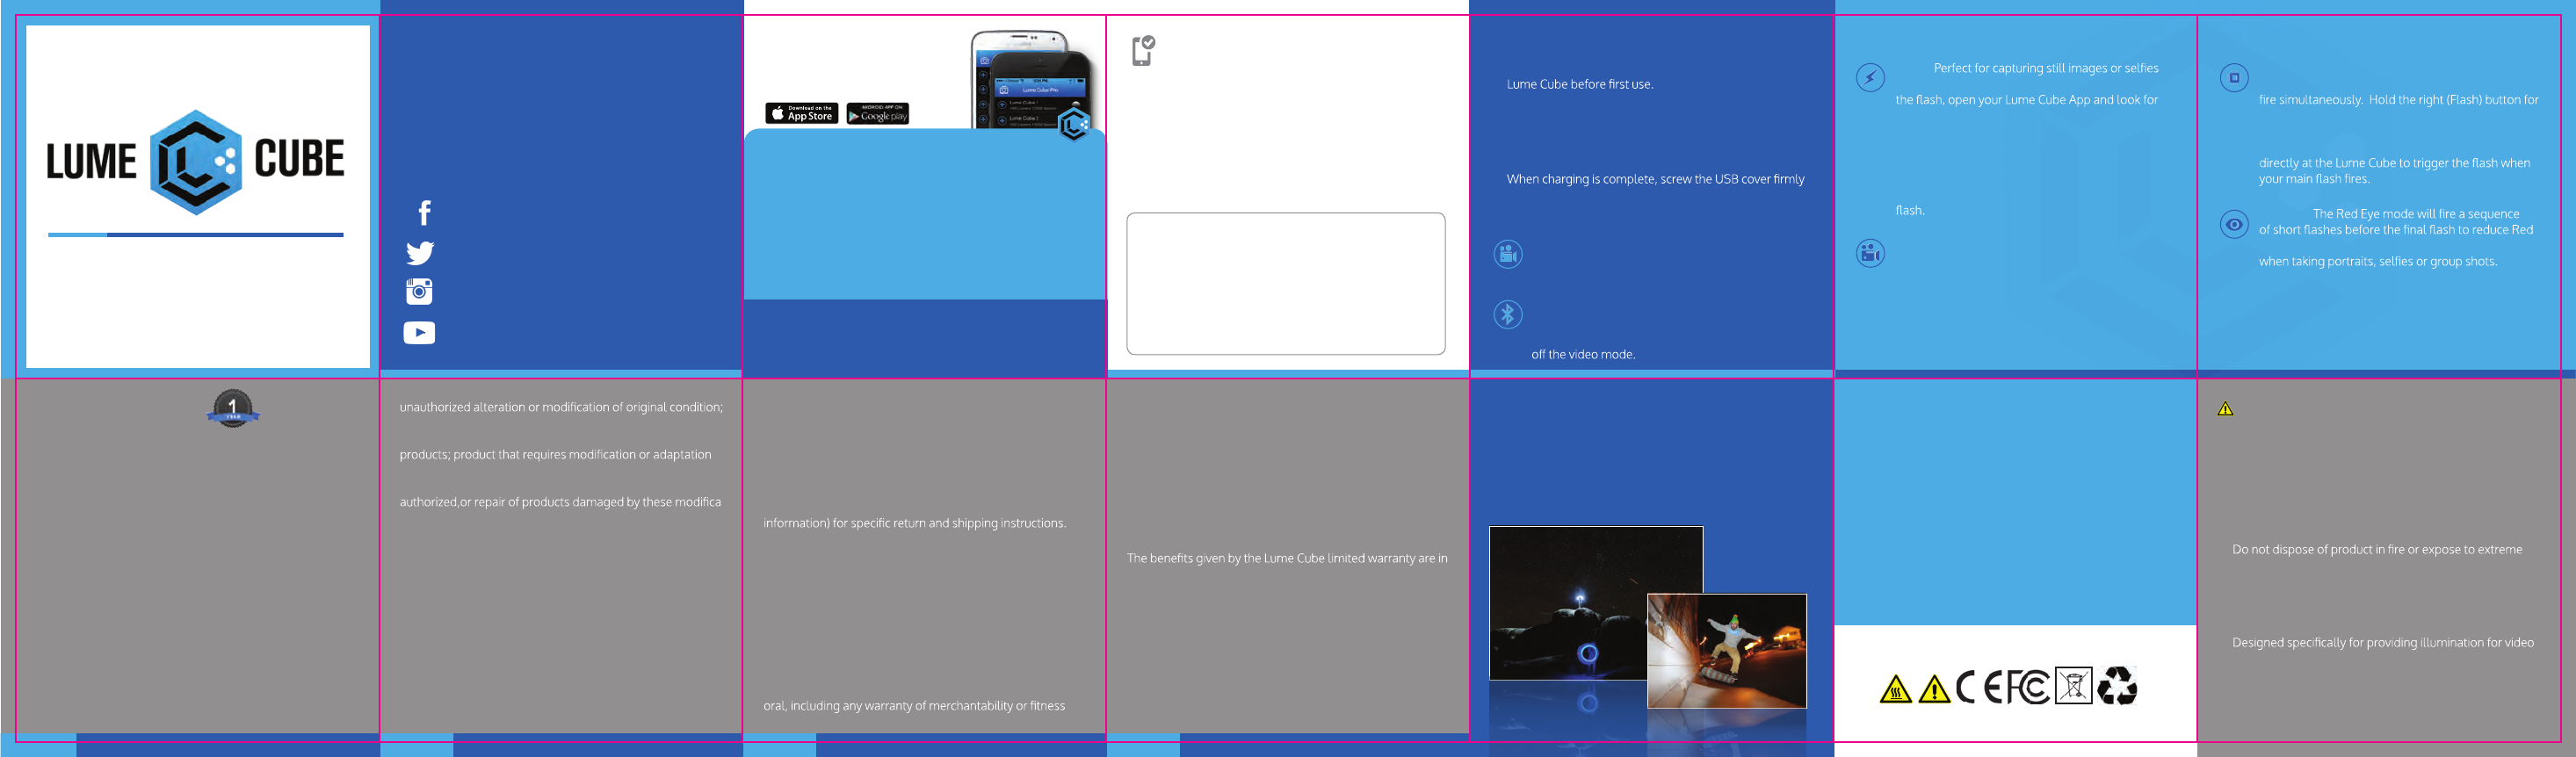
Lume Cube LC11 Lume cube User Manual lume cube qsg
Lume Cube LLC Lume cube lume cube qsg
User Manual
QUICK START GUIDE
Download your Lume Cube or Lume Cube Pro App from the
iTunes App Store or the Google Play Store. You can also
watch an overview video of the Lume Cube App at
www.lumecube.com
- Capture and save photos and videos directly from the
Lume Cube App.
- Connect, operate and control individual or dual Lume
Cubes.
- Remotely access Brightness, Red Eye and Battery Levels.
- Easily share your creations across Social Networks.
- For the ability to control more than two cubes simultane-
ously and for access to additional features download the
Lume Cube Pro App.
The Lume Cube App gives you
ultimate control of your Lume Cube.
LUME CUBE APP
HELLO
JOIN US
Register your Lume Cube to activate and sync with the Lume
Cube App. This will ensure your warranty is validated and
will give you immediate access to future product updates.
Install and open the app. When prompted enter your name,
email address and the serial number provided below or on
the back of the packaging. Your done!
• For best results please take the time to charge your
• Access the charging port by unscrewing the waterproof
USB cover counter clockwise.
• The top control buttons will illuminate. Red indicates
charging, no light indicates full charge.
•
back into place ensuring a tight waterproof seal.
POWER
CONTROL
Left Button - Press the Left (Video) Button to turn
on video mode and to cycle through the 10 bright-
ness settings.
Right Button - Press the right (Flash) button to
enable Bluetooth or hold for 3 seconds to enable
the optical sensor. The Flash button will also turn
Congratulations on your new Lume Cube™. This Quick Start
Guide will show you the fundamentals of capturing night
imagery with your Lume Cube. Life does not stop when the
sun goes down so why should you? See More. Do More.
Be More.
MODES
facebook.com/lumecube
twitter.com/lumecube
instagram.com/lumecube
youtube.com/lumecube
REGISTRATION Optical Slave - Optical slave mode allows your
Lume Cube to detect additional light sources and
3 seconds to enable the Optical Slave. Or, open the
Pro Mode in the Lume Cube Pro App to turn on the
“Opto Trigger”. Next, position your main light source
Red Eye -
Eye in your images. This is best used in low light
Flash -
with any of your casual capture devices. To turn on
the lightning bolt in the upper left corner. A blinking
lightning bolt means you are not connected, a solid
blue lightning bolt indicates the app and your Lume
Cube have synced. If you are unable to connect
please check to ensure the Bluetooth setting in your
device is activated. You are now ready to use the
Video - Video mode provides a constant light source
for your Smartphone, Action Cam or Digital Camera.
Press the left button on top of your Lume Cube to
turn on video mode. While the Lume Cube is in video
mode click the left (video) button to cycle through
the 10 brightness settings. The brightness levels are
also completely adjustable through the app.
Who is covered:
This warranty is extended only to the original end-use
purchaser or the person receiving the product as a gift, and
shall not be extended to any other person or transferee.
What is covered:
Lume Cube warrants that this product, when delivered to
you in new condition, in original packaging, from a Lume
Cube authorized reseller or directly from Lume Cube and
used in normal conditions, is free from any defects in manu-
facturing, materials and workmanship.
What is not covered:
This warranty does not cover defects resulting from
improper or unreasonable use or maintenance; failure to
follow operating instructions; accident; excess moisture;
power surges; connections to improper voltage supply;
damages caused by inadequate packing or shipping proce-
dures; loss of, damages caused by use with non-Lume Cube
to enable it to operate in any country other than the country
for which it was designed, manufactured, approved and/or
-
tions; and products purchased from unauthorized
dealers.
What we will do:
During the warranty period, we will, at our sole option, repair
or replace (using new or refurbished replacement parts) any
defective parts within a reasonable period of time and free
of charge.
What we will not do:
Pay shipping, insurance or transportation charges from you
to us, or any import fees, duties and taxes.
What you must do to obtain Limited Warranty Service:
Return product, with proof of purchase from an authorized
Lume Cube dealer or from Lume Cube, using the following
procedures.
Contact the Lume Cube dealer or distribution organization
in your country/region (visit Lume Cube.com for contact
Label and ship the product, freight prepaid, to the address
provided by Lume Cube dealer or distribution organization.
Place any necessary return authorization number promi-
nently on the outside of the carton. Cartons not
bearing a return authorization number, where required, will
be refused.
Other conditions:
The provisions of this limited warranty are in lieu of any
other warranty, whether expressed or implied, written of
for a particular purpose. Lume Cube LLC maximum liability
shall not exceed the actual purchase price paid by you for
the product. In no event shall Lume Cube LLC be liable for
loss of, damage or indirect damages howsoever caused
including without limitation the replacement of equipment
and property. This warranty is void if the label bearing the
serial number has been removed or defaced.
Australian Consumers:
addition to other rights and remedies available to you. Our
products come with guarantees that cannot be excluded
under Australian Consumer Law. You are entitled to a
replacement or refund for major failure and compensation
for any other reasonably foreseeable loss or damage. You
are also entitled to have the product repaired or replaced if
it fails to be of the acceptable quality.
LUME CUBE LIMITED WARRANTY
• The Lume Cube is VERY BRIGHT. Do not look directly into
the LED.
• Due to the nature of LED lighting, when used for extend-
ed periods of time the Lume Cube will become hot to the
touch. Use care when operating.
• Use only with approved USB Charging devices.
•
heat.
• Do not attempt to disassemble product. Removing the
back casing will void warranty.
• Not to be used for personal night vision or safety lighting.
and photographic activities only.
• Do not use the Lume Cube if the body had been cracked,
punctured or damaged by water. If water is able to enter
the Lume Cube electrical failure will result.
1500 Lumen LED
Color Temp: 6000K (+/- 5%)
Run Time: 20+ Minutes in full power video mode.
Mixed use 2+ hours.
Charge Time: 90 minutes
Waterproof to 100ft
For more help and support visit www.lumecube.com
We truly can’t wait to see what you are inspired to create
with your new Lume Cube. We’d love to see your photos &
videos so please share with us on social media or upload
your content to www.lumecube.com
SHARE SPECS WARNINGS
© Eddie DiCroce
lume-cube-qsg-print-ready 511 x 73mm CMYK
This device complies with Part 15 of the FCC Rules. Operation is subject to the following two
conditions: (1) this device may not cause harmful interference, and (2) this device must accept any
interference received, including interference that may cause undesired operation.
Changes or modifications not expressly approved by the party responsible for compliance could void
the user's authority to operate the equipment
NOTE: This equipment has been tested and found to comply with the limits for a Class B digital device,
pursuant to Part 15 of the FCC Rules. These limits are designed to provide reasonable protection
against harmful interference in a residential installation. This equipment generates, uses instructions,
may cause harmful interference to radio communications. However, there is no guarantee that
interference will not occur in a particular installation. If this equipment does cause harmful interference
to radio or television reception, which can be determined by turning the equipment off and on, the user
is encouraged to try to correct the interference by one or more of the following measures:
-- Reorient or relocate the receiving antenna.
-- Increase the separation between the equipment and receiver.
-- Connect the equipment into an outlet on a circuit different from that to which the receiver is
connected.
-- Consult the dealer or an experienced radio/TV technician for help.