MOTREX MTXRSE100YPPE Rear Seat Entertainment User Manual
MOTREX CO., LTD. Rear Seat Entertainment
UserManual.wiki
>
MOTREX
>
MTXRSE100YPPE User Manual
User Manual
Navigation menu
Upload a User Manual
Namespaces
Wiki Guide
HTML
PDF
Info
Views
User Manual
Discussion / Help
Navigation

![ENGLISH 15 Using the System for the First TimeResetting the SystemThis feature is used to reset the system in the occurrence of an unforeseen error or problem.To reset the system, use a clip or a pin to press the [RESET] hole.Setting the Speaker ModePress the speaker icon. Each time the button is pressed, the mode will change between the headphones and vehicle speaker.](https://usermanual.wiki/MOTREX/MTXRSE100YPPE/User-Guide-3766273-Page-15.png)


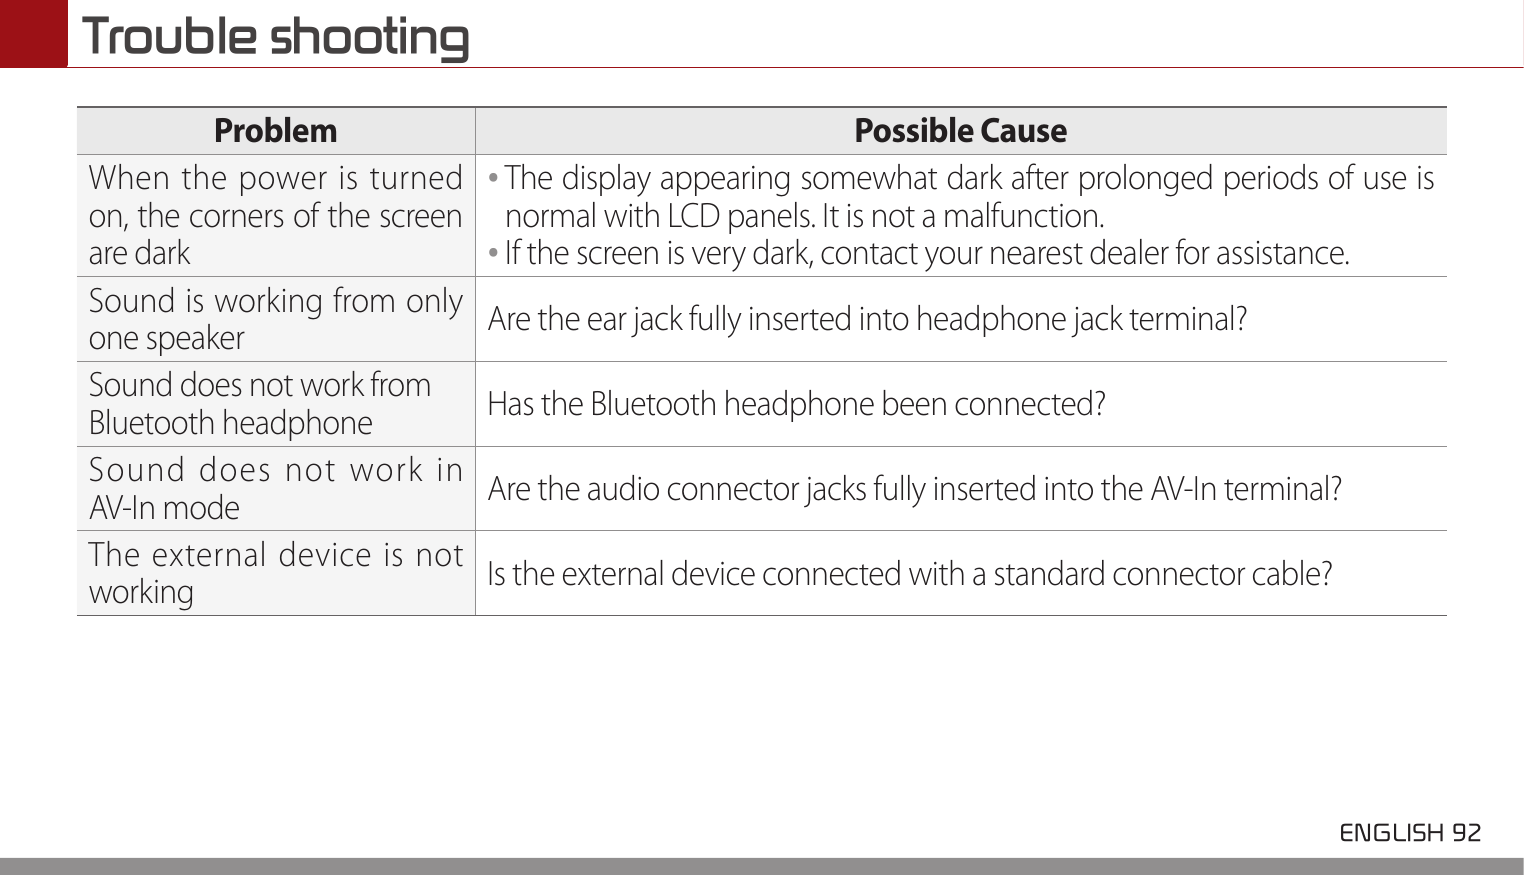
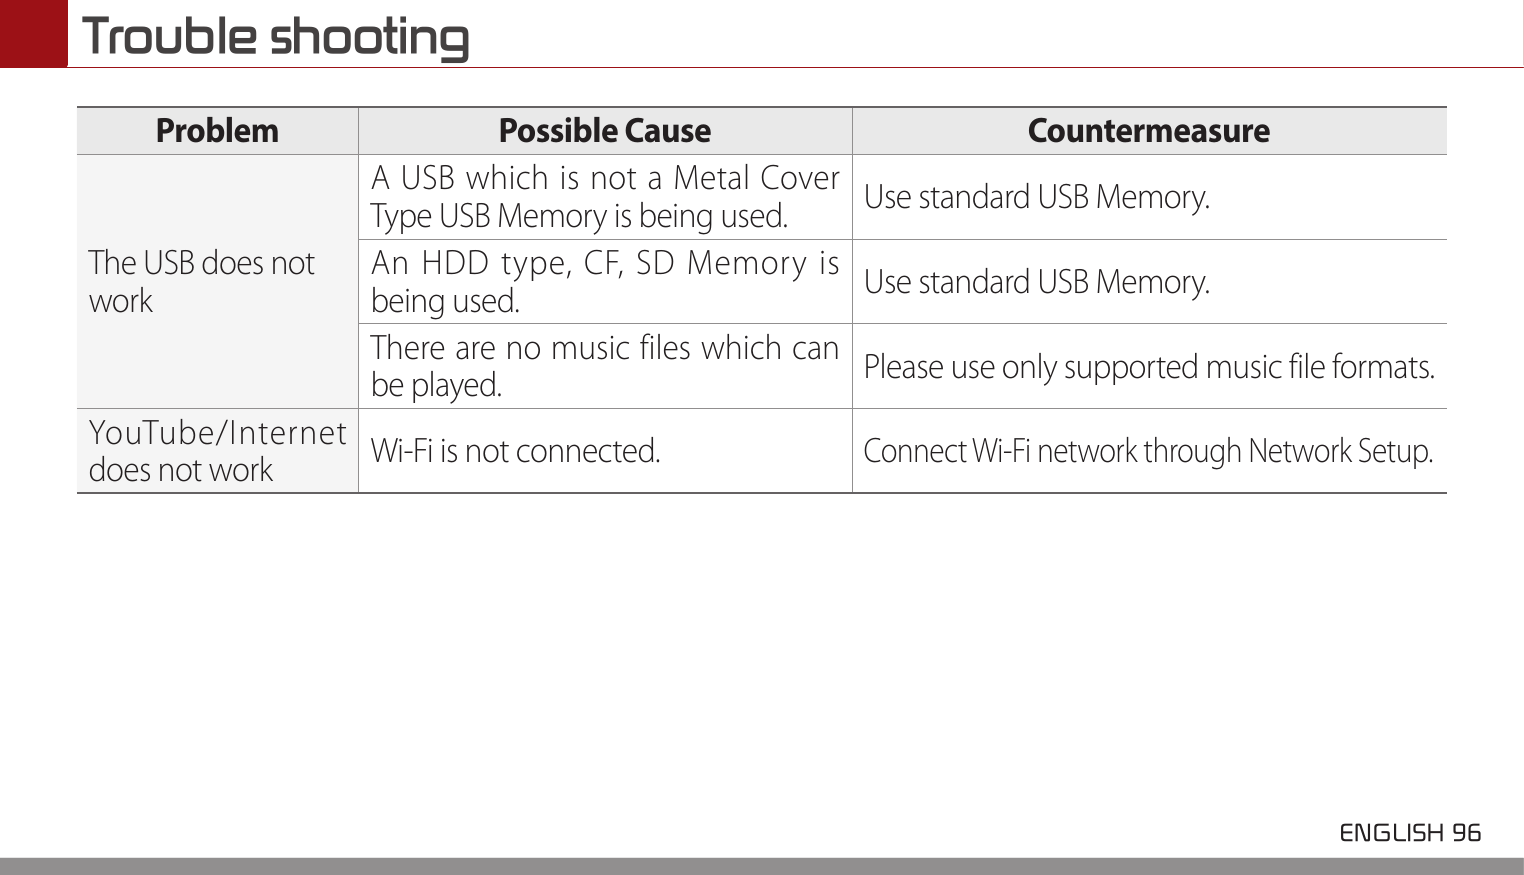
![ENGLISH 91 Trouble shooting1. Errors which occur during the operation or installation of the device may be mistaken as a malfunction of theactual device.2. If you are having problems with the device, try the suggestions listed below.3. If the problems persist, contact your dealerProblem Possible CauseThere are small red, blue, or green dots on the screenBecause the LCD is manufactured with technology requiring high point density, a pixel or lighting deficiency may occur within 0.01% of total pixels.The sound or image is not working••Has the Switch for the vehicle been turned to [ACC] or [ON]?••Has the SYSTEM been turned OFF?••The screen may blink if the speaker mode is changed while playing a video in USB movie mode. It is not a malfunction.••When in vehicle speaker mode, is the media mode set set to AUX? RSE System sound will not output when the media mode is changed from AUX to another mode.The screen is being displayed but sound is not working••Has the volume been set to a low level?••Has the volume been muted?](https://usermanual.wiki/MOTREX/MTXRSE100YPPE/User-Guide-3766273-Page-91.png)