Maxtronic Co AIBY Disk Array User Manual Aiby1400 Ch4
Maxtronic International Co Ltd Disk Array Aiby1400 Ch4
Contents
users manual 5

Chapter 4 : " Advanced Information "
This chapter describes more information about your Disk Array. The
following items are describes in detail.
Memory Expansion
RAID Controller
Updating Firmware
4-1
Memory Expansion
Your Disk Array comes with 64MB of memory that is expandable
to a maximum of 512MB.
These expansion memory module can be purchased from your
dealer.
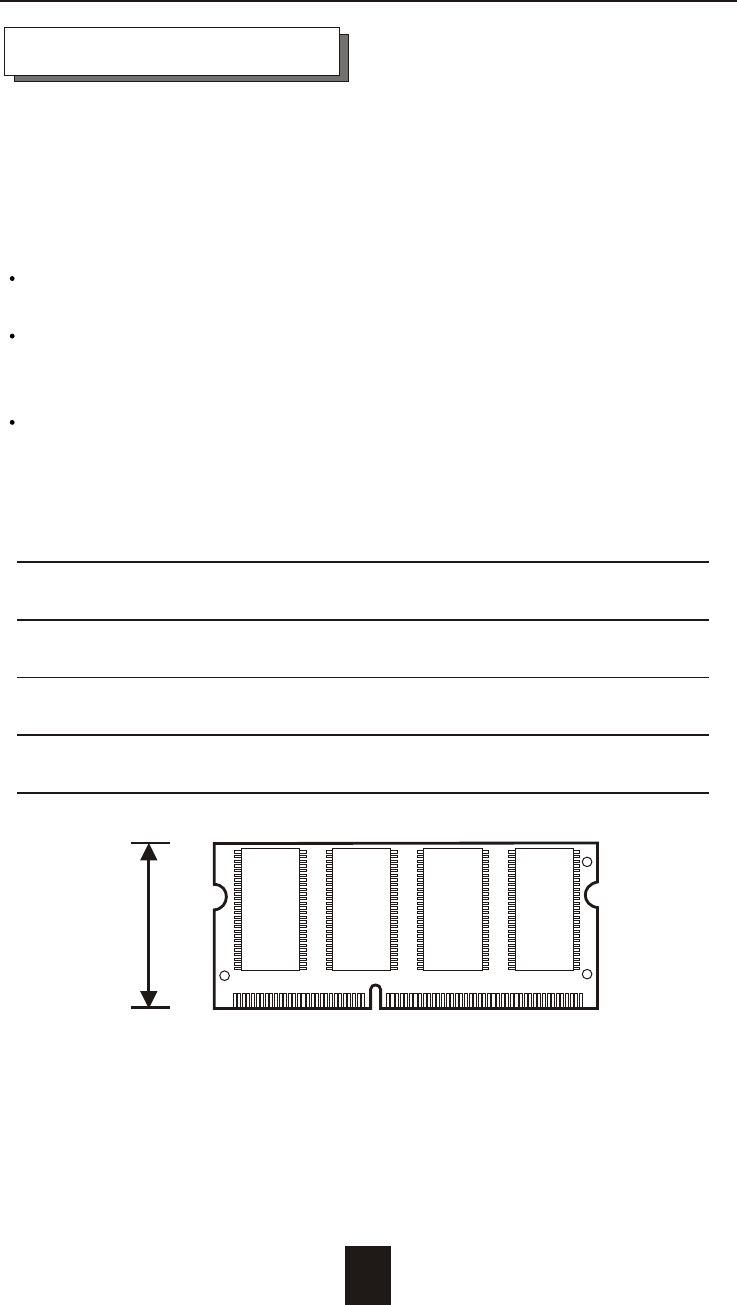
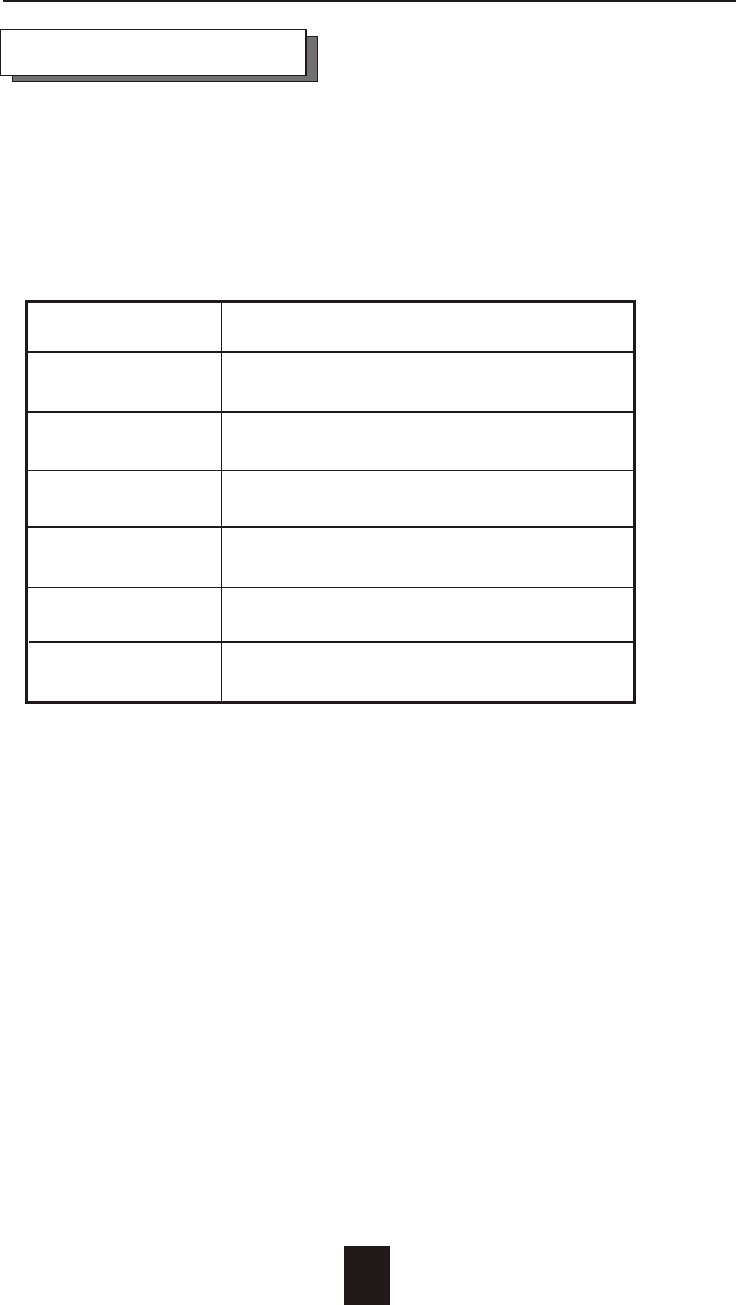
Memory Type : 3.3V PC100/133 SDRAM 144pin DIMM.
Memory Size : Supports 144pin DIMMs of 64MB, 128MB, 256MB
or 512MB.
Height : 1.15 Inches ( 29.2 mm ).
4-2
Advanced Information
64MB 8(8Mx8), 8(4Mx16) or 4(8Mx16)
128MB 16(8Mx8), 8(16Mx8), 8(8Mx16) or 4(16Mx16)
256MB 16(16Mx8), 8(32Mx8) or 8(16Mx16)
512MB 16(32Mx8)
1.15"
(29.2mm)
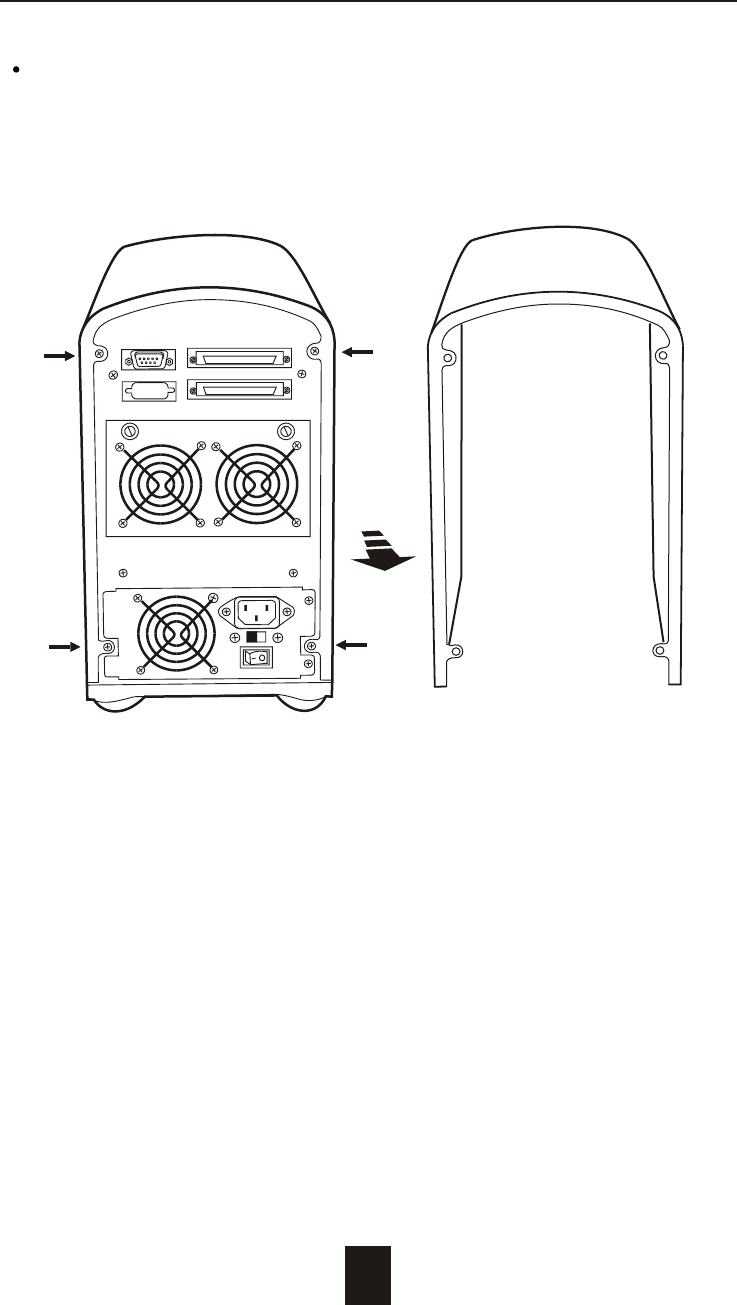
Installing Memory Modules :
1. Unscrew & Remove cover
Figure : Remove Cover
4-3
Advanced Information
Unscrews
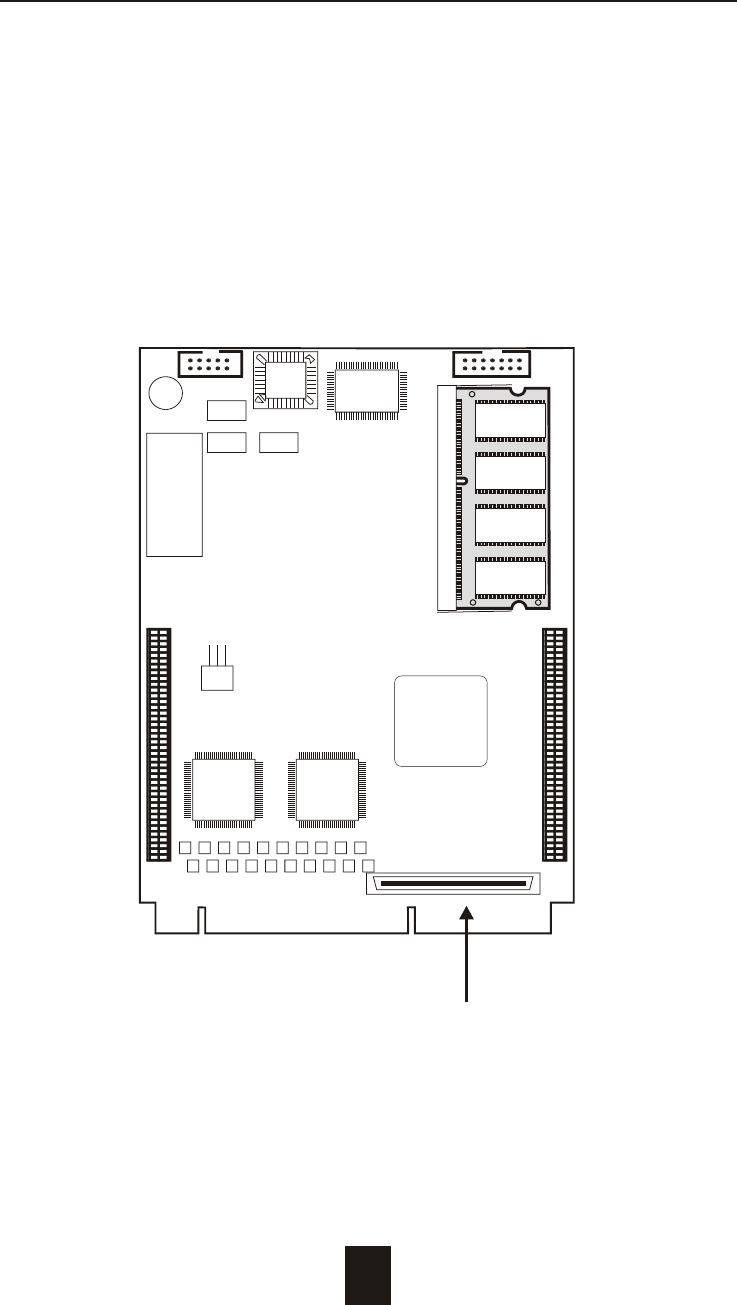
2. Install the memory
a. The DIMM memory modules will only fit in one orientation.
b. Press the memory module firmly into socket from a 45 degree
angle, make sure that all the contacts are aligned with the
socket.
c. Push the memory module forward to a horizontal position.
4-4
Advanced Information
Figure : Controller
Front Panel
Ultra 2 SCSI Host Channel
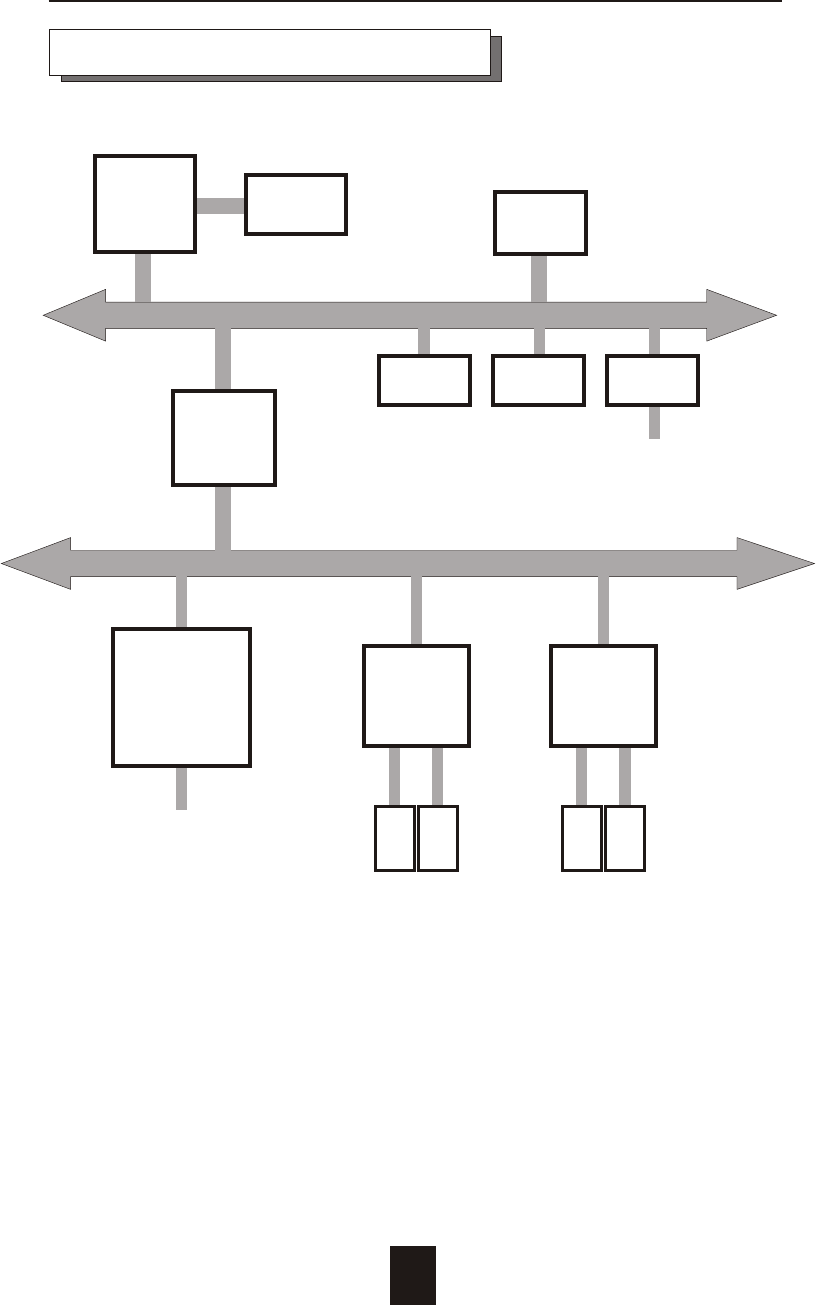
Host
channel
NVRAM LCD
Terminal
Port
PCI BUS
i80303 Local BUS
PCI
Bridge
Main
memory
i80303
RISC
Micro-
processor Flash
EPROM
Disk Array Controller Block Diagram
Advanced Information
4-5
Dual
Channel
IDE
Controller
Disk
# 1
Disk
# 2
Dual
Channel
IDE
Controller
Disk
# 3
Disk
# 4
Ultra 2
Wide
SCSI
controller
RS232
4-6
Advanced Information
Updating Firmware
1. Setup your VT100 Terminal
Please configure the VT100 terminal setting to the values shown
below :
VT100 terminal ( or compatible ) set up
Connection Serial Port ( COM1 or COM2 )
Protocol RS232 ( Asynchronous )
Cabling Null-Modem cable
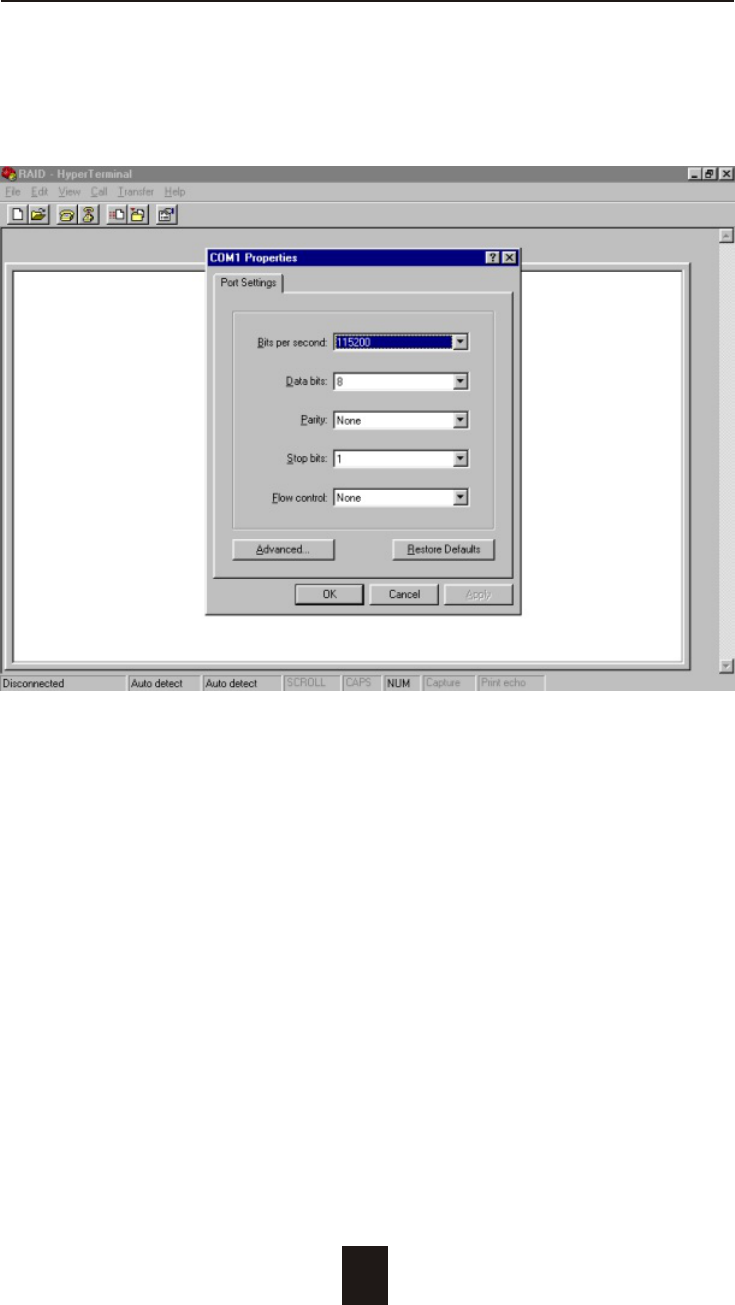
Baud Rate 115,200
Data Bits 8
Stop Bit 1
Parity None
Advanced Information
4-7
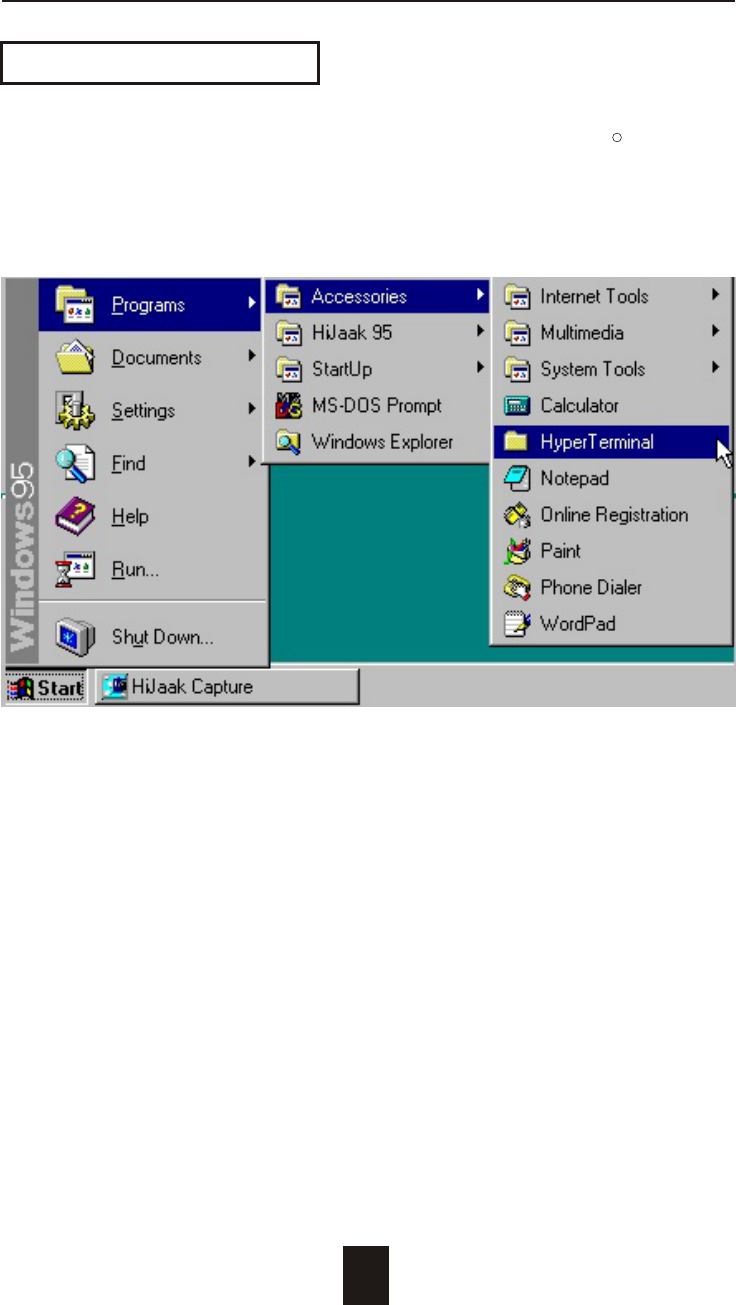
Example : Setup VT100 Terminal in Windows
Step 1.
Setup VT100 Terminal
R
Advanced Information
4-8
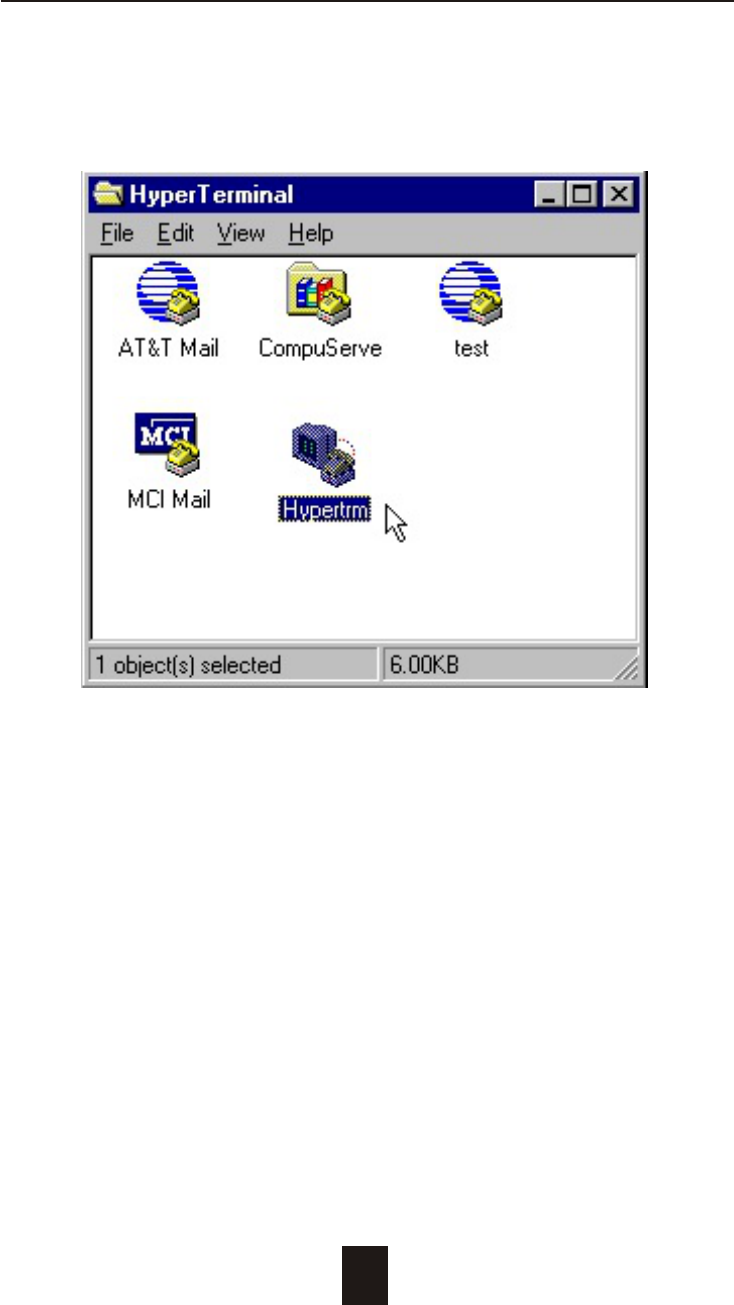
Step 2.
Advanced Information
4-9
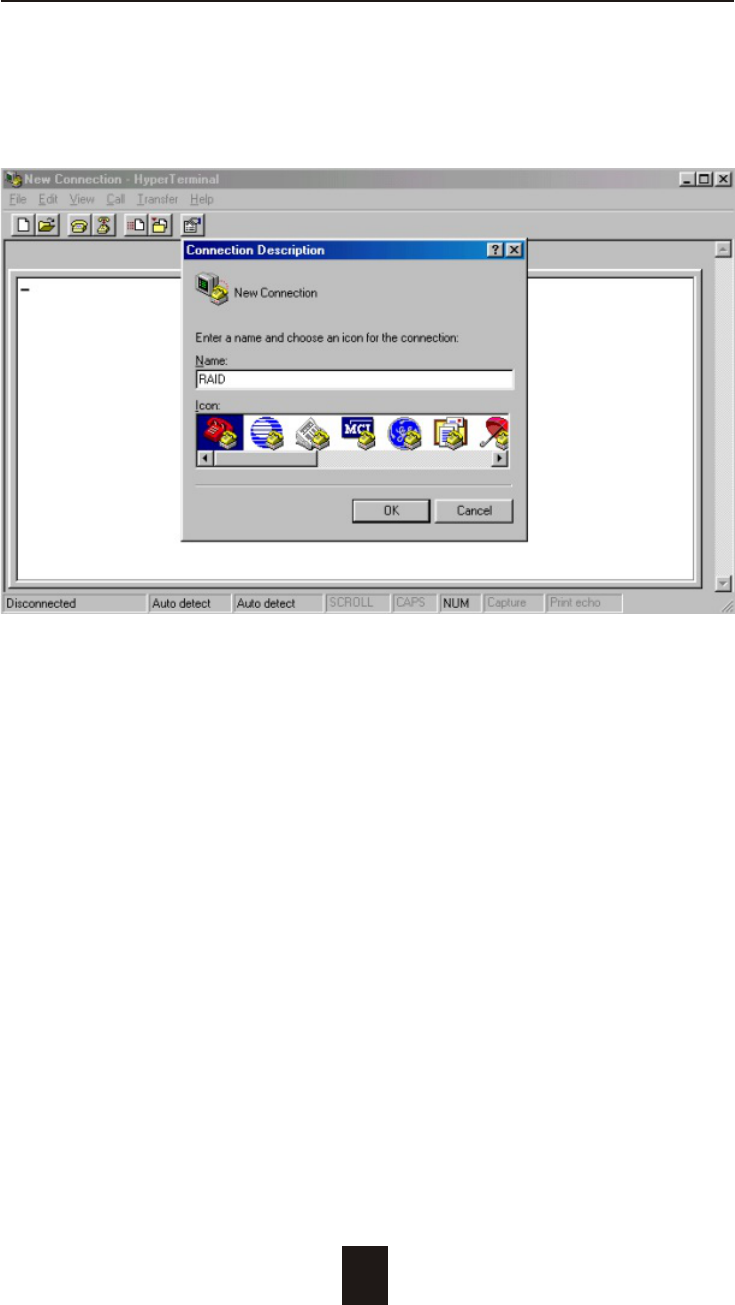
Step 3. Enter a name for your Terminal.
Advanced Information
4-10
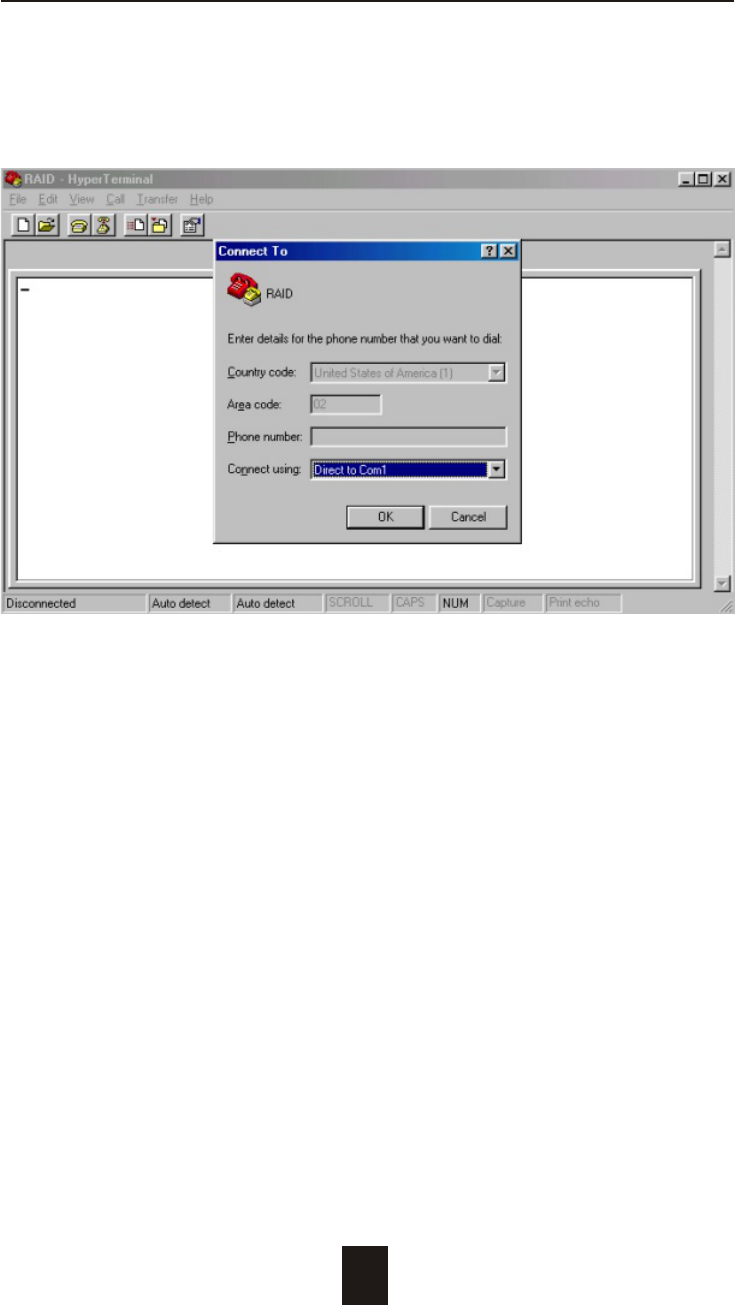
Step 4. Select a connecting port in your Terminal.
Advanced Information
4-11
Step 5. Port parameter settings
Advanced Information
4-12
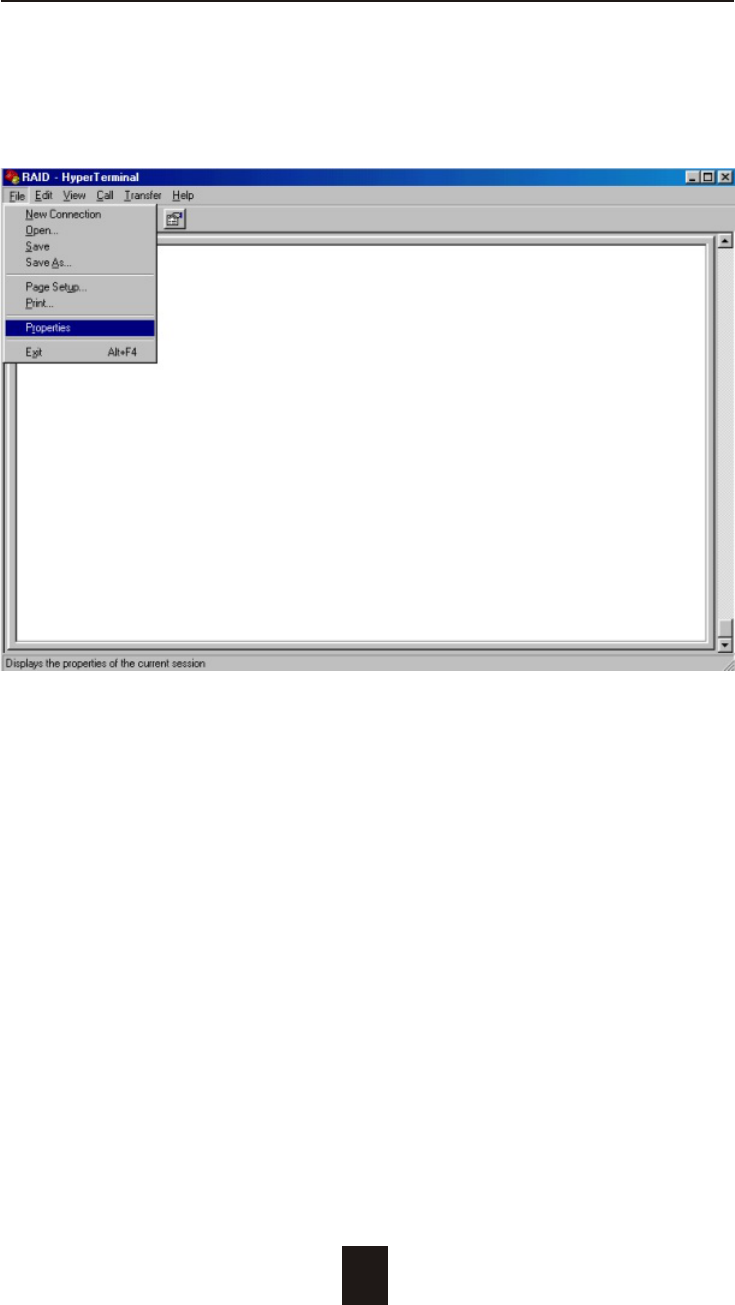
Step 6.
Advanced Information
4-13
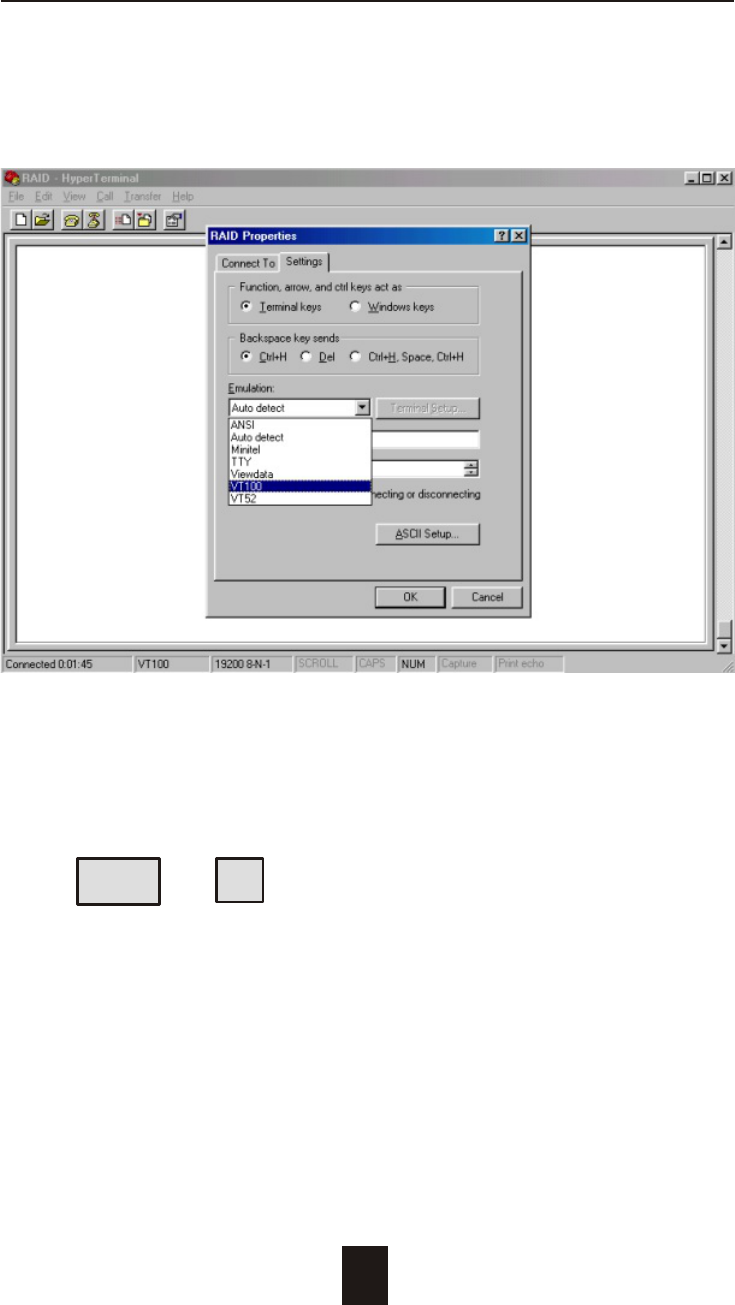
Step 7. Select emulate VT100 mode
After you have finished the VT100 Terminal setup, you may restart
your Disk Array and press " Ctrl + D " keys ( in your Terminal )to link
the Disk Array and Terminal together.
Press Ctrl + D to display the disk array Monitor Utility
screen on your VT100 Terminal.
Advanced Information
4-14
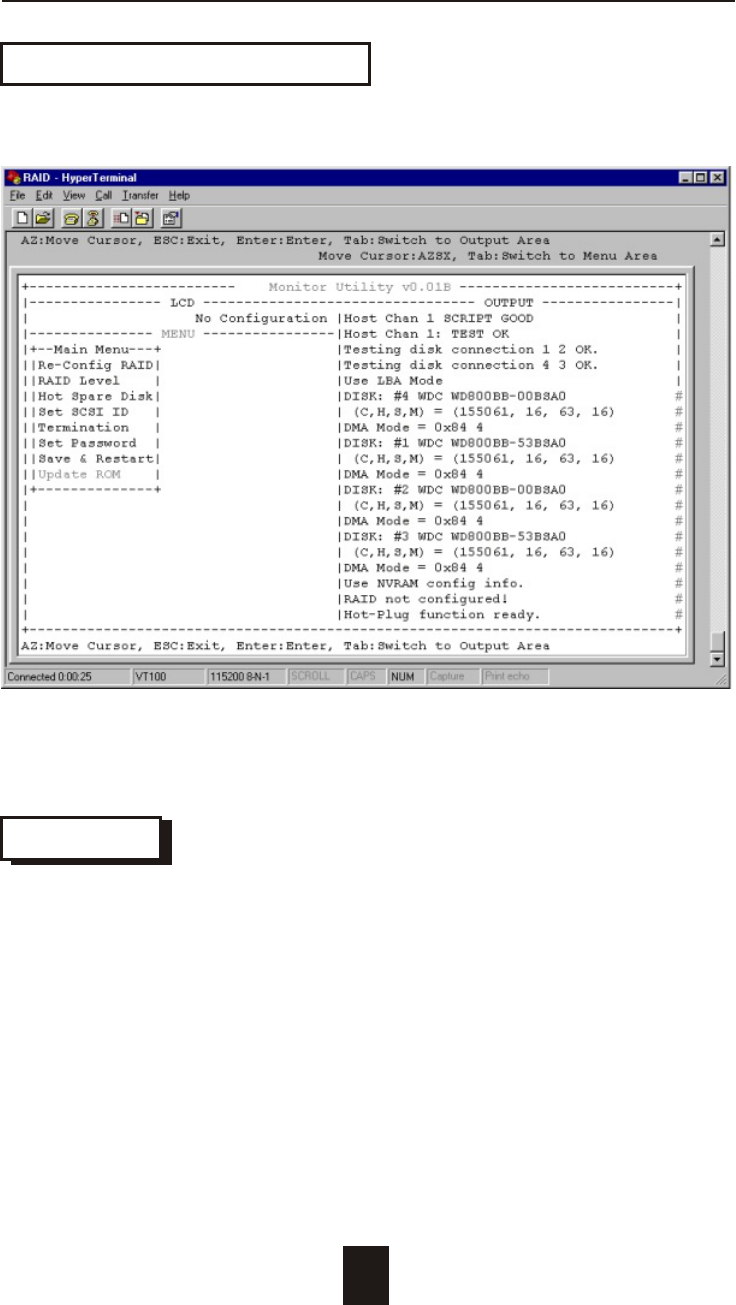
Start to Update Firmware
1. Move the cursor to " Update ROM " and press "Enter".
Warning !
Unpredictable results will occur if firmware update is attempted
during Host computer and Disk Array activity. All activity to the
controller should be stopped before updating firmware.
4-15
Advanced Information
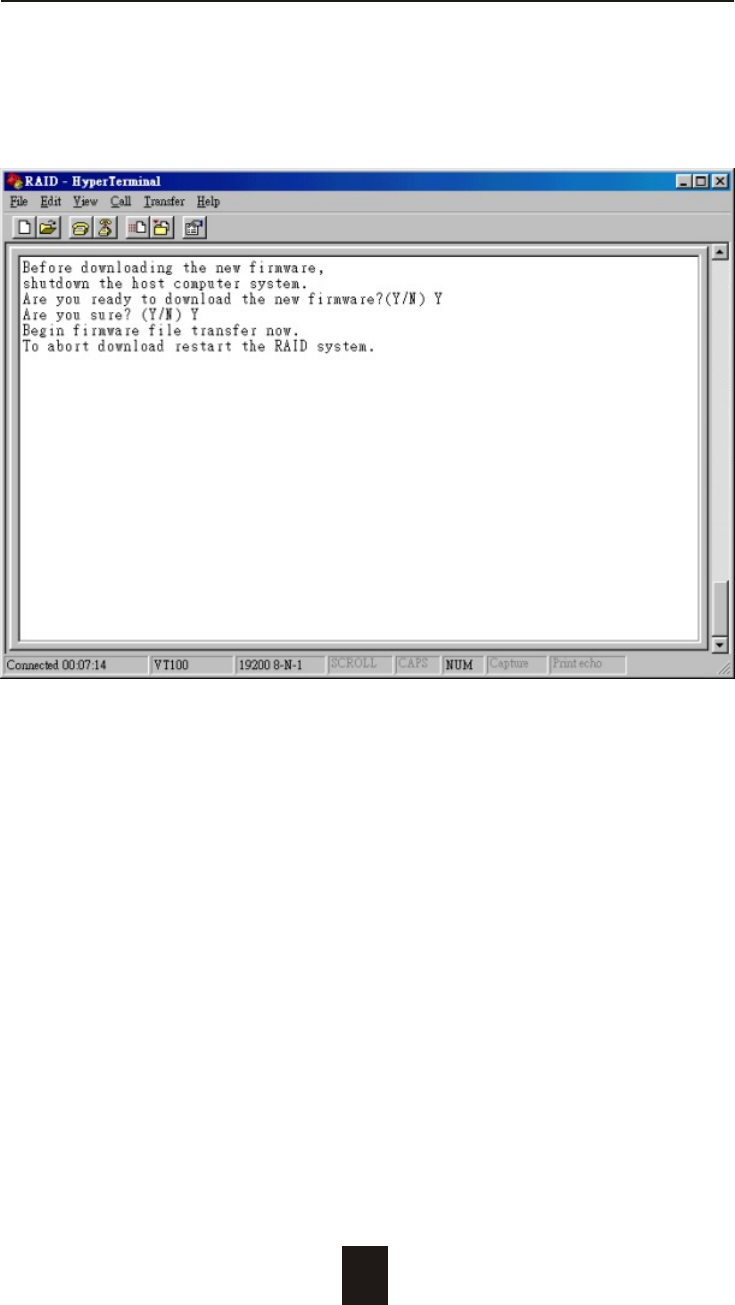
2. Press " Y " to download the new firmware and
press " Y " again to confirm the Update.
4-16
Advanced Information
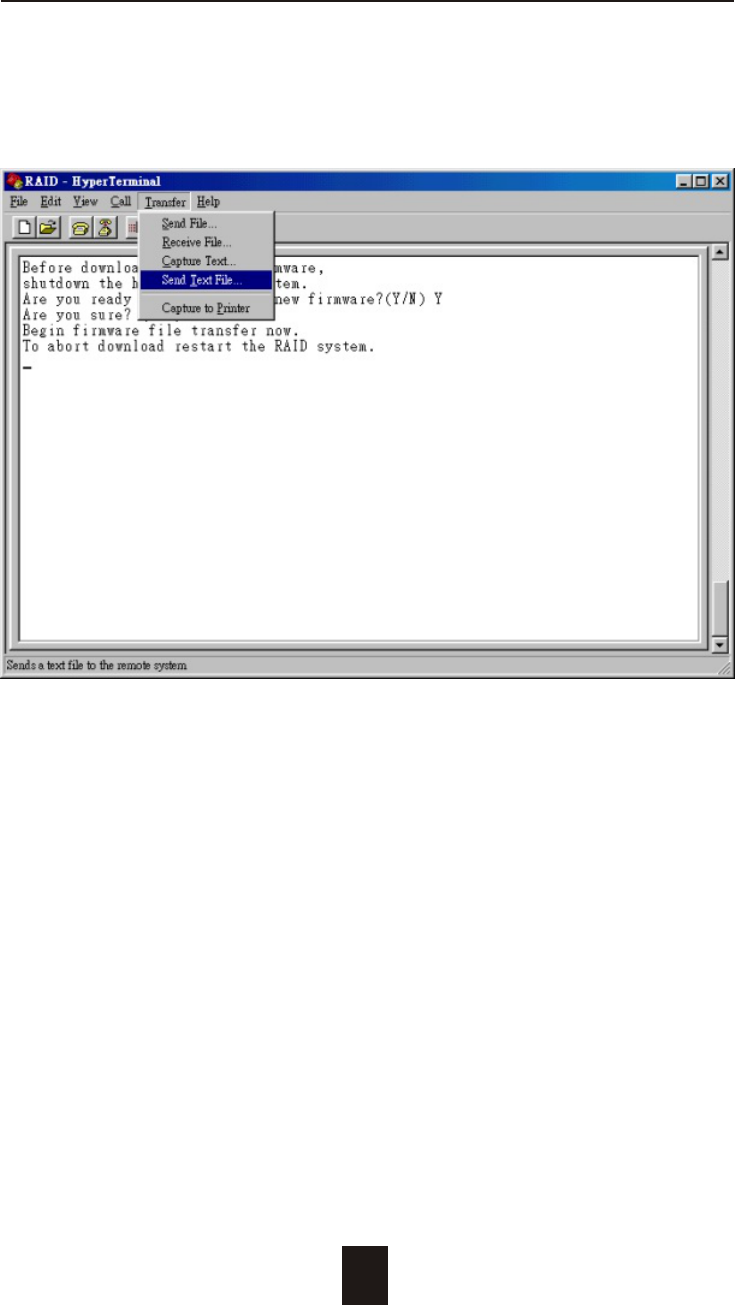
3. Select transfer " Send Text File " and press Enter.
4-17
Advanced Information
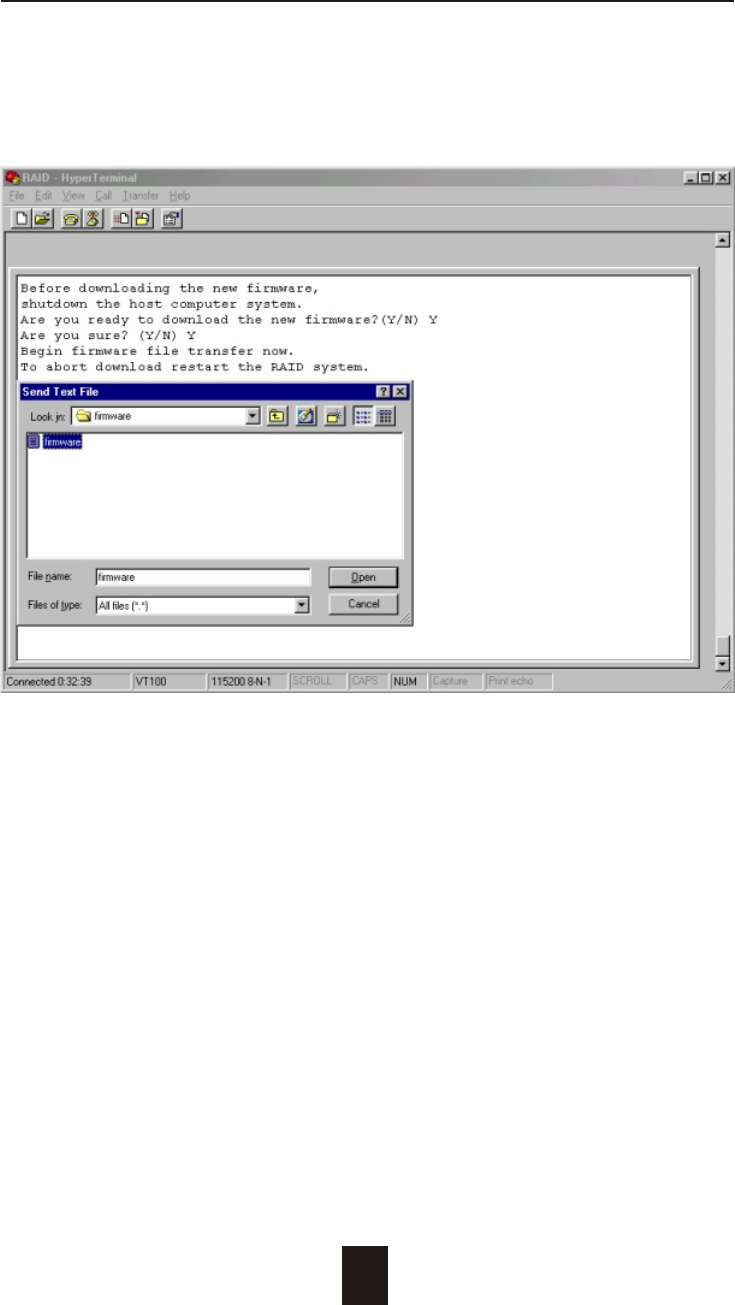
4. Locate the new Firmware file on your PC.
4-18
Advanced Information
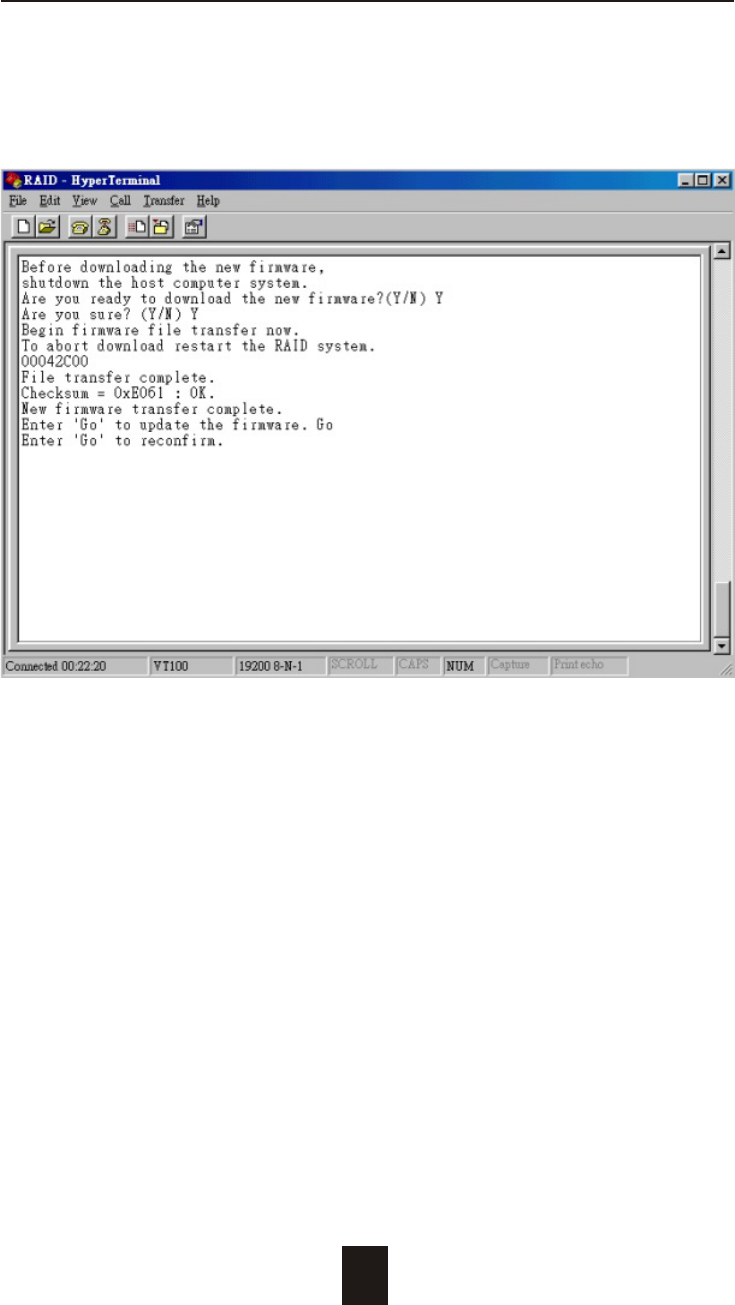
5. Press " Go " to confirm to download the new firmware.
4-19
Advanced Information
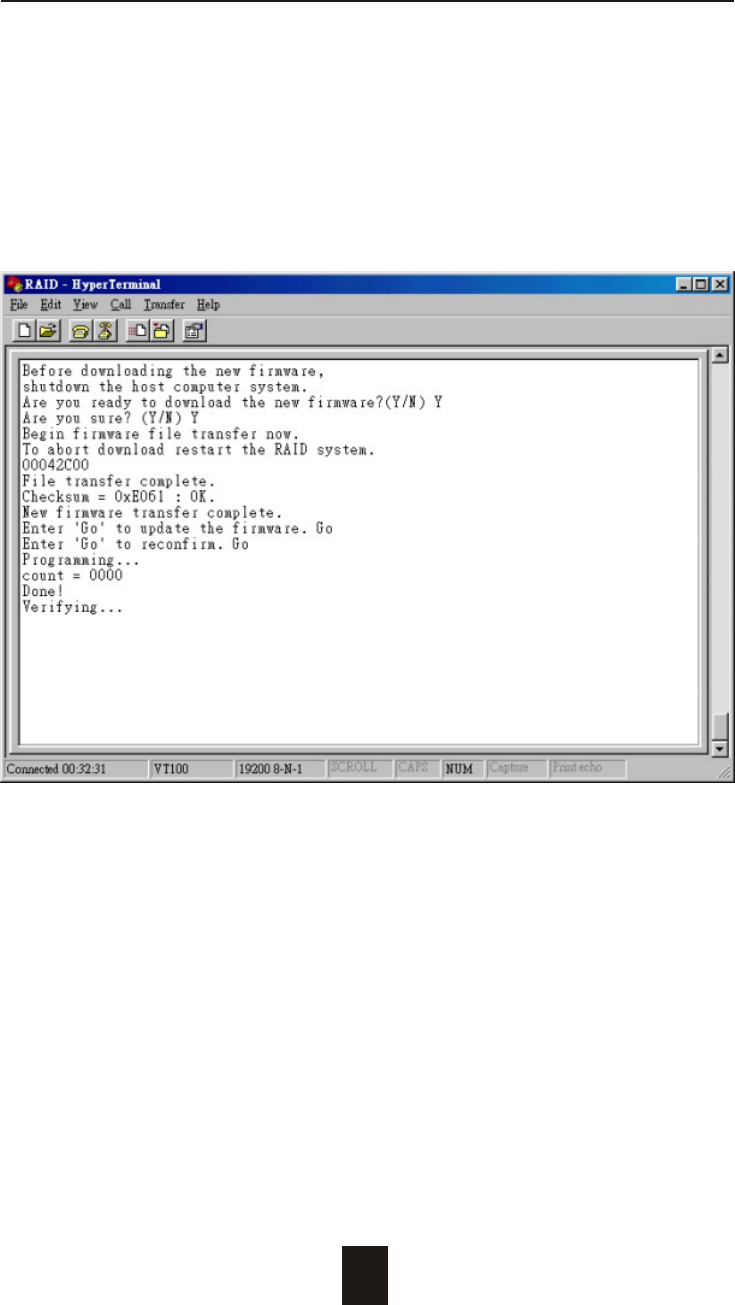
6. Type " Go " to reconfirm and the firmware will begin to be
reprogrammed.
7. After verifying, please restart the Disk Array to activate the
new firmware.