Melard Technologies SA806866R8 Rugged Handheld Computer with Integrated Wireless User Manual sa 2fcc
Melard Technologies Inc Rugged Handheld Computer with Integrated Wireless sa 2fcc
UserManual.wiki
>
Melard Technologies
>
SA806866R8 User Manual
ex9 manual
Navigation menu
Upload a User Manual
Namespaces
Wiki Guide
HTML
PDF
Info
Views
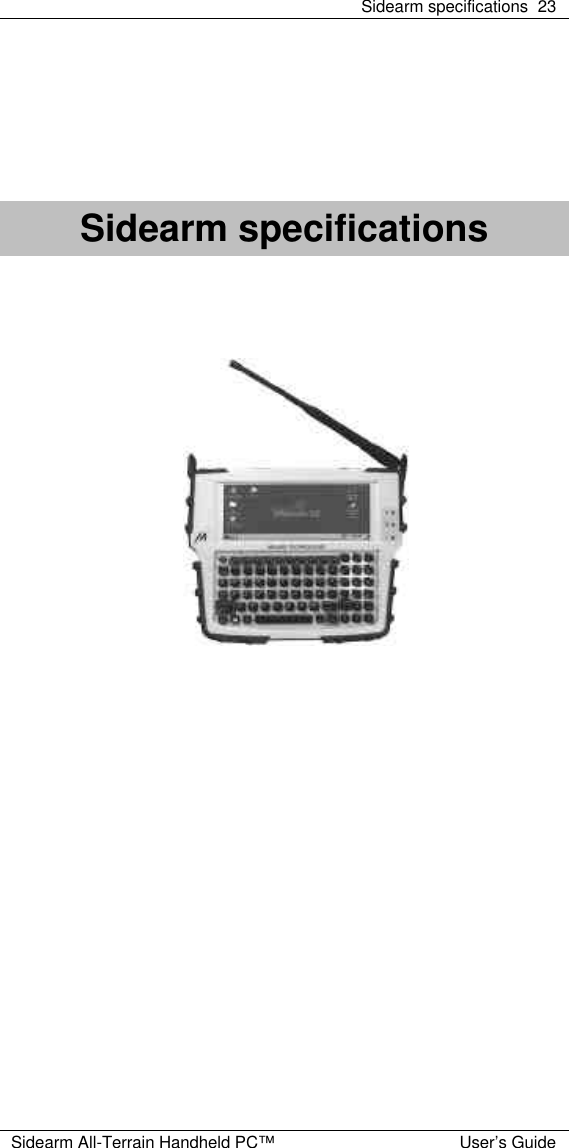
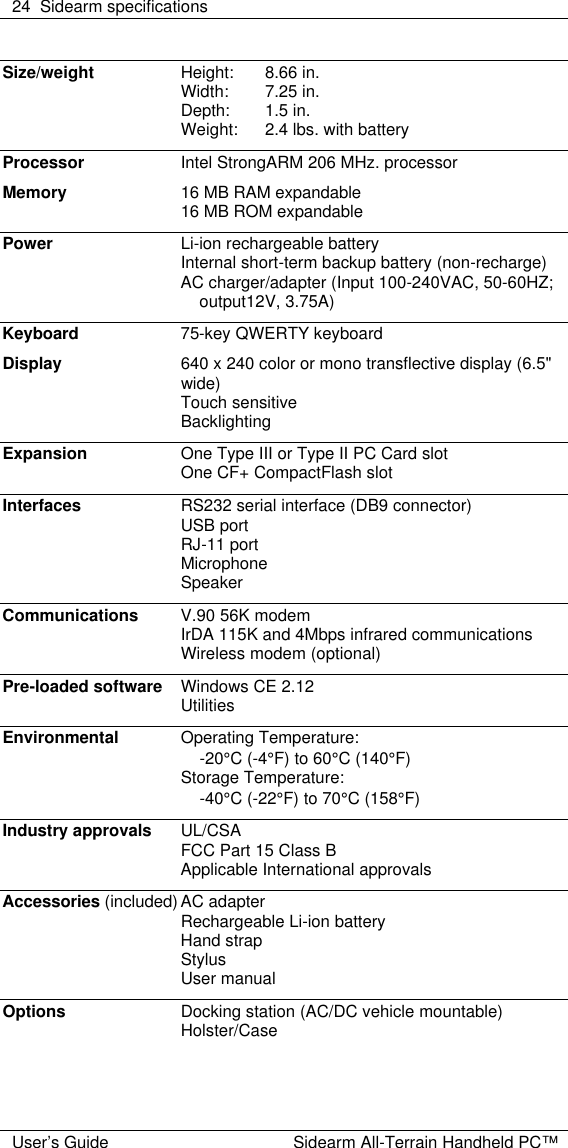
User Manual
Discussion / Help
Navigation
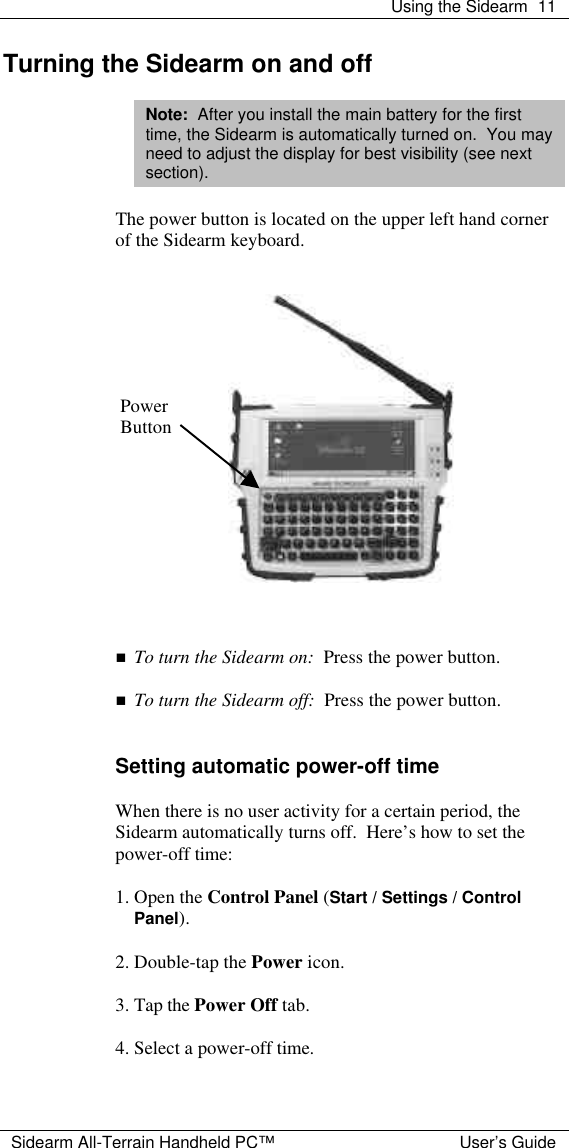
![2 Getting started User’s Guide Sidearm All-Terrain Handheld PC™ Unpacking 1. Inspect the shipping container for damage. Note: If the container shows any signs of damage, contact the carrier immediately. 2. Open the box and remove the components. 3. Assure all the components you ordered are included. Note: If any items are missing, please contact Melard Customer Support at (800) MELARD4 [1-800-635-2734]. üü Description o Sidearm All-Terrain Handheld PC™ o Main battery o AC adapter & line cord o Hand strap o Stylus üü Sidearm User’s Manual](https://usermanual.wiki/Melard-Technologies/SA806866R8/User-Guide-135782-Page-7.png)