MetroTel of Minnesota MT9104RTM Cellular Tank Monitor User Manual WRMS Residential LTE Cellular Tank Monitor Operation Manual RevB 2017 12 13
MetroTel Corp of Minnesota Cellular Tank Monitor WRMS Residential LTE Cellular Tank Monitor Operation Manual RevB 2017 12 13
Contents
- 1. WRMS Cellular Tank Monitor - Quick Installation Guide RevF - 2017-01-19
- 2. WRMS Residential LTE Cellular Tank Monitor - Operation Manual RevB - 2017-12-13
WRMS Residential LTE Cellular Tank Monitor - Operation Manual RevB - 2017-12-13

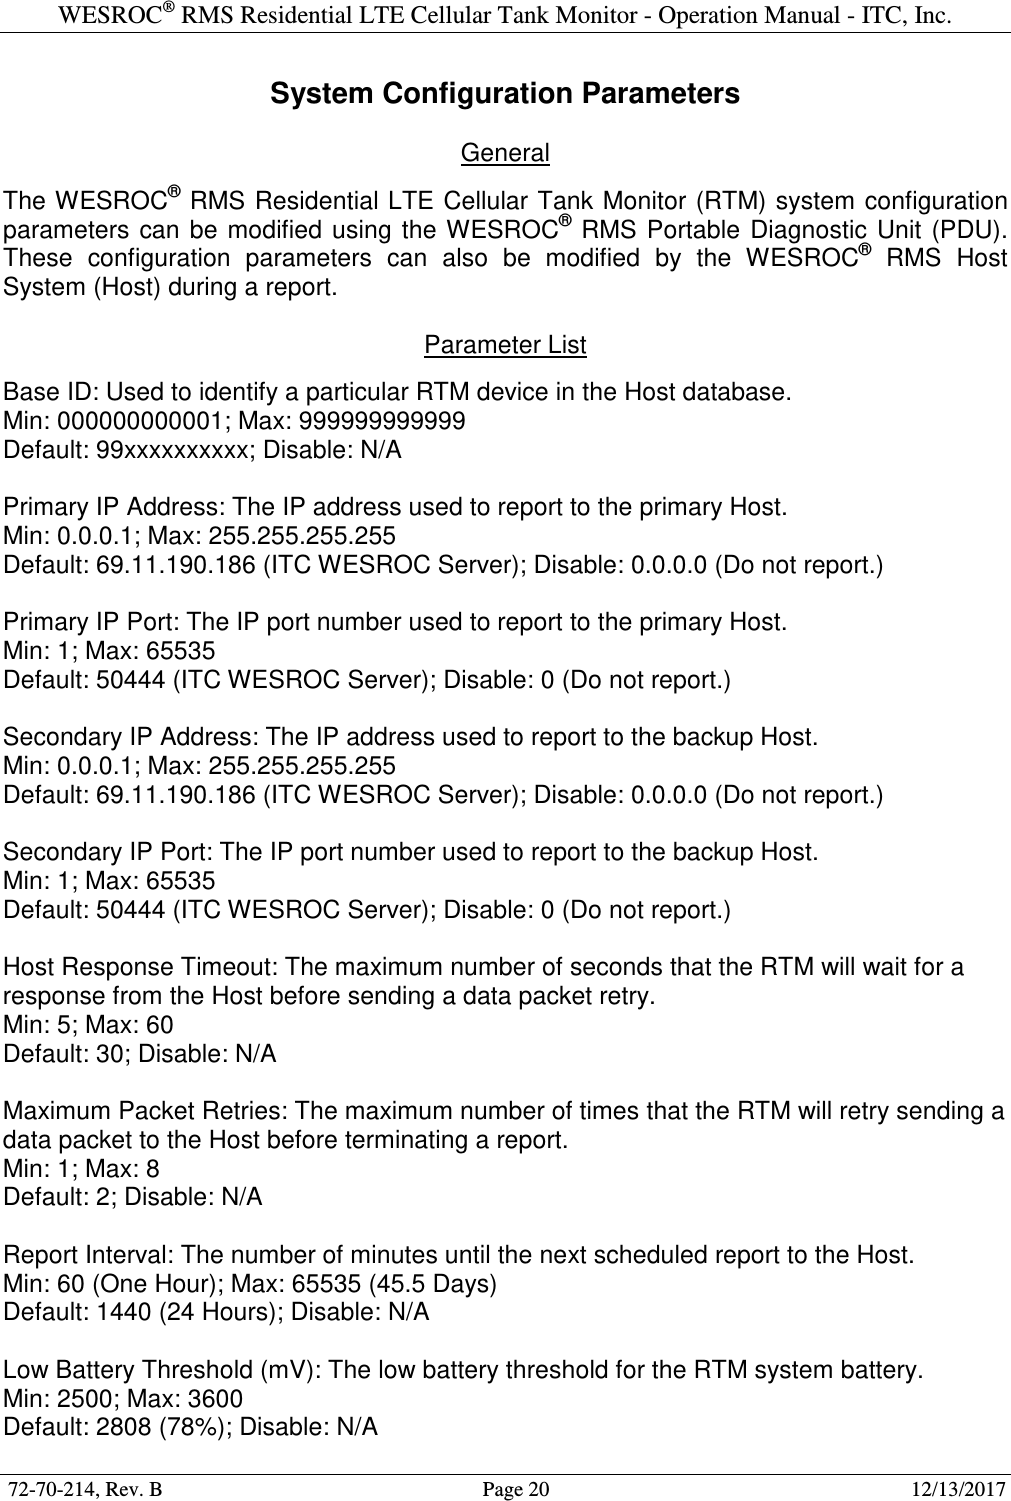
![WESROC® RMS Residential LTE Cellular Tank Monitor - Operation Manual - ITC, Inc. 72-70-214, Rev. B Page 8 12/13/2017 Host Information The customer information, installation location, and tank configuration for the installation site must be entered into the WESROC® RMS Host System (Host) BEFORE the RTM is installed on the tank. A RTM Installation Information Worksheet outlining the required information is included in the box and is also available from your host administrator or from Independent Technologies, Inc. Email or fax the completed worksheet to the host administrator before beginning the installation. Installation information can also be called in verbally provided your host administrator considers this an acceptable method. Installation Steps Performing the installation steps in the order shown will help ensure proper operation of the RTM. A large percentage of “trouble sites” are caused by improper installation. 1] If possible, perform a site visit to the location of the tank to be monitored. Determine the size of the tank and the type of gauge on the tank. This will help you select the right equipment to bring with at installation time. This is also a good time to try to determine if you have LTE cellular service available. Access to a cell phone can help with checking for the presence of a usable LTE cellular signal. 2] Send a completed RTM Installation Information Worksheet to your host administrator. Try to do this at least one day BEFORE you intend to perform the actual installation so that the host administrator has time to enter the information into the Host. 3] If not already done, install the correct remote ready dial or large dial assembly on the tank gauge. This step is covered in more detail in the WESROC® RMS Dial Replacement Guide available from Independent Technologies, Inc. 4] Remove the RTM from the box and make sure it has the right type of sensor and sensor cable for your application. Make sure the small round programming magnet is secured in the OFF position on the RTM enclosure. This is important to ensure proper operation of the RTM when you are ready to perform the first report to the Host. 5] Mount the RTM directly on or near the tank to be monitored. The maximum distance from the tank will be determined by the length of the sensor cable on the particular type of RTM that you are using. The RTM may be mounted to the steel surface of the tank using the mounting magnet on the bottom of the RTM. Another option is to mount the RTM to a pole or another nearby structure using a right-angle mounting bracket. Mounting brackets can be obtained from Independent Technologies, Inc. Try not to place the RTM right next to a vertical metal object such as a tank dome or hood. Metal objects higher than the bottom of the RTM enclosure tend to have a negative effect on cellular signal quality. As mentioned before, the RTM should be installed upright, and if possible, with the sensor cable exit from the RTM enclosure pointed AWAY from the nearest cell tower supporting LTE cellular service.](https://usermanual.wiki/MetroTel-of-Minnesota/MT9104RTM.WRMS-Residential-LTE-Cellular-Tank-Monitor-Operation-Manual-RevB-2017-12-13/User-Guide-3730633-Page-8.png)
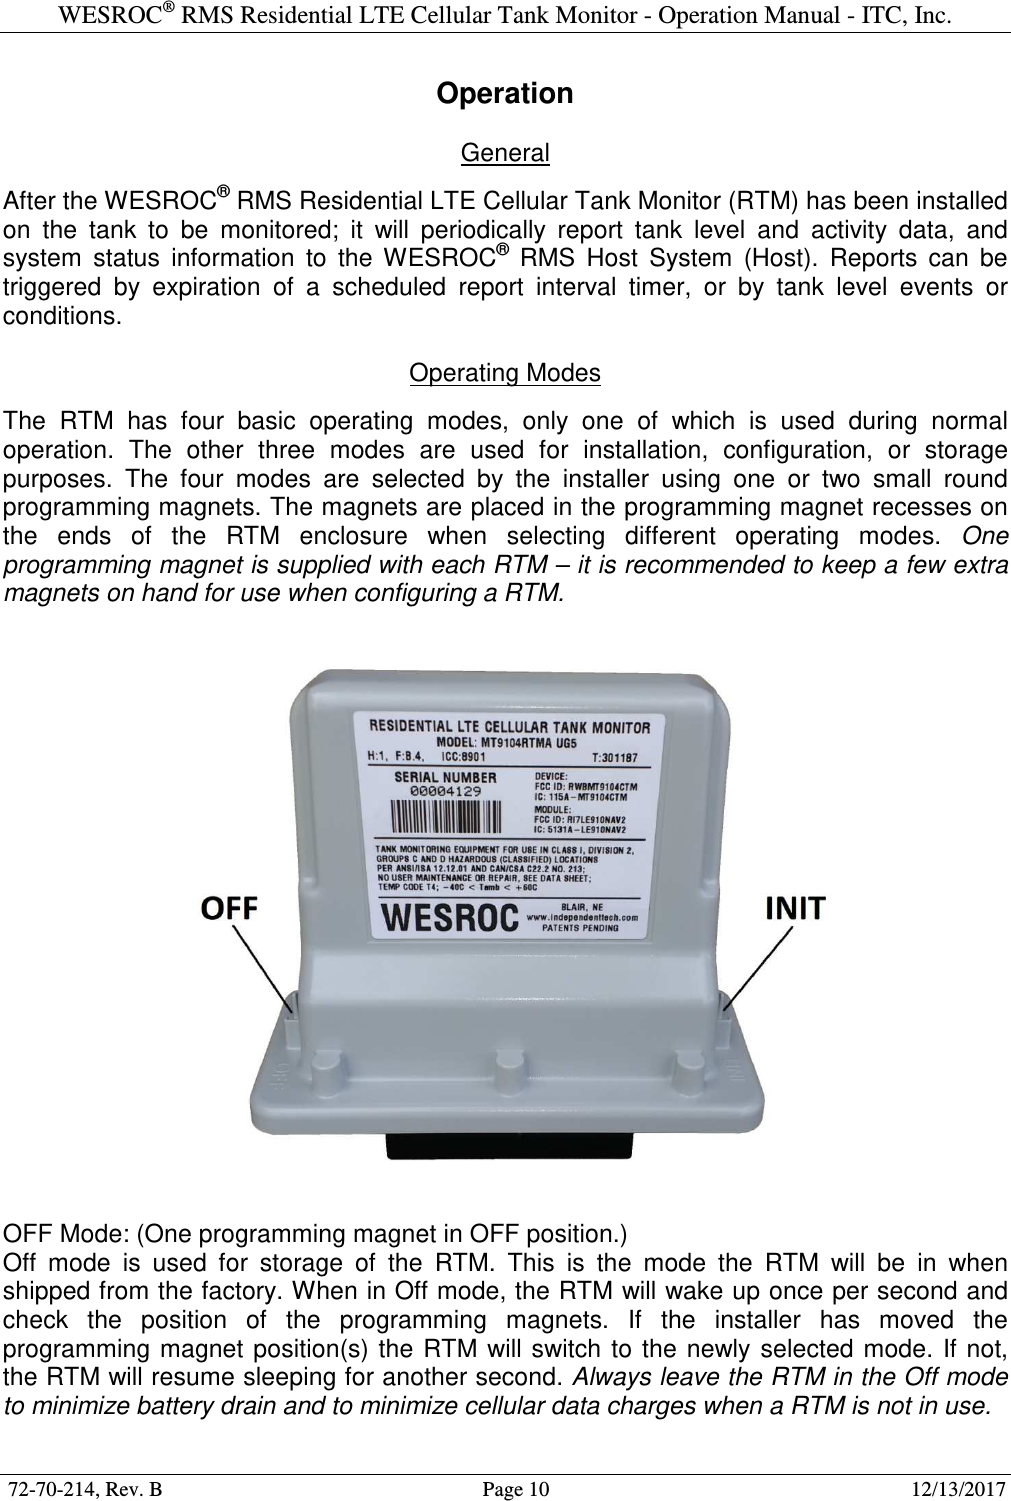
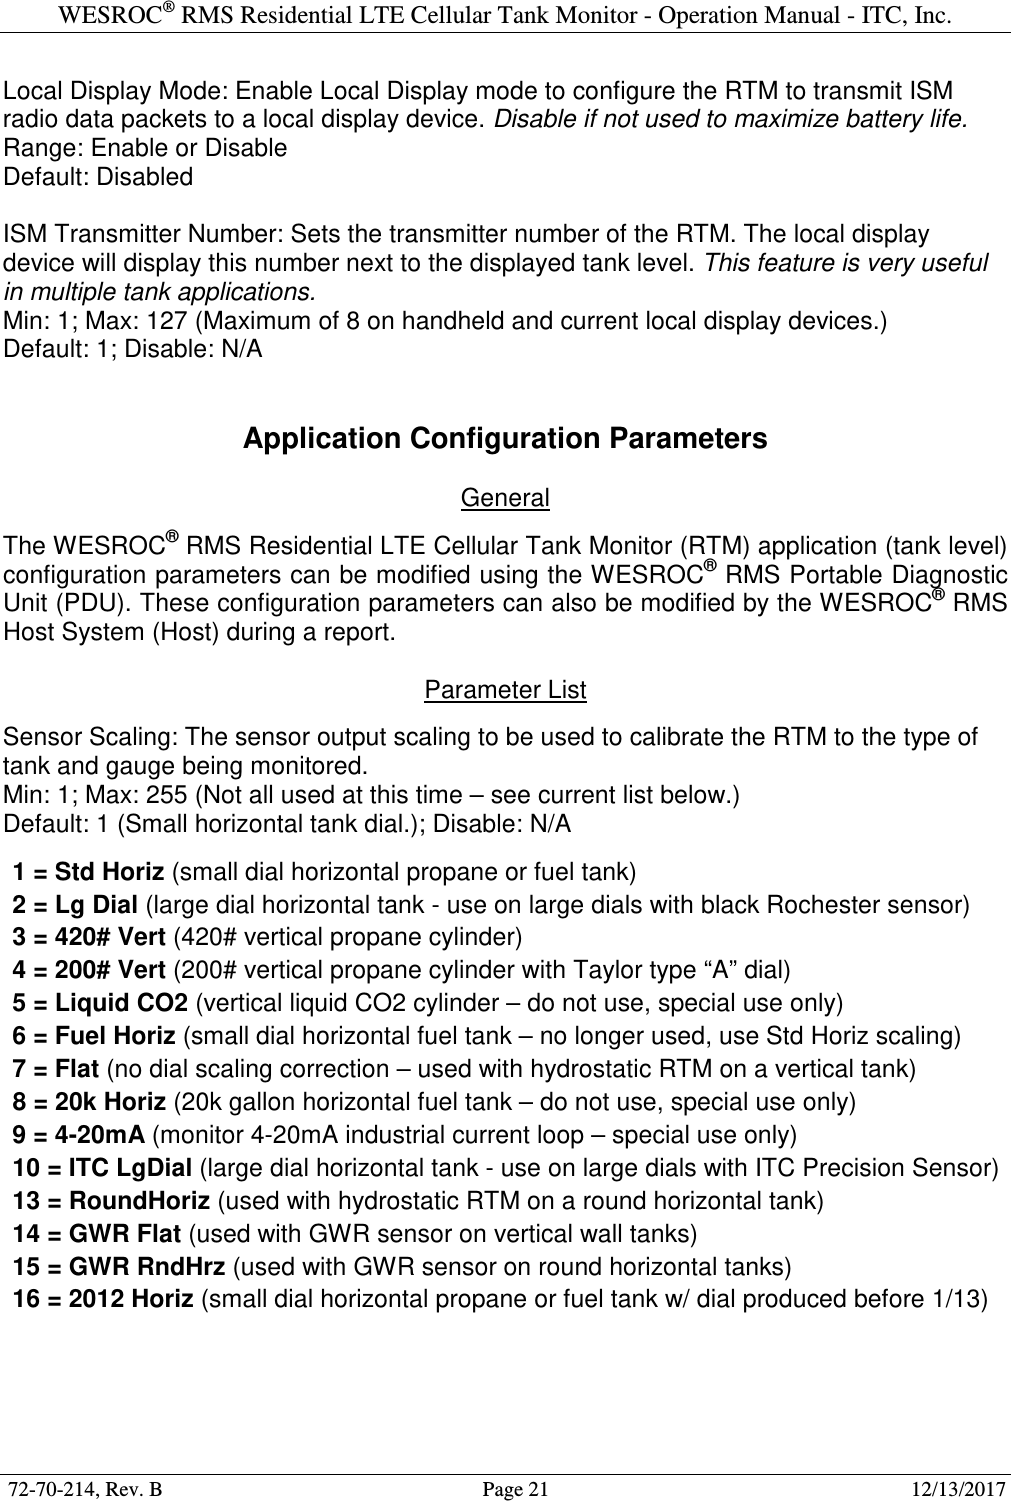
![WESROC® RMS Residential LTE Cellular Tank Monitor - Operation Manual - ITC, Inc. 72-70-214, Rev. B Page 9 12/13/2017 6] Connect the sensor at the end of the sensor cable to the remote ready dial. This is accomplished by sliding the sensor into the sensor slot on the top of the dial. Slide the sensor from the side towards the center of the dial until it is fully seated. You will hear or feel a small “snap” once it is fully seated. To remove the sensor from the dial, gently lift up on the end of the sensor before attempting to slide it out of the dial. 7] (Optional.) If you are going to be using a WESROC® RMS Base Unit (Base Unit) as a local display device, now is the time to initialize the RTM to the Base Unit. See section “Operation” of this document for details. The “Local Display” system configuration parameter on the RTM must be enabled for this feature to work. 8] This step assumes that the installation site information has already been entered into the Host and that this particular installation does not require any unusual configuration of the RTM. Remove the programming magnet from the OFF position on the RTM enclosure and step away from the RTM. (Do not degrade the RTM cellular signal quality by leaning over it while it is attempting to report.) At this time, the RTM will attempt a configuration report to the Host. The report is typically completed in under a minute, but can take up to 4 minutes to complete under adverse cellular signal conditions. The RTM does not provide any direct feedback regarding report success or failure; therefore it is highly recommended to make use of a handheld WESROC® RMS Portable Diagnostic Unit (PDU) when performing RTM installations. The PDU will provide the installer with a wealth of information regarding report status, tank level status, RTM system status, and cellular network performance. See section “Portable Diagnostic Unit” of this document, or the WESROC® RMS Portable Diagnostic Unit Operation Manual for more information on operating the PDU. Another option for checking report status is to have the Host send a text alert message to the installer’s cell phone once a successful report has completed. This of course requires that the host administrator enter the installer’s texting address into the Host before installation time. Once installation is completed, the installer will want to have their texting address taken off of the alert list for this site to prevent the Host from sending the installer future tank activity alerts. 9] Once a successful report has completed, secure the sensor cable using appropriate fasteners (cable ties, etc.). Route the sensor cable to make sure the cable will not be damaged by a moving object such as a tank dome or hood. Before leaving the installation site, make sure any programming magnets are removed from the RTM enclosure. Normal operating mode is with NO programming magnets installed.](https://usermanual.wiki/MetroTel-of-Minnesota/MT9104RTM.WRMS-Residential-LTE-Cellular-Tank-Monitor-Operation-Manual-RevB-2017-12-13/User-Guide-3730633-Page-9.png)


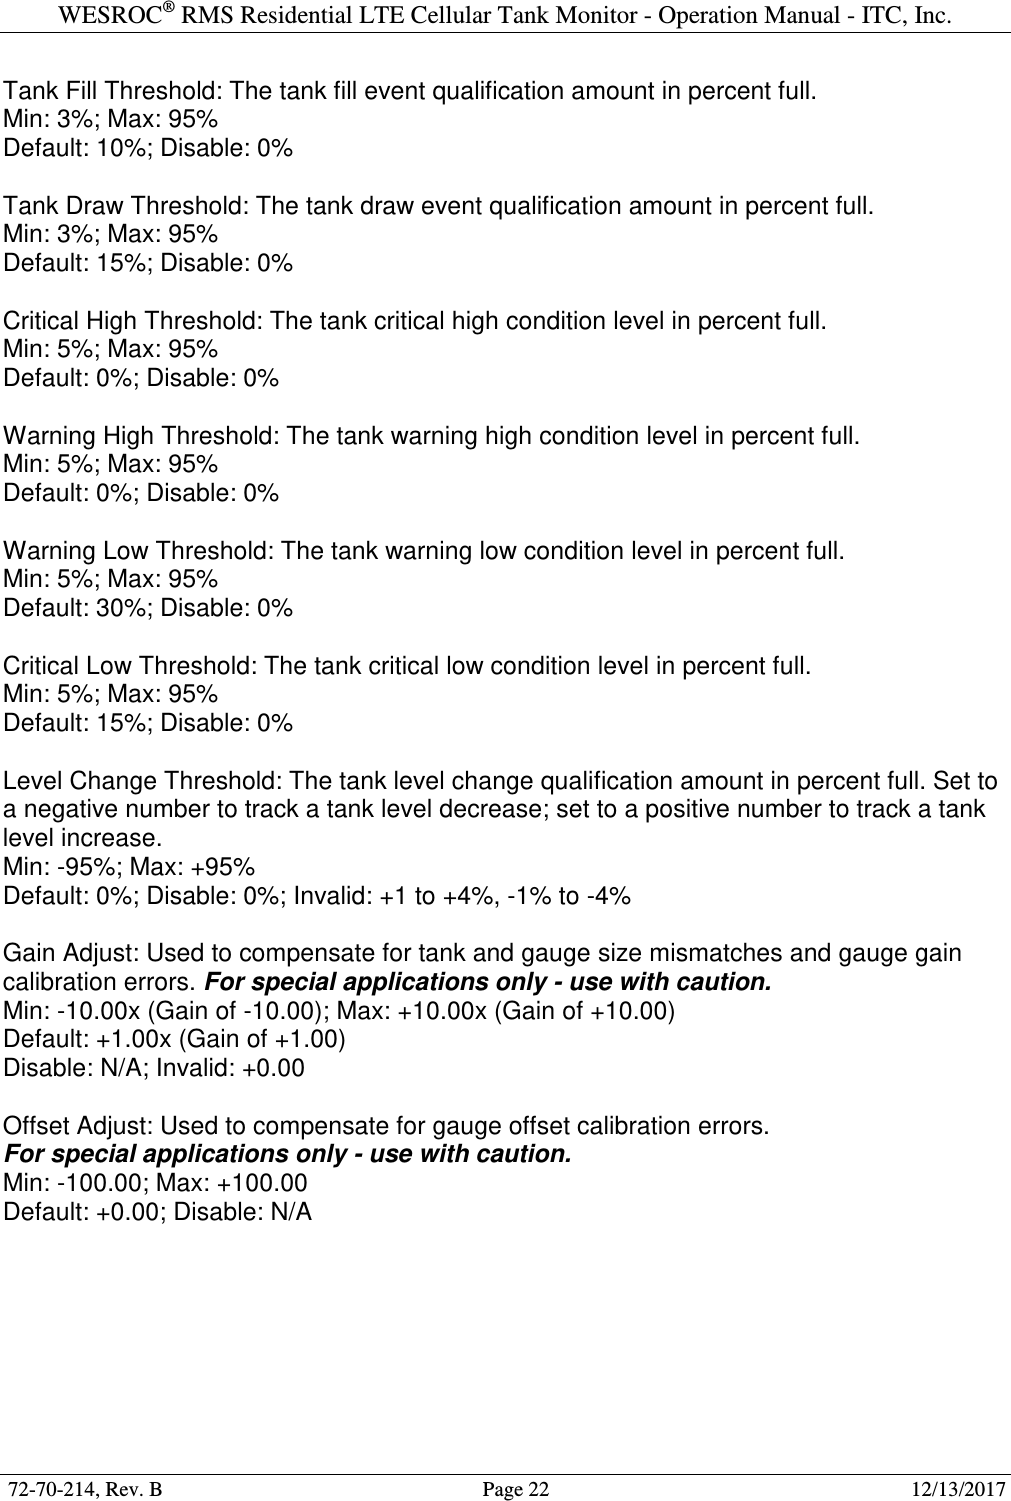
![WESROC® RMS Residential LTE Cellular Tank Monitor - Operation Manual - ITC, Inc. 72-70-214, Rev. B Page 23 12/13/2017 Battery Replacement The WESROC® RMS Residential LTE Cellular Tank Monitor (RTM) uses a field replaceable 3.6V lithium thionyl chloride battery supplied by Independent Technologies, Inc. The RTM operates on a very small amount of power, but eventually the battery will need replacement. The RTM must be moved to a non-hazardous location before opening the enclosure for battery replacement. The following steps and photos illustrate how to replace the RTM battery. 1] Remove the six screws from the bottom of the RTM enclosure and remove the bottom half of the enclosure, sliding the circuit board out of the top half of the enclosure. 2] Depress the small tab on the sensor cable connector and remove it from the connector on the circuit board. 3] Clip the cable tie securing the old battery and remove the battery from the battery holder. Place a new battery in the battery holder and secure using a new cable tie. Make sure the battery is properly seated into the holder and that the polarity markings are correct! Do NOT try to use a 1.5V alkaline or lithium battery! 4] Reconnect the sensor cable, place the circuit board into the upper half of the enclosure, fit the bottom half of the enclosure to the top half, and replace the six enclosure screws. (Make sure the small tab at the end of the enclosure bottom is properly aligned with the small notch on the edge of the enclosure top.) Be sure to tighten the screws enough to compress the enclosure gasket and make a weather tight seal, but do not over tighten the screws and strip the threads from the RTM enclosure. (Proper screw torque is about 10 inch pounds.)](https://usermanual.wiki/MetroTel-of-Minnesota/MT9104RTM.WRMS-Residential-LTE-Cellular-Tank-Monitor-Operation-Manual-RevB-2017-12-13/User-Guide-3730633-Page-23.png)