Micro Star MS6868I BLUETOOTH STEREO HEADSET User Manual USERS MANUAL
Micro Star International Co Ltd BLUETOOTH STEREO HEADSET USERS MANUAL
UserManual.wiki
>
Micro Star
>
MS6868I User Manual
USERS MANUAL
Navigation menu
Upload a User Manual
Namespaces
Wiki Guide
HTML
PDF
Info
Views
User Manual
Discussion / Help
Navigation


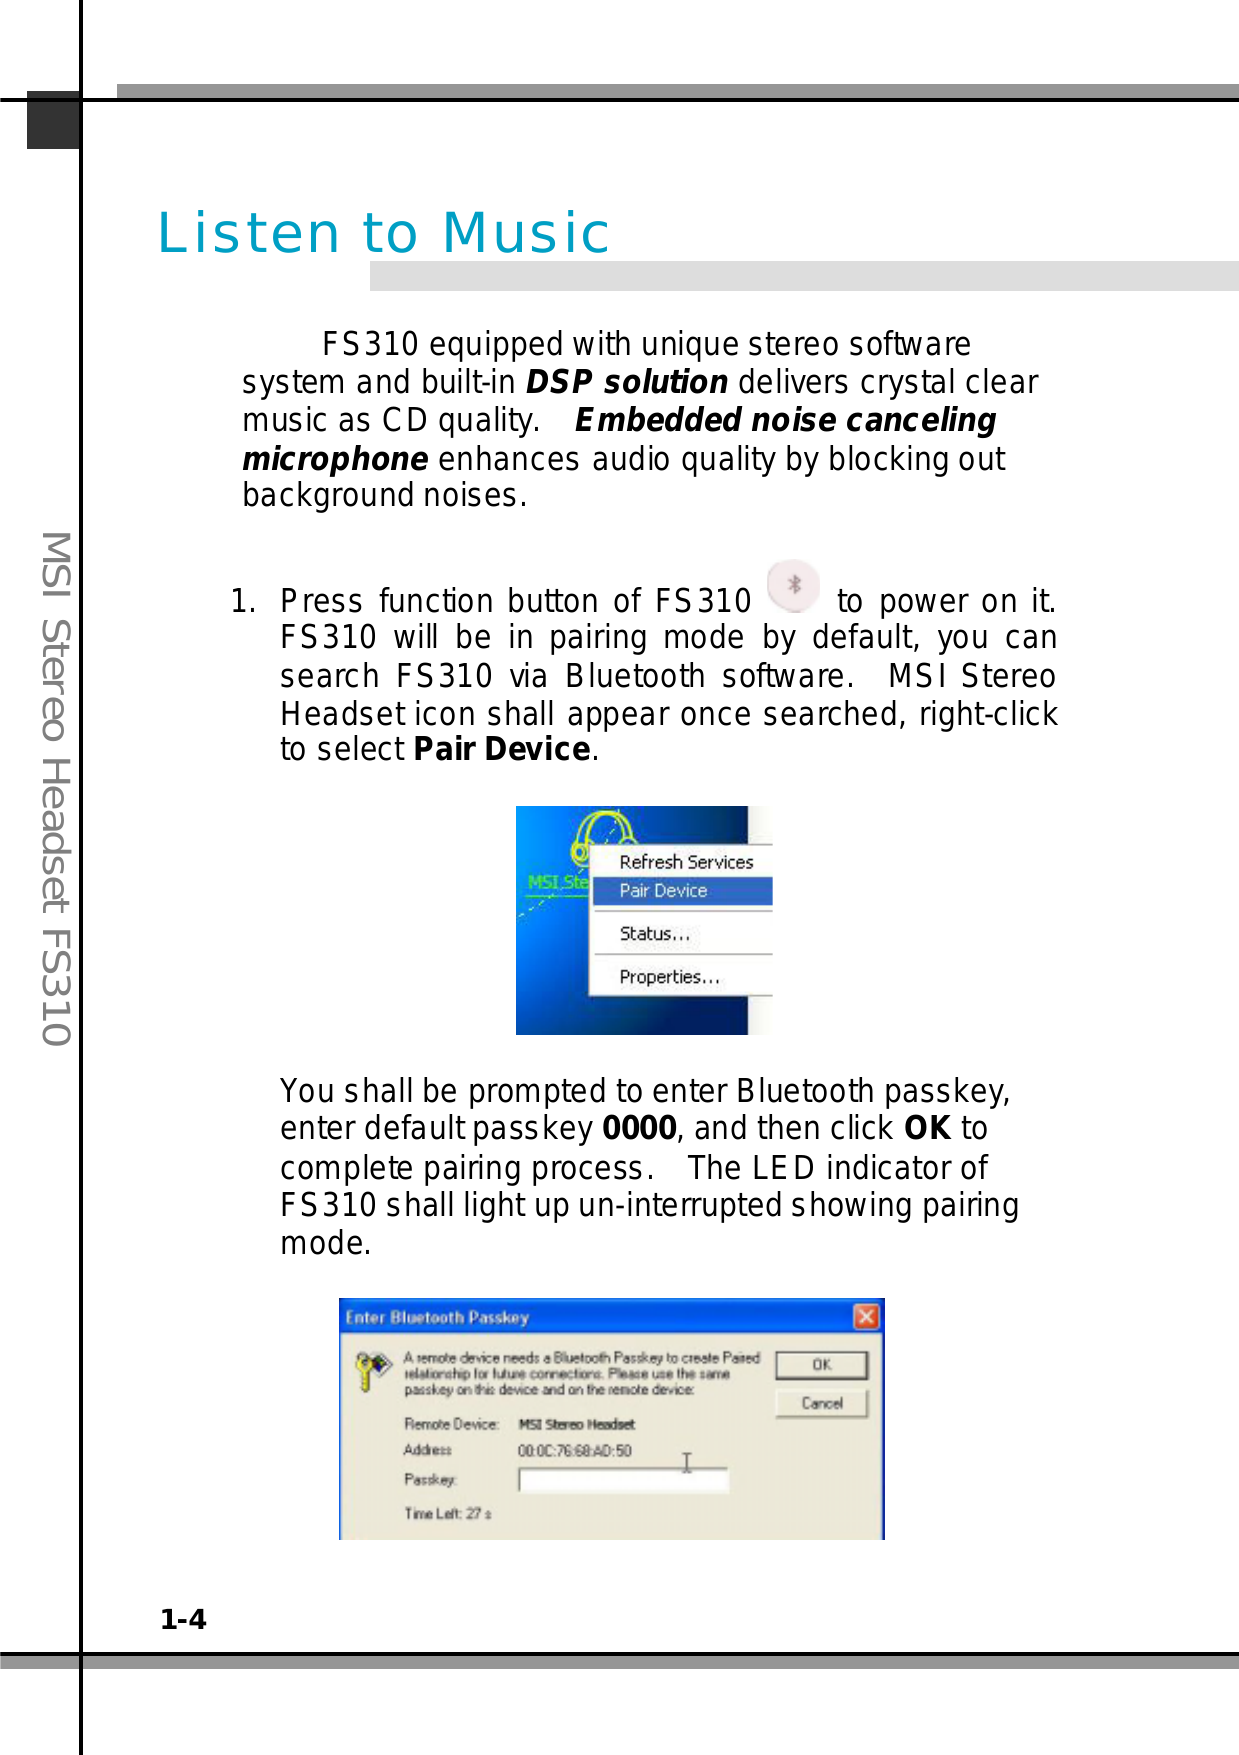


![16-4MSIFS310FS310 JKLMNOPQORSDTUDSP34VWX CD 112YZ[\]^%_1`a11. FS310 &>FS310 =J'QOFS310HVMSI Stereo Headset : Pair Device#V!"#"$%`&,:#"$%0000GH' OK ()J'*+FS310 LED ,-./01239J'](https://usermanual.wiki/Micro-Star/MS6868I/User-Guide-652257-Page-20.png)

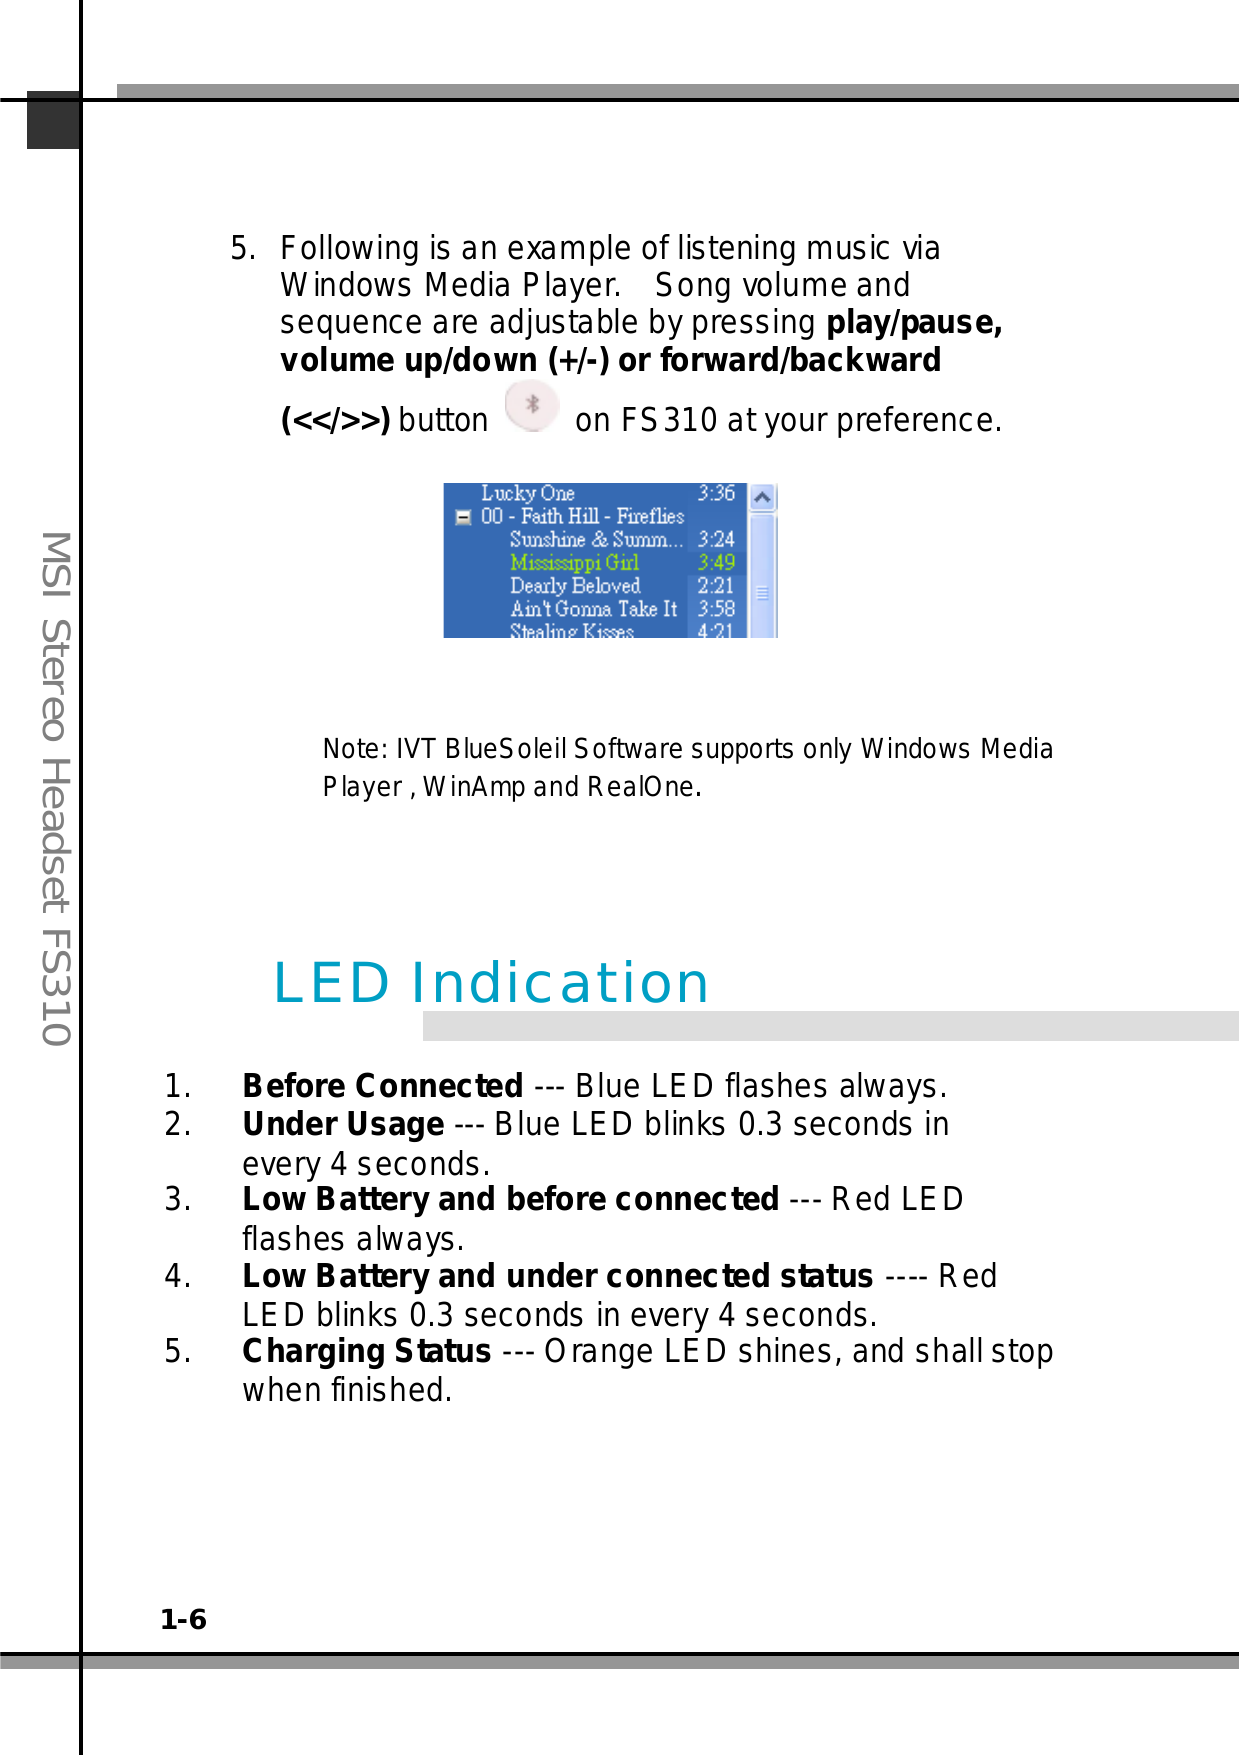
![16-6MSIFS3105. 87 Windows Media Player I 12JKL! FS310 ,-/./012/34 (+/-) 5678/8 (<</>>) M &NOPQRST1UEV+WXIVT BlueSoleil QOYZ[ Windows Media Player\WinAmp8] RealOne1. 9 --- ./^_` LED2. : --- ` LED 54a&^_ 0.3 a3. 946--- ./^_`LED4. 46;<=>?---- `LED 54a&^_0.3 a5. >? --- ^`LED# ()H&LED ](https://usermanual.wiki/Micro-Star/MS6868I/User-Guide-652257-Page-22.png)