Microsoft NPM-10X Dual Band Mobile Phone User Manual 3595 ENv1 9355727 030703
Microsoft Mobile Oy Dual Band Mobile Phone 3595 ENv1 9355727 030703
UserManual.wiki
>
Microsoft
>
NPM-10X User Manual
>
Manual
Contents
1.
Manual
2.
Manual addendum
3.
Users Manual
4.
Manual 1
5.
Manual 2
6.
Manual 3
Manual
Navigation menu
Upload a User Manual
Namespaces
Wiki Guide
HTML
PDF
Info
Views
User Manual
Discussion / Help
Navigation
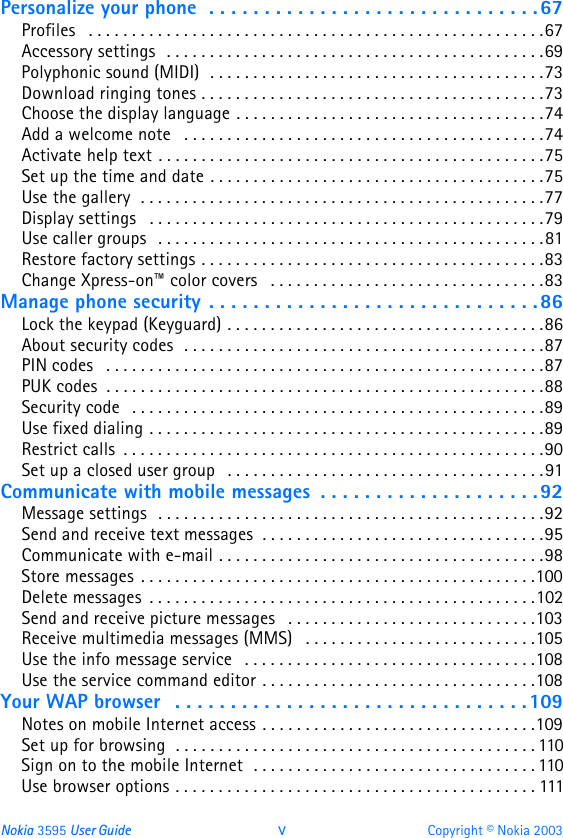


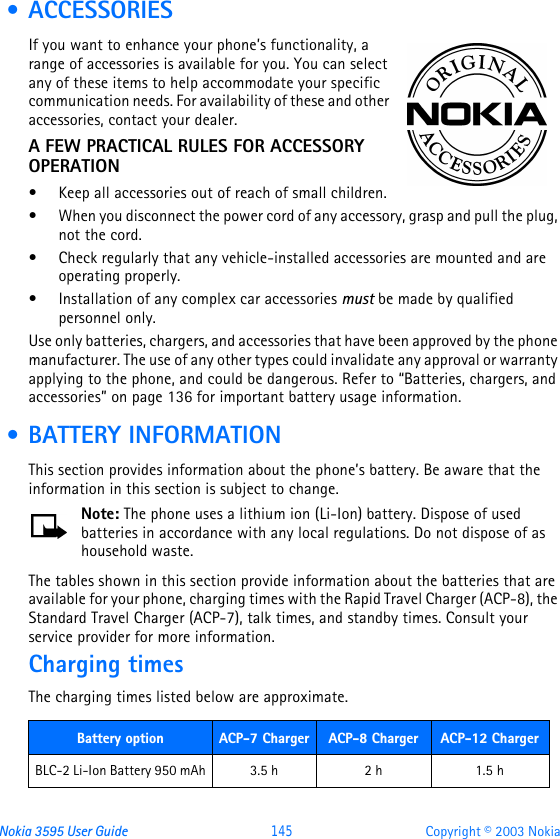
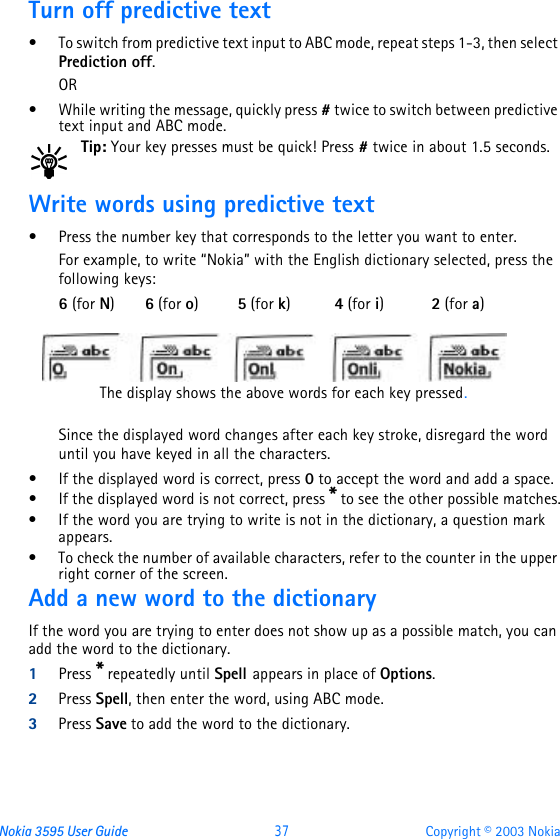
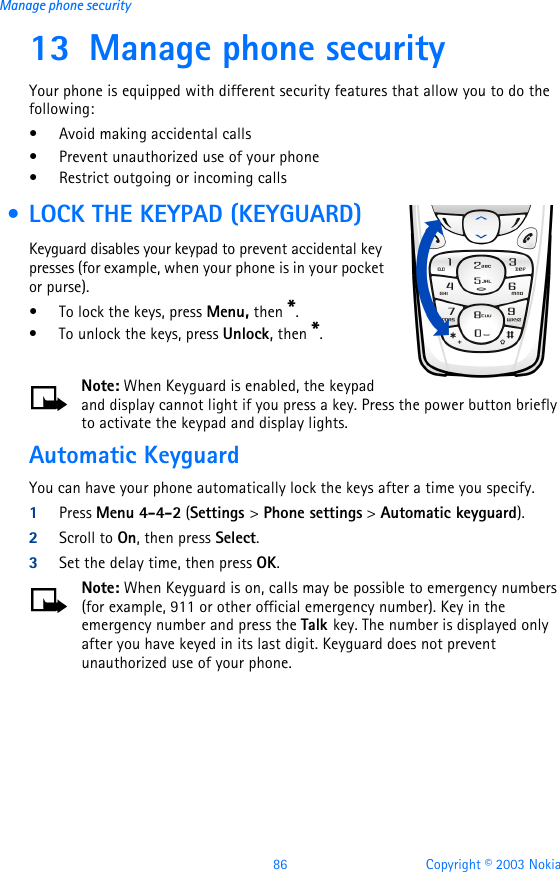
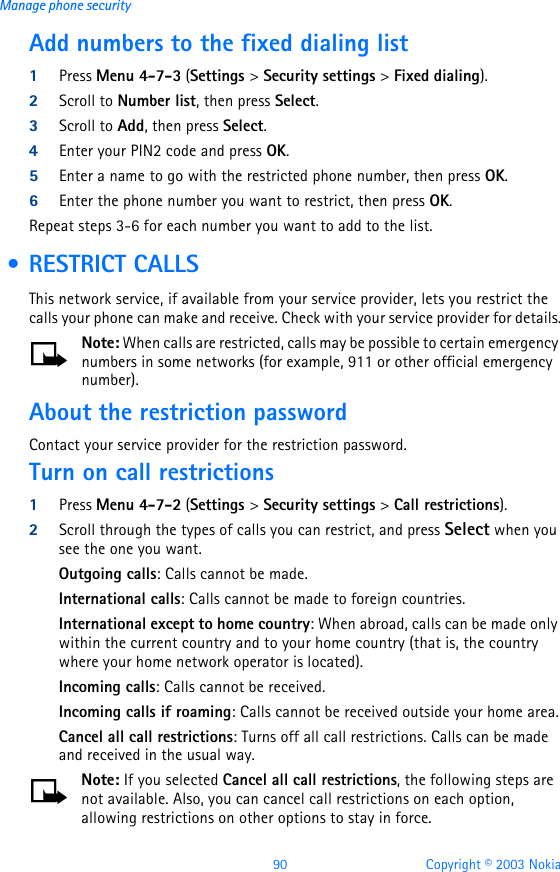
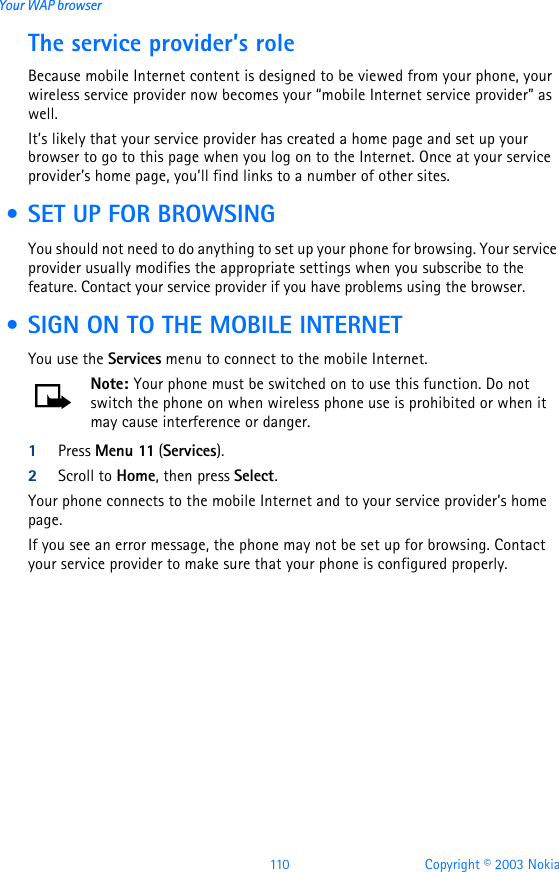
![Nokia 3595 User Guide 35 Copyright © 2003 NokiaEnter spaces and punctuation•To enter a space, press 0 once.•To enter punctuation, press 1 repeatedly until the character you want appears.Delete mistakesIf you make a mistake:•Press Clear to delete each character.•Press and hold Clear to delete the entire field of characters.Change letter caseTo switch between uppercase and lowercase letters, press #.The ABC icon switches to abc, showing you are using lowercase letters.Enter numbersTo enter numbers:•Press and hold # to switch to 123 mode. Press the appropriate number key to enter a number. OR•While in ABC mode, press and hold the corresponding number key until the number appears.If you make a mistake:•Press Clear to delete the number. •To switch back to the ABC mode, press and hold # again.Use special characters IN ABC MODE1Press *. A screen appears with the following special characters: . , ‘ ? ! “ - ( ) @ / : _ ; + & % * = < > £ $ ¥ ¤ [ ] { } \ ~ ˆ ¡ ¿ # | 2Use scroll keys to select the character you want, then press Insert. C](https://usermanual.wiki/Microsoft/NPM-10X.Manual/User-Guide-369751-Page-41.png)


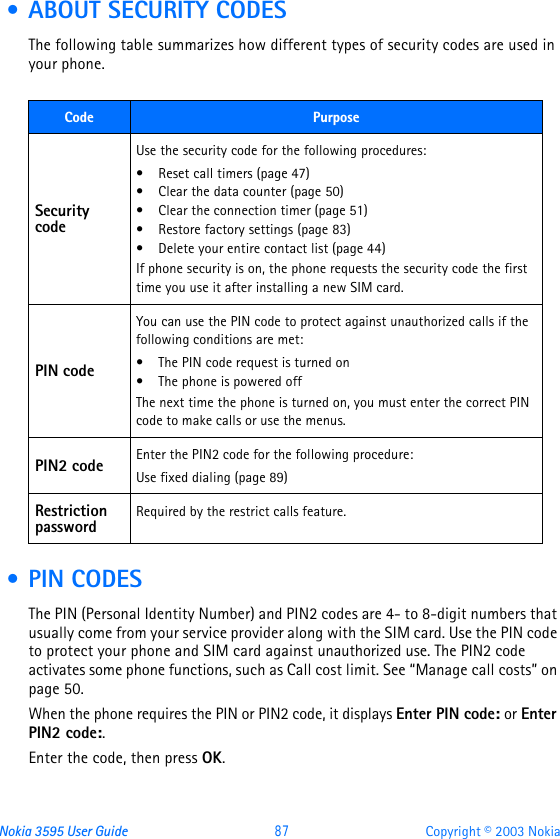
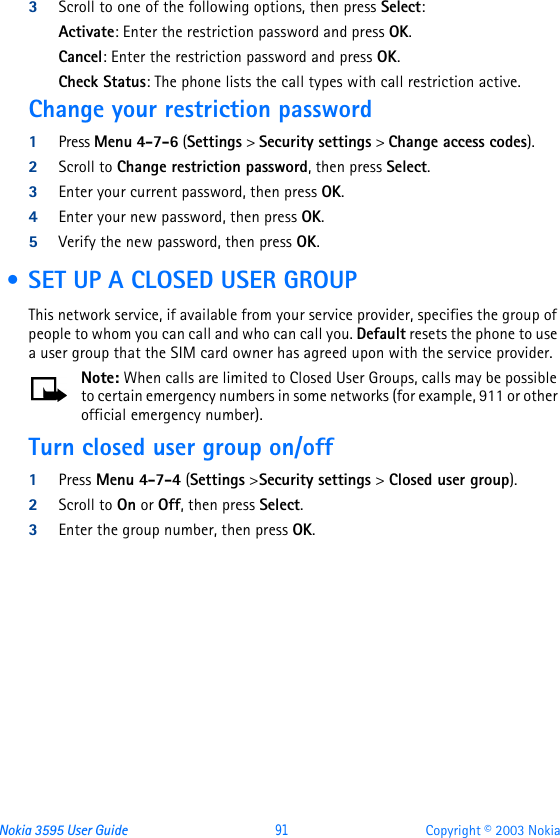
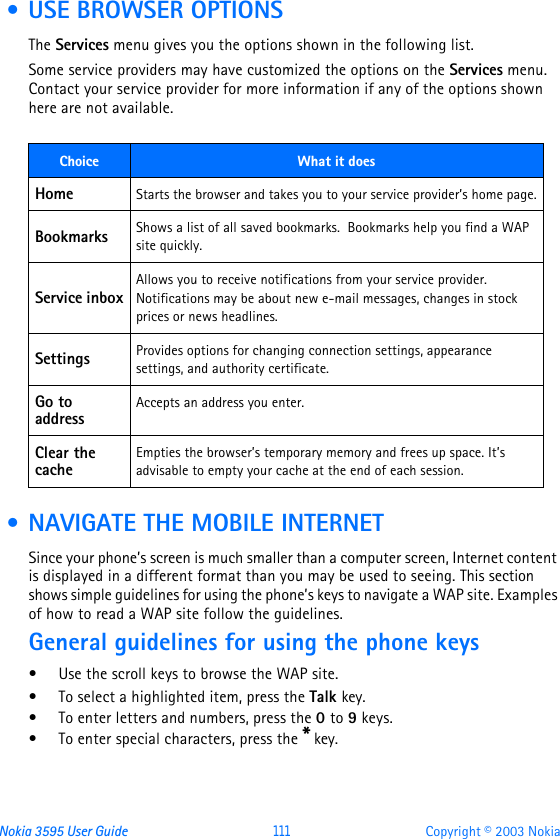
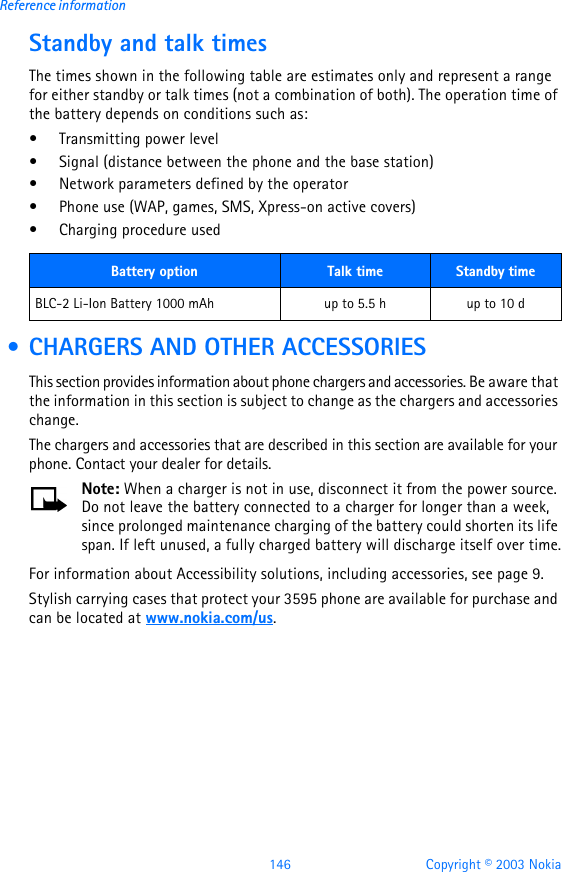
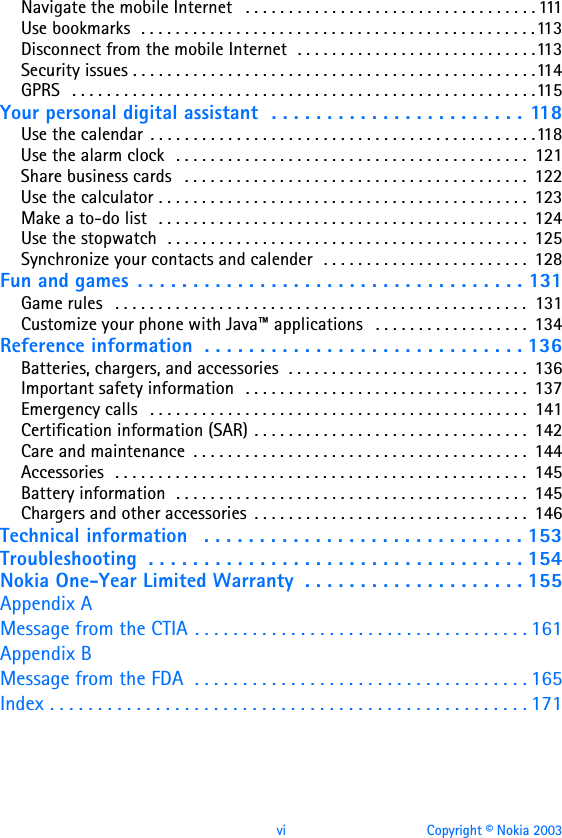
![112 Copyright © 2003 NokiaYour WAP browserExamples of mobile Internet sitesThe following illustrations show most of the elements you may find on a mobile Internet site. These are examples only. 1) Header line: shows the current Internet site.2) Inactive link: appears as an underlined word.3) Active link: appears as a highlighted word.Use the Scroll up and Scroll down keys to scroll through the list of links.1) Selection list: Brackets [ ] appear when you have the option to enter information. 2) Options: Press Options to go to the site’s menu and/or browser page.3) Back: Press Back to return to the previous page.Data entry field: Brackets [ ] around three dots appear when you need to enter information. In this example, you can enter your zip code to receive the local weather forecast. 1)2)3)1)2) 3)](https://usermanual.wiki/Microsoft/NPM-10X.Manual/User-Guide-369751-Page-118.png)