Microsoft NSD-3AW Dual Band Tri Mode CDMA Cellular Phone User Manual Manual
Microsoft Mobile Oy Dual Band Tri Mode CDMA Cellular Phone Manual
UserManual.wiki
>
Microsoft
>
NSD-3AW User Manual
>
Manual
Contents
1.
Manual
2.
Car Kit Installation Guide
3.
Modified Car Kit Instructions
4.
Body Warn Statement
Manual
Navigation menu
Upload a User Manual
Namespaces
Wiki Guide
HTML
PDF
Info
Views
User Manual
Discussion / Help
Navigation

![6185i v1 (Review 1) 40Press the # key again for a couple of seconds if you wish to deactivate the mode.Special characters (for storing names)When in mode (see page18), you can press the key and a collection of special characters will appear. You can use these characters to help when storing names in your phone book. Simply scroll to highlight the one you wish to use and press Insert.. , ? ! : ; - + # * ( ) ‘ “ _ @ & $ £ % / < > ¿ ¡ § = [ ] ¥TIP: To quickly highlight a special character that appears toward the end of the list, press .Also, you can access the . , ‘ ? ! - characters quickly by pressing the key while in mode. Special Characters (for storing and calling num-bers)The following special characters are helpful when you store numbers to your phone book (see page59). Simply press the key once or repeatedly, and the following characters can be stored within the number sequence. (p) creates a pause when a number is dialed; the digits located to the right of the “p” are automati-cally sent as touch tones after a 2.5 second pause (see page79).(w) creates a “wait” when a number is dialed. The “w” makes your phone wait for you to press Send or , then it sends the digits located to the right of the “w” as touch tones (see page79).You can add as many special characters as you need in a single number sequence.Erase all (text messages)You can erase all read text messages quickly and easily from the text messages menu (Menu 1-1).](https://usermanual.wiki/Microsoft/NSD-3AW.Manual/User-Guide-90246-Page-40.png)


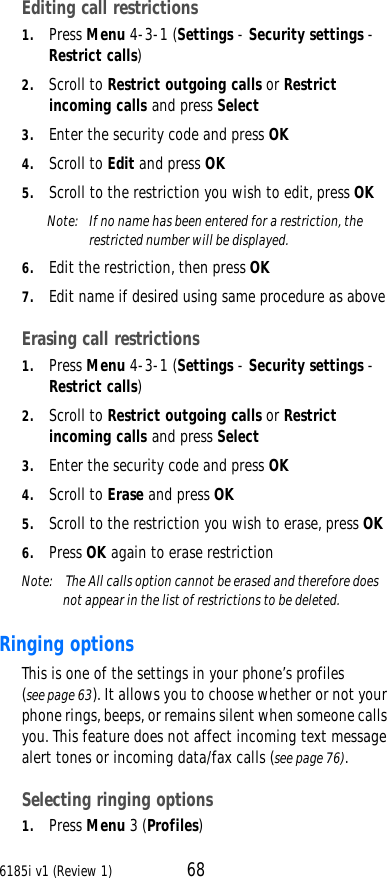
![6185i v1 (Review 1) 66and lock codes are not reset. However, any profiles you have modified will reset when you restore your settings. Plus, if you are using your phone’s clock [versus using the network provided clock] it will reset as well.Renaming profiles See “Profiles” on page63.Restrict callsThis feature allows you to restrict incoming and outgoing calls. Outgoing and incoming calls are restricted from a list of restrictions that you create yourself.Restricting incoming and outgoing callsUpon selecting Restrict outgoing calls or Restrict incoming calls from the menu, you are presented with 2 options:Select allows you to select call restrictions from the outgoing calls list.Add restriction allows you to create your own list of outgoing call restrictions.Once you have accessed Add restriction and have added at least one restriction, the following options will be added to the menu for that option:Edit allows you to edit an existing outgoing call restriction.Erase will erase any existing outgoing call restrictions.Note: When calls are restricted, calls may be possible to the emergency number programmed into your phone (for example, 911 or other official emergency numbers). However, Emergency key 9 may not operate depending on the type of restriction you choose. Adding outgoing and incoming call restrictionsYou can add up to 10 restrictions for outgoing calls, and 15 for incoming calls. The maximum number of characters you can enter for each restriction is 15.1. Press Menu 4-3-1 (Settings - Security settings -](https://usermanual.wiki/Microsoft/NSD-3AW.Manual/User-Guide-90246-Page-66.png)
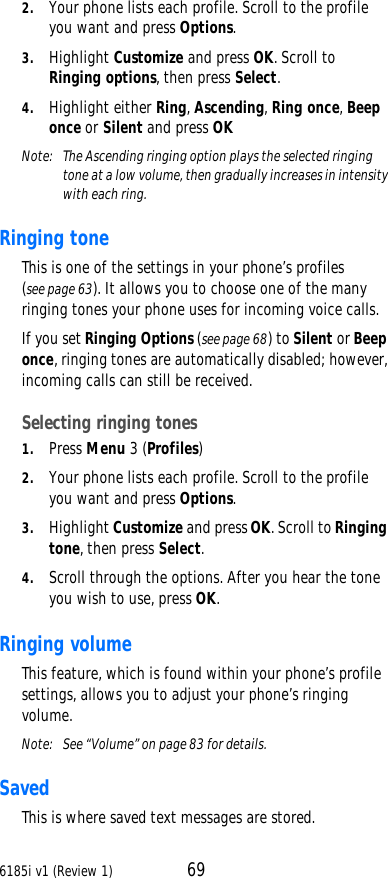
![6185i v1 (Review 1) 75Automatic means your phone will attempt calls to a hometype system before trying to use a non home-type system.[Service Provider’s Name] means your phone will attempt calls via your service provider’s system only. If your service provider’s system is unavailable, your phone will display No service.Digital/analog allows you to tell your phone to select the available digital or analog network automatically, or you can manually choose a digital or analog network .Which system should you choose?By default, your phone is set to automatically search for the most cost-effective system when you are outside of your home area. For example, if your home system is type A and you are roaming, your phone will automatically try to use the local hometype system (the type A system in your current location). The type B system would be a non home-type system. However, in an area where no home or preferred systems are available, use this menu to manually choose which system your phone uses. By setting your phone to use a home-type or a preferred system, it’s possible for you to receive discounted roaming charges. Check with your service provider to maximize use of this feature.In non-preferred systems, normal roaming charges are determined by the host system. Your phone is designed to select a system most favorable to you concerning the cost of the call and reception quality.Note: When roaming in some systems, you may need to have a roaming agreement in order to place a call. If no roaming agreement has been arranged, a network operator may interrupt and request information on how you intend to pay for the call. If you have more than one phone numberThe currently-selected NAM in your phone determines](https://usermanual.wiki/Microsoft/NSD-3AW.Manual/User-Guide-90246-Page-75.png)