Microsoft RX-34 Internet Tablet User Manual Gagarin UG draft 9254711 101106
Microsoft Mobile Oy Internet Tablet Gagarin UG draft 9254711 101106
UserManual.wiki
>
Microsoft
>
RX 34 User Manual
Manual
Navigation menu
Upload a User Manual
Namespaces
Wiki Guide
HTML
PDF
Info
Views
User Manual
Discussion / Help
Navigation
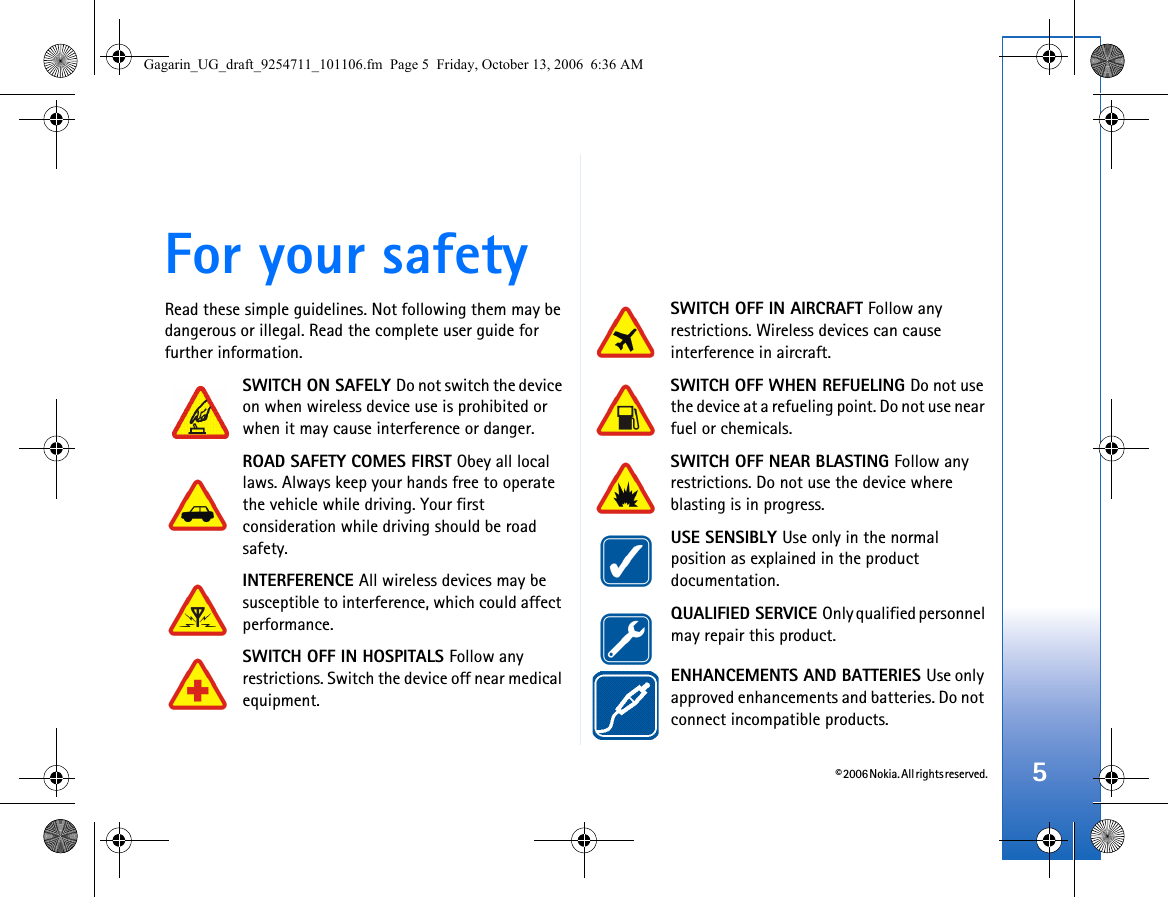
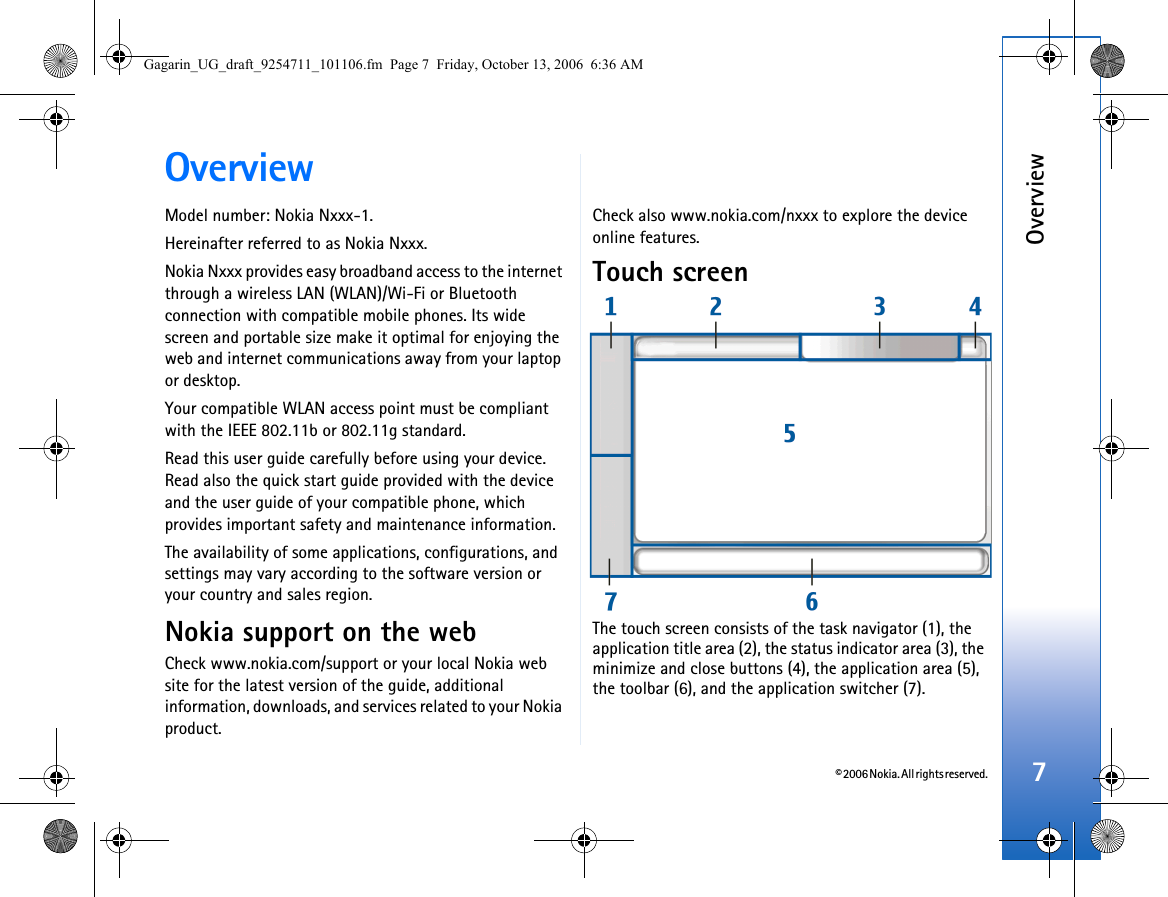

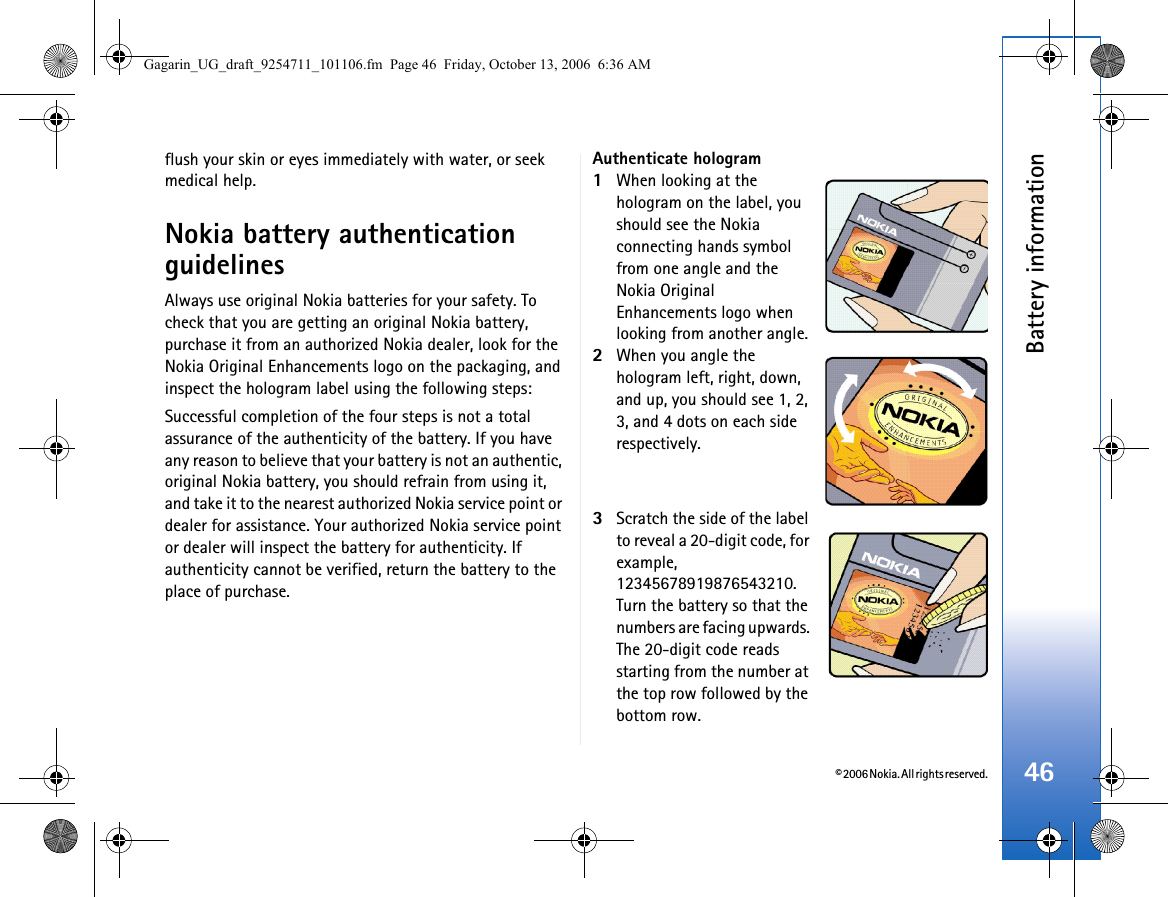
![© 2006 Nokia. All rights reserved.Overview13On-screen keyboard• Tabulator key (1)—Adds a tabulator space or moves the cursor to the next available text input field.• [Caps] (2)—Locks the uppercase characters of the keyboard. In the handwriting recognition mode, switches between the normal and special character recognition modes.• Shift key (3)—Allows you to enter an uppercase character in the on-screen keyboard mode when you write in lowercase. When you tap this key in the handwriting recognition mode, the last lowercase character switches to uppercase, and vice versa.• Input menu key (4)—Opens the text input menu, which includes commands such as Edit > Copy, Cut, and Paste. You can also access the text input settings from the text input menu.• On-screen keyboard (5)• Space bar (6)—Inserts a space. This area also shows word completion.• Numeric keyboard (7)—When you press the shift key, the most common special characters are displayed in this area.• Backspace key (8)—Deletes the character to the left of the cursor.• Enter key (9)—Moves the cursor to the next row or text input field. Additional functions are based on the current context (for example, in the web address field of the web browser, it acts as a go button).• Special character key (10)—Opens a view, in which you can select from commonly used special characters, symbols, and language character accents.• Close (11)—Closes the on-screen keyboard and handwriting recognition input area. To use handwriting gestures on top of the on-screen keyboard, do the following:Draw gesture 1 for a backspace or gesture 2 for a space. Draw gesture 3 on a letter to switch between uppercase and lowercase letters or gesture 4 to add a line break.Gagarin_UG_draft_9254711_101106.fm Page 13 Friday, October 13, 2006 6:36 AM](https://usermanual.wiki/Microsoft/RX-34/User-Guide-720103-Page-13.png)
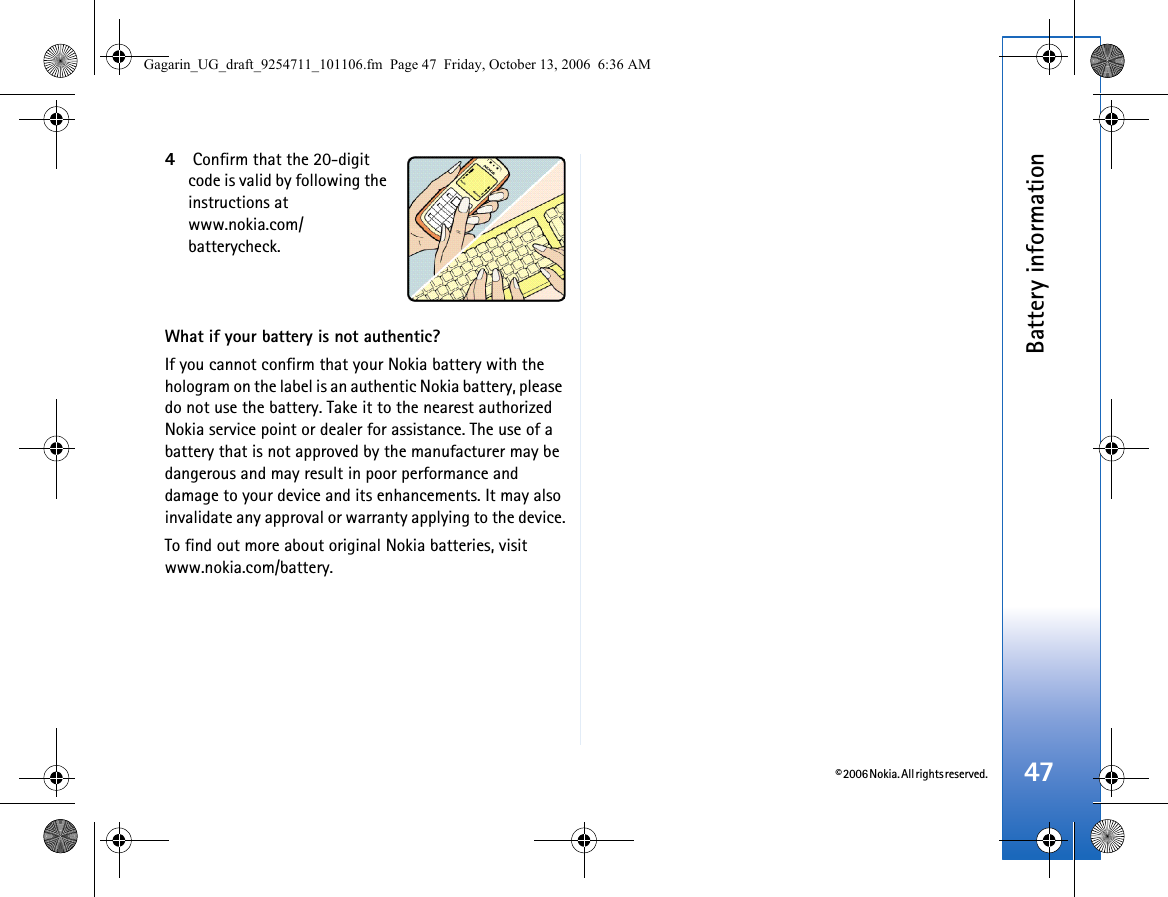
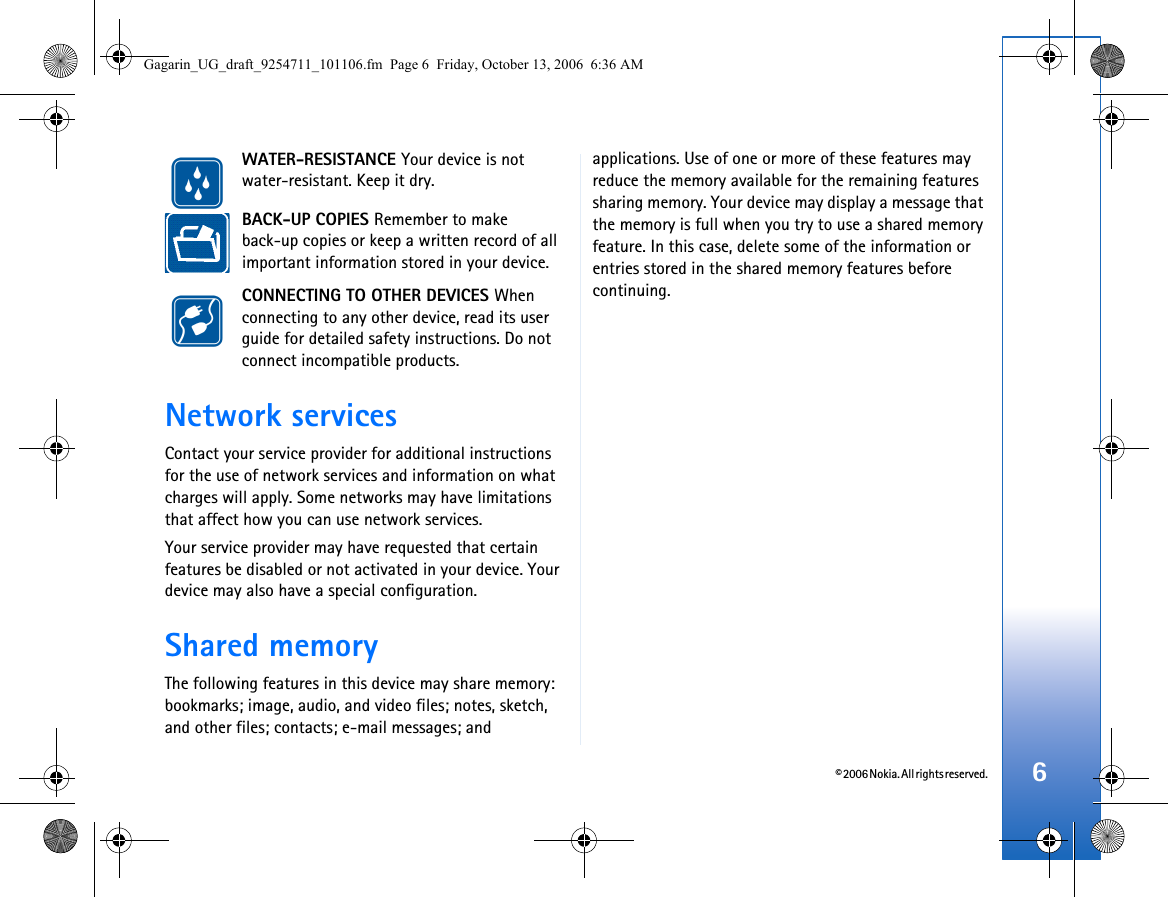
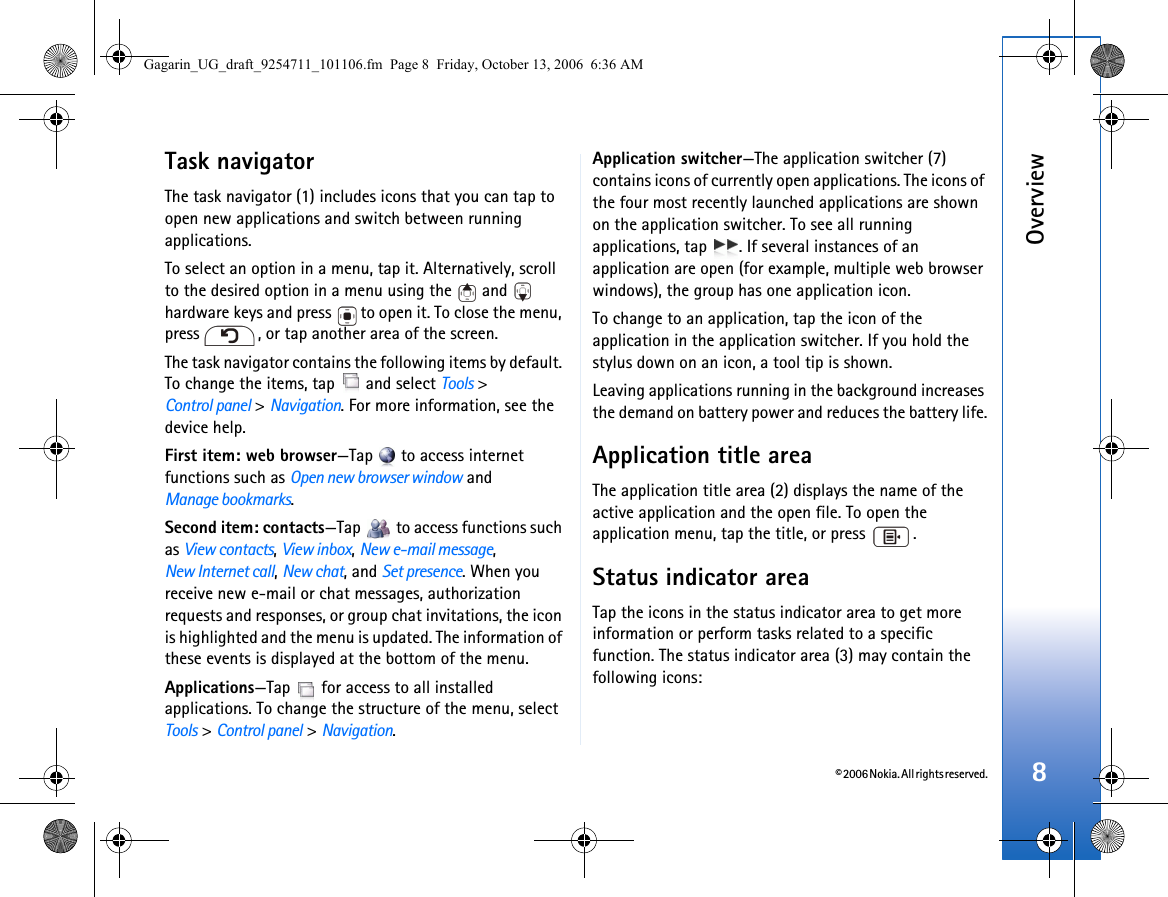
![© 2006 Nokia. All rights reserved.Overview14Full-screen finger keyboardTo begin text input with the finger keyboard, tap the text input field with your fingers. The finger keyboard opens in the full screen mode.The finger keyboard displays buttons and functions similar to the other text input methods; however, not all of the special characters are available.To close the finger keyboard, tap in the upper right corner of the keyboard.To change the finger keyboard settings, tap , and select Tools >Control panel > Text input settings > Thumb board.When using the finger keyboard, use only clean hands and regularly clean the touch screen by wiping the screen gently with a dry, soft cloth.Handwriting recognitionYou can use the stylus as a pen to write text. Write legible, upright characters on the text input area, and leave a small horizontal gap between each character. Do not use cursive writing. To write common characters and numbers (default mode), write words as you normally write them.To write special characters, tap [Abc1] in the left pane of the input area, and write the characters as you normally write them.To insert new characters in and after words, draw them in the intended positions.To teach the device your handwriting style, tap on the on-screen keyboard, and select Tools > Teach.To use handwriting gestures on the handwriting recognition area, do the following:Draw gesture 1 for a backspace or gesture 2 for a space.Text input settingsTo define the text input settings, tap , and select Tools > Control panel > Text input settings. For more information, see the device help.Volume controlTo adjust the master volume, tap to access the sound settings. To decrease or increase the volume, drag the Gagarin_UG_draft_9254711_101106.fm Page 14 Friday, October 13, 2006 6:36 AM](https://usermanual.wiki/Microsoft/RX-34/User-Guide-720103-Page-14.png)
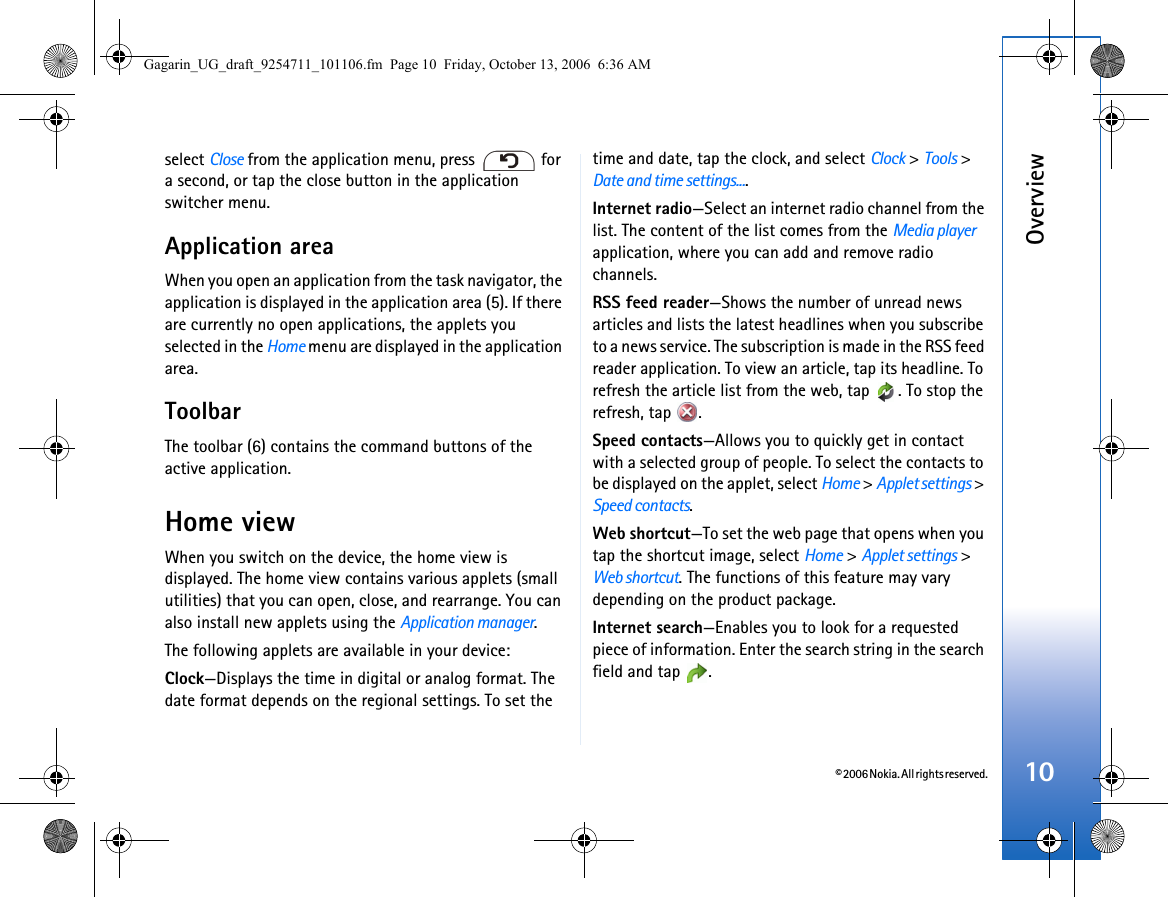
![© 2006 Nokia. All rights reserved.Overview18HelpYour Nokia Nxxx offers device help, which provides additional information on key features, applications, and dialogs of the device. To access help from the task navigator, tap , and select Help.To access help from an application, tap the application title, and select the help command from the menu (usually under the Tools menu).To browse help topics, tap the following: or to see other help topics if you have recently viewed several help topics to see a list of recently viewed help topics to search for the text that you have entered in the search field.To access help related to the contents of a dialog (context-sensitive help), tap the [?] button on the dialog.Search for informationTo search for items on your device, do the following:1. Tap , and select Search.2. Enter a search word or multiple search words. The more search words you use, the more accurate the search results.3. If needed, limit the search to e-mail messages, contacts, or bookmarks; or select all items on your device. To set additional search options, tap Options.4. To start the search, tap OK. Results appear in the Search results window.To stop the search at any time, tap on the toolbar.The search function in your device operates with Boolean AND logic, which means that all search words must match. If you get too few results, limit the number of search words and options. The search function is not case-sensitive.Gagarin_UG_draft_9254711_101106.fm Page 18 Friday, October 13, 2006 6:36 AM](https://usermanual.wiki/Microsoft/RX-34/User-Guide-720103-Page-18.png)