Midea Kitchen Appliances TC044NYY Microwave Oven User Manual
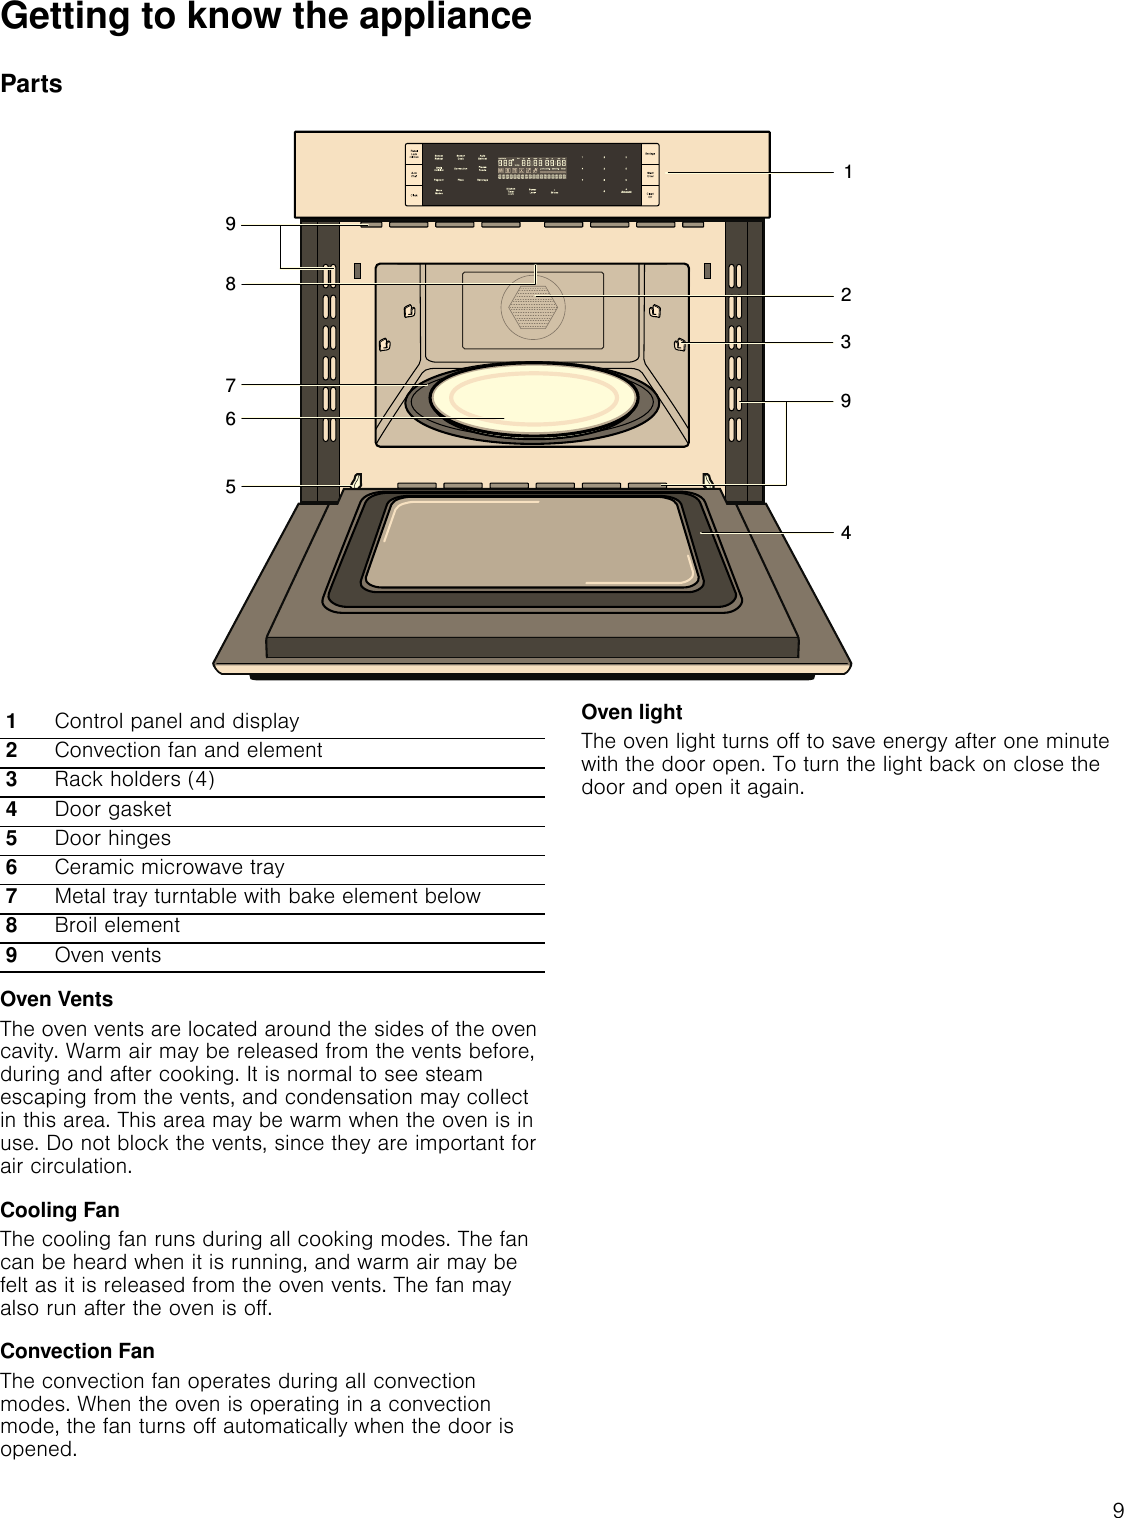
Guangdong Midea Kitchen Appliances Manufacturing Co.,Ltd Microwave Oven
UserManual.wiki
>
Midea Kitchen Appliances
>
TC044NYY User Manual
VG8TC044NYY_User(manual)
Navigation menu
Upload a User Manual
Namespaces
Wiki Guide
HTML
PDF
Info
Views
User Manual
Discussion / Help
Navigation


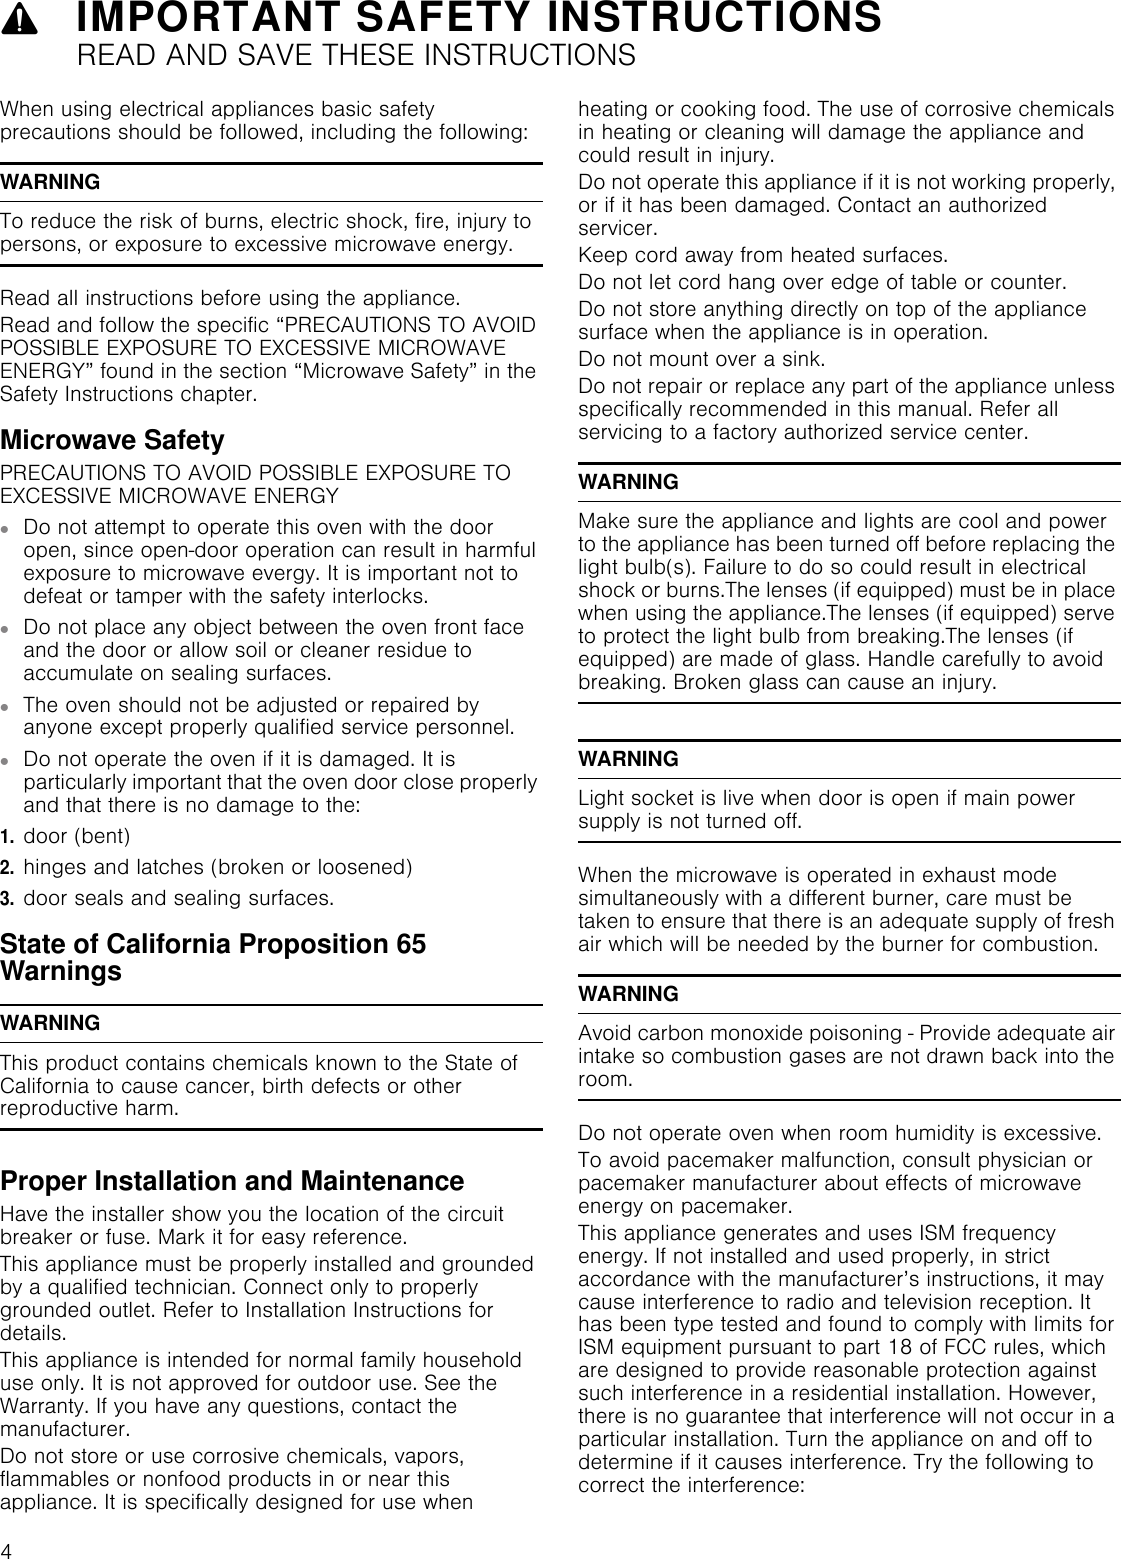


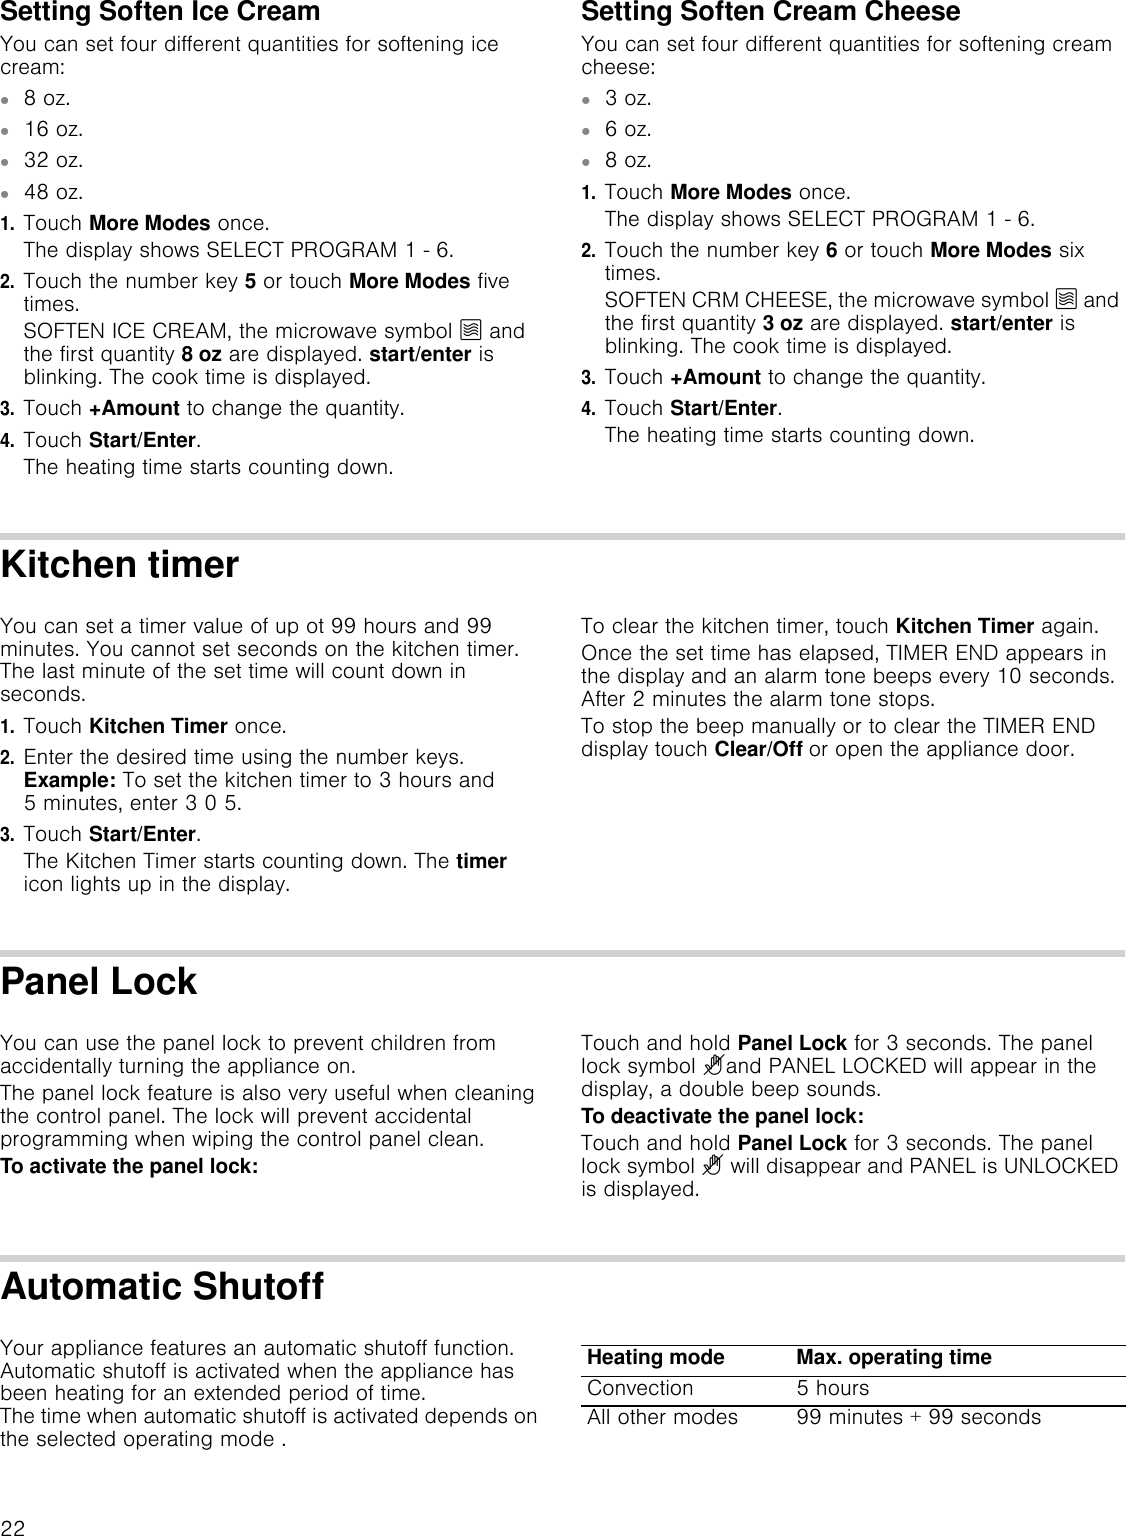
![10Control panelTouch keysYou can activate a function by briefly touching the corresponding touch key. Each time you touch a key a short beep will sound. A long beep will tell you that you have made an invalid input.Display elementsThe display gives you information on the current settings of your appliance. Blinking display elements indicate that an input is required.3DQHO/RFNKROGVHF$XWR&KHI&ORFN6HWWLQJV6WDUW(QWHU&OHDU2II$XWR'HIURVW6HQVRU5HKHDW6HQVRU&RRN)UR]HQ)RRGV&RQYHFWLRQ%HYHUDJH3RSFRUQ 3L]]D0RUH0RGHVVHF.LWFKHQ7LPHURQRII3RZHU/HYHOVWDUWHQWHU WEVWHPSSUHKHDWLQJ VHQVLQJ WLPHUNJ OEV FXSV R] PLQ KU PLQ VHFKLJKORZ%URLO$PRXQWTouch key FunctionPanel Lock Activate/deactivate child lockAuto Chef Select Auto Chef programsClock Set time of daySettings Enter basic settings menuStart/Enter Confirm entered values/Start cooking modeClear/Off Clear entered value/turn appliance offSensor Reheat Select Sensor Reheat programsSensor Cook Select Sensor Cook programsAuto Defrost Select Auto Defrost programsBroil Set Broil modes (Hi/Lo)Convection Set Convection modesFrozen Foods Start cooking programs for frozen con-venience foodsPopcorn Cook popcornPizza Select pizza programsBeverage Heat beveragesMore Modes Enter menu for additional modes:▯Keep Warm▯Convection Broil▯Melt Butter▯Melt Chocolate▯Soften Ice Cream▯Soften Cream CheeseKitchen Timer Set the kitchen timerPower Level Set power level for microwave opera-tion+30 sec Add 30 seconds to microwave cook-ing time+Amount Can be used to browse through menu options0 - 9 Use the number keys to enter custom-ized valuesElement Meaning?Child lock activated‹ConvectionÝMicrowave`AutoChef(Broiling high level*Broiling low levelBAuto Defroststart/enter Touch Start/Enter key required‹‹‹° temp Temperature is displayedtbsp Measuring unit tablespoonkg/lbs/cups/oz Measuring unitshr/min Kitchen timer value in hours/minutesmin/sec Programmed cooking time in min-utes/secondspreheating Appliance is preheatingsensing Appliance is sensingtimer Kitchen timer is runningÅShows progress of preheating/sens-ing Line for free text Displays program information, prompts required user input](https://usermanual.wiki/Midea-Kitchen-Appliances/TC044NYY/User-Guide-2132246-Page-10.png)


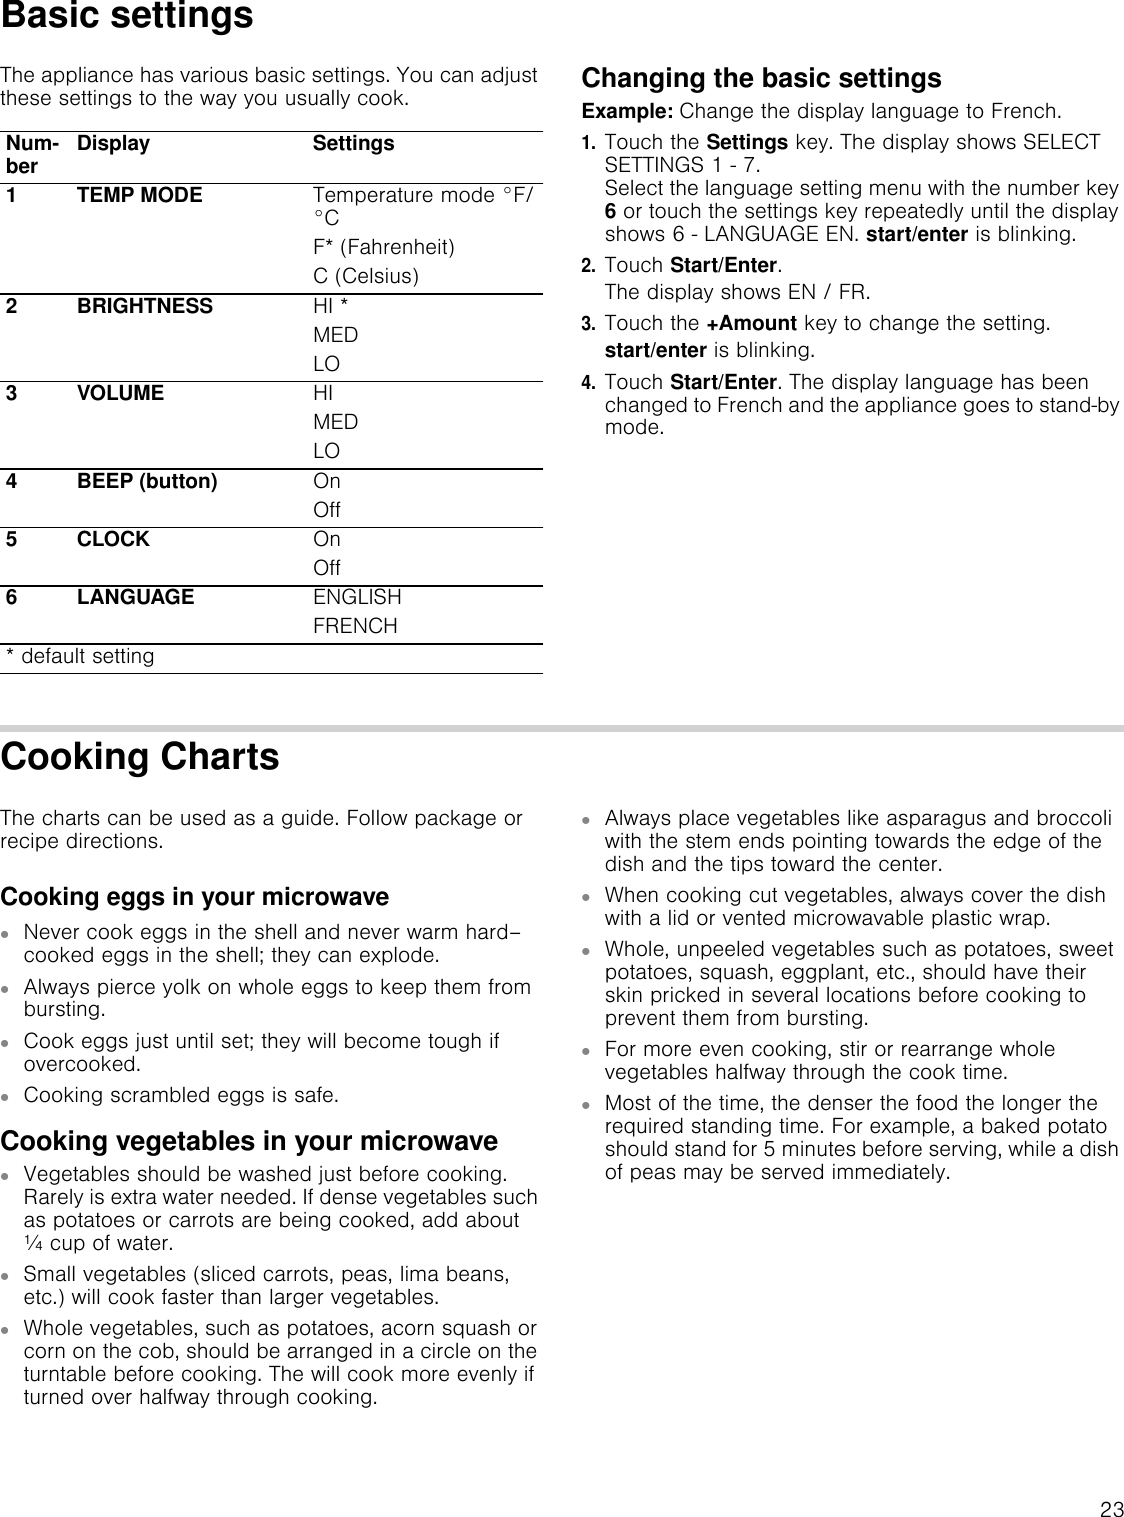
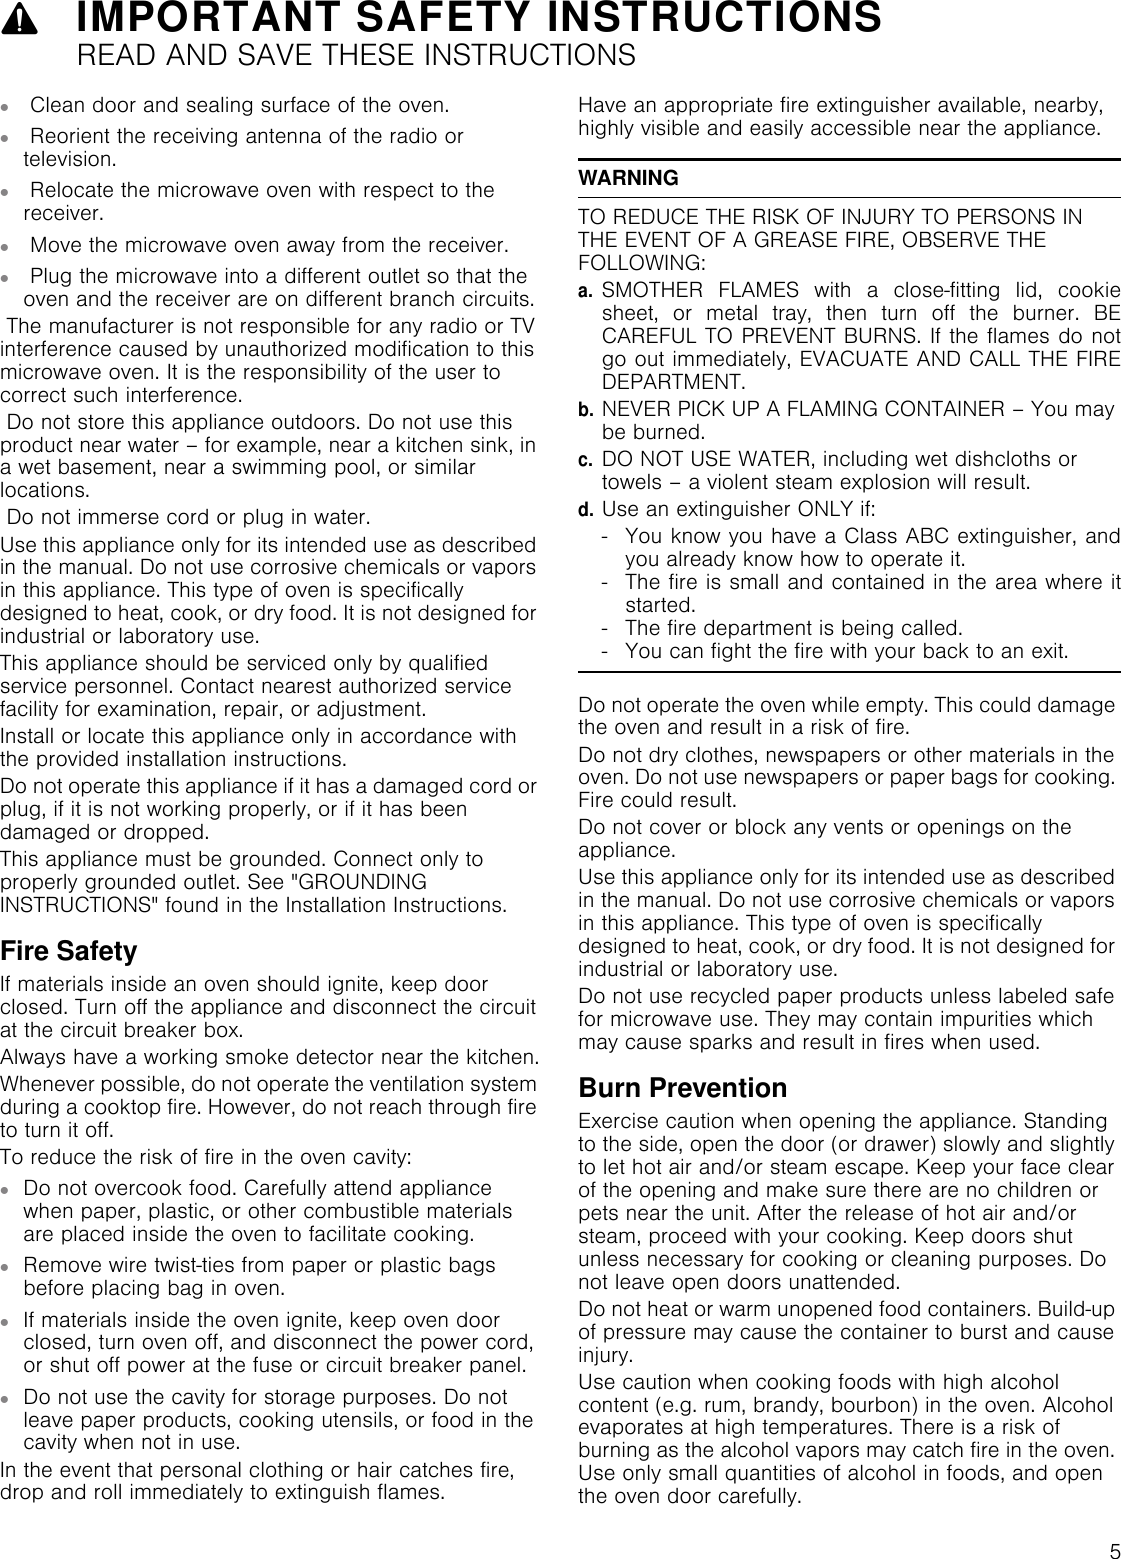
![21Opening appliance door during operationOpening the appliance door during operation will interrupt the current mode. You have to close the appliance door and then touch Start/Enter to resume operation.Cancel operationTouch the Clear/Off key to cancel the active oven mode. The appliance turns off and the clock is displayed.More ModesThe More Modes feature offers you six additional convenient programs.Setting Keep Warm1.Touch More Modes once.The display shows SELECT PROGRAM 1 - 6.2.Touch the number key 1 or touch More Modes once more.KEEP WARM and the temperature 170° F are displayed. start/enter is blinking.3.Touch Start/Enter.Keep Warm mode starts preheating.The Keep Warm temperature cannot be changed.Notes▯Use the Keep Warm mode to keep cooked foods hot and ready to serve.▯Food cooked covered should remain covered during Keep Warm.▯Pastry items (pies, turnovers, etc.) should be uncovered.▯Complete meals kept warm on a dinner plate can be covered during Keep Warm.Setting Convection BroilThis mode uses the Broil element combined with the convection fan. Place food in a cold oven on the wire rack facing up for broil.1.Touch More Modes once.The display shows SELECT PROGRAM 1 - 6.2.Touch the number key 2 or touch More Modes twice.CONV BROIL, the convection broil symbol 7 and the default setting HI are displayed. start/enter is blinking.3.Touch the number key +Amount to change from broil intensity HI to LO.4.Touch Start/Enter.Convection Broil starts preheating.Opening appliance door during operationOpening the appliance door during operation will interrupt the current mode. When you close the appliance door, operation will be resumed.Cancel operationTouch the Clear/Off key to cancel the active oven mode. The appliance turns off and the clock is displayed.Setting Melt ButterYou can set three different quantities for melting butter:▯2 tablespoons (tbsp)▯] cup▯^ cup1.Touch More Modes once.The display shows SELECT PROGRAM 1 - 6.2.Touch the number key 3 or touch More Modes three times.MELT BUTTER, the microwave symbol Ý and the first quantity 2 tbsp are displayed. start/enter is blinking. The cook time is displayed.3.Touch +Amount to change the quantity.4.Touch Start/Enter.The heating time starts counting down.Setting Melt ChocolateYou can set two different quantities for melting chocolate:▯1 cup▯2 cups1.Touch More Modes once.The display shows SELECT PROGRAM 1 - 6.2.Touch the number key 4 or touch More Modes four times.MELT CHOCOLATE, the microwave symbol Ý and the first quantity 1 cup are displayed. start/enter is blinking. The cook time is displayed.3.Touch +Amount to change the quantity.4.Touch Start/Enter.The heating time starts counting down.Program No. Name1Keep Warm2Convection Broil3Melt Butter4Melt Chocolate5Soften Ice Cream6Soften Cream Cheese](https://usermanual.wiki/Midea-Kitchen-Appliances/TC044NYY/User-Guide-2132246-Page-21.png)