Mitel Networks 480ICT 2.4 GHz Cordless Phone User Manual 480i CT UserGuide
Mitel Networks 2.4 GHz Cordless Phone 480i CT UserGuide
UserManual.wiki
>
Mitel Networks
>
480ICT User Manual
>
User Guide
Contents
1.
User Guide
2.
Warning statements
User Guide
Navigation menu
Upload a User Manual
Namespaces
Wiki Guide
HTML
PDF
Info
Views
User Manual
Discussion / Help
Navigation
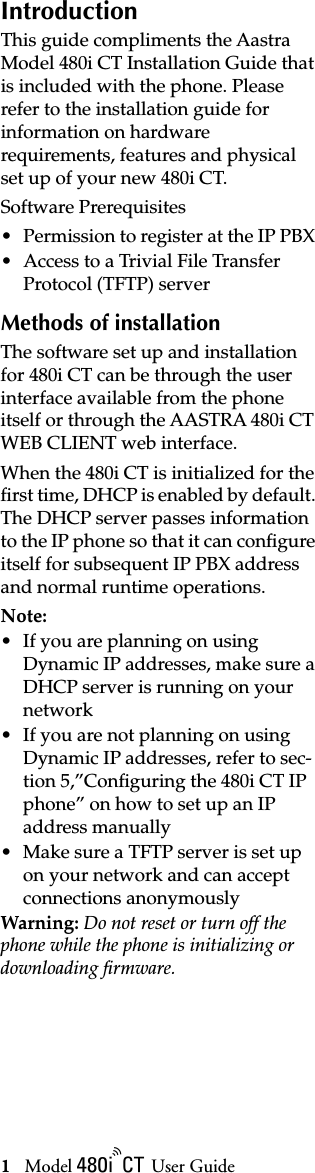
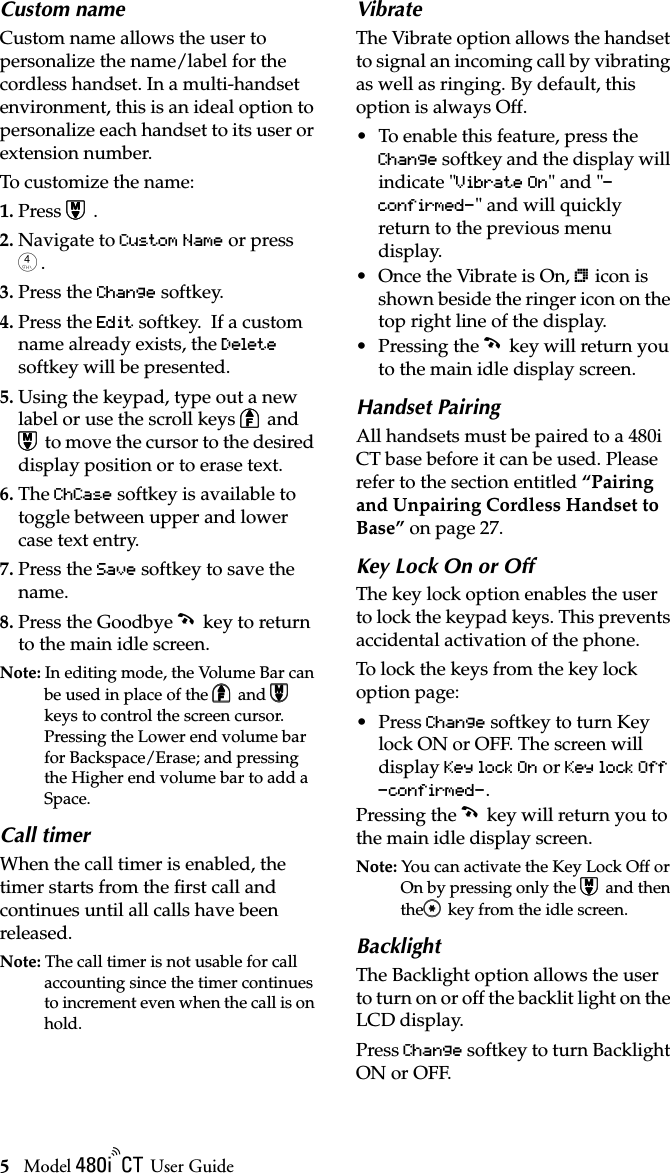
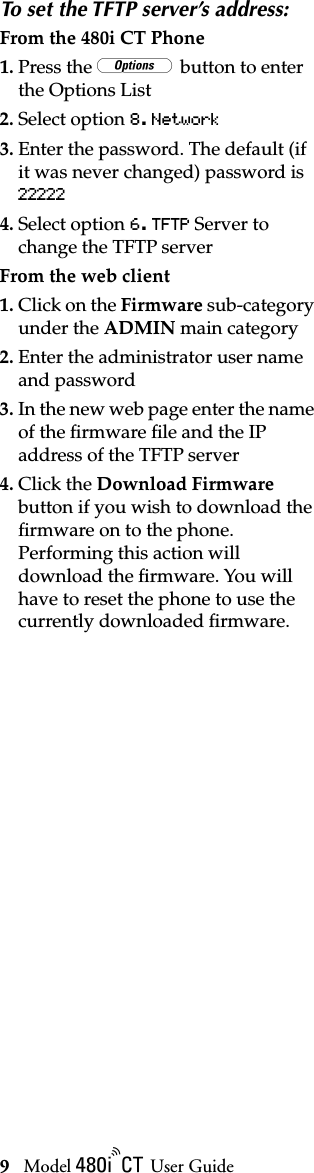
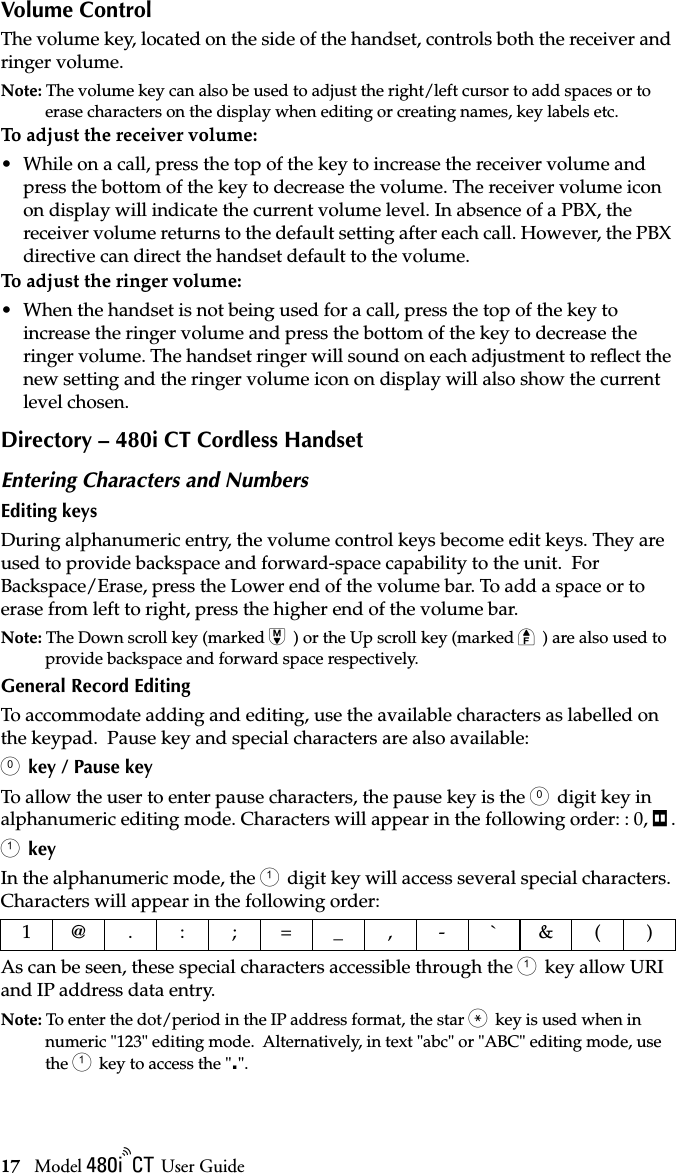
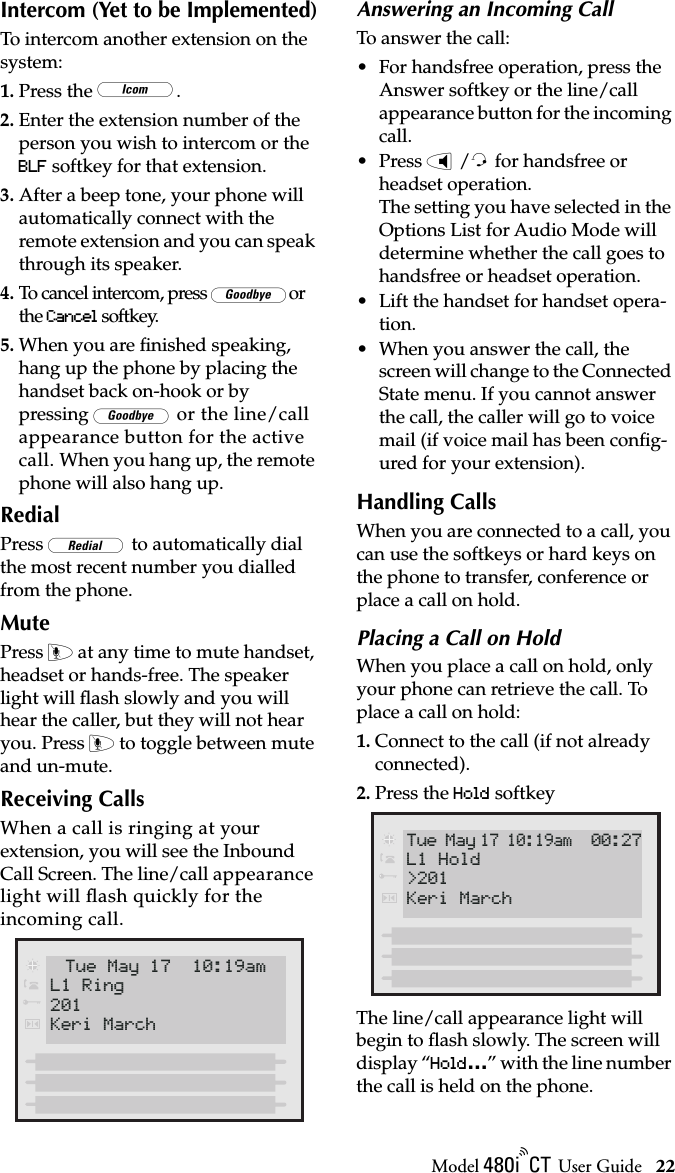
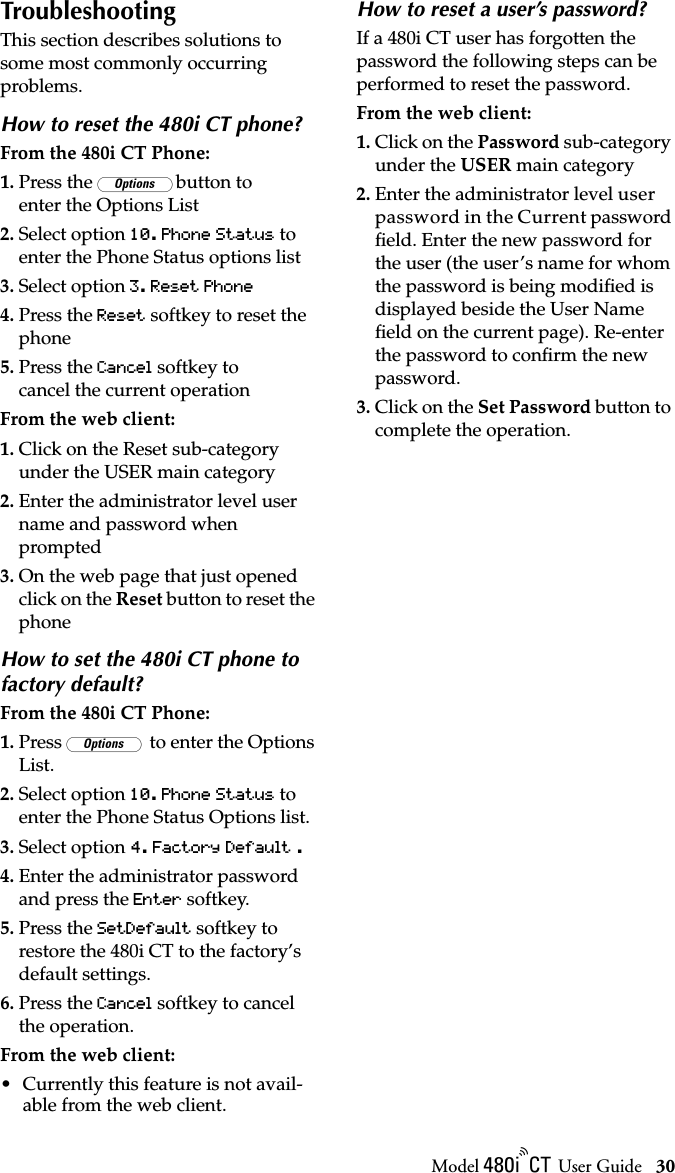
![Model / User Guide 12Using your 480i CT Base StationUsing your 480i CT Base StationHard keysThere are Hard keys on your phone, such as Hold @, Redial #, Xfer ., Icom ] and Conf = that are configured for the call handling features. These keys are static and cannot be reprogrammed or changed. They are located in two different areas on the phone.SoftkeysYour 480i CT has 6 softkeys, 3 on either side of the phone’s display. These softkeys are pre-programmed for call handling and extension management features of the SIP system. The softkey menus will change depending on the phone’s state, displaying relevant softkeys only. Note: The softkeys outlined in this section represent the default arrangement of softkeys within the various screens. Idle StateThe idle state menu appears when the 480i CT phone is not in use. The softkeys in the idle state menu allow you make calls, pickup calls, check voicemail, and manage the phone’s extension and more. MM: Message Waiting IconConnected StateThe Connected State Screen will appear when you are talking to someone on the phone. Connected State functions are available as softkeys on the connected state screen, as well as hard keys on the phone. These softkeys and hard keys allow you to handle calls, such as transferring, conferencing, placing calls on hold and more.Multiple Line and Call AppearancesThe 480i CT has 4 line/call appearance buttons each with a corresponding status light: 6, 7, 8 and 9.These line/call appearance buttons and lights can represent physical lines, calls for the phone’s extensions or calls L1 L2 L3 L4Conf ServicesIcomXferTue May 17 10:19am201Keri MarchMM Tue May 17 10:10am 10:17202L1 Connected>Jay LamptonL1 L2 L3 L4](https://usermanual.wiki/Mitel-Networks/480ICT.User-Guide/User-Guide-607023-Page-15.png)
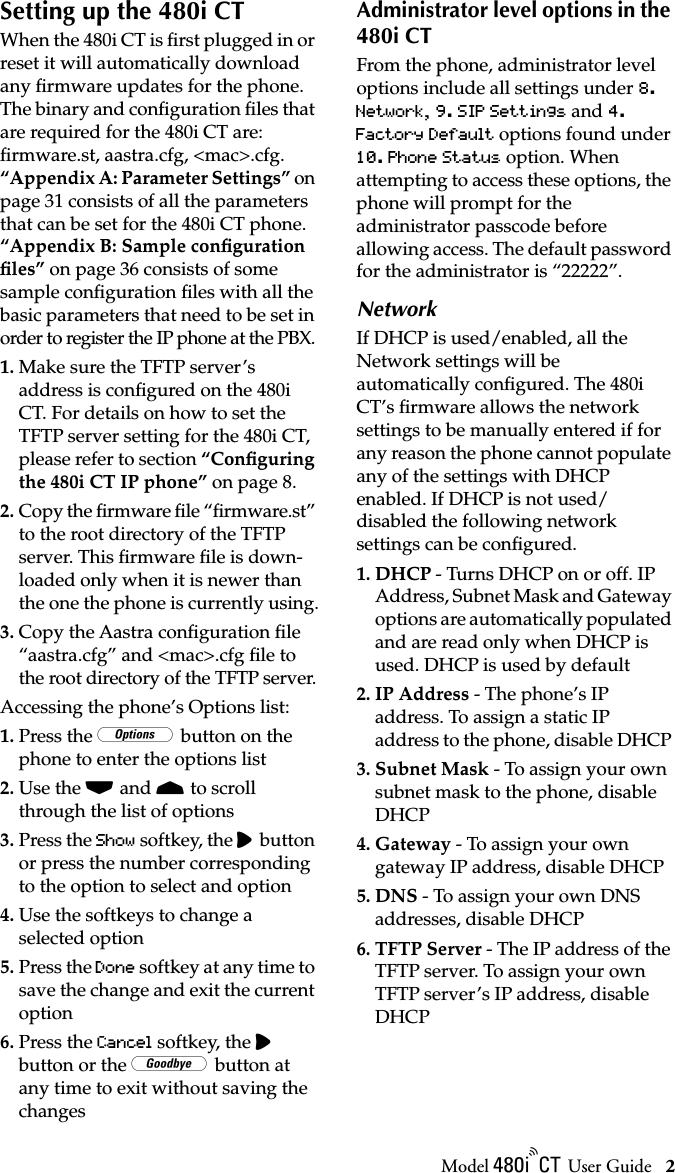
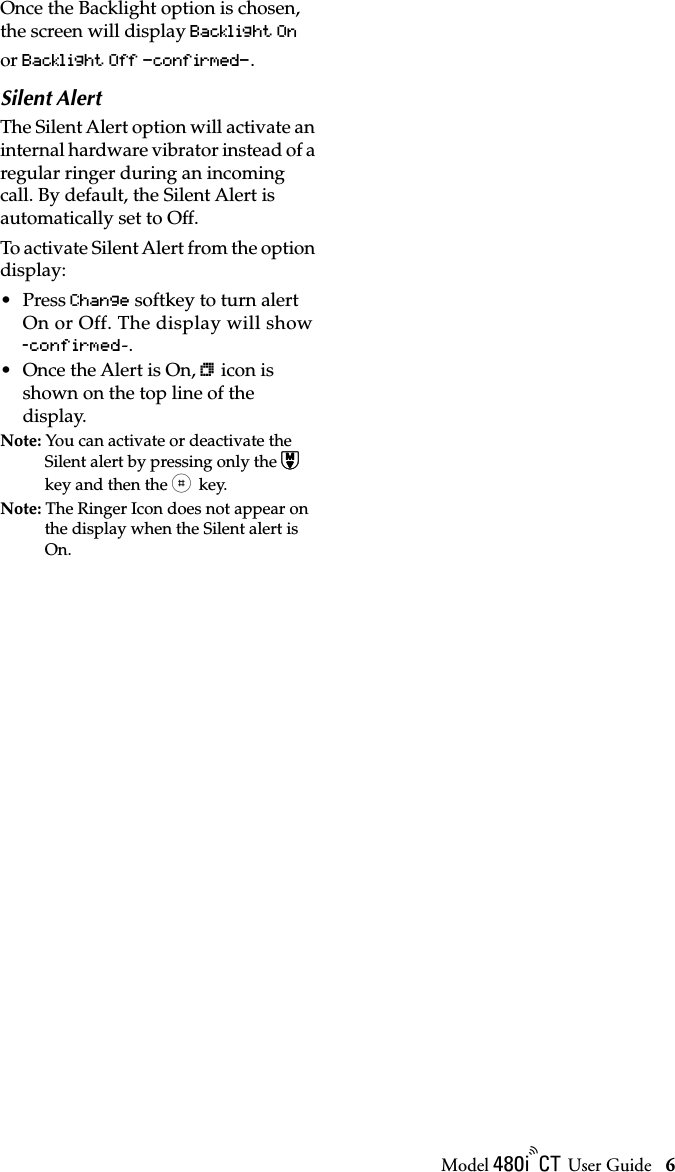
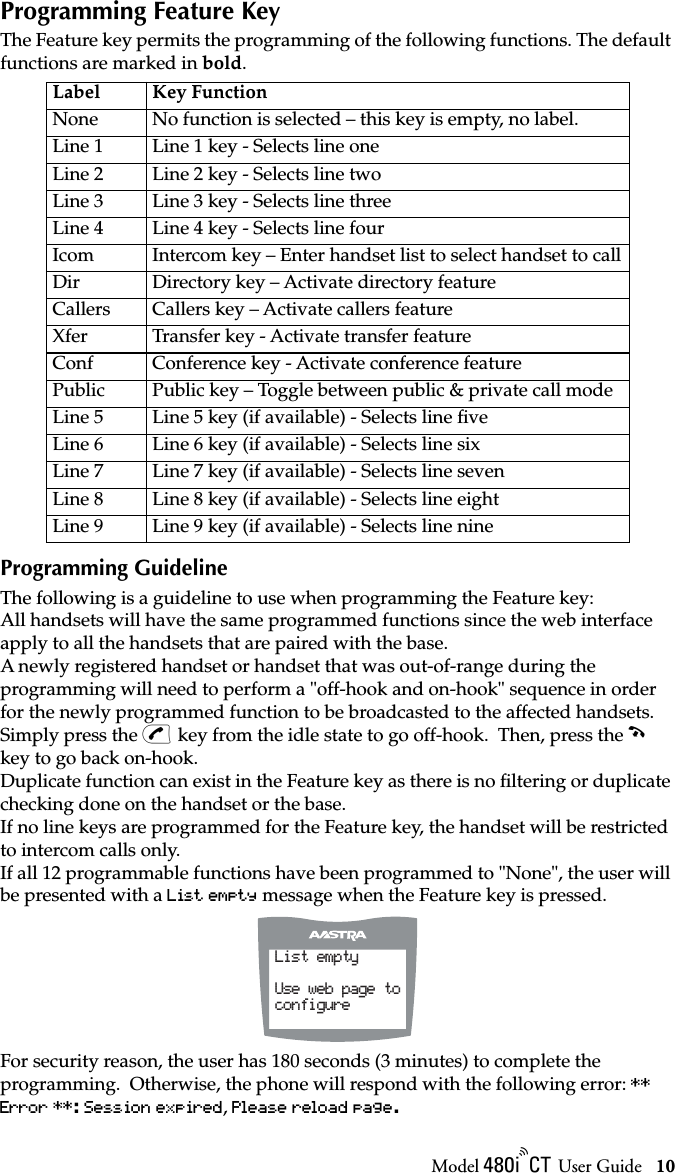
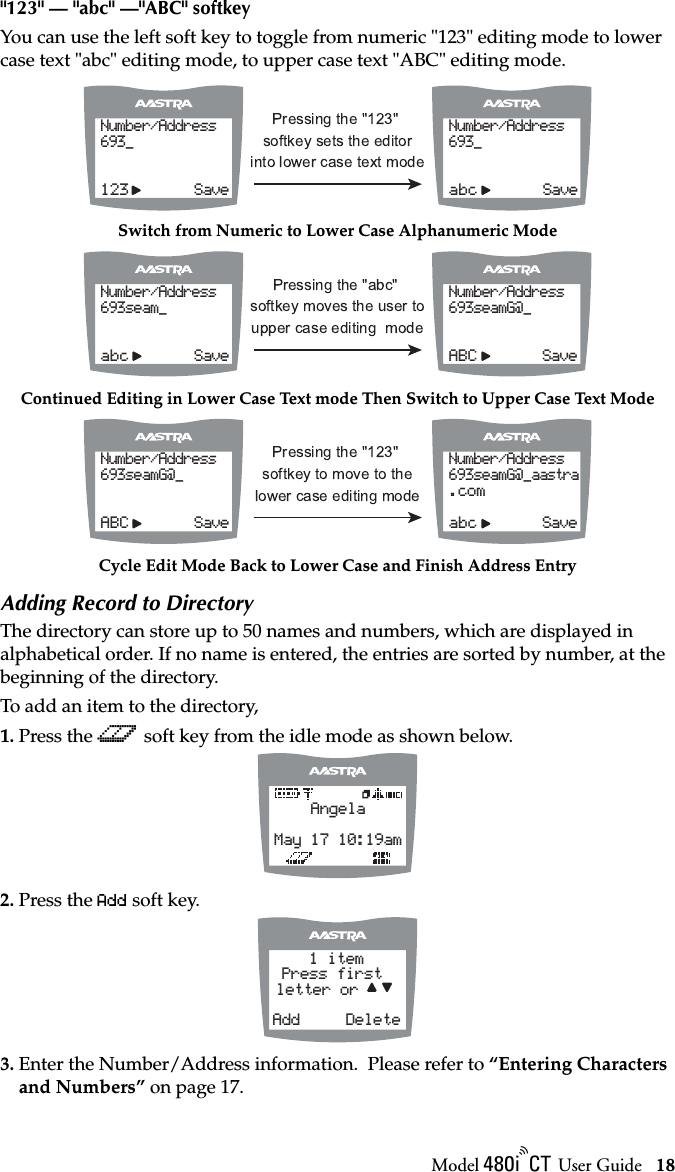
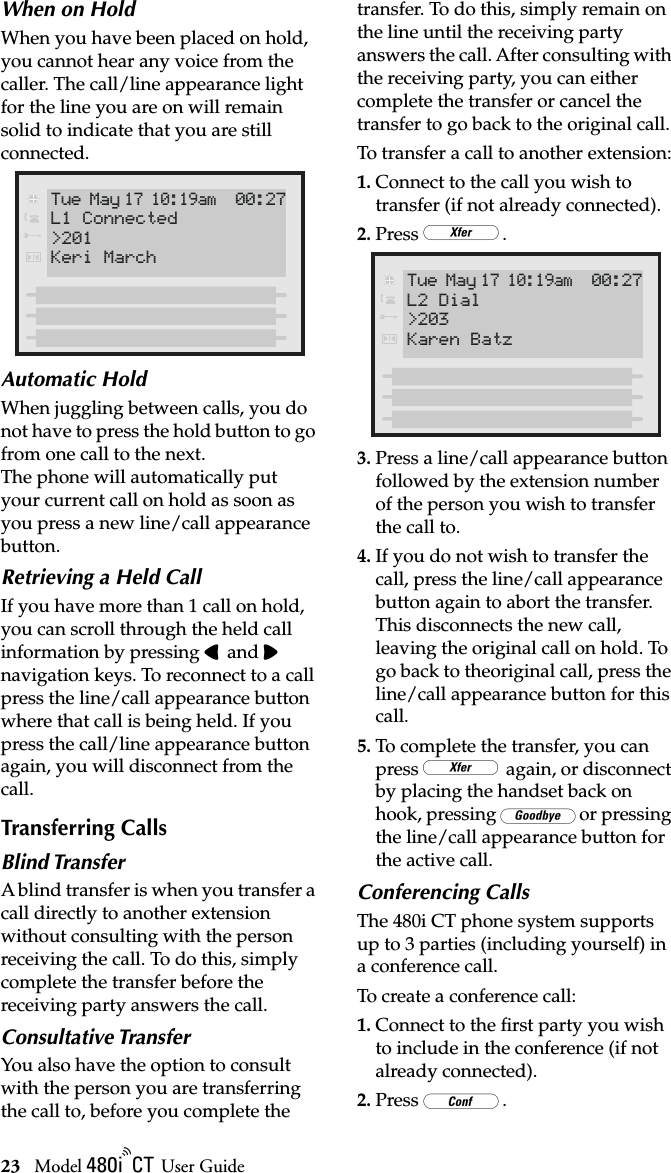
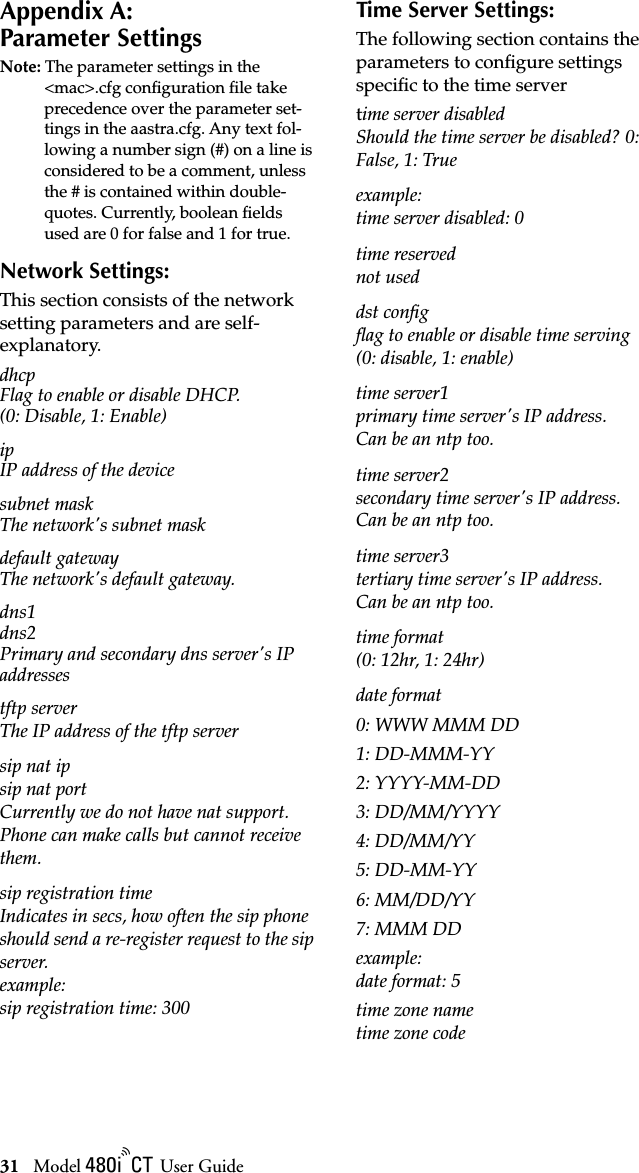
![13 Model / User GuideUsing your 480i CT Base Stationfrom group that the extension is a part of. By pressing a line/call appearance button, you connect to the line or a call it represents. The line/call appearance light shows the status of that line or call. When the phone is taken off-hook, the phone will automatically select a line for you.ServicesThe services key on the 480i CT will access enhanced features and services provided by third parties. Availability of this feature will depend on your phone system or service provider.Two built-in services that are currently offered with the 480i CT are Directory and Callers List. Directory allows you to store up to 200 entries locally on the phone. Whereas the Callers List will store up to 200 calls received –answered and unanswered.Icom KeyOn the 480i CT base, the ] key functions to access the cordless intercom feature. This feature allows the base to talk to any registered cordless handsets.Redial KeyThe Redial list contains 100 items. While on-hook, pressing the v hard key will invoke the Redial list. While off-hook, the v key functions as a "hot redial" where the last number dialled is dialled again.Line/Call Appearance Light BehaviourLine/Call Appearance StatusOff Idle line or no call activityLight flashes quickly RingingLight is solid ConnectedLight flashes slowly HoldServicesSelect Done1.Directory list2.Callers list](https://usermanual.wiki/Mitel-Networks/480ICT.User-Guide/User-Guide-607023-Page-16.png)


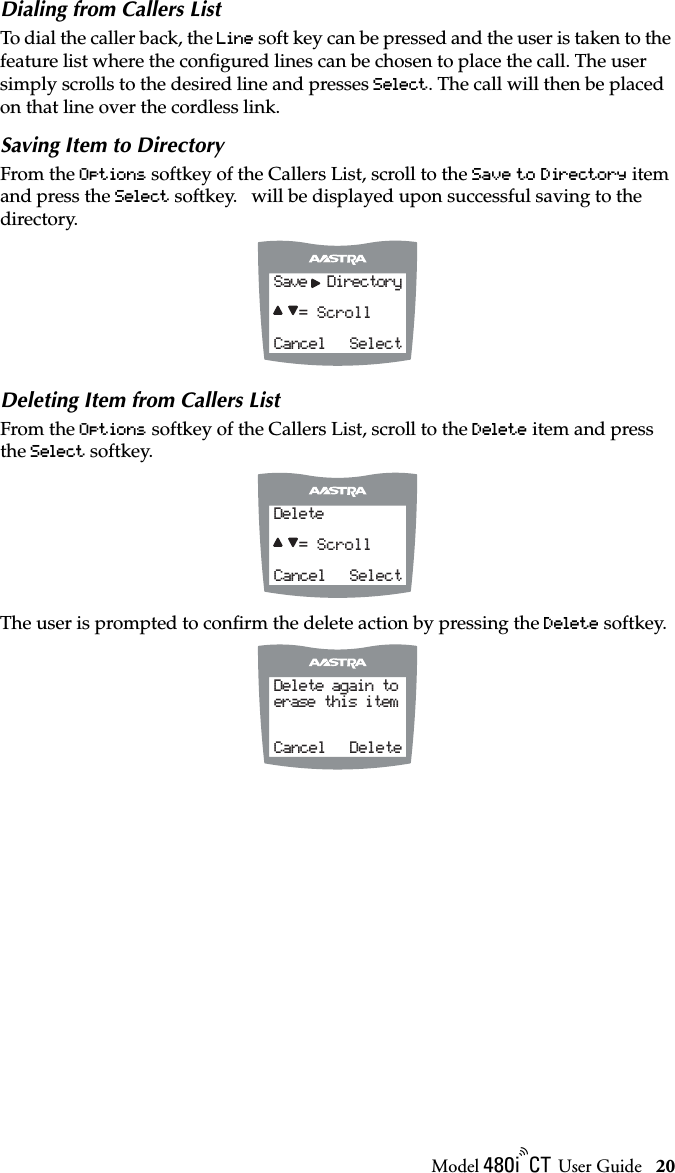
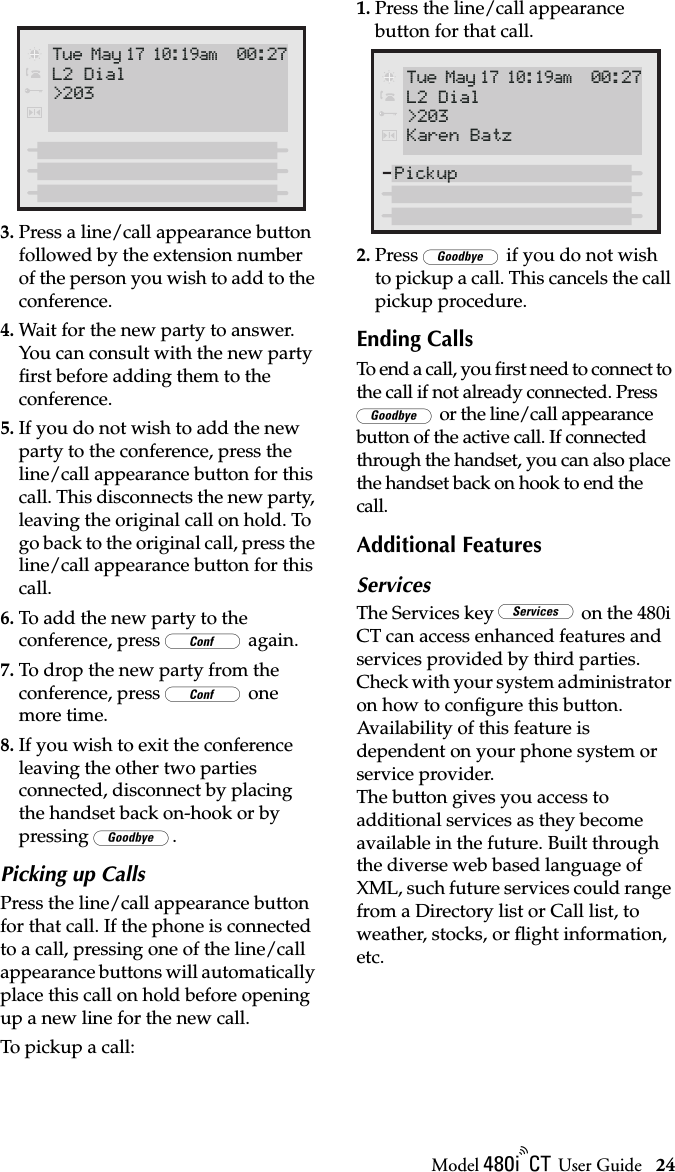
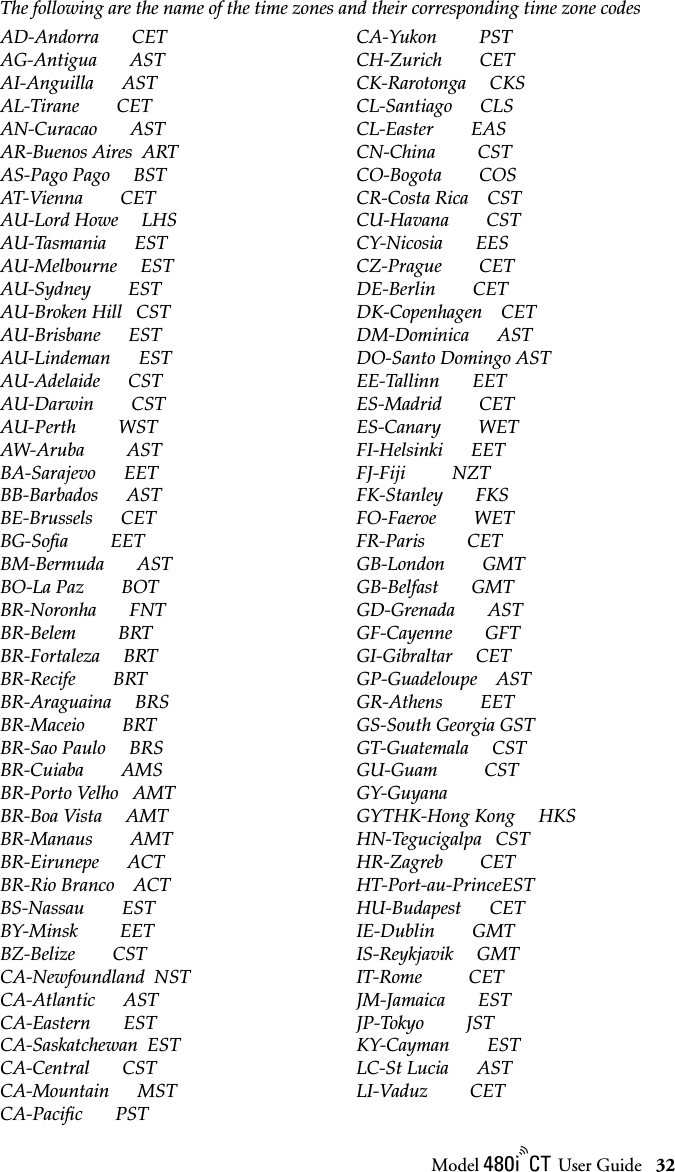

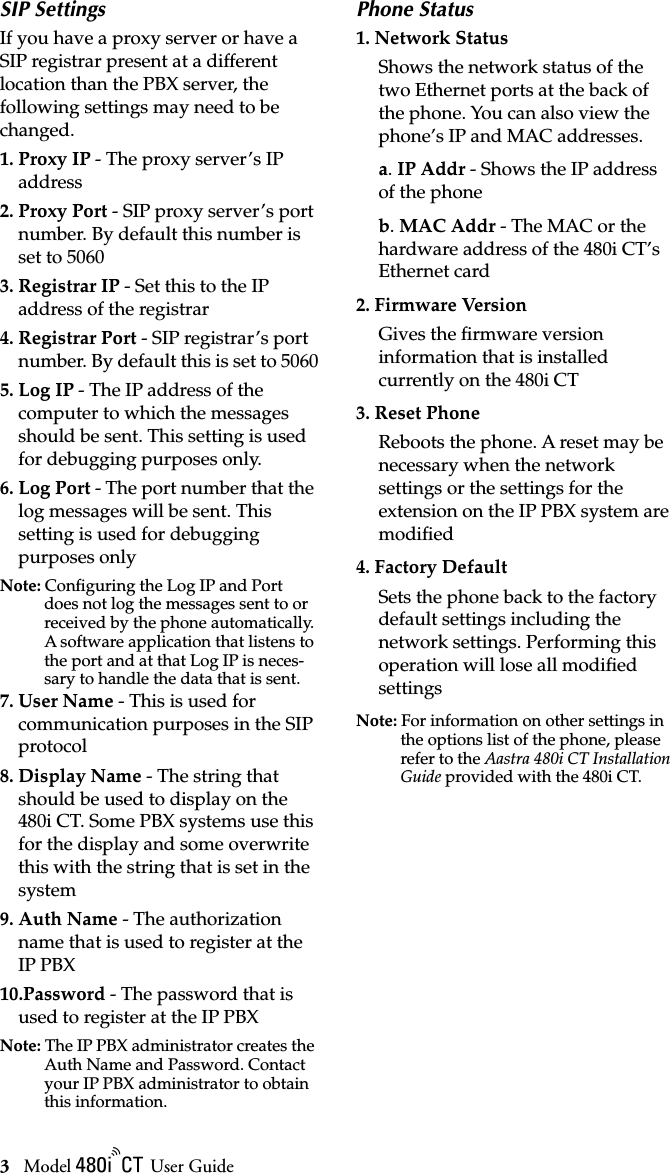
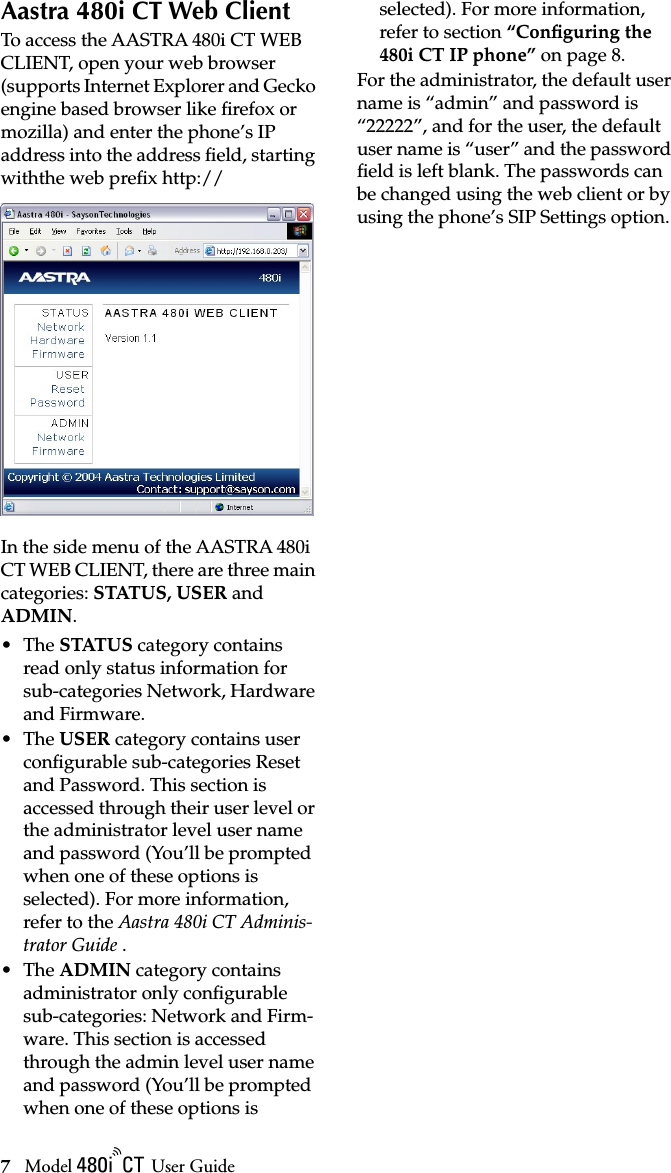
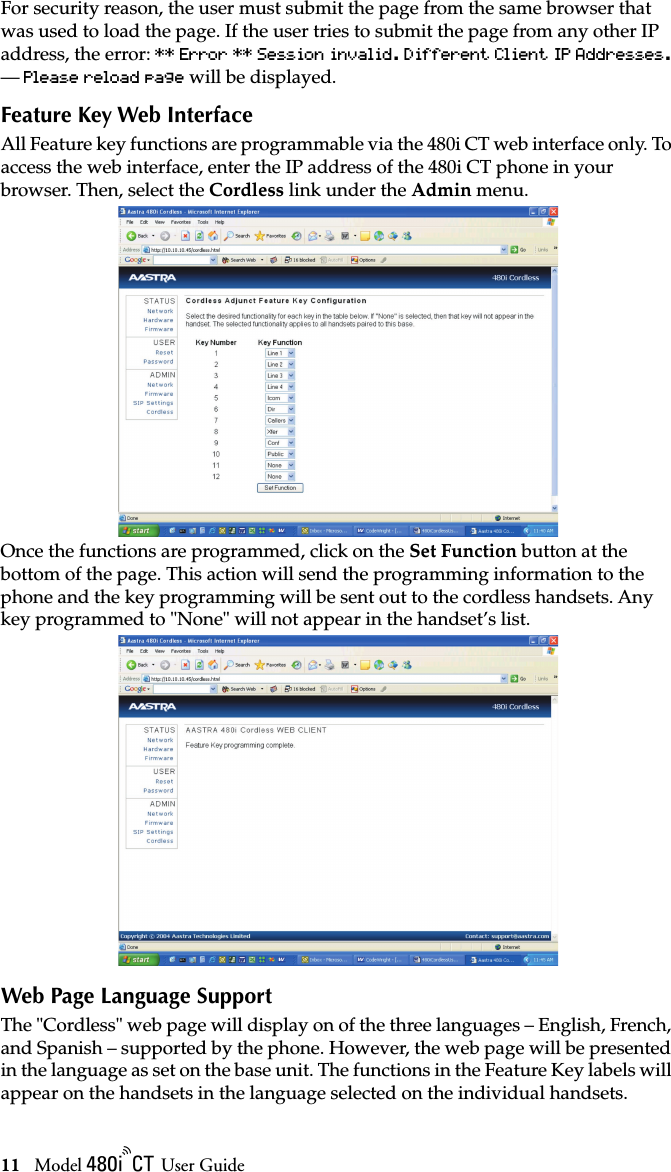
![Model / User Guide 34Appendix A: Parameter SettingsSIP Settings:The following section contains the settings specific to SIP.These parameters are self-explanatory and should beconfigured accordinglysip proxy ipsip proxy portsip registrar ipsip registrar portsip line1 auth namesip line1 passwordsip line1 group namesip line1 user namesip line1 display namesip line1 screen namesip line2 auth namesip line2 passwordsip line2 group namesip line2 user namesip line2 display namesip line2 screen namesip line3 auth namesip line3 passwordsip line3 group namesip line3 user namesip line3 display namesip line3 screen namesip line4 auth namesip line4 passwordsip line4 group namesip line4 user namesip line4 display namesip line4 screen namesip line1 modesip line2 mode sip line3 modesip line4 modesip dial planThe regular expression used to configure the dialplan. example:sip dial plan: “011xxxxxxxxx|101xxxx1xxxxxxxxxx|1[2-9]xxxxxxxxx|[2-9]xxxxxxxxx|xx+*|xx+#|*xx|#xx+#”Where,0, 1, 2, 3, 4, 5, 6, 7, 8, 9: is a Digit symbol'x’: matches any digit symbol (wildcard), ‘+’: matches zero or more of the preceding digit symbol or [] expression []: Symbol inclusive OR ‘-’: used only with [], represent a range of acceptable symbols‘*’, ‘#’ match the keypad symbols.sip digit timeoutRepresents the time in seconds to configure the timeout between consecutive key presses. example:sip digit timeout: 4Softkey Settings:The following section contains the softkey settings specific to SIP. On the 480i CT phone with SIP seven softkeys can be configured. These parameters can be configured either in the Aastra.cfg or the <mac>.cfg file. The syntax is as follows:softkeyN type: typesoftkeyN label: stringsoftkeyN value: valueWhere, N: is the softkey number (1-7) on the phone that is being configured, type: can be any one of the following: line, blf (blinking light field), voicemail, forward or speeddial, andValue: is the value of the soft key (depends upon the softkey context)](https://usermanual.wiki/Mitel-Networks/480ICT.User-Guide/User-Guide-607023-Page-37.png)

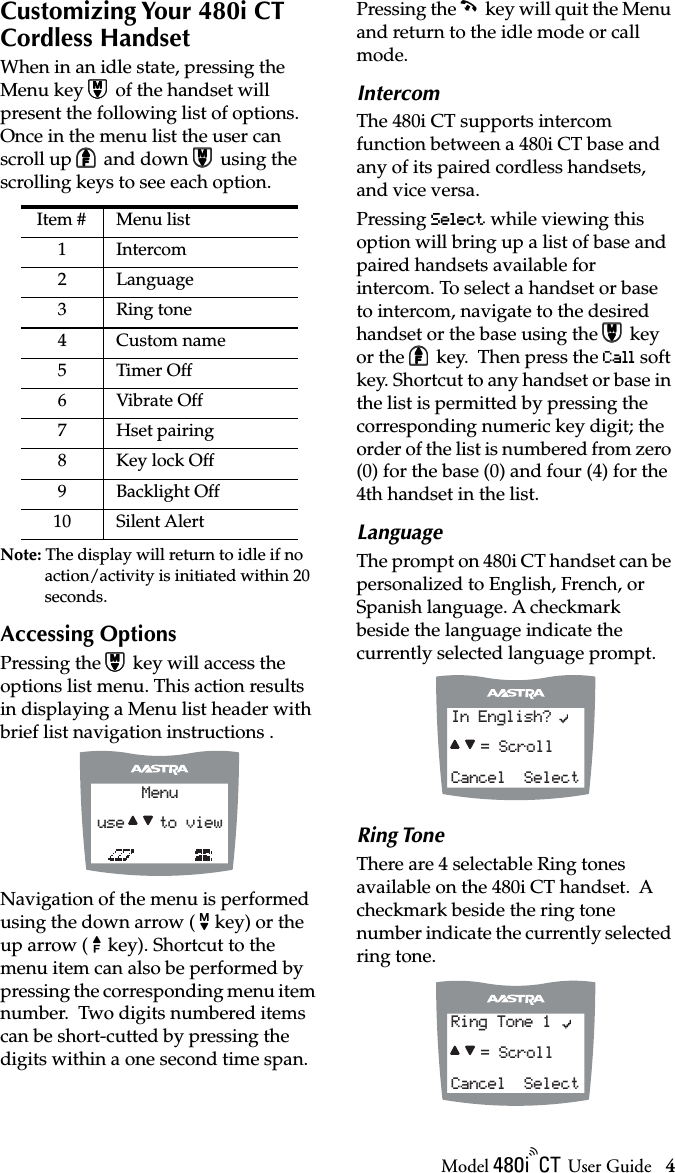
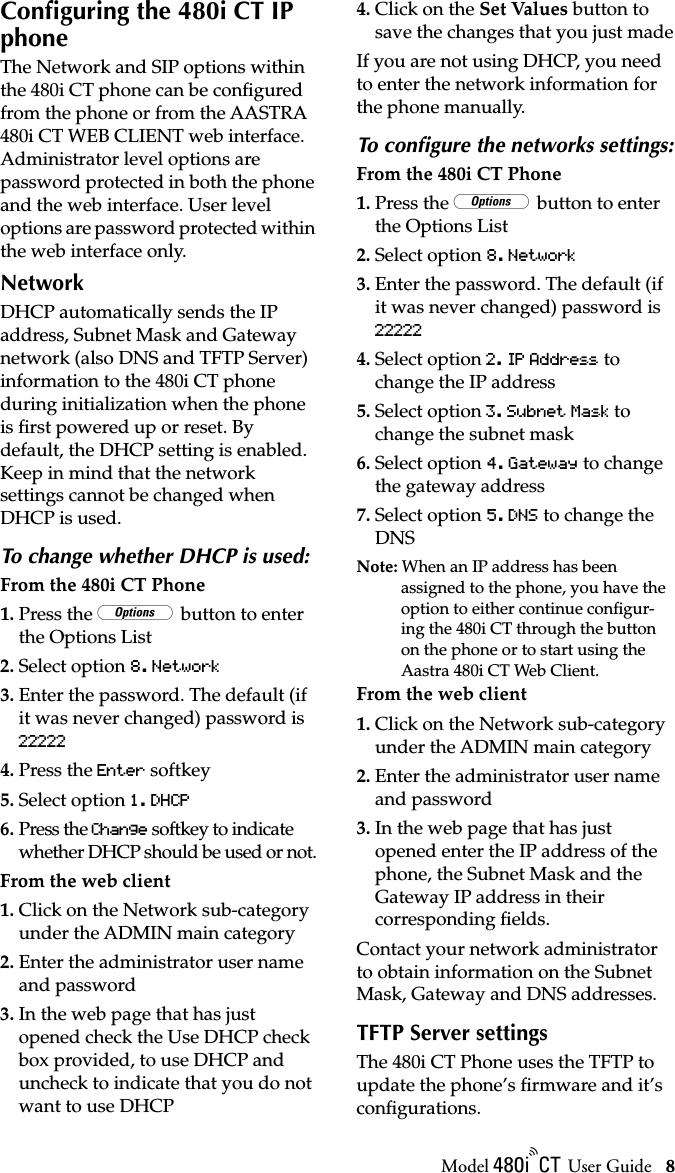
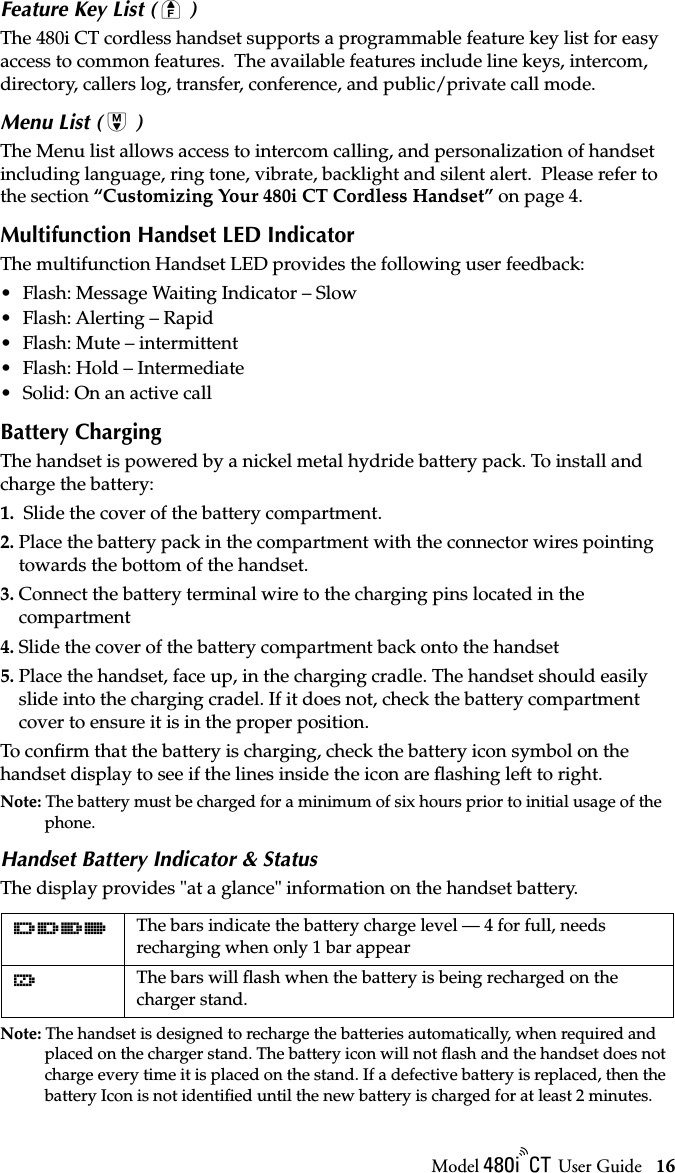
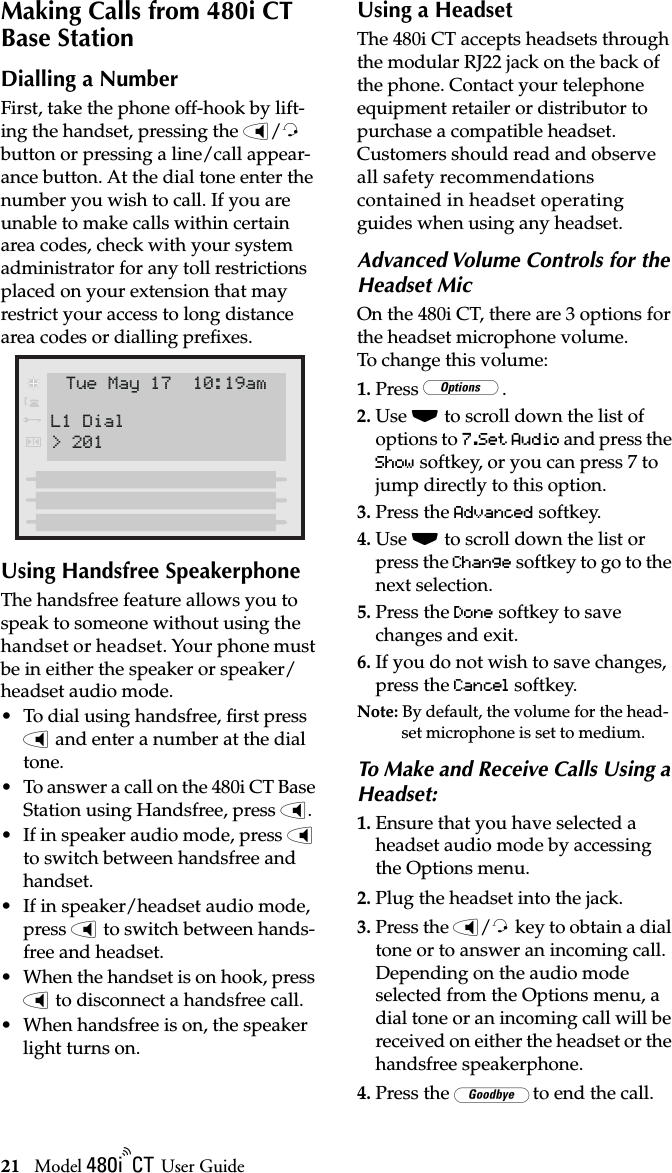
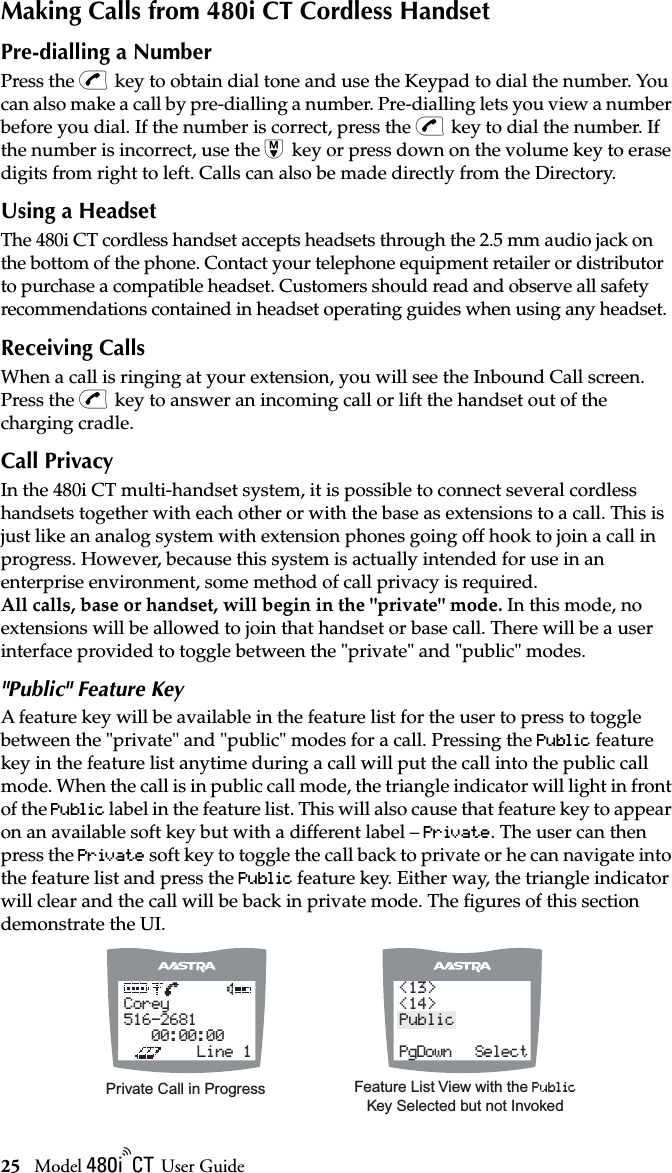
![Model / User Guide 36Appendix B: Sample configuration filesAppendix B: Sample configuration filesThis section consists of the sample configuration files necessary to configure the 480i CT phones. The general format is similar to configuration files used by several unix-based programs. Any text following a number sign (#) on a line is considered to be a comment, unless the # is contained within double-quotes. Currently, Boolean fields use 0 for false and 1 for true.aastra.cfg# This file contains generic settings for all phones.time server disabled: 1time server1: 131.107.1.10dhcp: Falsesubnet mask: 255.255.255.0default gateway: 192.168.0.1tftp server: 192.168.0.129#dns1: 192.168.0.5sip proxy ip: 192.168.0.101sip proxy port: 5060sip registrar ip: 192.168.0.101sip registrar port: 5060#change this to suite your dial plan. sip dial plan: “911|[2-9]xxxxxxxxx|xx+*|xx+#|*xx|#xx+#”softkey1 type: linesoftkey1 label: “pickup”softkey1 value: 1softkey2 type: blfsoftkey2 label: “L1/1234 Status”softkey2 value: 1/1234softkey3 type: voicemailsoftkey3 label: “Vmail” softkey3 value: *89softkey4 type: speeddialsoftkey4 label: “911”softkey4 value: 911<mac>.cfg# This file contains specific settings for the phone with the MAC# address for which this file was named. Settings which have already# appeared in aastra.cfg will be overridden by those in this file.# Phone's IP address (may be necessary if you are not using DHCP)#ip: 192.168.0.200#line info#line 1sip line1 auth name: 5857501515sip line1 password: 12345sip line1 user name: 5857501515sip line1 display name: Display-L1-5857501515sip line1 screen name: ScreenName-L1-5857501515#line 2sip line2 auth name: 5857501515sip line2 password: 12345sip line2 user name: 5857501515sip line2 display name: Display-L1-5857501515sip line2 screen name: ScreenName-L1-5857501515#line 3#Note: This line uses a different extension numbersip line3 auth name: 7110sip line3 password: 12345sip line3 user name: 7110sip line3 display name: Display-L3-5857501515sip line3 screen name: ScreenName-L3-5857501515#line 4sip line4 auth name: 5857501515sip line4 password: 12345sip line4 user name: 5857501515sip line4 display name: Display-L4-5857501515sip line4 screen name: ScreenName-L4-5857501515](https://usermanual.wiki/Mitel-Networks/480ICT.User-Guide/User-Guide-607023-Page-39.png)