Motic China Group MOTICAMT2 Moticam T2 Smart Camera User Manual
Motic China Group Co.,Ltd Moticam T2 Smart Camera
Contents
- 1. User Manual
- 2. Users Manual
User Manual
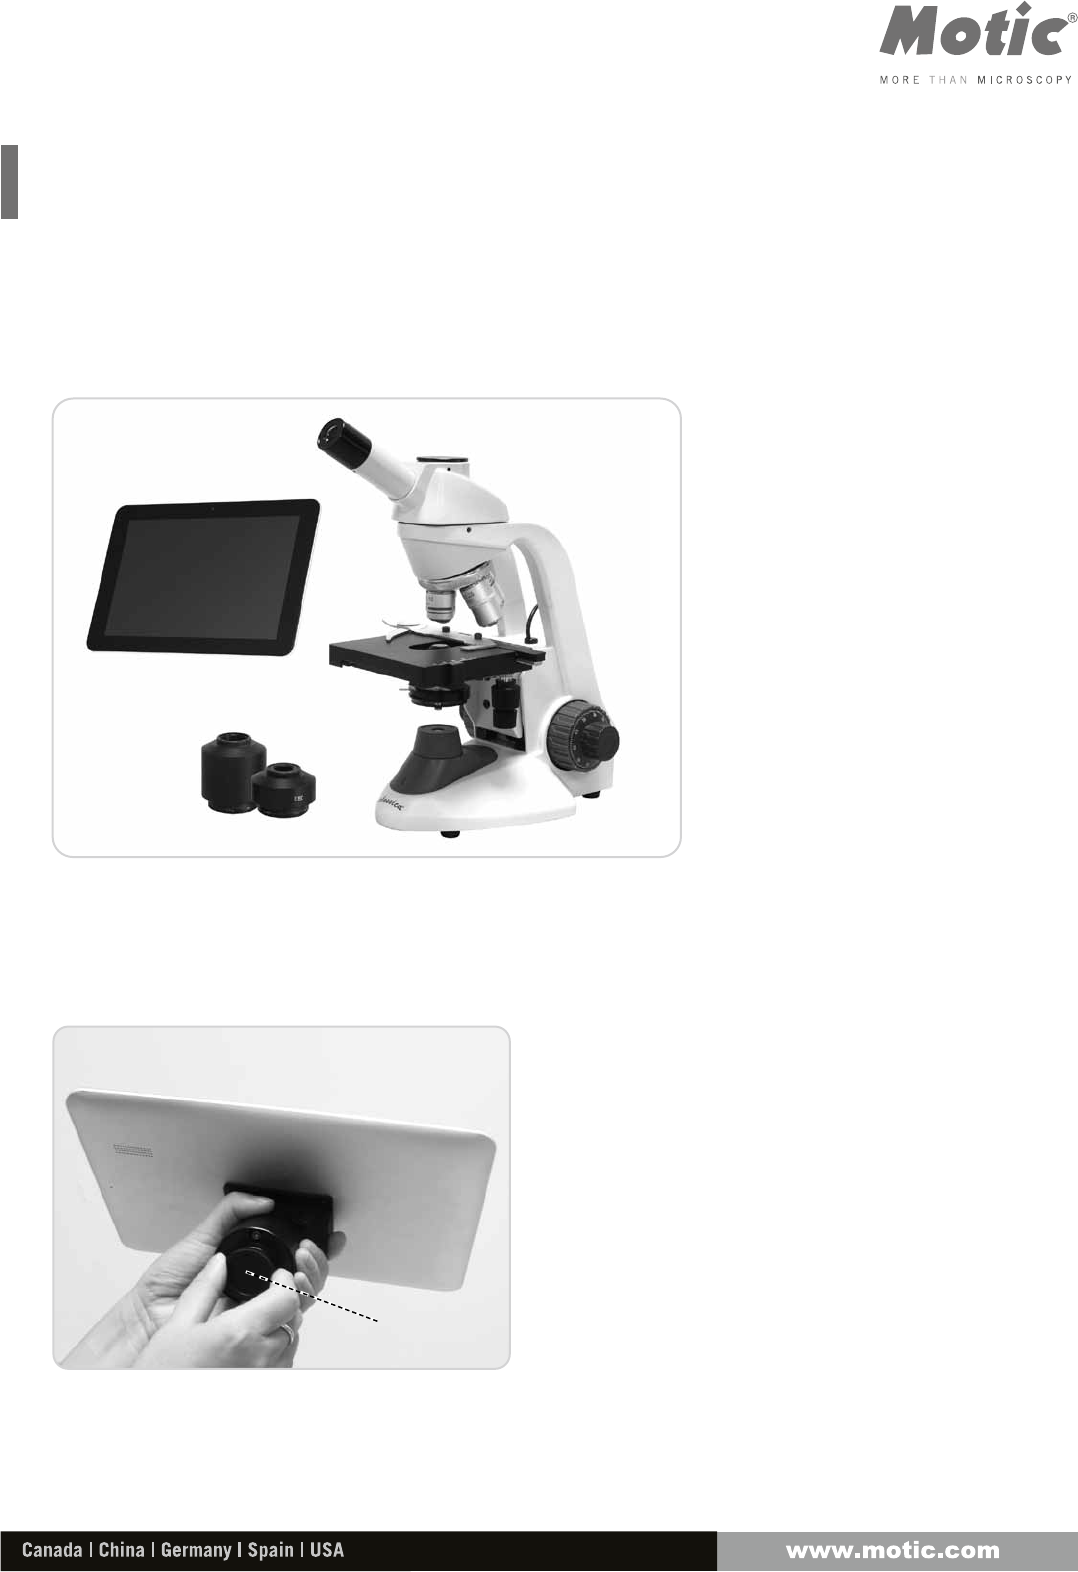
Moticam T2 Assembly
Thank you for purchasing our Moticam T2 solution.
This quick step guide will show you how to place the Moticam T2 onto
a C-mount microscope.
Note:
Please note that the Moticam T2 is a C-mount camera, therefore you
must have a trinocular microscope with a relevant C-Mount adapter
between 0.5X and 0.65X magnification.
Step 1: Unscrew the protective dust cover from the
bottom of the Moticam T2 to expose the imaging
sensor to light.
Moticam T2
C-Mount adapter
Trinocular
Microscope
Protective
dustcover
Step 4: Press and hold the power button for 2-3
seconds to boot up the Moticam T2.
Step 3: Plug in the Moticam T2 power supply and
press the power button to start.
Step 6: Using the MotiConnect T is easy, an onscreen
guide can be activated by pressing the question
mark at any stage. This will allow you to tap an icon
and examine its function.
Step 5: Select the MotiConnect T software from the
tablet home screen, and the software is ready to
take your first images.
Step 2: Mount the Moticam T2 onto your microscope’s C-mount, and if your microscope is equipped with a beam
splitter, pull the beam splitter to ensure light can reach to the trinocular port.
SAP:1300901109931Updated: 16.09.2014
Power
button
This device complies with part 15 of the FCC rules. Operation is subject to the
following two conditions: (1) this device may not cause harmful interference, and (2)
this device must accept any interference received, including interference that may
cause undesired operation.
NOTE: The manufacturer is not responsible for any radio or TV interference caused
by unauthorized modifications or changes to this equipment. Such modifications or
changes could void the user’s authority to operate the equipment.
NOTE: This equipment has been tested and found to comply with the limits for a
Class B digital device, pursuant to part 15 of the FCC Rules. These limits are designed
to provide reasonable protection against harmful interference in a residential
installation. This equipment generates uses and can radiate radio frequency energy
and, if not installed and used in accordance with the instructions, may cause harmful
interference to radio communications. However, there is no guarantee that
interference will not occur in a particular installation. If this equipment does cause
harmful interference to radio or television reception, which can be determined by
turning the equipment off and on, the user is encouraged to try to correct the
interference by one or more of the following measures:
‐ Reorient or relocate the receiving antenna.
‐ Increase the separation between the equipment and receiver.
‐Connect the equipment into an outlet on a circuit different from that to which the
receiver is connected.
‐Consult the dealer or an experienced radio/TV technician for help.
When carrying the product or using it while worn on your body, maintain a distance of 20cm
from the body to ensure compliance with RF exposure requirements.