Motorola Mobility P6KU1 CDMA 800 TRANSCEIVER W/BLUETOOTH CLASS 2 User Manual
Motorola Mobility LLC CDMA 800 TRANSCEIVER W/BLUETOOTH CLASS 2
UserManual.wiki
>
Motorola Mobility
>
P6KU1 User Manual
Users Manual
Navigation menu
Upload a User Manual
Namespaces
Wiki Guide
HTML
PDF
Info
Views
User Manual
Discussion / Help
Navigation


![27R Using the touch button As the folder is closed, press and hold [HOLD] button to unlock the touch button. With the touch button, even when the folder is closed, you can use some functions such as checking total call history, Bluetooth, and music content playing. Note ·In order to prevent recognition of excessive operation, the touch button is not recognized unless it is unlocked. ·The touch button is automatically locked if the folder is opened/closed after the function is unlocked, or if a certain period of time is passed without any menu function. ·If the touch button is touched by a part of body or a conductive material, the phone may malfunction. ·You can lock or unlock the touch button by pressing and holding [HOLD] button while the phone is playing contents. When the touch button is locked, the lock icon is displayed on the sub LCD. ·If you close the folder while the phone is playing music contents, you can still use the function. You can use the touch button after unlocking the touch button. (See p.148 june setting)](https://usermanual.wiki/Motorola-Mobility/P6KU1/User-Guide-1188103-Page-17.png)


![p.45 R Menu in Voice Call You can use various functions during a call. Press (Left) during a call Keypad (Screen capture to be inserted) Press during a call Receiving a call with a stereo earphone Press the stereo earphone key to receive a call · After the call is finished, press or press and hold the stereo earphone key to hang up the call. · When the call is incoming while stereo earphone is connected, ringtone will sound through stereo earphone even when the phone is set to vibrate. Once a call is connected, you can still talk with the folder close. Answer options Press (Left) ▶9 ▶2 ▶1 · For incoming calls, you can answer the call depending on the mode you have selected. Menu description Folder Open Open the folder to receive calls. Any Key Press any key except to receive calls. [Send] Key Only You can receive calls only by pressing . After 3 Seconds The call is connected automatically in 3 seconds after the ring. New Message Press (Left) during a call 1▶ ·You can send a text message. ·You can send short messages (SMS) only. ‘Connect’, ‘Save number’ and ‘To In Box’ menus are disabled. · You cannot use ‘To in box’ function when you read SPAM messages. · You cannot use ‘Save Number’ and ‘To Sent box’ menu when you read the sent message.](https://usermanual.wiki/Motorola-Mobility/P6KU1/User-Guide-1188103-Page-34.png)


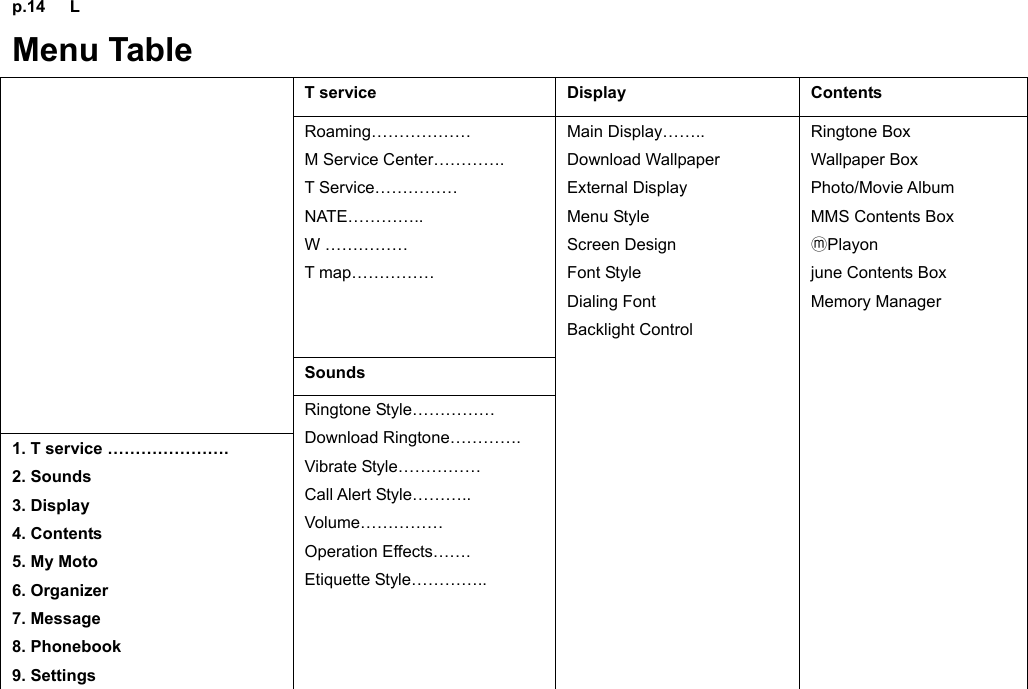
![56L ↘NATE (Cont’d) ↘Favorite(Cont’d) NATE Menu 1 4 Select ▶▶▶ [NATE] · You can use various services such as ringtone, movie and pictures provided by web site and search information. Open Net Menu 1 4 Select ▶▶▶ [Open Net] ·Open net is a mobile internet portal site that combines variable internet sites. You can download free contents and search the website you want. Button description (Left) Move to NATE browser menu Navigate Press: Select/Run Press and hold: NATE start up page / (Right) Move to previous page End NATE](https://usermanual.wiki/Motorola-Mobility/P6KU1/User-Guide-1188103-Page-44.png)
![57R Program T map Menu 1 4 Select ▶▶▶ [Program] tab Select ▶[T map] ·You can use various services related to the traffic using GPS(Global Positioning System). (Screen capture to be inserted) NATE Air Press (Left) 1 4 Select [Program▶▶▶ ] tab Select [NATE ▶Air] ·The NATE broadcasting message service provides news, stock price, play-by-play broadcasting and moving images. Playonⓜ Press (Left) 1 4 Select [Program] tab Select [ Playon]▶▶▶ ▶ ⓜ ·You can download and install various service programs such as games, messenger, e-book, trade stock from Playon site. After downloading and installing, you can execute those ⓜprograms without connecting to the NATE. W-Intro Press (Left) 1 4 Select [Program] tab Select [W▶▶▶ ▶ -Intro] · You can use various services such as web surfing, june video, tossi and june contents box.](https://usermanual.wiki/Motorola-Mobility/P6KU1/User-Guide-1188103-Page-45.png)
![58L ↘NATE (Cont’d) Playonⓜ (Screen capture to be inserted) T map Navigation Press (Left) ▶ 1 ▶ 4 ▶Select [ Playon] tab ⓜ▶ Select [T map Navigation] ·You can get driving directions service by using T map. Phone Theme Press (Left) ▶ 1 ▶ 4 ▶Select [ Playon] tab ⓜ▶ Select [Phone Theme] ·You can manage and set the wallpapers which downloaded from mobile internet site. Web Surfing Press (Left) ▶ 1 ▶ 4 ▶Select [ Playoⓜn] tab ▶ Select [Web Surfing] ·You can surf the net by using web surfing function.](https://usermanual.wiki/Motorola-Mobility/P6KU1/User-Guide-1188103-Page-46.png)
![59 R w You can enjoy various content such as web surfing , june video, tossi and june contents box. (Screen capture to be inserted) Web Surfing Press (Left) ▶ 1 ▶ 5 ▶Select [Web surfing] ·You can surf the net by using web surfing function Note · You can download any contents while using internet until the memory gets full. · W service screen and content are subject to change depending on the circumstances of the service providers. · If you connect W while etiquette mode is on, You can set/cancel the etiquette mode.](https://usermanual.wiki/Motorola-Mobility/P6KU1/User-Guide-1188103-Page-47.png)
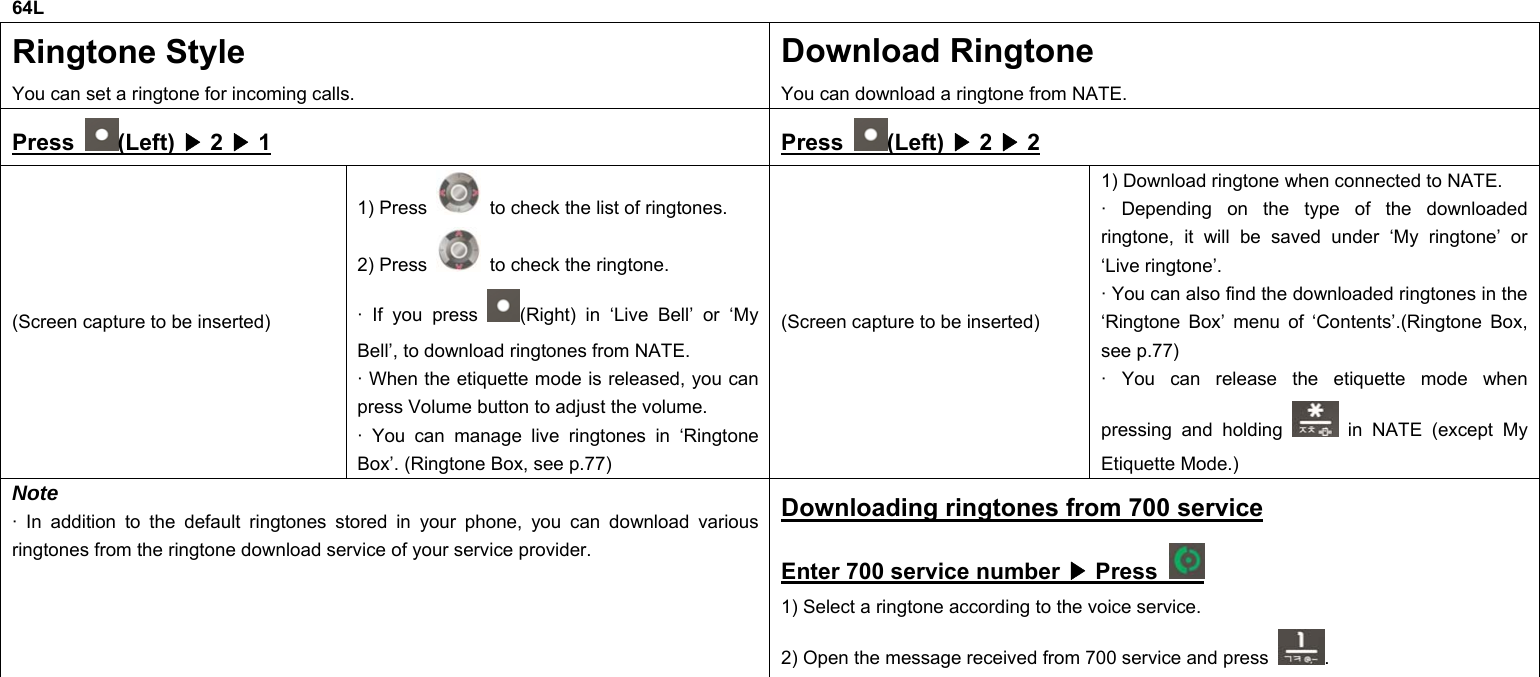
![60L W (Cont’d)↘ june Video Press (Left) ▶ 1 ▶ 5 ▶Select [june video] · You can enjoy various types of content including TV, movie, music, game, sports and ringtone or download them to your phone as multimedia content using the premium service. · june service screen and contents may change without prior notice. · Default june contents in your phone cannot be restored once it is deleted by user. · You can check the downloaded contents from june contents box and you can save any contents regardless of their type within available memory space. · You can resume downloading unfinished june contents from june contents box. · You can receive calls while using june player and when the call ends, you can resume where you left off. · TSM(Memory manager)is a program which notifies you when your phone’s memory space is full. · TSM will notify you if there are insufficient memory space when you try to download contents from wireless internet (such as NATE, june, Playon etc.). You may delete existing contents befⓜore downloading new contents. (Protected june contents, livebel, livescreen can not be deleted.) · Downloading content will be charged separately. tossi Press (Left) ▶ 1 ▶ 5 ▶Select [tossi] · Tossi is essentially a microblogging service that you can send and share your emotions in a simple form. · A call rate and an additional information service fee are charged. For more information and rate guide, see tossi homepage (http://www.tossi.com). june Contents Press (Left) ▶ 1 ▶ 5 ▶Select [june Contents] · You can manage, save, and play downloaded music contents or MP3 files. (see p.81) · Contents will be playing with the folder closed.](https://usermanual.wiki/Motorola-Mobility/P6KU1/User-Guide-1188103-Page-48.png)


![74L Screen Design You can set ‘Style’, ‘Screen Background’, ‘BG Transparency’, and ‘Ctrl Transparency’ of the phone screen. Press (Left) ▶ 3 ▶ 5 (Screen capture to be inserted) (Screen capture to be inserted) How to download Menu Type(Flash Menu) or My Moto Font(Vector Font) 1) Download the PC sync program from Motorola website (www.mymotorola.co.kr), and install the program in the PC. 2) Run the PC sync program, select Personalize, and click Flash Menu or Vector Font. 3) Select a Flash Menu or Vector Font and click [Send To Phone]. The selected data is stored in the phone. 1) Select the menu. · You can select from Style, Screen Background, BG Transparency and Ctrl Transparency. · When setting the style, press (Left) to check the list of the sub menu. 2) Press to save. Note · When setting up the font size, it applies to start-up screen. Even if you set up the font size big, its maximum font size is normal. · Visit Motorola’s website (www.mymotorola.co.kr) and you can download various Flash Menu and Vector Font.](https://usermanual.wiki/Motorola-Mobility/P6KU1/User-Guide-1188103-Page-61.png)


![108L Subway Map The phone provides the nationwide subway route map. The information is subject to change depending on the circumstances. View Route Map Press (Left) ▶ ▶ ▶ Search Route Press (Left) ▶ ▶ ▶ (Screen capture to be inserted) (Screen capture to be inserted) (Screen capture to be inserted) (Screen capture to be inserted) (Screen capture to be inserted) (Screen capture to be inserted) 1) Select the city and press . 2) Select line/search. · Press (Left) to select a line and view the map in a specific area you have selected. · Press (Right) to search a route. (See Search Route for details.) 1) Select the city and press . 2) Select Depature/Arrival · You can find the number of transfers required and the estimated travel time. [The estimated travel time includes the distance between stations and the transfer time (approx. 5min). It is an estimation, and can be different from the actual time.] · Press (Left) to save the route in ‘My Route’. Press (Right) to check the route with minimum number of transfers or with the shortest distance.](https://usermanual.wiki/Motorola-Mobility/P6KU1/User-Guide-1188103-Page-94.png)

![110L Dictionary You can search words by using English-Korean/Korean-English dictionaries. English-Korean Press (Left) ▶ ▶▶ (Screen capture to be inserted) (Screen capture to be inserted) Before using the dictionary Downloading via PC Sync Program 1) Go to Motorola website (www.mymotorola.co.kr), download PC Sync and install it to PC. 2) Run PC Sync program and click [E-Document > Dictionary] 3) If you select [Put E-Dictionary into Cell Phone] after clicking [E-Dictionary] from [E-Document > Dictionary] program, the e-dictionary database are saved in the phone. Downloading via USB Mass Storage 1) Go to Motorola website (www.mymotorola.co.kr), download e-dictionary database. 2) If you copy a downloaded file to DIC folder of a USB Mass Storage after connecting the mobile phone to PC, e-dictionary database are saved in the phone. · You can use an e-dictionary menu if there are e-dictionary database. Note You can move to the dictionary directly by pressing . · If you enter a English word in the box, the related words will be displayed. · After selecting a desired word, you can check the word by pressing . · Upon checking the word, you can perform Tap Move/Tap Clear by pressing (Right). When moving the tap, you can select desired word by using or . If you press , you can move to selected a word. You can check the previous words by pressing .](https://usermanual.wiki/Motorola-Mobility/P6KU1/User-Guide-1188103-Page-96.png)


![149R Call Settings Integrated menu for call setting. june setting Press (Left) ▶ ▶ ▶ · You can set the june contents box functions in the june contents box menu. Auto Area Code Press (Left) ▶ ▶ ▶ · You can set an area code that you use frequently. · If you enter a number starting with ‘0’ on the standby screen after setting an auto area code, the area code will not displayed and only the number you entered will be displayed.(Ex: Mobile phone number, international call number and other area codes) · If you select ‘Off’ in area code list, the area code display will be cleared. · You can enter up to 5 numbers for auto area code. Reset Press (Left) ▶ ▶ ▶ · You can reset the phone to factory default. · To reset the phone, you need to input the password. · The phone will be automatically turned off and rebooted. If the phone fails to reboot, press to turn on the power. · You can view function description of the item you wish to reset by pressing (Left). Answer options Press (Left) ▶ ▶ ▶ · You can set the call answer mode. Folder Open : Receive a call when opening the folder. Any Key : Receive a call when pressing any buttons except . [Send] Key Only : Press to receive calls. After 3 Seconds : The call is connected automatically in 3 seconds after the ringtone. Abroad Calls restrict ·You can restrict abroad outgoing calls. 700/600 Calls restrict ·You can restrict 700/600 outgoing calls.](https://usermanual.wiki/Motorola-Mobility/P6KU1/User-Guide-1188103-Page-131.png)