Motorola Mobility T56AD1 Dual Band Cellular PCS Transceiver User Manual AD EX08
Motorola Mobility LLC Dual Band Cellular PCS Transceiver AD EX08
UserManual.wiki
>
Motorola Mobility
>
T56AD1 User Manual
Exhibit 8 Users Manual
Navigation menu
Upload a User Manual
Namespaces
Wiki Guide
HTML
PDF
Info
Views
User Manual
Discussion / Help
Navigation


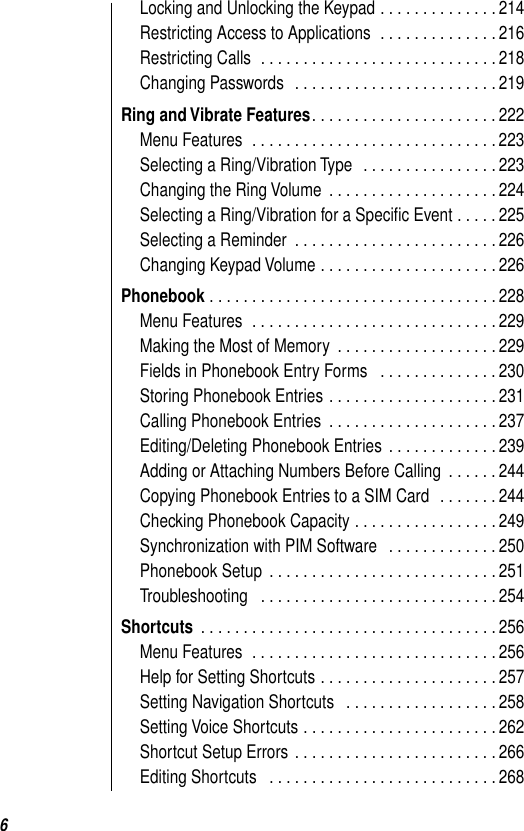

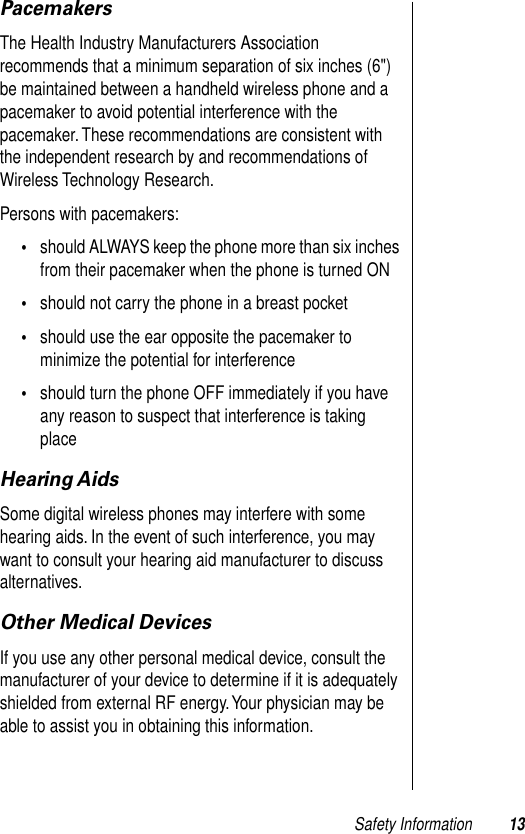
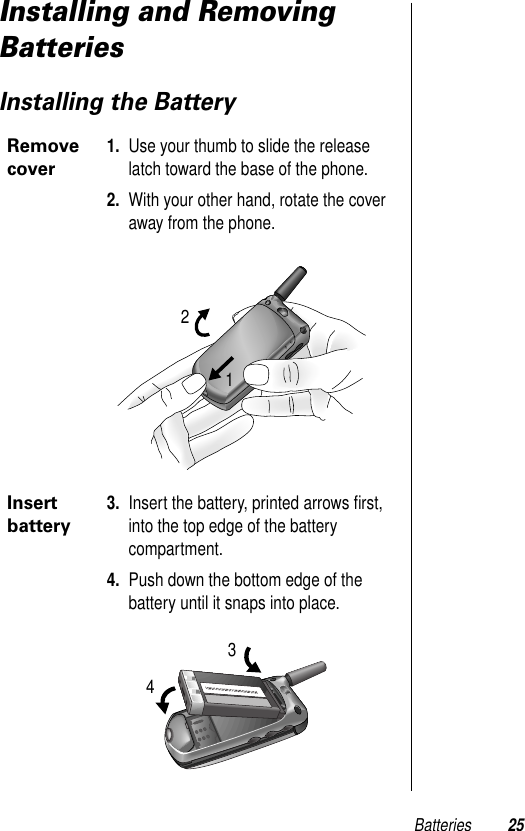


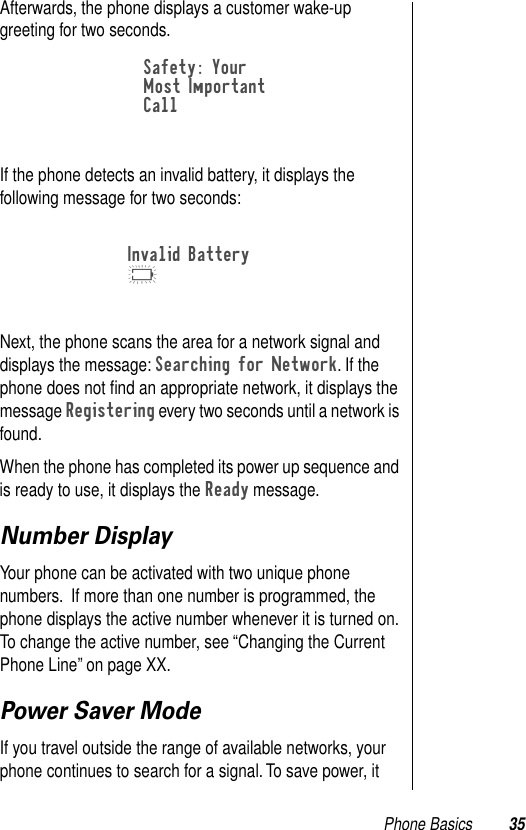


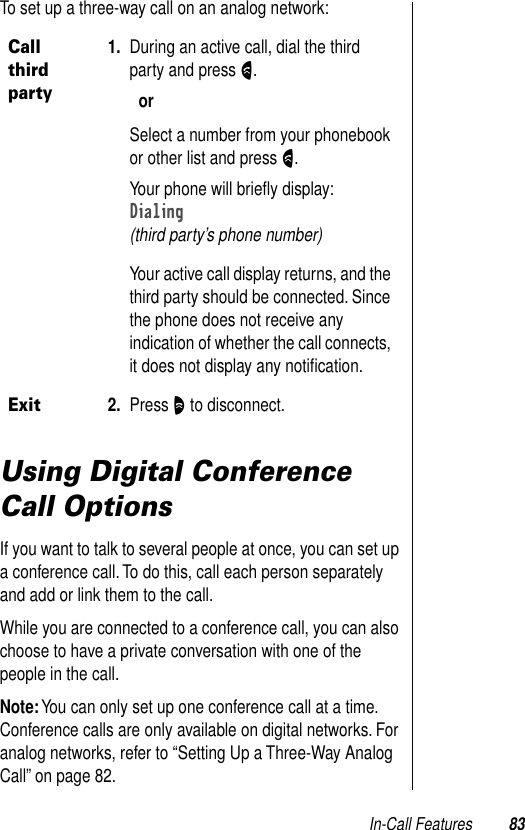
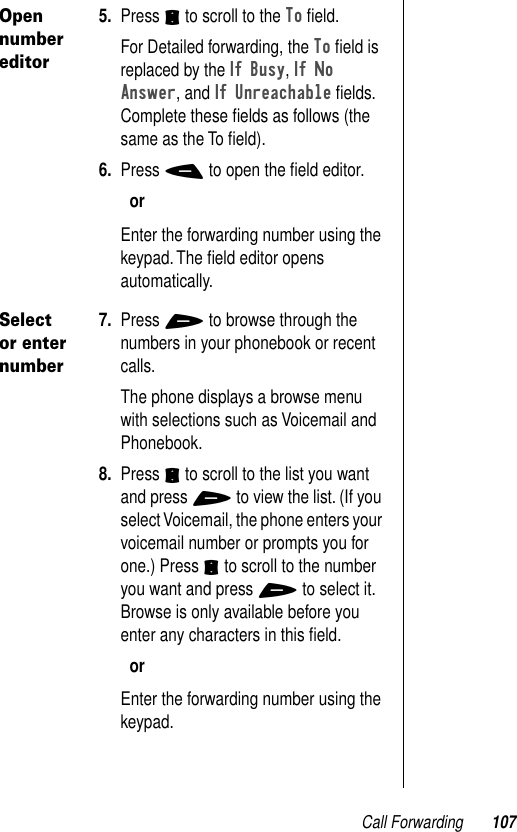

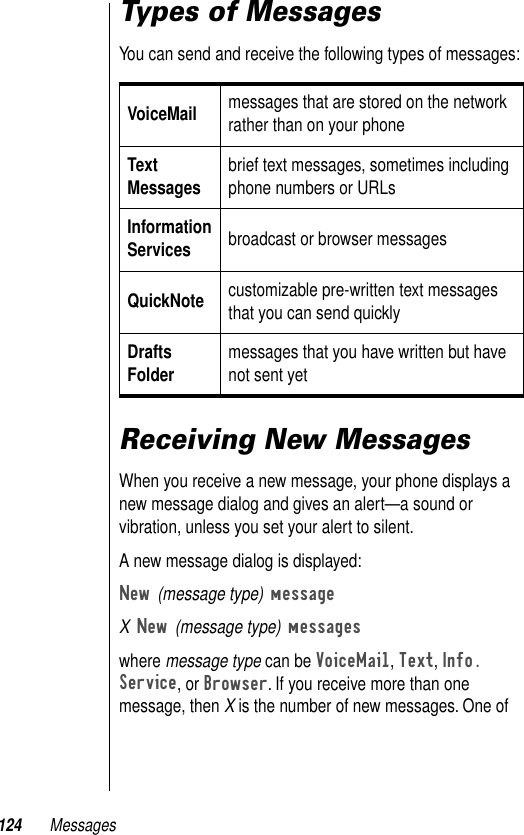


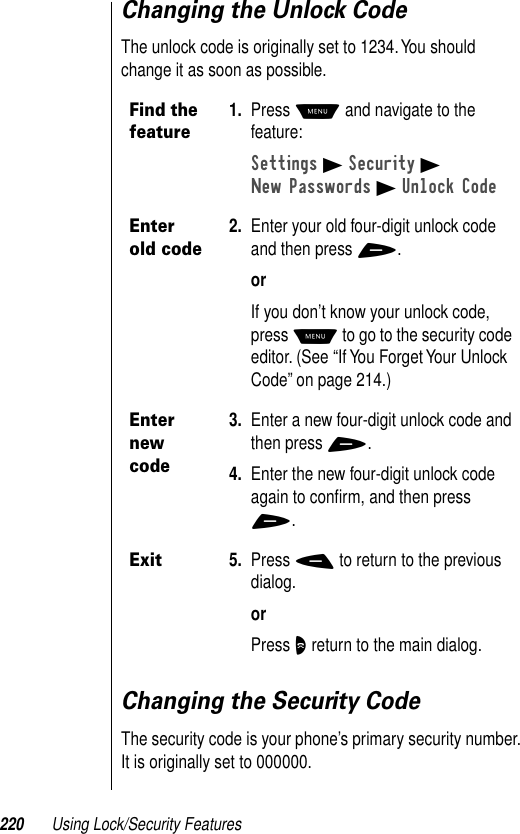

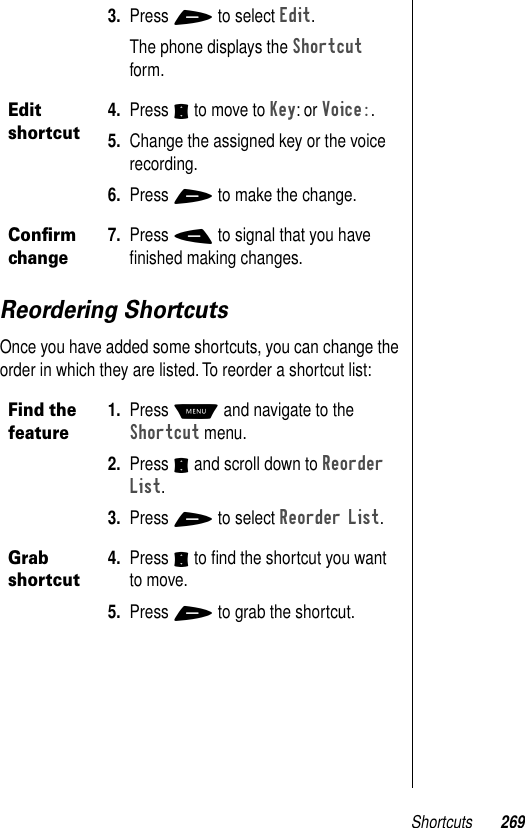

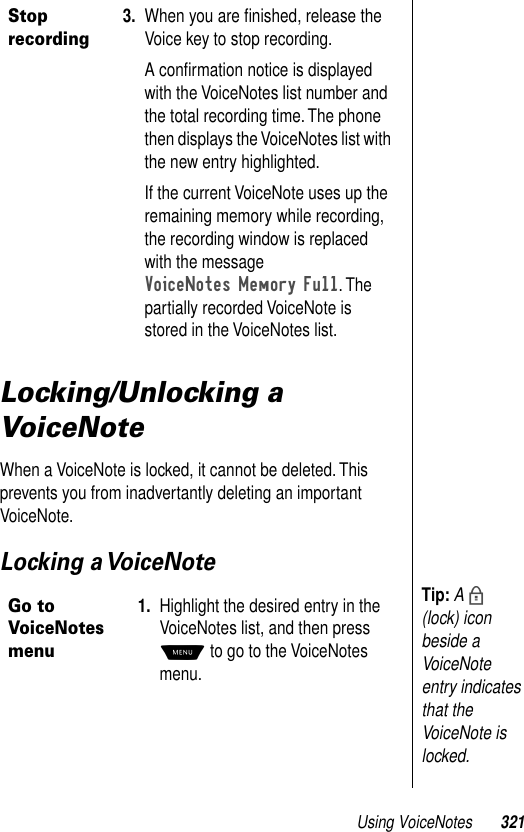
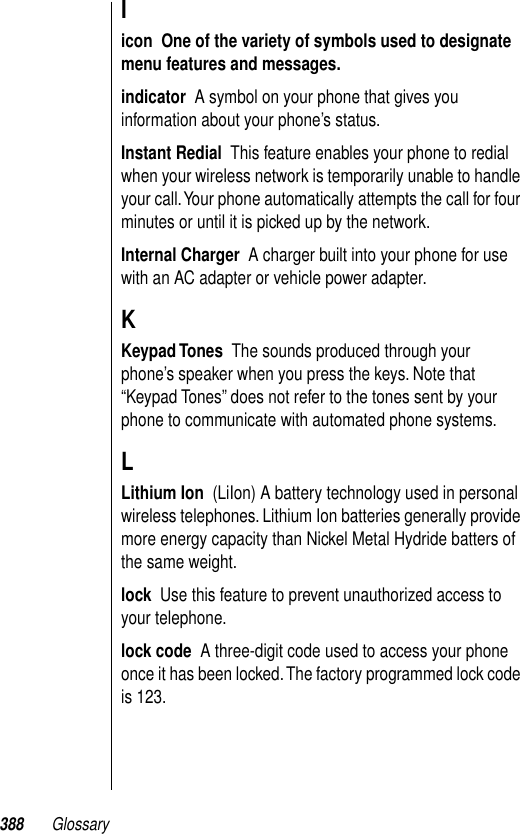
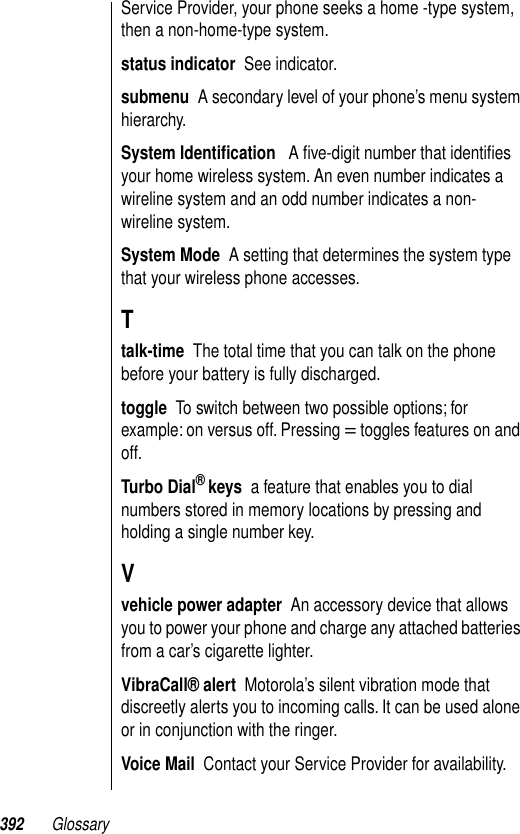
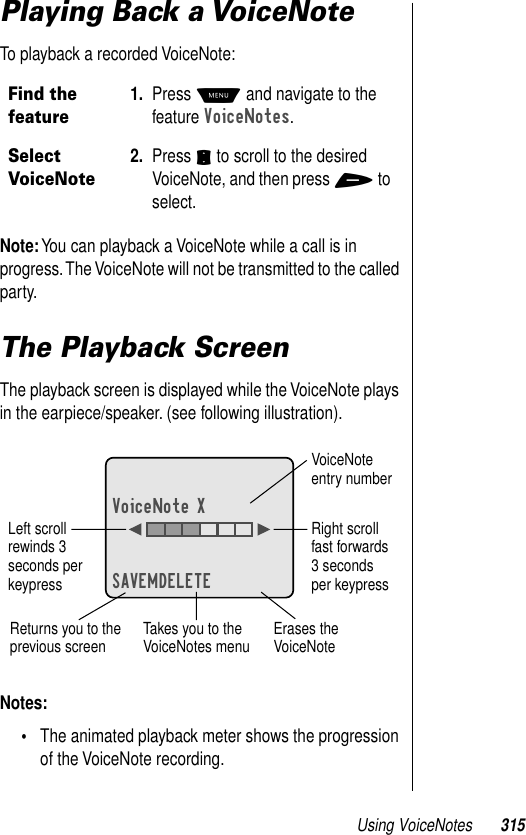
![314 Using VoiceNotesWhen you launch the VoiceNotes application, you are presented with a list of recorded VoiceNotes (see following illustration).VoiceNote entries are numbered in the order in which they were recorded, with the oldest entry (number 1) at the bottom of the list. Each entry is identified by the time and date when it was recorded. Press S to scroll through the VoiceNotes list and highlight the entry you want. Alternatively, you can enter a one- or two-digit number to highlight that VoiceNote entry.The item [New VoiceNote] appears at the end of the list, after the oldest VoiceNote entry. Selecting this item displays instructions on how to record a new VoiceNote. If no VoiceNotes are stored in memory, this is the only item listed.A b (lock) icon to the left of a VoiceNote entry indicates that the VoiceNote is locked. See “Locking/Unlocking a VoiceNote” on page 321 for more information.---VoiceNotes---4) 2:20pm 23-Mar3) 4:05pm 22-MarEXITMPLAYbTakes you to the VoiceNotes menu Takes you to the playback screen for the highlighted VoiceNoteReturns you to the previous screenScroll arrowLock icon](https://usermanual.wiki/Motorola-Mobility/T56AD1/User-Guide-110233-Page-316.png)
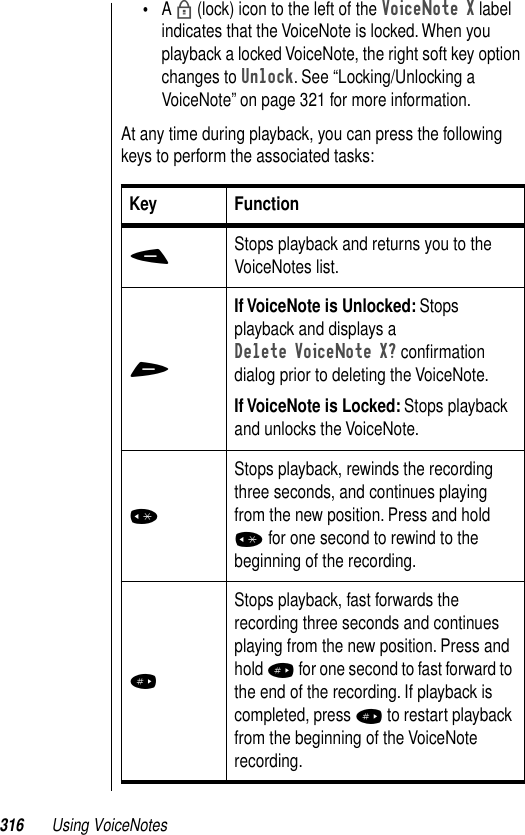
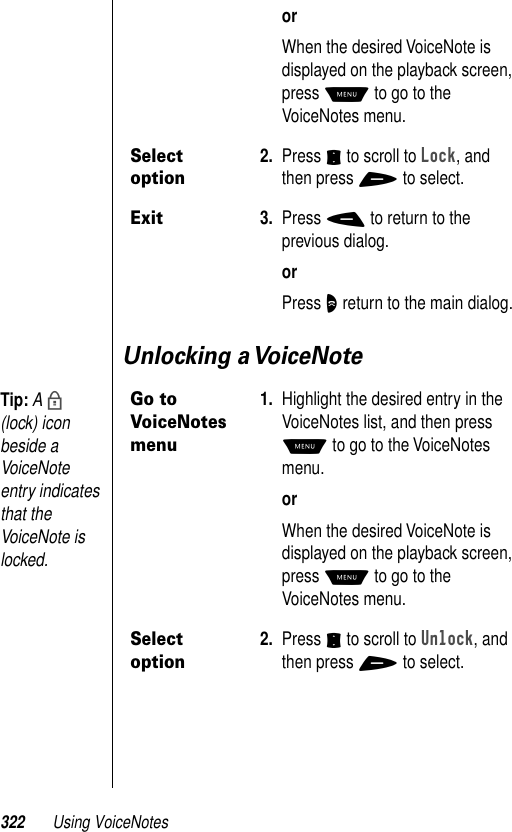
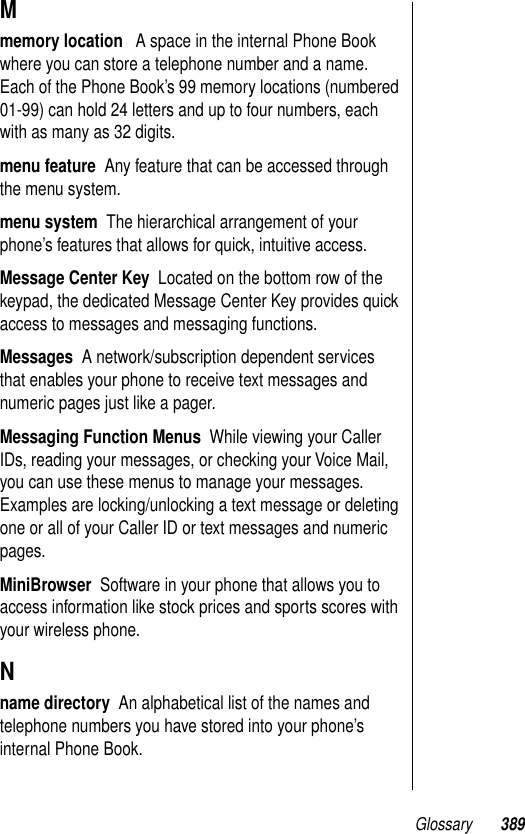
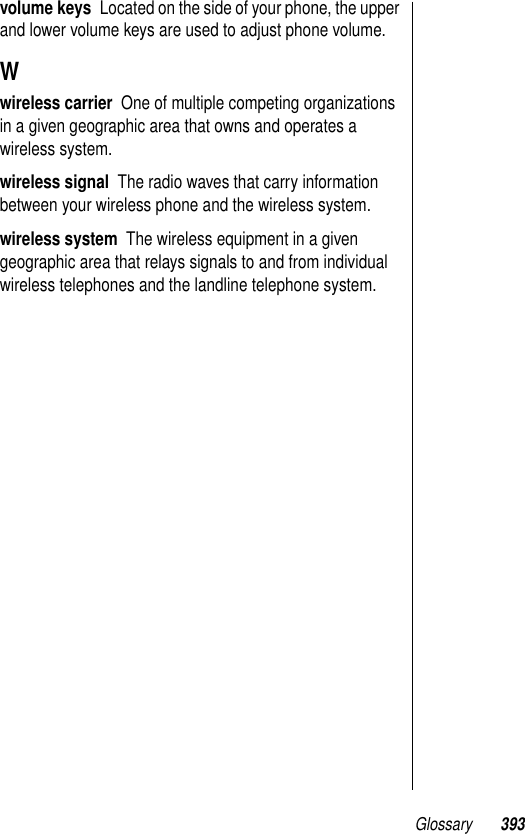
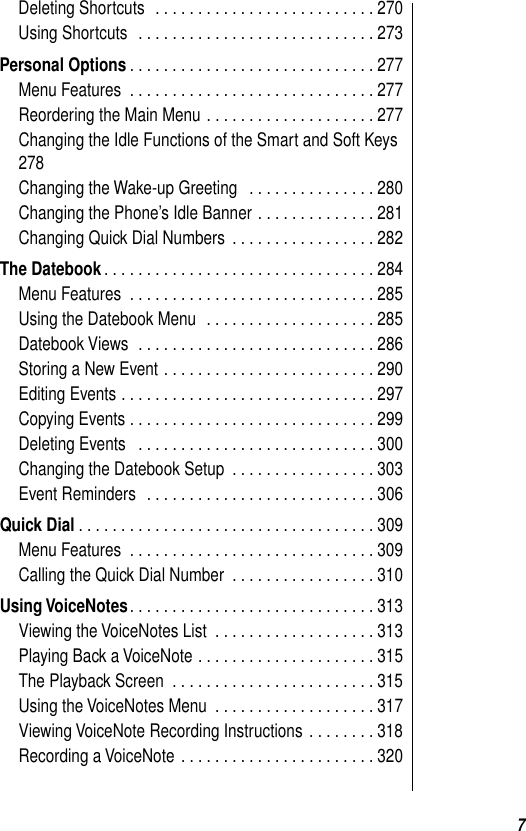
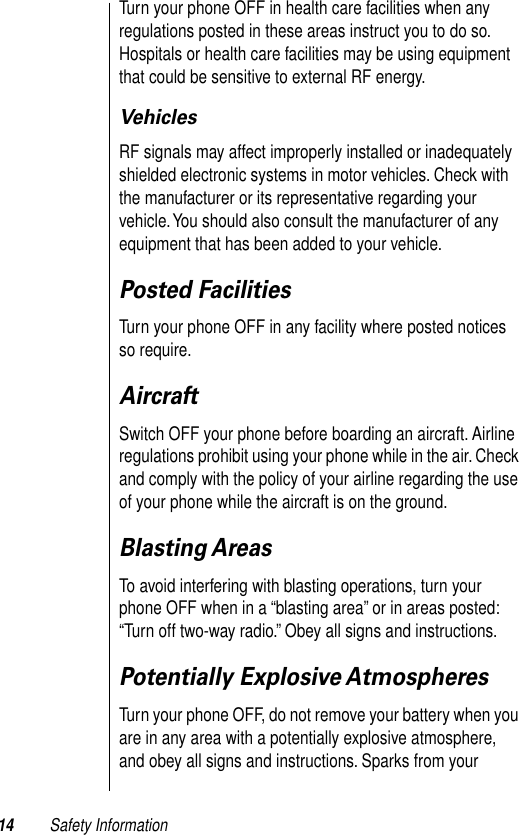
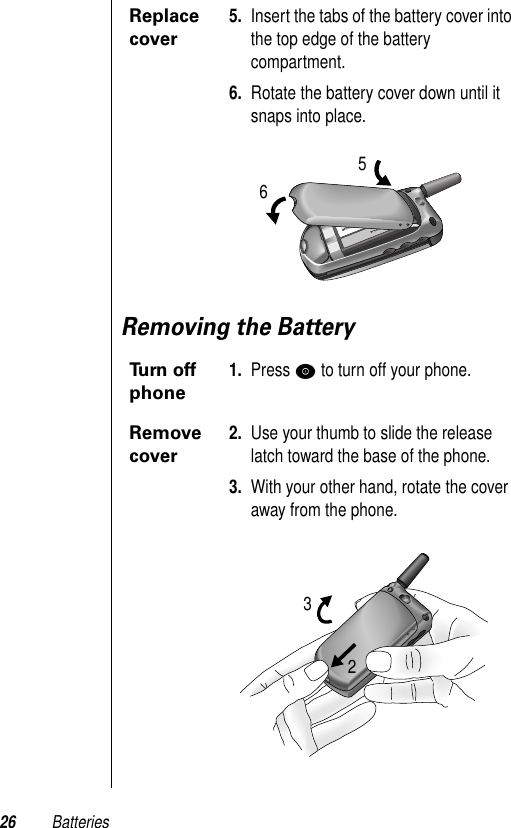
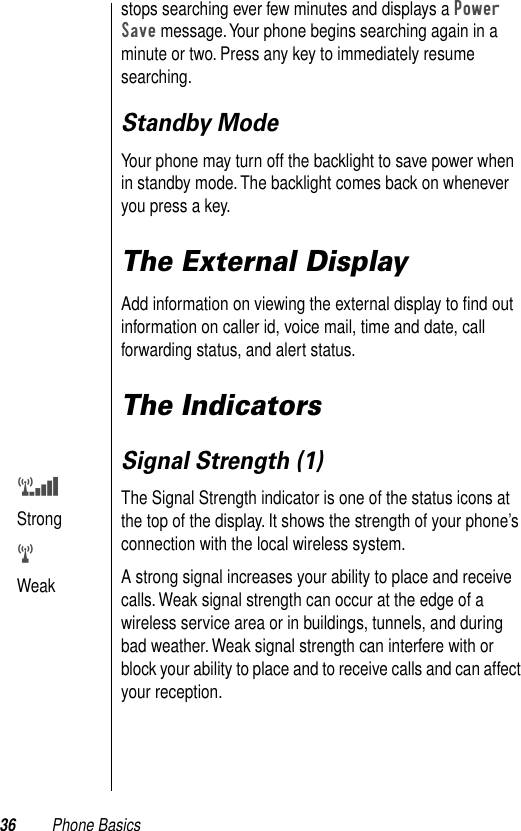
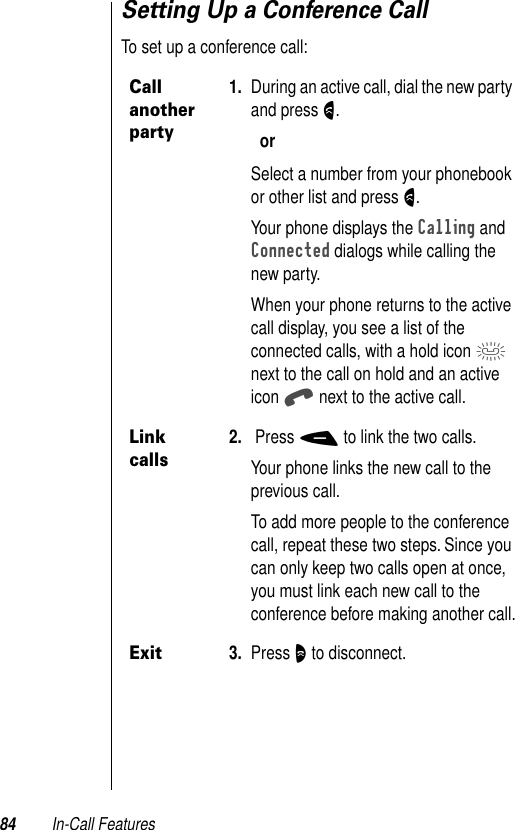
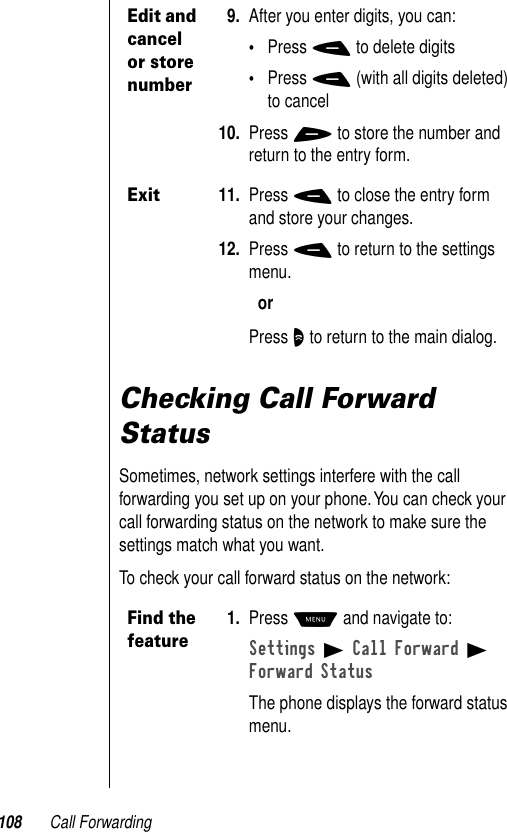
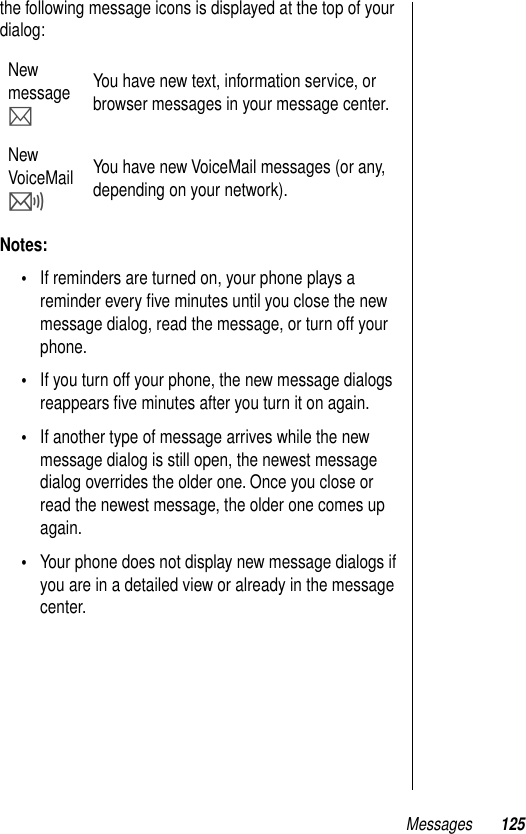
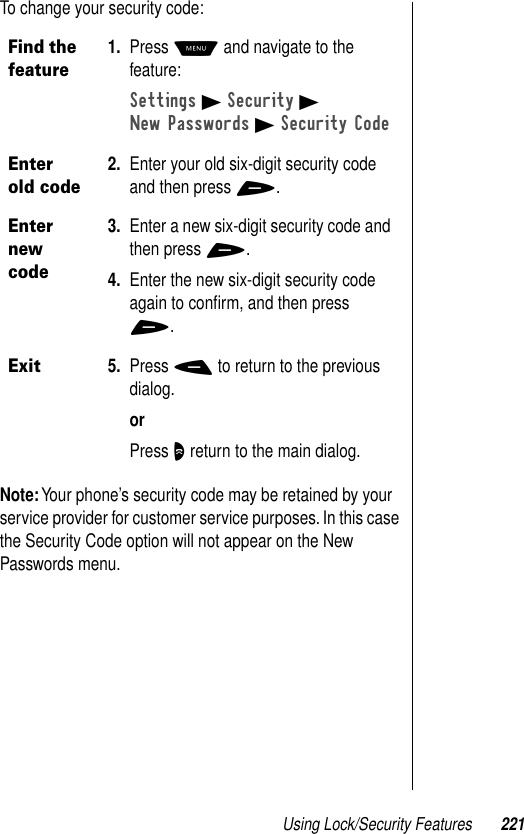
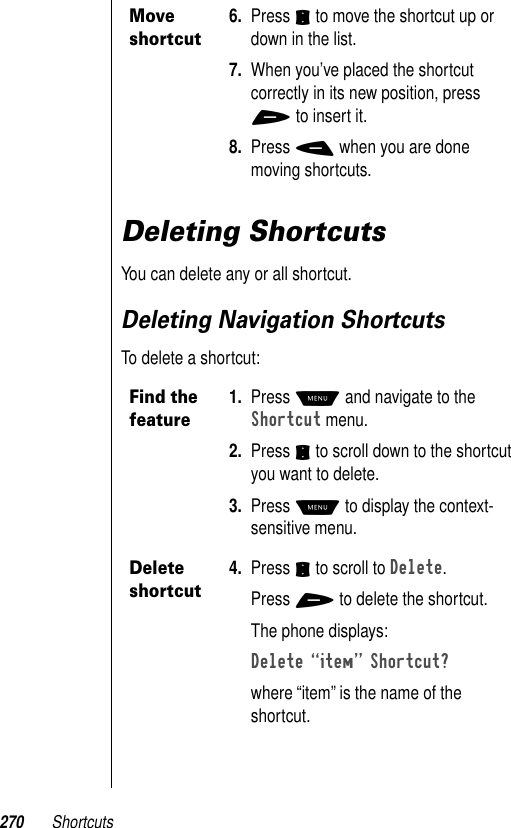
![318 Using VoiceNotesNote: When you exit the VoiceNotes menu and return to the playback screen, the playback position is stopped and queued where it left off when the menu was accessed. You must press # to restart playback.Viewing VoiceNote Recording InstructionsYou can use several methods to display instructions for recording a new VoiceNote.Note: If you try to view the recording instructions when VoiceNotes memory is full, you will see the message VoiceNotes Memory Full. See “Deleting a VoiceNote Entry” on page 323 to free some memory.From the VoiceNotes ListMemory Displays the amount of VoiceNotes memory in use, and gives you the option of clearing memory.Select option1. From the VoiceNotes list, press S to scroll to the [New VoiceNote] option, and then press + to select.Menu Item Description](https://usermanual.wiki/Motorola-Mobility/T56AD1/User-Guide-110233-Page-320.png)