Motorola Mobility T56DX1 Portable Cellular / PCS GSM Transceiver User Manual C200
Motorola Mobility LLC Portable Cellular / PCS GSM Transceiver C200
UserManual.wiki
>
Motorola Mobility
>
T56DX1 User Manual
Exhibit 8 Preliminary Users Manual Draft
Navigation menu
Upload a User Manual
Namespaces
Wiki Guide
HTML
PDF
Info
Views
User Manual
Discussion / Help
Navigation


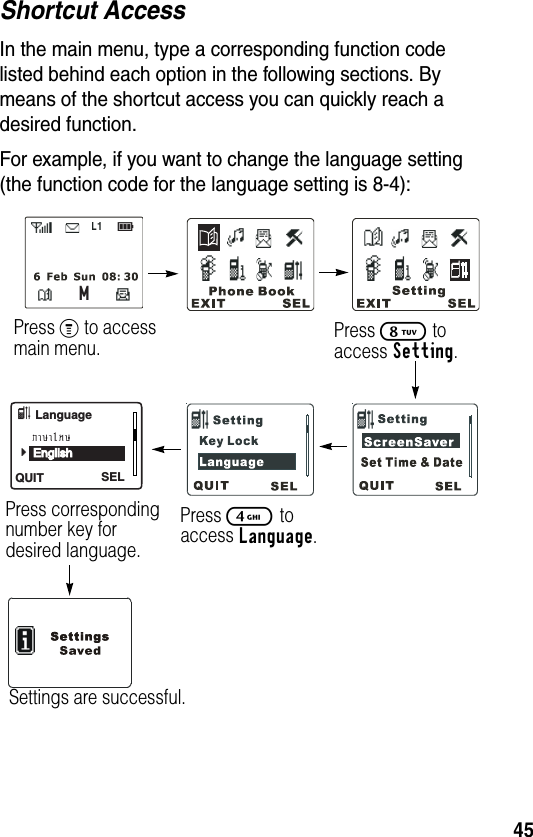
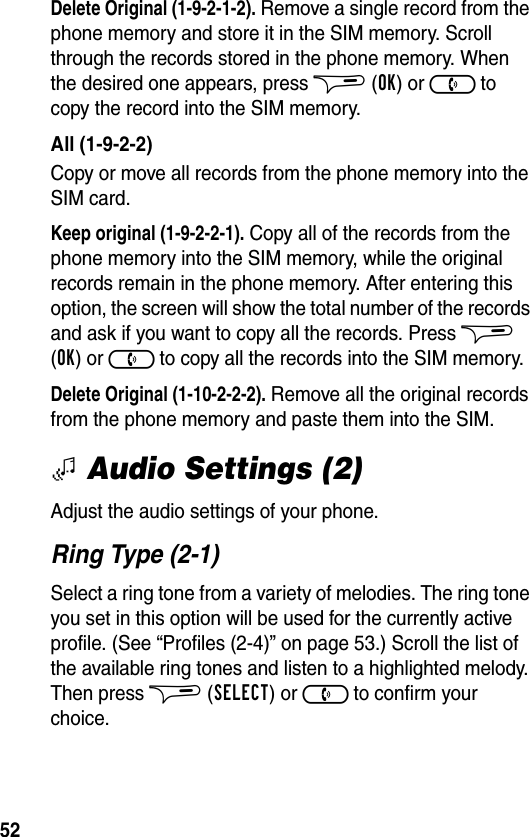
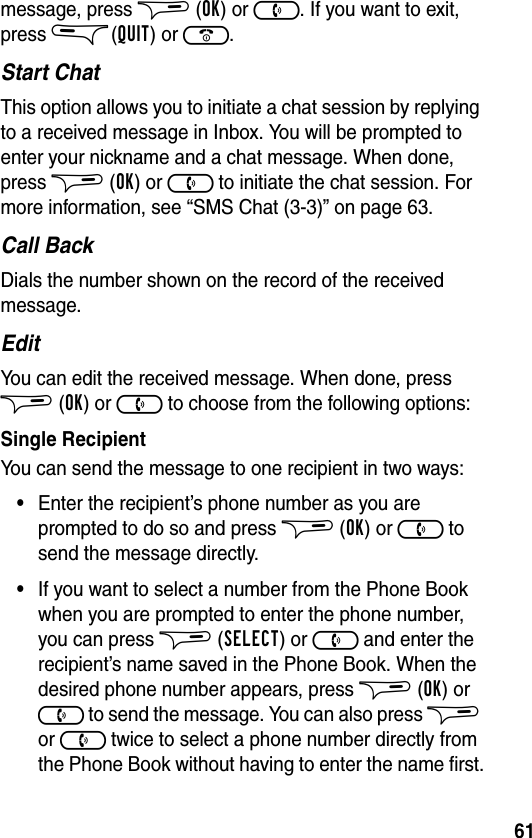
![41Note: The default Quick Msg list may vary from market to market.Note: The first 5 blank entries in the list are reserved for you to store the sentences you wrote. See “Quick Msg (3-5)” on page 65.Note: Insert Quick Msg is not available in Phone Book.Using Quick Msg SentencesScroll with A and press $ (SELECT) or ) to enter a desired sentence, or press a corresponding number key to select (1- 9). As soon as the sentence is entered, the screen automatically returns to Smart Input (iTAP). You can now modify the sentence into the message you want. If you wish to use the other input modes, press %.14 Please call home15 Merry Christmas16 Happy New Year17 Have a safe trip18 Get well soon19 Thank you20 I arrived safely21 Don’t leave until I get there22 Meet me at [time] [place]23 I will be there in [xx] minutes24 I’ll be leaving at25 Wish you successNo. Phrases and Sentences](https://usermanual.wiki/Motorola-Mobility/T56DX1/User-Guide-368877-Page-42.png)