Motorola Mobility T56JJ1 Portable Cellular/ PCS CDMA Transceiver with BT User Manual
Motorola Mobility LLC Portable Cellular/ PCS CDMA Transceiver with BT
UserManual.wiki
>
Motorola Mobility
>
T56JJ1 User Manual
Exhibit 8 Users Manual
Navigation menu
Upload a User Manual
Namespaces
Wiki Guide
HTML
PDF
Info
Views
User Manual
Discussion / Help
Navigation

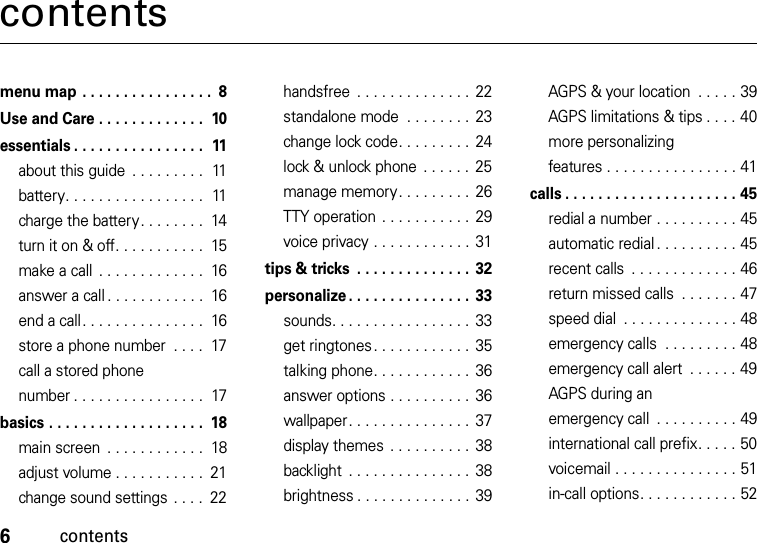


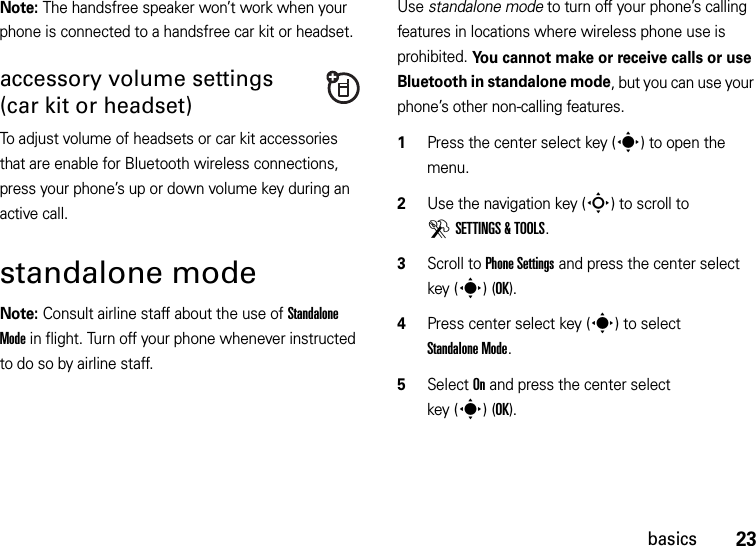


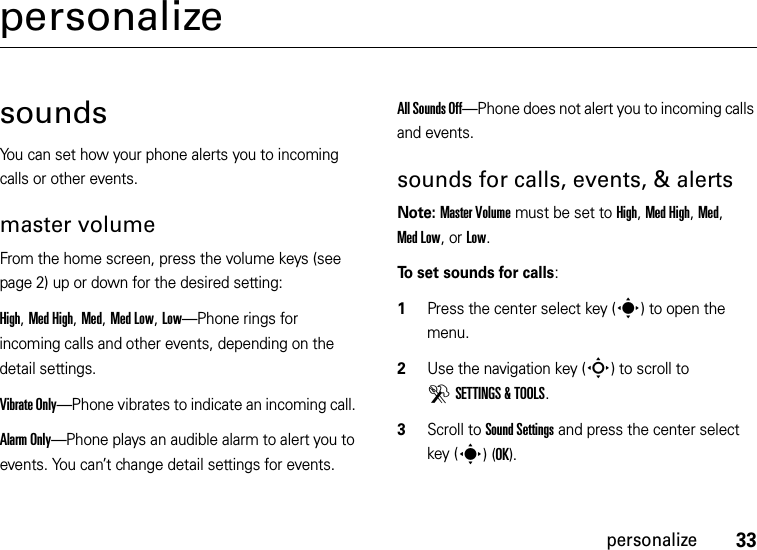


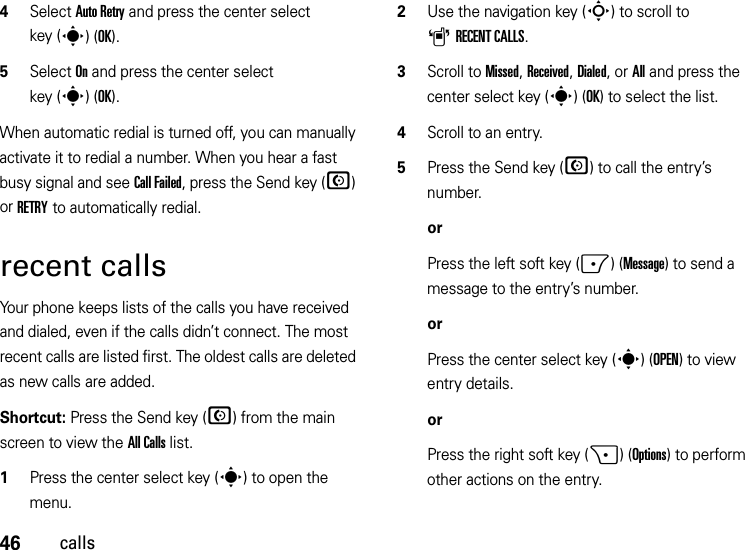
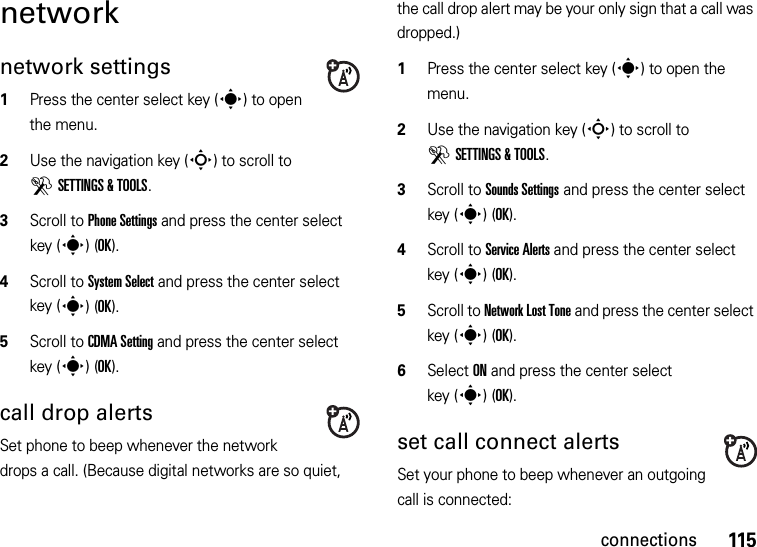
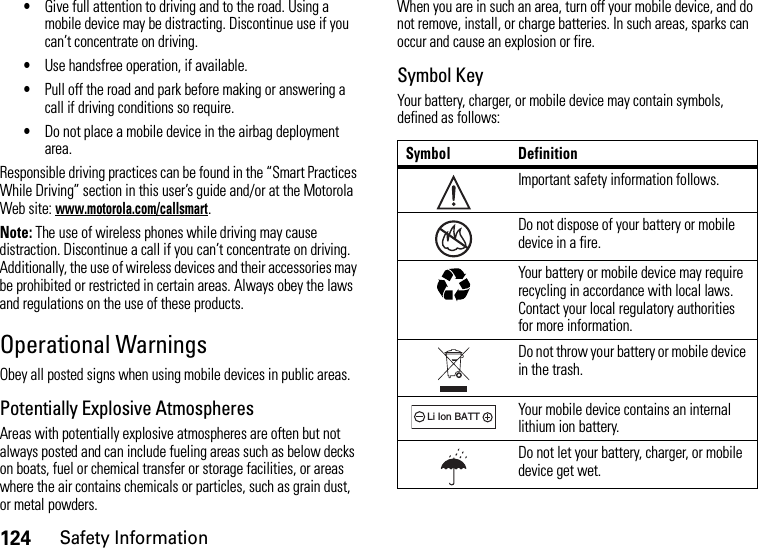
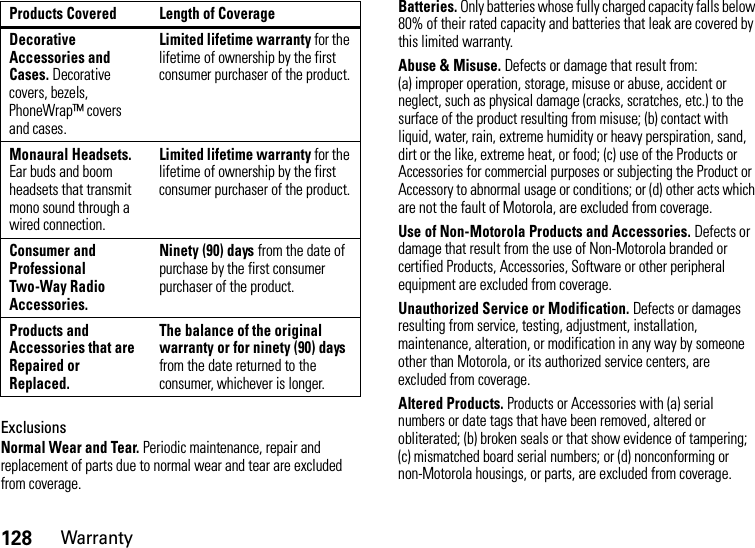
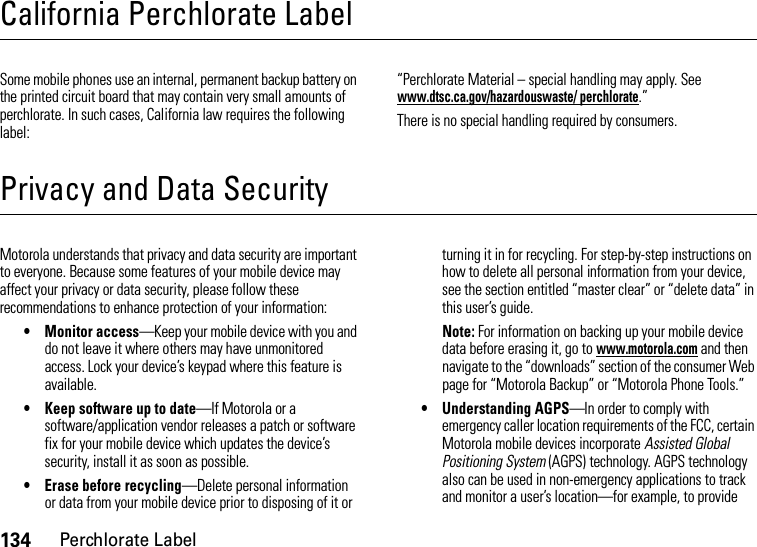
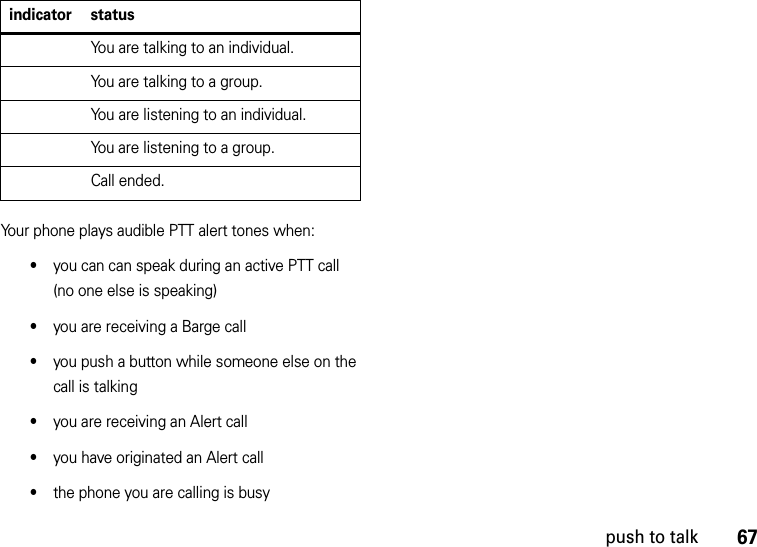
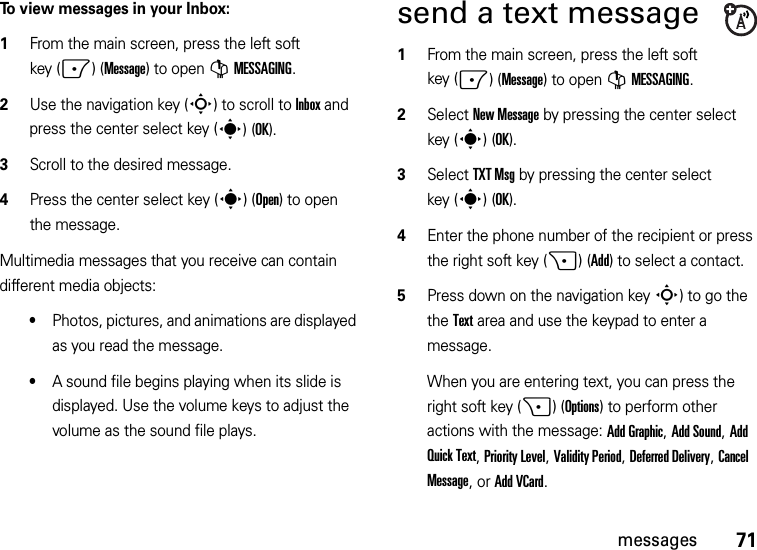
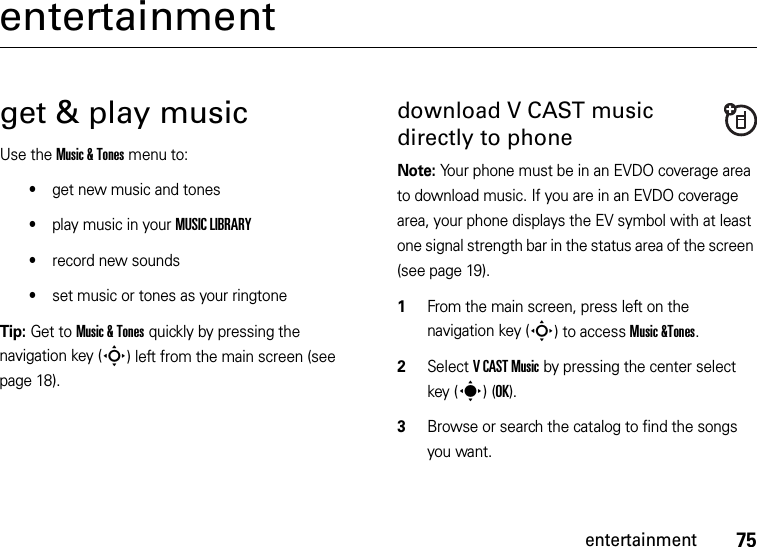
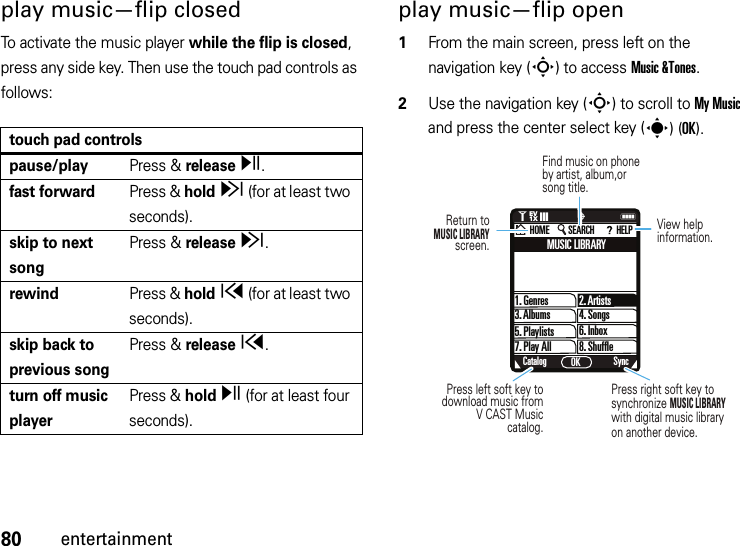
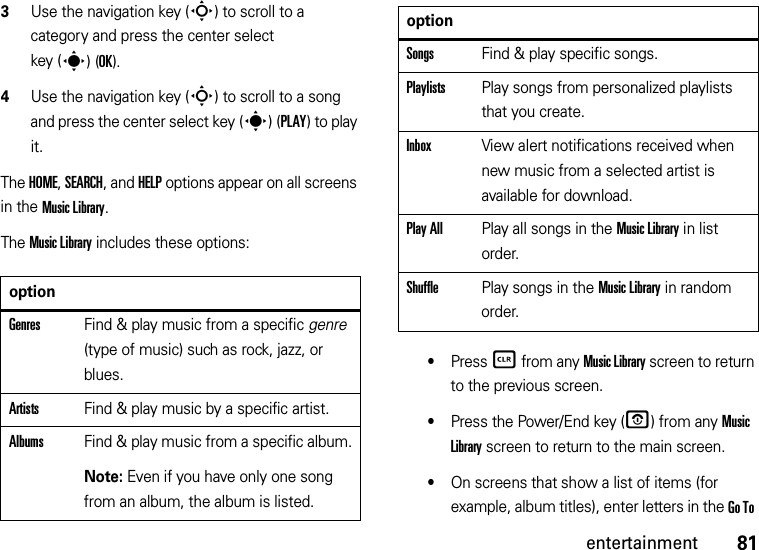
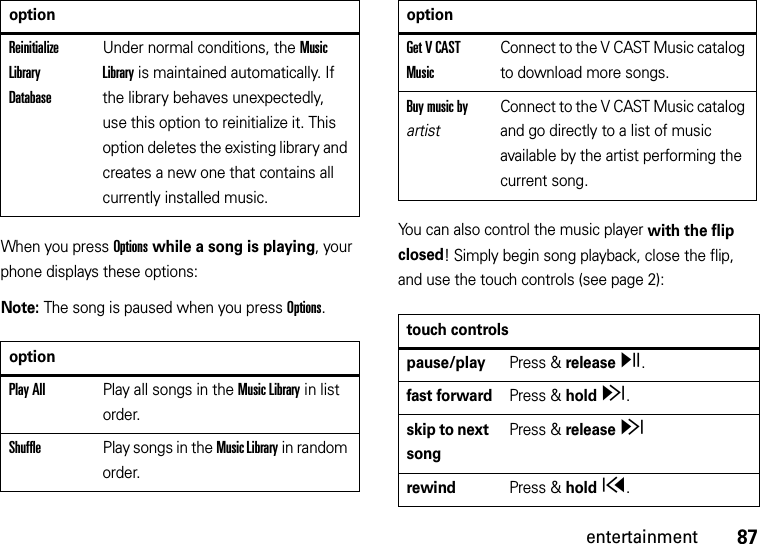
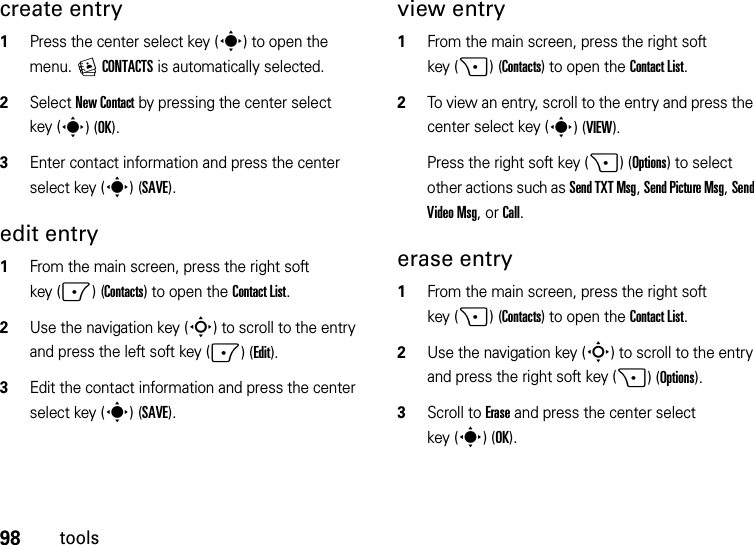
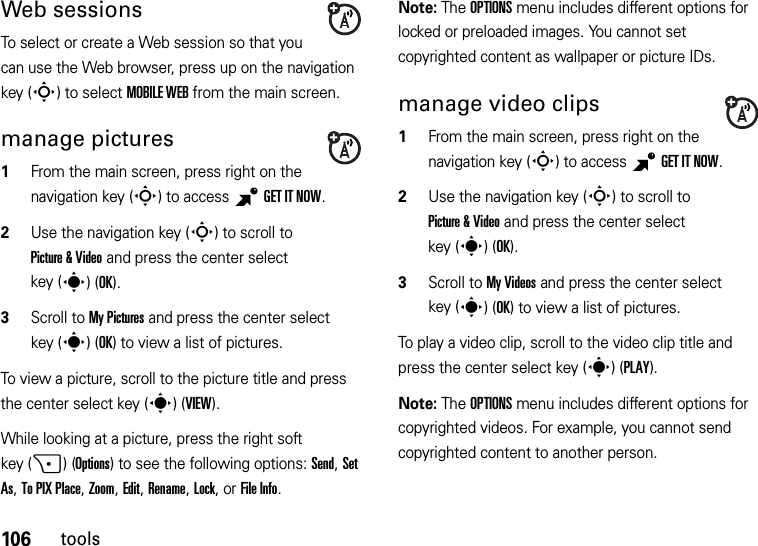
![47callsThe Options menu can include these options:return missed callsYour phone keeps a record of your missed calls. When you miss a call, your phone displays the s(missed call) indicator and [Number] Missed Calls. 1When you see the missed call alert, select View Now and press the center select key (s)(OK) to see the missed calls list.orSelect View Later and press the center select key (s)(OK). The missed call indicator (s) appears on the bottom of the main screen until you view recent calls by pressing the Send key (N).2Use the navigation key (S) to scroll to the call you want to return.3Press the Send key (N) to make the call.optionsSaveCreate or update a Contacts entry for the call.DetailsView more details about the entry.EraseDelete the selected entry (if the entry is not locked).LockLock selected entry so it cannot be erased.Erase AllDelete all unlocked entries.View TimersGo to the View Timers screen to see the length of each call.](https://usermanual.wiki/Motorola-Mobility/T56JJ1/User-Guide-917807-Page-49.png)
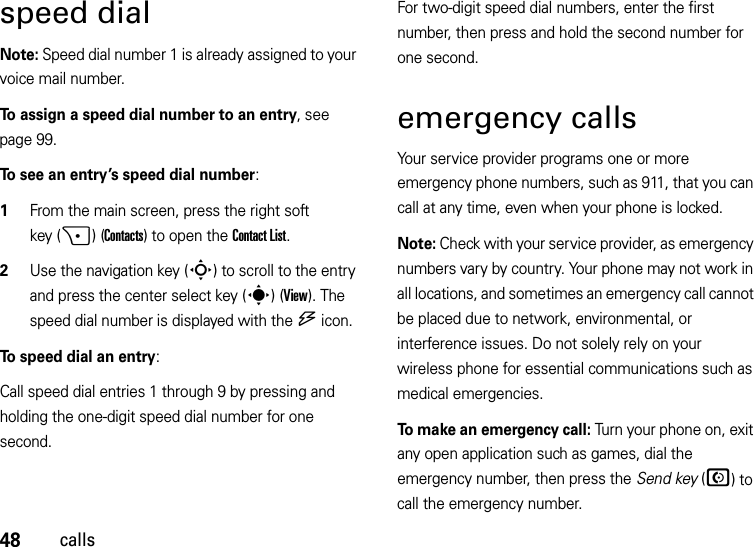


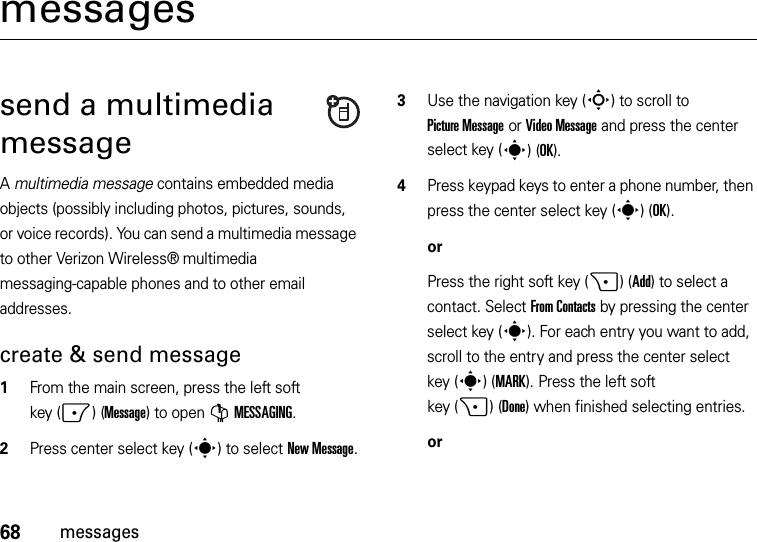
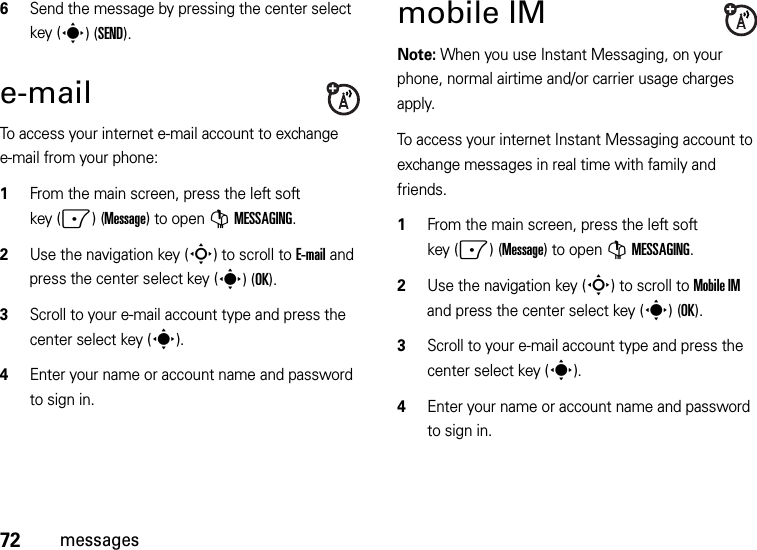

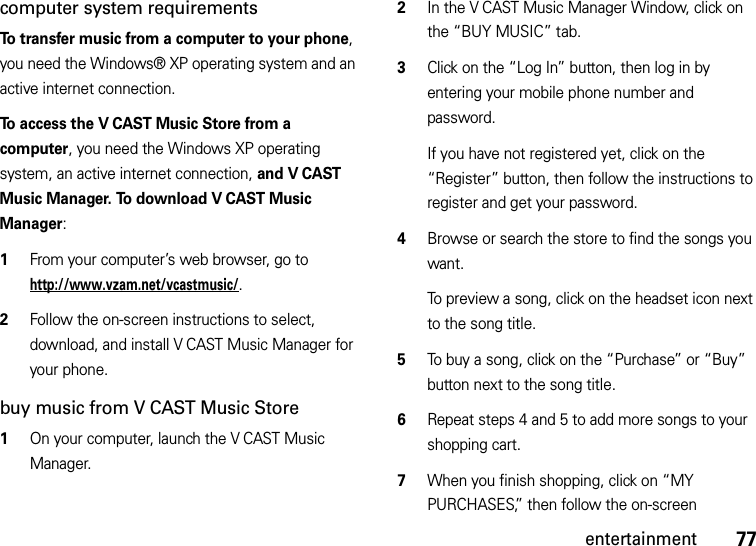


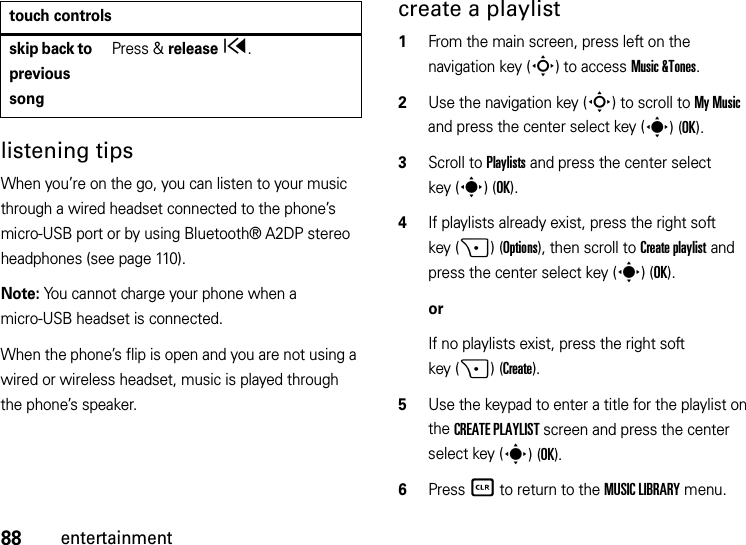


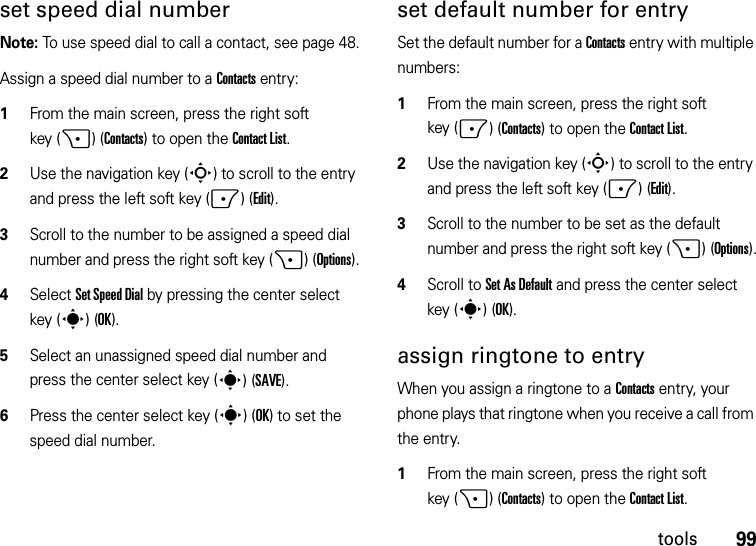

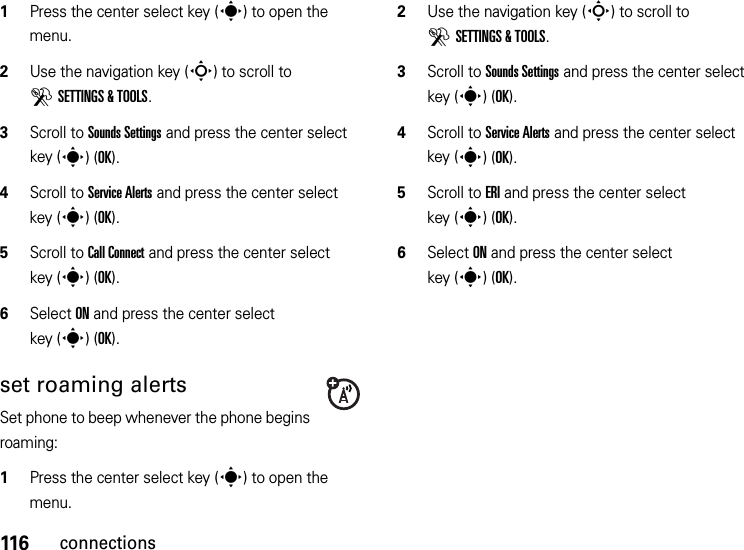
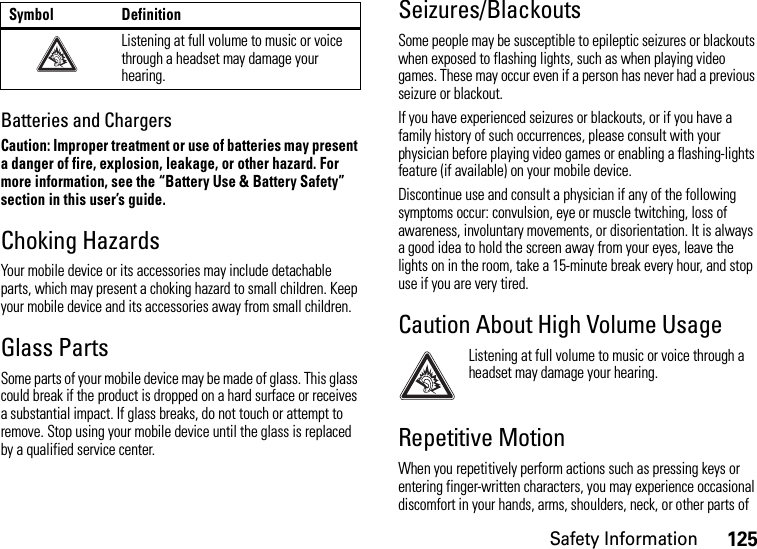
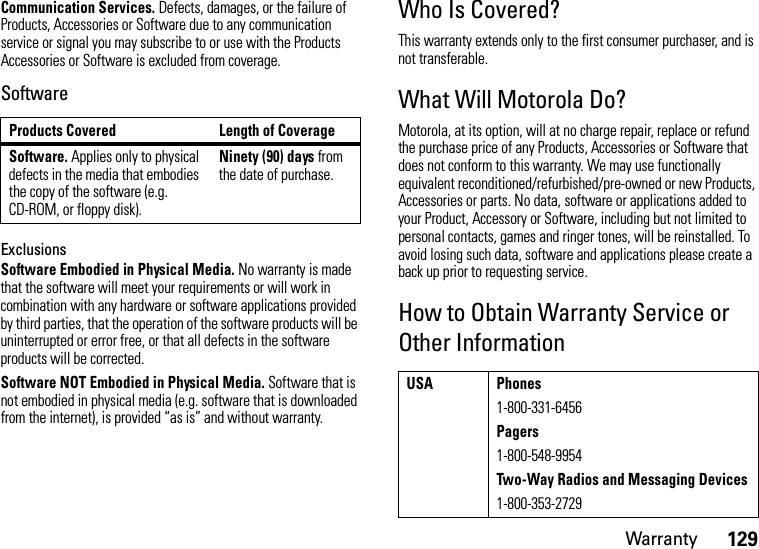
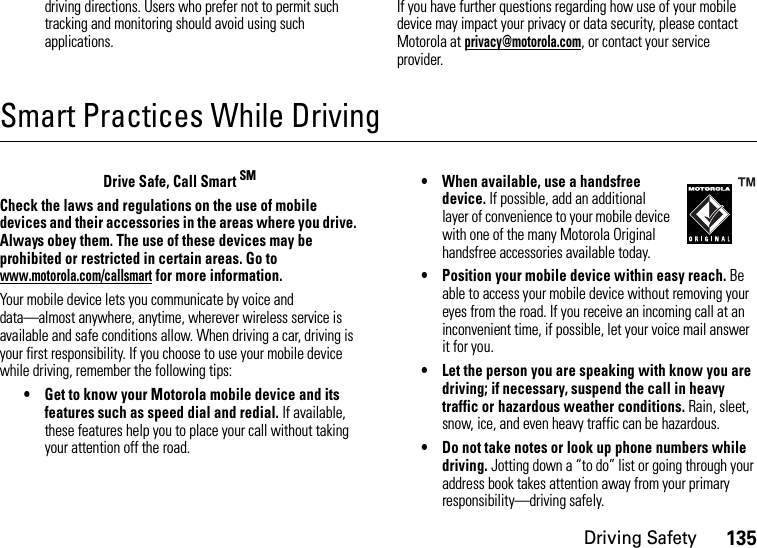
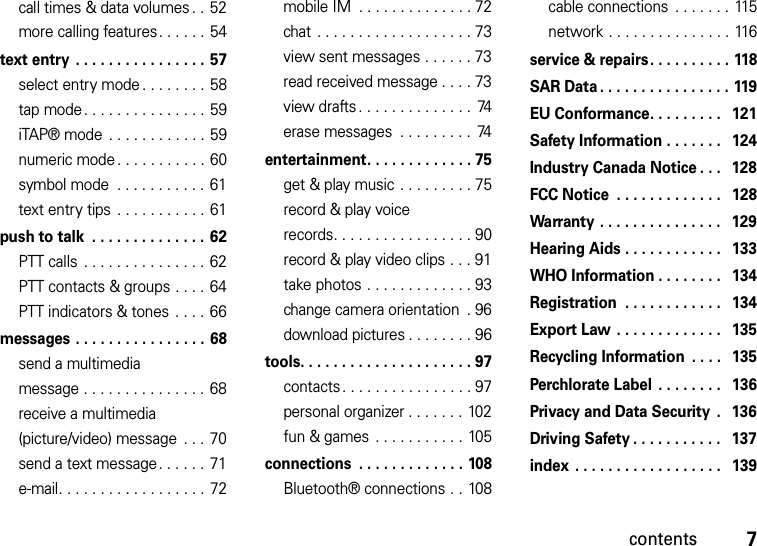
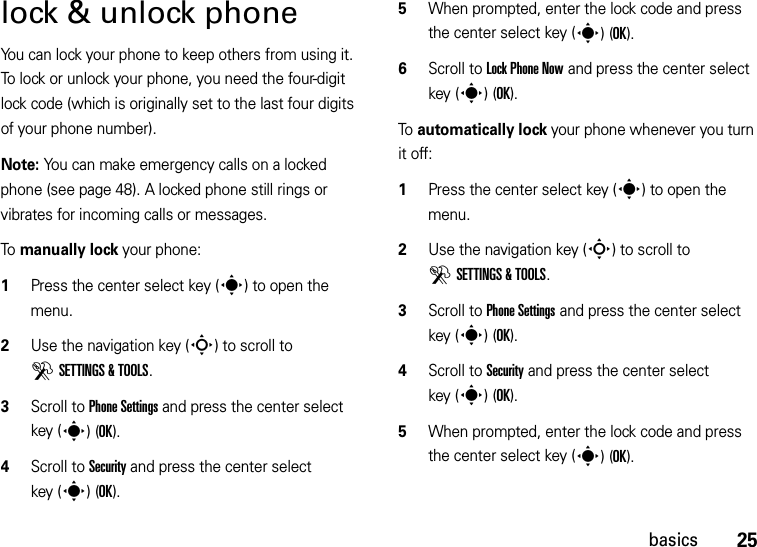
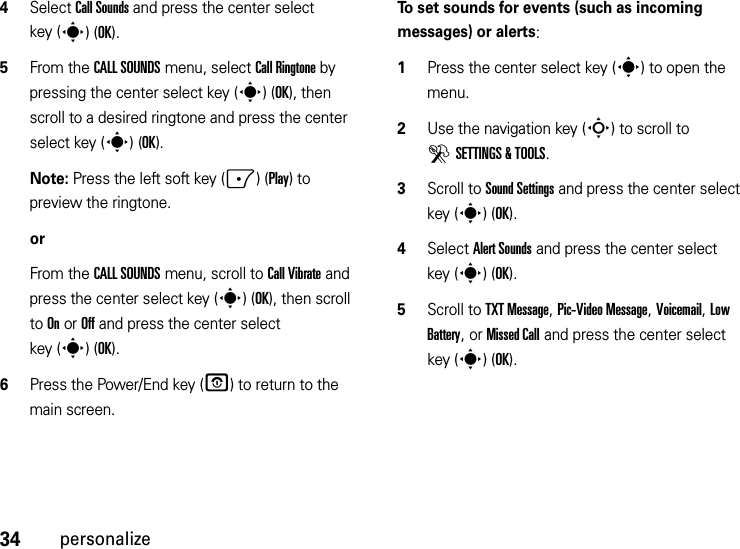
![112connections6 On your phone, when prompted, press the center select key (s)(ACCEPT) to accept the file transfer.7When you are finished transferring files, press the Power/End key (O) on your phone to close the connection. Note: Breaking the link with your computer does not turn off Bluetooth power on your phone. You might want to turn Bluetooth power off to conserve battery charge.connect with another phoneYou can use a Bluetooth connection to transfer a contact or file to another phone. To transfer a contact to another phone:Note: Make sure the phone receiving the entry has Bluetooth power on and is in Find Me mode. The receiving device must also be capable of receiving a vCard. Not all Bluetooth devices have this capability. 1From the main screen, press the right soft key (+)(Contacts) to open the Contact List.2Use the navigation key (S) to scroll to the entry you want to transfer and press the right soft key (+)(Options).3Scroll to Send Name Card and press the center select key (s)(OK).4Scroll to Bluetooth and press the center select key (s)(OK).5Press the center select key (s)(SEND).6Scroll to [Add New Device] or scroll to the device that you want and press the center select key (s)(OK).Note: If your phone does not already have Bluetooth power turned on, it prompts you to turn it on.7If prompted, enter the default PIN code 0000 or accept the transfer.](https://usermanual.wiki/Motorola-Mobility/T56JJ1/User-Guide-917807-Page-114.png)
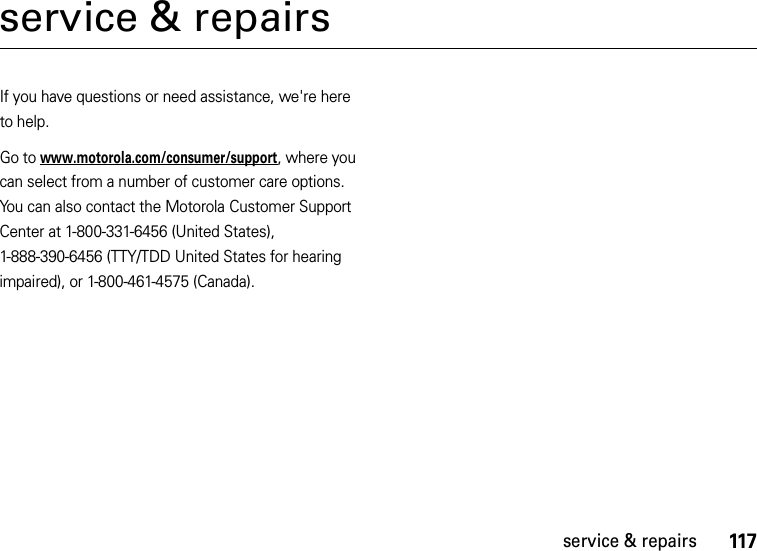
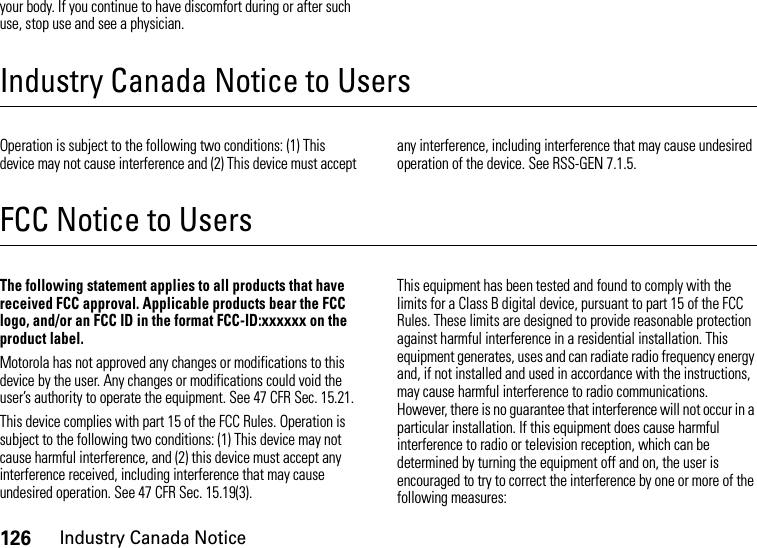
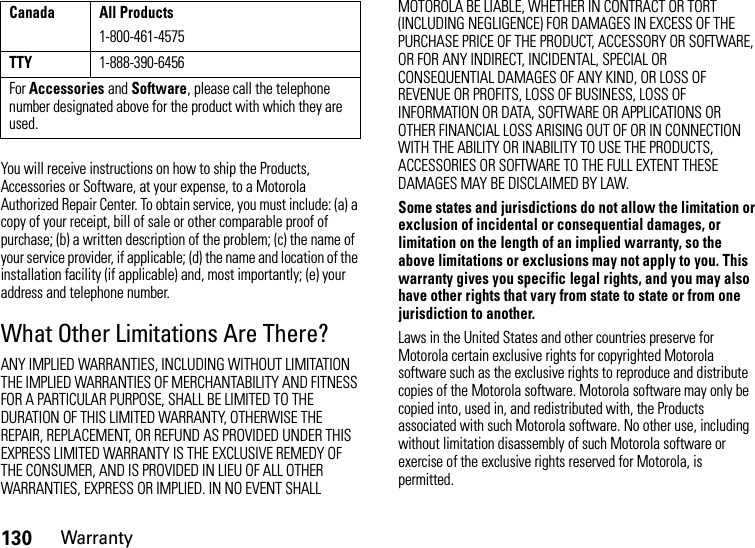
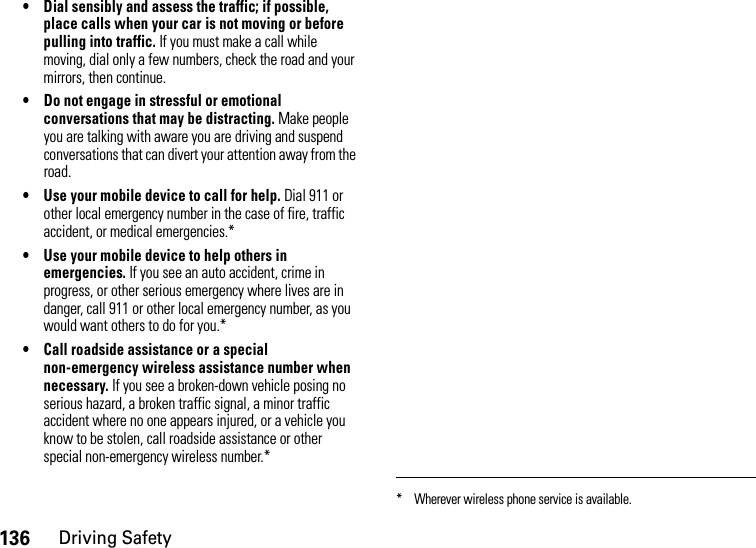
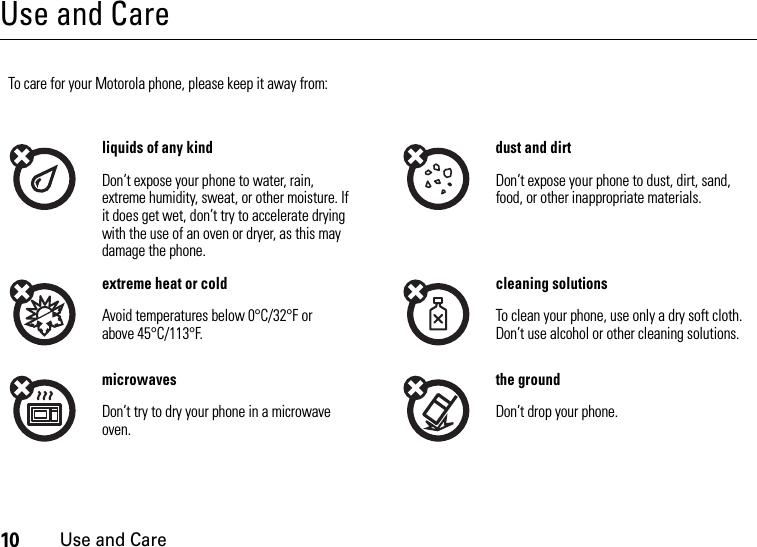
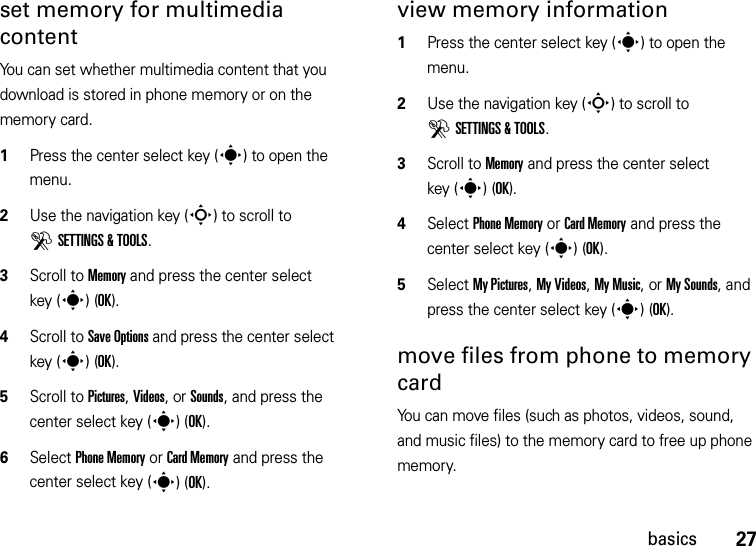
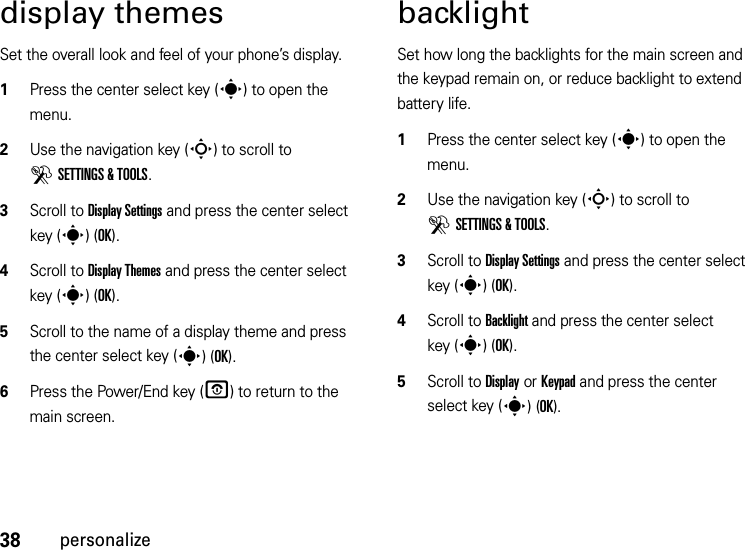
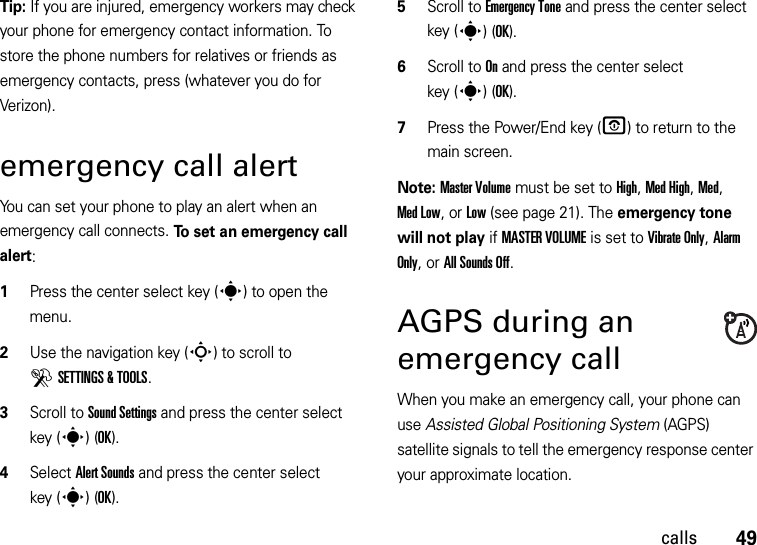
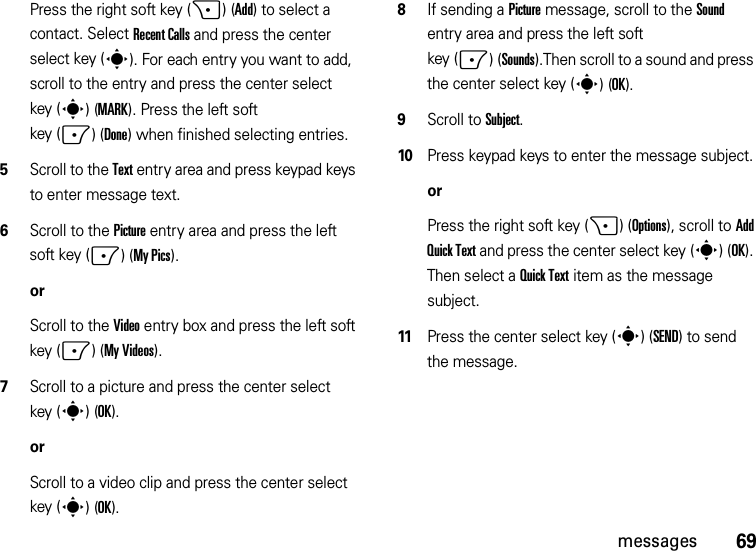
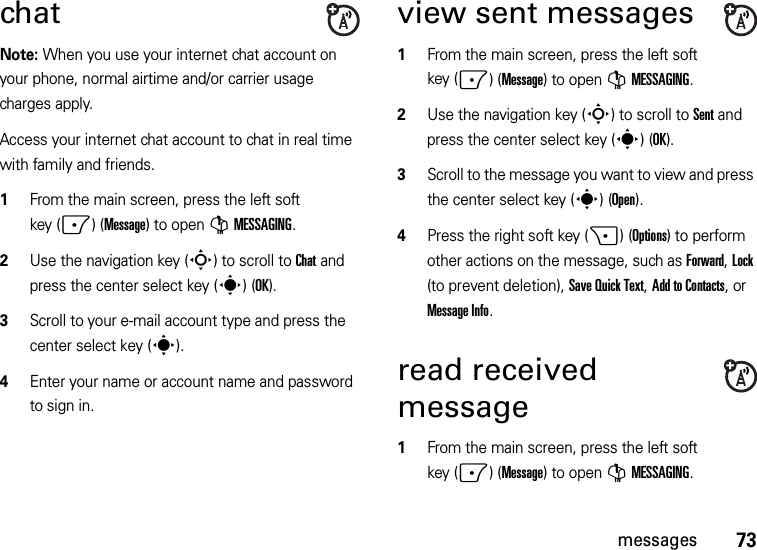
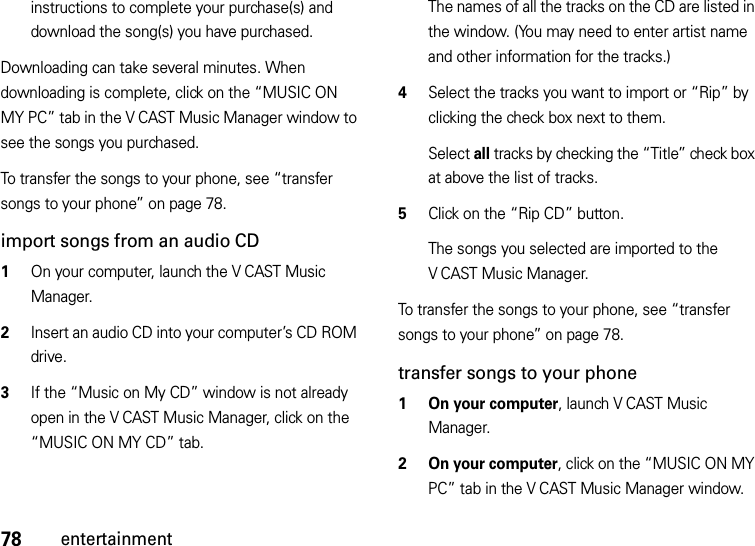
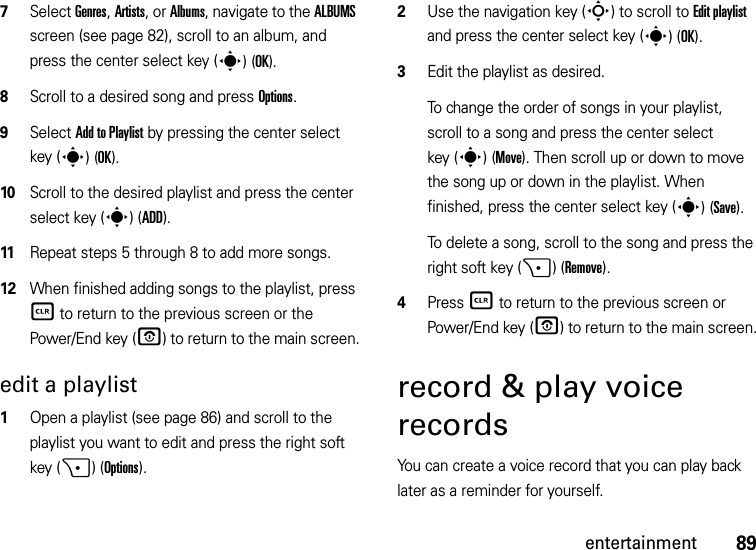
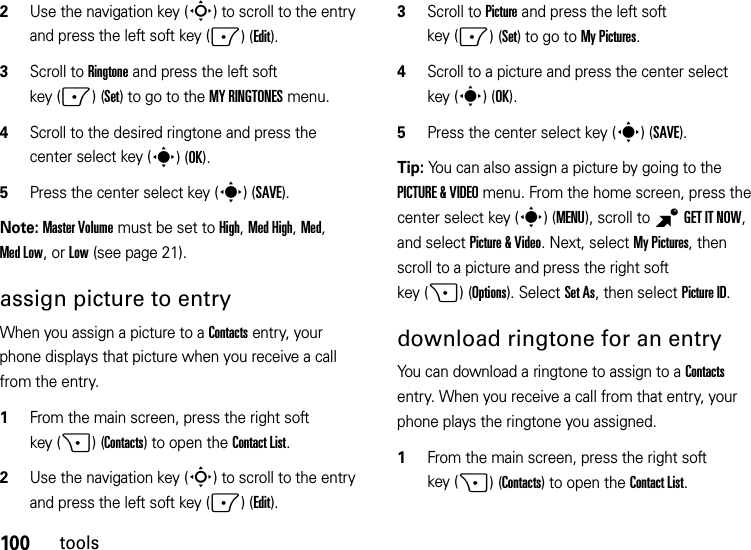
![113connectionsWhen the phones connect, and the sending phone begins the transfer. The receiving phone is prompted to accept the transfer. When the receiving phone accepts the transfer, the entry transfers. To transfer a file to another phone:Note: Make sure the phone receiving the file has Bluetooth power on and is in Find Me mode. The receiving phone must be capable of receiving the file type. 1On your phone, select the file (such as a picture, video, or sound) you want to transfer and press the right soft key (+)(Options).2Use the navigation key (S) to scroll to Send and press the center select key (s)(OK).3Scroll to Bluetooth and press the center select key (s)(OK).4Scroll to [Add New Device] or scroll to the device that you want and press the center select key (s)(OK).Note: If your phone does not already have Bluetooth power turned on, it prompts you to turn it on.5When your phone prompts you to confirm that you want to send the file, select Yes by pressing the center select key (s)(OK).6If prompted, enter the default PIN code 0000 or accept the transfer.When the phones connect, the sending phone begins the transfer. The receiving phone is prompted to accept the transfer. When the receiving phone accepts, the file is transferred. connect to handsfree device during a call 1During a call, press the right soft key (+)(Options), then select Bluetooth Menu.](https://usermanual.wiki/Motorola-Mobility/T56JJ1/User-Guide-917807-Page-115.png)
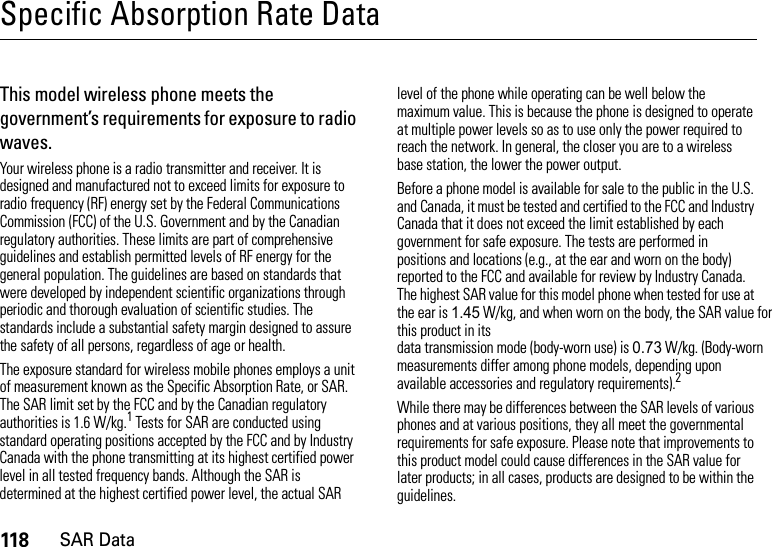
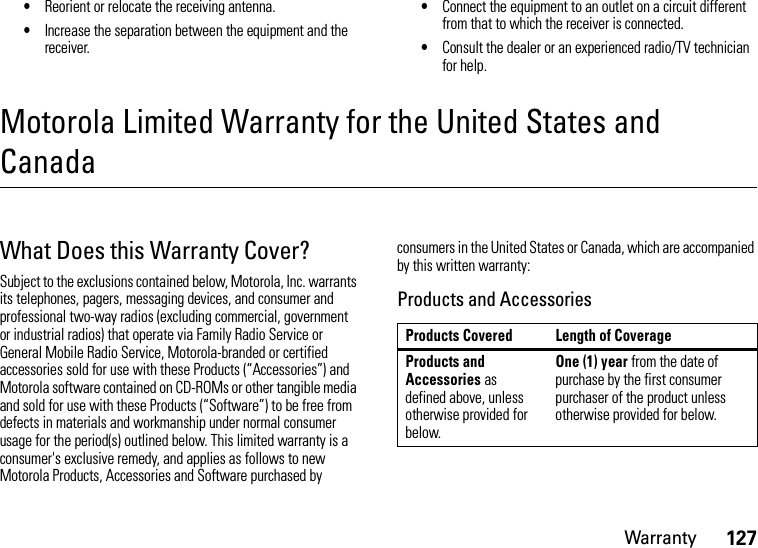
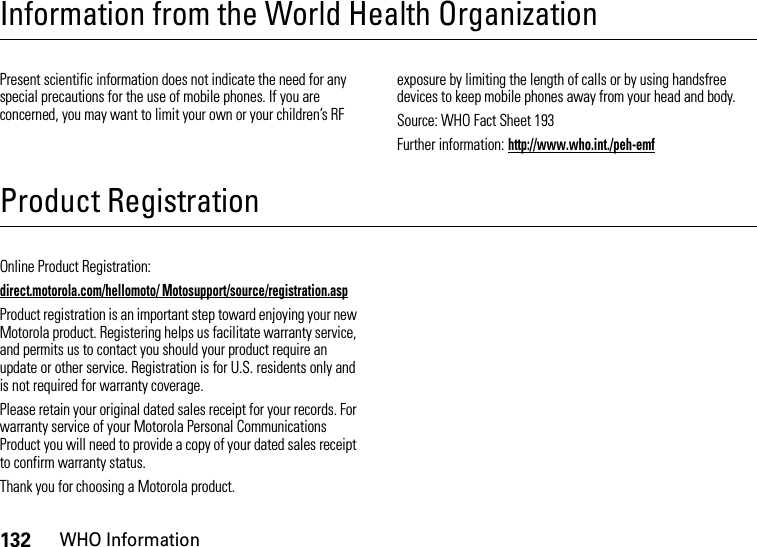
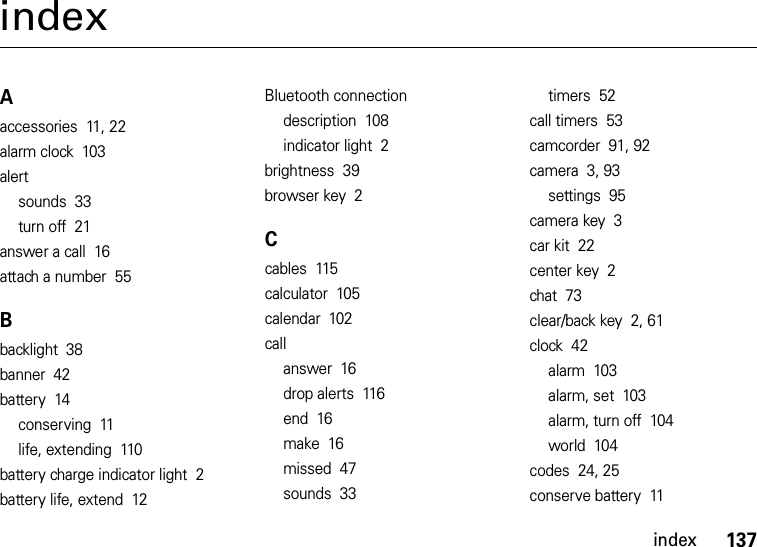
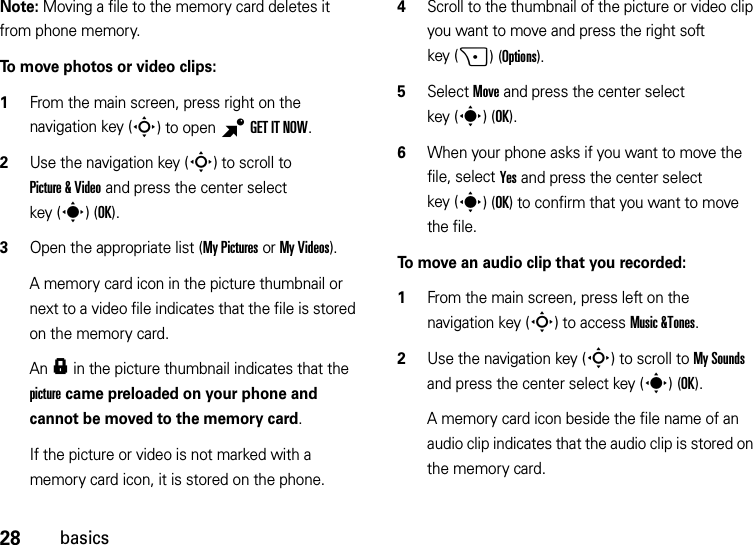
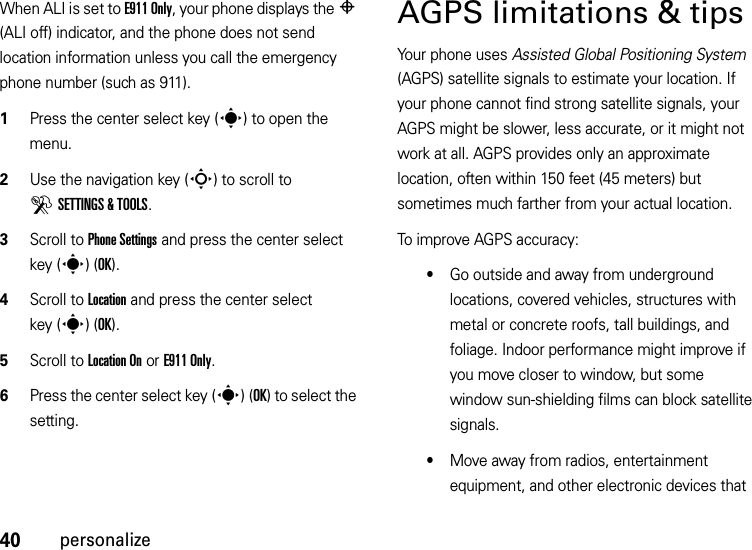
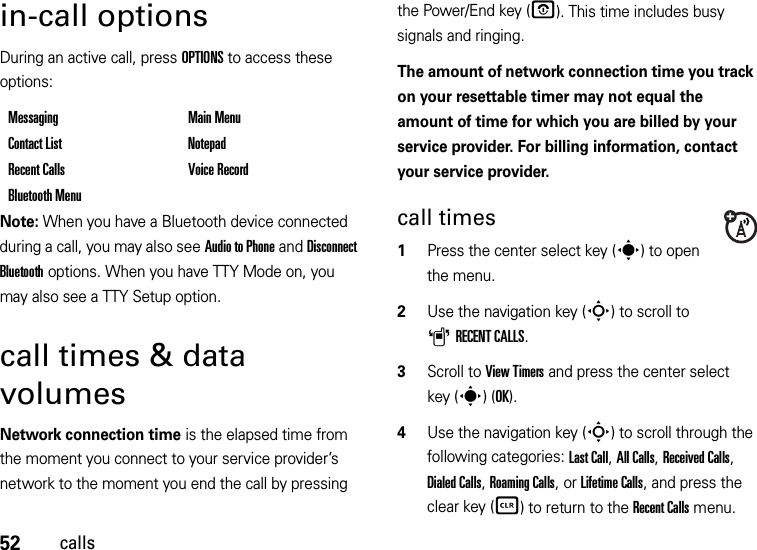
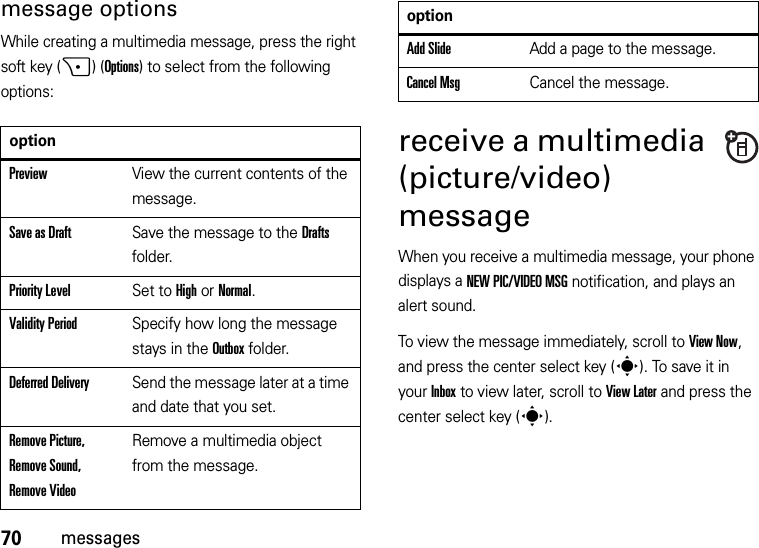
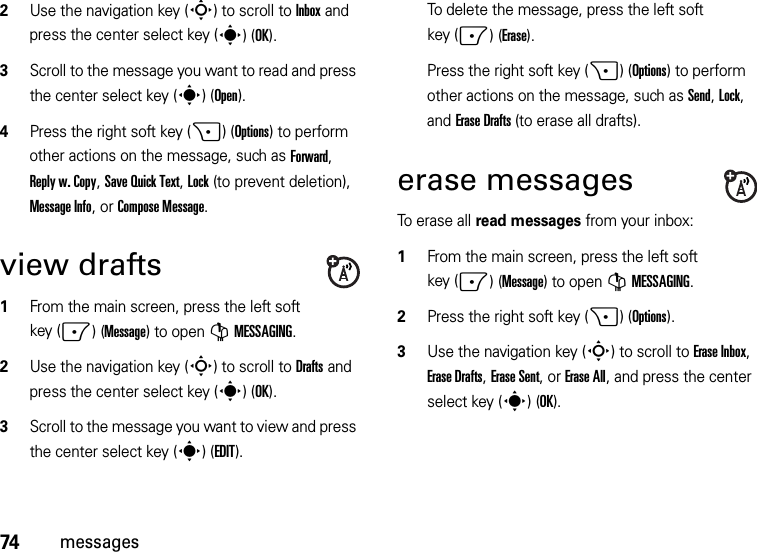
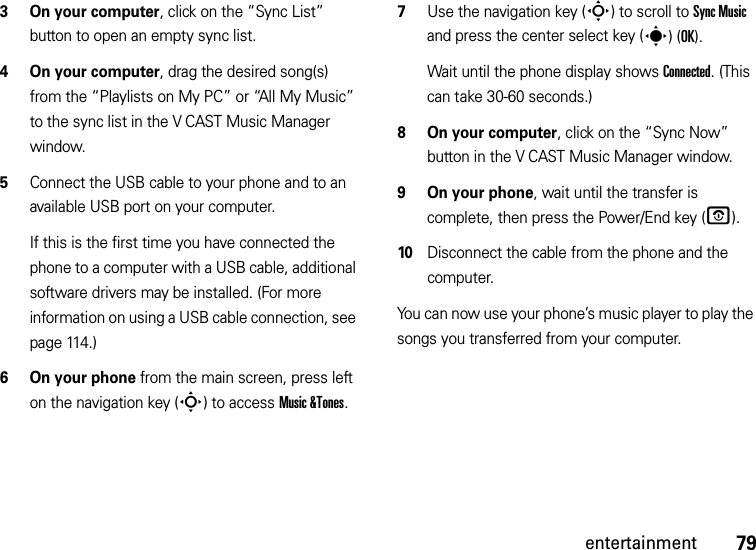
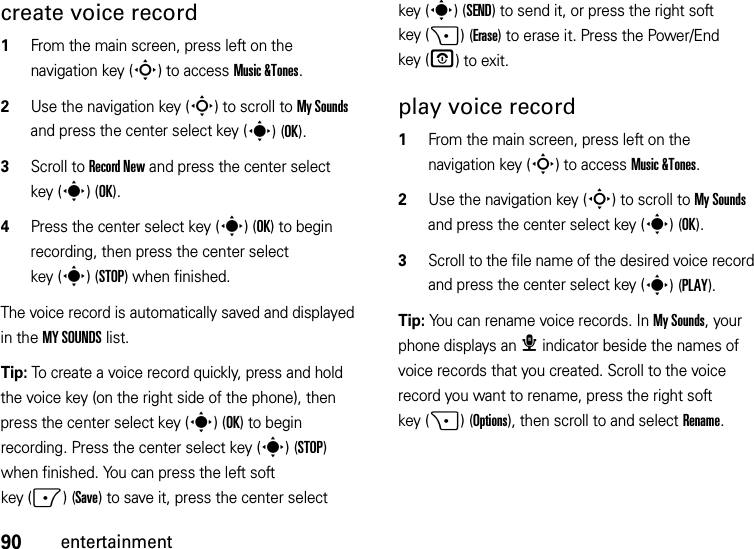
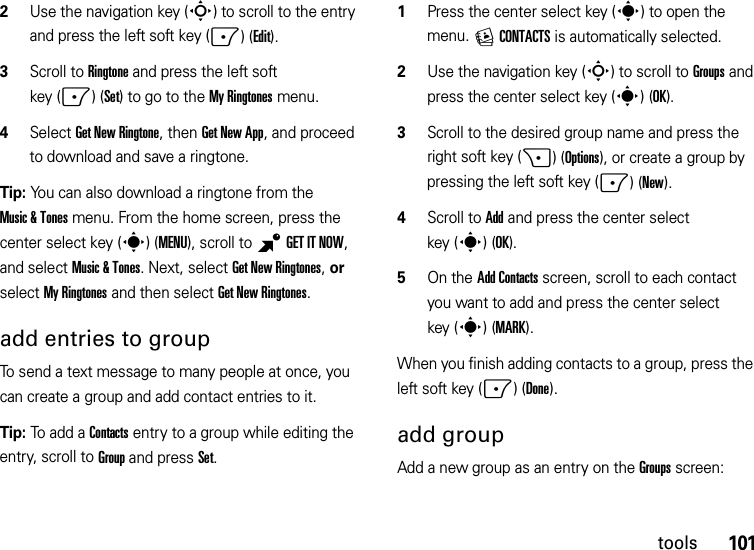
![114connections2Use the navigation key (S) to scroll to [Add New Device] or select the name of your handsfree device if you have paired with it previously.3Press the center select key (s)(OK).4If connecting to a new device, place the new device in discoverable mode and press the center select key (s)(OK) on your phone.5When your phone finds your handsfree device, press the center select key (s)(PAIR).disconnect from a deviceScroll to Bluetooth and select Off.Note: You cannot switch to a headset or car kit if you are already connected to a Bluetooth device.cable connectionsYour phone has a micro-USB port so you can connect it to a computer.•You must use the cables in the Motorola Original™ data kit (see the data kit user’s guide for more information).•Connect the phone to a high-power USB port on your computer (not a low-power one such as the USB port on your keyboard or bus-powered USB hub). Typically, USB high-power ports are on your computer.Note: If you connect your phone to a low-power USB port, the computer may not recognize your phone.•Make sure both your phone and the computer are turned on.](https://usermanual.wiki/Motorola-Mobility/T56JJ1/User-Guide-917807-Page-116.png)