Motorola Mobility T56KV2 Portable Cellular/ PCS WCDMA/ GSM/ EDGE Transceiver with WLAN and Bluetooth User Manual Exhibit 8 Users Manual
Motorola Mobility LLC Portable Cellular/ PCS WCDMA/ GSM/ EDGE Transceiver with WLAN and Bluetooth Exhibit 8 Users Manual
Exhibit 8 Users Manual


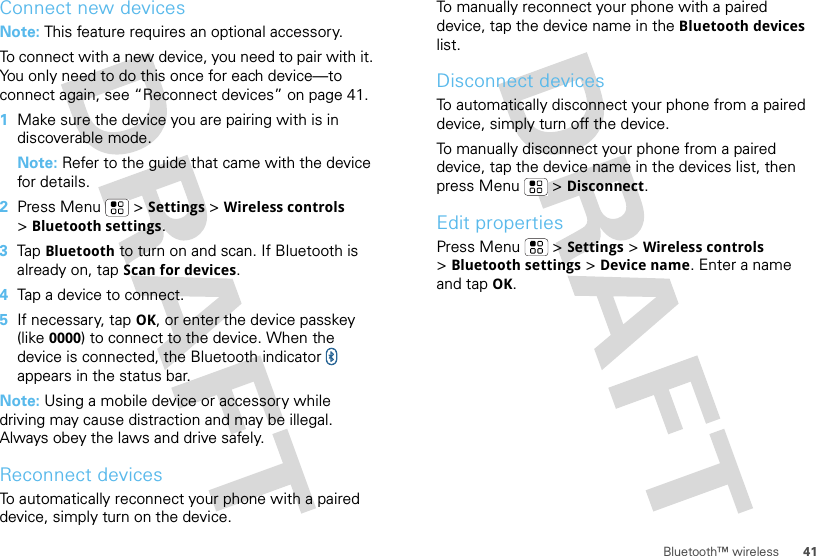
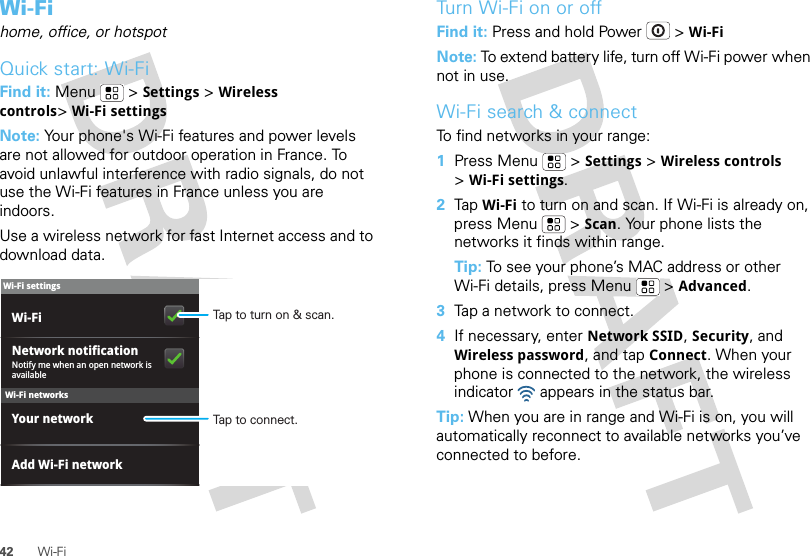
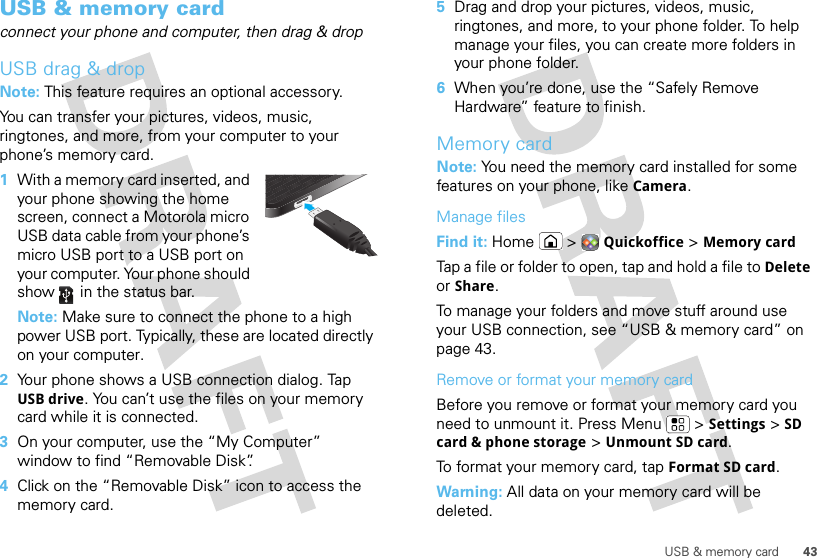


![61For more information about hearing, see our Web site at www.motorola.com/hearingsafety (in English only).Repetitive MotionWhen you repetitively perform actions such as pressing keys or entering finger-written characters, you may experience occasional discomfort in your hands, arms, shoulders, neck, or other parts of your body. If you continue to have discomfort during or after such use, stop use and see a physician.[Jan0109]FCC Notice to UsersFCC NoticeThe following statement applies to all products that have received FCC approval. Applicable products bear the FCC logo, and/or an FCC ID in the format FCC-ID:xxxxxx on the product label.Motorola has not approved any changes or modifications to this device by the user. Any changes or modifications could void the user’s authority to operate the equipment. See 47 CFR Sec. 15.21.This device complies with part 15 of the FCC Rules. Operation is subject to the following two conditions: (1) This device may not cause harmful interference, and (2) this device must accept any interference received, including interference that may cause undesired operation. See 47 CFR Sec. 15.19(3).This equipment has been tested and found to comply with the limits for a Class B digital device, pursuant to part 15 of the FCC Rules. These limits are designed to provide reasonable protection against harmful interference in a residential installation. This equipment generates, uses and can radiate radio frequency energy and, if not installed and used in accordance with the instructions, may cause harmful interference to radio communications. However, there is no guarantee that interference will not occur in a particular installation. If this equipment does cause harmful interference to radio or television reception, which can be determined by turning the equipment off and on, the user is encouraged to try to correct the interference by one or more of the following measures:•Reorient or relocate the receiving antenna.•Increase the separation between the equipment and the receiver.](https://usermanual.wiki/Motorola-Mobility/T56KV2/User-Guide-1184629-Page-64.png)