Motorola Mobility T56MP1 Cellular/ PCS/ CDMA Transceiver with WLAN and Bluetooth User Manual Exhibit 12
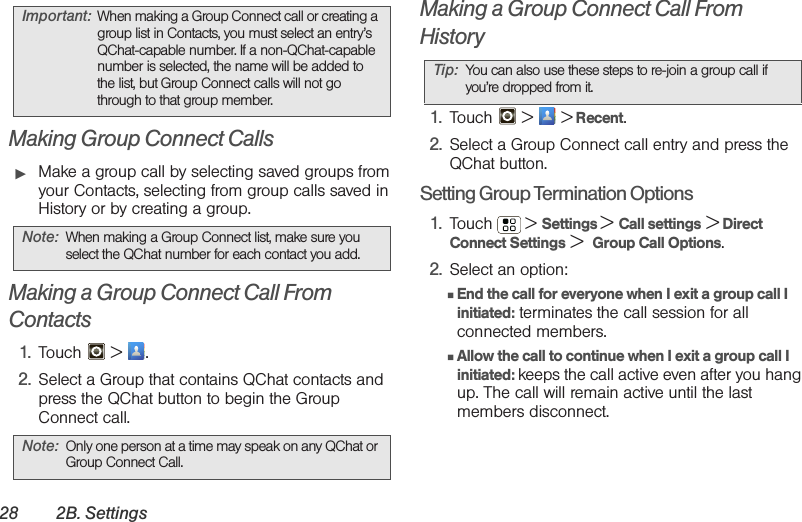
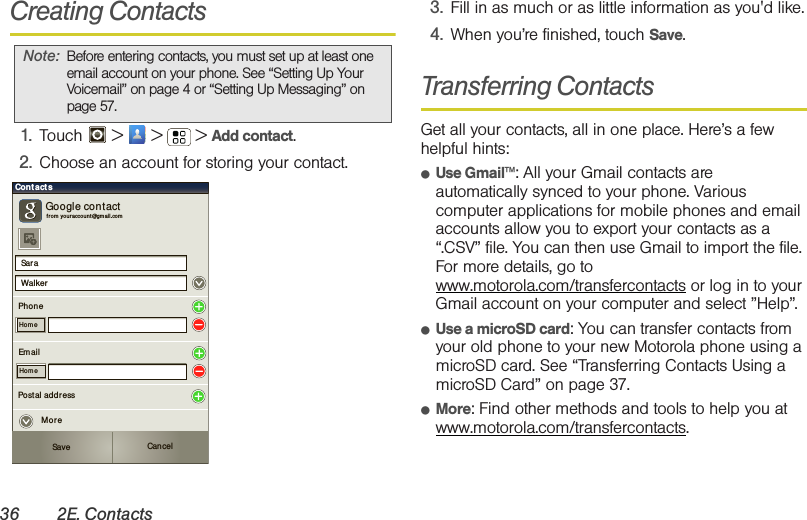
Motorola Mobility LLC Cellular/ PCS/ CDMA Transceiver with WLAN and Bluetooth Exhibit 12
UserManual.wiki
>
Motorola Mobility
>
T56MP1 User Manual
Exhibit 8 Users Manual
Navigation menu
Upload a User Manual
Namespaces
Wiki Guide
HTML
PDF
Info
Views
User Manual
Discussion / Help
Navigation
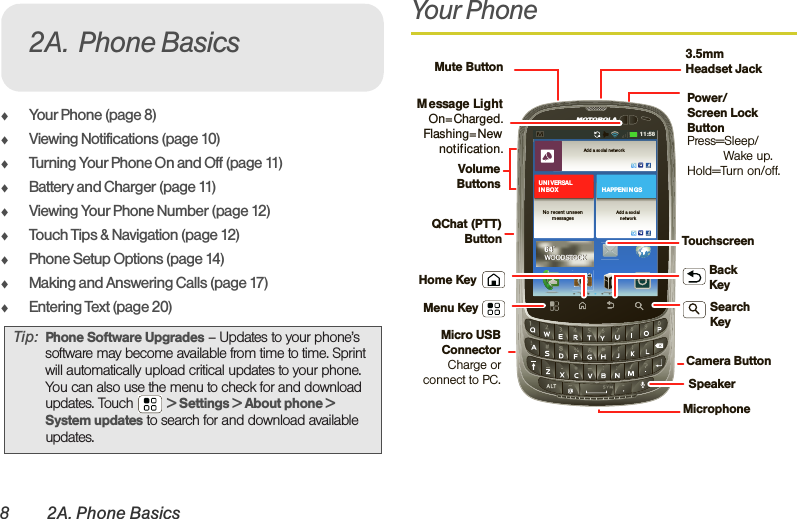
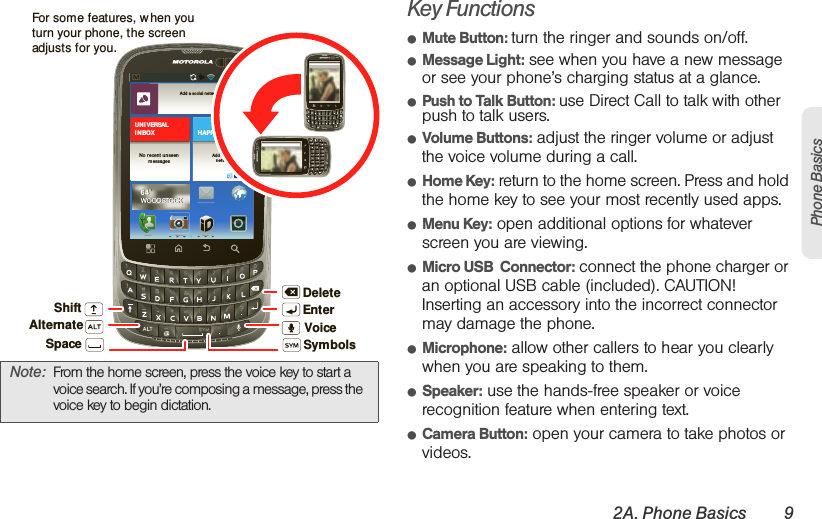
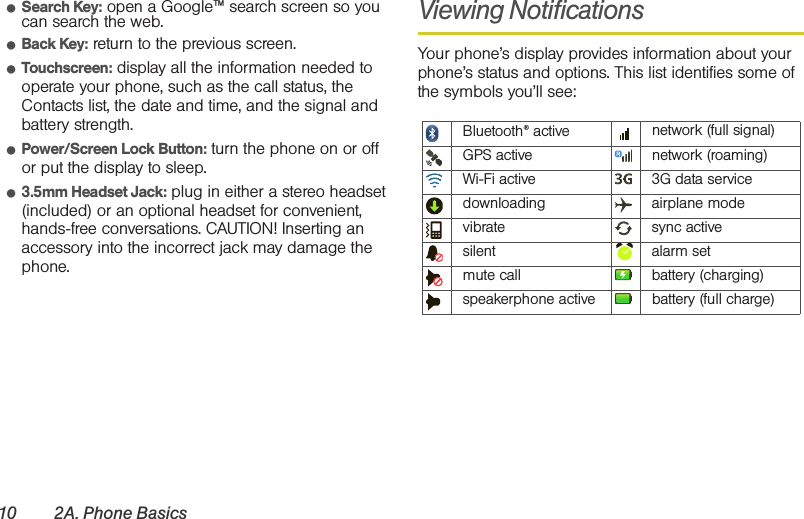
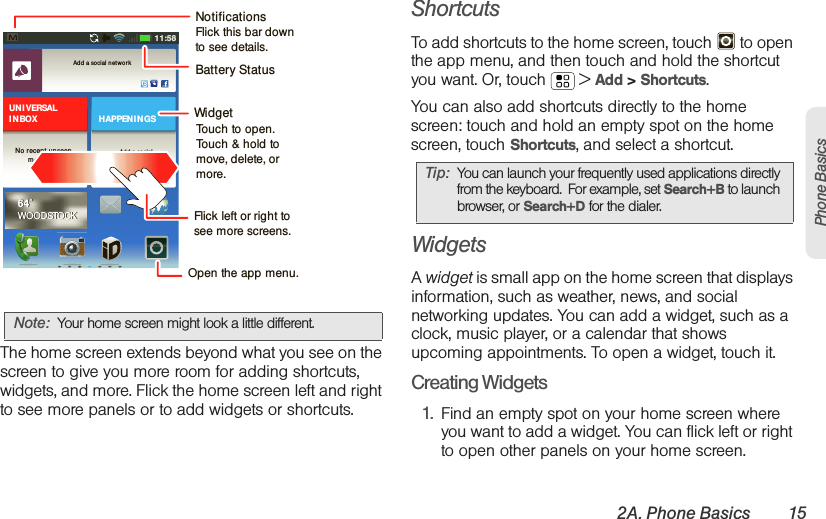
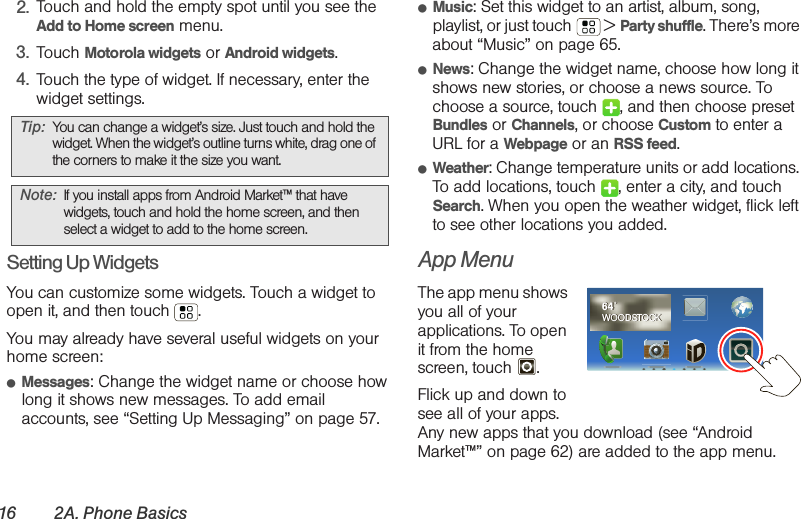
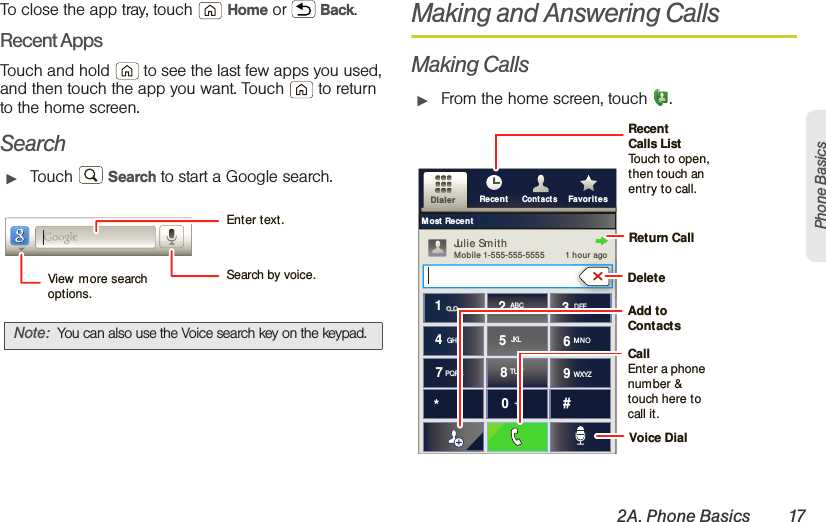
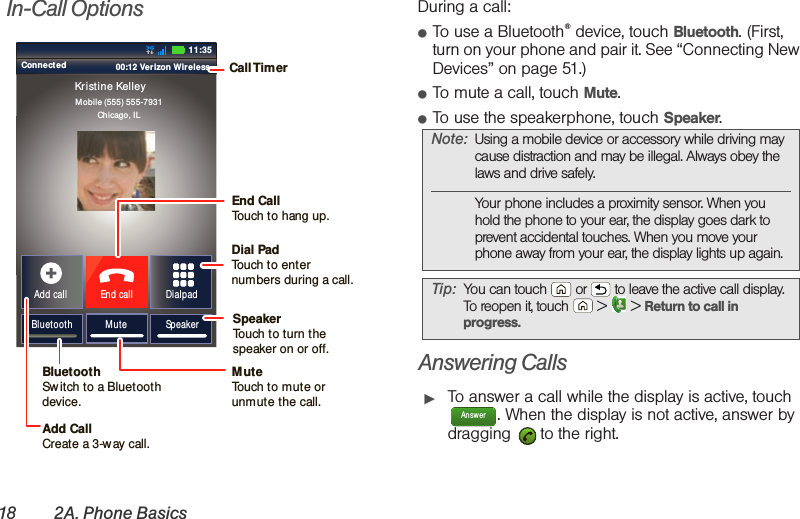
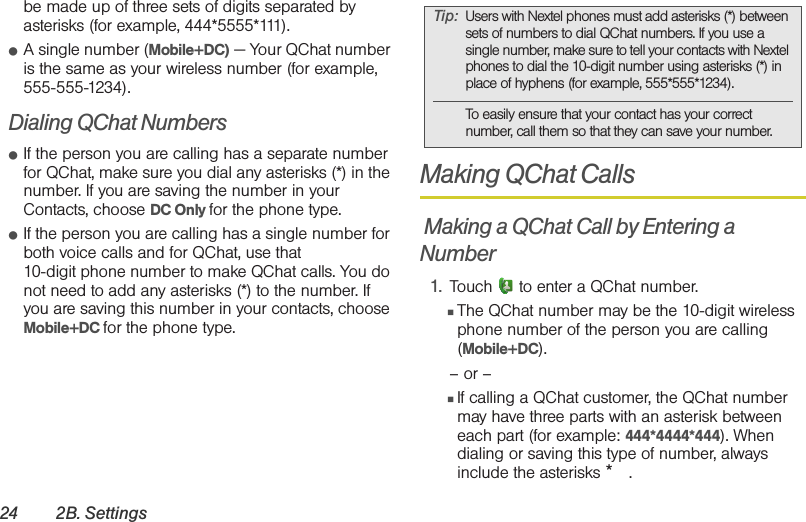
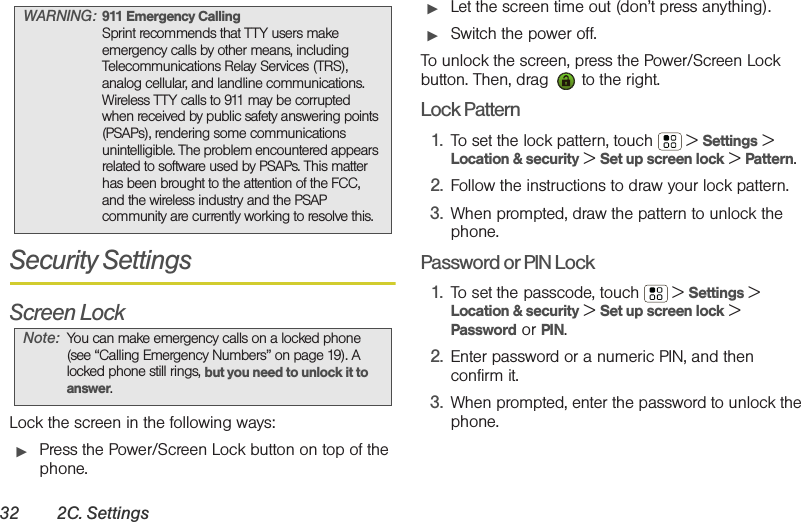
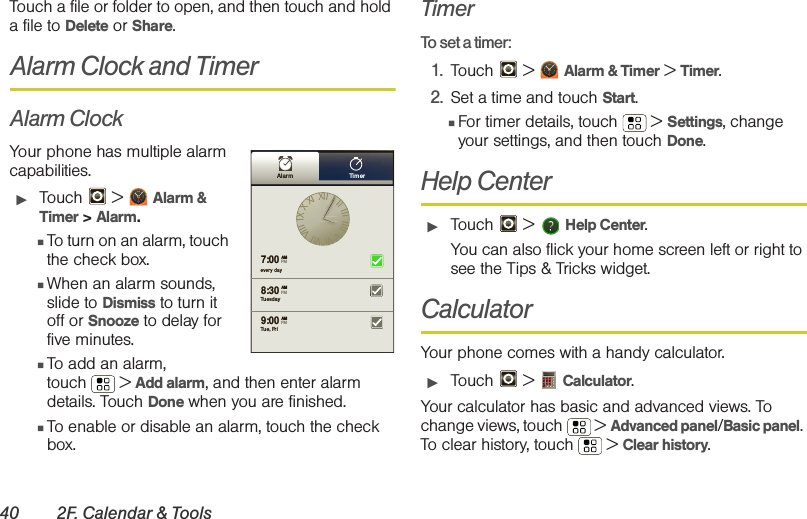
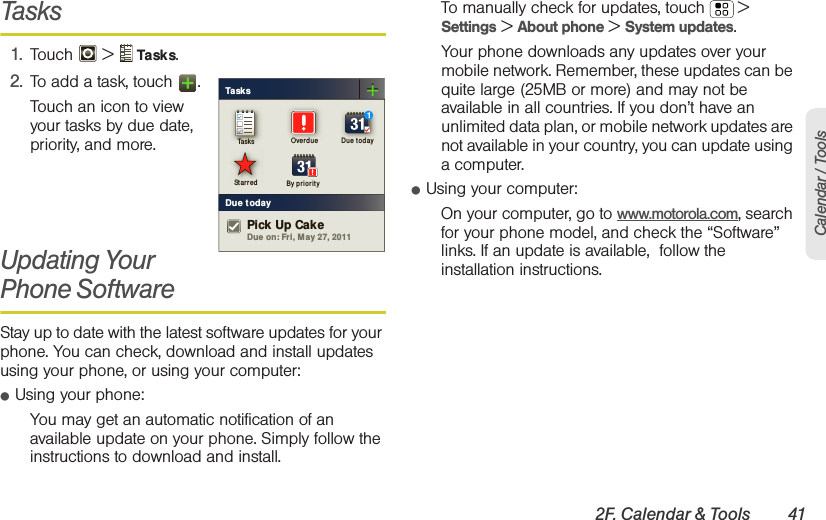
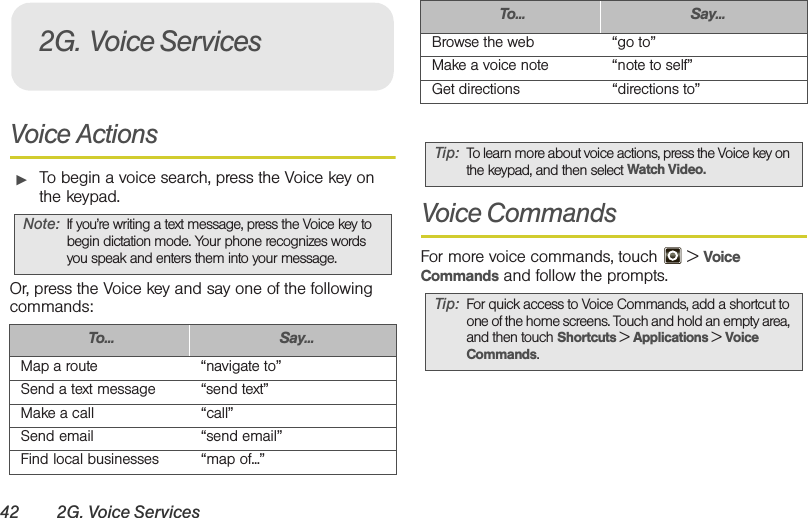
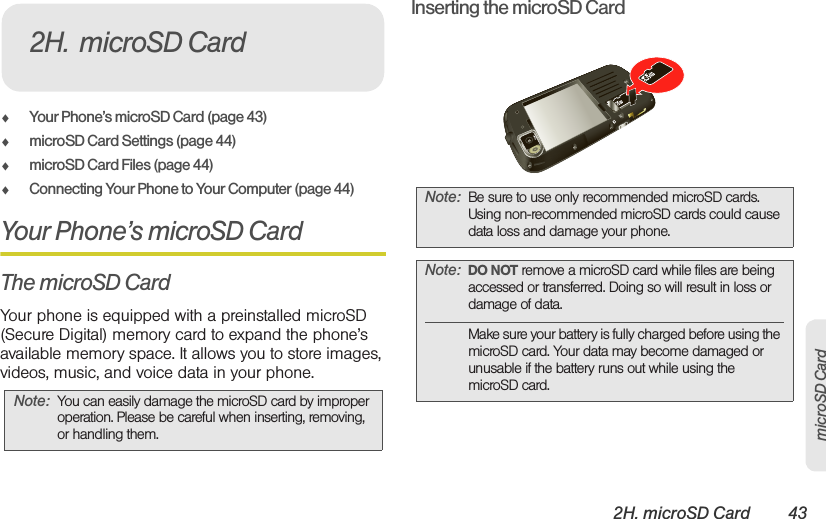
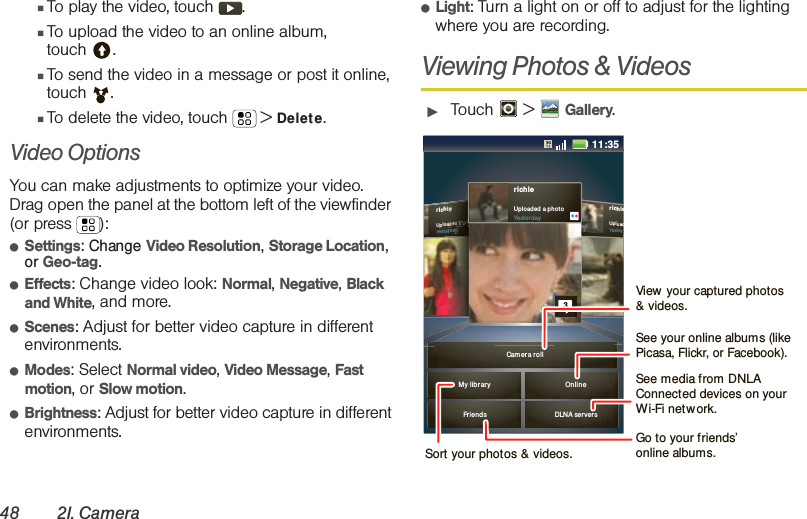
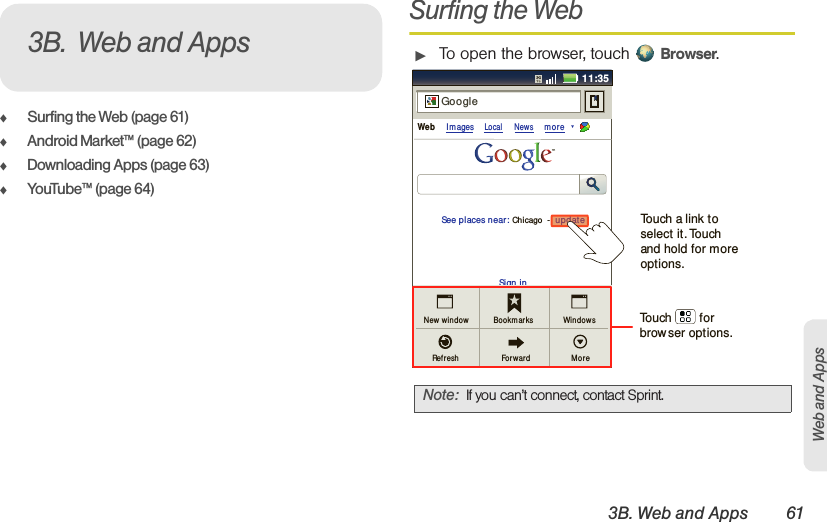
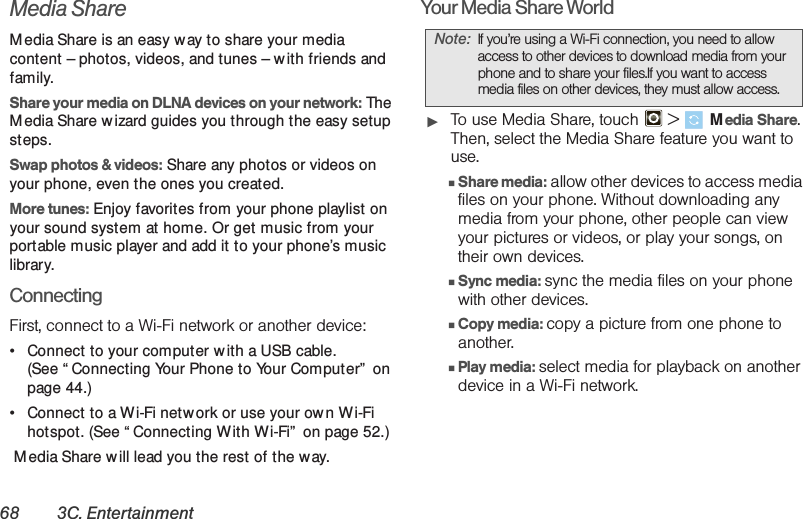
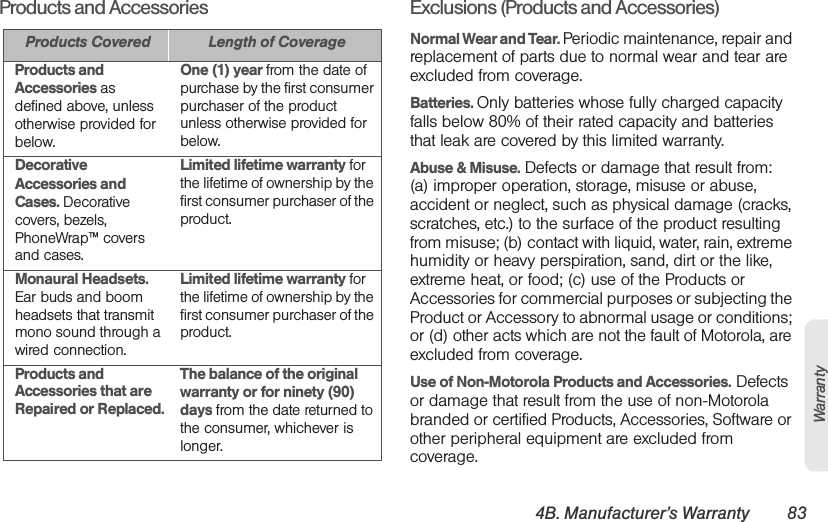
![iIntroductionThis User Guide introduces you to Sprint® service and all the features of your new MOTOROLA [PAX]. It’s divided into four sections:⽧Section 1: Getting Started⽧Section 2: Your Phone⽧Section 3: Sprint Service⽧Section 4: Safety and Warranty InformationNote: Because of updates in phone software, this printed guide may not be the most current version for your phone. Visit www.sprint.com and sign in to access the most recent version of the user guide.WARNING: Please refer to the Important Safety Information section on page 74 to learn about information that will help you safely use your phone. Failure to read and follow the Important Safety Information in this phone guide may result in serious bodily injury, death, or property damage.](https://usermanual.wiki/Motorola-Mobility/T56MP1/User-Guide-1525698-Page-7.png)