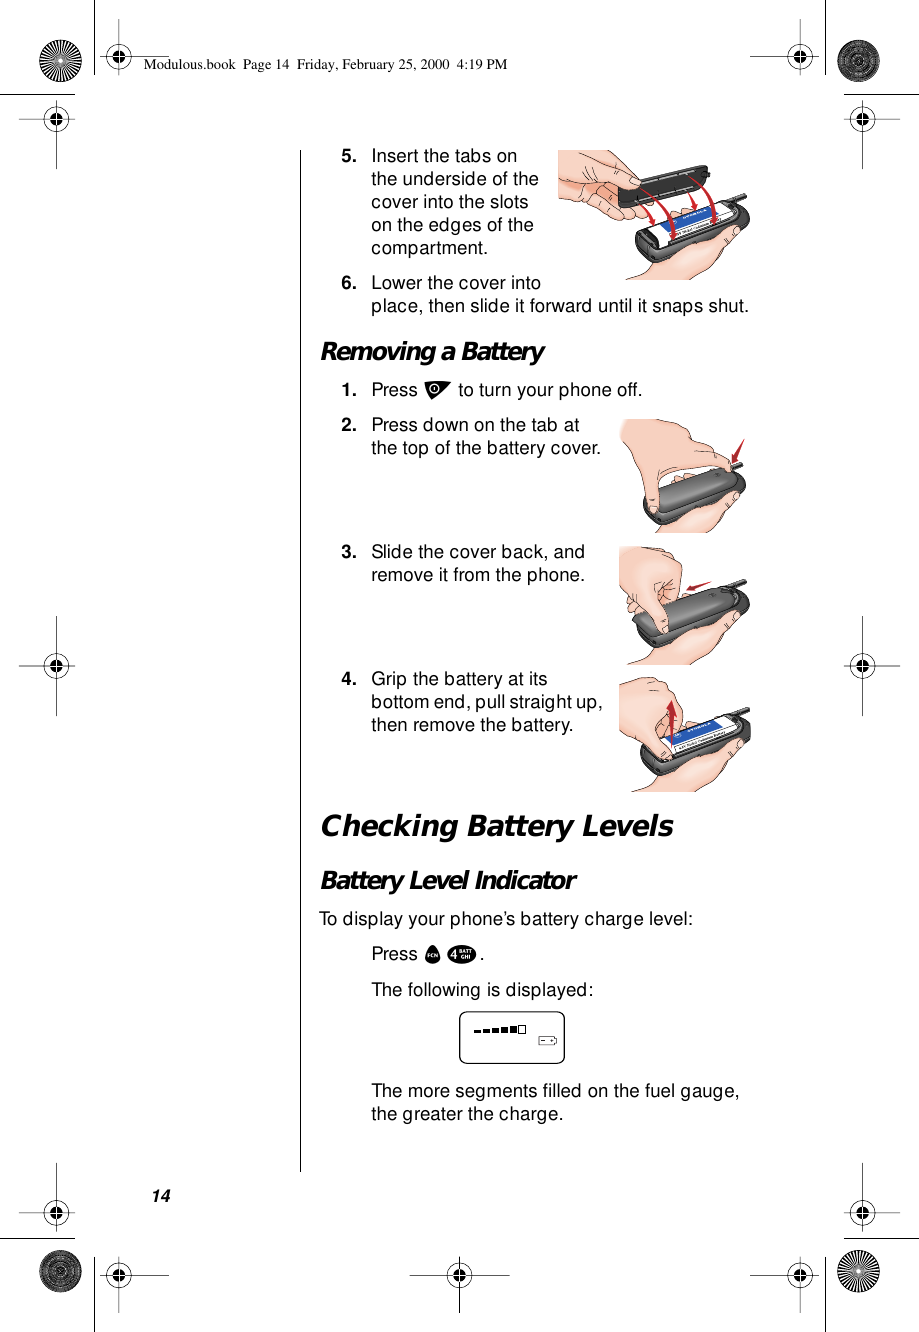
Motorola Mobility T5ZP1 Portable Cellular Transceiver User Manual Exhibit 8
Motorola Mobility LLC Portable Cellular Transceiver Exhibit 8
UserManual.wiki
>
Motorola Mobility
>
T5ZP1 User Manual
Exhibit 8 Users Manual
Navigation menu
Upload a User Manual
Namespaces
Wiki Guide
HTML
PDF
Info
Views
User Manual
Discussion / Help
Navigation


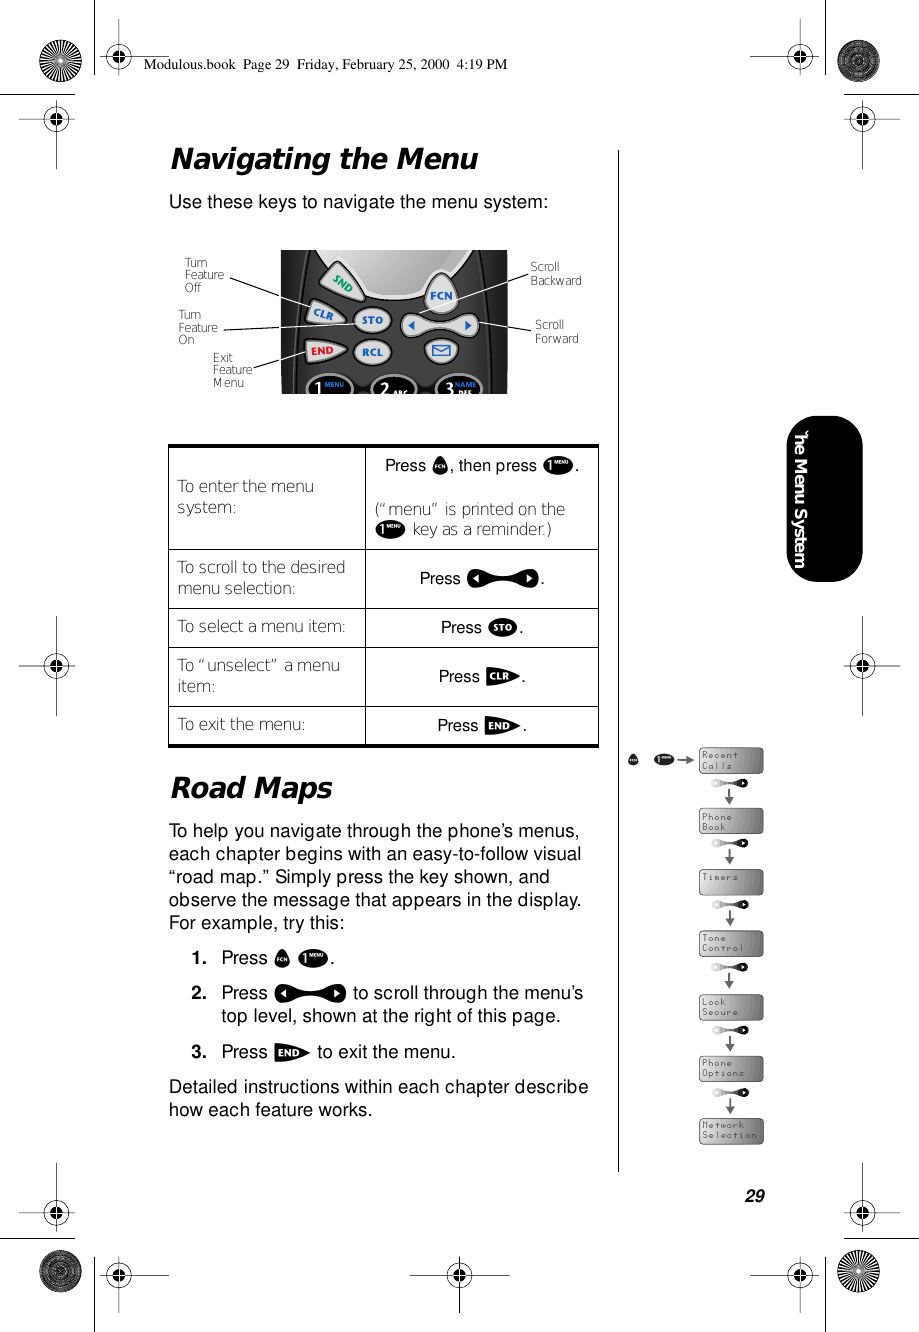


![70Selecting a Non-Public NetworkTo select a non-public network:1. Follow “Getting to Network Selection” above to scroll to Find Best Non-Public, and press s to activate a search.2. Follow the appropriate instructions below:Getting to Network Selection1. Press f, then press 1 to enter the menu system.2. Press a to scroll to Network Selection, and press s to select.3. Press a to scroll to the following features.If You See This Message: Do the Following:Search Done: [network ID]•If you want to search for the next best network, press c.When you see the desired network, go on to step 3.•To cancel the search and exit the menu, press e.Search All Bands? •If you want to continue searching for networks in another band, press s.When you see the desired network, go on to step 3.•To cancel the search and exit the menu, press c.Not Available Press e to exit, and retry the search later.Modulous.book Page 70 Friday, February 25, 2000 4:19 PM](https://usermanual.wiki/Motorola-Mobility/T5ZP1/User-Guide-90851-Page-71.png)