Motorola Mobility T6HM1 Portable PCS GSM/ EDGE Transceiver with Bluetooth User Manual Exhibit 8 Users Manual
Motorola Mobility LLC Portable PCS GSM/ EDGE Transceiver with Bluetooth Exhibit 8 Users Manual
UserManual.wiki
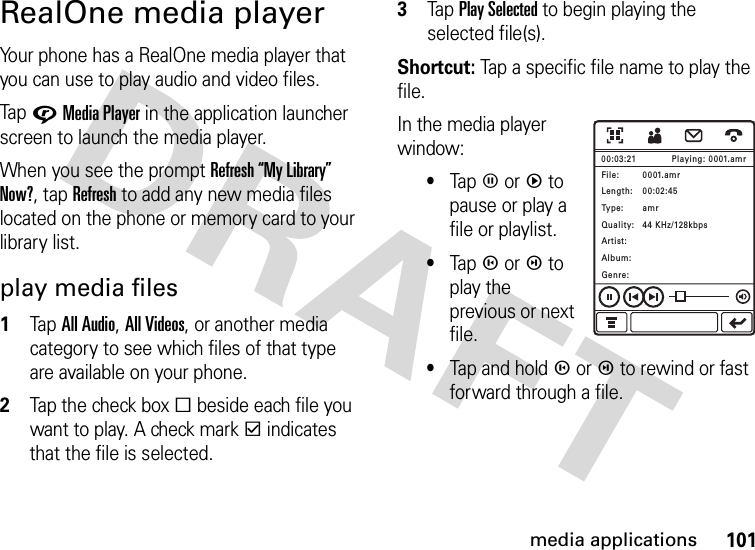
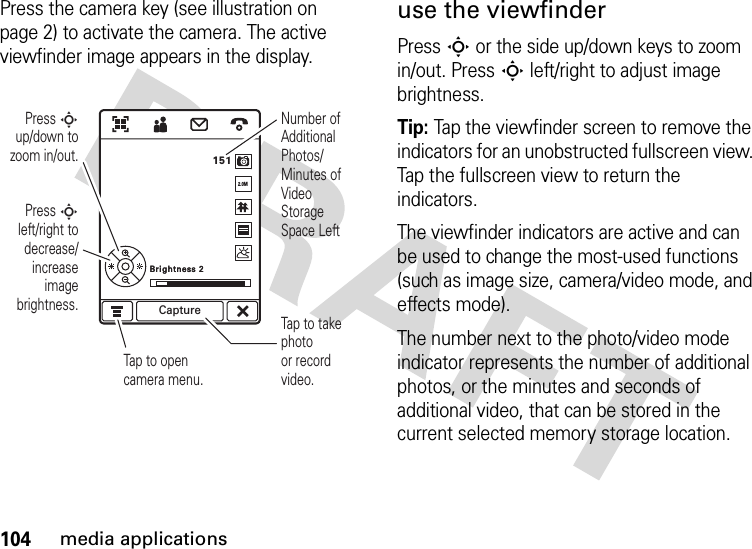
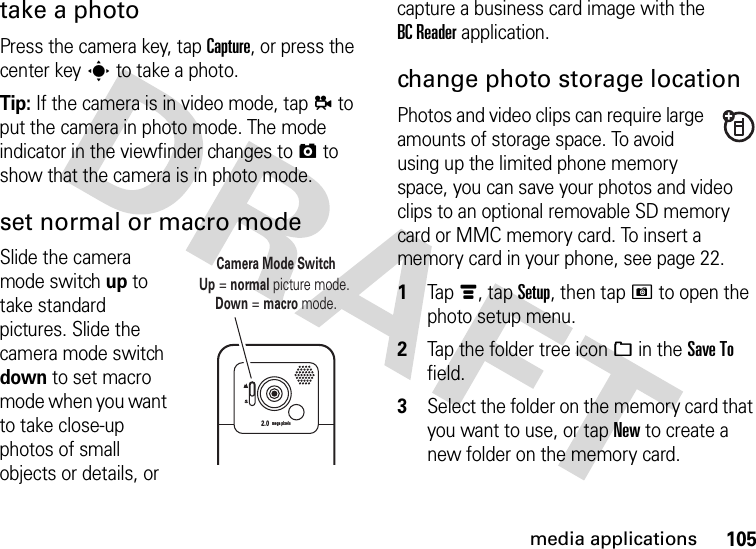
>
Motorola Mobility
>
T6HM1 User Manual
Exhibit 8 Users Manual
Navigation menu
Upload a User Manual
Namespaces
Wiki Guide
HTML
PDF
Info
Views
User Manual
Discussion / Help
Navigation


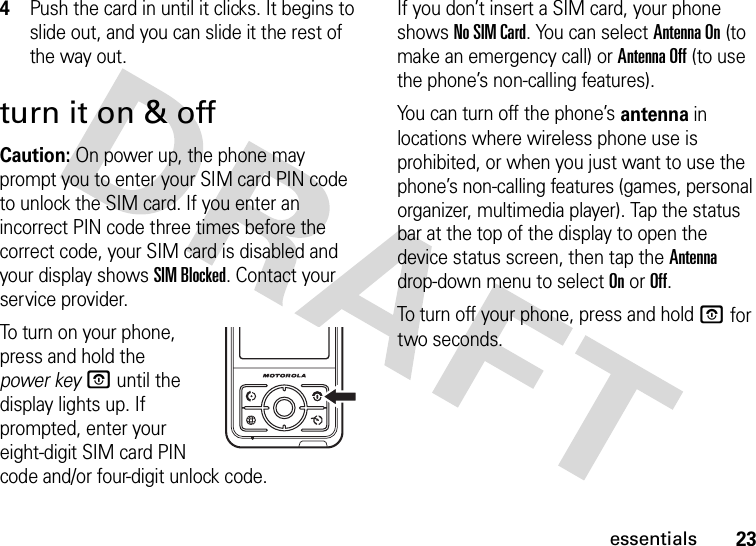
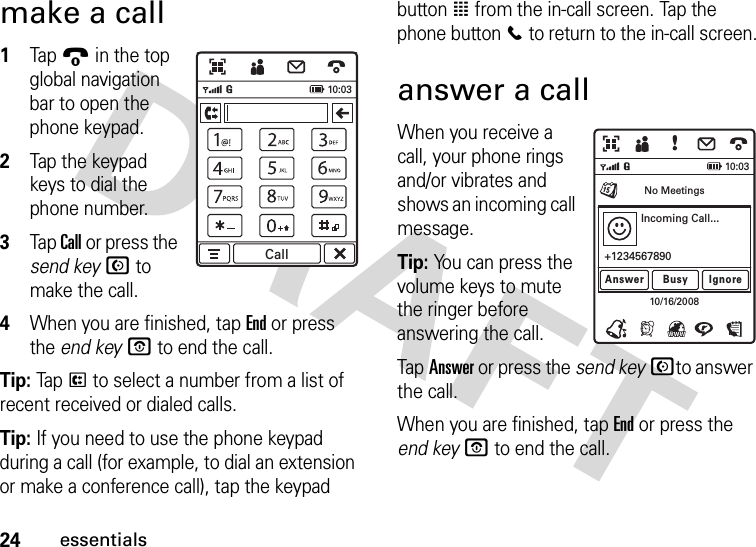

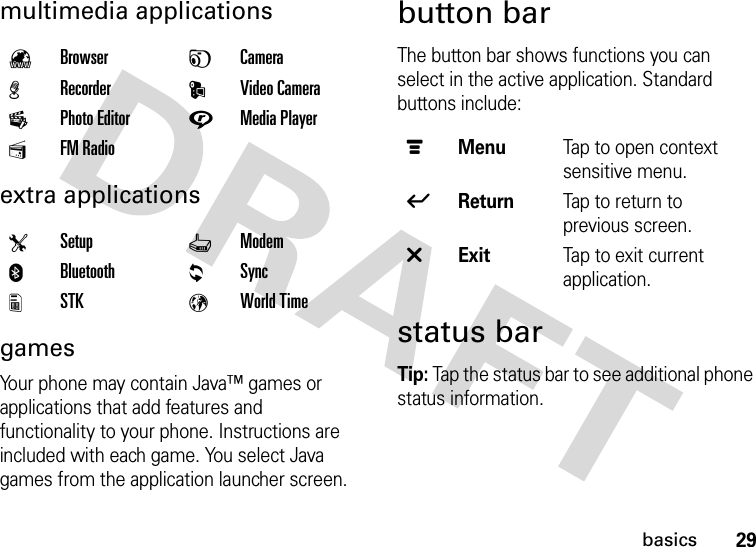


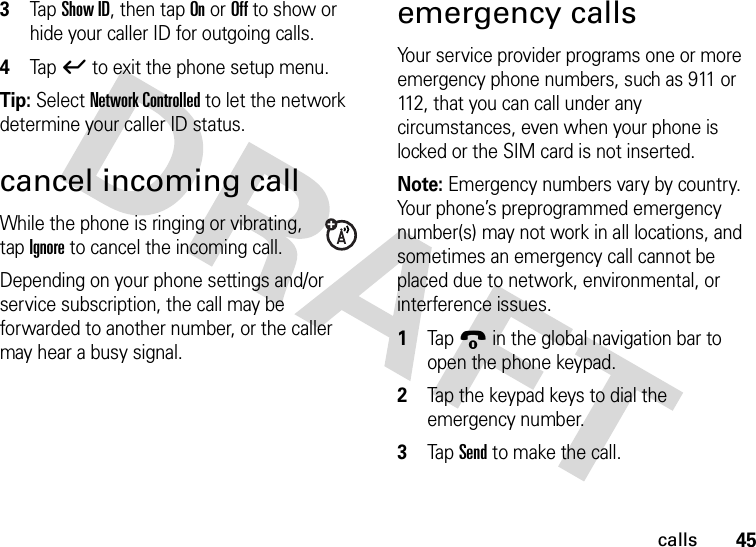


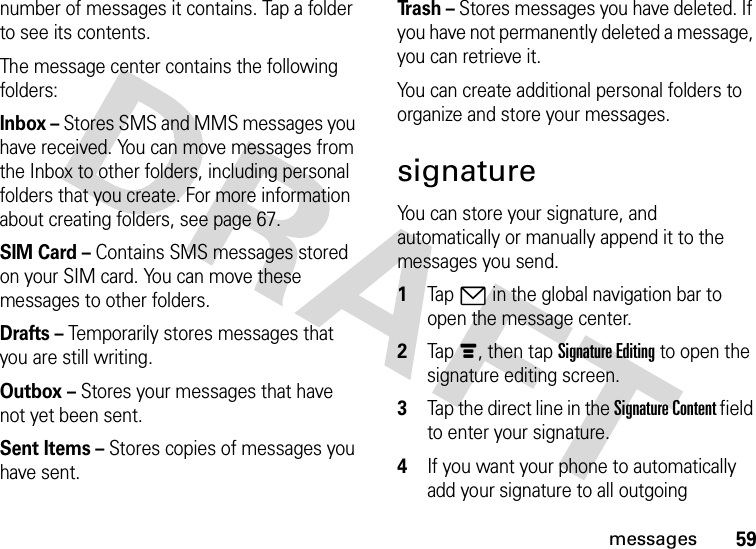
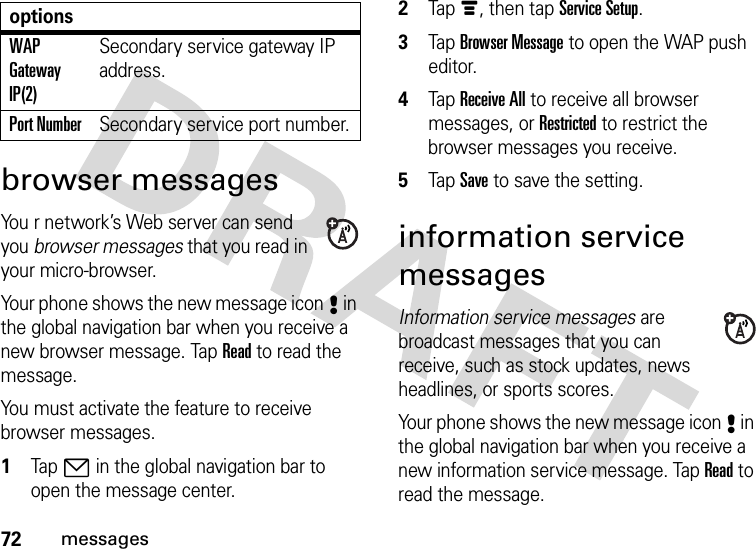
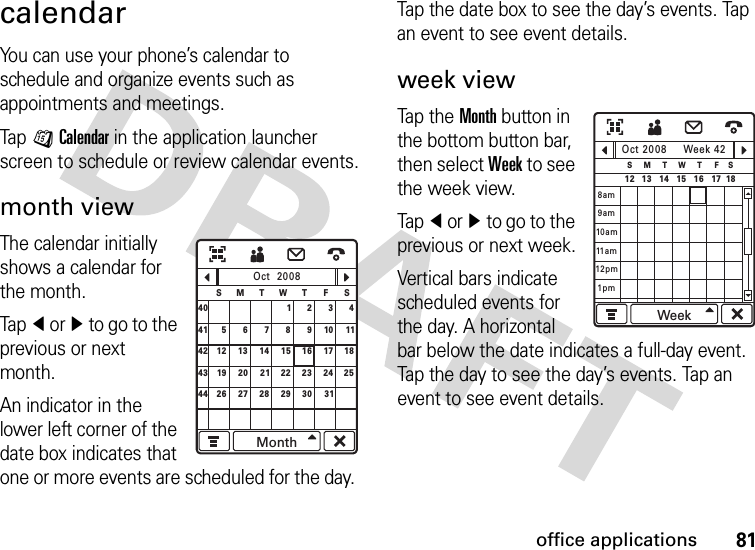
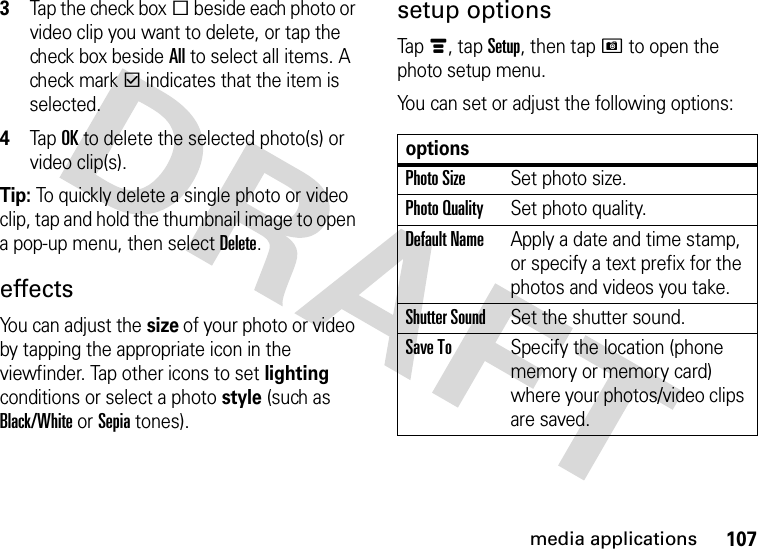
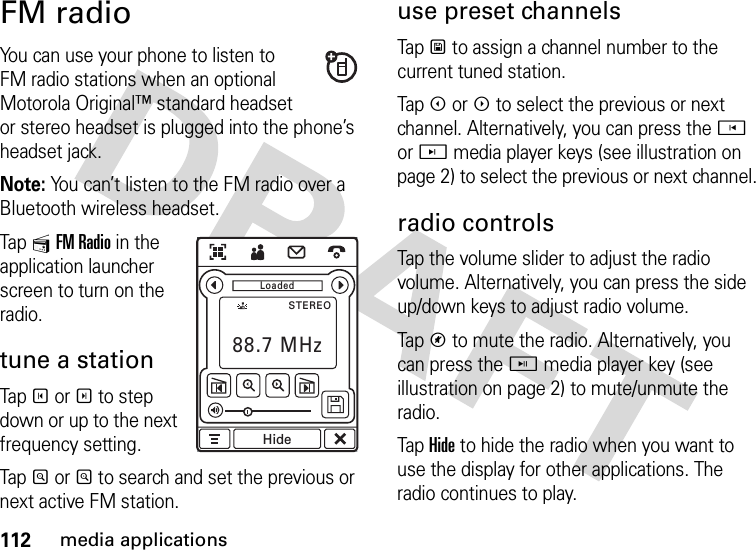
![58messagesmessagesYou can send and receive short text-based SMS messages, and multimedia MMS messages containing media objects such as photos, pictures, animations, sounds, voice records, and video clips.Note: Your phone sends an SMS text message by default, unless you insert multimedia content or perform a function reserved for MMS multimedia messages.Instant messaging lets you exchange messages in real time with other wireless phone users.message centerNote: You must set up your message service before you can send and receive messages. Usually, your service provider has already set up the message inbox for you. For setup instructions, see page 69.Tap7 in the global navigation bar to open the message center.Your messages are stored in different folders in the message center. The number to the right of each folder name indicates the Inbox0 [0]0 [0]0 [0]0 [0]0 [0]0 [0]TrashSent ItemsOutboxDraftsSIM CardCompose](https://usermanual.wiki/Motorola-Mobility/T6HM1/User-Guide-774763-Page-64.png)