Motorola Solutions Germany MR1145 RADIOTELEPHONE MR1145 User Manual OPERATING MANUAL
Motorola Solutions Germany GmbH RADIOTELEPHONE MR1145 OPERATING MANUAL
Contents
- 1. OPERATING MANUAL
- 2. SERVICE MANUAL PART 1
- 3. SERVICE MANUAL PART 2
OPERATING MANUAL
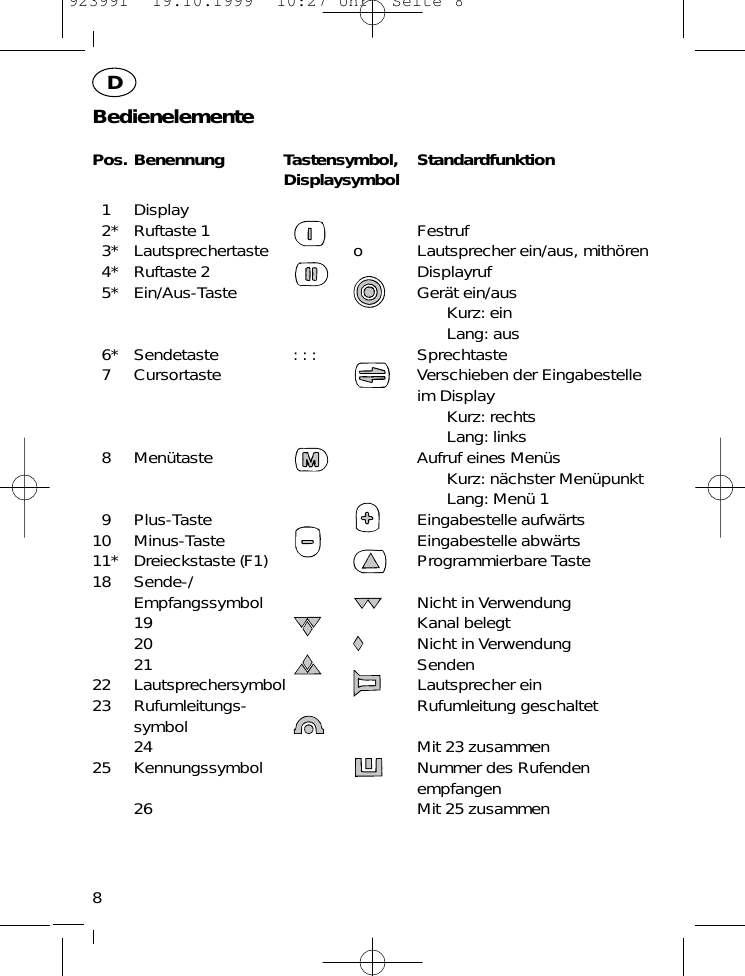

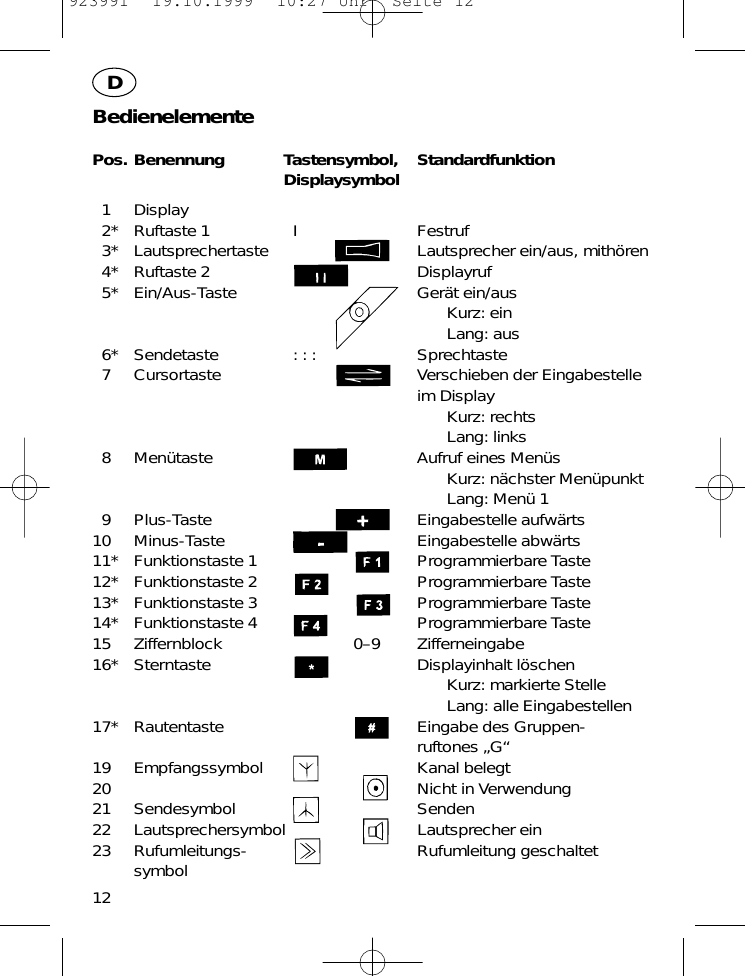
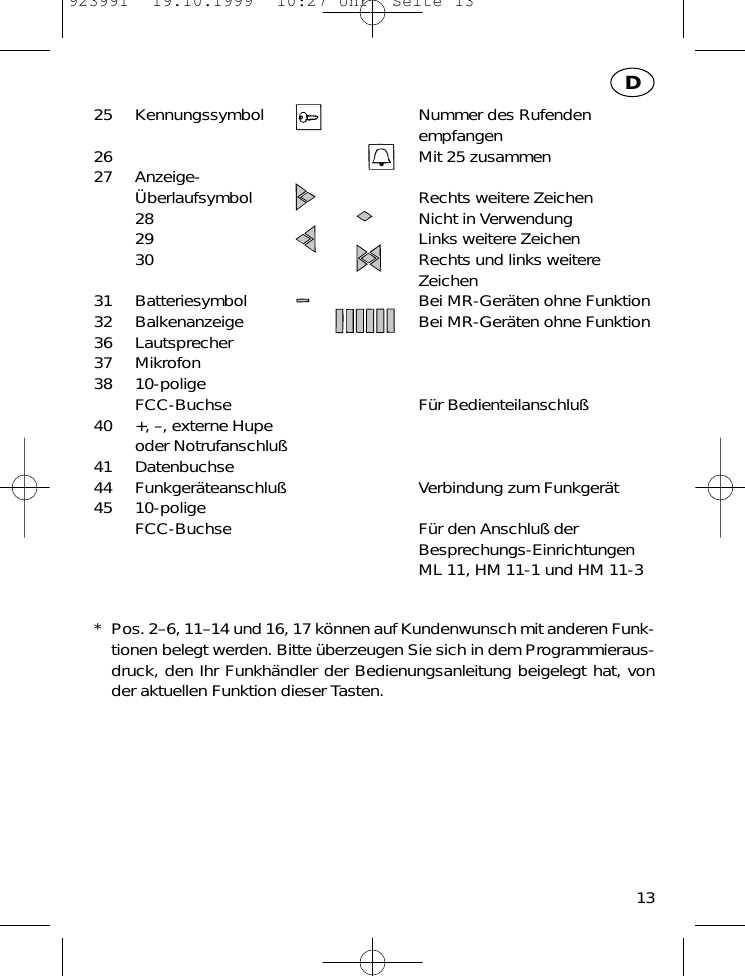
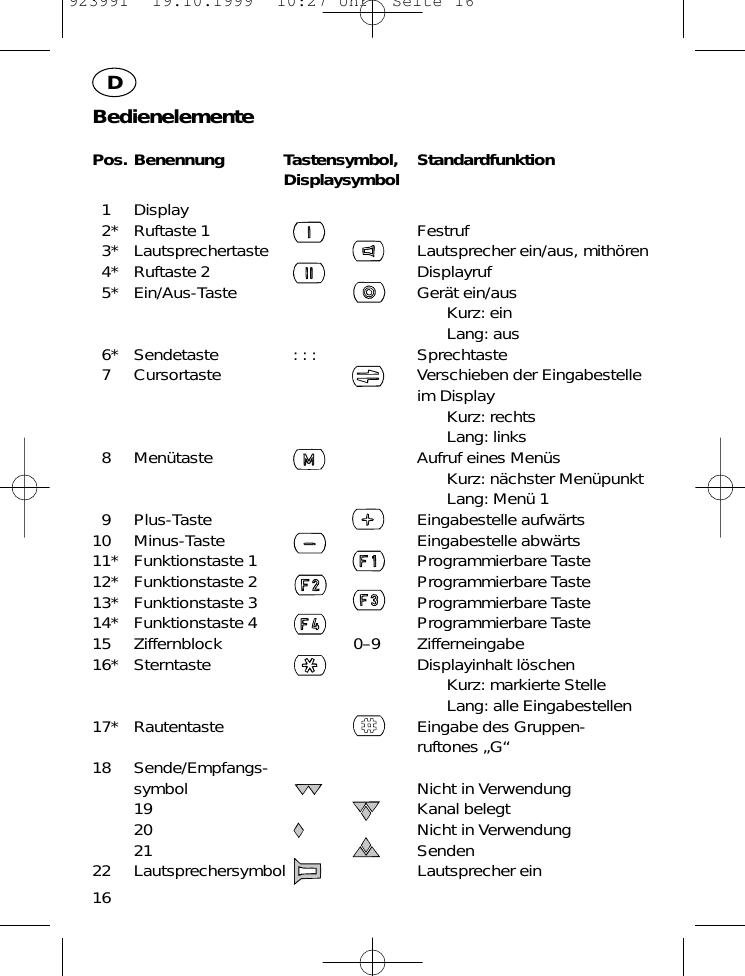
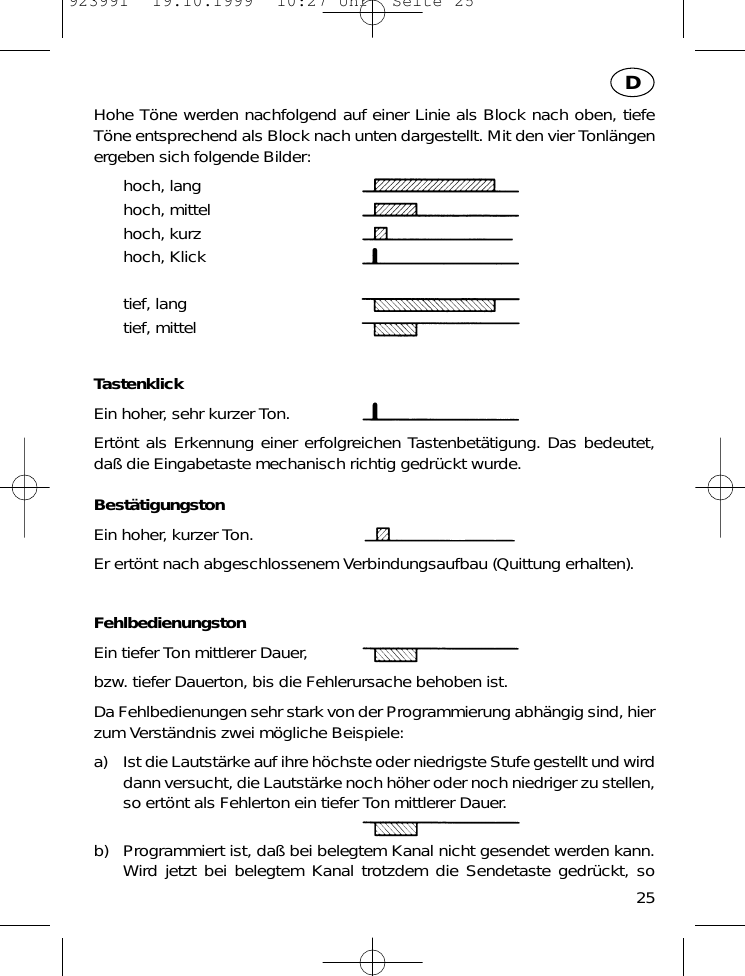
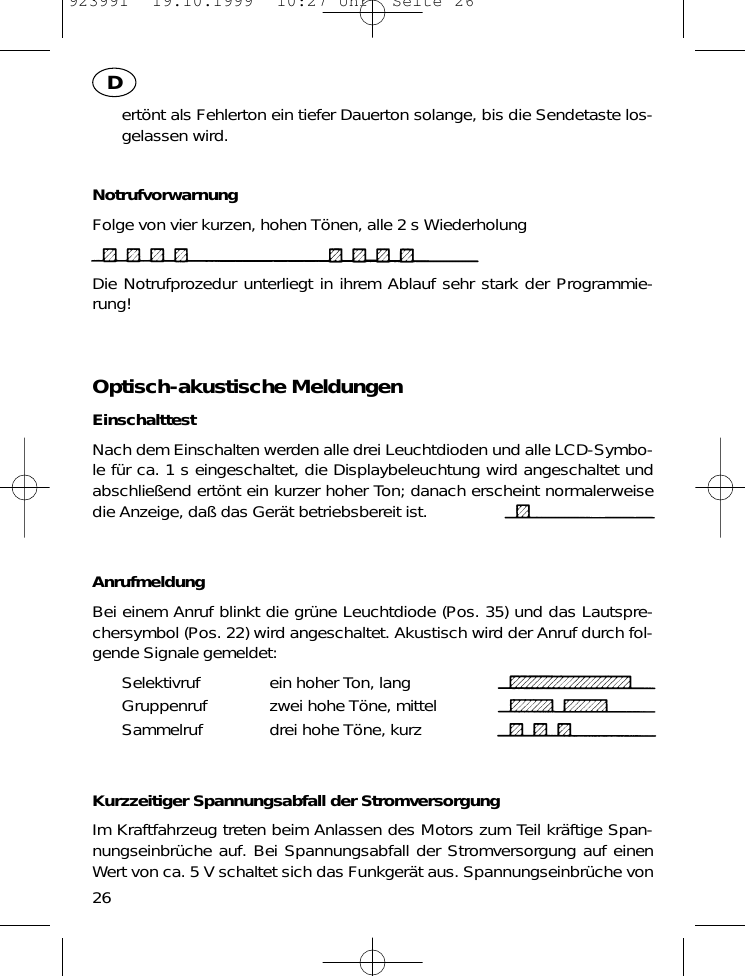
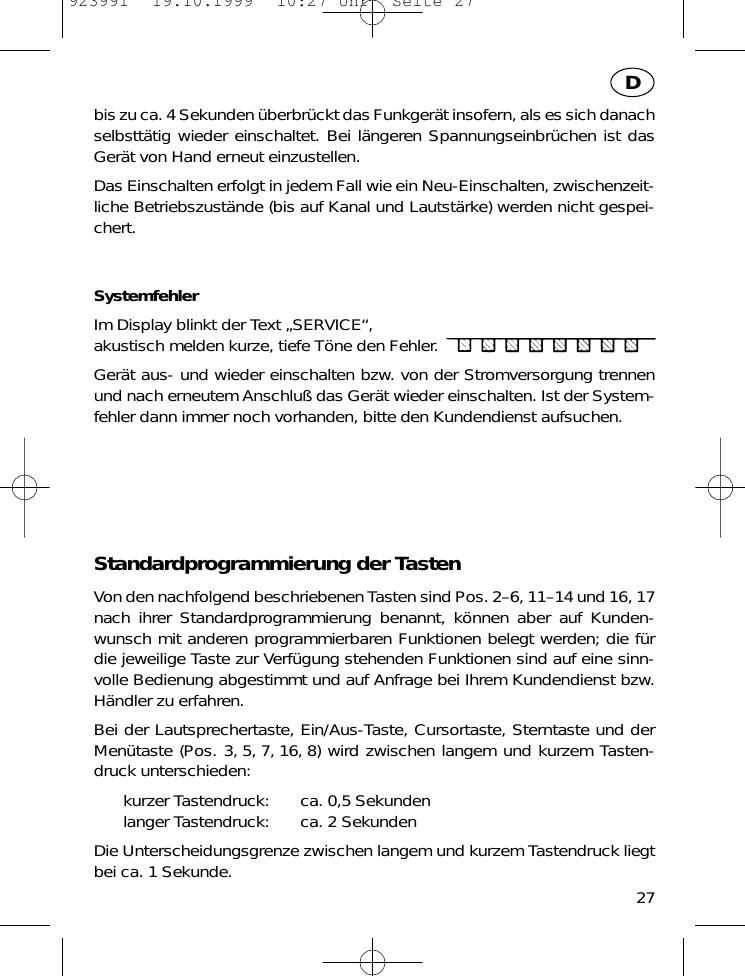
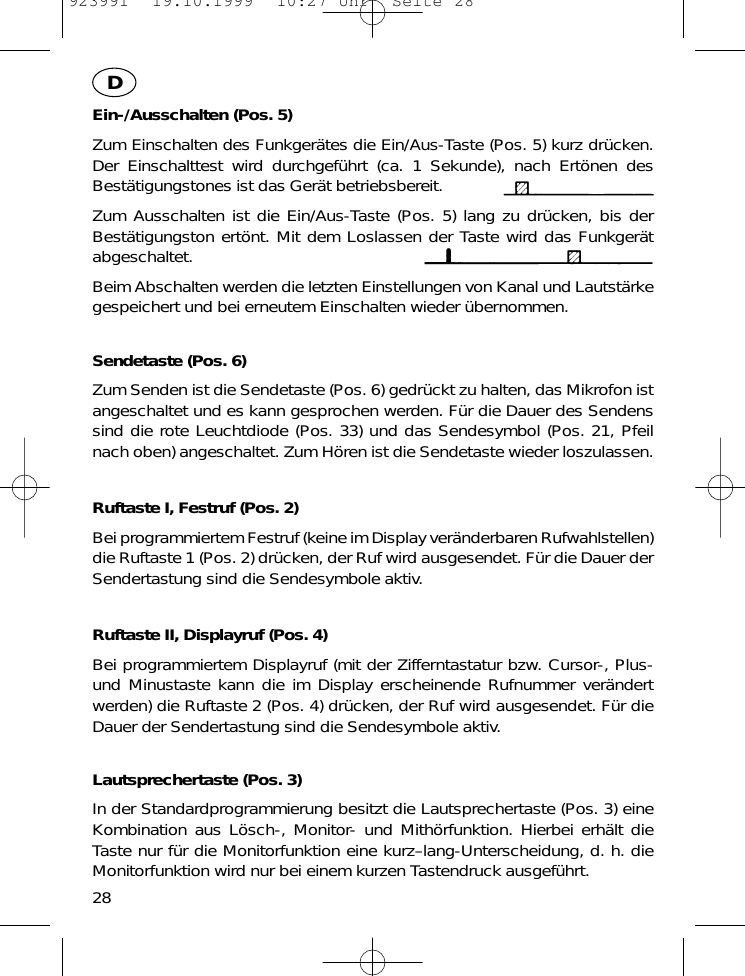
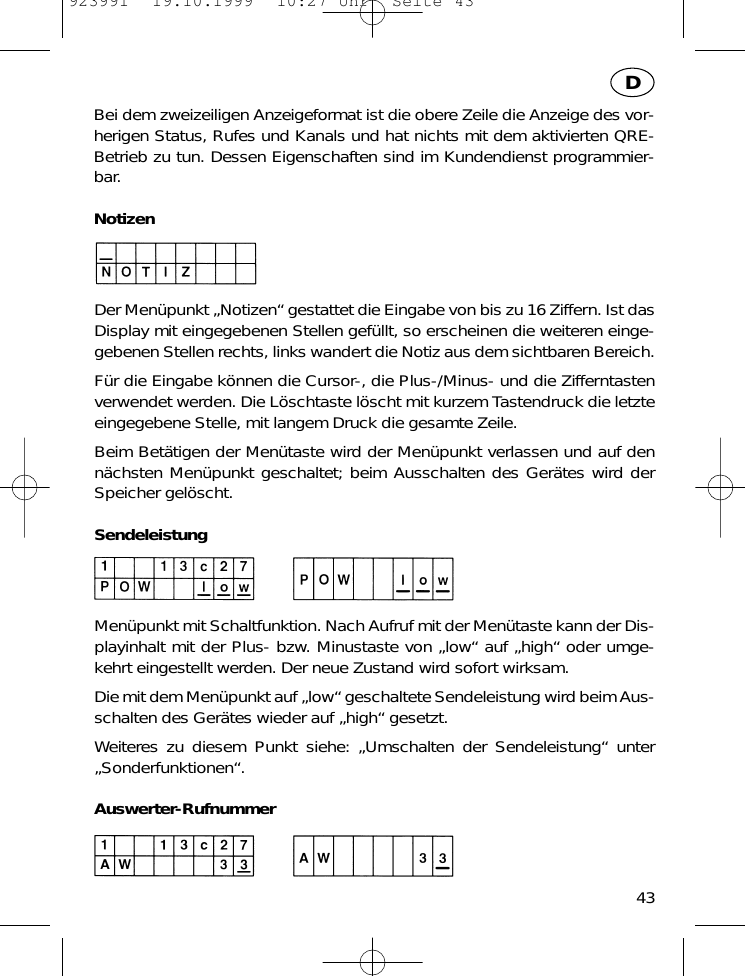
![Gerät mit Rufauswerter:MithörenWährend die Taste gedrückt gehalten wird, kann man in den Funkkanalhineinhören. Ist Funkbetrieb auf dem Kanal, so hört man diesen mit, istder Kanal frei, so hört man ein Rauschen. Für die Dauer des Tasten-drucks wird das Lautsprechersymbol (Pos. 22) und die grüne Leucht-diode (Pos. 35) angeschaltet. [Ruf-, Subaudioauswerter und Rausch-sperre werden umgangen]MonitorMit jedem Loslassen der Taste wird der Lautsprecher gleichzeitig in denjeweils anderen Zustand geschaltet, d. h. Lautsprecher „ein“ (grüneDiode auf Dauerlicht, Lautsprechersymbol an) oder Lautsprecher „aus“(grüne Diode aus und Lautsprechersymbol aus). [Nur Rufauswerter wirdumgangen]LöschenDarüber hinaus wird mit jedem Tastendruck ein eventuell vorhandenesAnrufsignal zurückgesetzt.Sterntaste (Pos. 16)Die Sterntaste ist standardmäßig mit der Funktion „Displayinhalt löschen“(kurz = markierte Eingabestelle, lang = alle Eingabestellen) belegt. Sie stehtnicht bei allen Bedienteilen zur Verfügung.Rautetaste (Pos. 17)Die Rautetaste dient in der Standardprogrammierung der Eingabe des Grup-penruftones „G“. Sie steht nicht bei allen Bedienteilen zur Verfügung.Standardprogrammierung der Tasten zur MenübedienungMenütaste (Pos. 8)Im Ruhezustand (Standby-Betrieb) des Funkgerätes ist auf dem Display dieBasisanzeige sichtbar (siehe „Das Menüsystem“ ). Wollen Sie Eingaben vor-29D923991 19.10.1999 10:27 Uhr Seite 29](https://usermanual.wiki/Motorola-Solutions-Germany/MR1145.OPERATING-MANUAL/User-Guide-68707-Page-29.png)

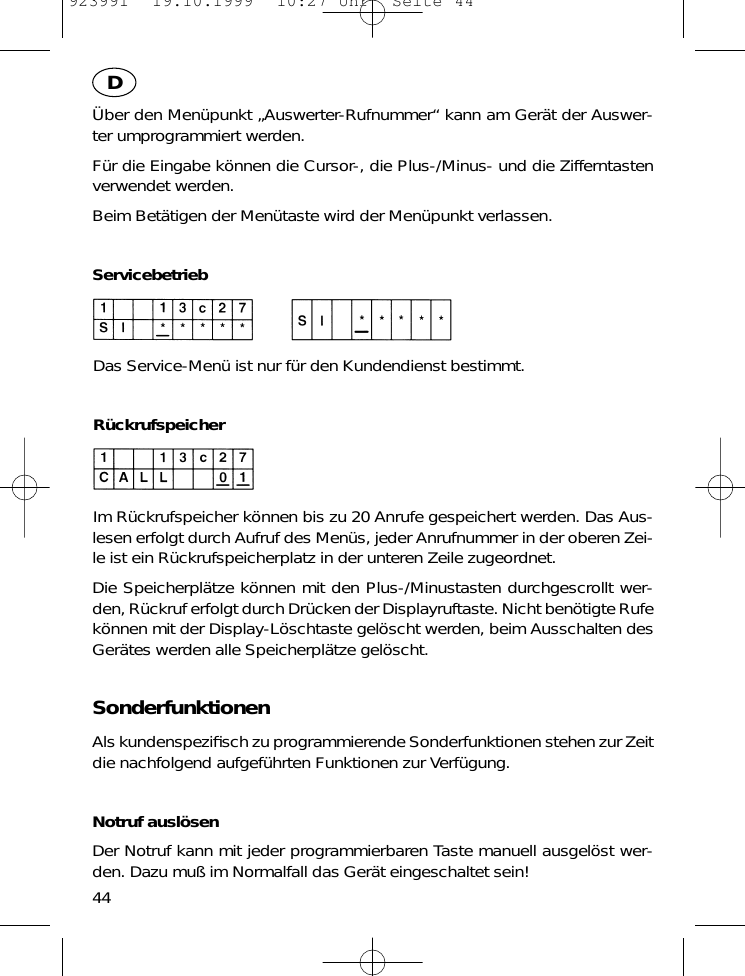

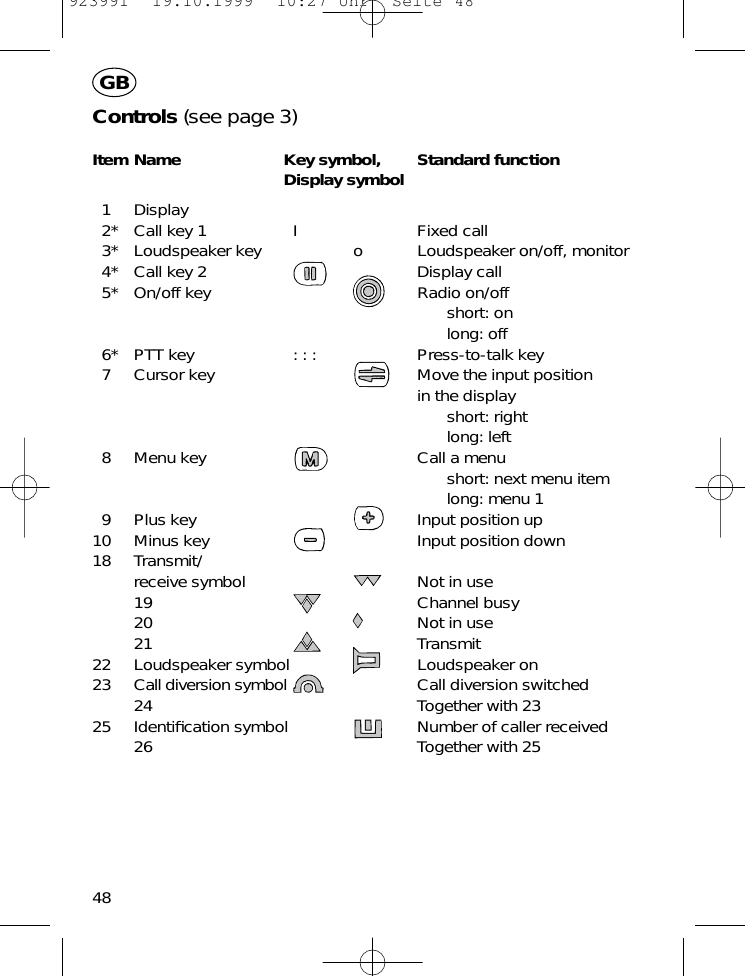
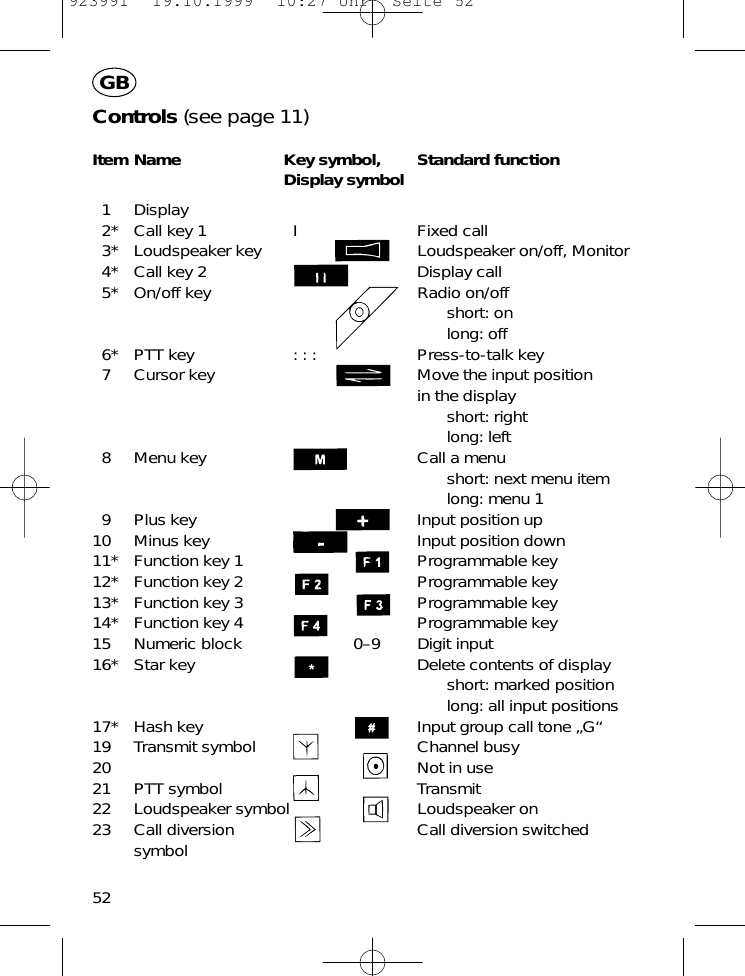
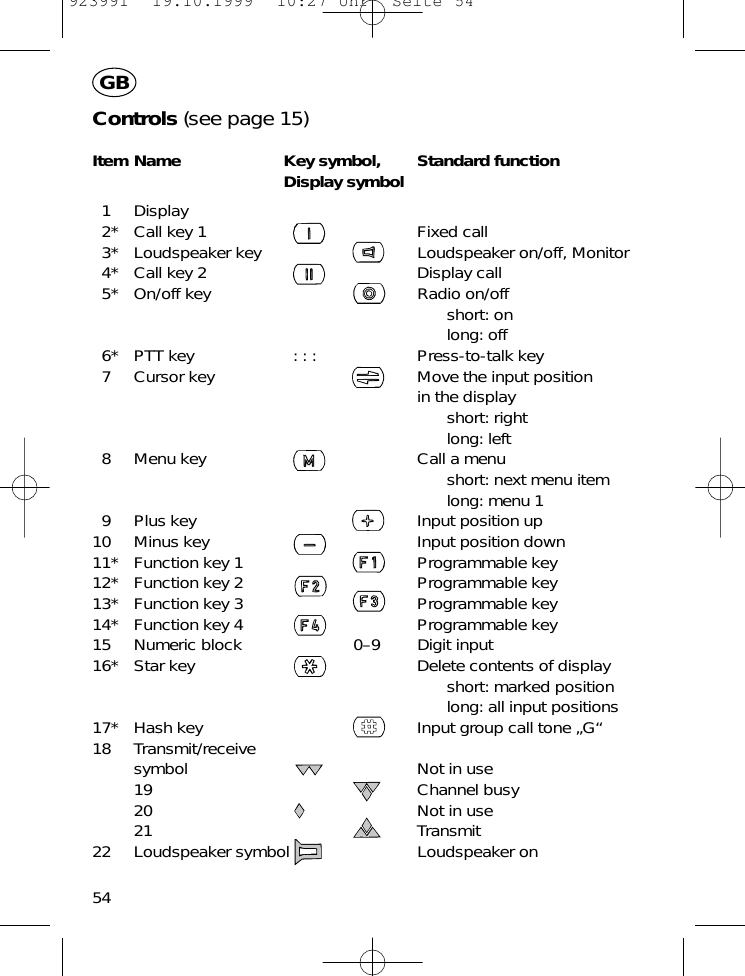

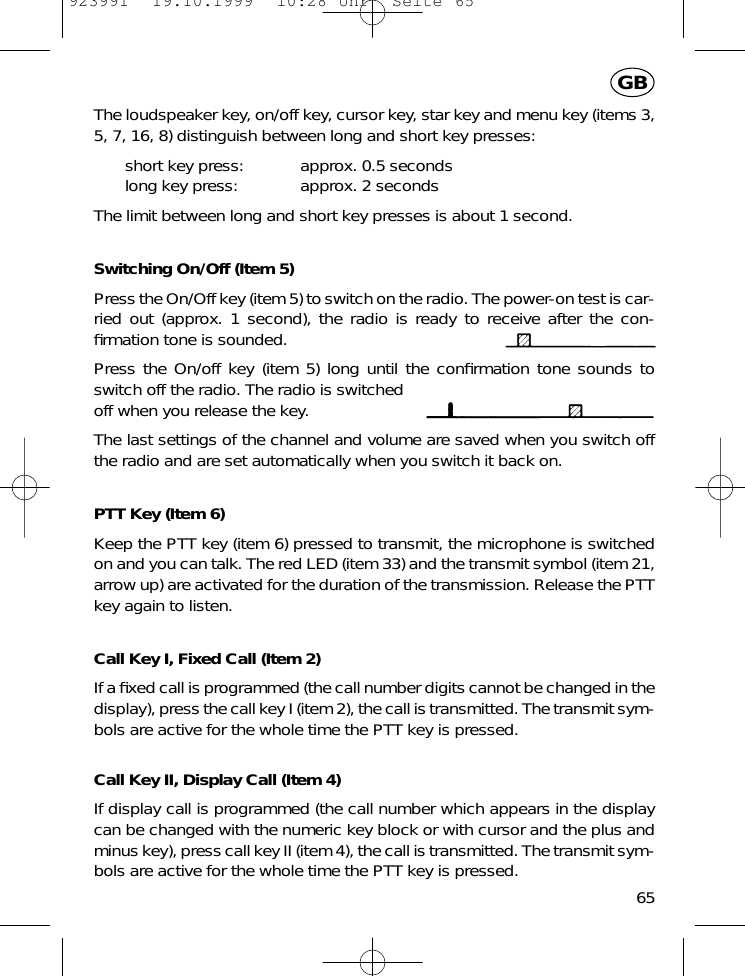
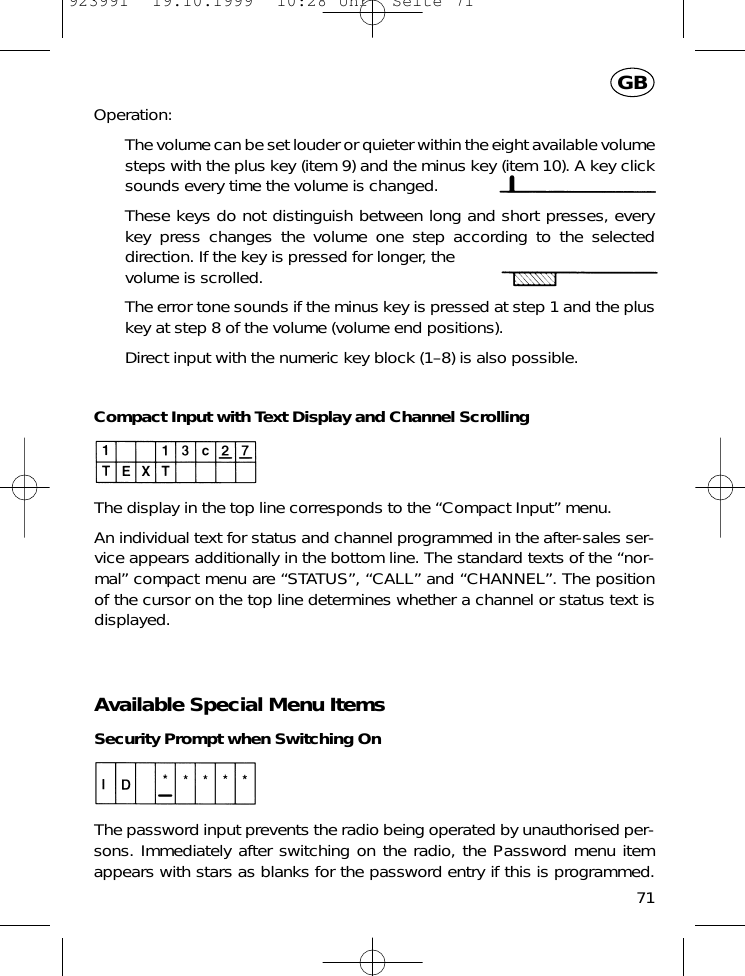
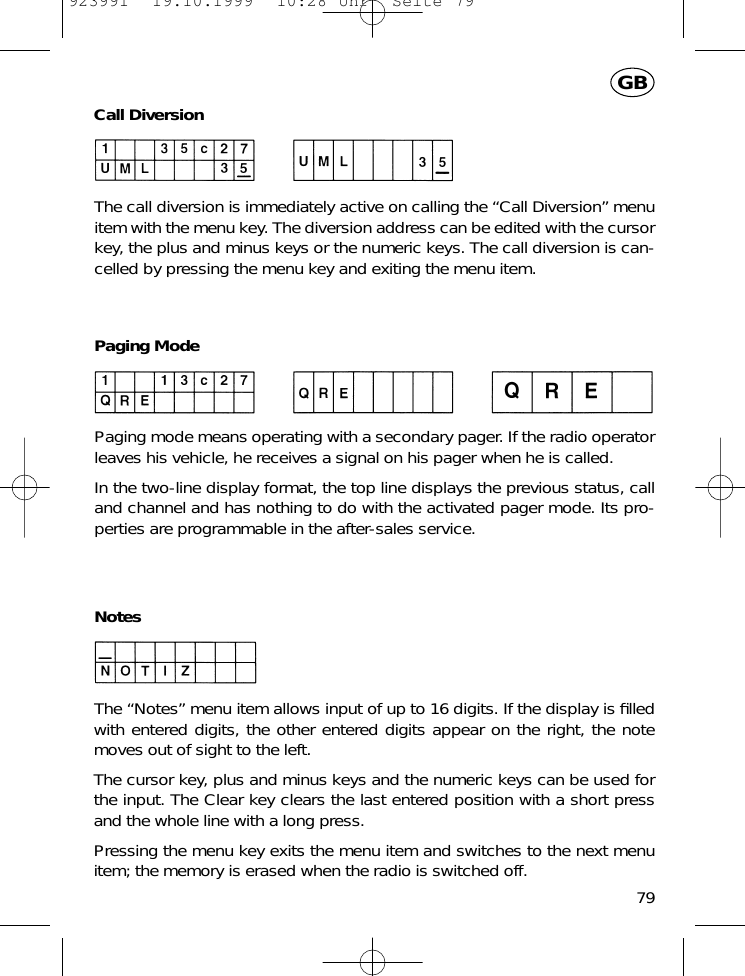
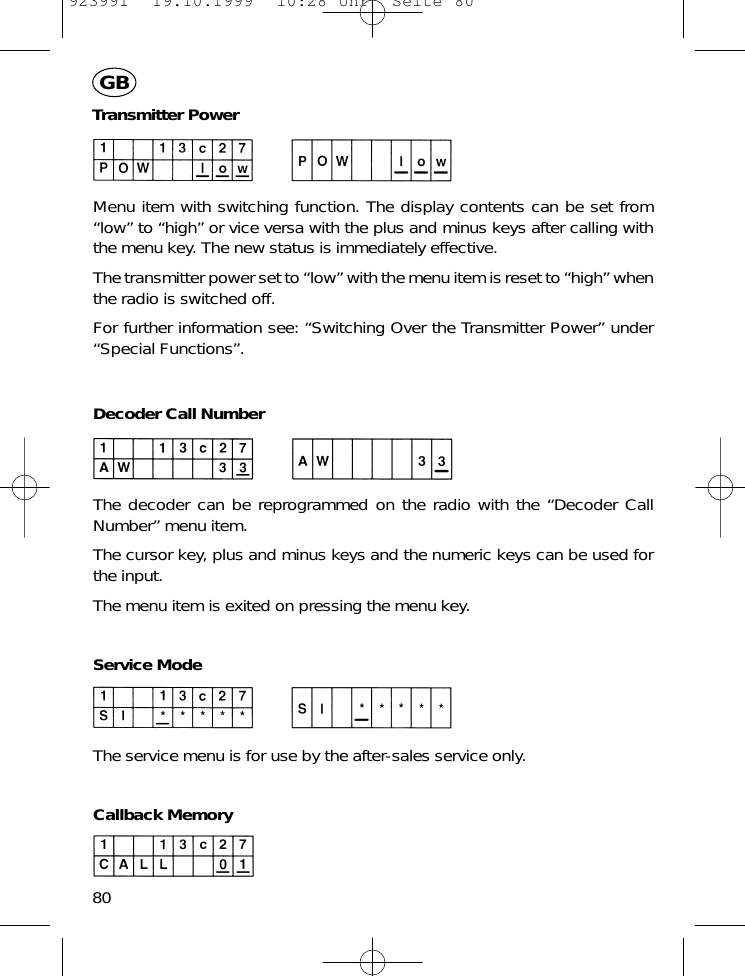
![66GBLoudspeaker Key (Item 3)In its standard programming, the loudspeaker key (item 3) has a combinati-on of Clear, Listen In and Monitor functions. The key only distinguishesbetween short and long presses in its Monitor function, i.e. the monitor func-tion is only executed when the key is pressed short.Radio with call decoder:Listen inYou can listen into the radio channel when you keep the key pressed. Ifthere is radio traffic on the channel, you can listen in, if the channel isfree, you will hear noise. The loudspeaker symbol (item 22) and the greenLED (item 35) are active for the whole time the key is pressed. [Call deco-der, subaudio decoder and squelch are bypassed]MonitorEvery time the key is released the loudspeaker is switched to therespective other state, i.e. loudspeaker “on” (green LED lights steadily,loudspeaker symbol active) or loudspeaker “off” (green LED off andloudspeaker symbol off). [Only the call decoder is bypassed]ClearAny calling signal is reset in addition every time the key is pressed.Star Key (Item 16)The standard assignment of the star key is “Clear Display Content” (short =marked input position, long = all input positions). It is not available in all con-trol units.Hash Key (Item 17)The hash key is used in its standard programming for entering the group calltone “G”. It is not available in all control units.923991 19.10.1999 10:28 Uhr Seite 66](https://usermanual.wiki/Motorola-Solutions-Germany/MR1145.OPERATING-MANUAL/User-Guide-68707-Page-66.png)

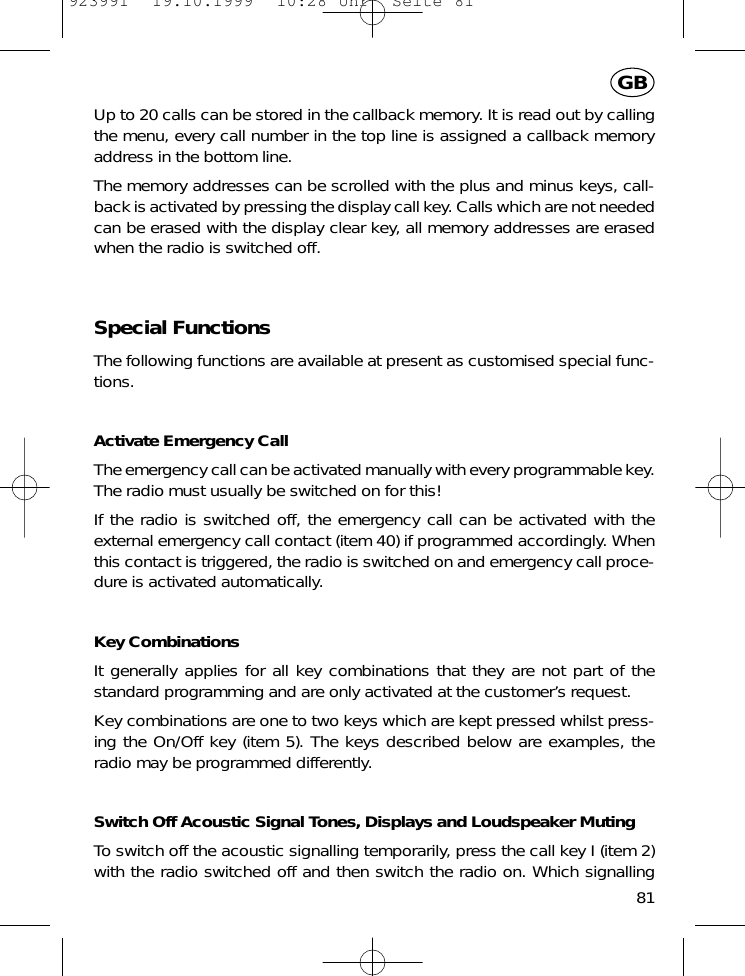


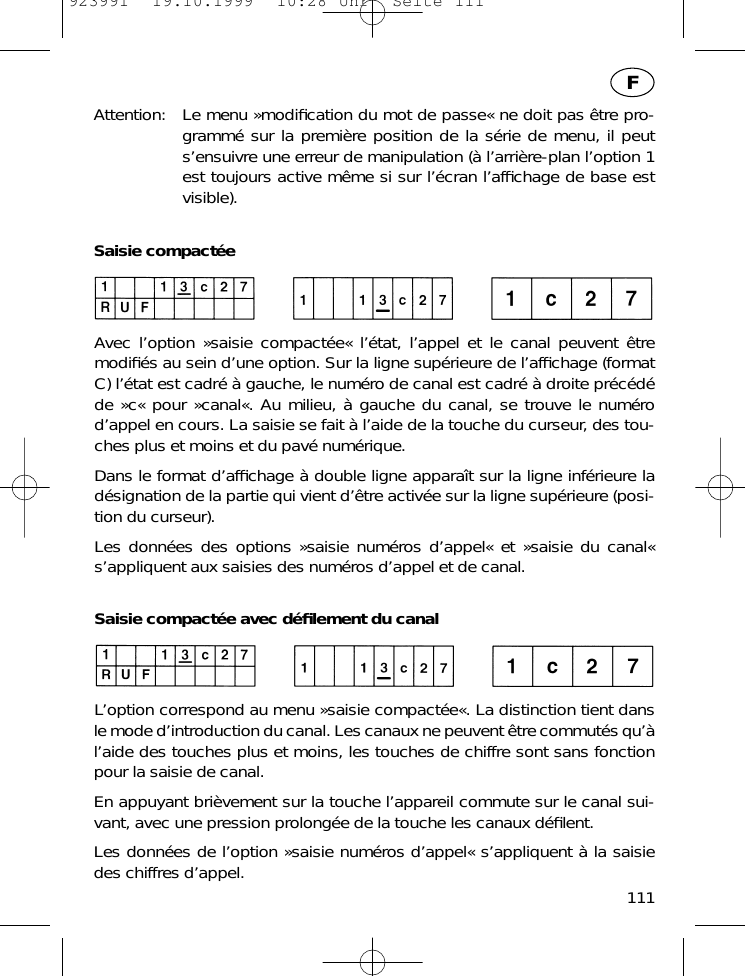
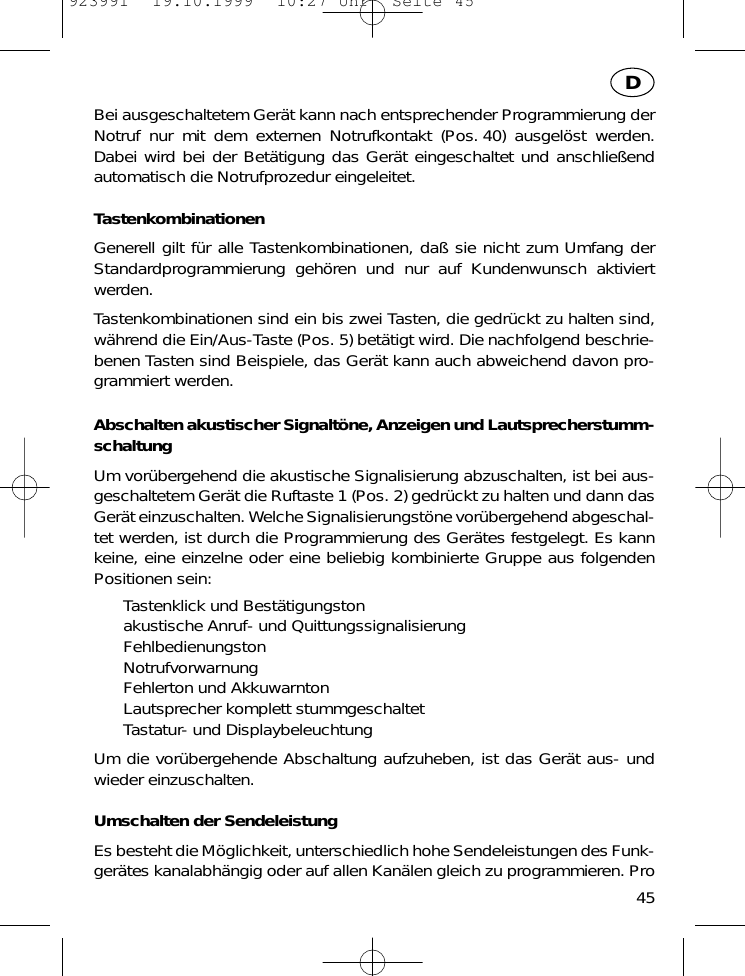
![ge). La touche est affectée d’une différenciation entre frappe brève et frappelongue seulement pour la fonction moniteur, c’est à dire que seule une pres-sion brève de la touche active la fonction moniteur.Appareil avec décodeur d’appel:Fonction écoute permanentePendant que la pression est maintenue sur la touche, il est possibled’écouter dans le canal radio. Si le canal est occupé, on écoute alors letrafic radio, si le canal est libre, on entend un bruit de fond. Pendant ladurée de l’enclenchement de touche, le symbole haut-parleur (pos. 22)et la diode LED verte (pos. 35) sont allumés. [le décodeur d’appel, ledécodeur subaudio et le silencieux sont contournés]MoniteurA chaque relâchement de touche, le haut-parleur est branché soit surl’état »marche« (diode verte sur lumière continue, symbole haut-parleuractivé) ou sur l’état »arrêt« (diode verte éteinte et symbole haut-parleurdésactivé ). [seul le décodeur d’appel est contourné]ReverrouillageDe plus, chaque enclenchement de touche entraîne le reverrouillaged’un signal d’appel éventuel.Touche astérisque (pos. 16)La fonction »effacement du contenu de l’écran d’affichage« (pressionbrève=position de la saisie marquée, pression prolongée=toutes les posi-tions de la saisie) est, dans la version standard, affectée à la touche asté-risque. Elle n’est pas disponible sur tous les organes de commande.Touche dièse (pos. 17)La touche dièse sert à la saisie de la tonalité d’appel de groupe »G« dans laprogrammation standard. Elle n’est pas disponible sur tous les organes decommande.104F923991 19.10.1999 10:28 Uhr Seite 104](https://usermanual.wiki/Motorola-Solutions-Germany/MR1145.OPERATING-MANUAL/User-Guide-68707-Page-104.png)