Motorola Solutions 89FC5800 Non-Broadcast Transmitter User Manual Exhibit D Users Manual Part 2 per 2 1033 c3
Motorola Solutions, Inc. Non-Broadcast Transmitter Exhibit D Users Manual Part 2 per 2 1033 c3
Contents
- 1. Exhibit D Users Manual per 2 1033 c3
- 2. Exhibit D Users Manual Part 1 per 2 1033 c3
- 3. Exhibit D Users Manual Part 2 per 2 1033 c3
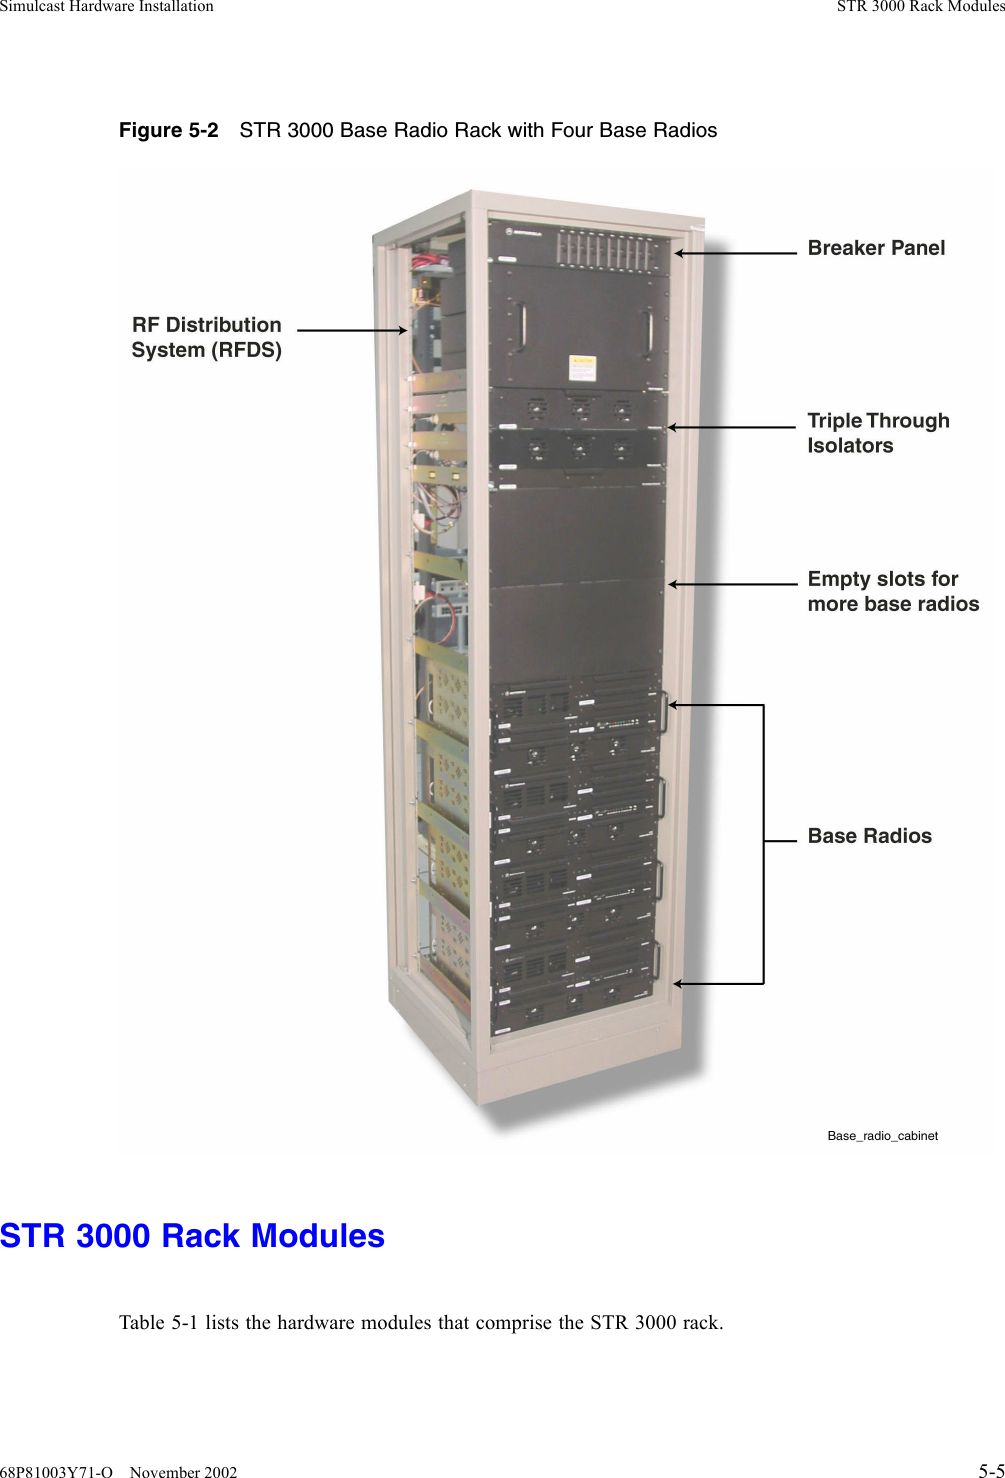
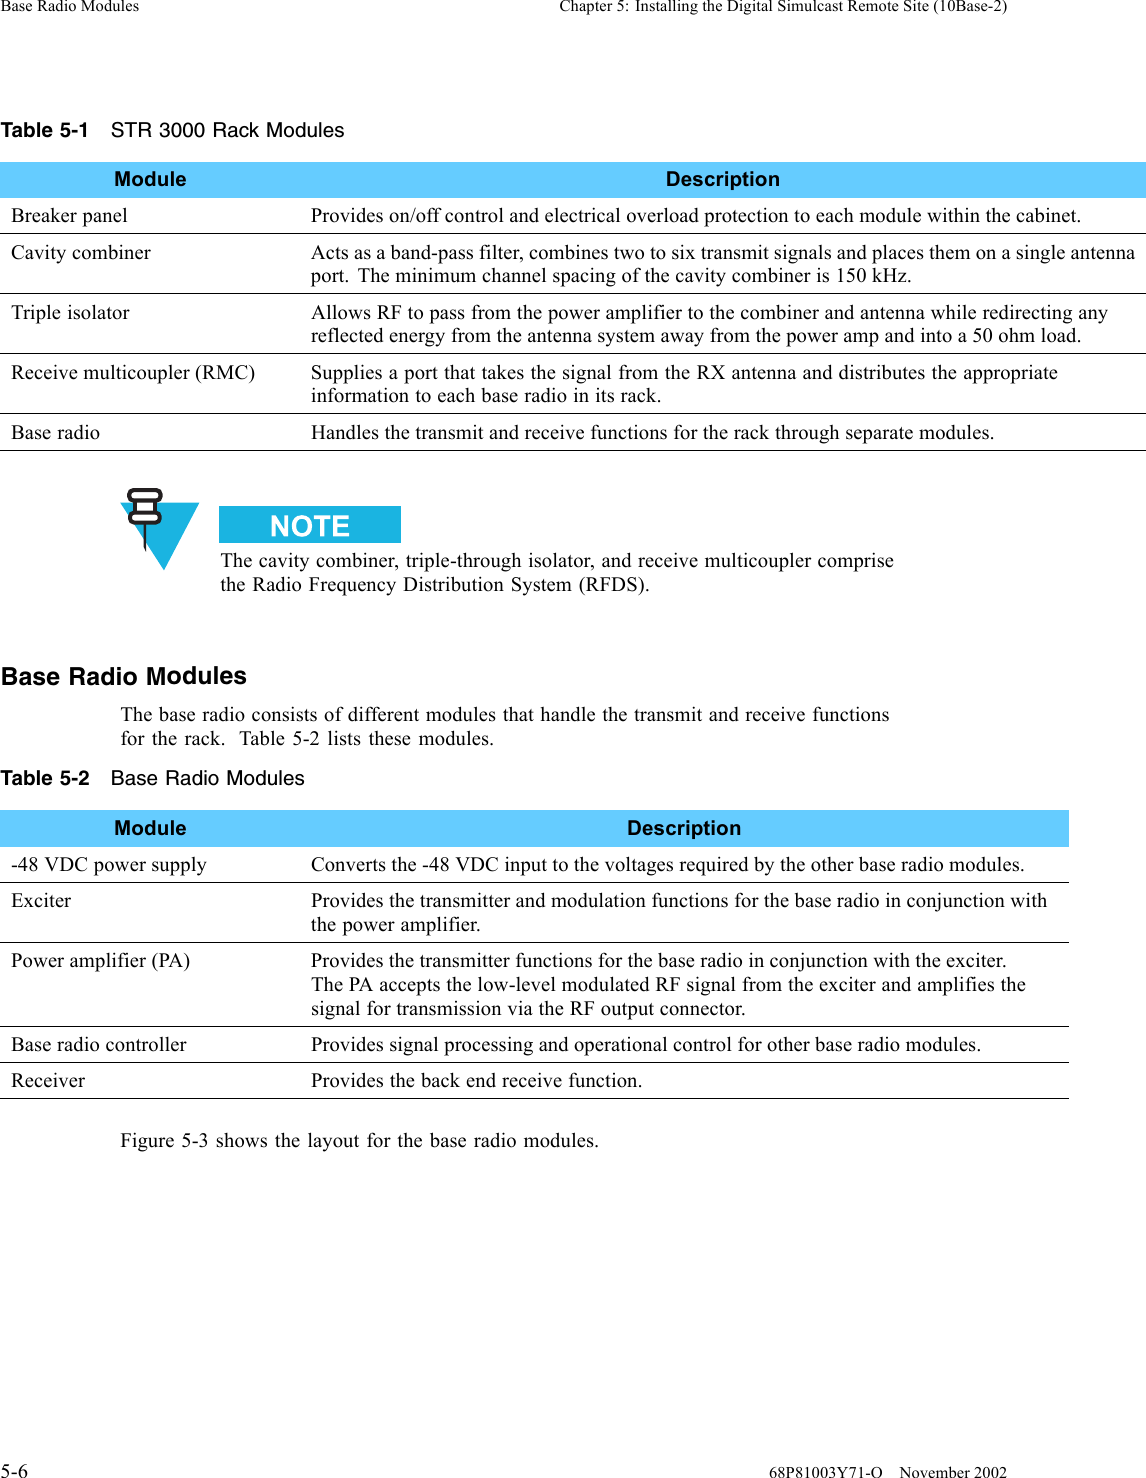
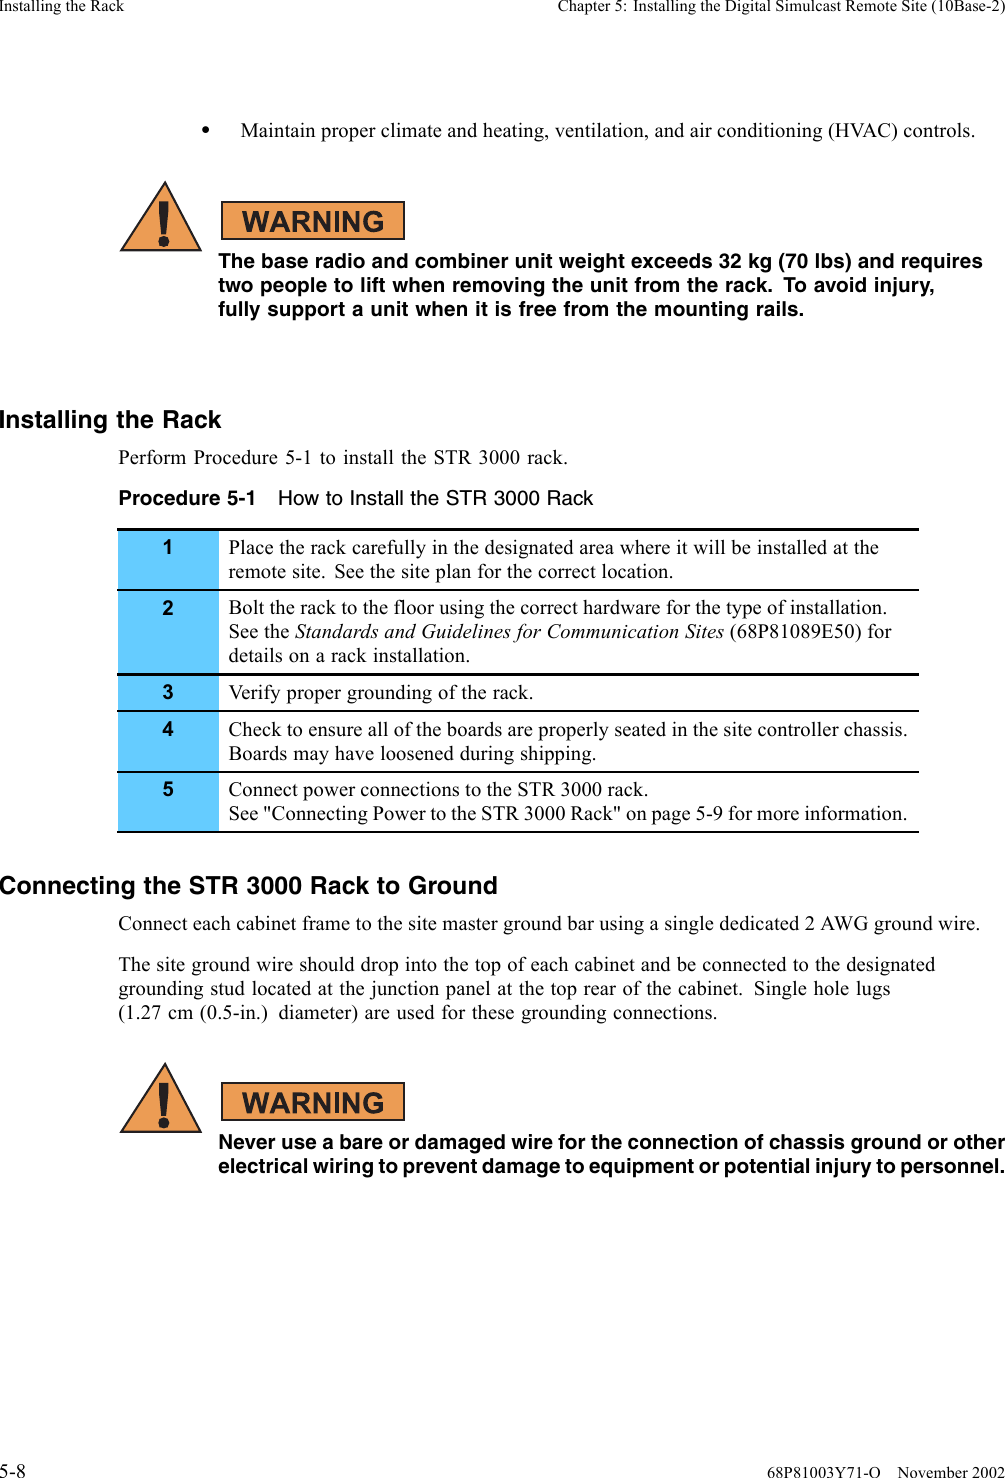
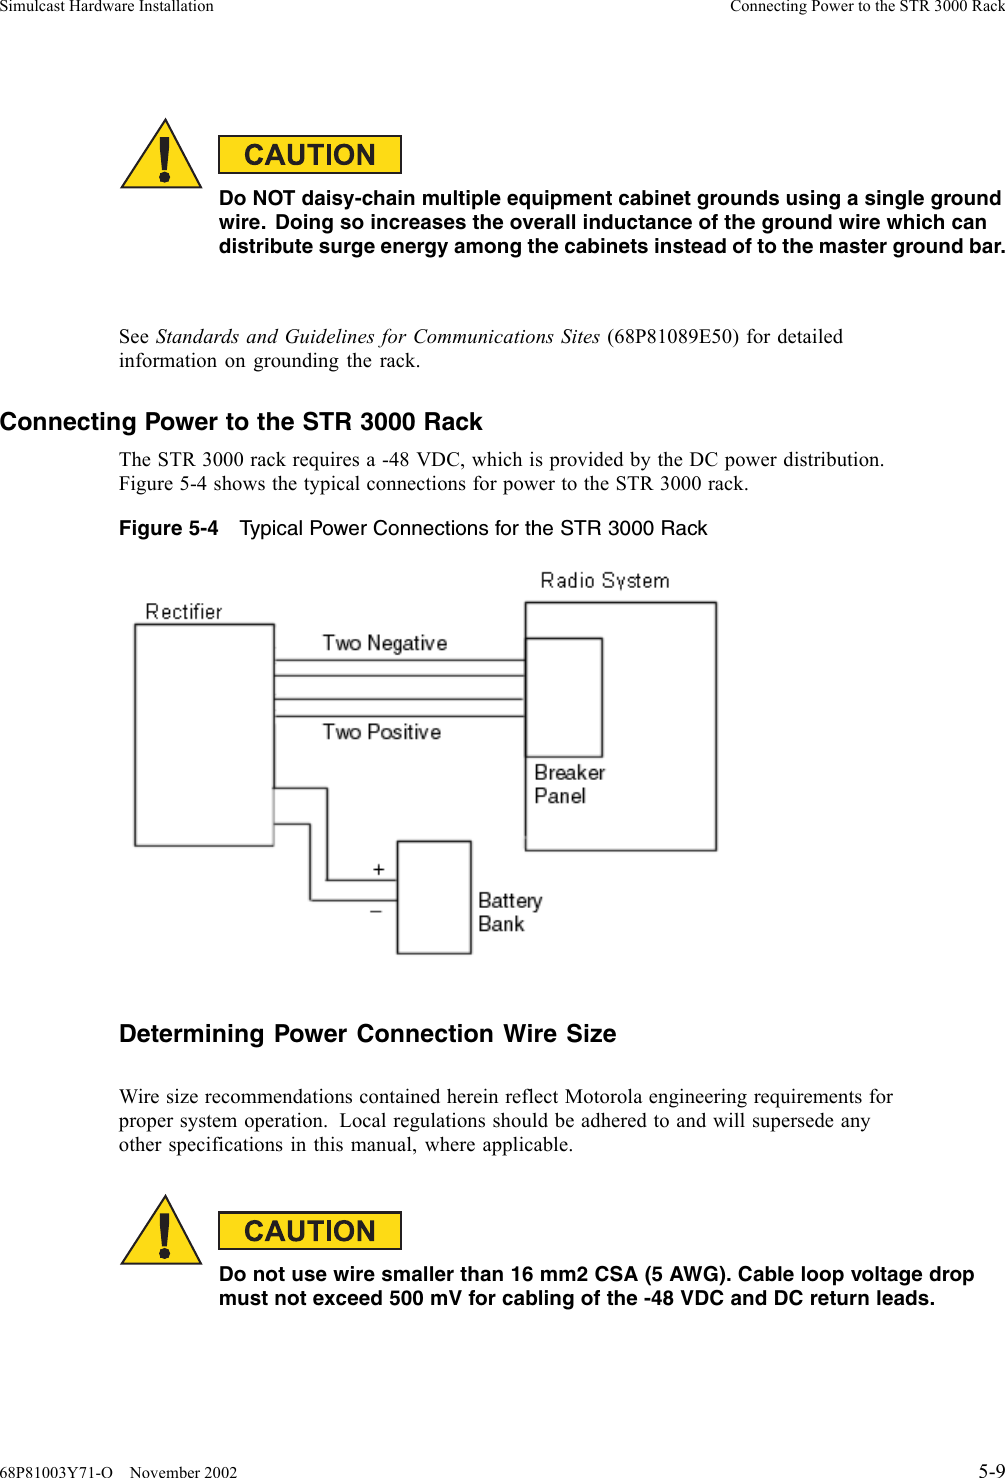
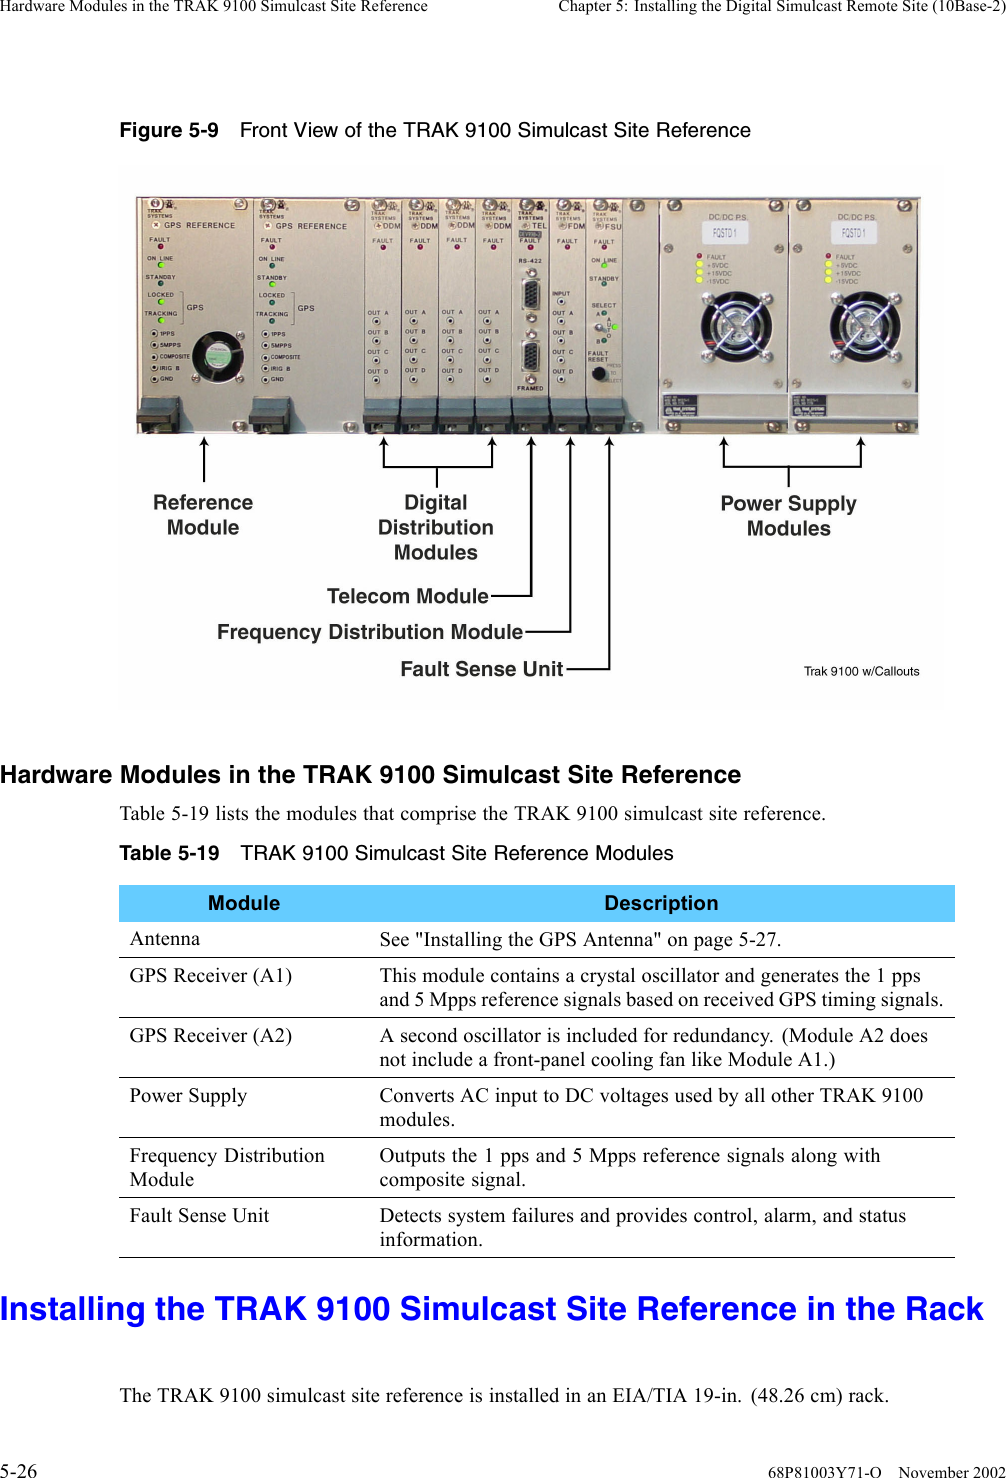
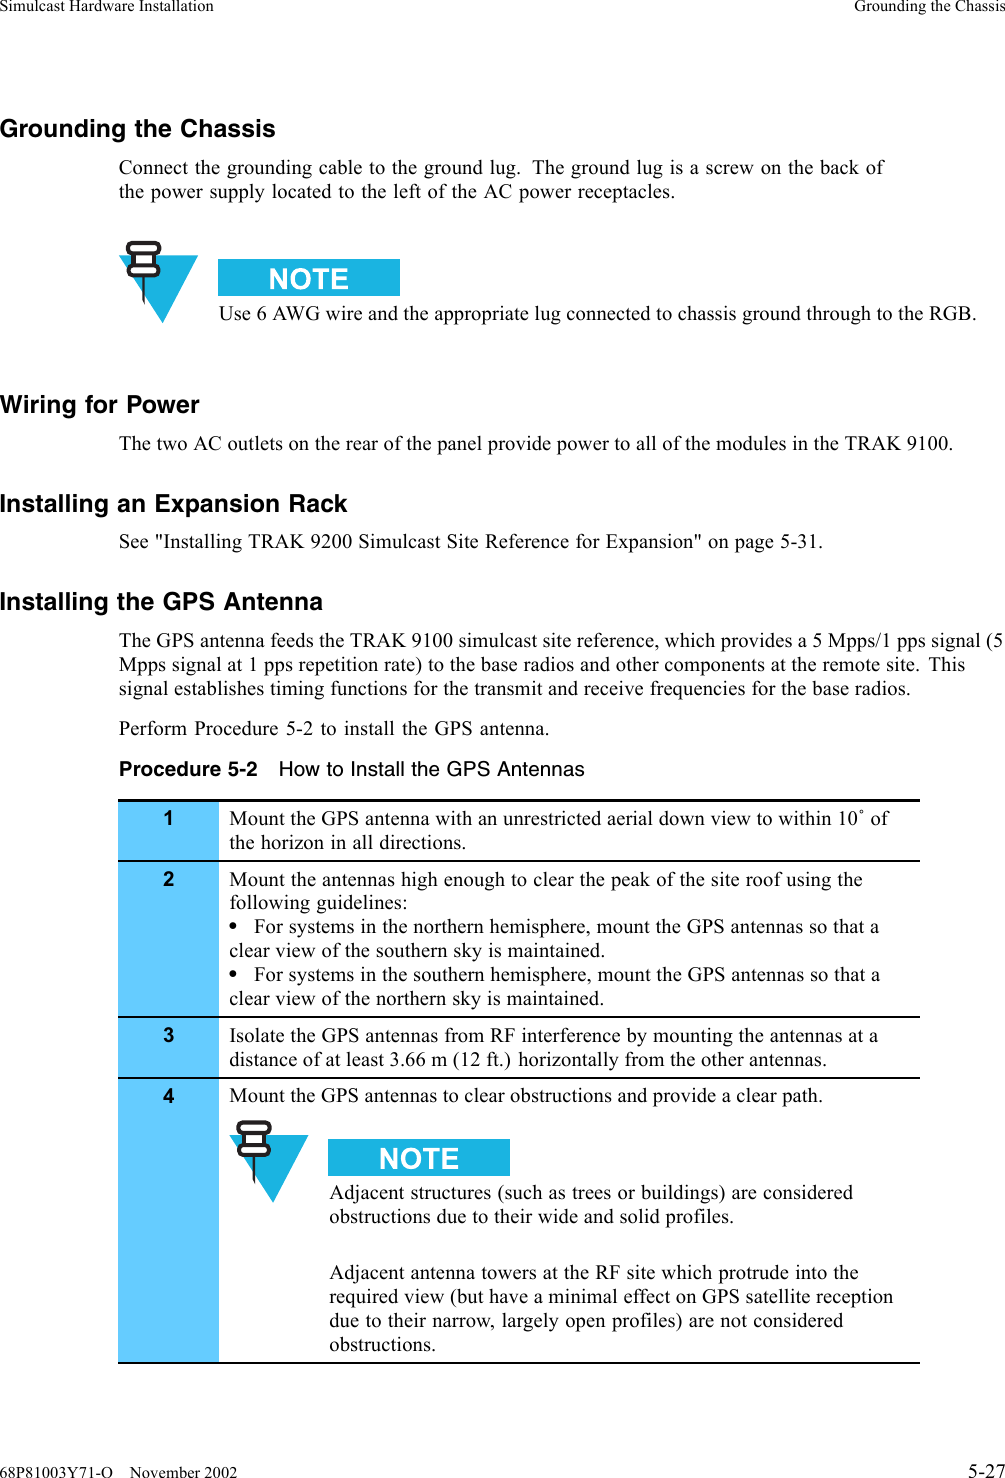
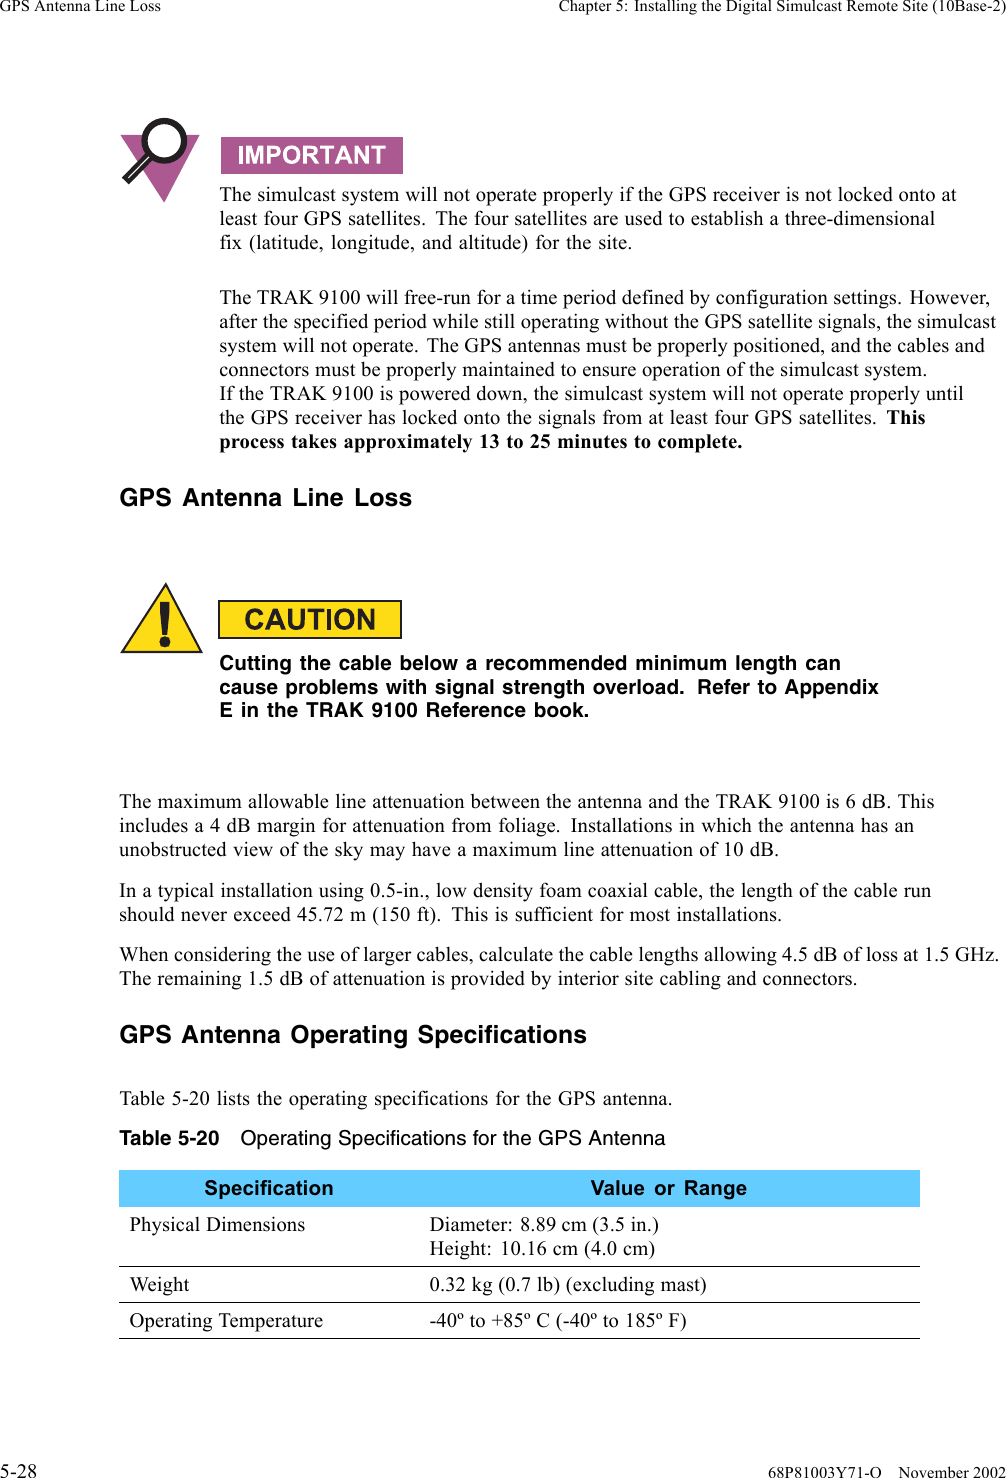
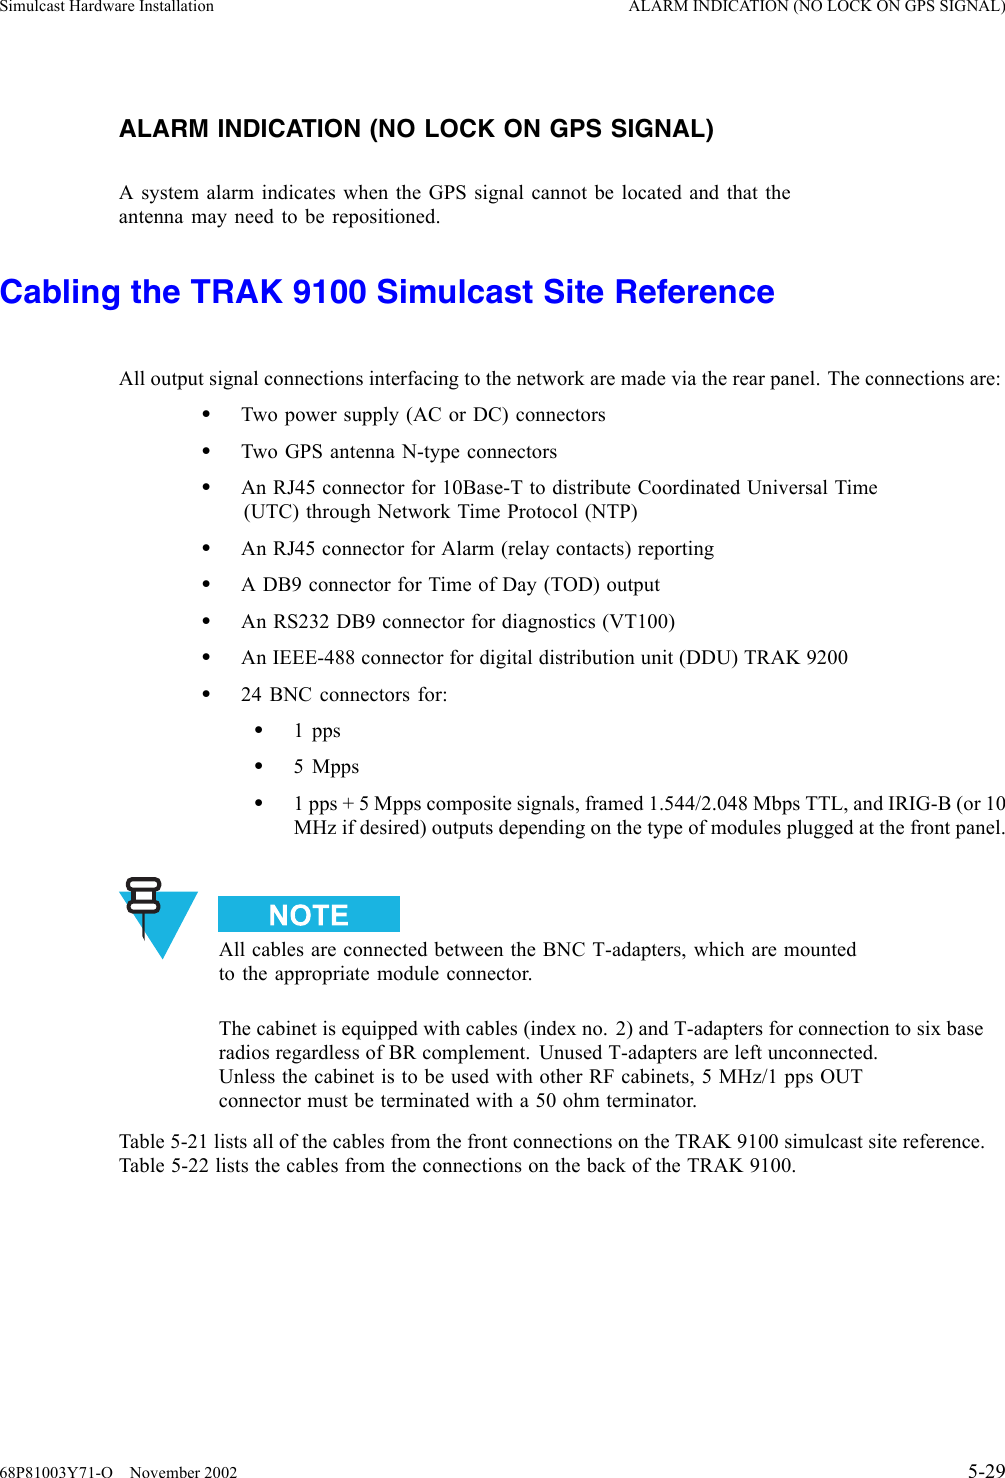
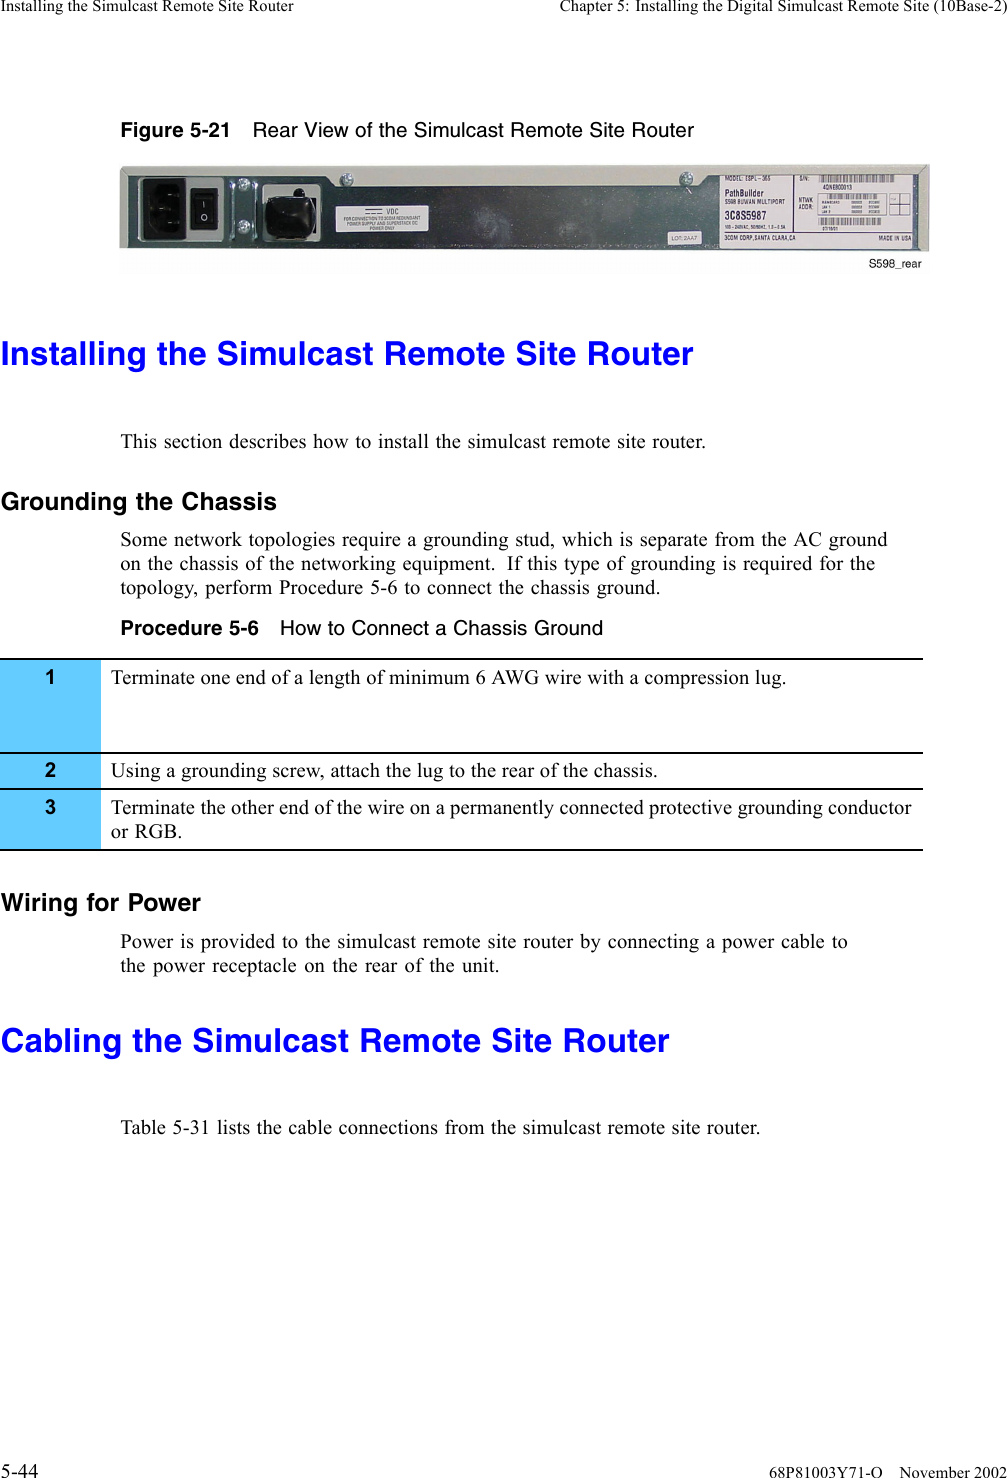
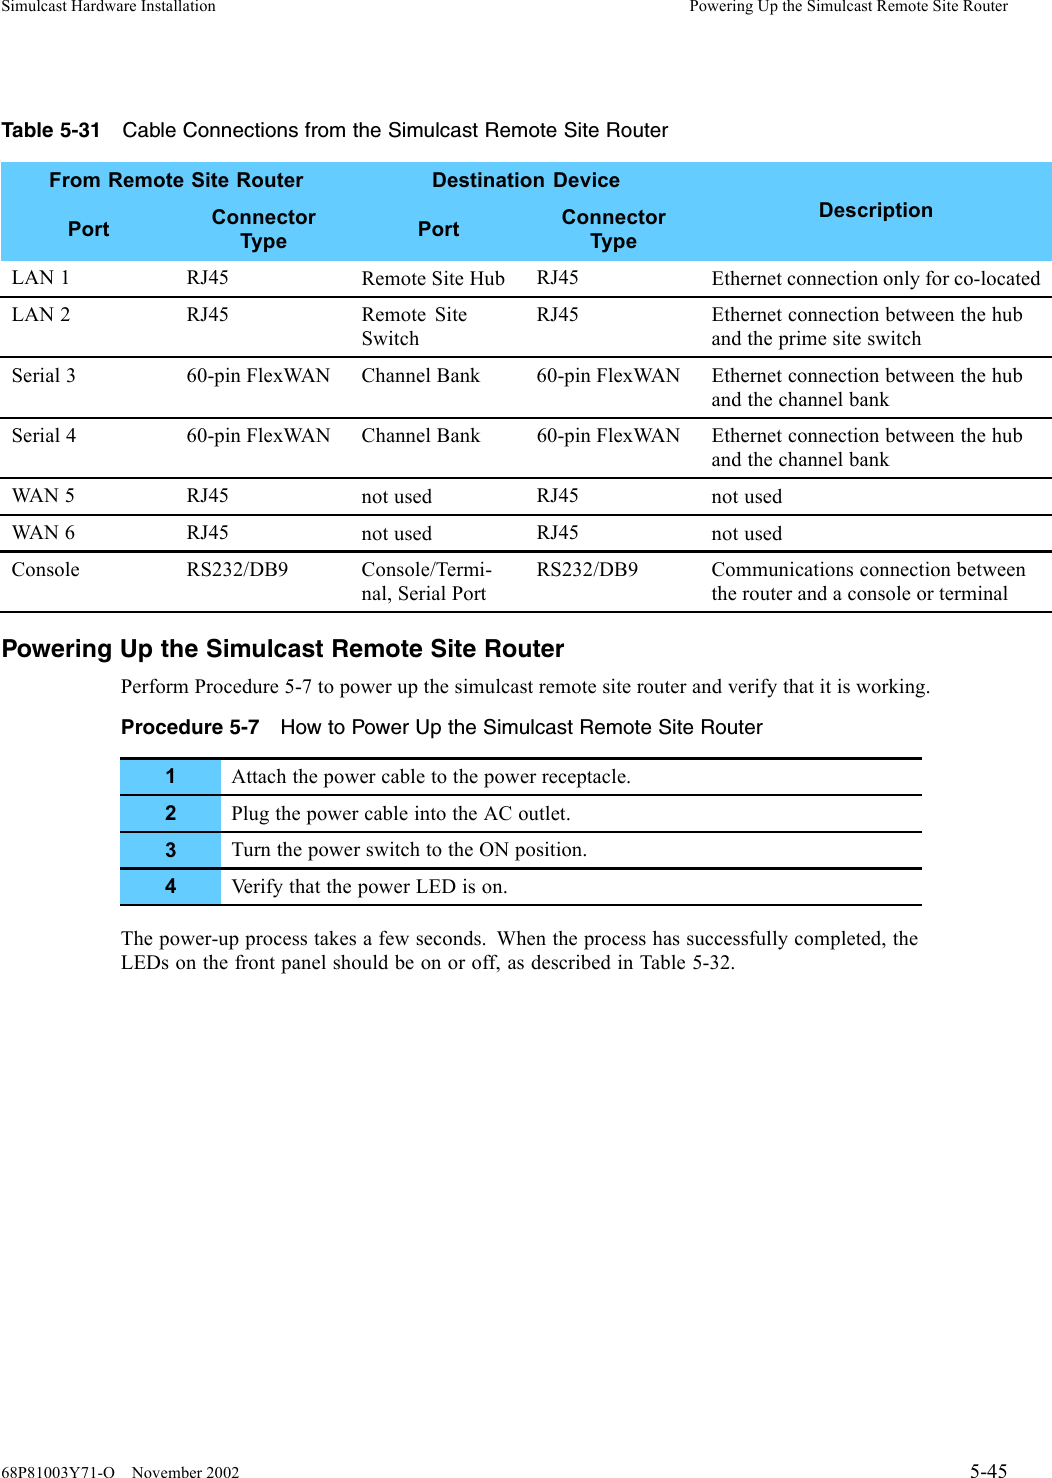
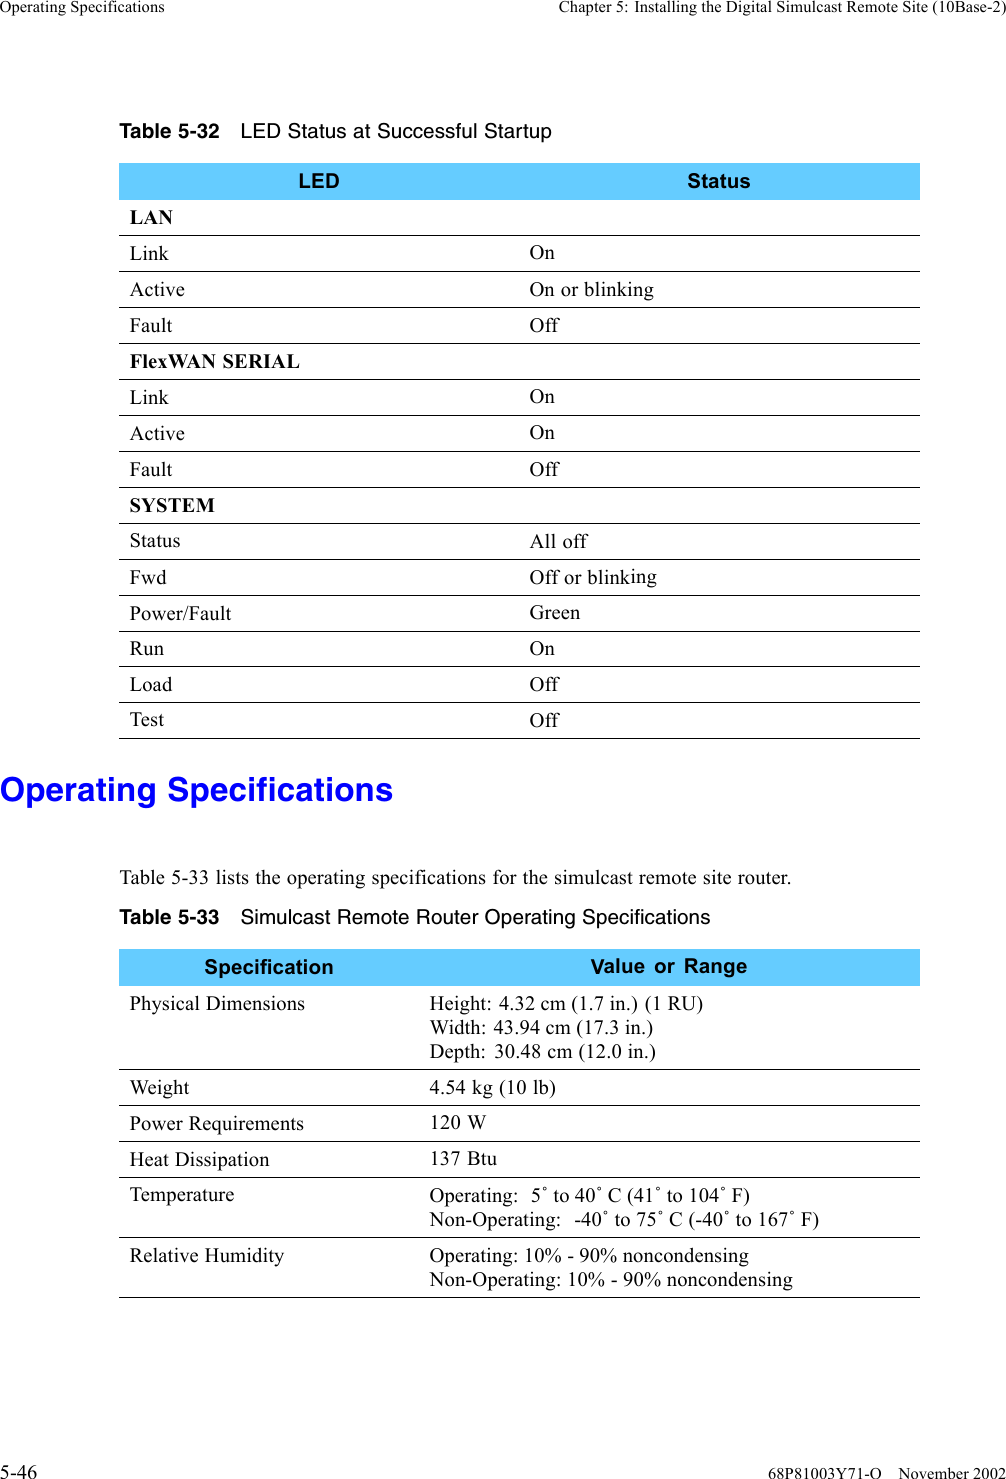
Exhibit D Users Manual Part 2 per 2 1033 c3