Motorola Solutions 89FT4844 UHF Two-Way Radio User Manual 00 RP4470 NA
Motorola Solutions, Inc. UHF Two-Way Radio 00 RP4470 NA
UserManual.wiki
>
Motorola Solutions
>
89FT4844 User Manual
Users Manual
Navigation menu
Upload a User Manual
Namespaces
Wiki Guide
HTML
PDF
Info
Views
User Manual
Discussion / Help
Navigation

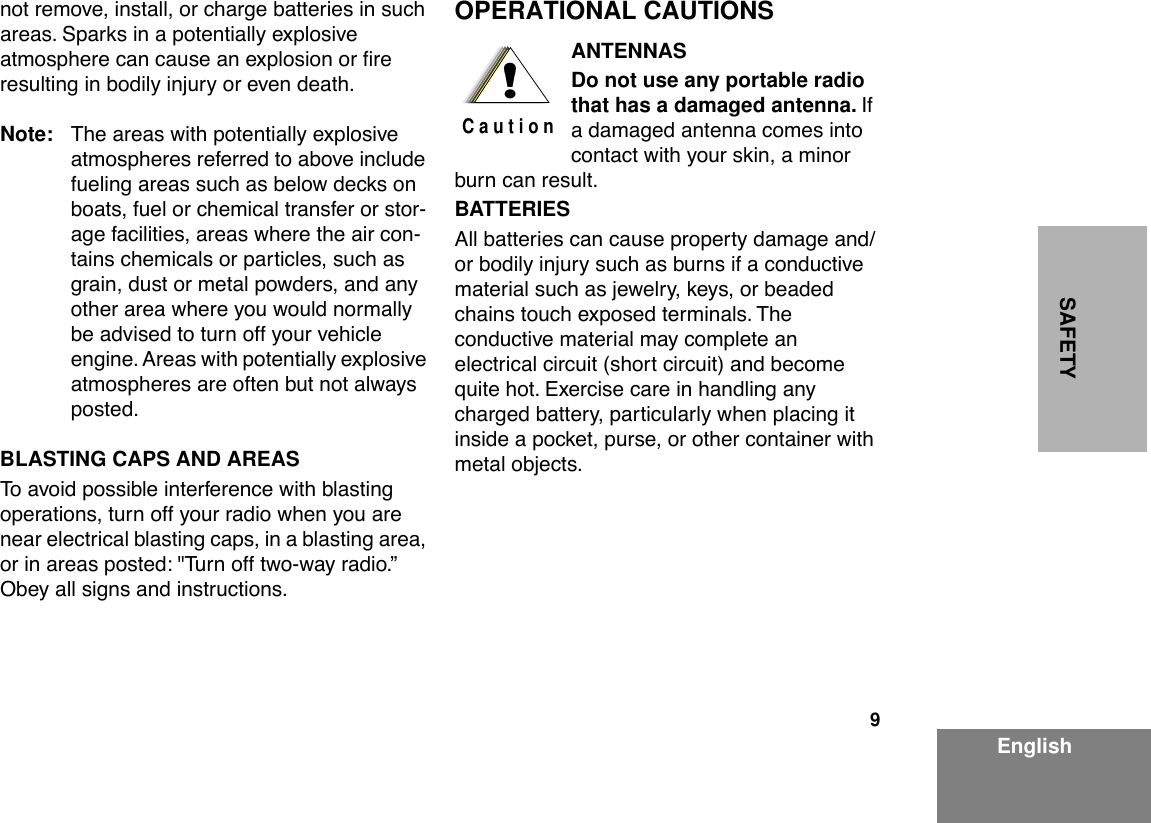
![10 EnglishSAFETY INTRINSICALLY SAFE RADIO INFORMATION FMRC Approved Equipment Anyone intending to use a radio in a location where hazardous concentrations of ßammable material exist (hazardous atmosphere) is advised to become familiar with the subject of intrinsic safety and with the National Electric Code NFPA 70 (National Fire Protection Association) Article 500 (hazardous [classiÞed] locations).An Approval Guide, issued by Factory Mutual Research Corporation (FMRC), lists manufacturers and the products approved by FMRC for use in such locations. FMRC has also issued a voluntary approval standard for repair service (ÒClass Number 3605Ó).FMRC Approval labels are attached to the radio to identify the unit as being FM Approved for speciÞed hazardous atmospheres. This label speciÞes the hazardous Class/Division/Group along with the part number of the battery that must be used. Depending on the design of the portable unit, this FM label can be found on the back or the bottom of the radio housing. The FM Approval mark is shown below: WARNINGS ¥Do not operate radio communica-tions equipment in a hazardous atmosphere unless it is a type especially qualiÞed for such use (e.g., FMRC Approved). An explosion or Þre may result.¥ Do not operate an FMRC Approved Product in a hazardous atmosphere if it has been physically damaged (e.g., cracked hous-ing). An explosion or Þre may result.¥ Do not replace or charge batteries in a haz-ardous atmosphere. Contact sparking may occur while installing or removing batteries and cause an explosion or Þre. WARNINGS ¥Do not replace or change acces-sories in a hazardous atmosphere. FMAPPROVED!W A R N I N G!!W A R N I N G!](https://usermanual.wiki/Motorola-Solutions/89FT4844/User-Guide-141910-Page-11.png)


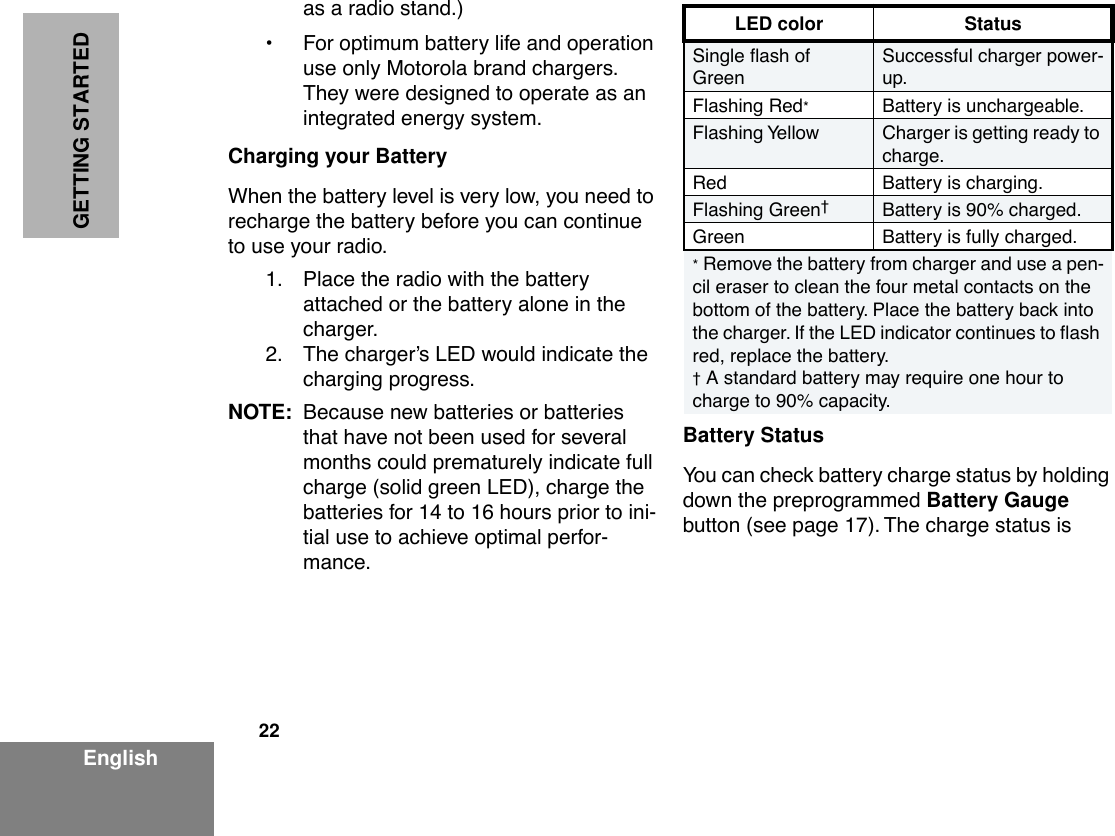
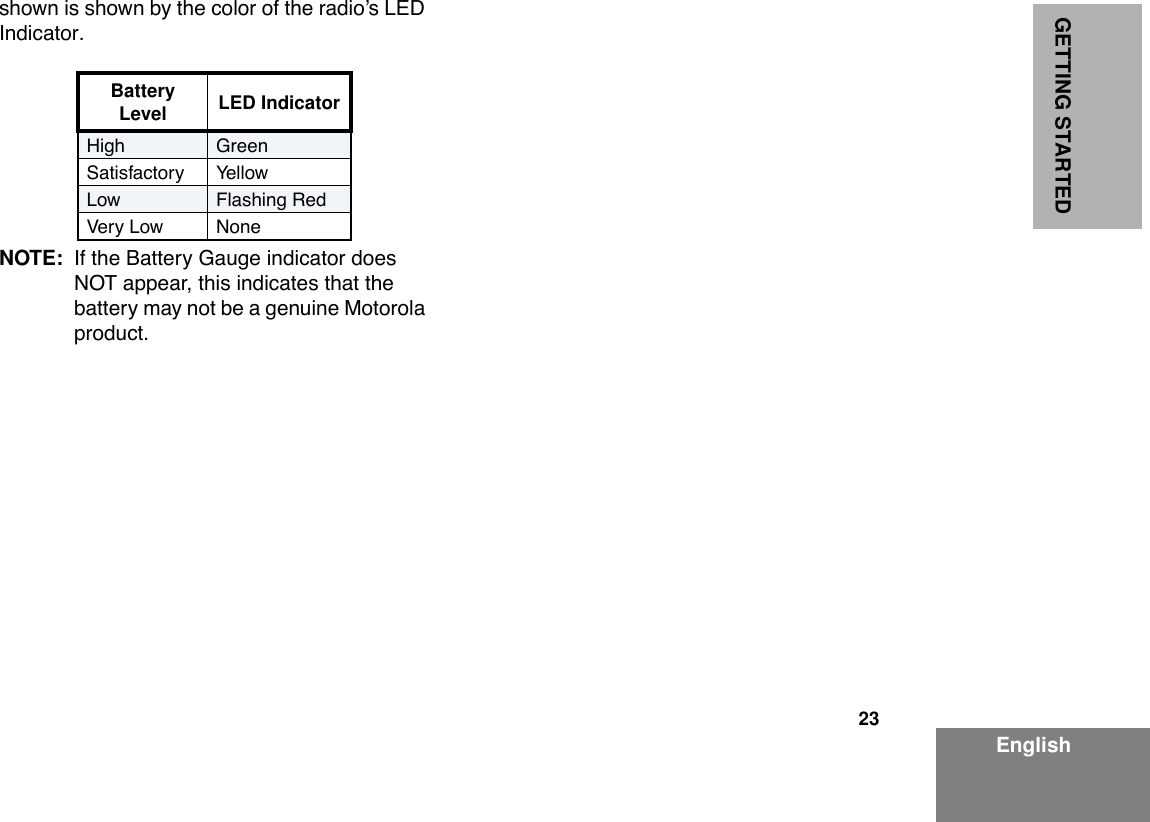
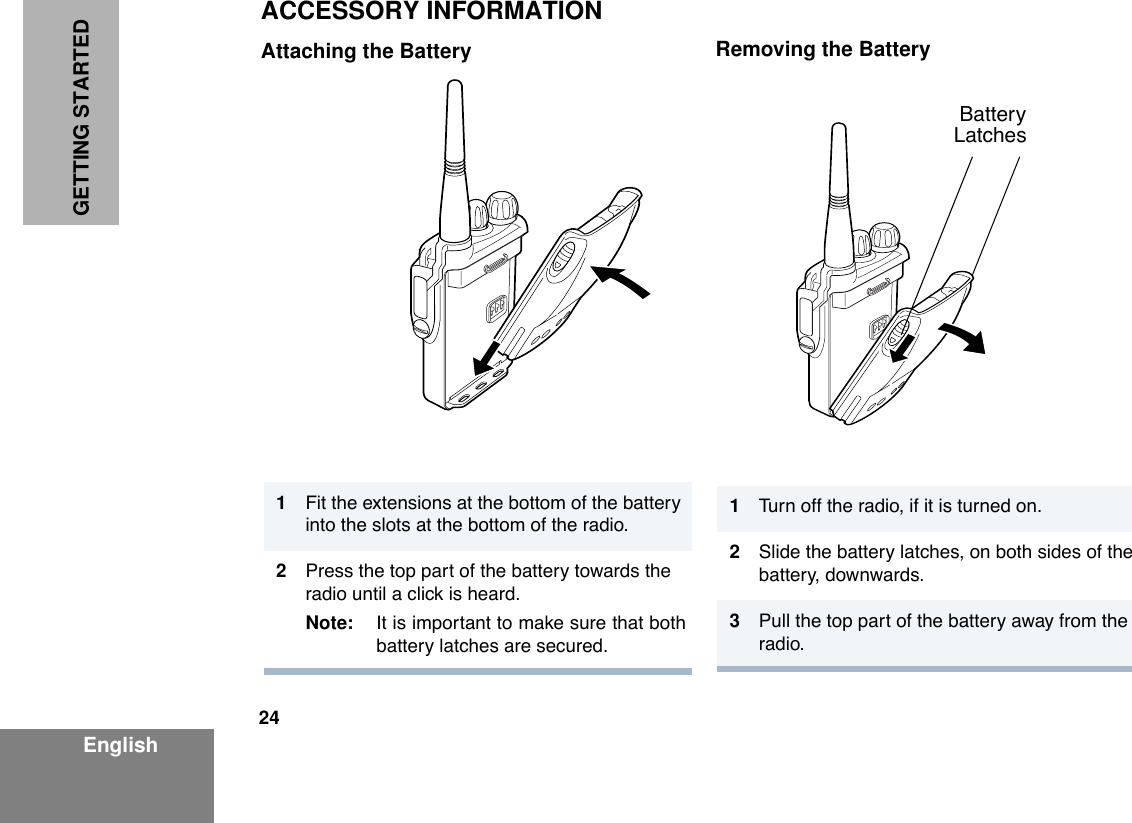
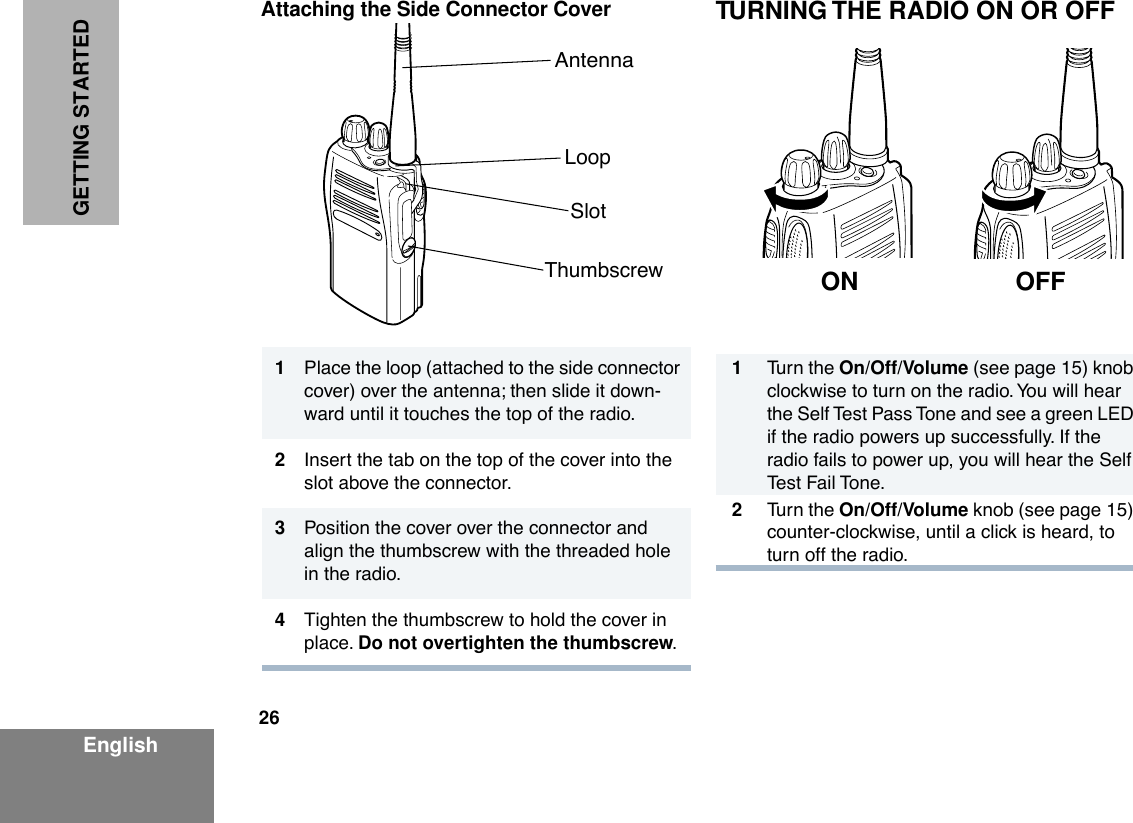
![21 EnglishGETTING STARTED ] BATTERY INFORMATION Battery Care and Tips This product is powered by a rechargeable battery. The following battery tips will help you obtain the highest performance and longest cycle life from your Motorola rechargeable battery. ¥ Batteries are shipped uncharged from the factory. Always charge a new battery 14 - 16 hours before initial use, regardless of the status indicated by the charger.¥ Charging in non-Motorola equipment may lead to battery damage and void the battery warranty.¥ When charging a battery that is attached to the radio, turn the radio off to ensure a full charge.¥ The battery should be at about 77¡F (25¡C) (room temperature) whenever possible. Charging a cold battery, (below 50¡F [10¡C]) may result in leakage of electrolyte and ultimately, in failure of the battery.¥ Charging a hot battery (above 95¡F [35¡C]) results in reduced discharge capacity, affecting the performance of the radio. Motorola rapid-rate battery chargers contain a temperature-sensing circuit to ensure that the battery is charged within these temperature limits. ¥ New batteries can be stored up to two years without signiÞcant cycle loss. Store new/unused batteries in a cool dry area.¥ Batteries which have been in storage should be charged overnight.¥ Do not return fully charged batteries to the charger for an Òextra boostÓ. This action will significantly reduce cycle life.¥ Do not leave your radio and battery in the charger when not charging. Continuous charging will shorten battery life. (Do not use your charger GETTING STARTED](https://usermanual.wiki/Motorola-Solutions/89FT4844/User-Guide-141910-Page-22.png)