Motorola Solutions 89FT5824 i730 User Manual i730Mot
Motorola Solutions, Inc. i730 i730Mot
UserManual.wiki
>
Motorola Solutions
>
89FT5824 User Manual
>
users manual
Contents
1.
users manual
2.
USER MANUAL
3.
COMPATIBILITY INSERT
users manual
Navigation menu
Upload a User Manual
Namespaces
Wiki Guide
HTML
PDF
Info
Views
User Manual
Discussion / Help
Navigation
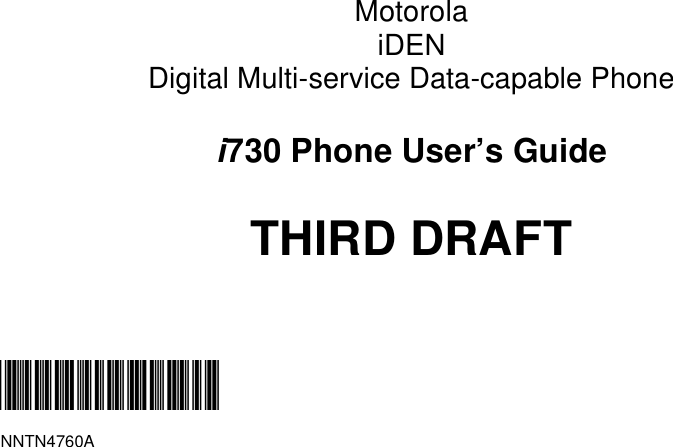

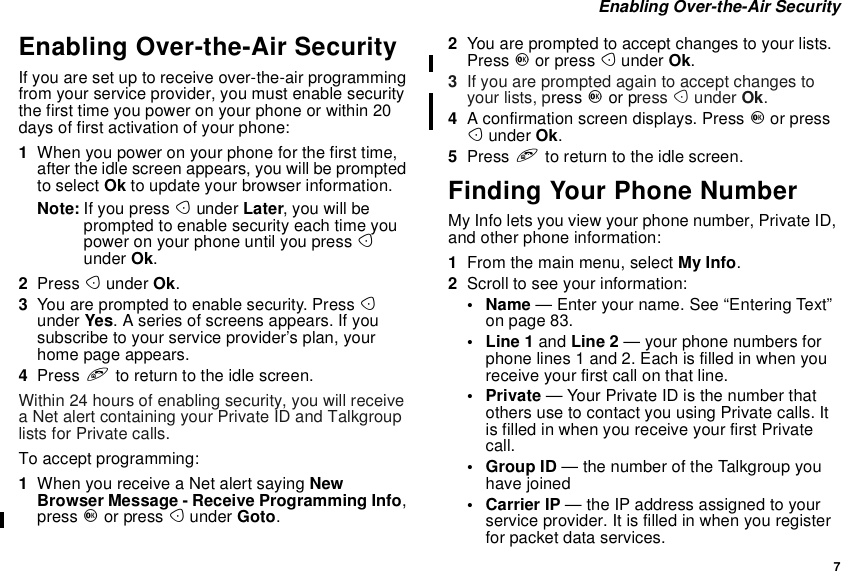


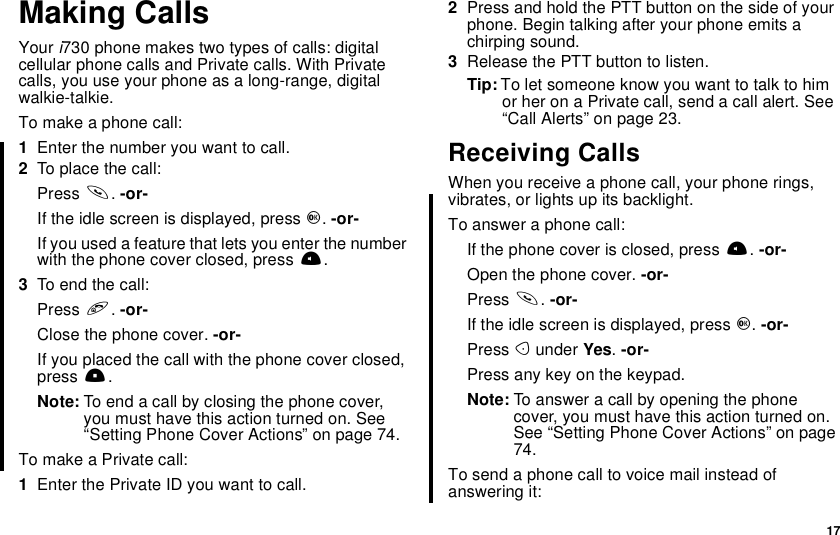

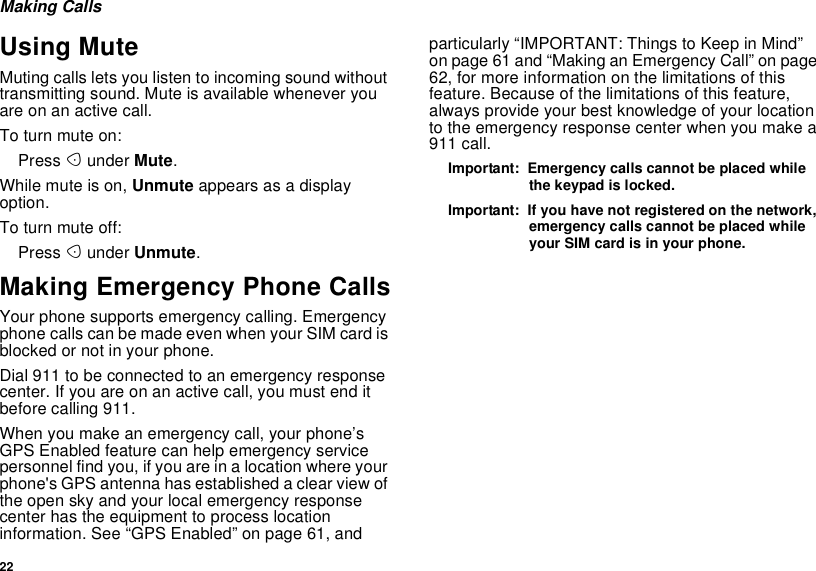
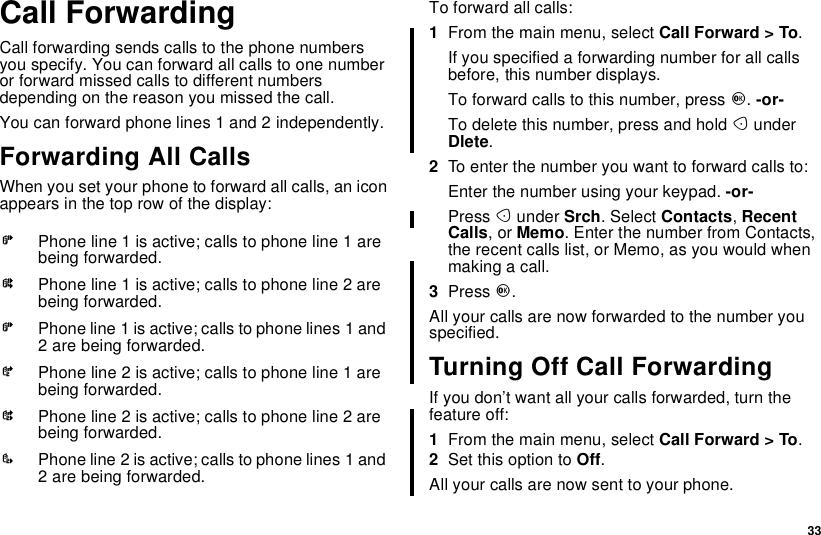
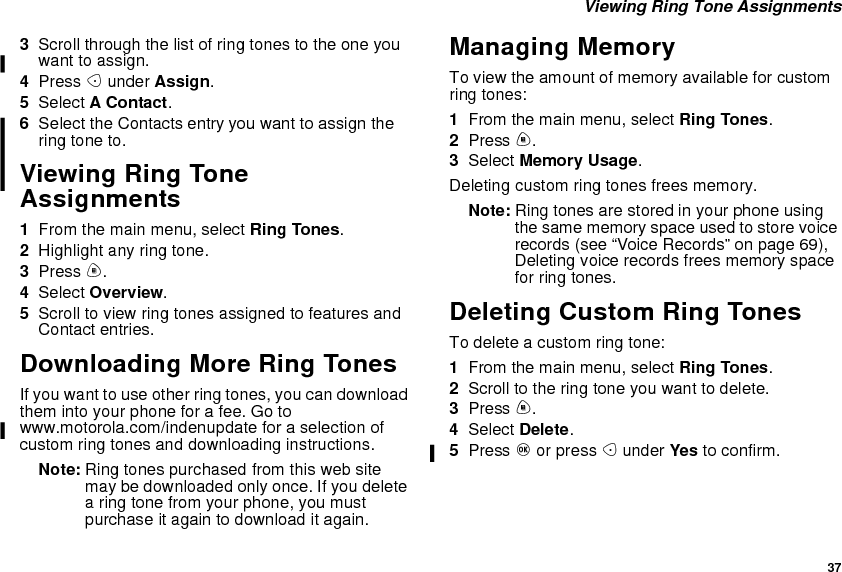
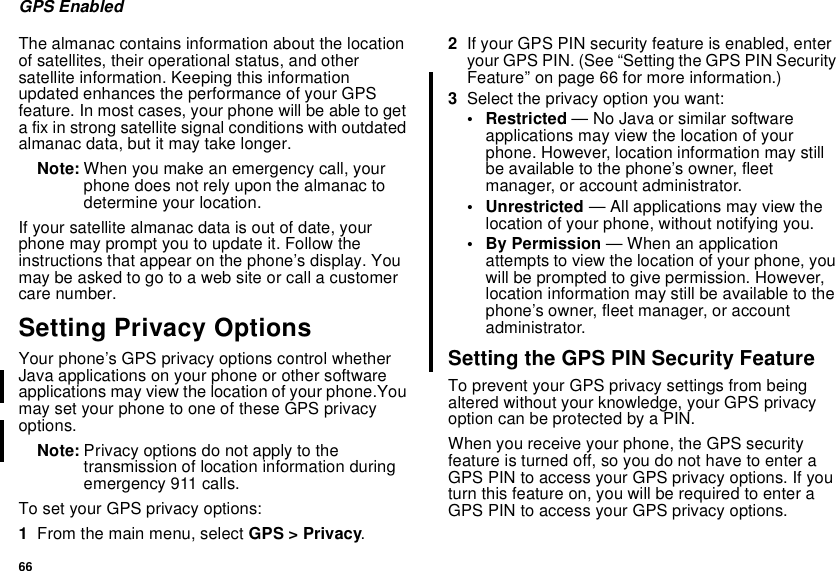
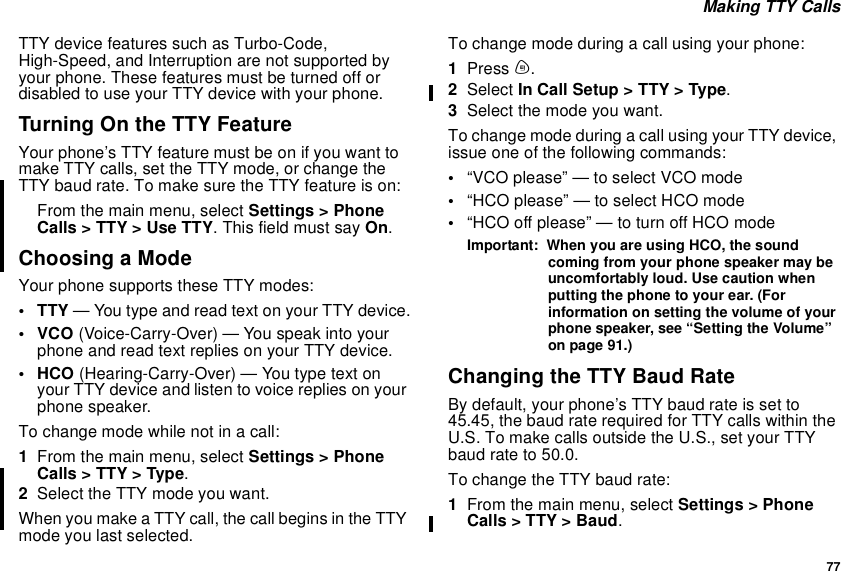
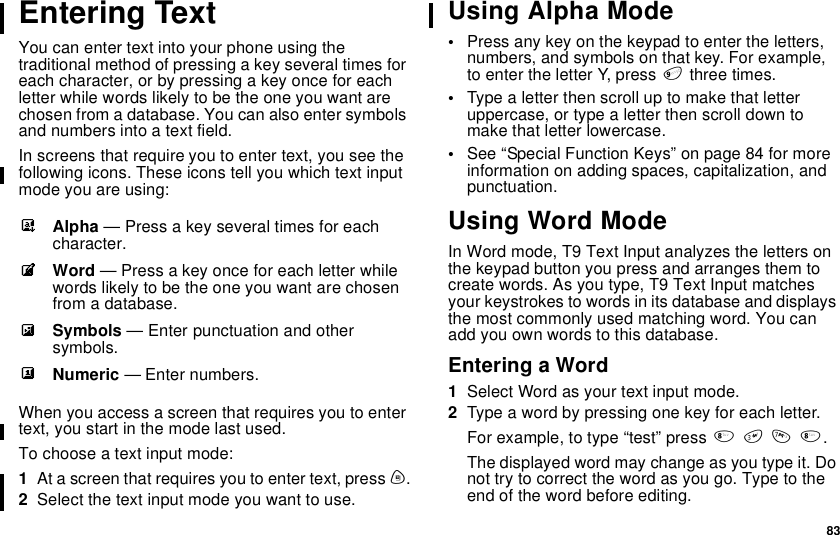
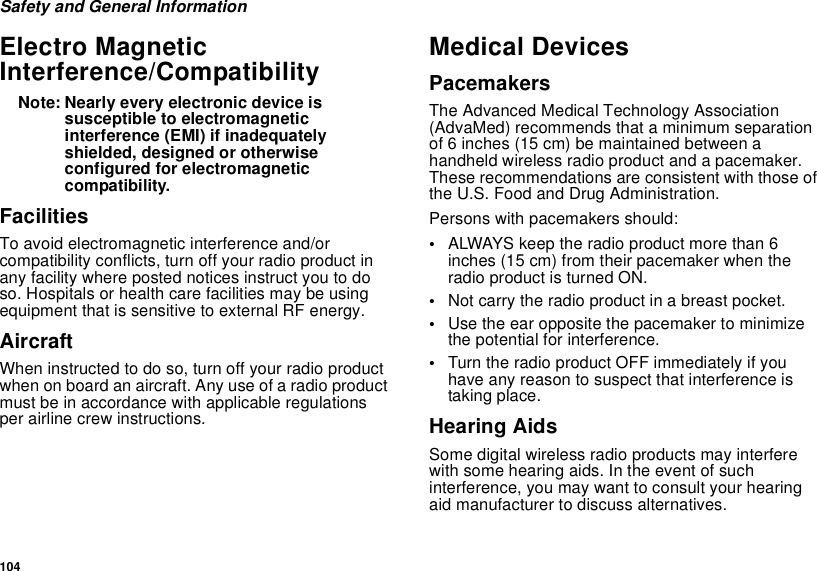
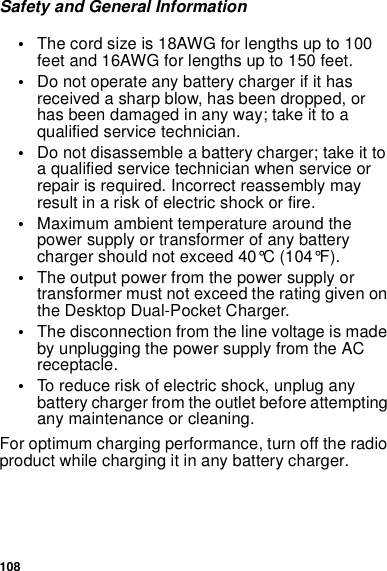
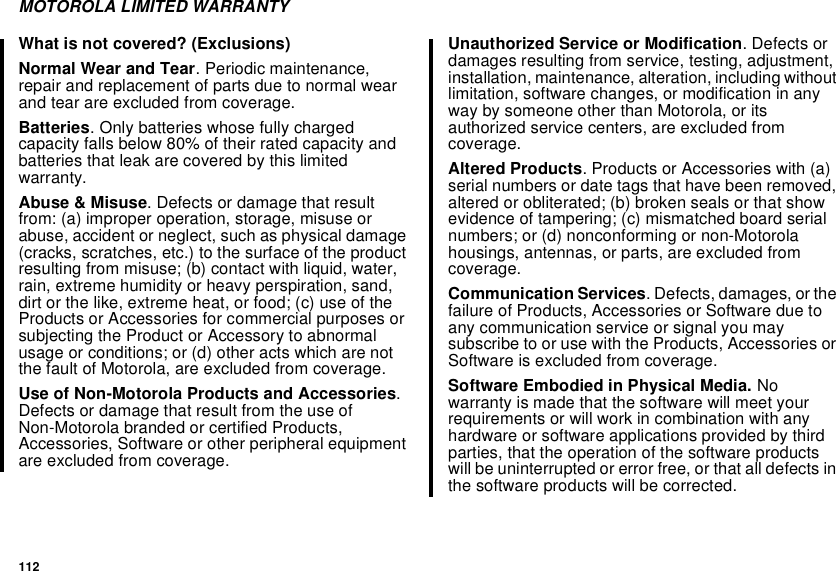
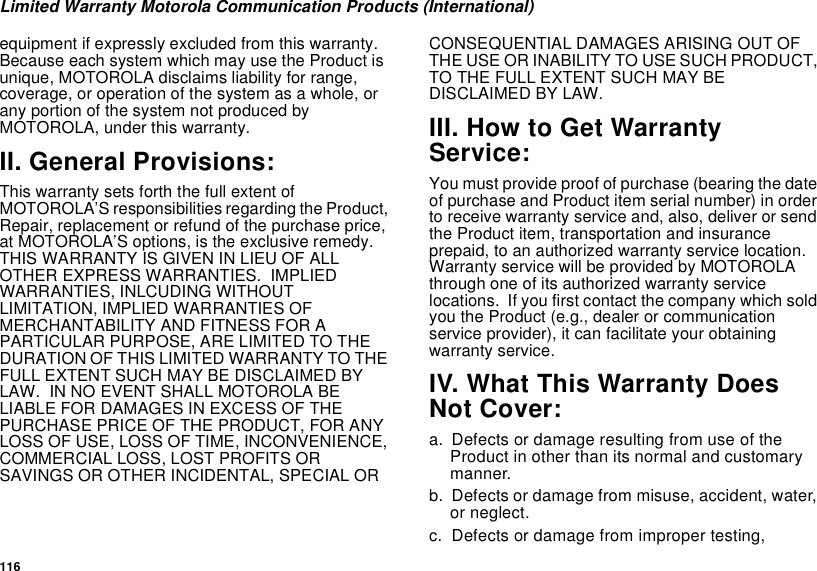
![26Recent Calls3To store the number as a new entry, select [NewContact].-or-To store the number in an existing entry, select theentry.4With the Contacts type field highlighted, scroll leftor right to display the Contacts type you want toassign the number.5If you want to add more information to the entry,follow the applicable instructions in “CreatingEntries” on page 29.6Press Aunder Done.Deleting Recent CallsTodeleteacall:1From the recent calls list, scroll to the call you wantto delete.2Press Aunder Dlete.-or-If Dlete is not one of your options: Press m. SelectDelete.3Press Oor press Aunder Yes to confirm.To delete all calls:1From the recent calls list, press m.2Select Delete All.3Press Oor press Aunder Yes to confirm.](https://usermanual.wiki/Motorola-Solutions/89FT5824.users-manual/User-Guide-337880-Page-34.png)
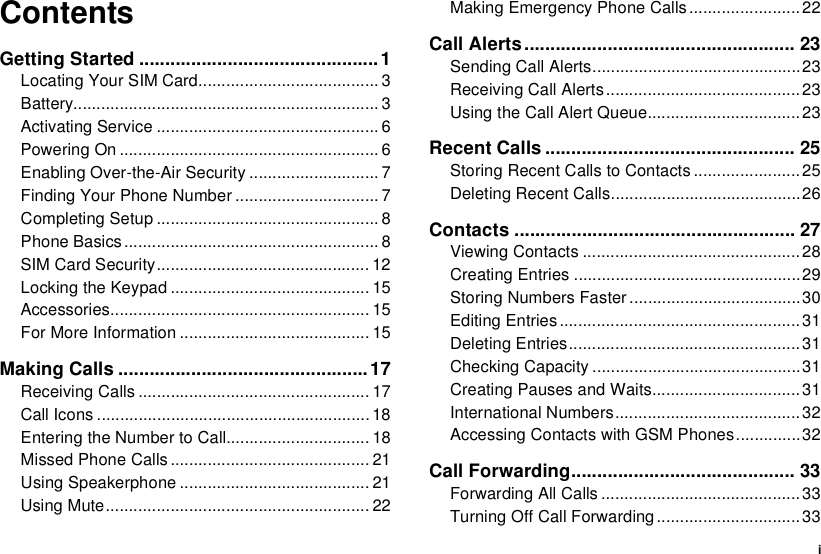
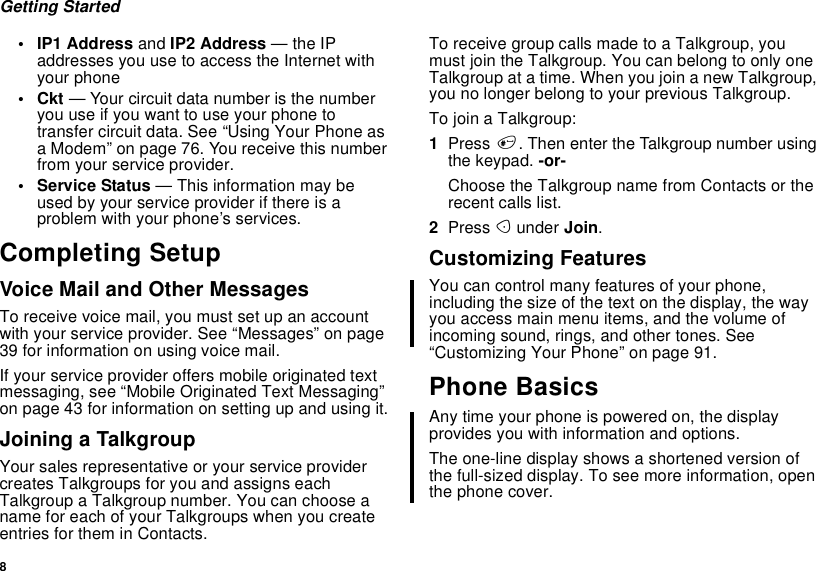
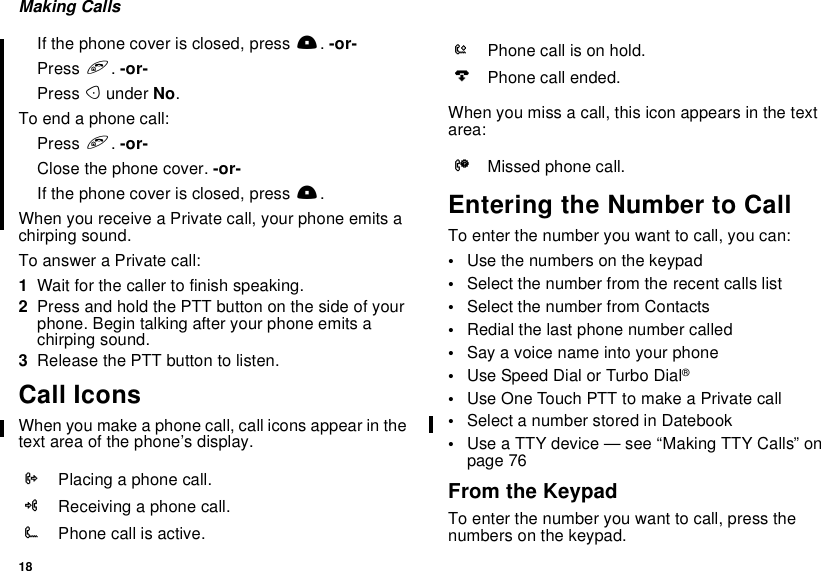
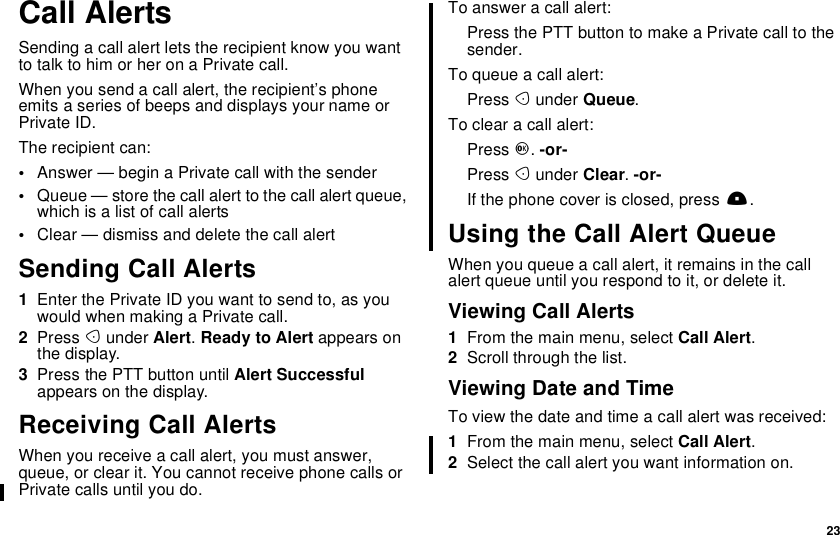
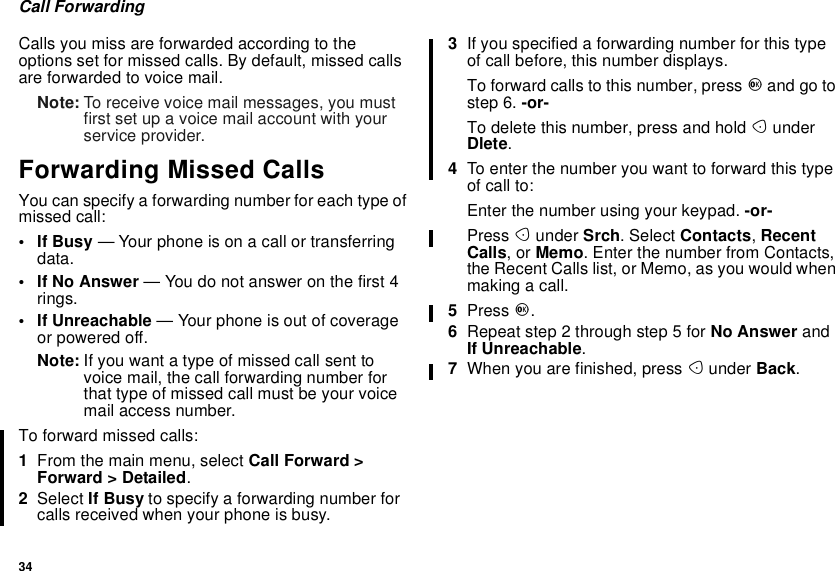
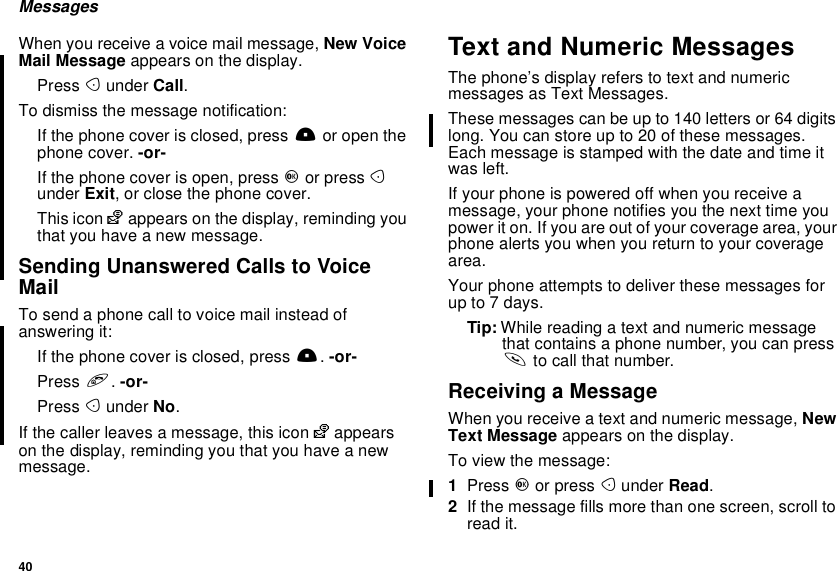
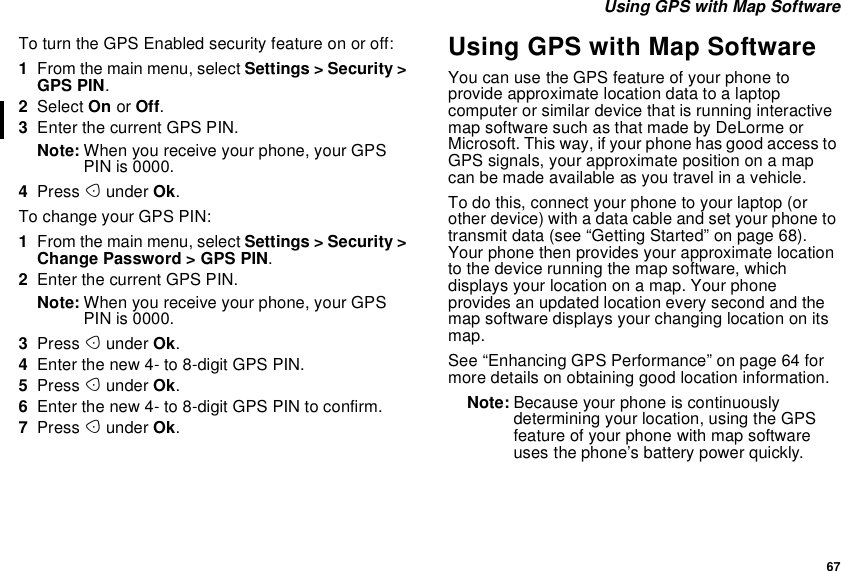
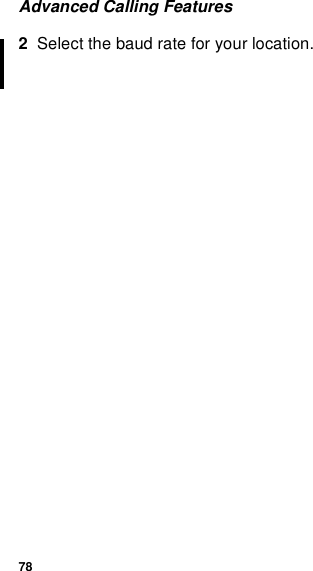
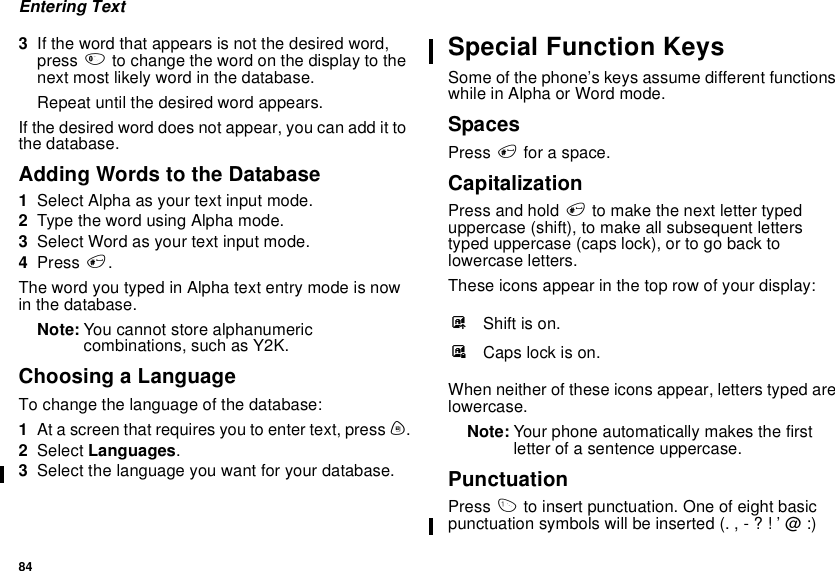
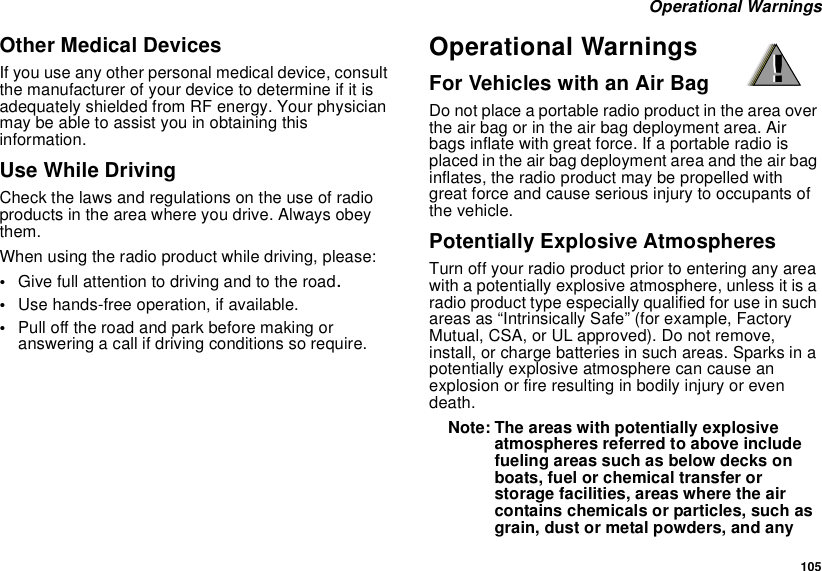
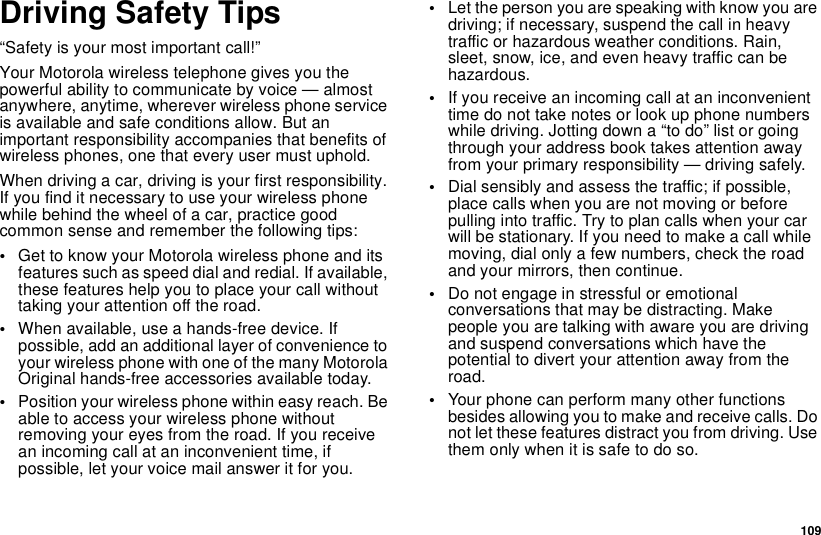
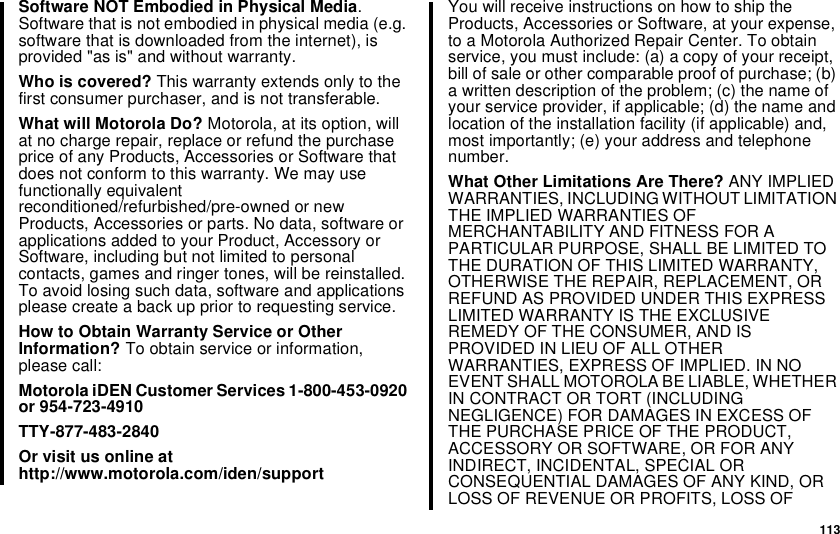
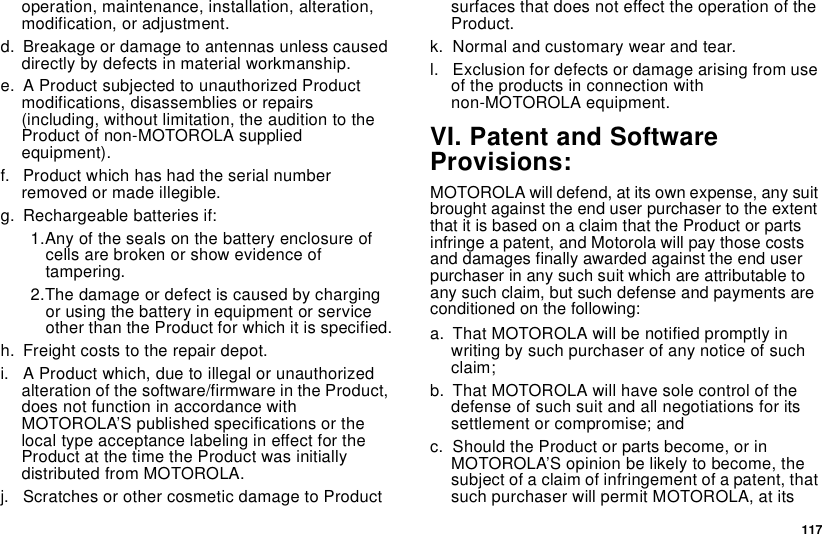
![29Creating Entries3Set this option to Show All.Creating EntriesA number or address and a Contacts type arerequired for all Contacts entries. Other information isoptional. You may enter the information in any orderby scrolling through the entry details.After you have entered the number or address,Contacts type, and any other information you want,you can press Aunder Done to save the entry toContacts.To cancel a Contacts entry at any time press, etoreturn to the idle screen.To create a Contacts entry:1To access the entry details screen:Select Contacts > [New Contact].-or-From the Contacts list, press m.ScrolltoNew.2Ifyouwanttoassignanametotheentry:Select Name.Enter the name. See “Entering Text” on page 83.When you are finished, press O.Tip: Press Aunder Brwse to select a namealready in Contacts.3Ifyouwanttoassignaringtonetothename:Select Ringer.Selecttheringtoyouwanttoassign.4To assign a Contacts type to the number oraddress being stored:Select the Contacts type field.Select the Contacts type you want to assign.5To store a number or address:Select the #field (or ID for an email address, or IPfor an IP address).Enter the number or address. For phone numbers,use the 10-digit format. For email addresses, see“Entering Text” on page 83.When you are finished, press O.6If you want assign more options to the number,select [Options]. See “Assigning Options” on page30.7If you want to add more numbers or addresses tothe entry:Scroll past the information you already entered.Enter the additional information for the entry usingstep2throughstep6.Youmustassignanametotheentry,ifyouhavenotalready.](https://usermanual.wiki/Motorola-Solutions/89FT5824.users-manual/User-Guide-337880-Page-37.png)
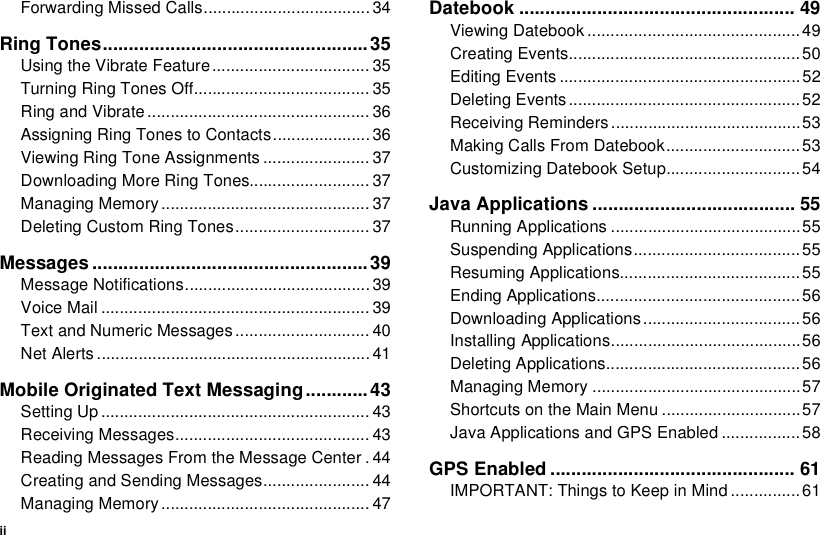
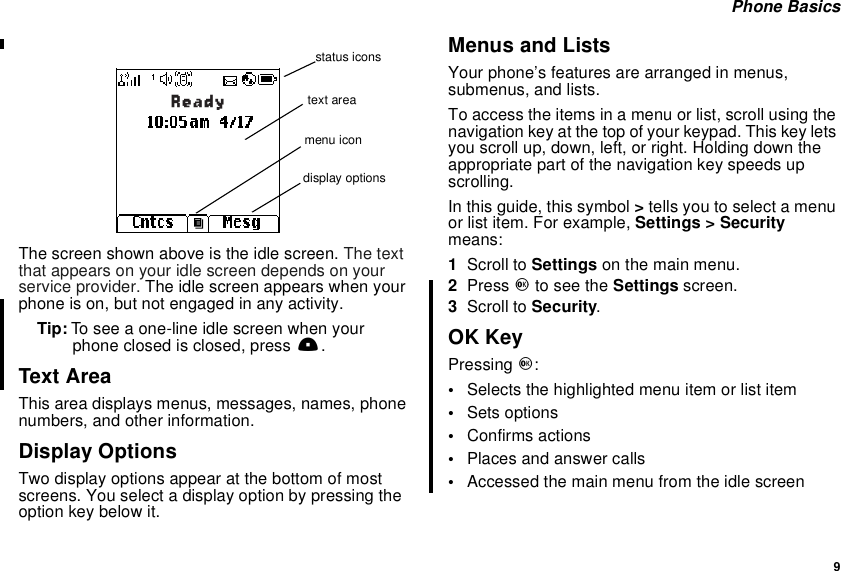
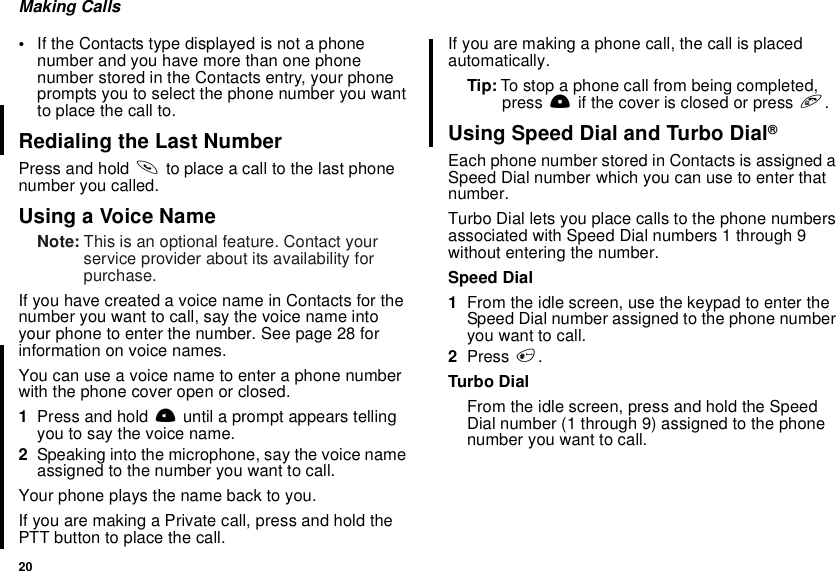
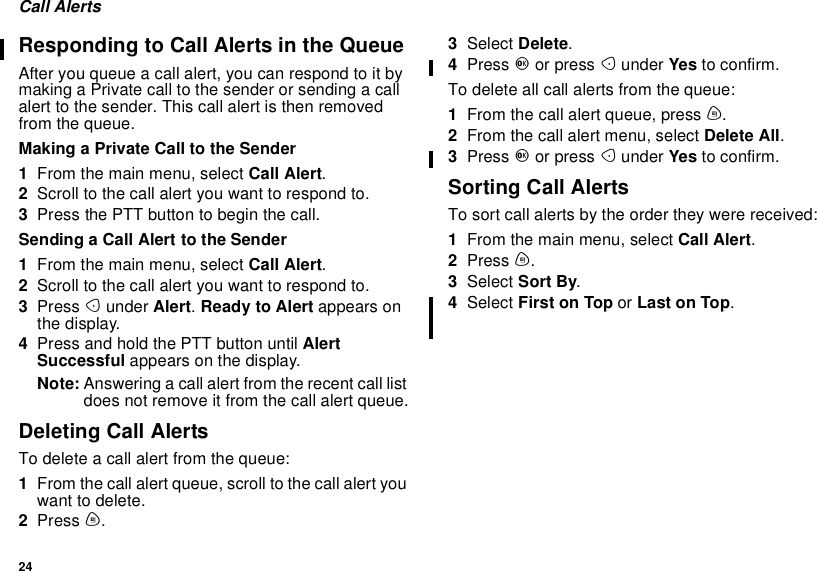
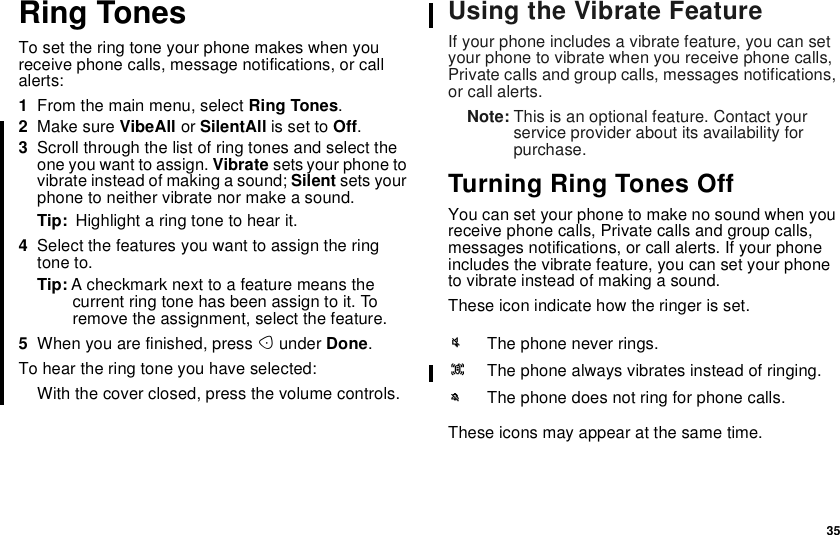
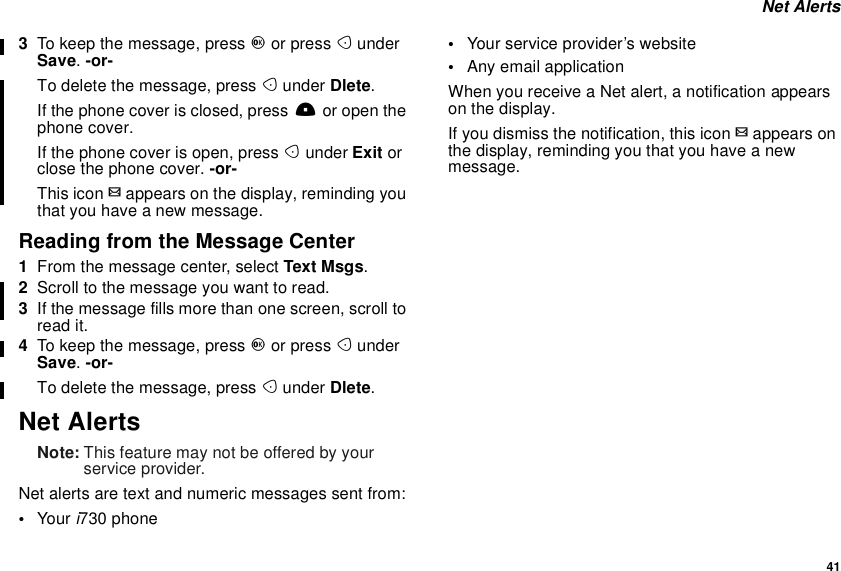
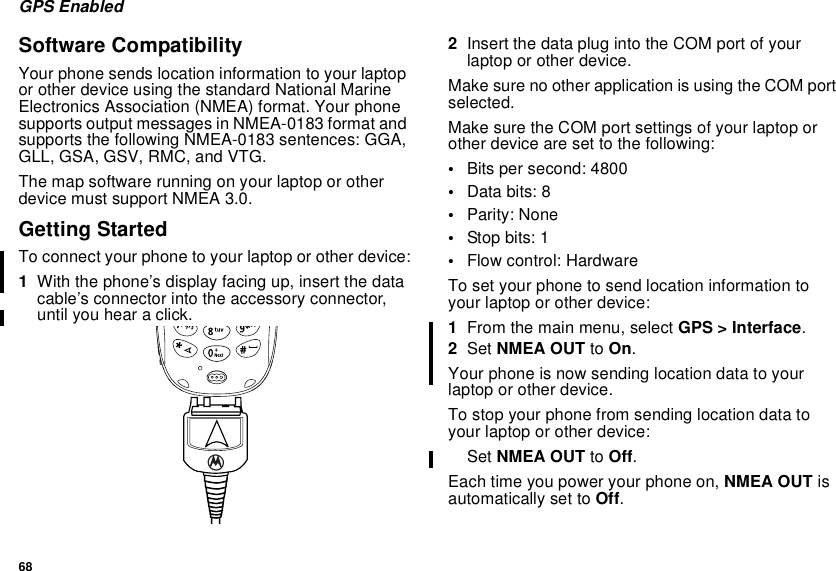
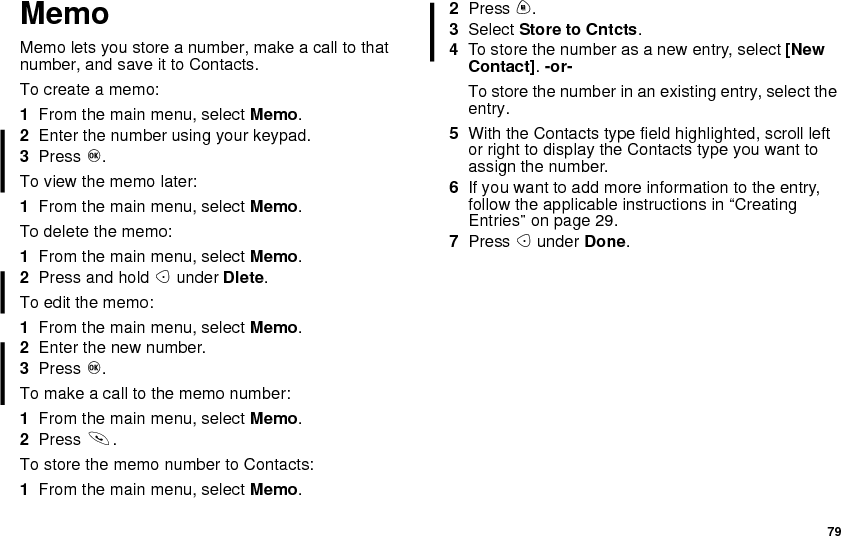
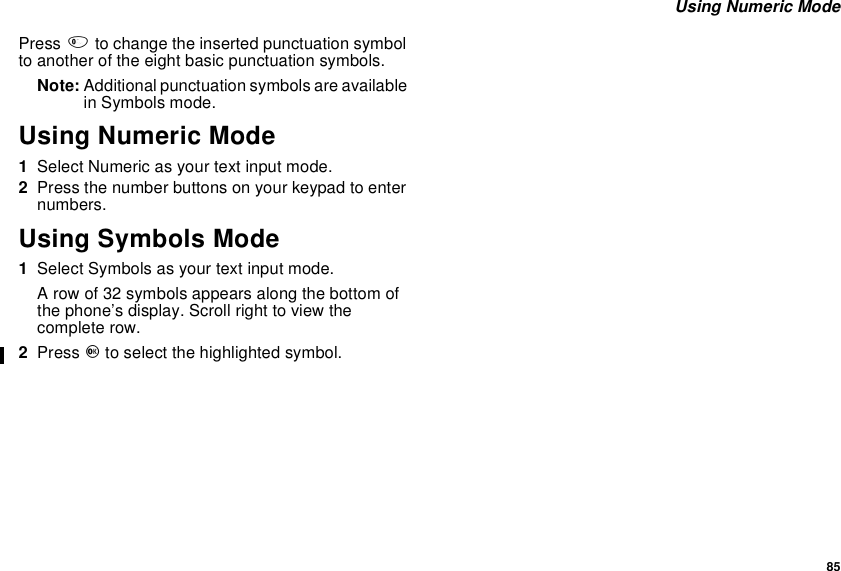
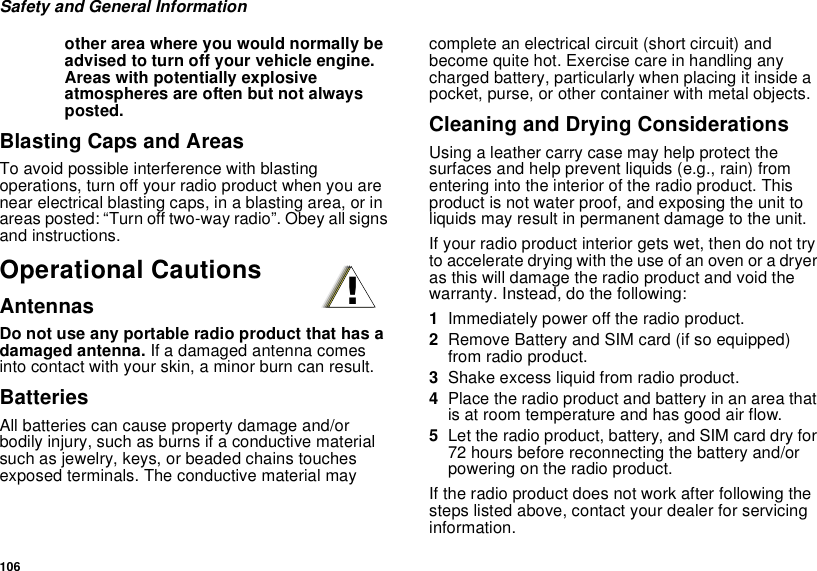
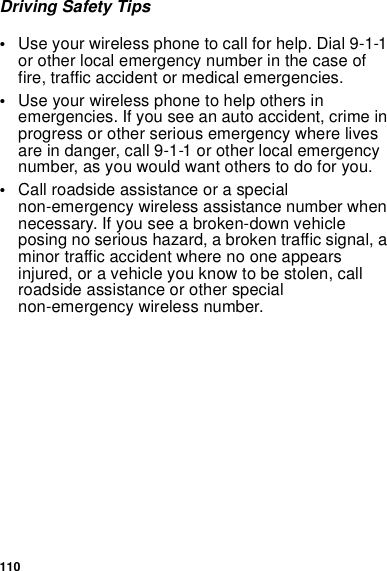
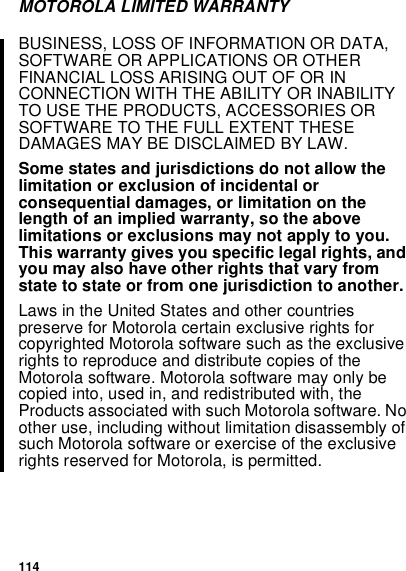
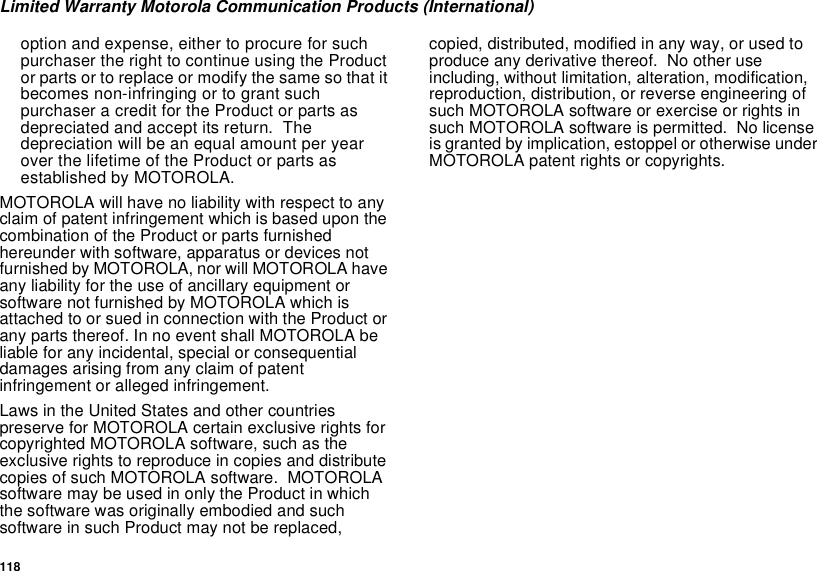
![30ContactsTip: Press Aunder Brwse to select a number oraddress from Contacts, the recent calls list, orMemo.8Press Aunder Done.Assigning Options1If you have not already, press Aunder Changewith the [Options] field highlighted2The default Speed Dial number assigned to aphone number is displayed in the Speed # field.This is always the next available Speed Diallocation.If you want to assign the phone number to adifferent Speed Dial location:With the Speed # field highlighted, press Oorpress Aunder Change.Press Aunder Dlete to delete the current SpeedDial number.Enter the new Speed Dial number using thekeypad.When you are finished, press Aunder Ok.3Ifyouwanttocreateavoicenameforaphonenumber, press O.As directed by the screen prompts, say and repeatthe name you want to assign to the number. Speakclearly into the microphone.4When you are finished, press Aunder Back.Storing Numbers FasterTo store numbers to Contacts from the recent call list,see “Storing Recent Calls to Contacts” on page 25.To store numbers to Contacts from Memo, see“Memo” on page 79.To store numbers to Contacts from the idle screen:1Use the keypad to enter the number you want tostore.2Press m.3Select Store Number.4To store the number as a new entry, select [NewContact].-or-To store the number in an existing entry, select theentry.5With the Contacts type field highlighted, scroll leftor right to display the Contacts type you want toassign the number.6Ifyouwanttoaddmoreinformationtotheentry,follow the applicable instructions in “CreatingEntries” on page 29.7Press Aunder Done.](https://usermanual.wiki/Motorola-Solutions/89FT5824.users-manual/User-Guide-337880-Page-38.png)
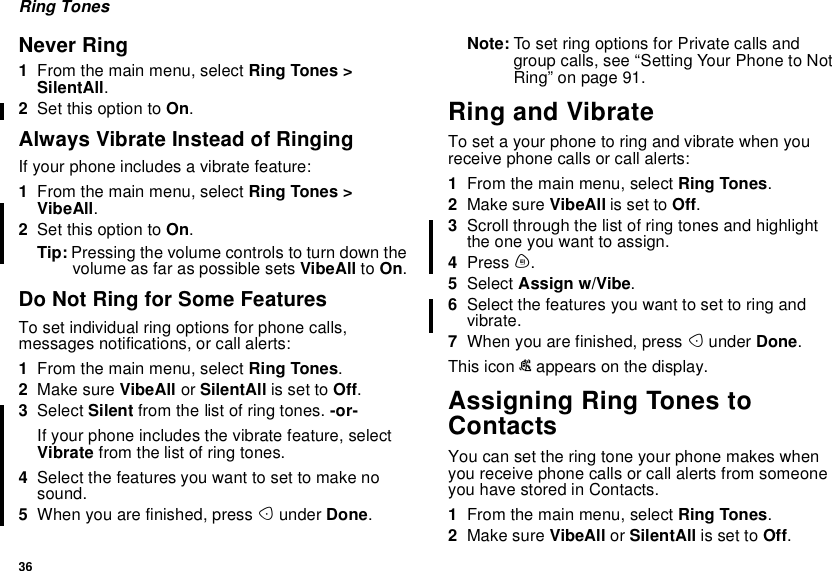


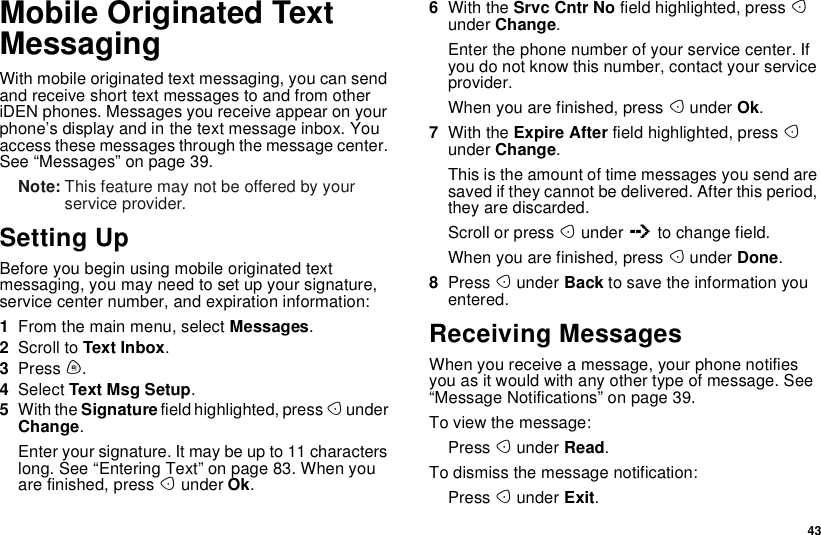
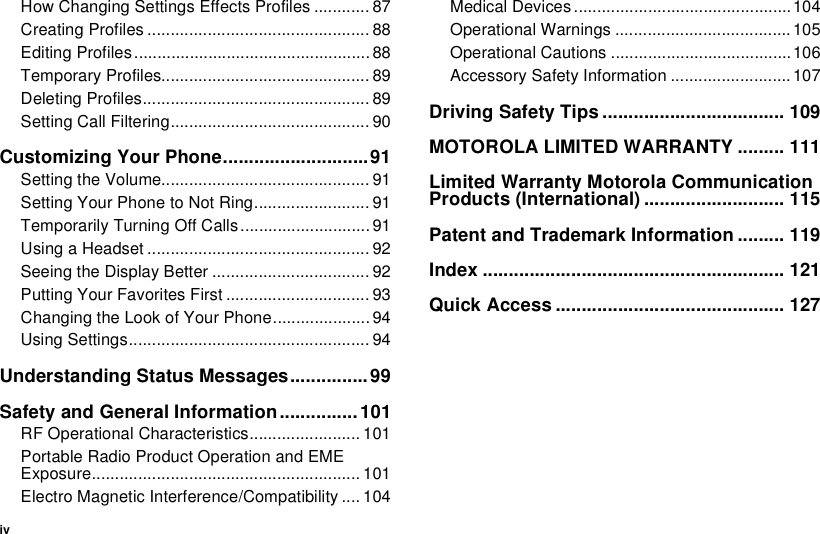
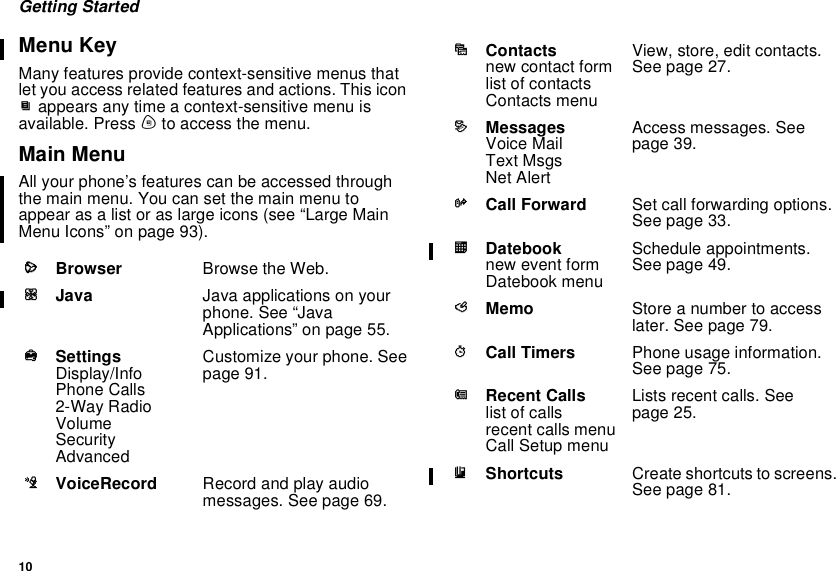
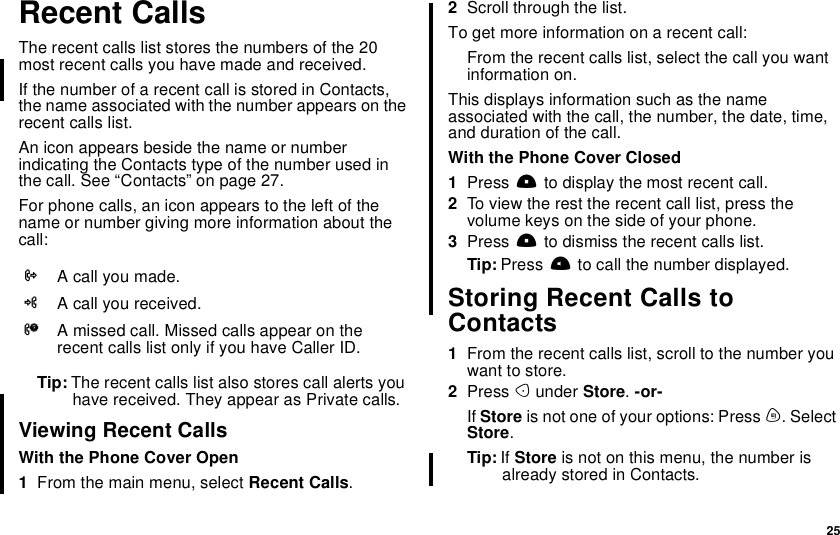
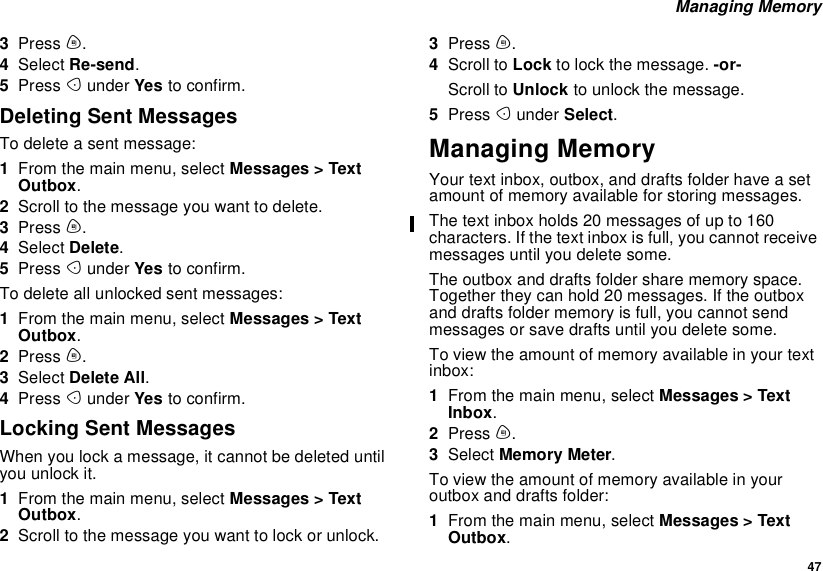
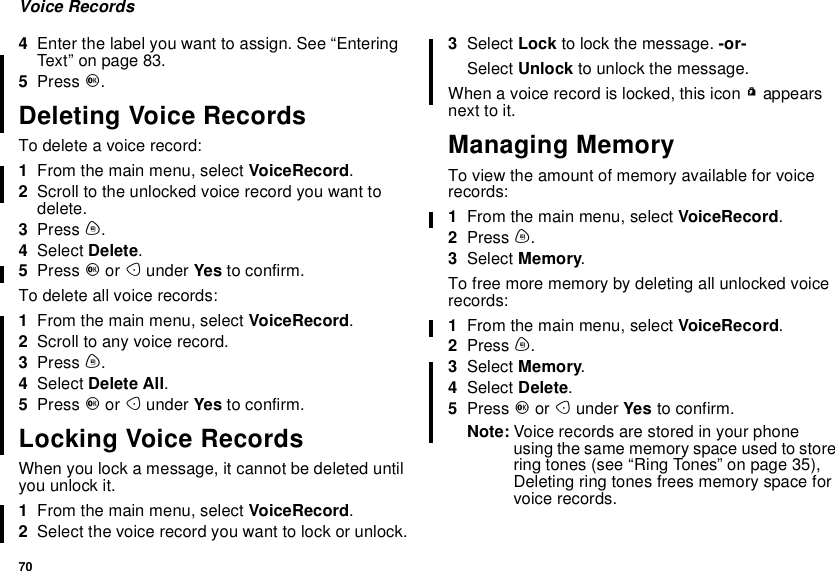
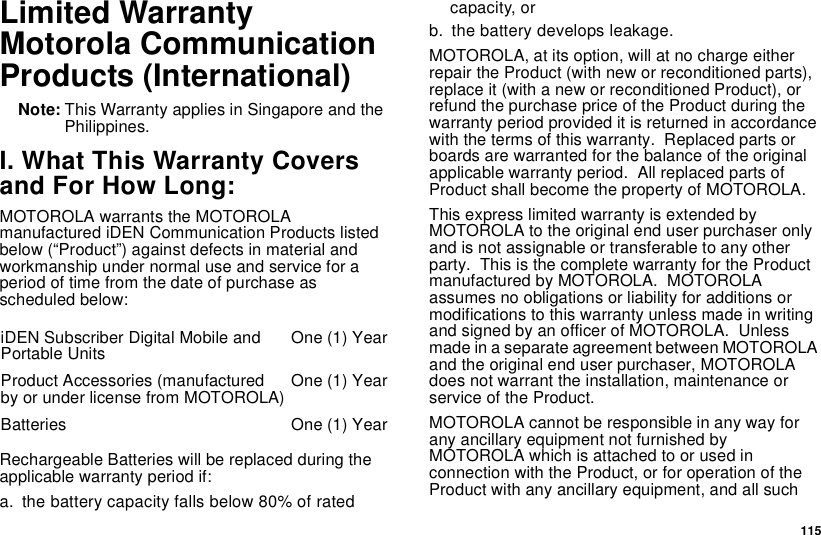
![44Mobile Originated Text MessagingReading Messages From theMessage Center1From the main menu, select Message > TextInbox.2Scroll to the message you want to read.3Press Aunder Read.4If the message fills more than one screen, scroll toread it.5To keep the message, press Aunder Save.-or-To delete the message, press Aunder Dlete.Tip: To see more choices, including replying to themessage, press m.Your text inbox holds up to 20 messages. Eachmessage can be up to 160 characters long.Creating and SendingMessages1From the main menu, select Messages > [CreateMsg].-or-Select [Create Msg] from Text Inbox, Text Outbox,or Drafts.2To address the message:Use the keypad to enter the phone number of theperson you want to send the message to. -or-Press Aunder Browse. Select Contacts,RecentCalls,orMemo. Enter the number from Contacts,the recent calls list, or Memo, as you would whenmakingacall.When you are finished, press Aunder Ok.3Enter the text of the message. See “Entering Text”on page 83. -or-To use a quick note: Press Aunder Browse.Scrollto the quick note you want. Press Aunder Select.For more information on quick notes, see “UsingQuick Notes” on page 45.If you want to add your signature: Press m. SelectAdd Signature.When you are finished, press Aunder Ok.4If you want to send the message, press AunderYes.-or-If you want to request confirmation of delivery,specify the type of message you want to send,save the message as a draft, or delete themessage without sending it, press Aunder No.5If you want to request confirmation of delivery:With the Report field highlighted, press AunderChange.SelectYes.](https://usermanual.wiki/Motorola-Solutions/89FT5824.users-manual/User-Guide-337880-Page-52.png)
![45Creating and Sending Messages6Ifyouwanttospecifythetypeofmessageyouwant to send:With the Send As field highlighted, press AunderChange. Scroll to the message type you want.Press Aunder Select.7To send the message: Press s.PressAunderYes.-or-To save the message as a draft without sending it:Press m.ScrolltoSave As Draft.PressAunderSelect.-or-To delete the message without sending it: Press m.Scroll to Dlete.PressAunder Select.Tip: In some fields, you can select an option byscrolling left or right instead of pressing Aunder Change.Addressing Messages From the RecentCalls List1From the recent calls list, scroll to the name youwant to send a message to.2If the entry has more than one phone numberstored, view the phone number you want to sendthe message to.3Press m.4Select Compose SMS. The message isautomatically addressed to the phone number youchose.5Follow step 3 through step 7 of “Creating andSending Messages” on page 44.Addressing Messages From the IdleScreen1Using the keypad, enter the number you want tosendamessageto.2Press m.3Select Compose SMS. The message isautomatically addressed to the phone number youchose.4Follow step 3 through step 7 of “Creating andSending Messages” on page 44.Using Quick NotesQuick notes are short, pre-written text messages thatyoucancreate,edit,andsend.Youcanstoreupto20 quick notes. A quick note may be up to 30characters long.To create a quick note:1From the main menu, select Messages > QuickNotes > [New Quick Note].2Press Aunder Create.](https://usermanual.wiki/Motorola-Solutions/89FT5824.users-manual/User-Guide-337880-Page-53.png)
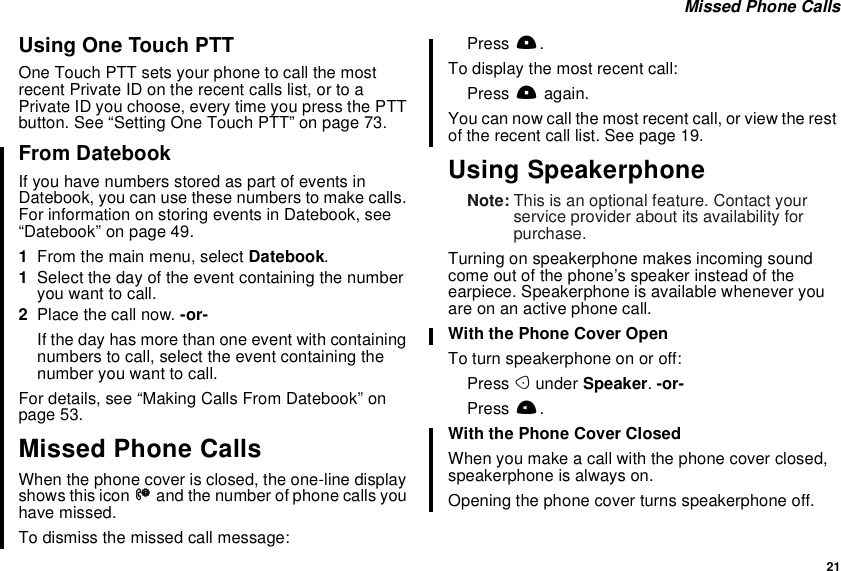
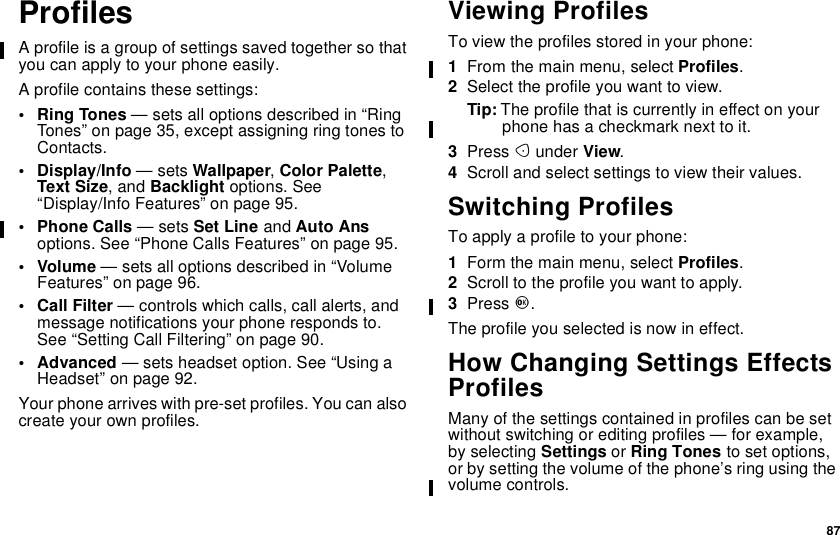
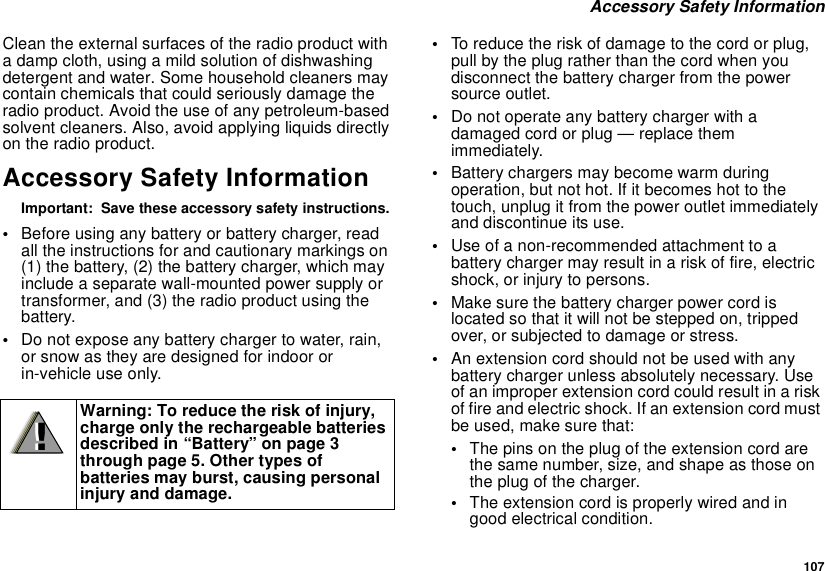
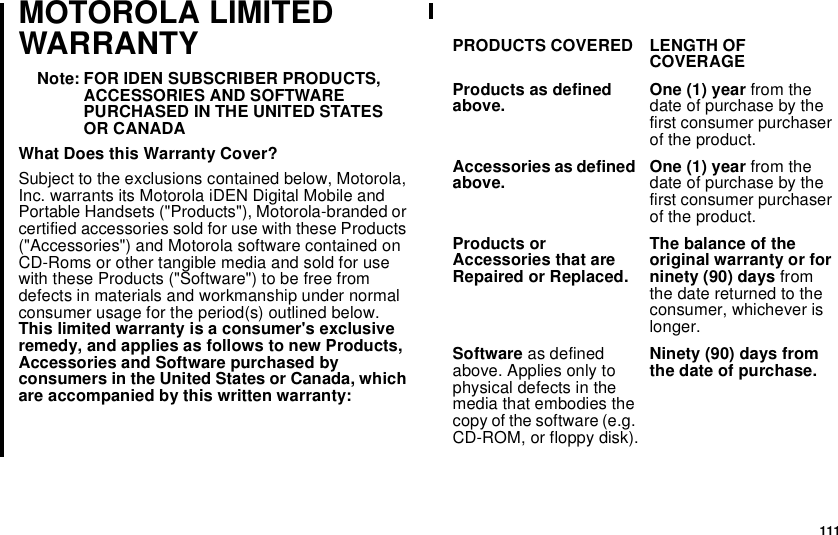
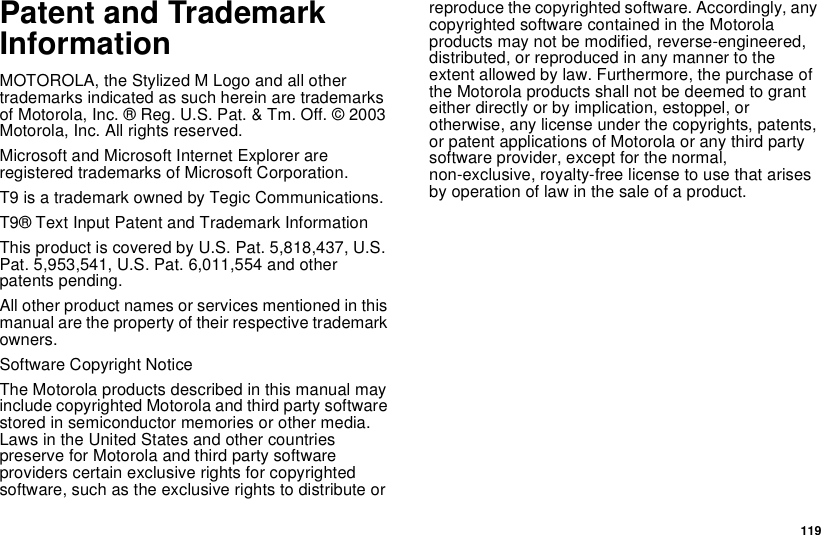
![46Mobile Originated Text MessagingEnter text. See “Entering Text” on page 83. -or-To choose from pre-installed notes: Press Aunder Browse. Scroll to the note you want. PressAunder Select.3Press Aunder Store.Tip: For more options, including sending the quicknote, press m.Using DraftsWhenyousaveamessageasadraft,itissavedinthe drafts folder. You must have a draft saved to havea drafts folder.To edit a draft:1From the main menu, select Messages > DraftsFolder.2Press Aunder Change.3To edit the fields you want to change, follow step 2through step 7 in “Creating and SendingMessages” on page 44.If you have a draft saved, you can create more draftsin the drafts folder:1From the main menu, select Messages > DraftsFolder > [Create Msg].2Press Aunder Create.3Follow step 2 through step 6 in “Creating andSending Messages” on page 44.4Scroll to Save As Draft.Using the OutboxMessages you have sent are stored in the outbox.These icons appear next to messages in the outbox:Resending MessagesTo resend a message:1From the main menu, select Messages > TextOutbox.2Scrolltothemessageyouwanttoresend.4Sent and confirmed.9Send attempted.0Forwarded.5Received by addressee.6Not received by addressee.8Send failed.7Re-sent.RLocked.](https://usermanual.wiki/Motorola-Solutions/89FT5824.users-manual/User-Guide-337880-Page-54.png)
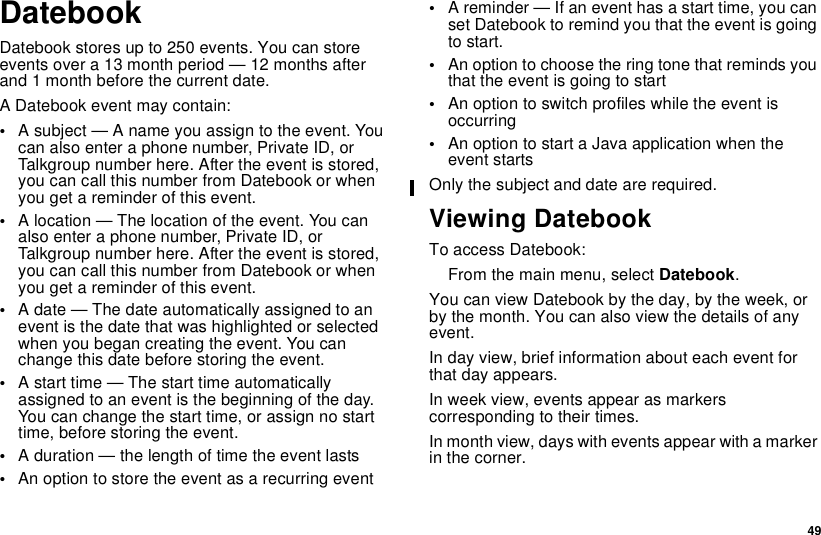
![50DatebookTo view an event:1Select the day the event occurs.2Select the event.To change the current view:1While viewing Datebook, press m.2Select the view you want.Navigating DatebookTo scroll through Datebook:Scroll left and right using the navigation key. -or-Press *or #. In week view and month view, thisis faster.Toseemoreindayview:Scroll up and down using the navigation key.To highlight a day in month view:Enter the date using the keypad.To go to today’s date:1While viewing Datebook, press m.2Select Go to Today.To go to any date in Datebook:1While viewing Datebook, press m.2Select Go to Date.3Select the date you want.Creating EventsEvery Datebook event must have a subject and bestored to a date. Other information is optional.You may enter the information in any order byscrolling through the event details.After you have entered the information you want, youcan press Aunder Done to store the event toDatebook.If you decide you don’t want to store the event:Press Aunder Cancel.To create a Datebook event:1While viewing datebook, press Aunder New.-or-In day view, select [New Event].2To assign a subject to the event:Select Subject.Enter the name. See “Entering Text” on page 83.-or-Press Aunder Brwse to choose from commonevent names. -or-](https://usermanual.wiki/Motorola-Solutions/89FT5824.users-manual/User-Guide-337880-Page-58.png)


![69Voice RecordsNote: This is an optional feature. Contact yourservice provider about its availability forpurchase.A voice record is a recording you make with yourphone and can play back. You can record notes toyourself or phone calls.Yourphonecanstoreupto20voicerecords.Creating Voice RecordsTo record a note to yourself:1From the main menu, select VoiceRecord > [NewVoiceRec].2Say the message you want to record into themicrophone.Tip: To stop recording before you are finished,press Aunder Pause. To start recordingagain, press Aunder Rsume.3When you are finished recording, press O.Toaddtotheendofvoicerecord:1From the main menu, select VoiceRecord.2Select the voice record you want to add to.3Press m.4Select Add To.5When you are finished recording, press O.To record a phone call:1While on an active call, press m.2Select VoiceRecord.3When you are finished recording, press O.Note: Recording of phone calls is subject toapplicable laws regarding privacy andrecording of phone conversations.Playing Voice Records1From the main menu, select VoiceRecord.2Select the voice record you want to play.3To stop the voice record while it is playing, pressO.Tip: To fast forward, scroll right. To rewind, scrollleft. To pause or resume, press any key.Labelling Voice RecordsWhen you create a voice record, it is labeled with thetime and date it was recorded. You can then renameit with a custom label.1From the main menu, select VoiceRecord.2Select the voice record you want to label.3Press Aunder Label.](https://usermanual.wiki/Motorola-Solutions/89FT5824.users-manual/User-Guide-337880-Page-77.png)


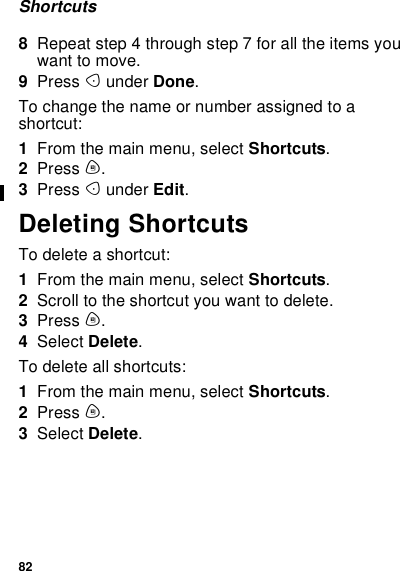
![79MemoMemoletsyoustoreanumber,makeacalltothatnumber, and save it to Contacts.To create a memo:1From the main menu, select Memo.2Enter the number using your keypad.3Press O.To view the memo later:1From the main menu, select Memo.To delete the memo:1From the main menu, select Memo.2Press and hold Aunder Dlete.To edit the memo:1From the main menu, select Memo.2Enter the new number.3Press O.To make a call to the memo number:1From the main menu, select Memo.2Press s.To store the memo number to Contacts:1From the main menu, select Memo.2Press m.3Select Store to Cntcts.4To store the number as a new entry, select [NewContact].-or-To store the number in an existing entry, select theentry.5With the Contacts type field highlighted, scroll leftor right to display the Contacts type you want toassign the number.6If you want to add more information to the entry,follow the applicable instructions in “CreatingEntries” on page 29.7Press Aunder Done.](https://usermanual.wiki/Motorola-Solutions/89FT5824.users-manual/User-Guide-337880-Page-87.png)
![81ShortcutsShortcuts lets you access most menu options bypressing a number on your keypad or saying thevoice name of the shortcut. You create the shortcutandthenuseittotakeyoutothatscreenanytime.Creating a Shortcut1Go to the menu item you want to create a shortcutfor.For example, if you want to create a shortcut to thescreen for creating a new Contacts entry: From themain menu, select Contacts > [New Contacts].2Press and hold muntil a confirmation screenappears.3Press Oor press Aunder Yes.4A screen appears showing the number assigned tothe shortcut. If you want to change the numberassigned: Press Aunder Edit. Enter the numberyou want to assign. Press O.5Ifyouwanttorecordavoicenamefortheshortcut:Select Voice. As directed by the screen prompts,say and repeat the name you want to assign to thenumber. Speak clearly into the microphone.6Press Aunder Done.Using a ShortcutIf you know the shortcut number:1From the idle screen, press m.2On your keypad, press the number assigned to theshortcut.If you do not know the shortcut number:1From the main menu, select Shortcuts.2Select the shortcut you want to use.If you assigned a voice name to the shortcut:1Press t.2Say the voice name into your phone.Editing a ShortcutTo change the number assigned to a shortcut:1From the main menu, select Shortcuts.2Press m.3Select Reorder.4Select the shortcut you want to move.5Press Aunder Grab.6Scroll to the place where you want the shortcut toappear.7Press Aunder Insert.](https://usermanual.wiki/Motorola-Solutions/89FT5824.users-manual/User-Guide-337880-Page-89.png)

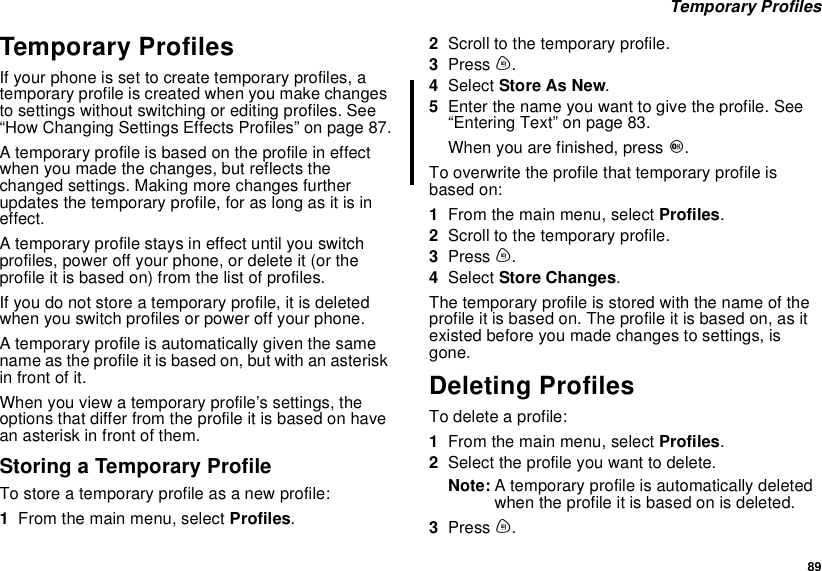
![88ProfilesWhen you do this, your phone either:•Updates the profile in effect to reflect thesechanges, without notifying you -or-•Creates a temporary profile that contains thesechangesNote: This feature may not be offered by yourservice provider.To set your phone to create a temporary profile thatcontains changes you make to settings:1From the main menu, select Profiles.2Press m.3Select Setup > Temp. Settings.4Set this option to On.To set your phone to update the profile in effect toreflect any changes you make to settings:Set Temp. Settings to Off in step 4.If your service provider does not offer the Temp.Settings option, your phone always updates theprofileineffecttoreflectthechangesyoumaketosettings.For more information on temporary profiles, see“Temporary Profiles” on page 89.Creating Profiles1From the main menu, select Profiles.2Select [New Profile].-or-Scroll to any profile. Press m.SelectNew.3Enter the name you want to give the profile. See“Entering Text” on page 83.When you are finished, press O.4If you want to base this profile on an existingprofile: Select Copy from. Select the profile youwant to base this profile on.5Press Aunder Create.6Scroll the list of options and set their values.7Press Aunder Done.Editing Profiles1From the main menu, select Profiles.2Scroll to the profile you want to edit.3Press m.4Select Edit.5Follow the applicable instructions in “CreatingProfiles”onpage88toeditthevariousfields.](https://usermanual.wiki/Motorola-Solutions/89FT5824.users-manual/User-Guide-337880-Page-96.png)


![127Quick AccessTo access the idle screen at any time:Press e.When you are entering a number using your keypad,you can access these features by pressing m:•store the number to Contacts•insert a pause•Call Setup optionsTo access My Info:1Press m.2Press #.[MORE SHORT CUTS AND TIPS HERE.]](https://usermanual.wiki/Motorola-Solutions/89FT5824.users-manual/User-Guide-337880-Page-135.png)