Motorola Solutions 89FT5839 iDEN i265 User Manual i265Mot
Motorola Solutions, Inc. iDEN i265 i265Mot
UserManual.wiki
>
Motorola Solutions
>
89FT5839 User Manual
USERS MANUAL
Navigation menu
Upload a User Manual
Namespaces
Wiki Guide
HTML
PDF
Info
Views
User Manual
Discussion / Help
Navigation
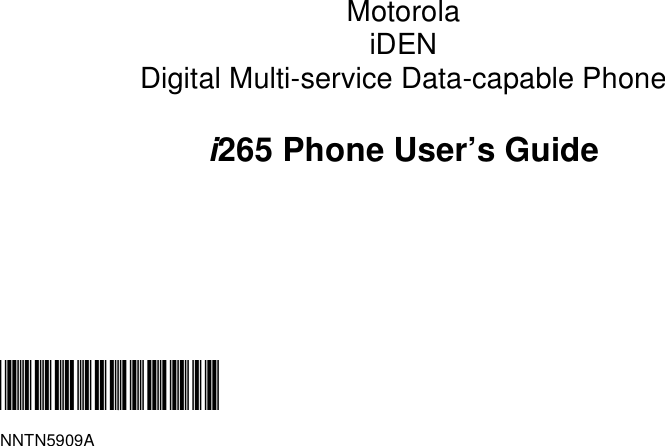
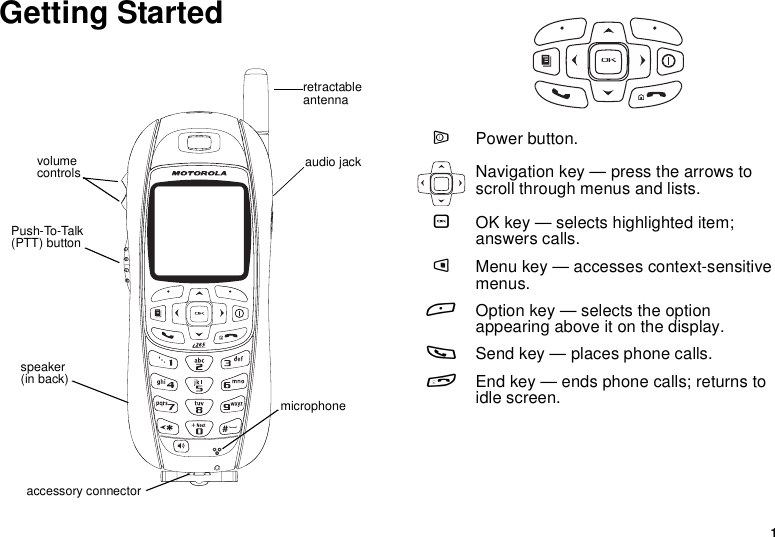
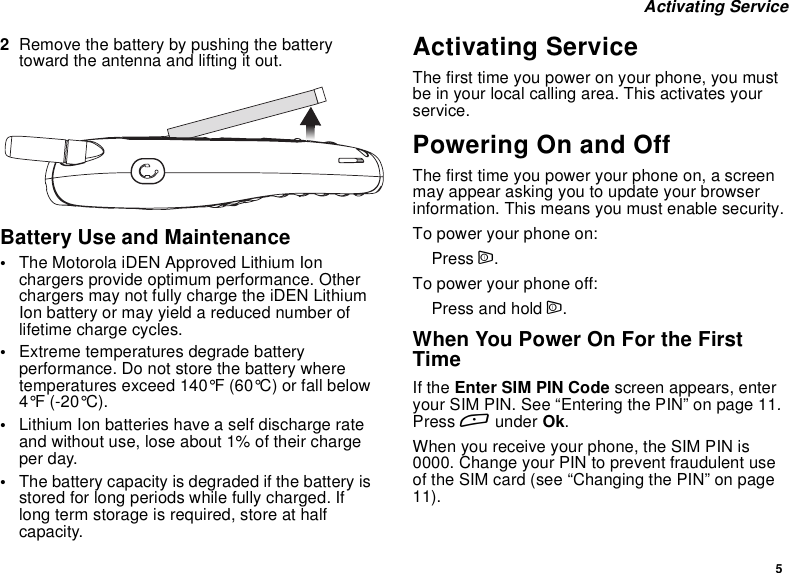

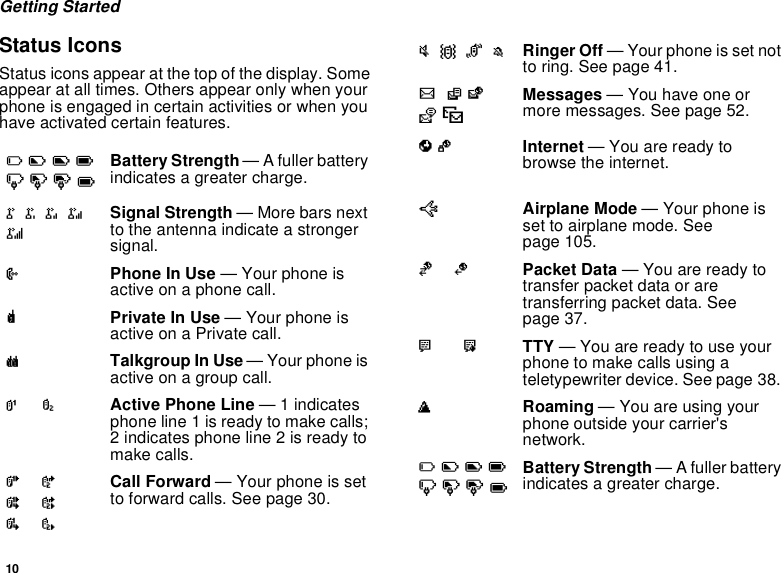
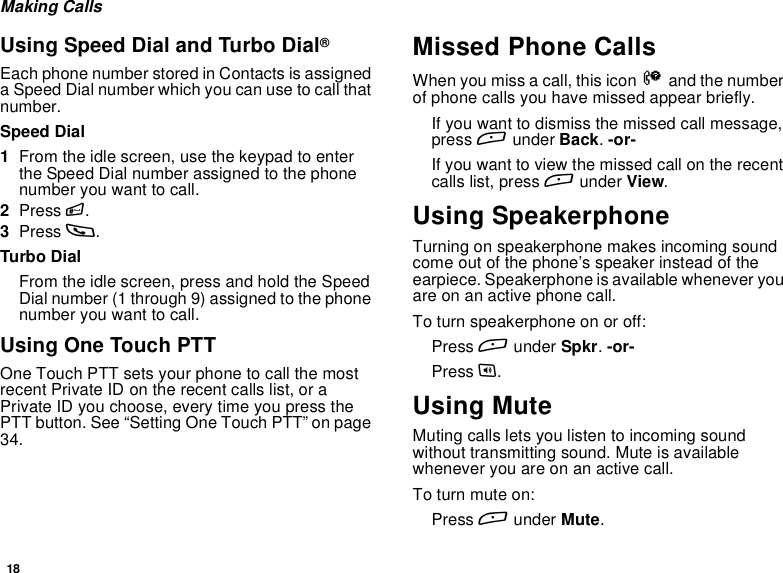
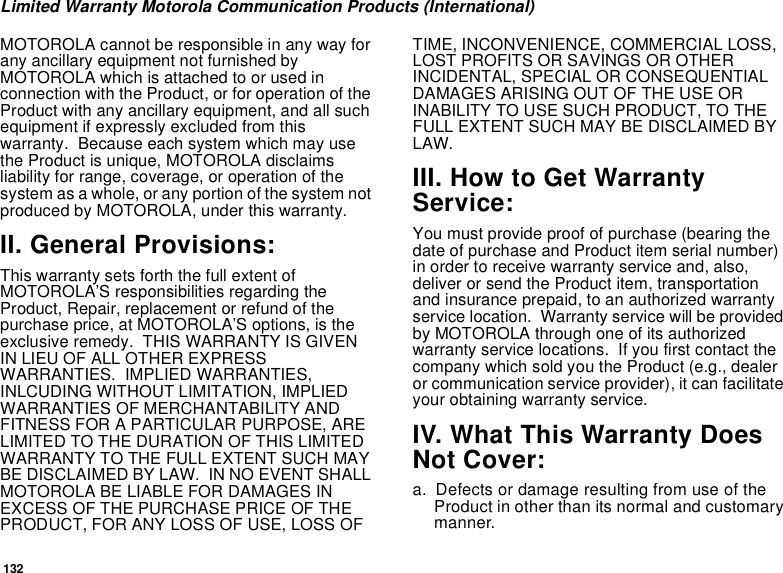
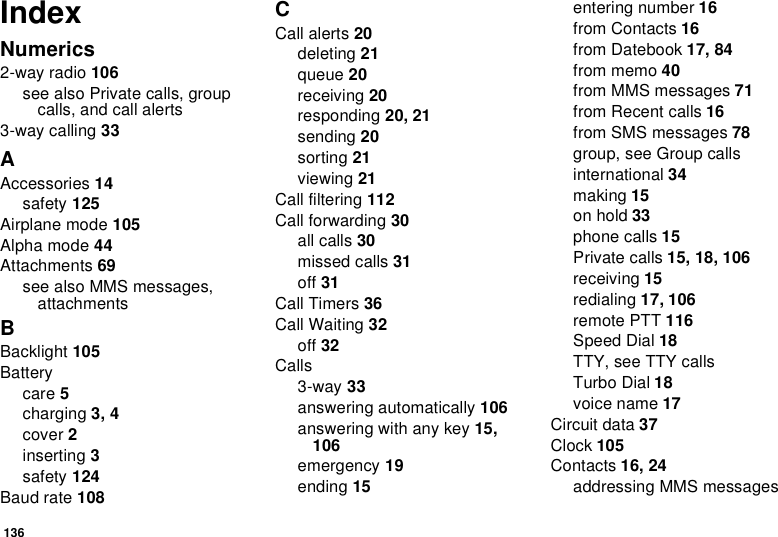
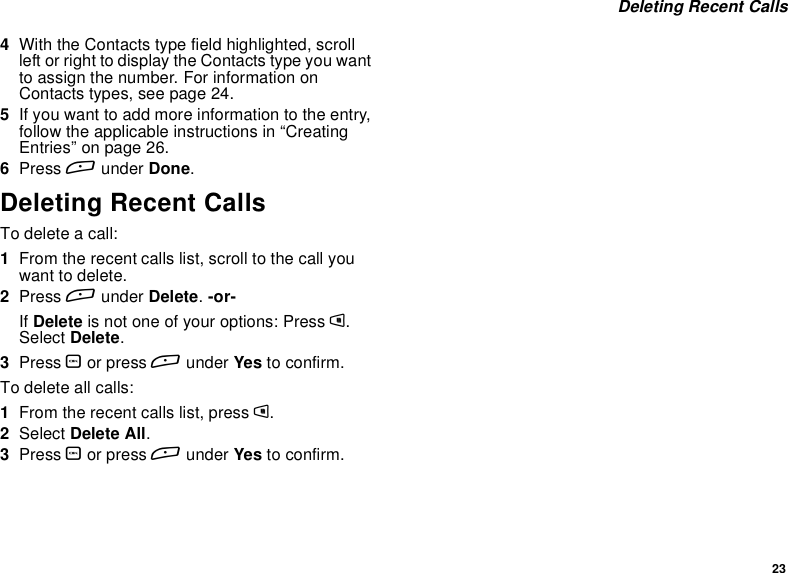
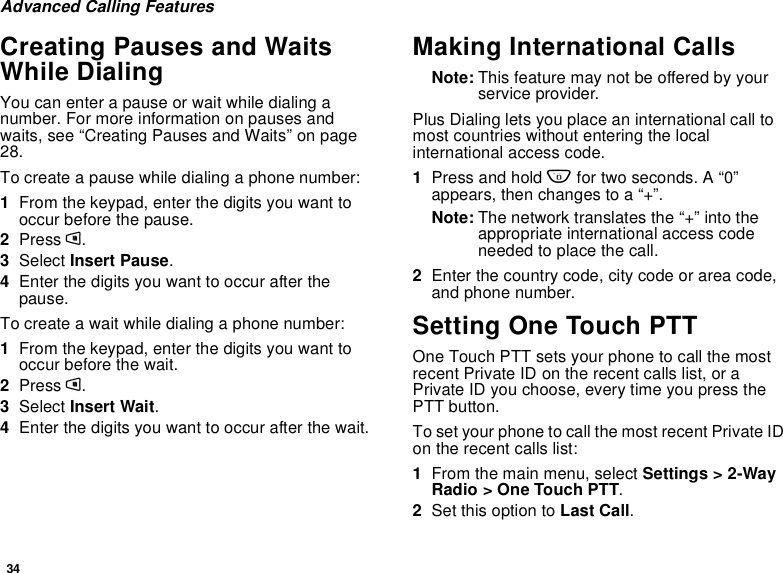
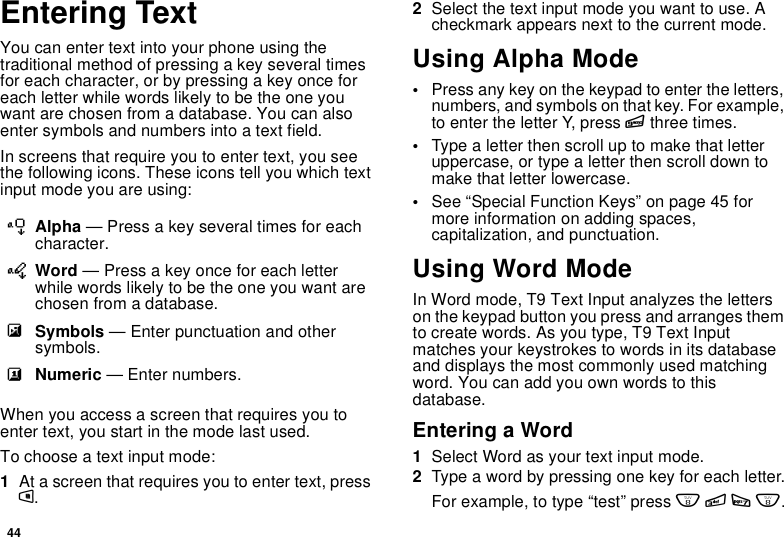
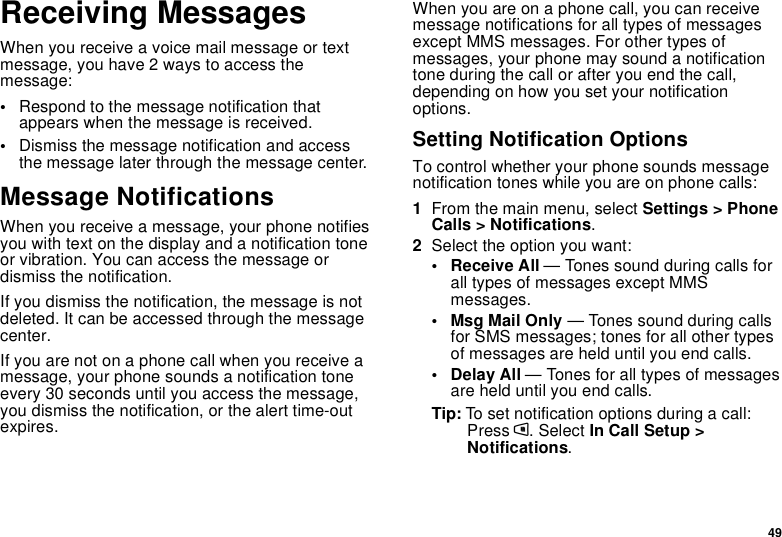
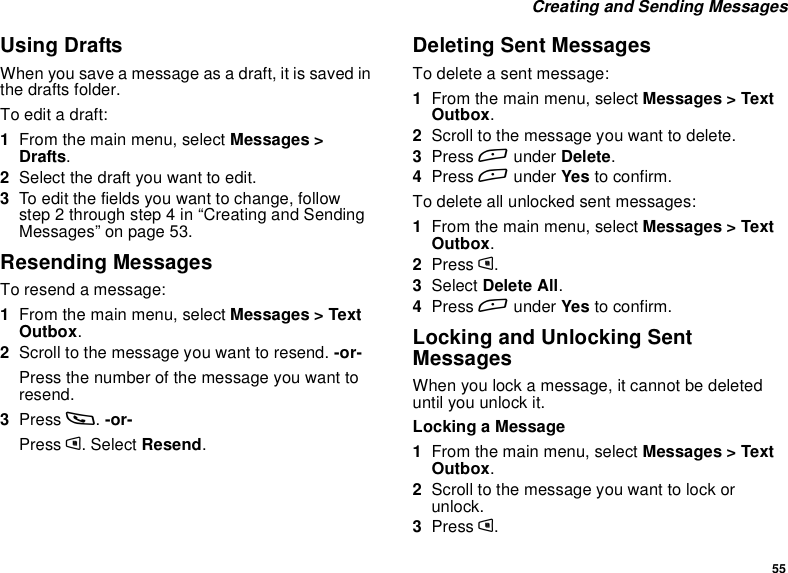
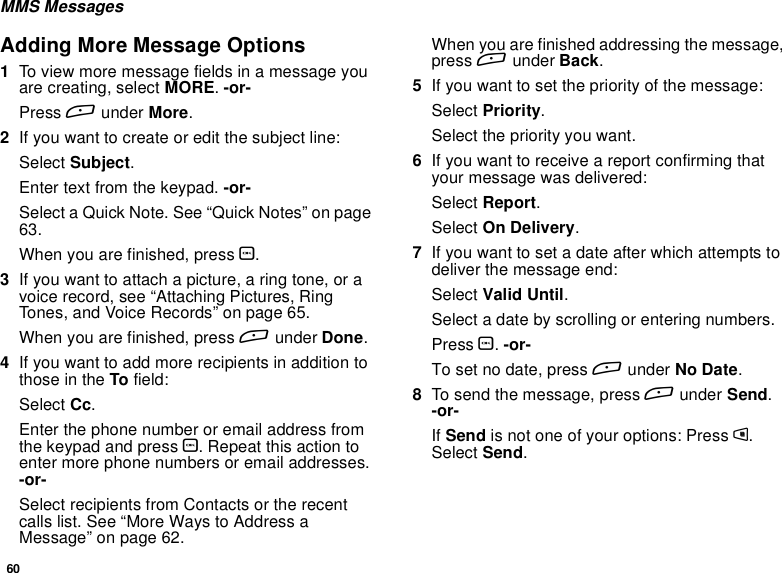
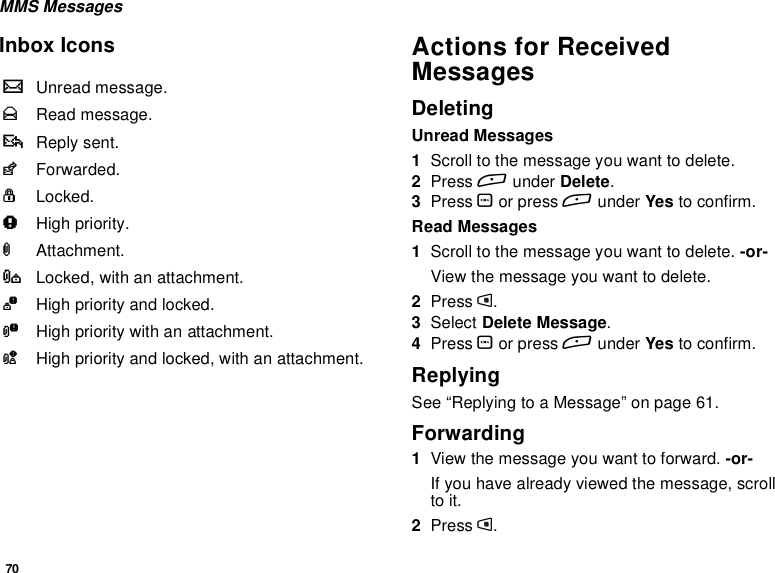
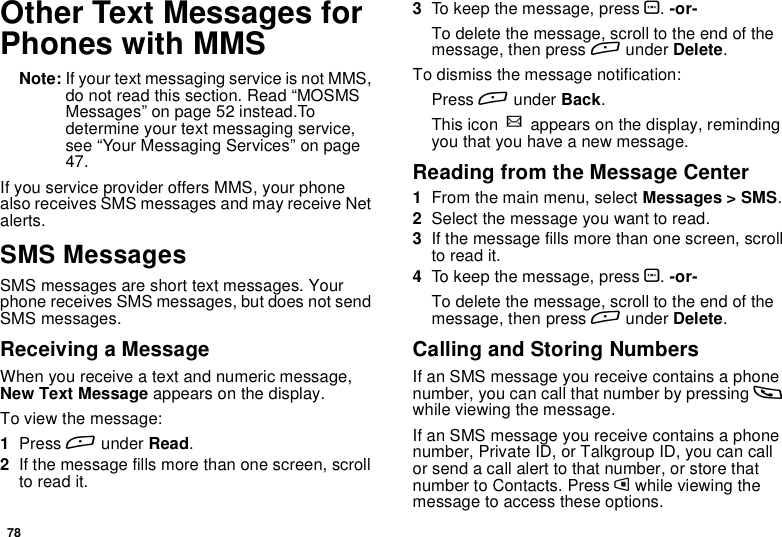
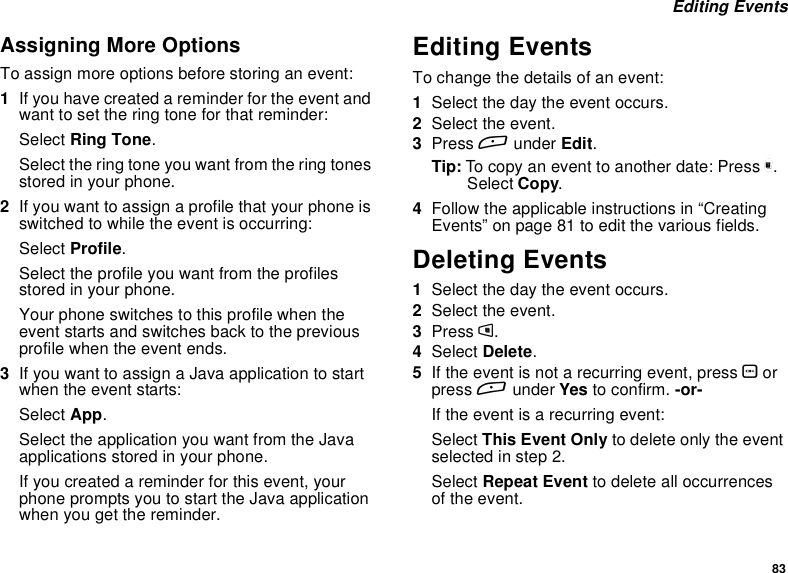
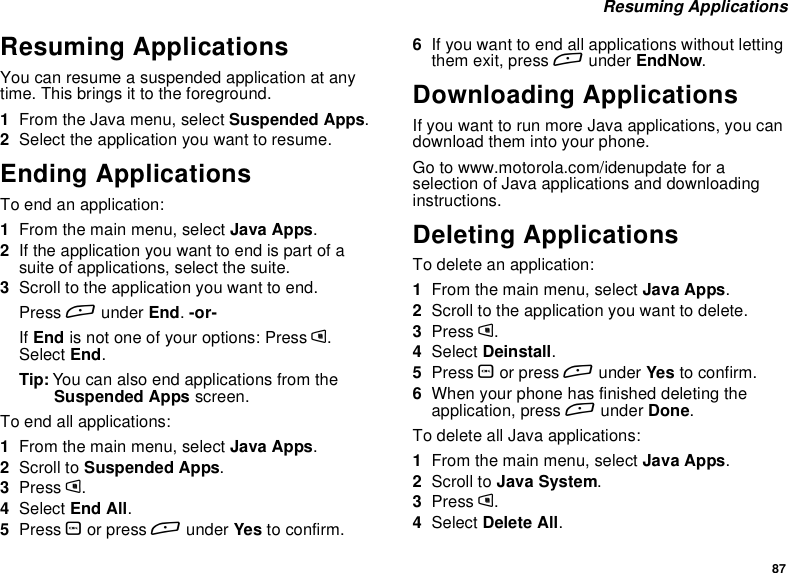
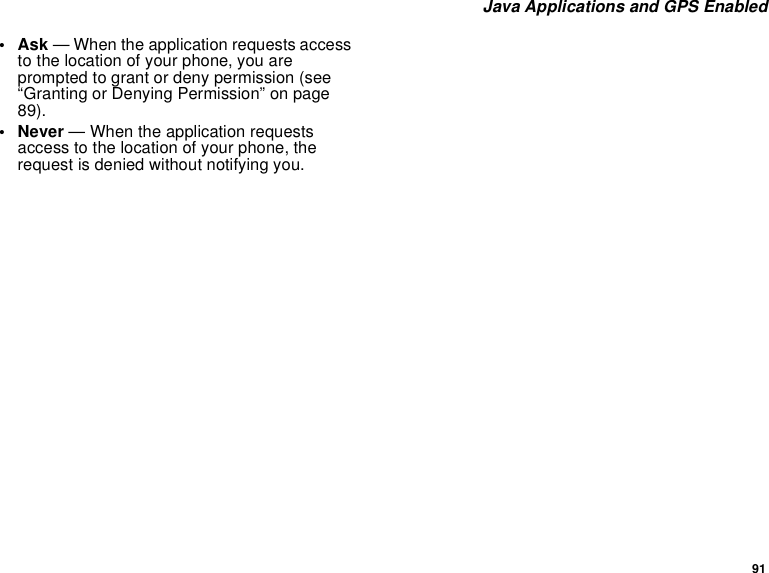
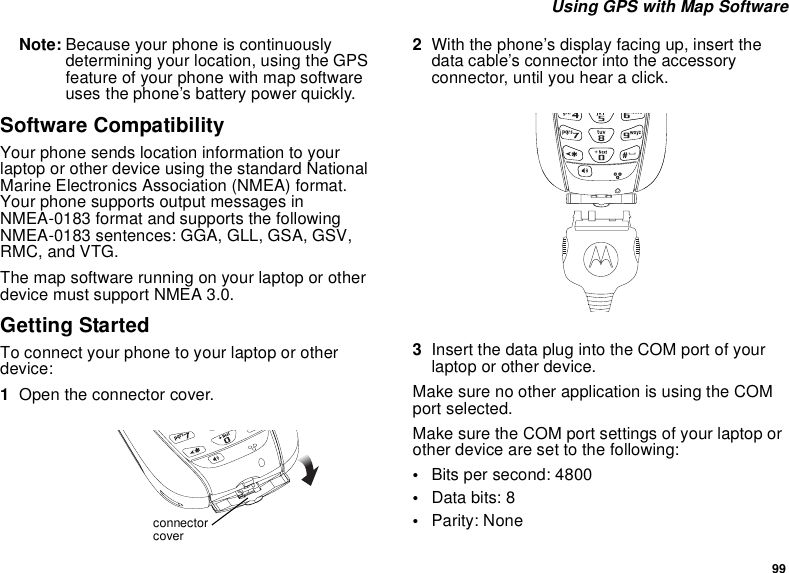
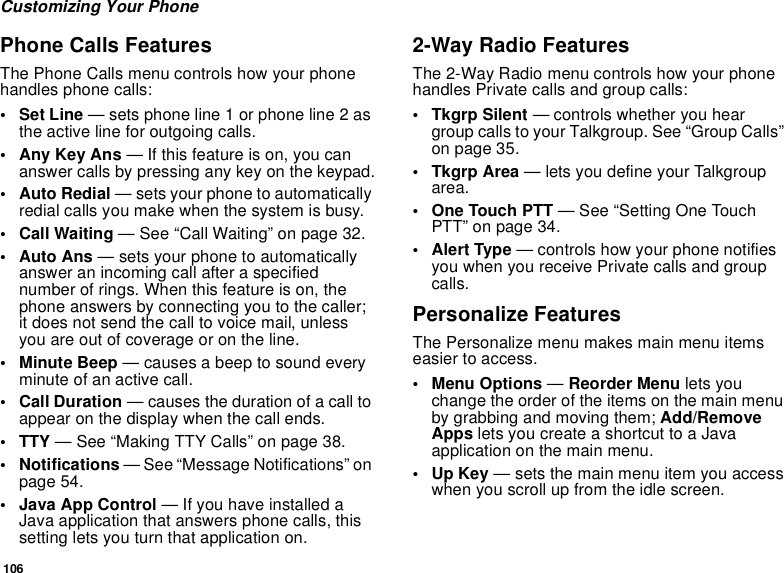
![22Recent CallsThe recent calls list stores the numbers of the 20most recent calls you have made and received.If the number of a recent call is stored in Contacts,the name associated with the number appears onthe recent calls list.An icon appears beside the name or numberindicating the Contacts type of the number used inthecall.See“Contacts”onpage24.For phone calls, an icon appears to the left of thename or number giving more information about thecall:Note: The recent calls list also stores call alertsyou have received. They appear asPrivate calls. Call alerts remain in yourrecent calls list until you delete them oruntil they reach the end of the list.Viewing Recent Calls1From the main menu, select Recent Calls.2Scroll through the list.To get more information on a recent call:From the recent calls list, select the call youwant information on.This displays information such as the nameassociated with the call, the number, the date,time, and duration of the call.Tip: Press tto call the number displayed.Storing Recent Calls toContacts1From the recent calls list, scroll to the numberyou want to store.2Press Aunder Store.-or-If Store is not one of your options: Press m.Select Store.Tip: If Store is not on this menu, the number isalready stored in Contacts.3To store the number as a new entry, select [NewContact].-or-To store the number to an existing entry, selectthe entry.XA call you made.WA call you received.VA missed call. Missed calls appear on therecent calls list only if you have Caller ID.](https://usermanual.wiki/Motorola-Solutions/89FT5839/User-Guide-463935-Page-32.png)
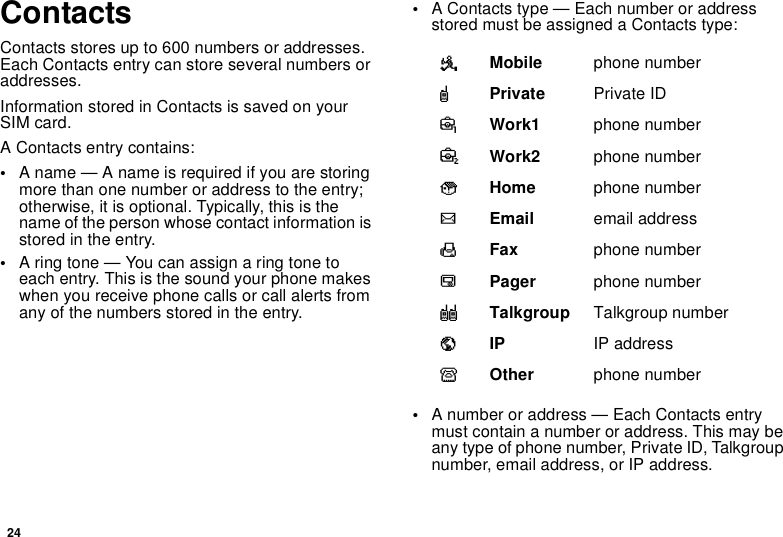
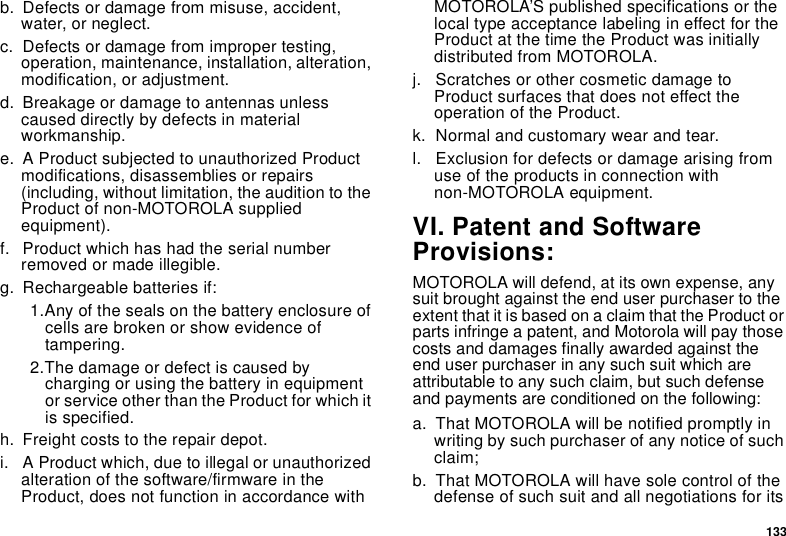
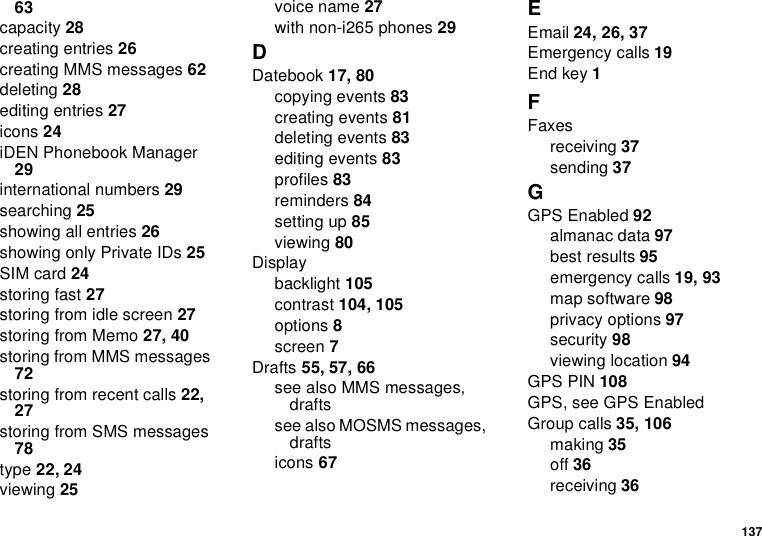
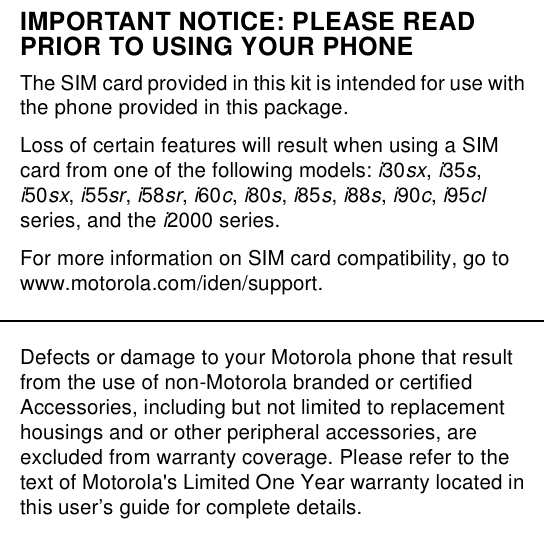
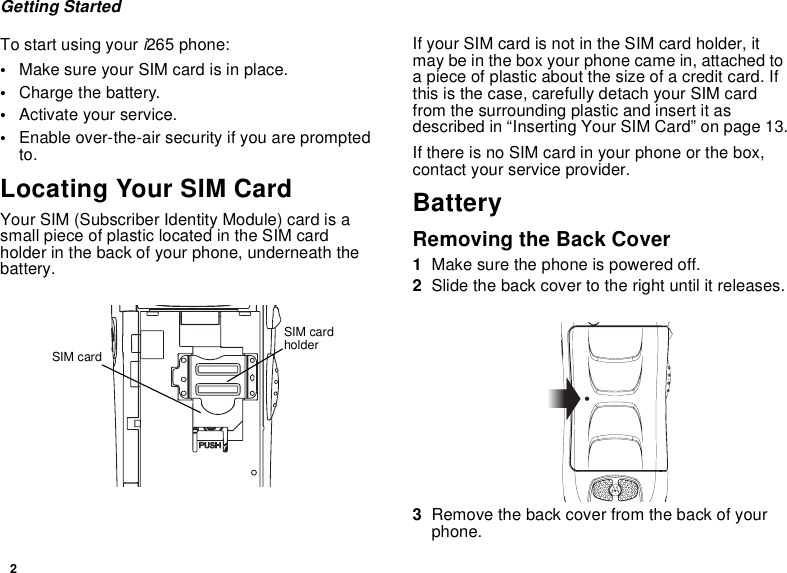
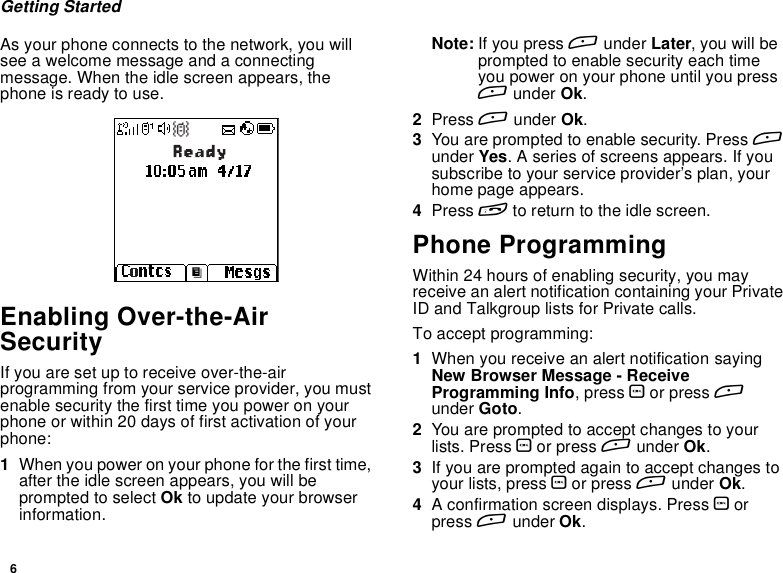
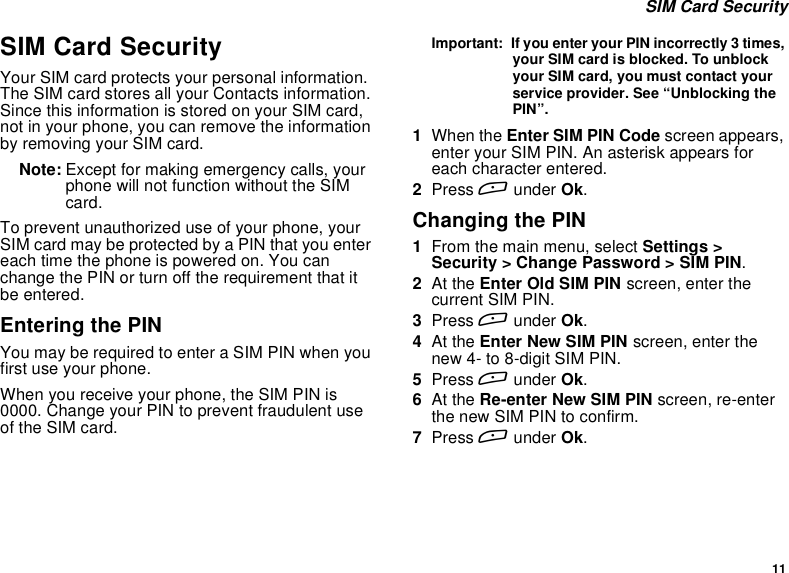
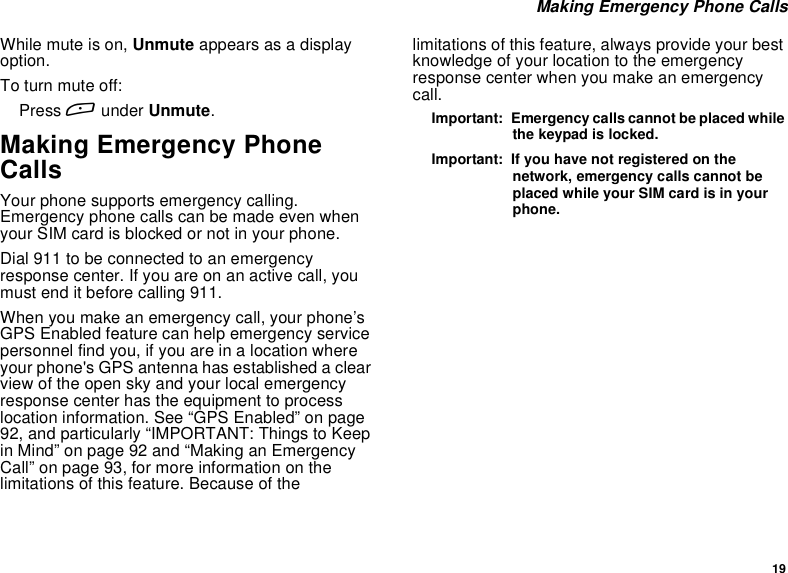
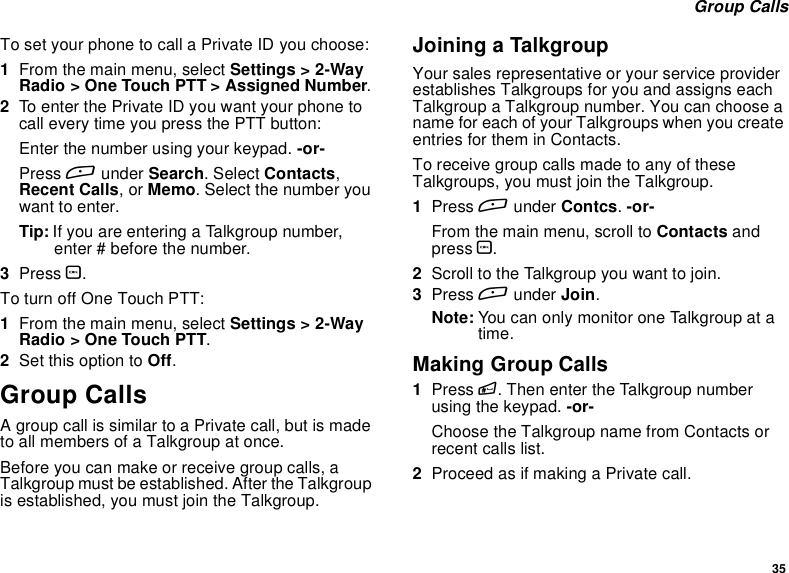
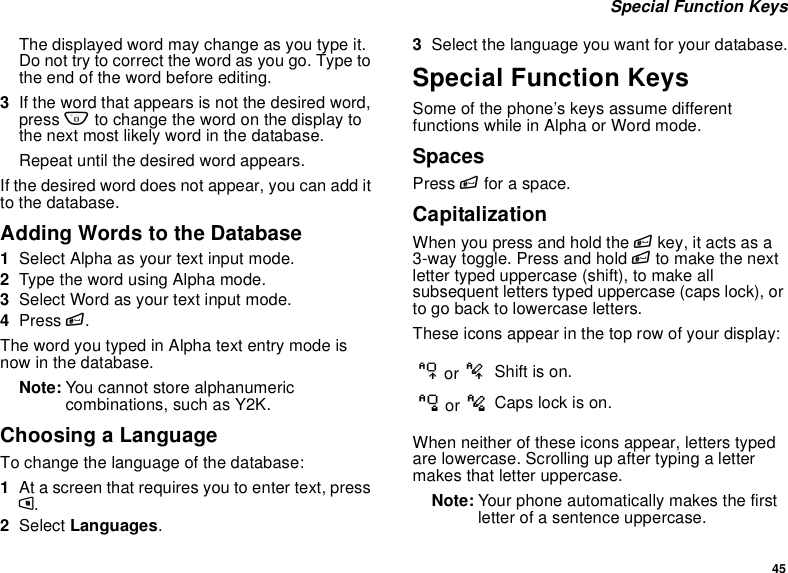
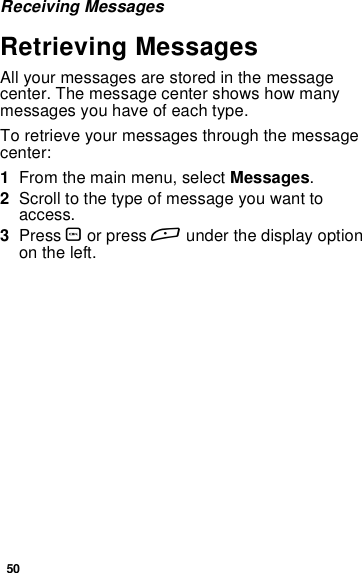
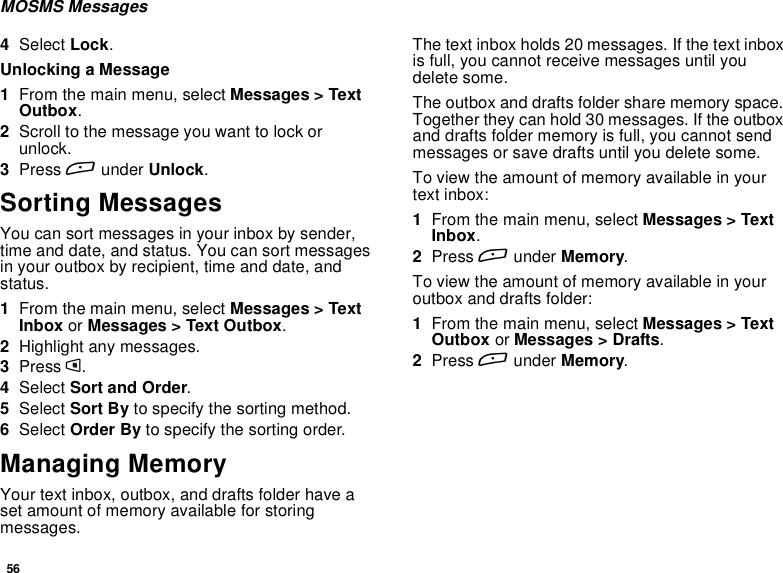
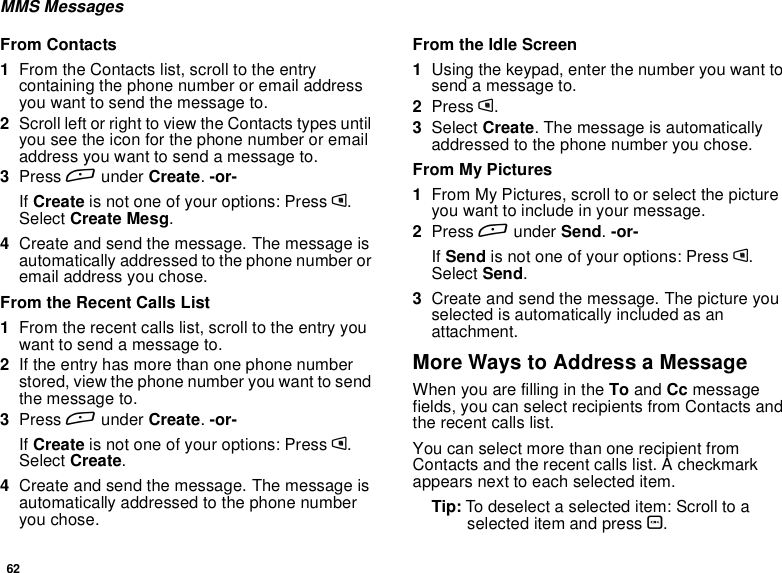
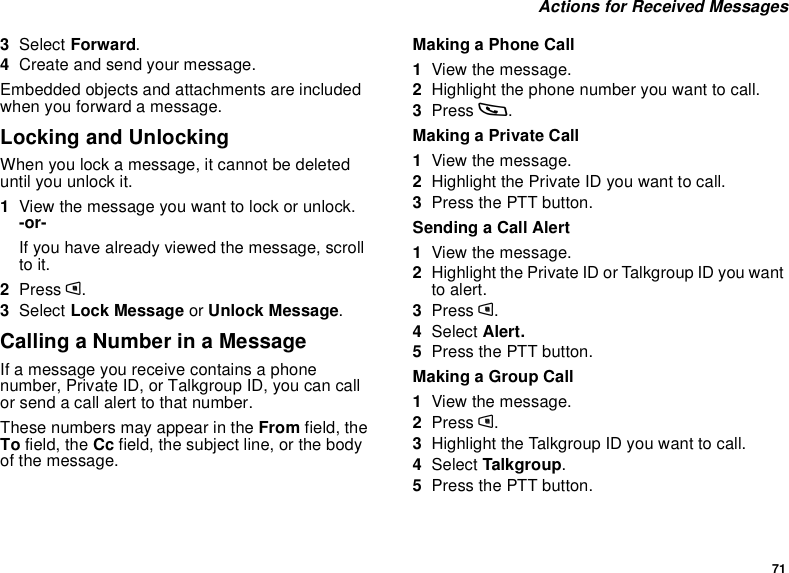
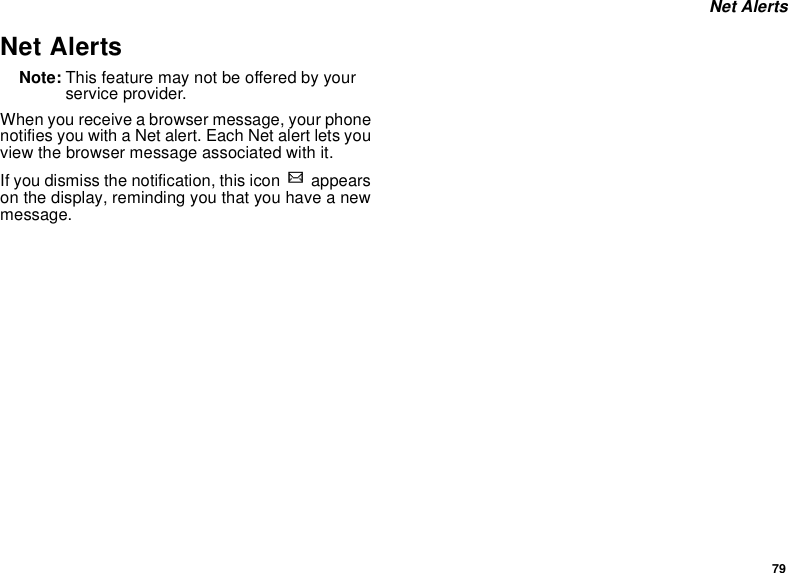
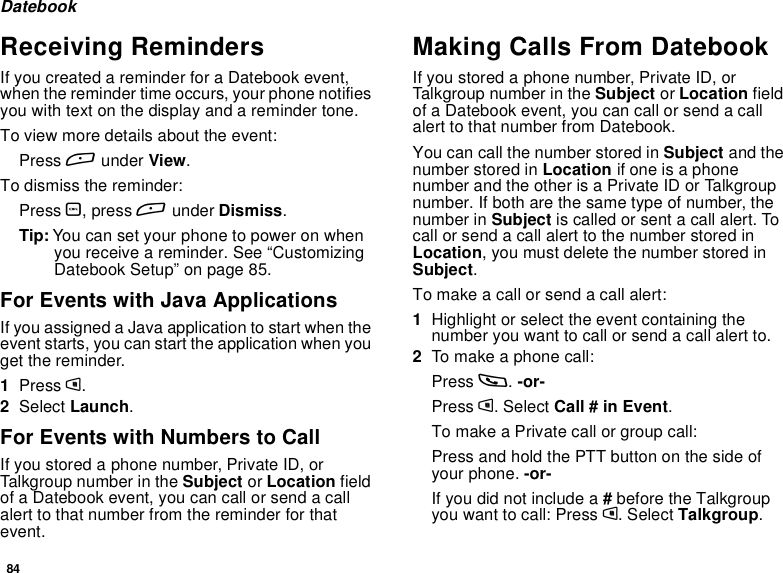
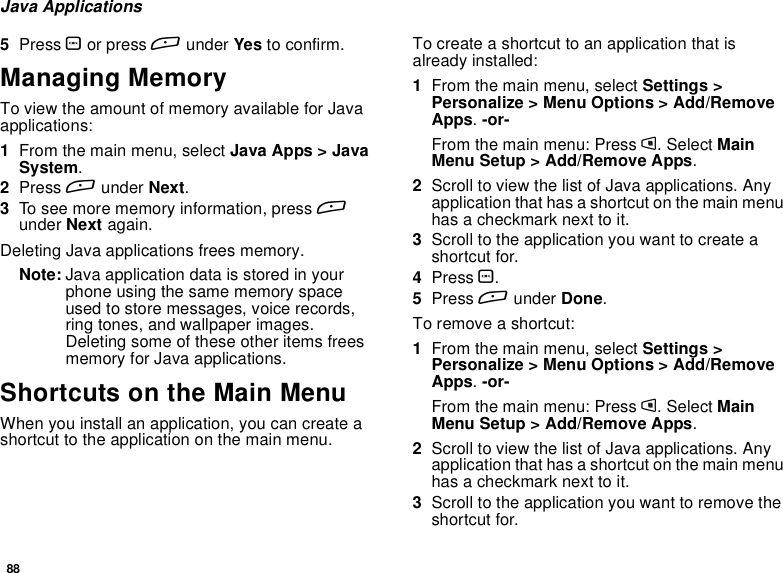
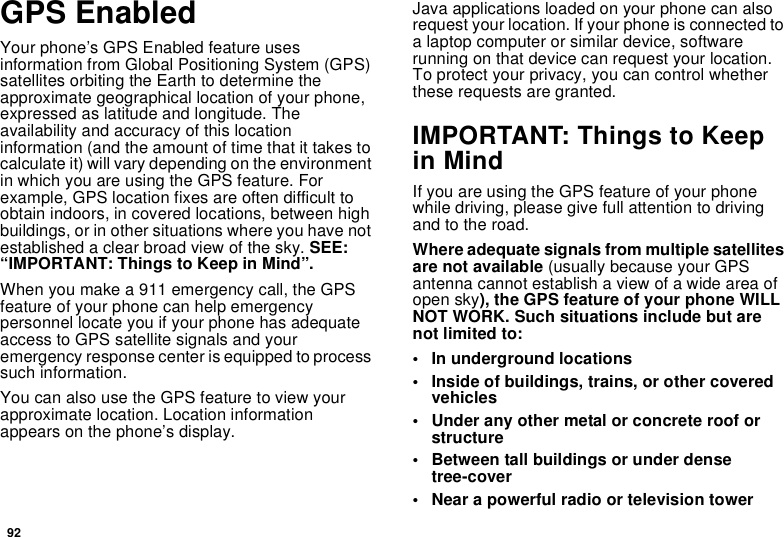
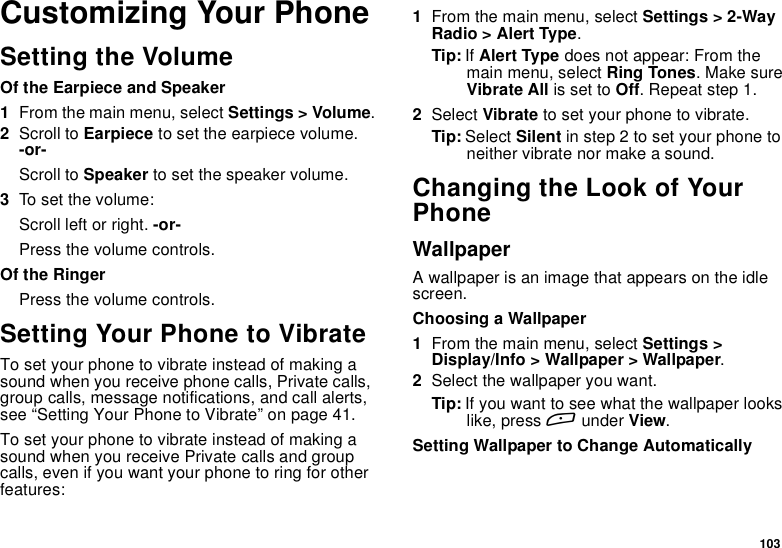
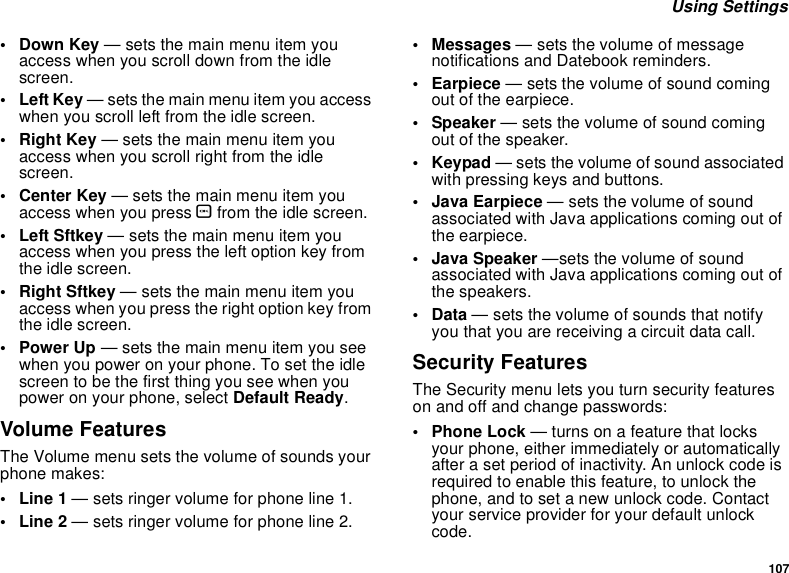
![26ContactsTo set Contacts to show all entries:1From the Contacts list, press m.2Select Filter.3Set this option to Show All.Creating EntriesA number or address and a Contacts type arerequired for all Contacts entries. Other informationis optional. You may enter the information in anyorder by scrolling through the entry details.After you have entered the number or address,Contacts type, and any other information you want,you can press Aunder Done to save the entry toContacts.To cancel a Contacts entry at any time press, eto return to the idle screen.To create a Contacts entry:1To access the entry details screen:Select Contacts > [New Contact].-or-From the Contacts list, press m. Select New.2Ifyouwanttoassignanametotheentry:Select Name.Enter the name. See “Entering Text” on page44. When you are finished, press O.Tip: Press Aunder Browse to select a namealready in Contacts.3Ifyouwanttoassignaringtonetothename:Select Ringer.Selecttheringtoneyouwanttoassign.4ToassignaContactstypetothenumberoraddress being stored:Select the Contacts type field.Select the Contacts type you want to assign.5To store a number or address:Select the #field (or ID for an email address, orIP for an IP address).Enter the number or address. For phonenumbers, use the 10-digit format. For emailaddresses, see “Entering Text” on page 44.Tip: Press Aunder Browse to select anumber or address from Contacts, therecent calls list, or Memo.When you are finished, press O.6Ifyouwanttoassignmoreoptionstothenumber, select [Options]. See “AssigningOptions” on page 27.](https://usermanual.wiki/Motorola-Solutions/89FT5839/User-Guide-463935-Page-36.png)
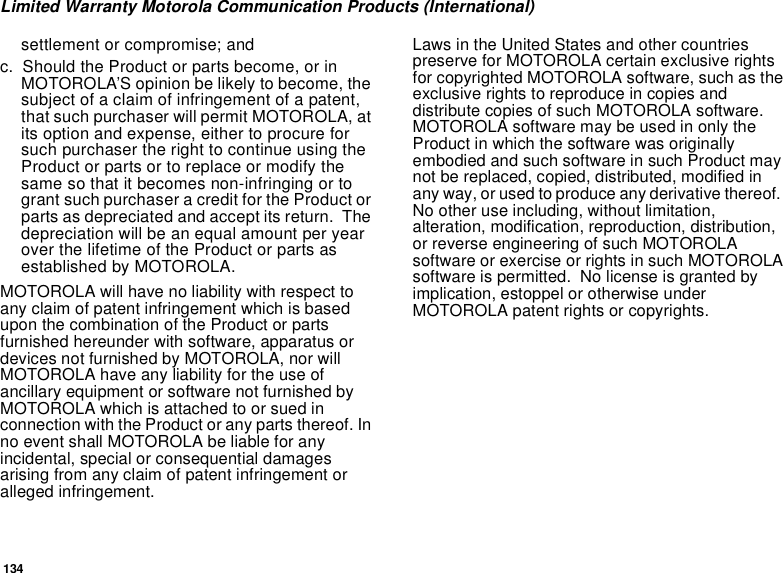
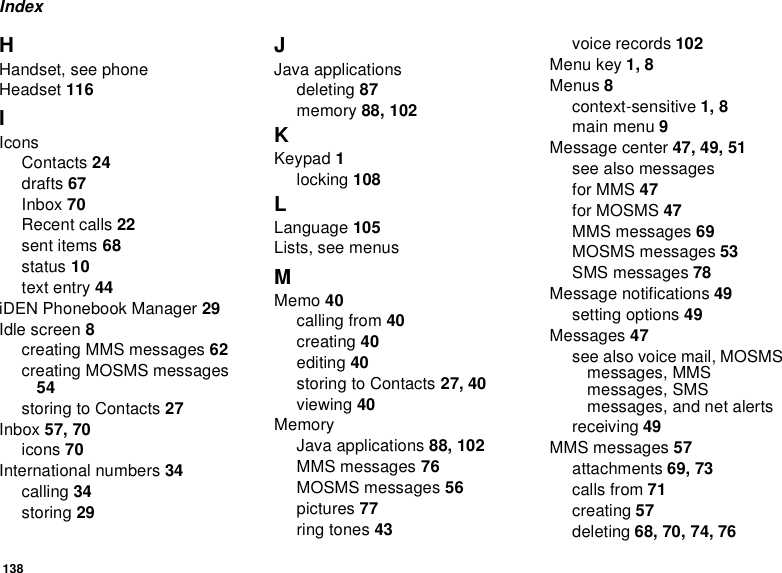
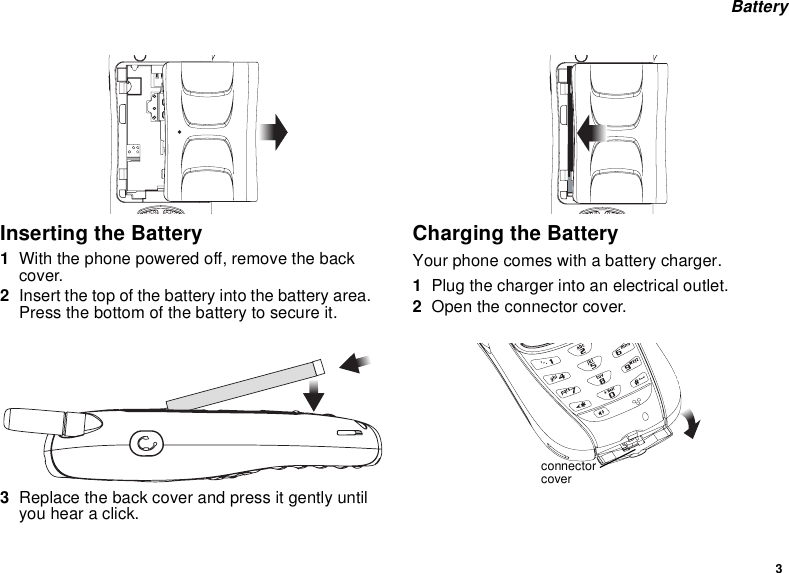
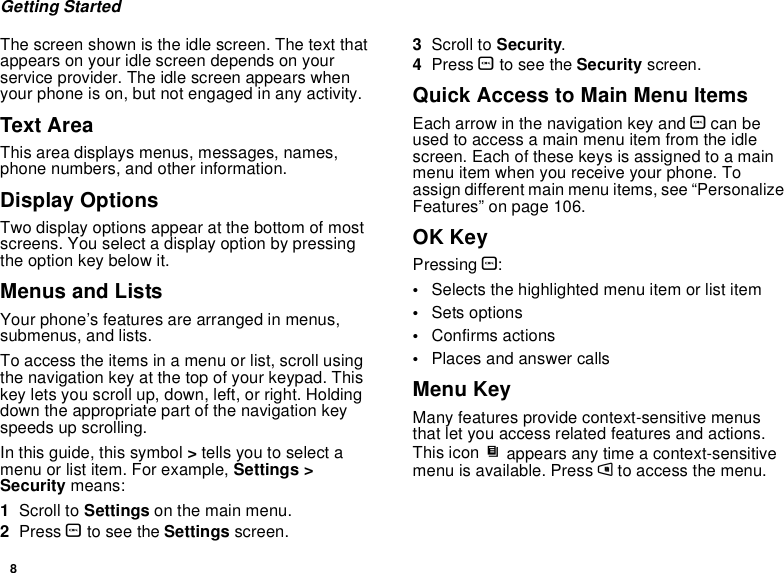
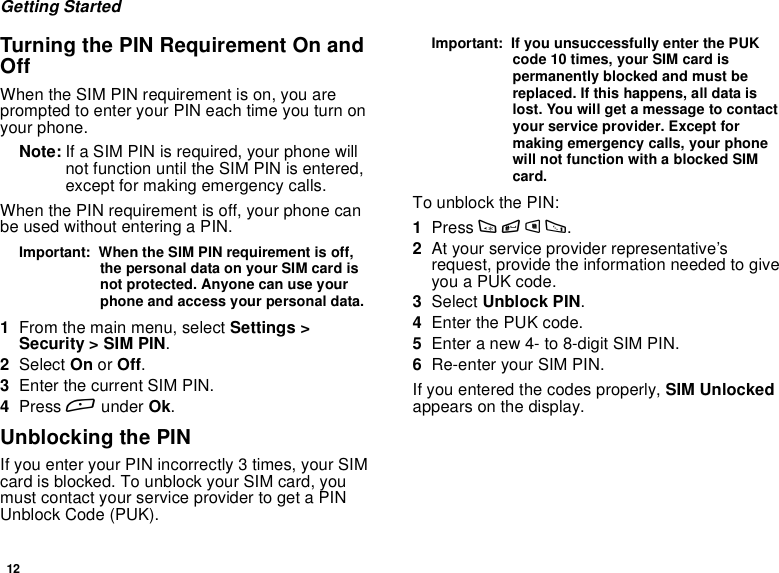
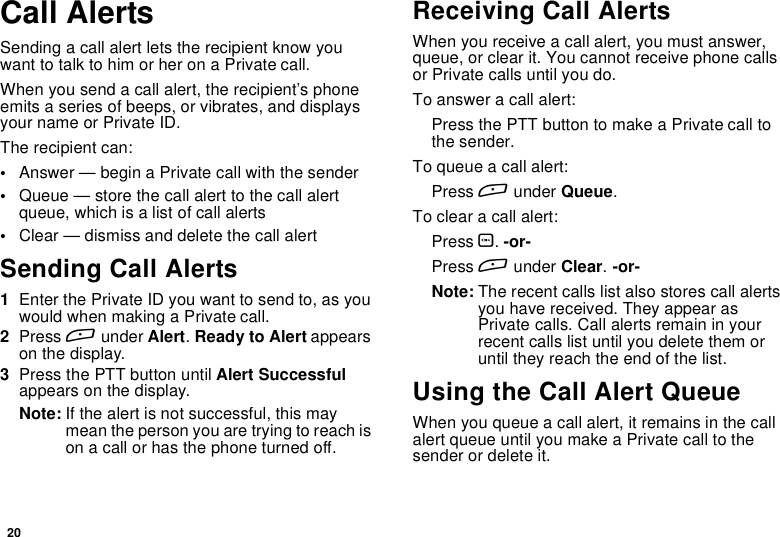
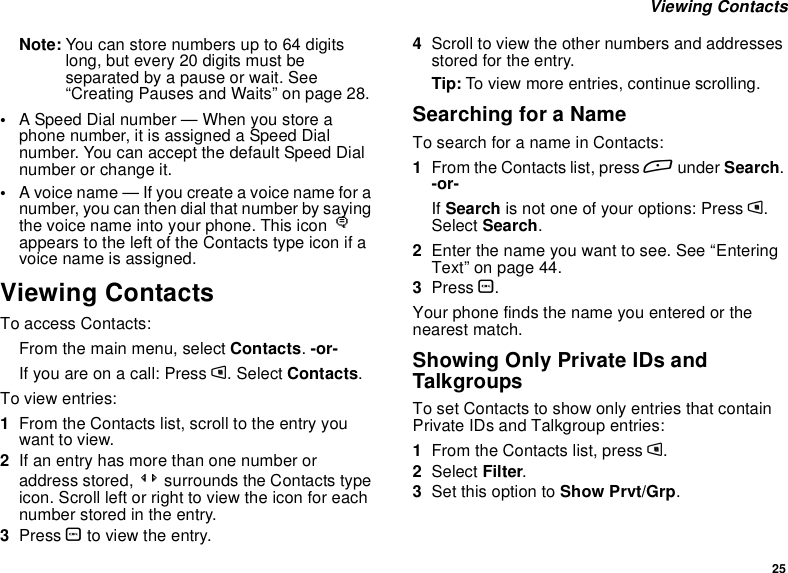
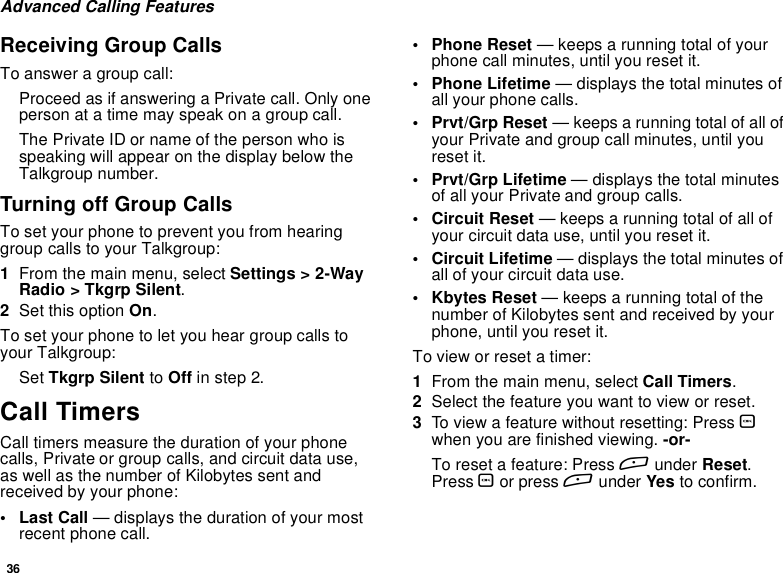
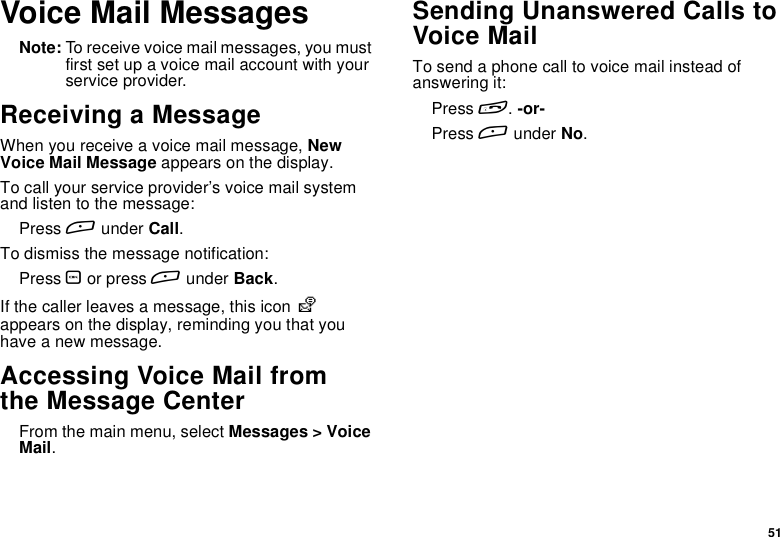
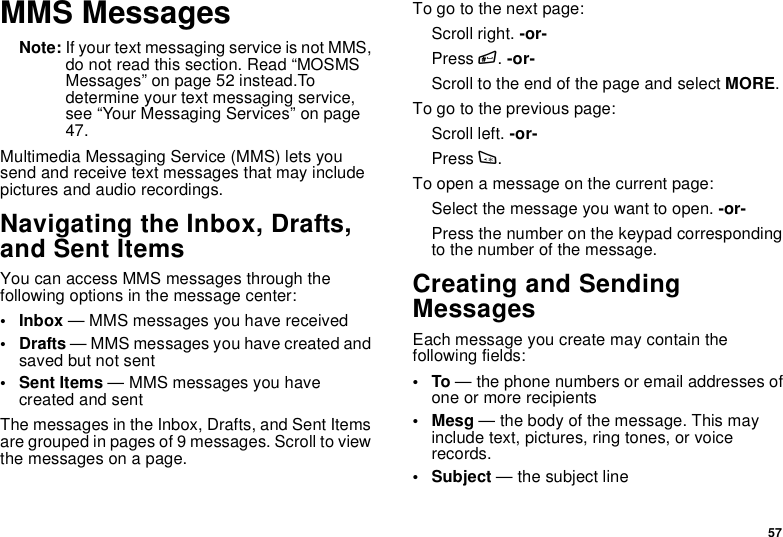
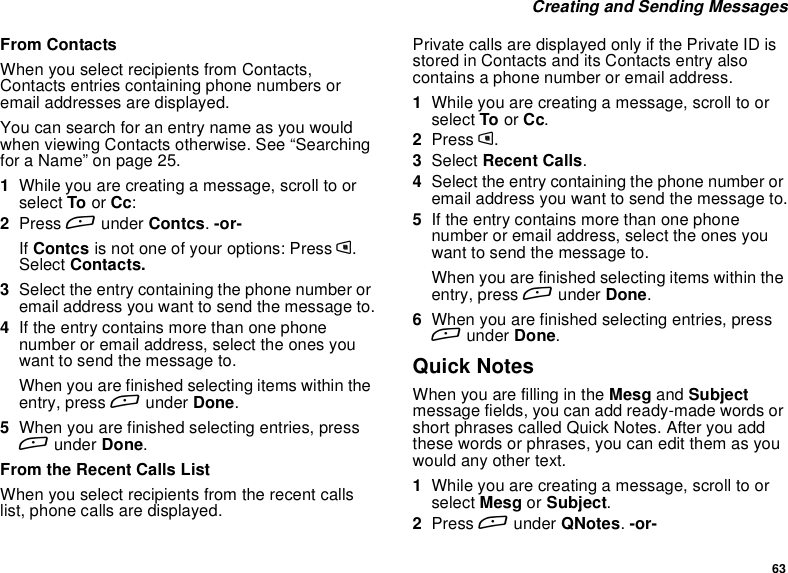
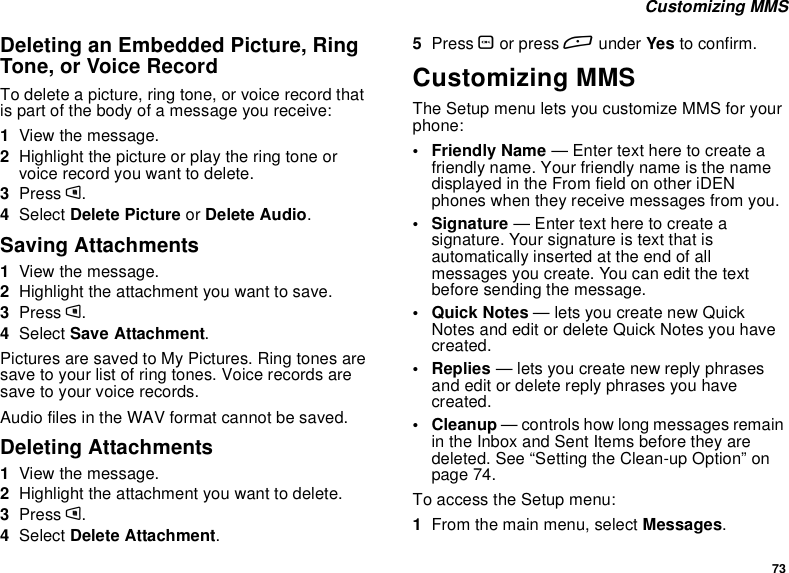
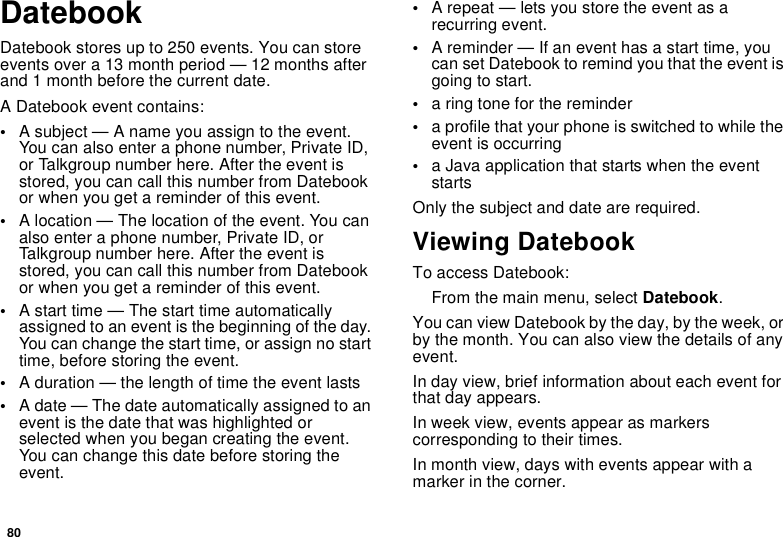
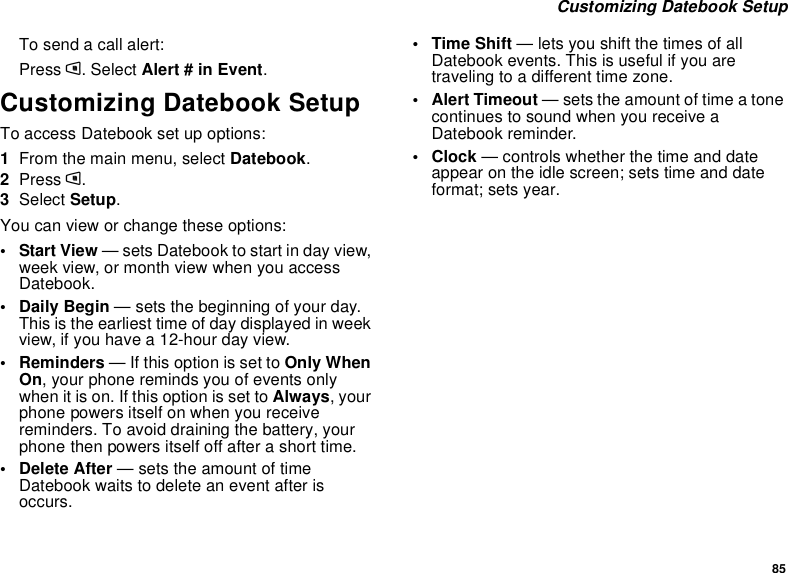
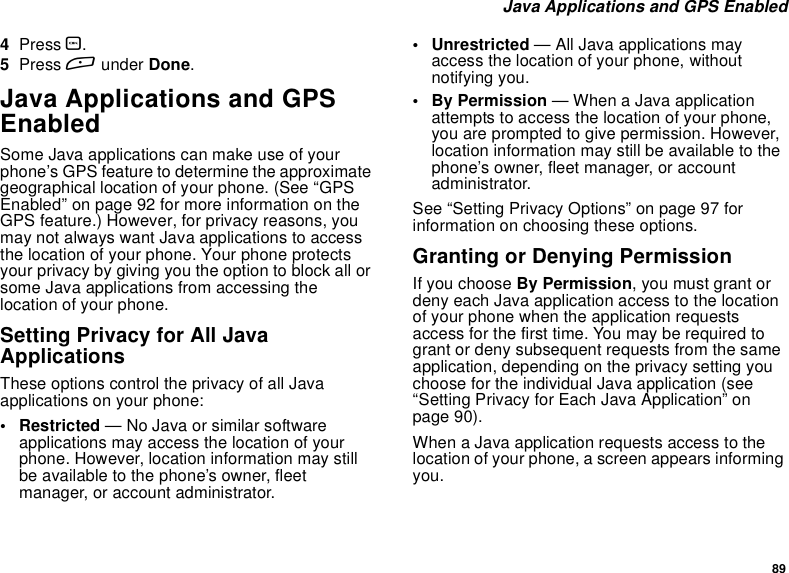
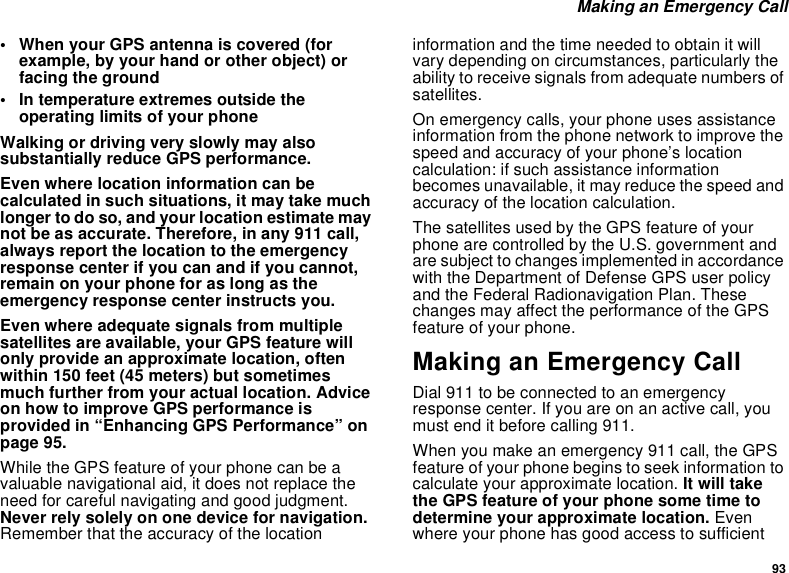
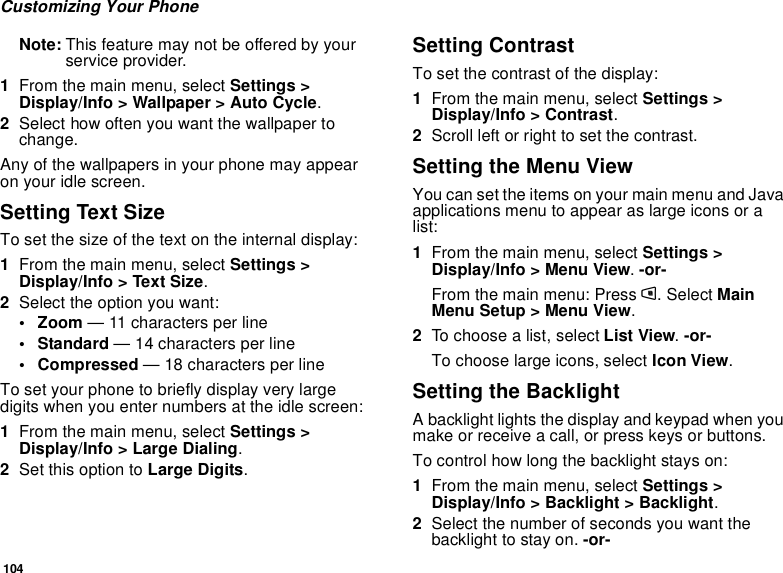
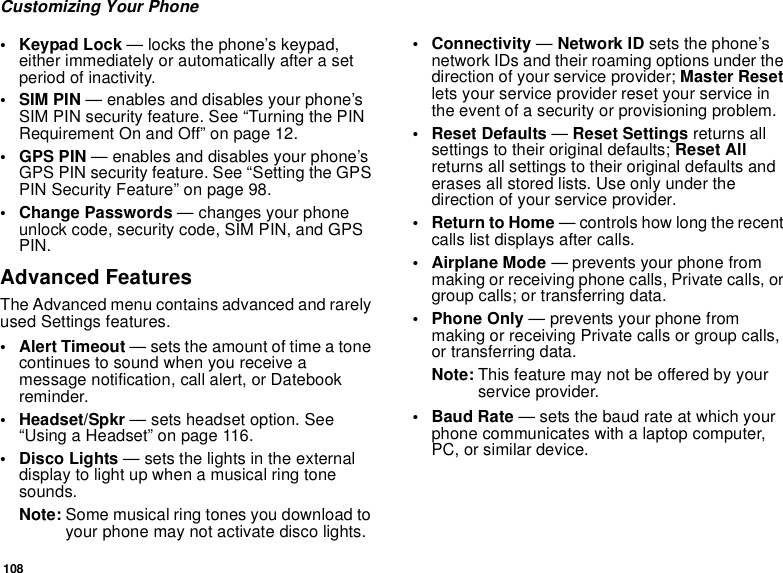
![27Storing Numbers Faster7If you want to add more numbers or addressesto the entry:Scroll past the information you already entered.Enter the additional information for the entryusing step 2 through step 6. You must assign aname to the entry, if you have not already.8Press Aunder Done.Assigning Options1Ifyouhavenotalready,select[Options].2The default Speed Dial number assigned to aphone number is displayed in the Speed # field.This is always the next available Speed Diallocation.Ifyouwanttoassignthephonenumbertoadifferent Speed Dial location:With the Speed # field highlighted, press O.Press Aunder Delete to delete the currentSpeed Dial number.Enter the new Speed Dial number using thekeypad.When you are finished, press O.3Ifyouwanttocreateavoicenameforaphonenumber, select Voice Name.As directed by the screen prompts, say andrepeat the name you want to assign to thenumber. Speak clearly into the microphone.4When you are finished, press Aunder Back.Storing Numbers FasterTo store numbers to Contacts from the recent callslist, see “Storing Recent Calls to Contacts” on page22.To store numbers to Contacts from Memo, see“Memo” on page 40.To store numbers to Contacts from the idle screen:1Use the keypad to enter the number you want tostore.2Press m.3Select Store Number.4To store the number as a new entry, select [NewContact].-or-To store the number to an existing entry, selectthe entry.5With the Contacts type field highlighted, scrollleft or right to display the Contacts type you wantto assign the number.](https://usermanual.wiki/Motorola-Solutions/89FT5839/User-Guide-463935-Page-37.png)
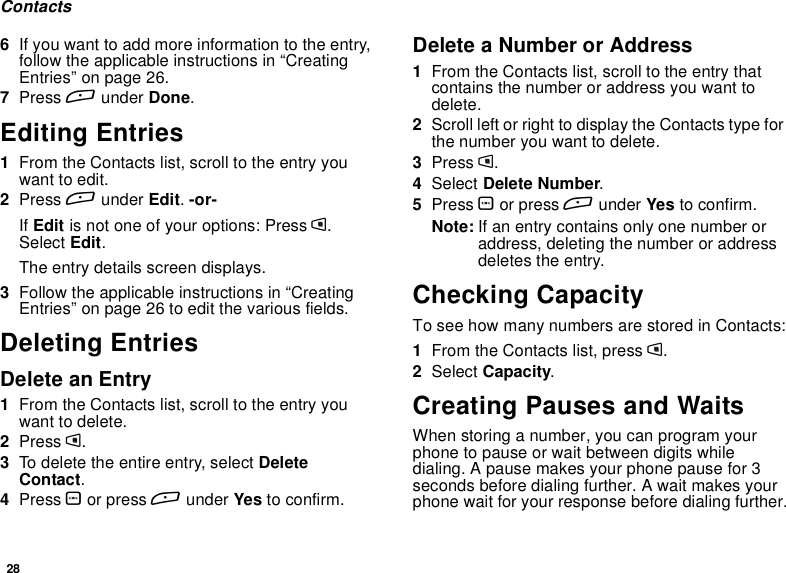


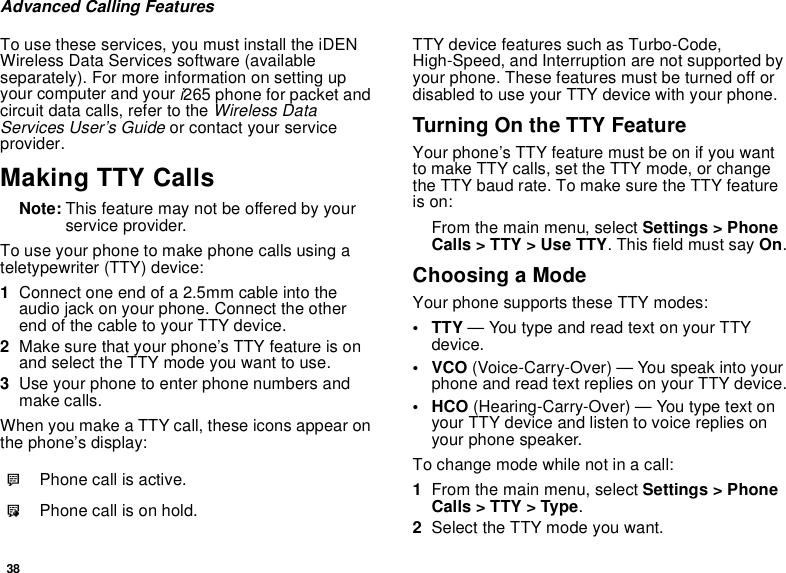
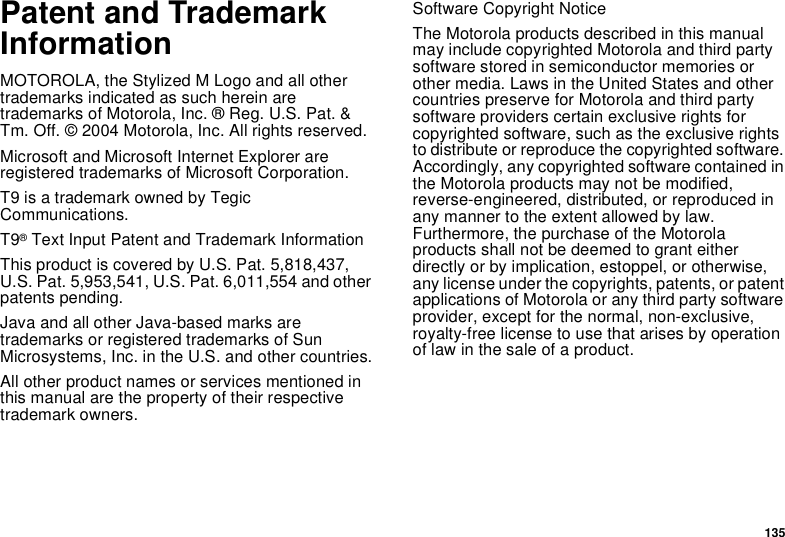
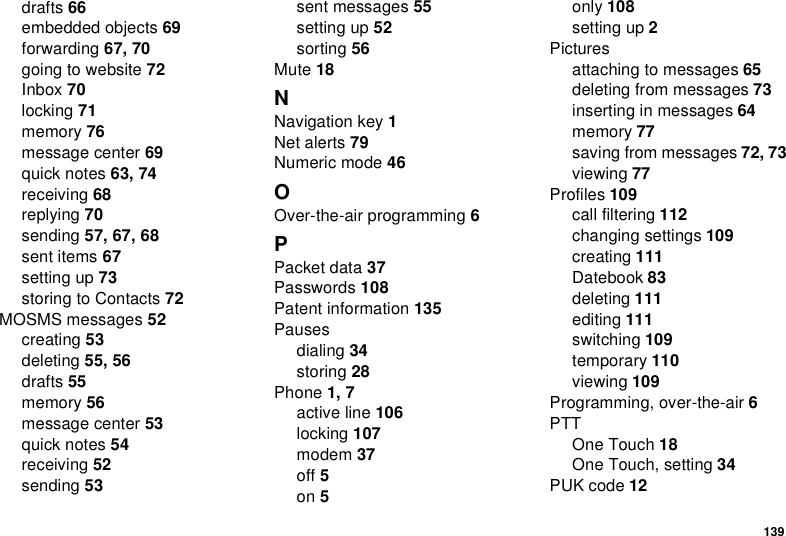
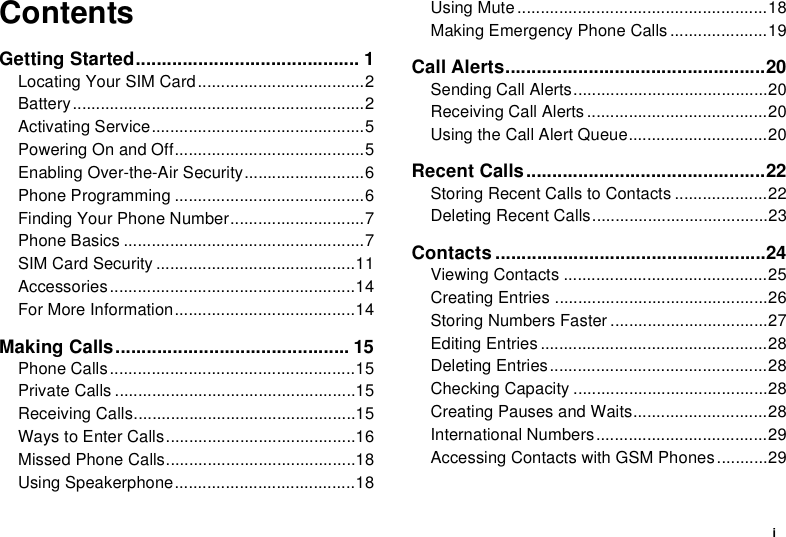
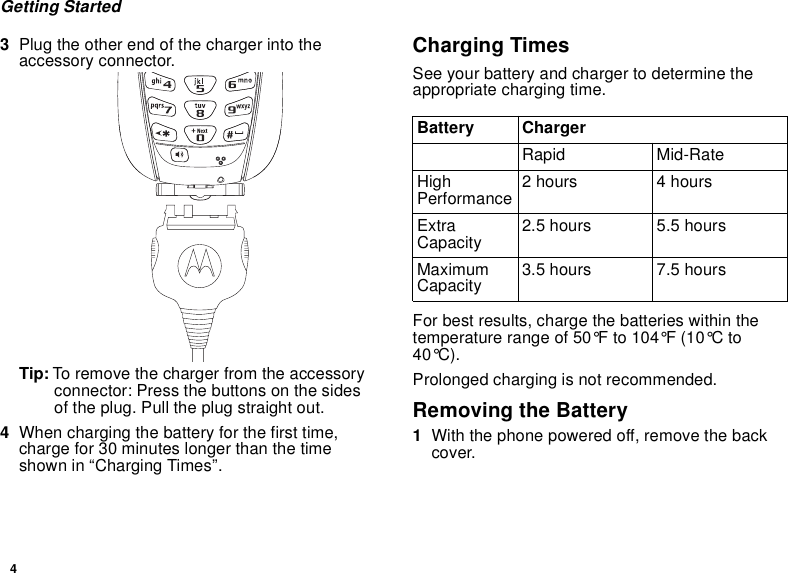
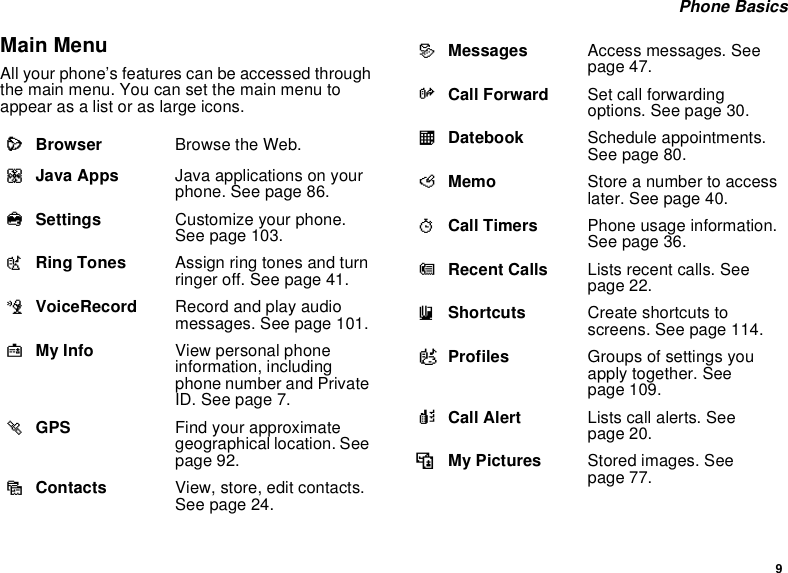
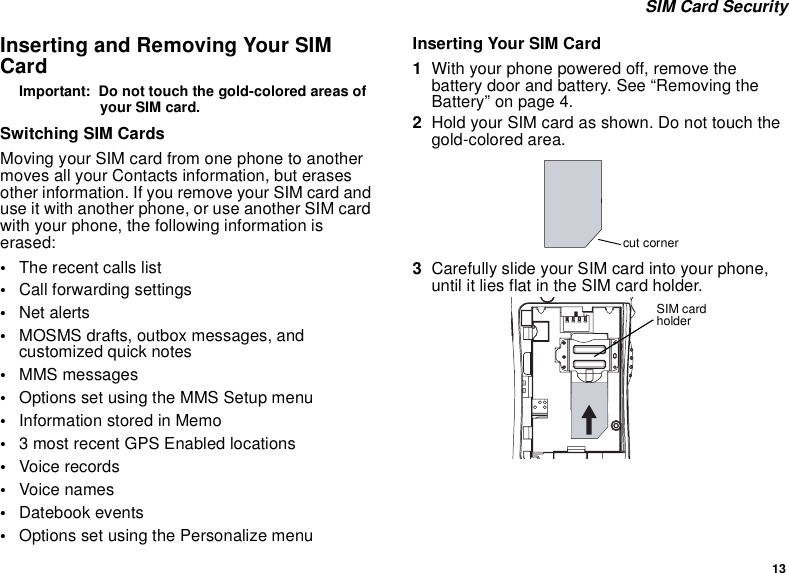
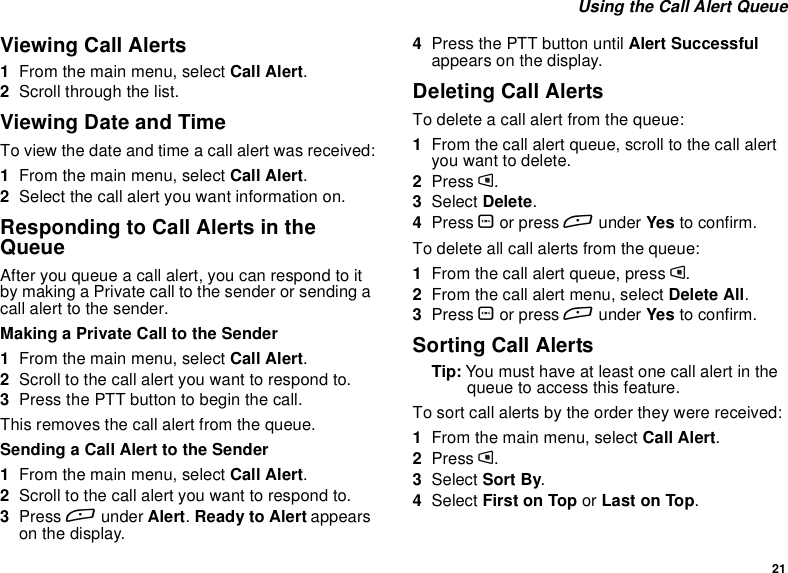
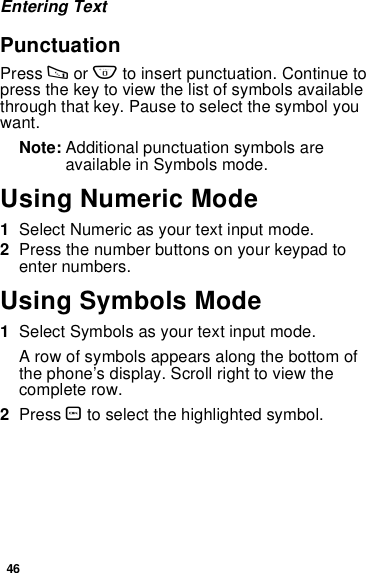
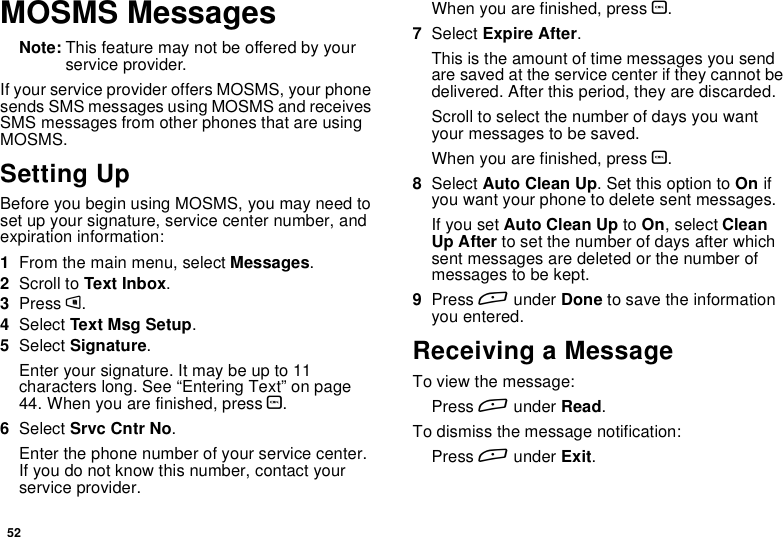
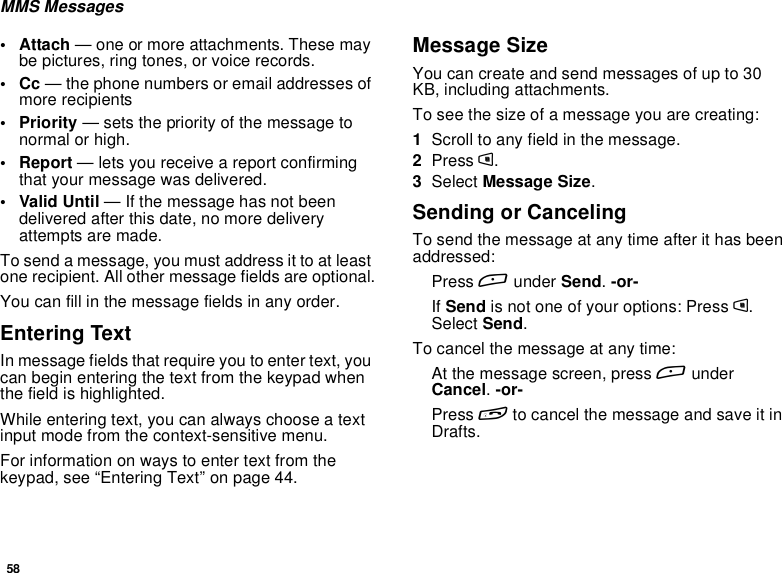
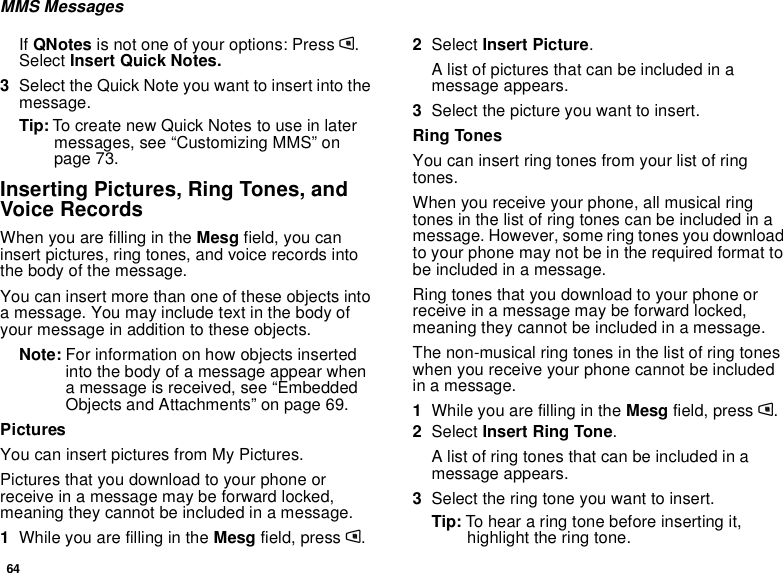
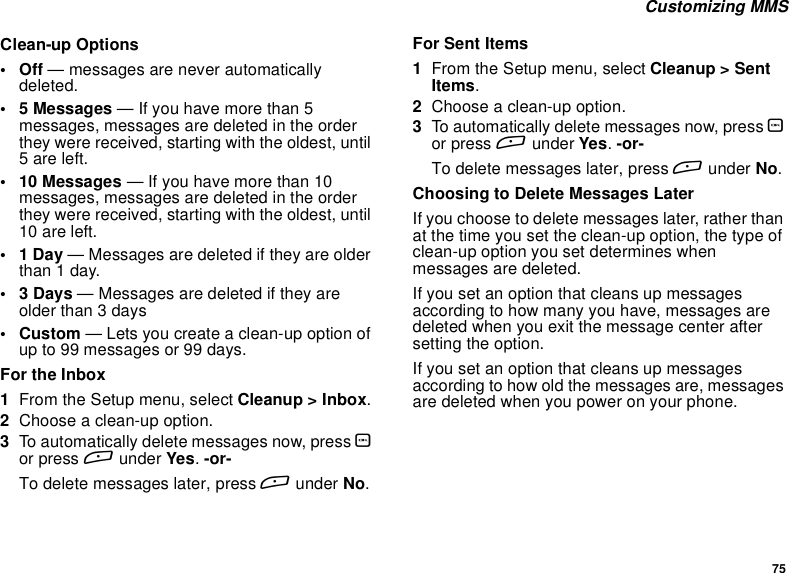
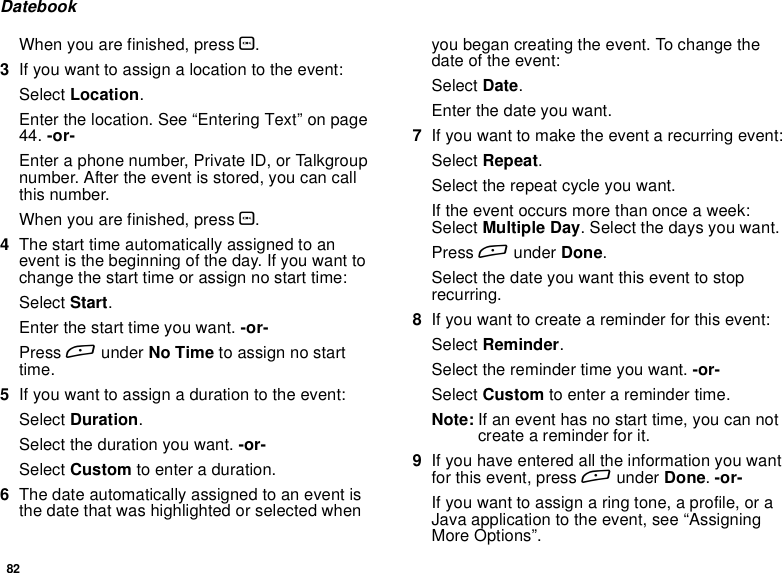
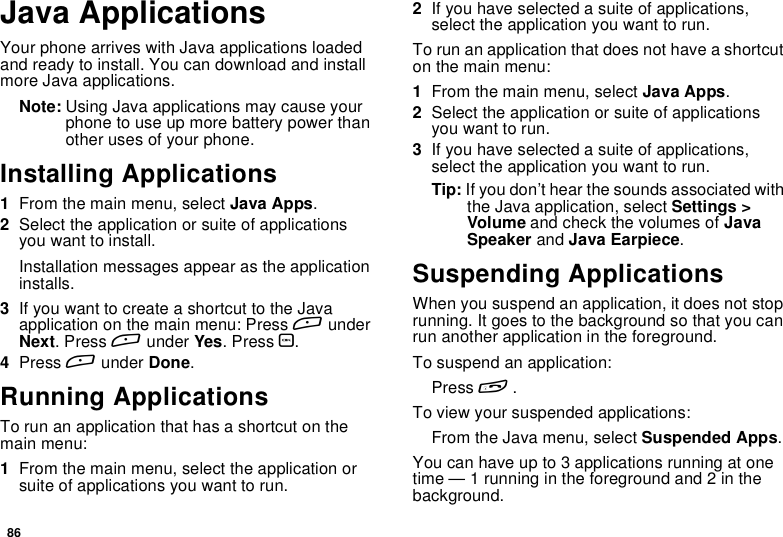
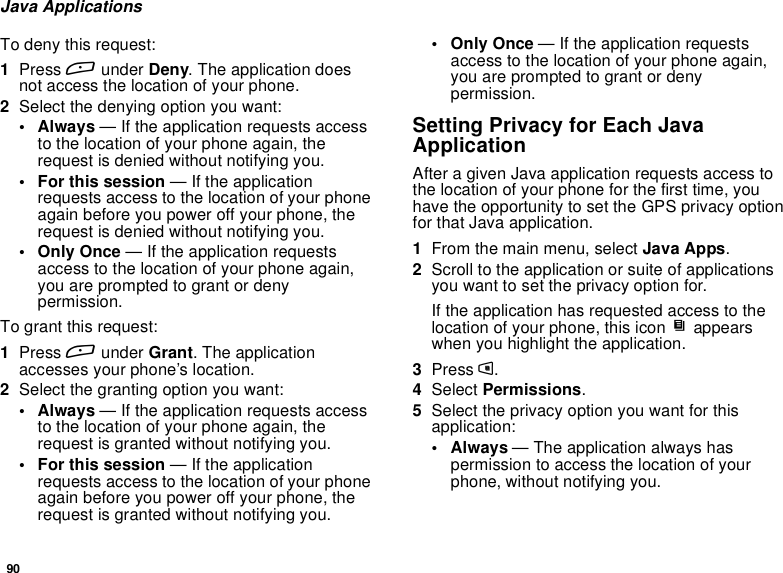
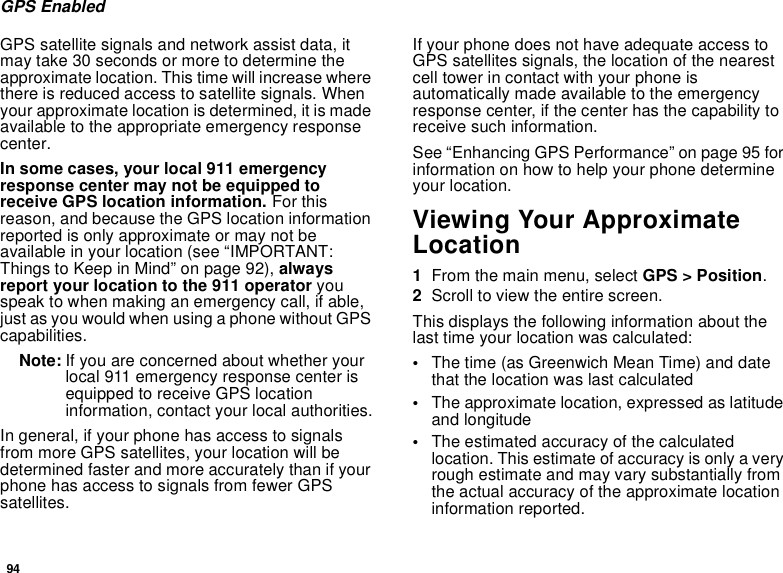
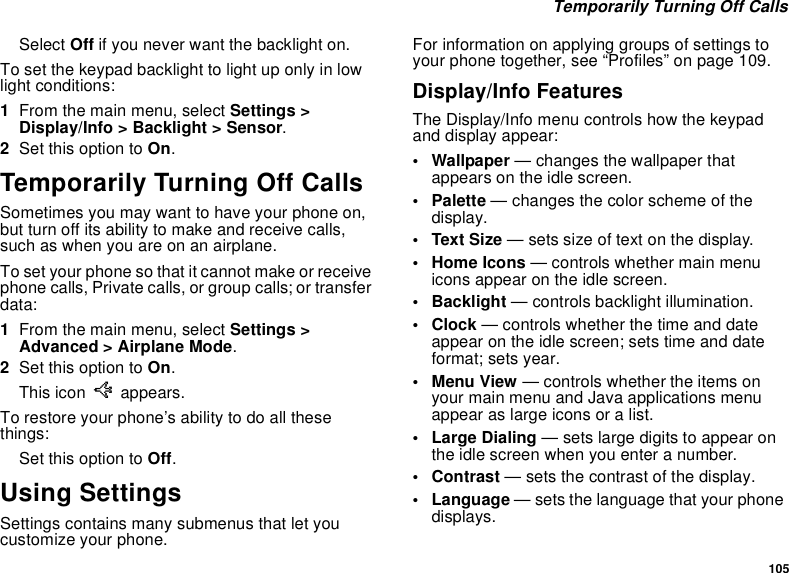
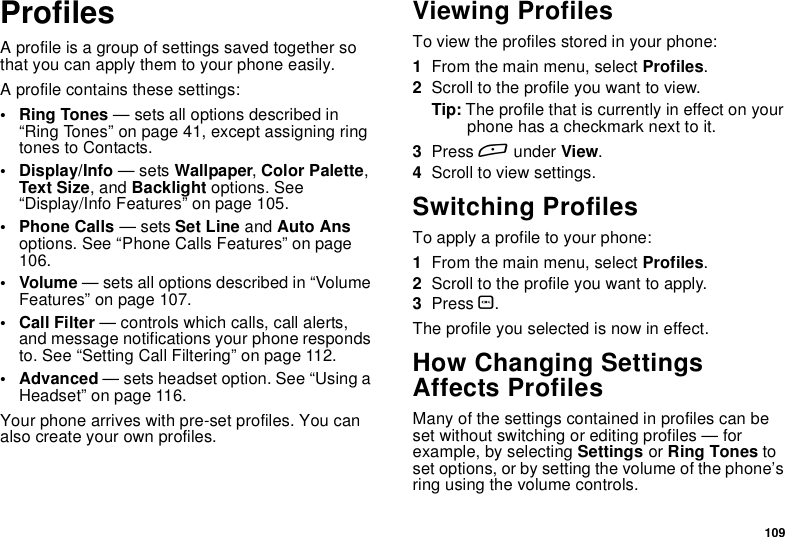
![40MemoMemoletsyoustoreanumber,makeacalltothatnumber, and save it to Contacts.To create a memo:1From the main menu, select Memo.2Enter the number using your keypad.3Press O.Toviewthememolater:1From the main menu, select Memo.To delete the memo:1From the main menu, select Memo.2Press and hold Aunder Delete.3Press O.To edit the memo:1From the main menu, select Memo.2Enter the new number.3Press O.To make a call to the memo number:1From the main menu, select Memo.2To make a phone call, press s.-or-To make a Private call, press the PTT button.To store the memo number to Contacts:1From the main menu, select Memo.2Press m.3Select Store to Cntcs.4To store the number as a new entry, select [NewContact].-or-To store the number to an existing entry, selectthe entry.5With the Contacts type field highlighted, scrollleft or right to display the Contacts type you wantto assign the number.6If you want to add more information to the entry,follow the applicable instructions in “CreatingEntries” on page 26.7Press Aunder Done.](https://usermanual.wiki/Motorola-Solutions/89FT5839/User-Guide-463935-Page-50.png)
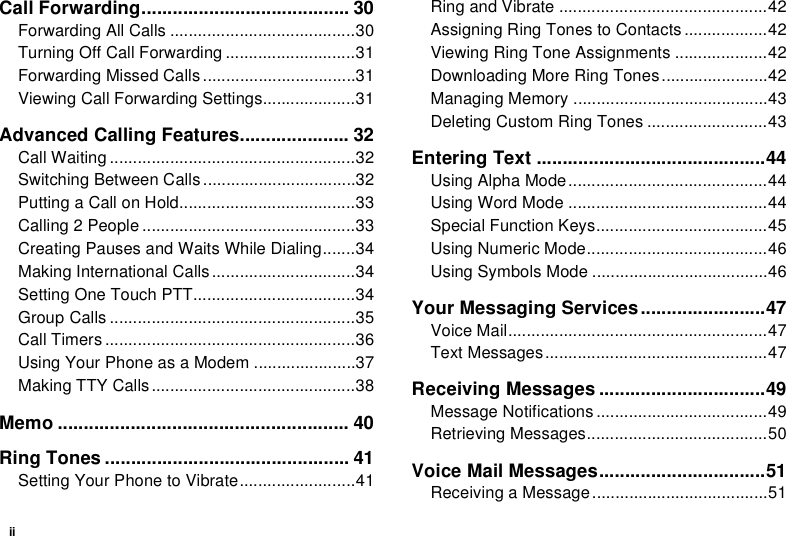
![47Your Messaging ServicesYour phone lets you send and receive a variety ofmessages. Messaging services available to youdepend on your service provider.Voice MailAll service providers offer voice mail messageservice. For information on accessing your voicemail messages, see “Voice Mail Messages” onpage 51.Text MessagesYour service provider may offer either of 2 optionsfor sending text messages:•Mobile originated text messages (MOSMS)•Multimedia Messaging Service (MMS)To determine which text messaging option youhave, view the message center:From the main menu, select Messages.Message Center Options for Phoneswith MOSMSIf your service provider offers MOSMS, thefollowing options appear in you message center:•VoiceMail— access voice mail messages youhave received.• Text Inbox — access messages you havereceived.•QuickNotes— access short, pre-writtenmessages.•TextOutbox— access messages you havecreated and sent.For information on using text messages if yourservice provider offers MOSMS, see “MOSMSMessages” on page 52.Message Center Options for Phoneswith MMSIf your service provider offers MMS, the followingoptions appear in you message center:•[CreateMesg]— begin creating an MMSmessage.•VoiceMail— access voice mail messages youhave received.](https://usermanual.wiki/Motorola-Solutions/89FT5839/User-Guide-463935-Page-57.png)
![53Reading from the Message CenterIf your phone is powered off when you receive atext message, your phone notifies you the nexttime you power it on. If you are out of yourcoverage area, your phone alerts you when youreturn to your coverage area.Tip: While reading a text and numeric messagethat contains a phone number, you canpress sto call that number.Reading from the MessageCenter1From the main menu, select Messages > TextInbox.2Selectthemessageyouwanttoread.-or-Press the number of the message you want toread.3If the message fills more than one screen, scrollto read it.Tip: Scrolling through one message lets youview the next message.4To save the message, press Aunder Ok.-or-To reply to the message, press AunderReply.-or-To see all other choices, including forwardingand deleting the message, calling the sender, orstoring the sender’s number in Contacts, pressm.Creating and SendingMessages1From the main menu, select Messages >[Create Message].-or-Select [Create Message] from Text Inbox, TextOutbox, or Drafts. -or-Highlight Quick Notes and press AunderCompose.Tip: This option is available from manycontext-sensitive menus in the messagecenter.2To address the message:Use the keypad to enter the phone number ofthe person you want to send the message to.-or-Press Aunder Browse. Select Contacts,Recent Calls,orMemo. Select the number youwant to enter.When you are finished, press O.3Enter the text of the message. See “EnteringText”onpage44.-or-](https://usermanual.wiki/Motorola-Solutions/89FT5839/User-Guide-463935-Page-63.png)
![54MOSMS MessagesTo use a quick note: Press Aunder Browse.Scroll to the quick note you want. For moreinformationonquicknotes,see“UsingQuickNotes”.When you are finished, press O.4If you want to send the message, press Oorpress Aunder Send.-or-To delete the message without sending it, pressAunder Cancel.-or-If you want to request confirmation of delivery,save the message as a draft, or set the sendingmethod, press m. Select the option you want.Beginning Messages From the RecentCalls List1From the recent calls list, scroll to the name youwant to send a message to.2If the entry has more than one phone numberstored, view the phone number you want to sendthe message to.3Press m.4Select Compose SMS. The message isautomatically addressed to the phone numberyou chose.5Follow step 3 through step 4 of “Creating andSending Messages” on page 53.Beginning Messages From the IdleScreen1Using the keypad, enter the number you want tosendamessageto.2Press m.3Select Compose SMS.Themessageisautomatically addressed to the phone numberyou chose.4Followstep3throughstep4of“CreatingandSending Messages” on page 53.Using Quick NotesQuick notes are short, pre-written text messagesthat you can create, edit, and send. You can storeup to 20 quick notes. A quick note may be up to 30characters long.To create a quick note:1From the main menu, select Messages > QuickNotes > [New Note].2Press Oor press Aunder Create.Entertext.See “Entering Text” on page 44. -or-To choose from pre-installed notes, select thenote you want.Tip: For more options, including sending thequick note, press m.](https://usermanual.wiki/Motorola-Solutions/89FT5839/User-Guide-463935-Page-64.png)
![59CreatingandSendingMessagesCreating a Message1To begin creating a message:From the main menu, select Messages >[Create Mesg].-or-Select [Create Mesg] from Inbox,Drafts,orSent Items.-or-Begin creating a message from Contacts, therecent calls list, or the idle screen. See “MoreWays to Begin a Message” on page 61. -or-Reply to a received message. See “Replying toa Message” on page 61.2To address the message:Select To.Enter the phone number or email address fromthe keypad and press O. Repeat this action toenter more phone numbers or email addresses.-or-Select recipients from Contacts or the recentcalls list. See “More Ways to Address aMessage” on page 62.Tip: To remove a phone number or emailaddress from the list of message recipients,scroll to the phone number or emailaddress and press Aunder Remove.When you are finished addressing the message,press Aunder Back.3To enter or edit the body of the message:Select Mesg.Note: If you have created a signature, thesignature automatically appears in thisfield. Text you enter appears before yoursignature. See “Customizing MMS” onpage 73.Enter text from the keypad. -or-Use a Quick Note. See “Quick Notes” on page63. -or-Insert a picture, a ring tone, or a voice record.See“InsertingPictures,RingTones,andVoiceRecords” on page 64.When you are finished, press O.4If you want to send the message now, press Aunder Send.-or-If Send is not one of your options: Press m.Select Send.-or-To fill in more message fields, see “Adding MoreMessage Options” on page 60.](https://usermanual.wiki/Motorola-Solutions/89FT5839/User-Guide-463935-Page-69.png)
![61CreatingandSendingMessagesReplying to a MessageYou can reply to a received message while you areviewing it. If you have already viewed a message,you can also reply to it while it is highlighted in themessage center. You cannot reply to unreadmessages.For information on viewing received messages,see“ReceivingaMessage”onpage68and“Viewing Received Messages from the MessageCenter” on page 69.When you reply to a message you received, someof the fields in your reply message are filled inautomatically:•To— the phone number or email address of thesender of the message you are replying to. Ifyou are sending a reply to all, some recipientsmaybeinthisfield.•Mesg— the first 40 characters of the messageyou are replying to. Text you add to the body ofyour message appears above this.•Subject— “Re:” followed by the subject line ofthe message you are replying to, if any.•Cc— If you are sending a reply to all, somerecipients may be in this field.To reply to a message:1View the message you want to reply to. -or-If you have already viewed the message, scrollto it.2To reply to the sender only, press AunderReply.-or-To reply to the sender and all recipients: Pressm.SelectReply All.3A list of short phrases is displayed. Select any ofthese phrases to add it to the body of yourmessages. -or-Select [Create Reply] to begin the body of yourmessage without using any of these phrases.4Edit any message fields you want to change.5Send the message.Tip: To create new reply phrases to use in laterreply message, see “Customizing MMS” onpage 73.More Ways to Begin a MessageIn addition to beginning a message from themessagecenter,youcanbeginamessagefromContacts, the recent calls list, or the idle screen.](https://usermanual.wiki/Motorola-Solutions/89FT5839/User-Guide-463935-Page-71.png)

![72MMS MessagesStoring Message Information ToContactsIf a message you receive contains a phonenumber, Private ID, Talkgroup ID, or an emailaddress, you can store this information toContacts.These numbers may appear in the From field, theTo field, the Cc field, the subject line, or the bodyof the message.1View the message.2Highlight the number or email address you wantto save.3Press m.4Select Save Number or Save E-mail.5To store the number or email address as a newentry, select [New Contact].-or-To store the number or email address to anexisting entry, select the entry.6With the Contacts type field highlighted, scrollleft or right to display the Contacts type you wantto assign the number or email address.7If you want to add more information to the entry,follow the applicable instructions in “CreatingEntries” on page 26.8Press Aunder Done.GoingtoaWebsiteIf a message contains one or more website URLs,you can go to the website.1View the message.2Highlight the website URL you want to go to.3Press m.4Select Go To Website.Note: The entire URL must appear in themessage. Otherwise, you cannot go to thewebsite.Saving an Embedded Picture or VoiceRecordTo save a picture or voice record that is part of thebody of a message you receive:1View the message.2Highlight the picture or voice record you want tosave.3Press m.4Select Save Picture or Save Audio.Pictures are saved to My Pictures. Voice recordsare saved to your voice records.](https://usermanual.wiki/Motorola-Solutions/89FT5839/User-Guide-463935-Page-82.png)
![74MMS Messages2With [Create Mesg] highlight, press m.3Select Setup.Tip: This option is available from manycontext-sensitive menus when you areusing MMS.New Quick Notes and Reply PhrasesCreating1From the Setup menu, select Quick Notes orReplies.2Select [New Note] or [New Reply].-or-Press Aunder New.3Enter text from the keypad.4When you are finished, press O.EditingYou can edit only Quick Notes and reply phrasesyouhavecreated.1From the Setup menu, select Quick Notes orReplies.2Select the Quick Note or reply phrase you wantto edit.3Edit the text.4When you are finished, press O.DeletingYou can delete only Quick Notes and reply phrasesyouhavecreated.To delete a Quick Note or reply phrase:1From the Setup menu, select Quick Notes orReplies.2Scroll to the Quick Note or reply phrase youwant to delete.3Press press Aunder Delete.4Press Oor press Aunder Yes to confirm.To delete all Quick Note or all reply phrase:1From the Setup menu, select Quick Notes orReplies.2Press m.3Select Delete All.4Press Oor press Aunder Yes to confirm.Setting the Clean-up OptionThe clean-up option controls how long messagesremain in the Inbox and Sent Items before they aredeleted. You set the clean-up option for the Inboxand Sent Items separately.The clean-up option deletes only read, unlockedmessages.](https://usermanual.wiki/Motorola-Solutions/89FT5839/User-Guide-463935-Page-84.png)
![76MMS MessagesManaging MemoryAll messages in the Inbox, Drafts, and Sent Itemsshare the same memory space.Note: The content of a message in the Inbox isnot stored in your phone’s memory untilthe message is read. Unread messagesuse very little memory.To view your used memory, free memory, andmemory capacity:1From the main menu, select Messages.2With [Create Mesg] highlight, press m.3Select Setup > Memory Size.Tip: This option is available from manycontext-sensitive menus when you areusing MMS.To free memory, delete messages.To delete many messages at once, see “DeletingAll Messages”.To set messages to be deleted automatically, see“Setting the Clean-up Option” on page 74.Note: Messages are stored in your phone usingthe same memory space used to storeJava applications data, voice records, ringtones, pictures, and wallpaper images.Deleting some of these other items freesmemory for messages.Deleting All MessagesTo delete all read, unlocked messages from theInbox, all messages in Drafts, or all successfullysent messages in Sent Items:1Scroll to Inbox,Draft,orSent Items.2Press m.3Select Delete All.4Press Oor press Aunder Yes to confirm.](https://usermanual.wiki/Motorola-Solutions/89FT5839/User-Guide-463935-Page-86.png)
![77My PicturesIf your service provider offers MMS as your textmessaging service, My Pictures lets you viewpictures you received in MMS messages.Note: To determine your text messaging service,see “Your Messaging Services” on page47.Viewing PicturesTo view pictures stored in My Pictures:1From the main menu, select My Pictures.The pictures stored are listed by name.2Select the picture you want to view.Note: If this icon ]appears next to a picture,youcannotsenditinamessage.Getting File InformationToviewthefiletypeandfilesizeofapicture:1Scroll to or select the picture.2Press m.3Select Details.Deleting Pictures1Scroll to or select the picture you want to delete.2Press m.3Select Delete.Managing MemoryTo view your used memory, free memory, andmemory capacity:1Scroll to or select any picture.2Press m.3Select Memory Size.Note: Pictures are stored in your phone usingthe same memory space used to storeJava applications data, voice records, ringtones, messages, and wallpaper images.Deleting some of these other items freesmemory space for pictures.](https://usermanual.wiki/Motorola-Solutions/89FT5839/User-Guide-463935-Page-87.png)
![81Creating EventsTo view an event:1Select the day the event occurs.2Select the event.To change the current view:1While viewing Datebook, press m.2Select the view you want.Navigating DatebookTo scroll through Datebook:Scroll left and right using the navigation key. -or-In week view and month view, press *or #.Toseemoreindayview:Scroll up and down using the navigation key.To highlight a day in month view:Enter the date using the keypad.To go to today’s date:1While viewing Datebook, press m.2Select Go To Today.To go to any date in Datebook:1While viewing Datebook, press m.2Select Go To Date.3Select the date you want.Creating EventsEvery Datebook event must have a subject and bestored to a date. Other information is optional.You may enter the information in any order byscrolling through the event details.After you have entered the information you want,you can press Aunder Done to store the eventto Datebook.If you decide you don’t want to store the event:Press Aunder Cancel.To create a Datebook event:1While viewing datebook, press Aunder New.-or-In day view, select [New Event].2To assign a subject to the event:Select Subject.Enter the name. See “Entering Text” on page44. -or-Press Aunder Browse to choose fromcommon event names. -or-Enter a phone number, Private ID, or Talkgroupnumber. After the event is stored, you can callthis number.](https://usermanual.wiki/Motorola-Solutions/89FT5839/User-Guide-463935-Page-91.png)

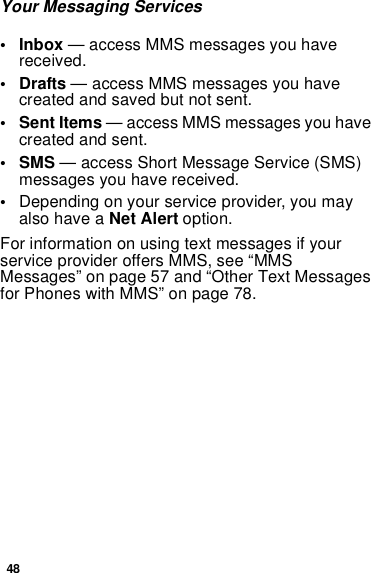
![101Voice RecordsA voice record is a recording you make with yourphone and can play back. You can record notes toyourself or phone calls.Your phone can store up to 20 voice records.Creating Voice RecordsTorecordanotetoyourself:1From the main menu, select VoiceRecord >[New VoiceRec].2Say the message you want to record into themicrophone.Tip: To stop recording before you are finished,press Aunder Pause. To start recordingagain, press Aunder Resume.Tostoprecording and discard the voice record atany time, press Aunder Cancel.3When you are finished recording, press O.Toaddtotheendofvoicerecord:1From the main menu, select VoiceRecord.2Scroll to the voice record you want to add to.3Press m.4Select Add To.5When you are finished recording, press O.To record a phone call:1Whileonanactivecall,pressm.2Select Record.3When you are finished recording, press O.Note: Recording of phone calls is subject toapplicable laws regarding privacy andrecording of phone conversations.Playing Voice Records1From the main menu, select VoiceRecord.2Select the voice record you want to play.3To stop the voice record while it is playing, pressO.Tip: To fast forward, scroll right. To rewind, scrollleft. To pause or resume, press any numberkey.Labeling Voice RecordsWhen you create a voice record, it is labeled withthe time and date it was recorded. You can thenrename it with a custom label.1From the main menu, select VoiceRecord.2Scroll to the voice record you want to label.3Press Aunder Label.4Enter the label you want to assign. See“Entering Text” on page 44.5Press O.](https://usermanual.wiki/Motorola-Solutions/89FT5839/User-Guide-463935-Page-111.png)
![102Voice RecordsDeleting Voice RecordsTo delete a voice record:1From the main menu, select VoiceRecord.2Scroll to the unlocked voice record you want todelete.3Press m.4Select Delete.5Press Oor Aunder Yes to confirm.To delete all voice records:1From the main menu, select VoiceRecord.2Scroll to any voice record.3Press m.4Select Delete All.5Press Oor Aunder Yes to confirm.Locking Voice RecordsWhen you lock a voice record, it cannot be deleteduntil you unlock it.1From the main menu, select VoiceRecord.2Scroll to the voice record you want to lock orunlock.3Press m.4Select Lock to lock the message. -or-Select Unlock to unlock the message.When a voice record is locked, this icon Rappearsnext to it.Managing MemoryTo view the amount of memory available for voicerecords:1From the main menu, select VoiceRecord.2With [New VoiceRec] highlighted, press Aunder Memory.-or-With any voice record highlighted, press m.Select Memory.To free more memory by deleting all unlockedvoice records:1From the voice records memory screen, pressAunder Delete.2Press Oor Aunder Yes to confirm.Note: Voice records are stored in your phoneusing the same memory space used tostore messages, Java application data,ring tones, and wallpaper images.Deleting some of these other items freesmemory for voice records.](https://usermanual.wiki/Motorola-Solutions/89FT5839/User-Guide-463935-Page-112.png)
![111Creating Profiles2Scroll to the temporary profile.3Press m.4Select StoreAsNew.5Enter the name you want to give the profile. See“Entering Text” on page 44.When you are finished, press O.To overwrite the profile the temporary profile isbased on:1From the main menu, select Profiles.2Scroll to the temporary profile.3Press m.4Select Store Changes.The temporary profile is stored with the name ofthe profile it is based on. The profile it is based on,as it existed before you made changes to settings,is gone.Creating Profiles1From the main menu, select Profiles.2Select [New Profile].-or-Scroll to any profile. Press m. Select New.3Enter the name you want to give the profile. See“Entering Text” on page 44.When you are finished, press O.4If you want to base this profile on an existingprofile: Select Copy from. Select the profile youwant to base this profile on. If you do not choosea profile to copy from, the new profile is basedon a default profile.5Press Aunder Create.6Scroll through the list of options and set theirvalues.7Press Aunder Done.Editing Profiles1From the main menu, select Profiles.2Scrolltotheprofileyouwanttoedit.3Press m.4Select Edit.5Scroll through the list of options and set theirvalues.Deleting ProfilesTo delete a profile:1From the main menu, select Profiles.2Select the profile you want to delete.Note: A temporary profile is automaticallydeleted when the profile it is based on isdeleted.](https://usermanual.wiki/Motorola-Solutions/89FT5839/User-Guide-463935-Page-121.png)

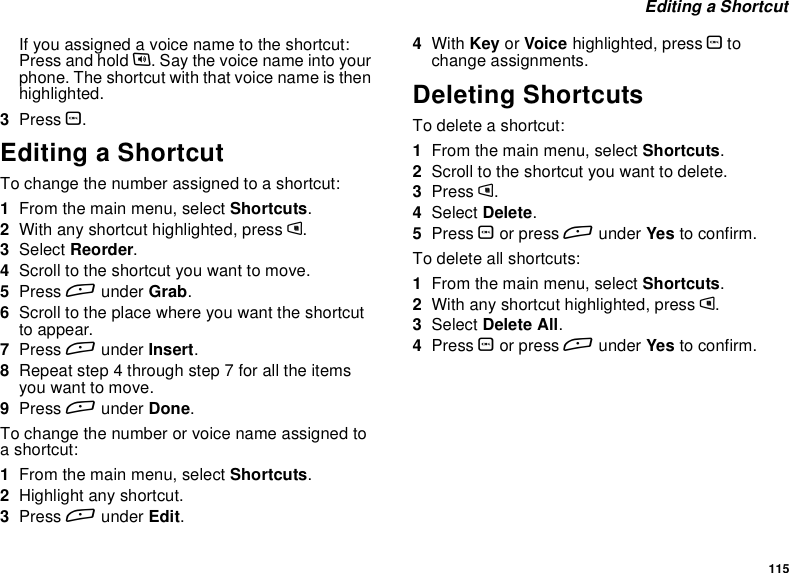
![114ShortcutsShortcuts lets you access most menu options bypressing a number on your keypad (1 through 9) orsaying the voice name of the shortcut. You createtheshortcutandthenuseittotakeyoutothatscreen any time.Creating a ShortcutNote: When you receive your phone, all numberkeys may already be assigned toshortcuts. If this is the case, you cancreate new shortcuts by deleting orreplacing existing shortcuts.1Go to the menu item you want to create ashortcut for.Forexample,ifyouwanttocreateashortcuttothe screen for creating a new Contacts entry:From the main menu, select Contacts,thenhighlight [New Contact].2Press and hold muntil a confirmation screenappears.3Press Oor press Aunder Yes.4Select Key.5Press the number key you want to assign to theshortcut.6Press O.7Ifyouwanttorecordavoicenamefortheshortcut: Select Voice.Asdirectedbythescreen prompts, say and repeat the name youwant to assign to the number. Speak clearly intothe microphone.8Press Aunder Done.9If the number key you chose is already assignedto a shortcut, a prompt appears asking if youwant to replace the existing shortcut.Press Aunder Yes to replace the existingshortcut. -or-Press Aunder No ifyouwanttokeeptheexisting shortcut and assign another number keyto the shortcut.Using a ShortcutIf you know the shortcut number:1From the idle screen, press m.2On your keypad, press the number assigned tothe shortcut.If you do not know the shortcut number:1From the main menu, select Shortcuts.2Scroll to the shortcut you want to use. -or-](https://usermanual.wiki/Motorola-Solutions/89FT5839/User-Guide-463935-Page-124.png)