Motorola Solutions 89FT7019 ic602 CDMA/iDEN Dual Mode User Manual ic602RacerWCamera
Motorola Solutions, Inc. ic602 CDMA/iDEN Dual Mode ic602RacerWCamera
UserManual.wiki
>
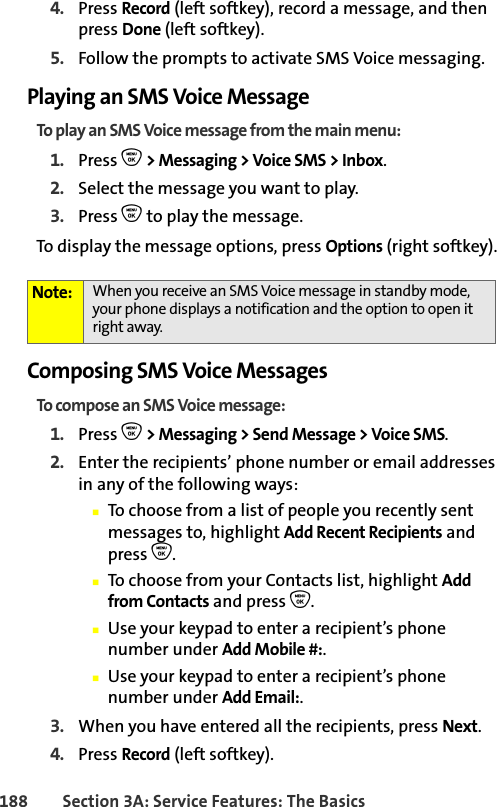
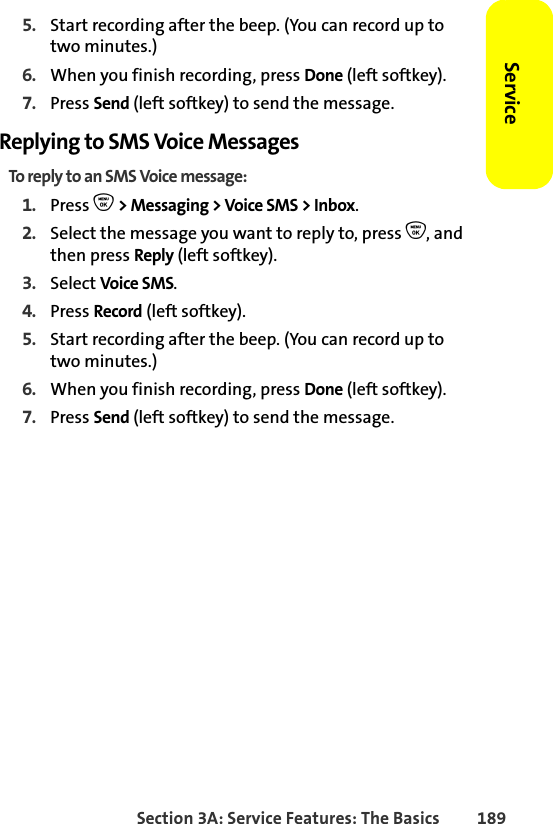
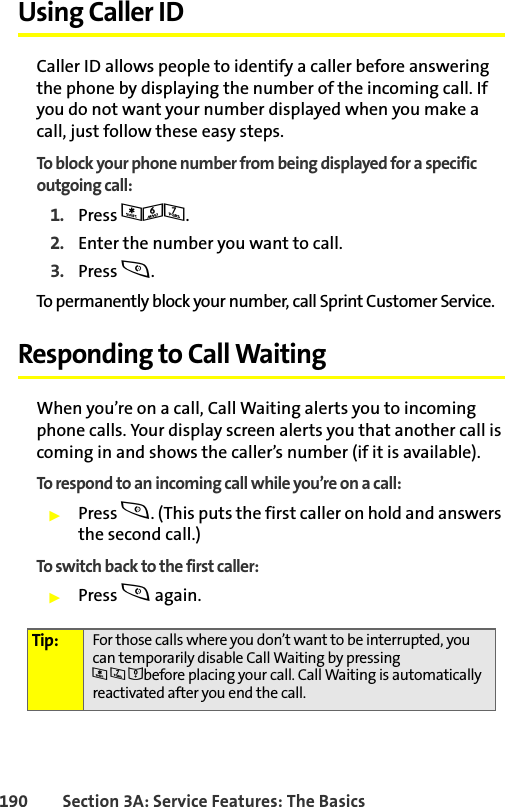
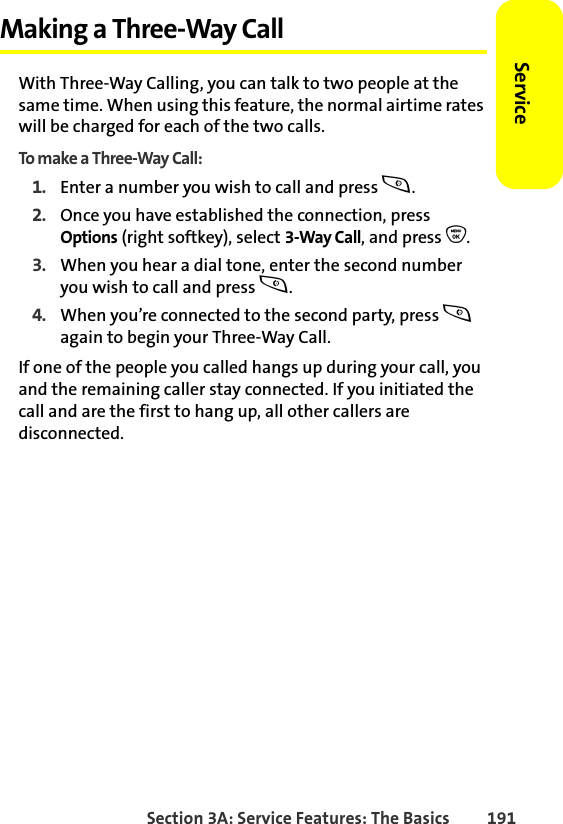
Motorola Solutions
>
89FT7019 User Manual
>
users manual
Contents
1.
USERS MANUAL
2.
USERS MANUAL 1
3.
USERS MANUAL 2
4.
users manual
users manual
Navigation menu
Upload a User Manual
Namespaces
Wiki Guide
HTML
PDF
Info
Views
User Manual
Discussion / Help
Navigation
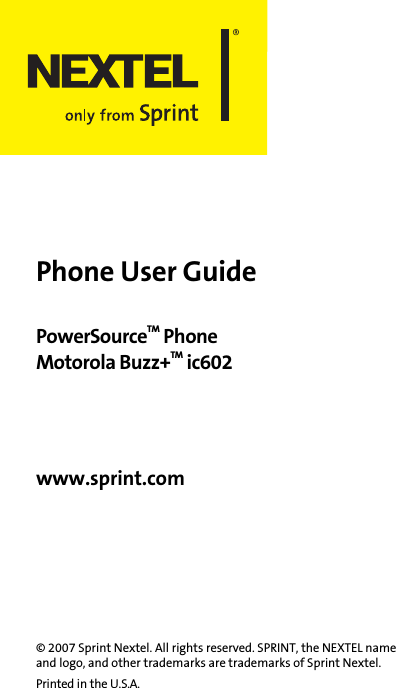
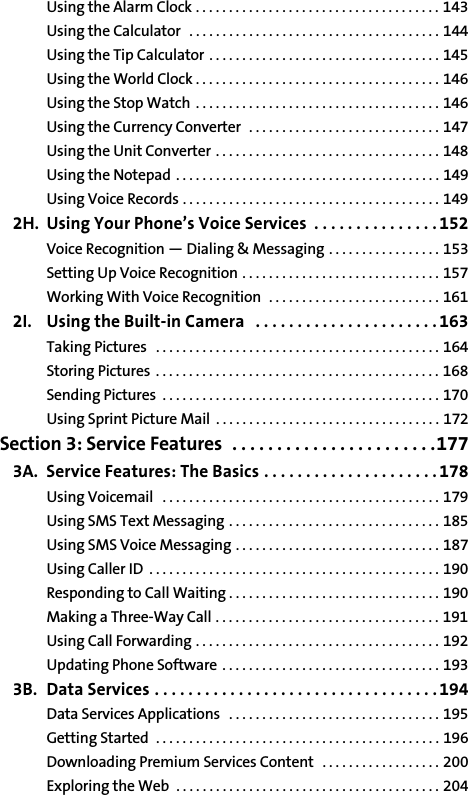
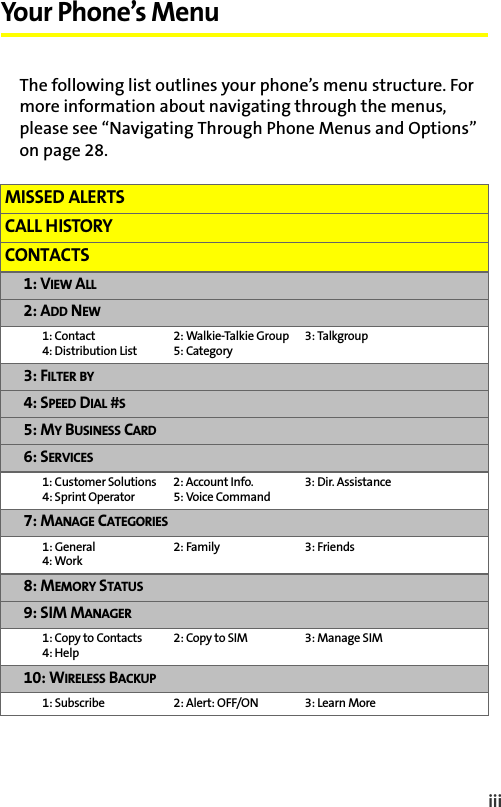


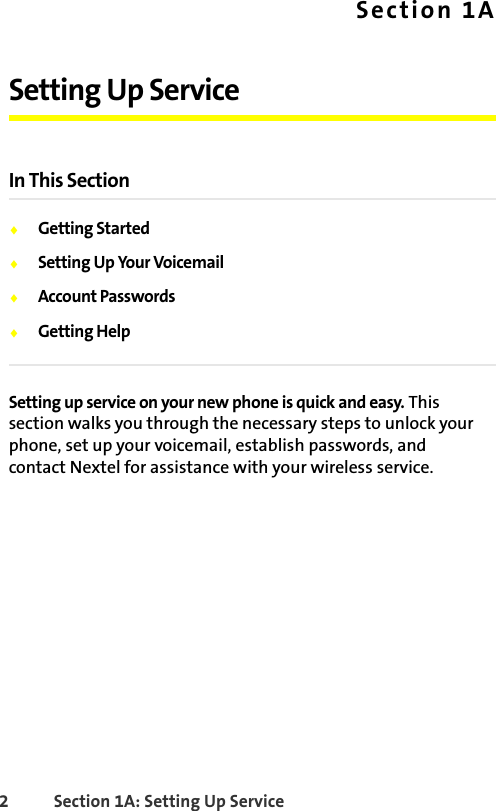

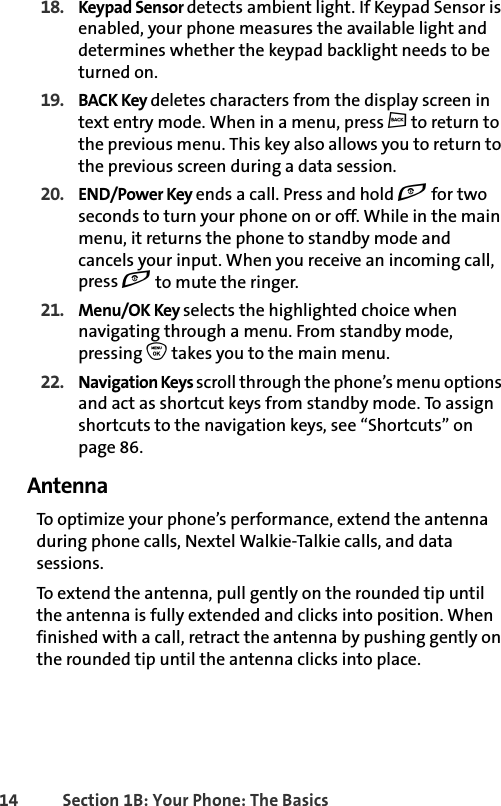
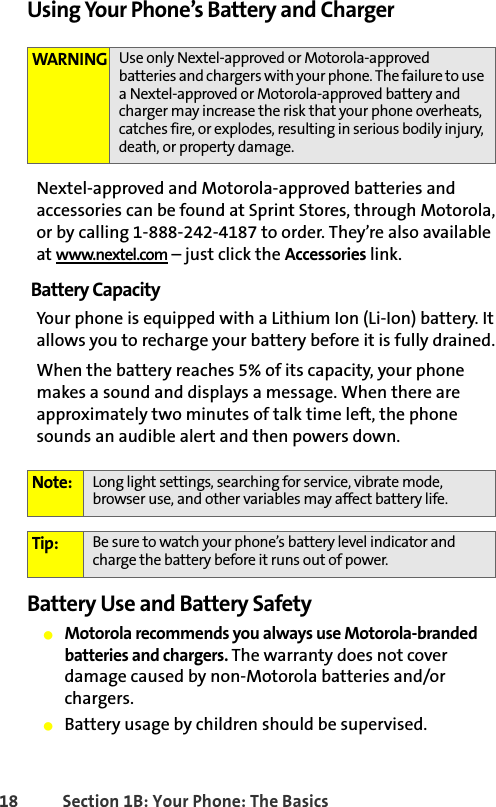
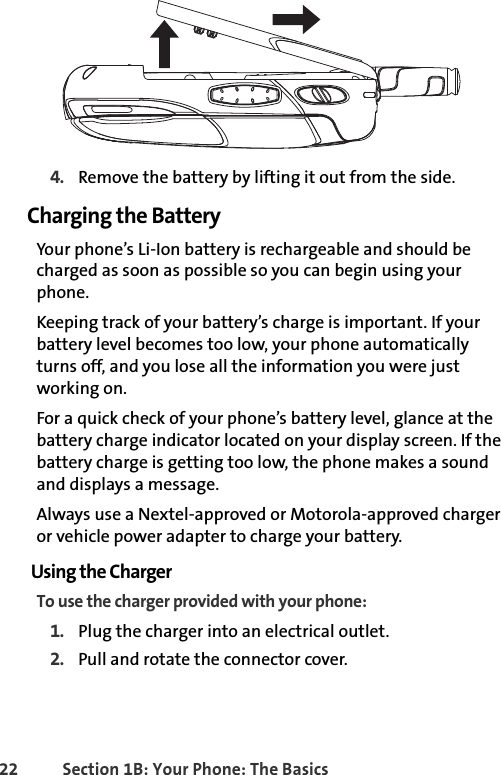


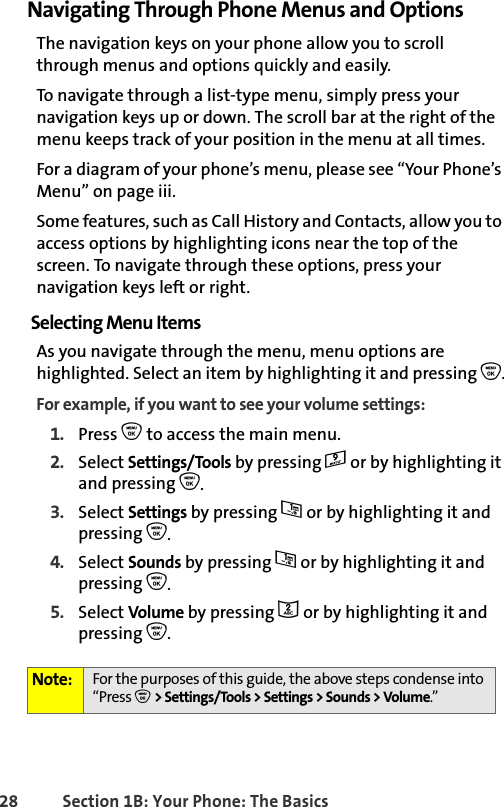

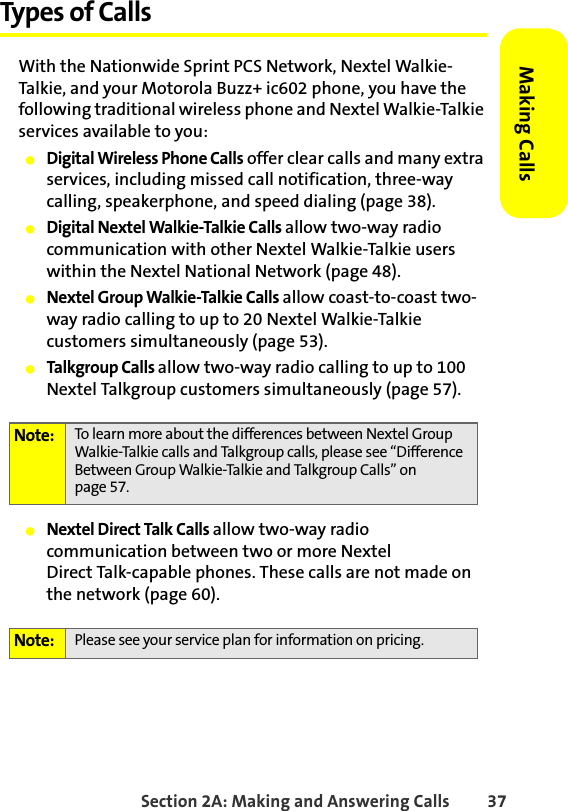

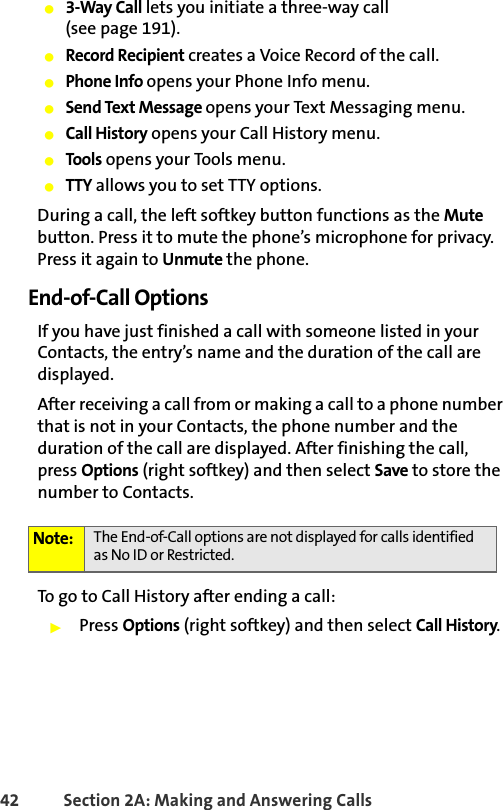
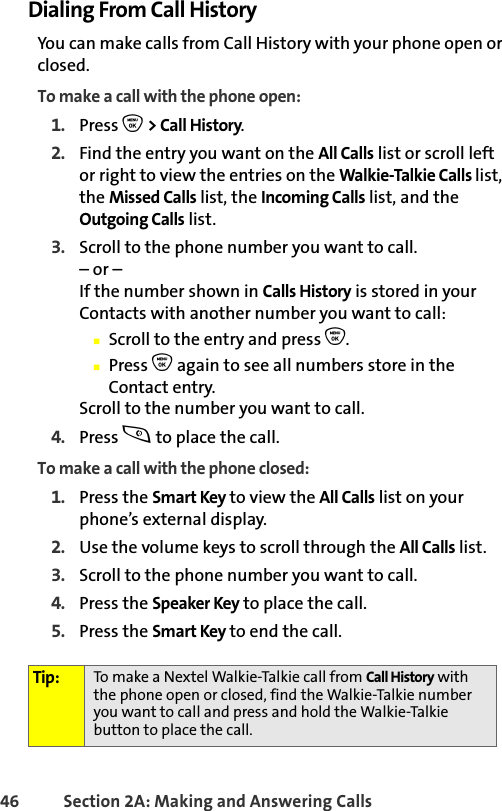
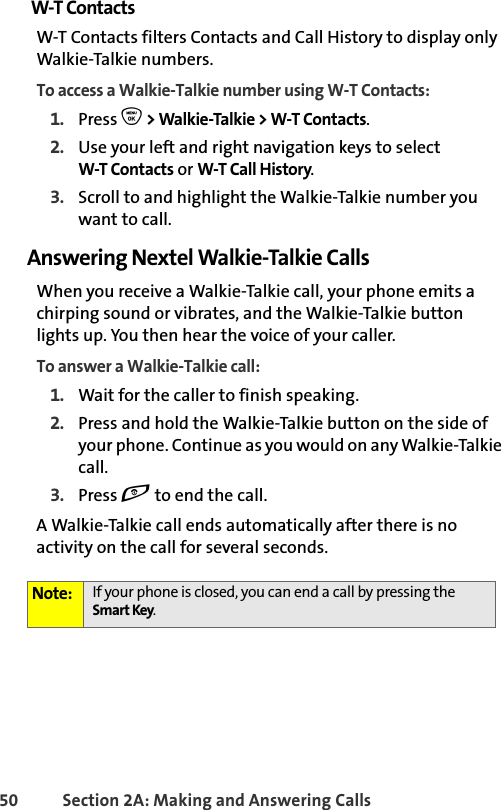

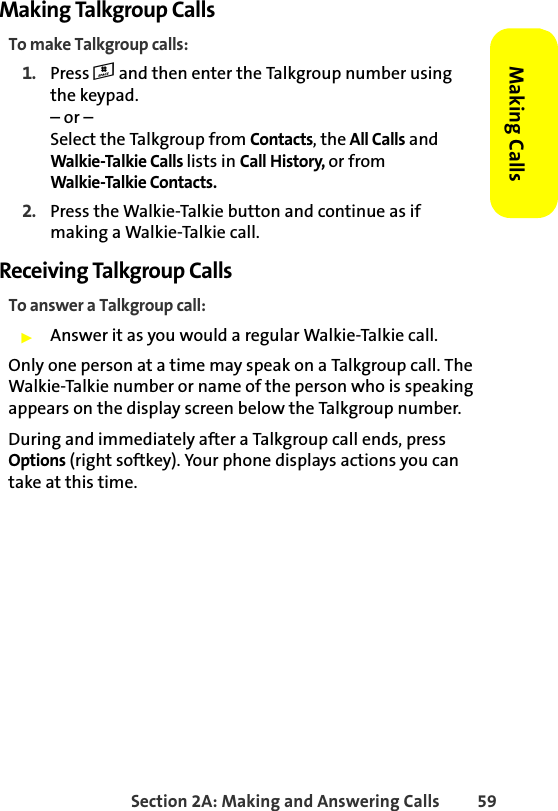
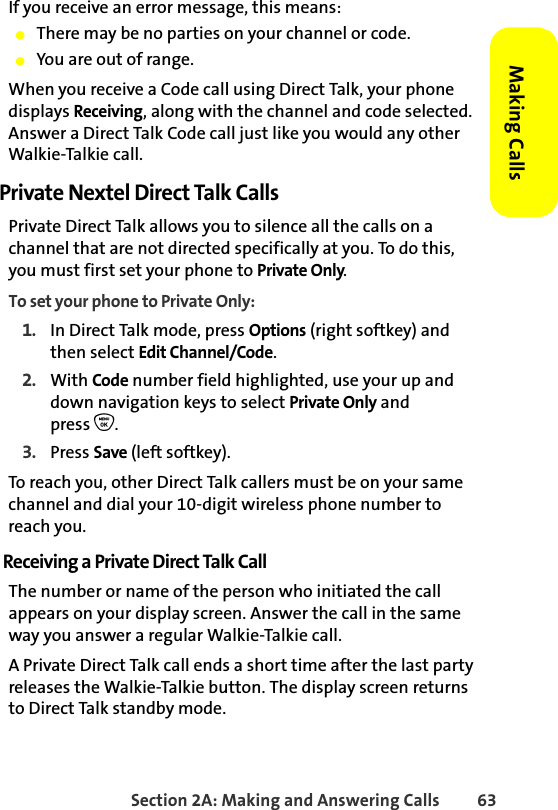

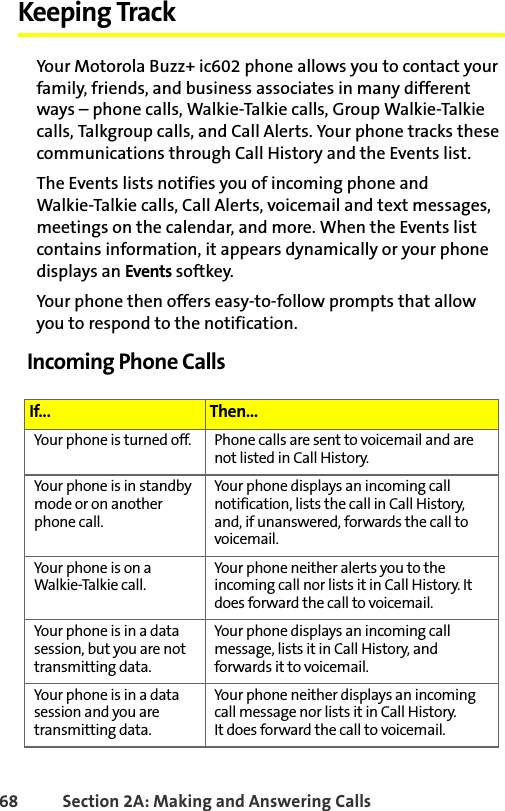
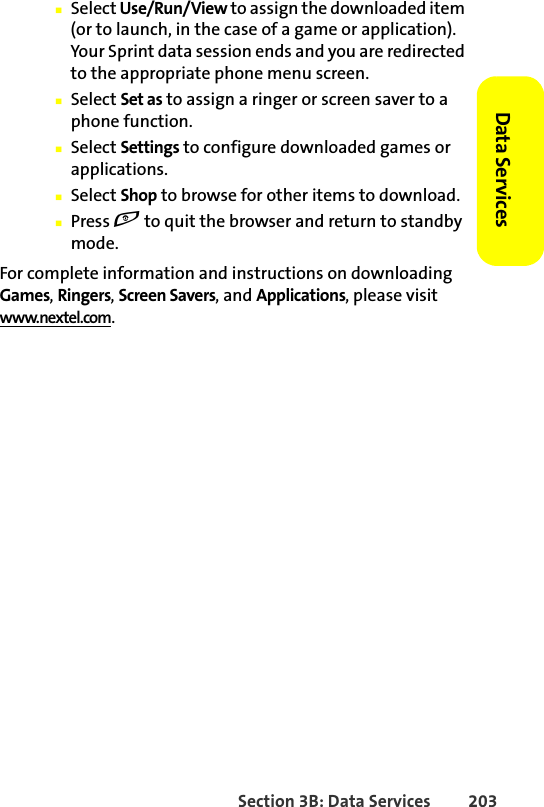
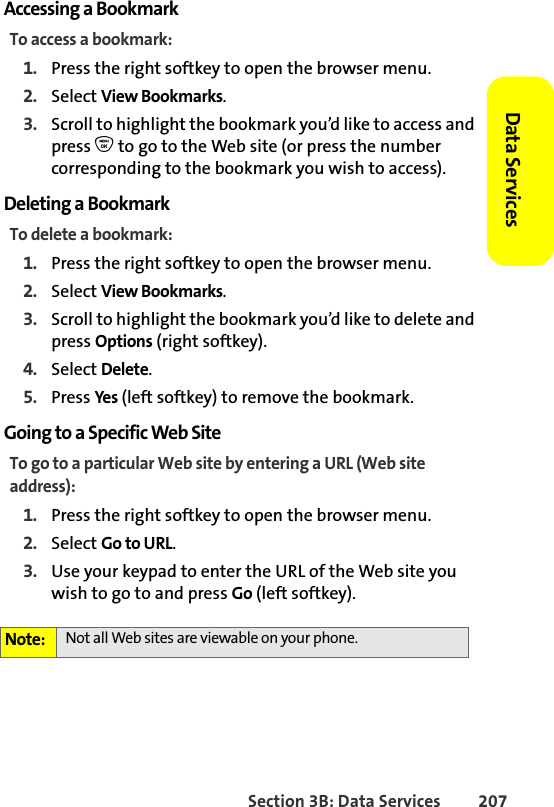
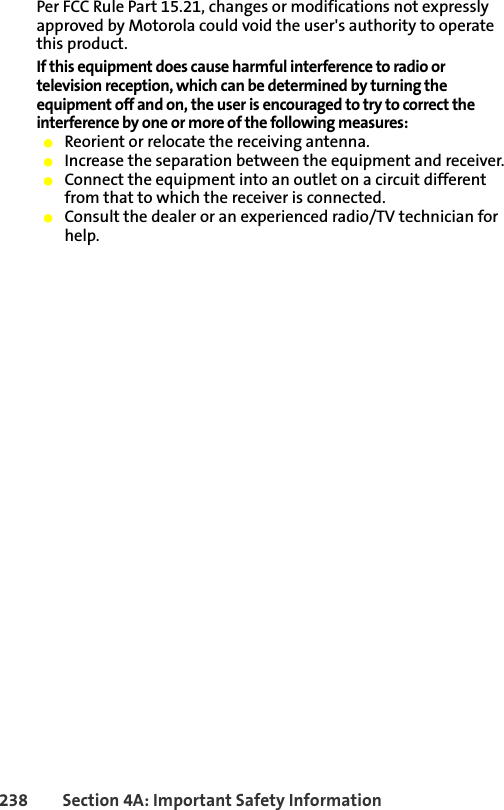
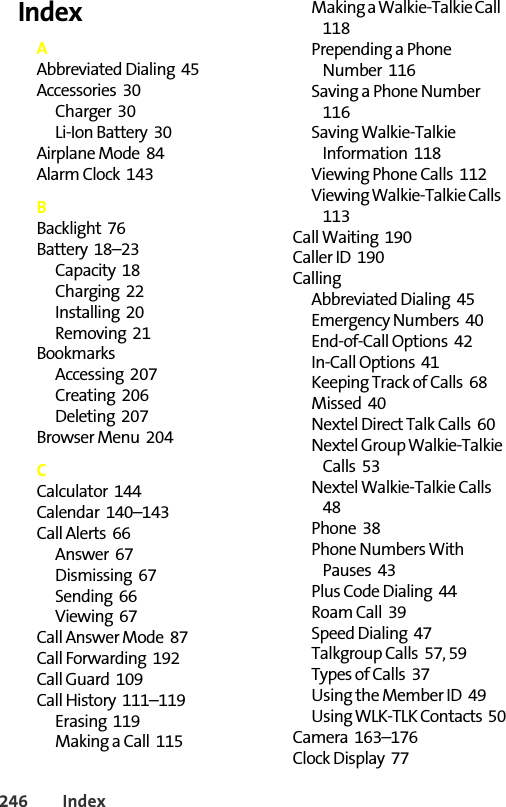
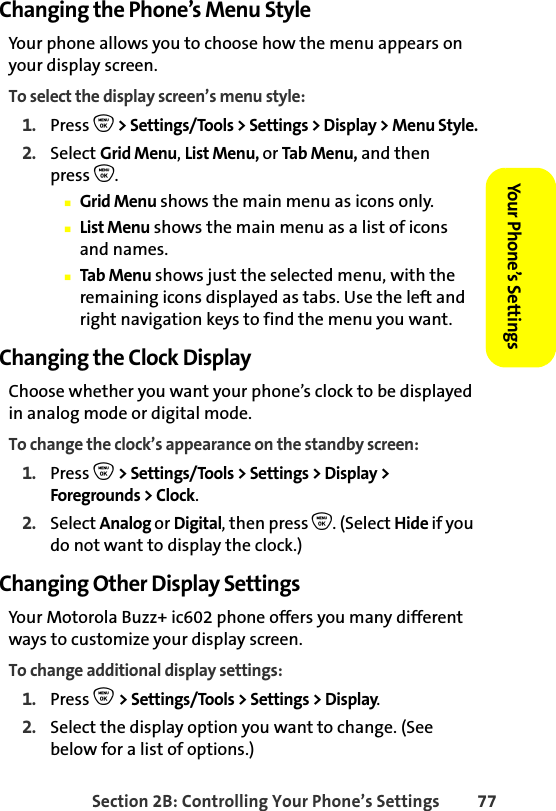
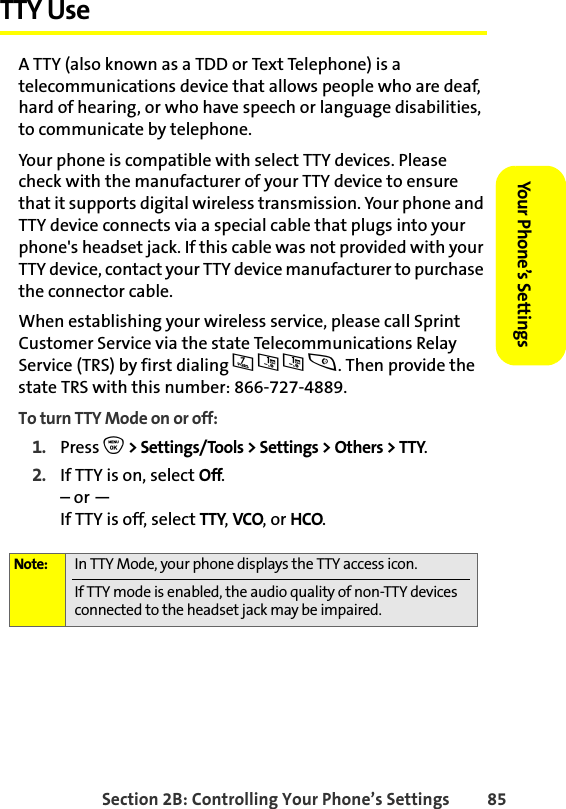
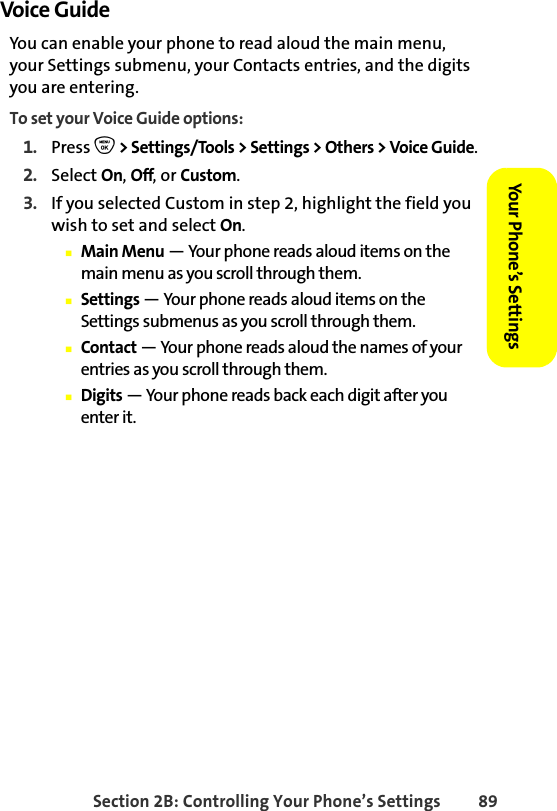
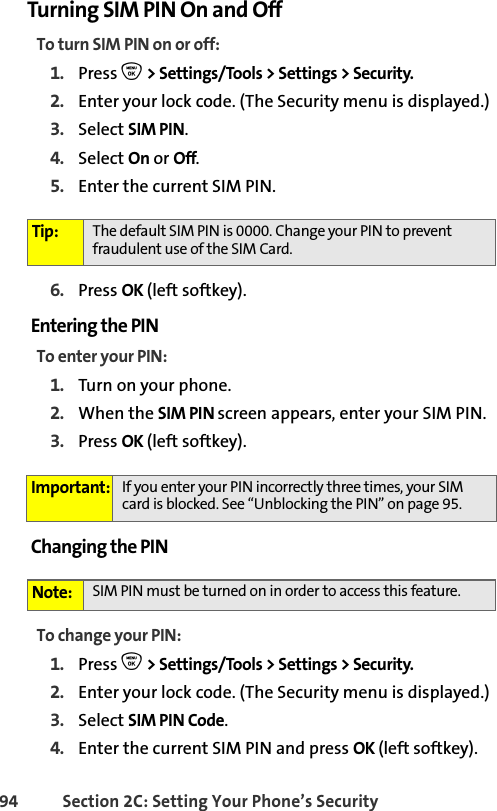
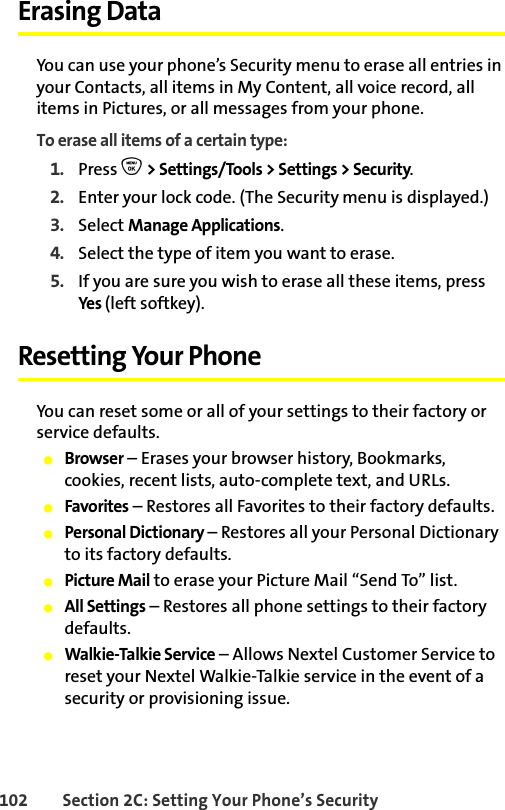
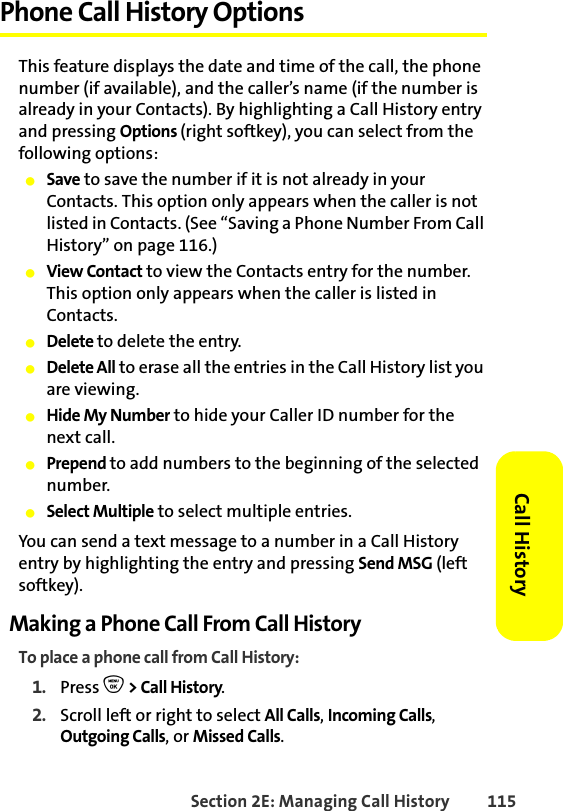
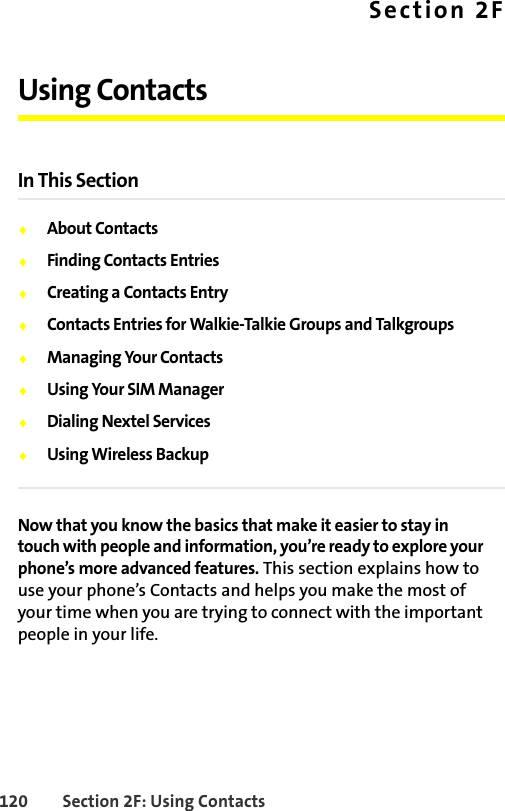
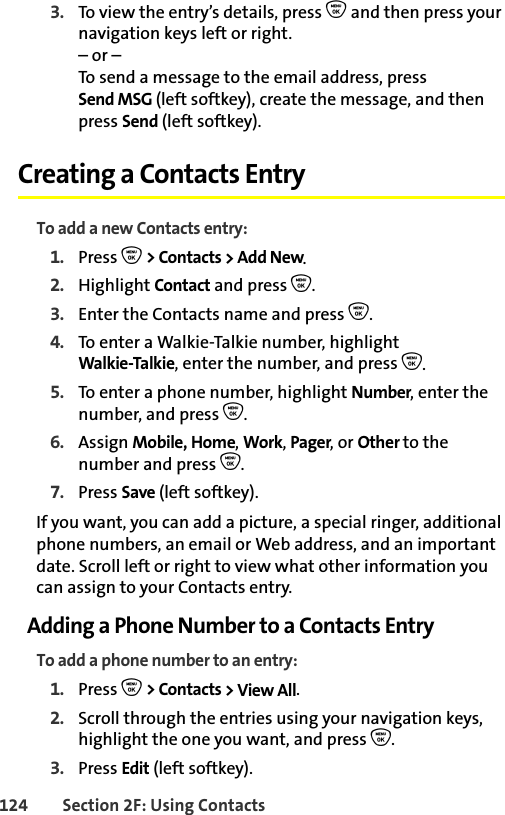
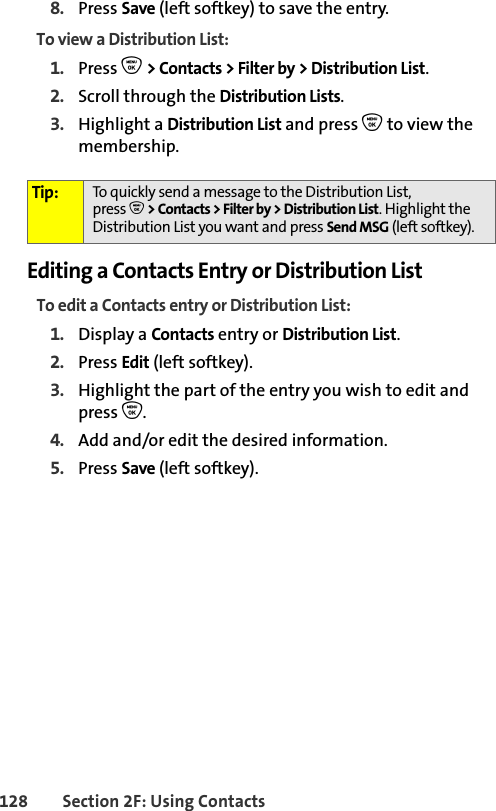
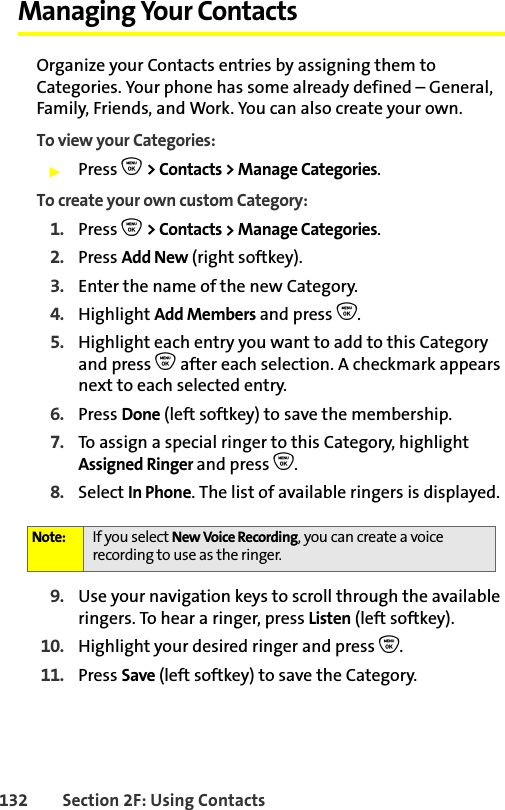
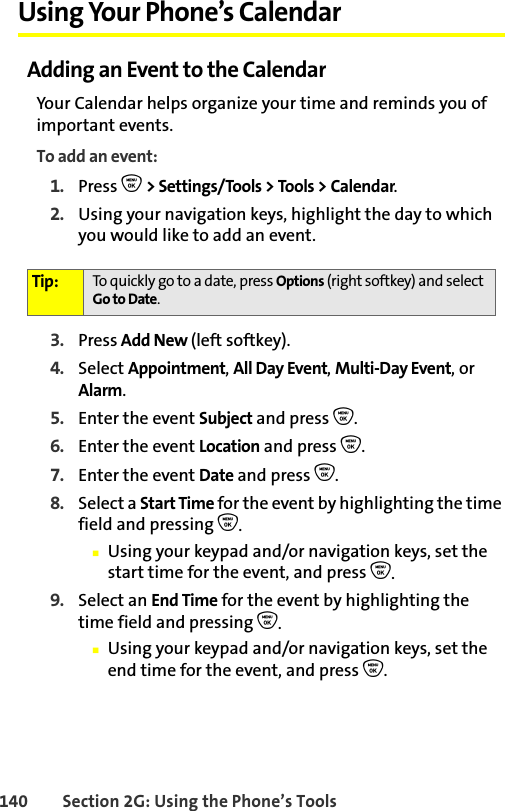
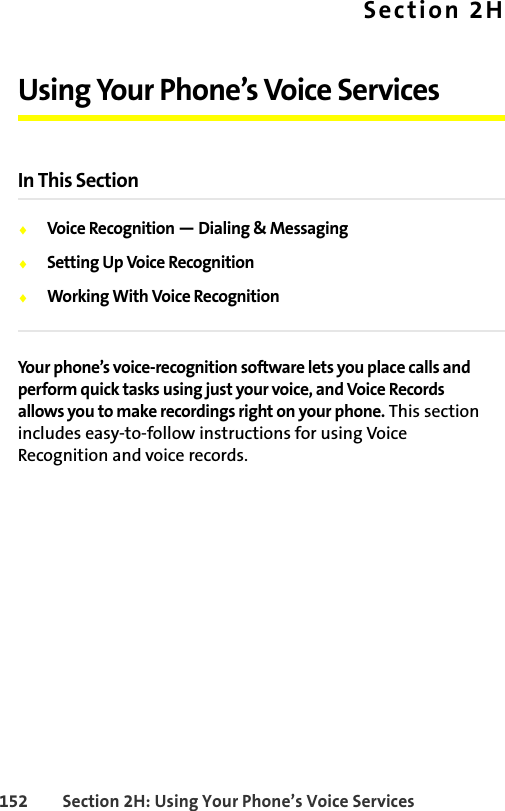
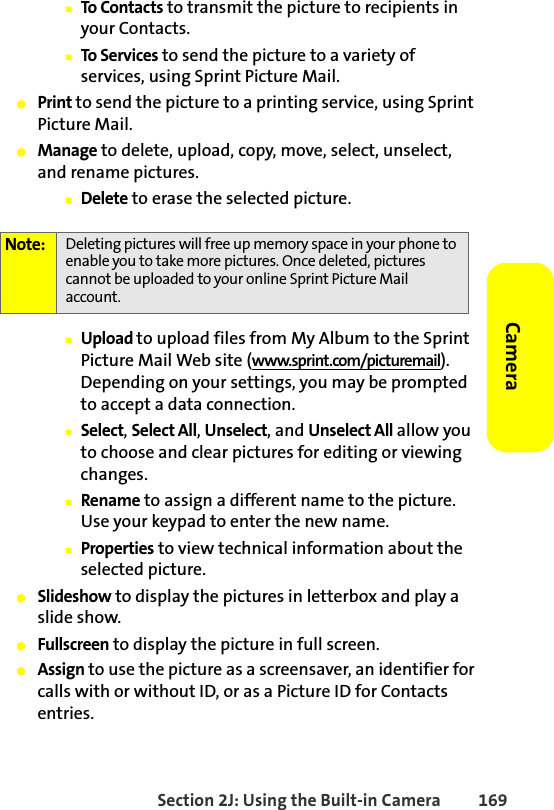
![Section 2B: Controlling Your Phone’s Settings 73Your Phone’s SettingsYour Phone’s SettingsSelecting Ringer Types for MessagesTo select a ringer type for messages:1. Press O > Settings/Tools > Settings > Sounds > Ringer Type > Messaging.2. Select Text Message, Voice SMS, Picture Mail, or Voicemail.3. Select In Phone. The list of available ringers is displayed.4. Use your navigation keys to scroll through the available ringers. To hear a ringer, press Listen (left softkey).5. Press O or Assign (left softkey) to assign the ringer.Adjusting the Phone’s Volume SettingsYou can adjust your phone’s volume settings to suit your needs and your environment.To adjust your phone’s volume settings:1. Press O > Settings/Tools > Settings > Sounds > Volume.2. Select Ringer, Messaging, Alarm, Key Beep, or Advanced, and press O.3. If you selected Advanced, you can then select Applications, Calendar, Call Alert, Connected Call, Incoming W-T, Power On, and Speaker Phone.Tip: If you want to hear a unique ringer whenever you are roaming, you can press O > Settings/Tools > Settings > Sounds >RingerType >RoamRinger and choose Distinct. For information about roaming, see page 105.Note: If you select New Voice Recording, you can create a voice recording as the ringer. Tip: You can also select unique ringers for Call Alerts, calendar appointments, and alarms. Go to O > Settings/Tools > Settings > Sounds > Ringer Type > [category] and follow the prompts.](https://usermanual.wiki/Motorola-Solutions/89FT7019.users-manual/User-Guide-814660-Page-87.png)
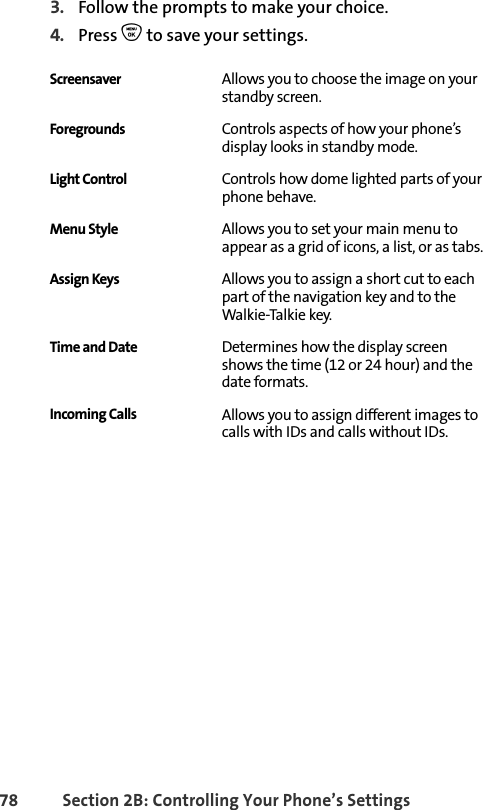
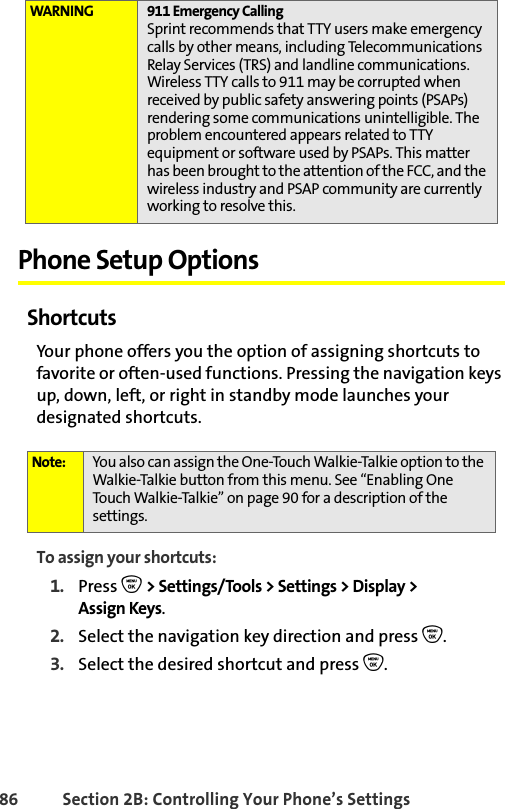
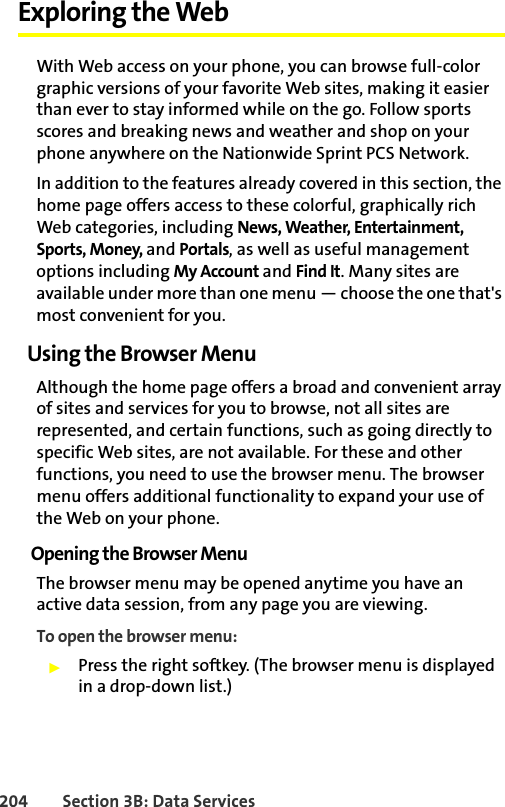
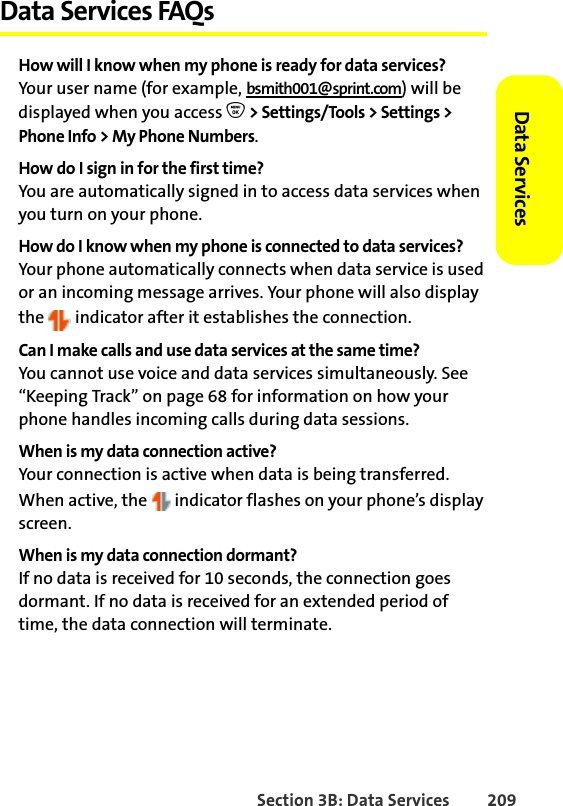
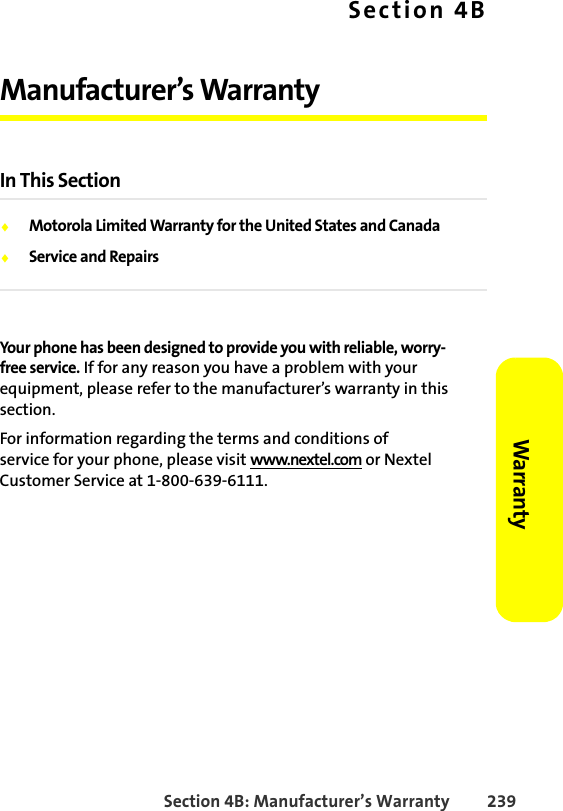
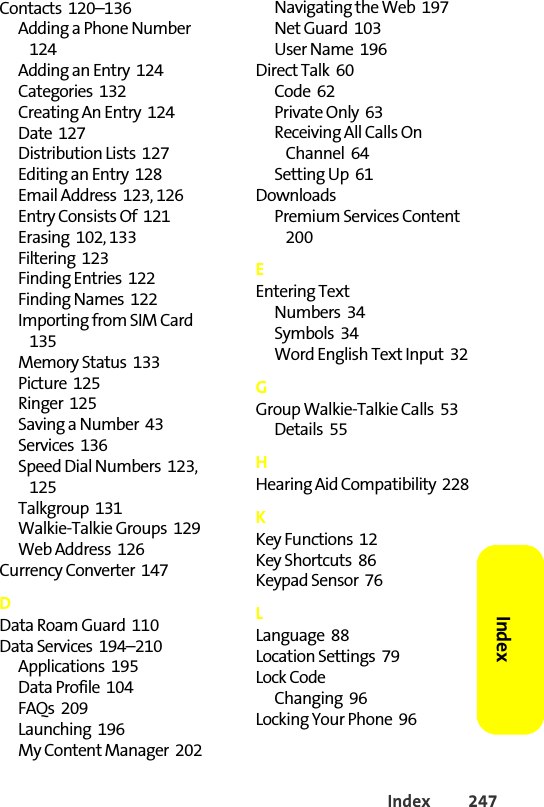
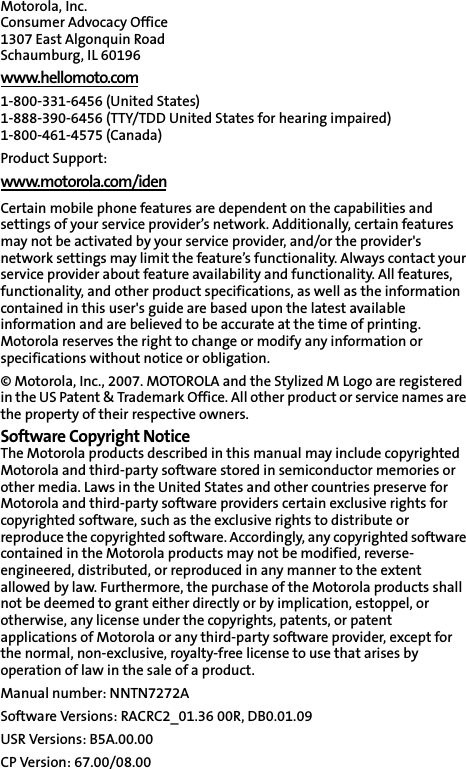
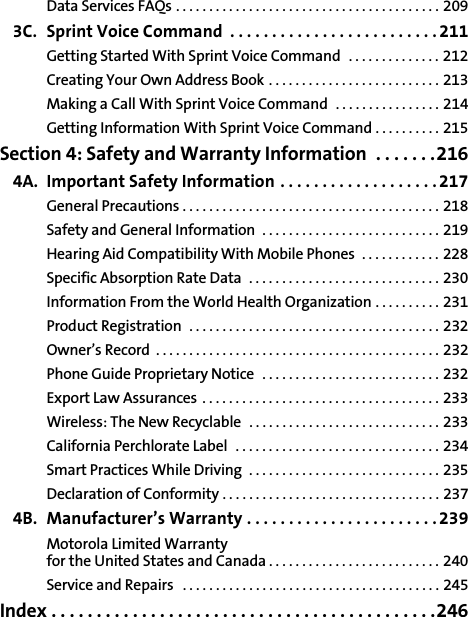
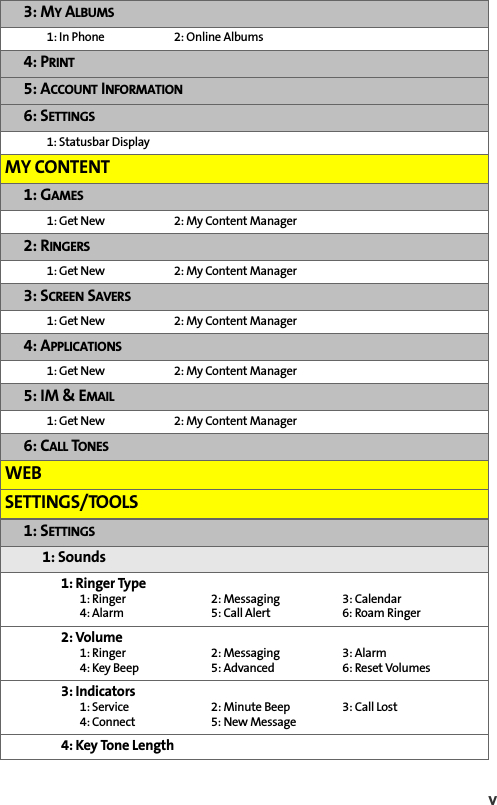
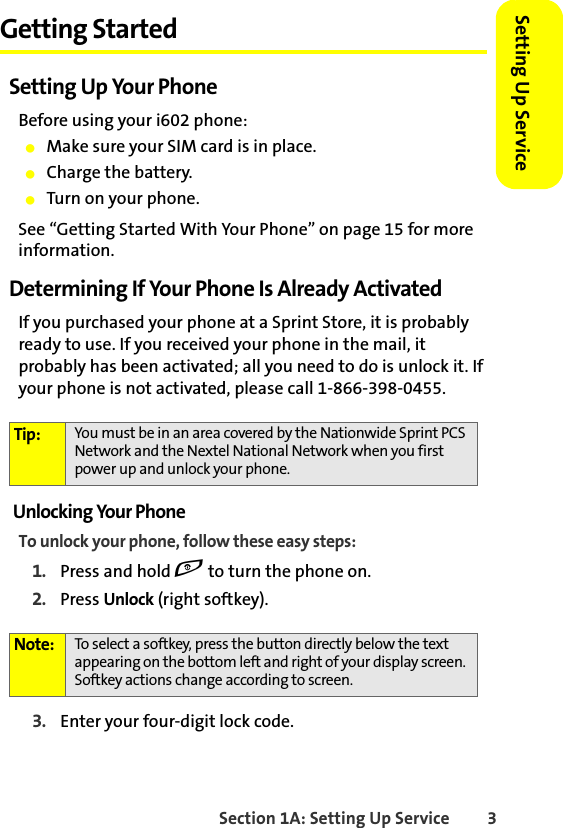
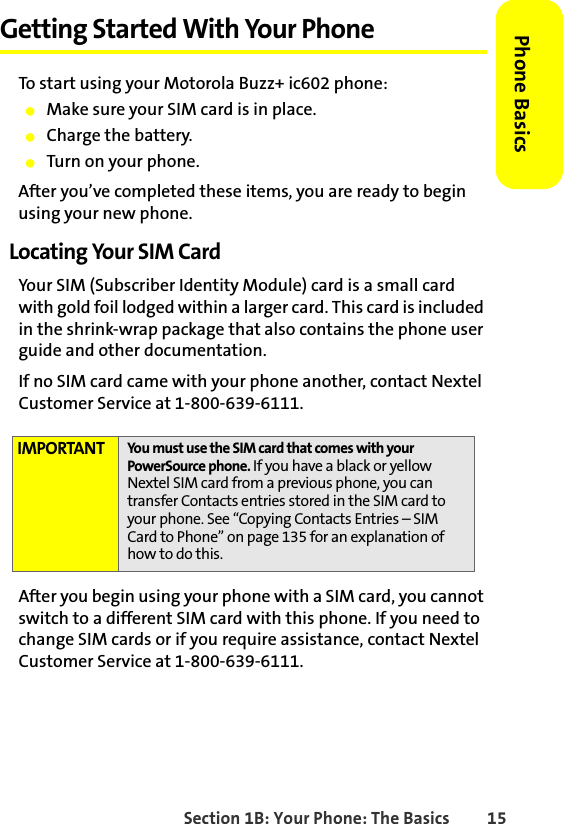
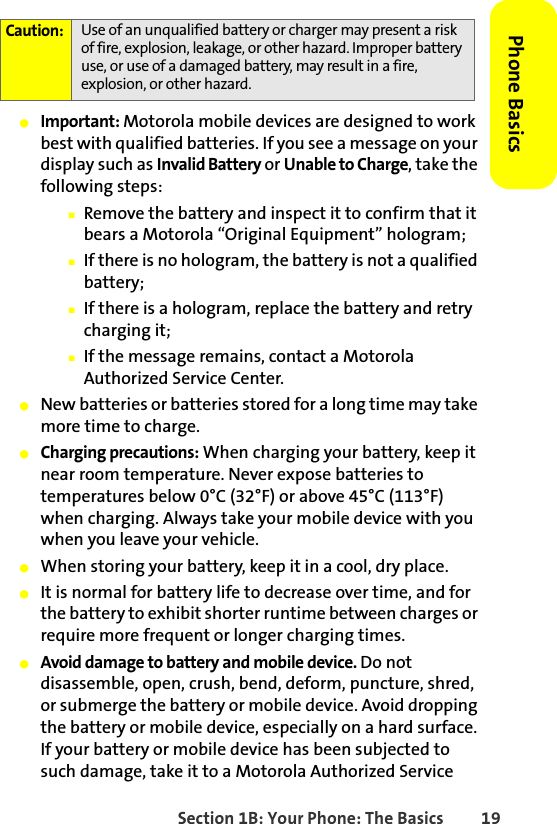
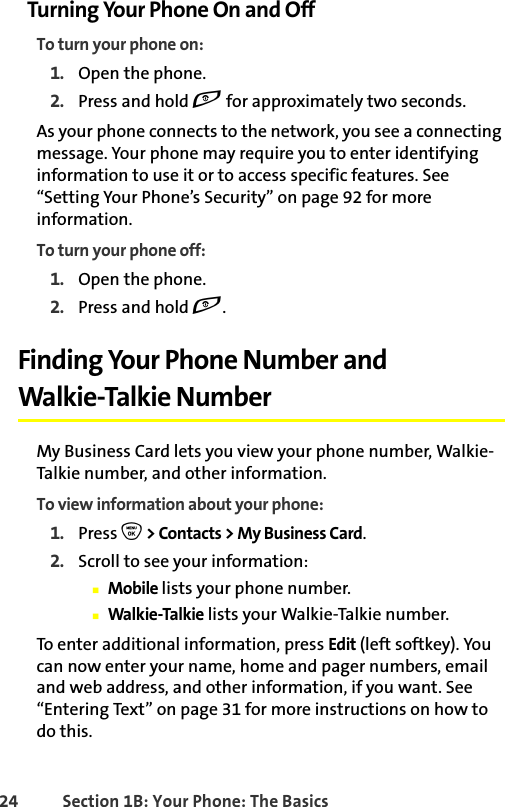
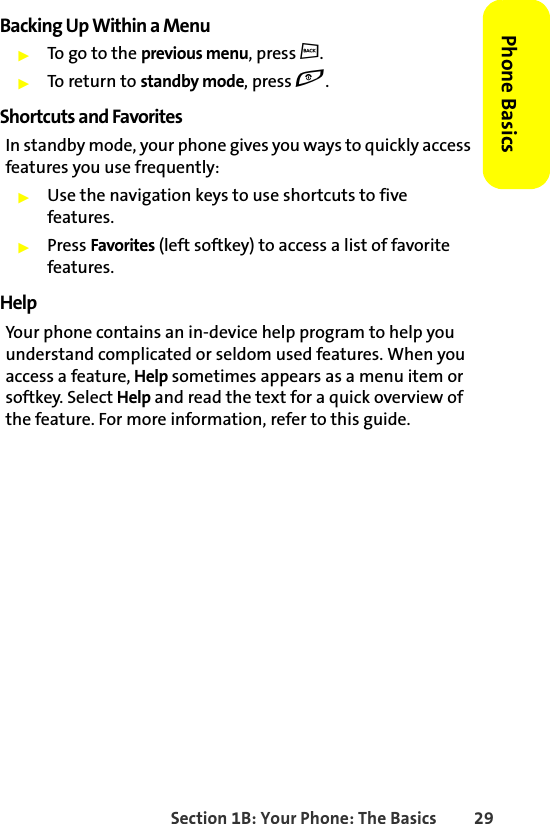
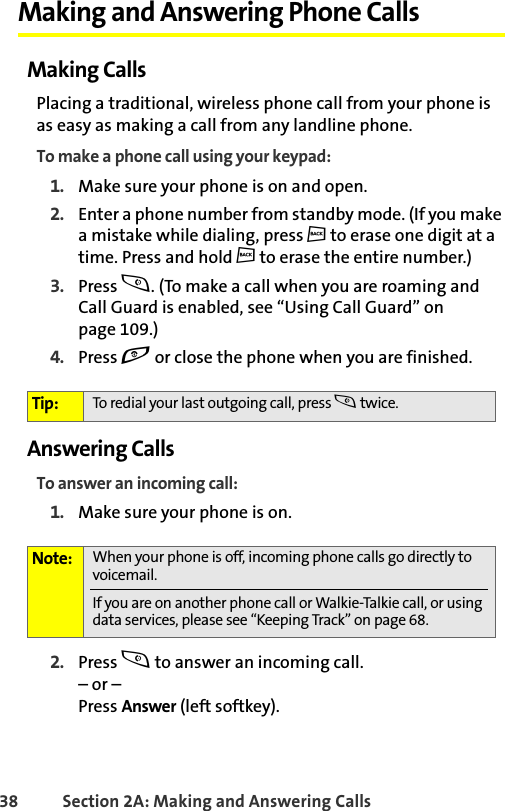
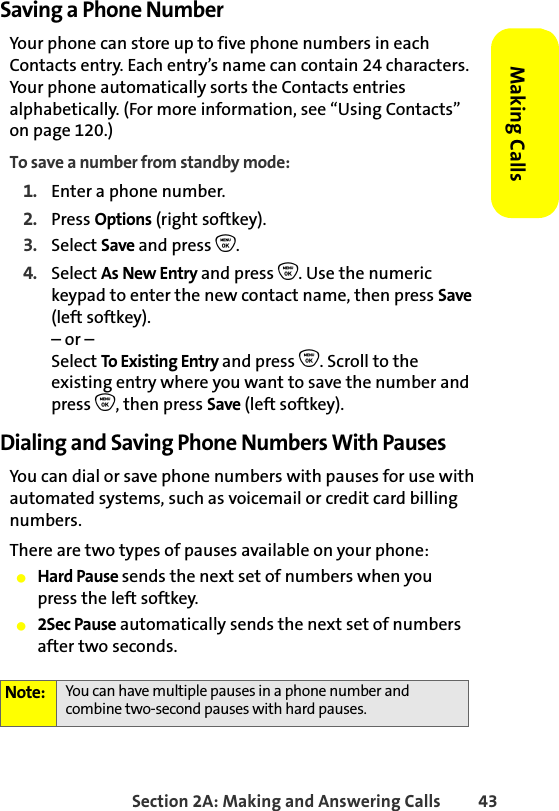
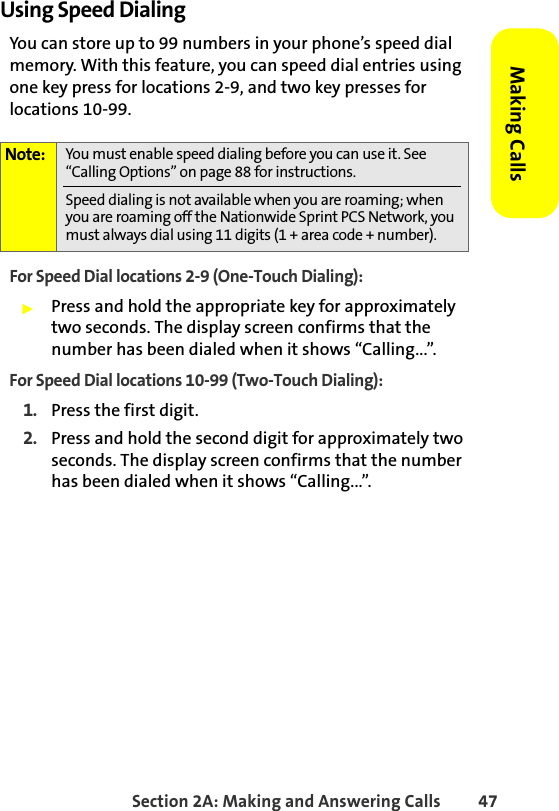
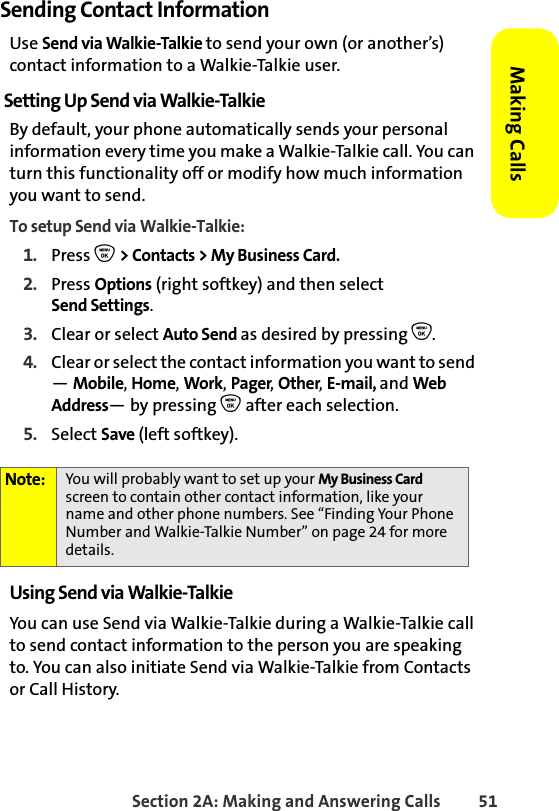
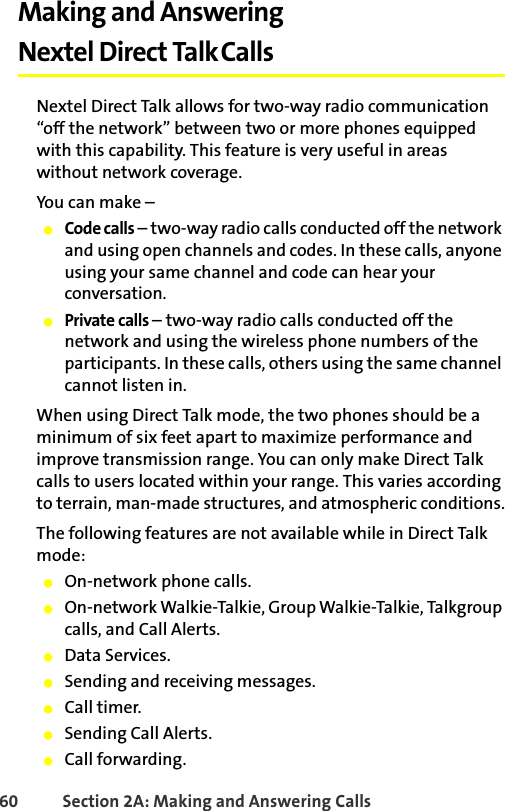
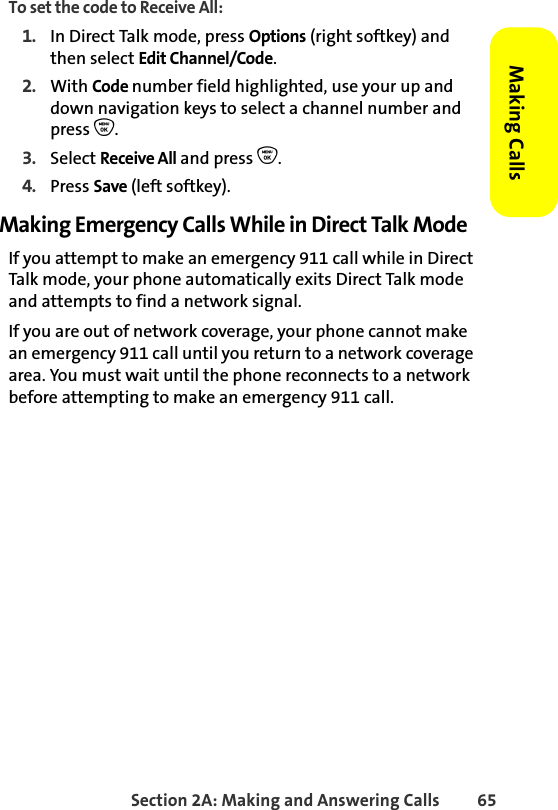
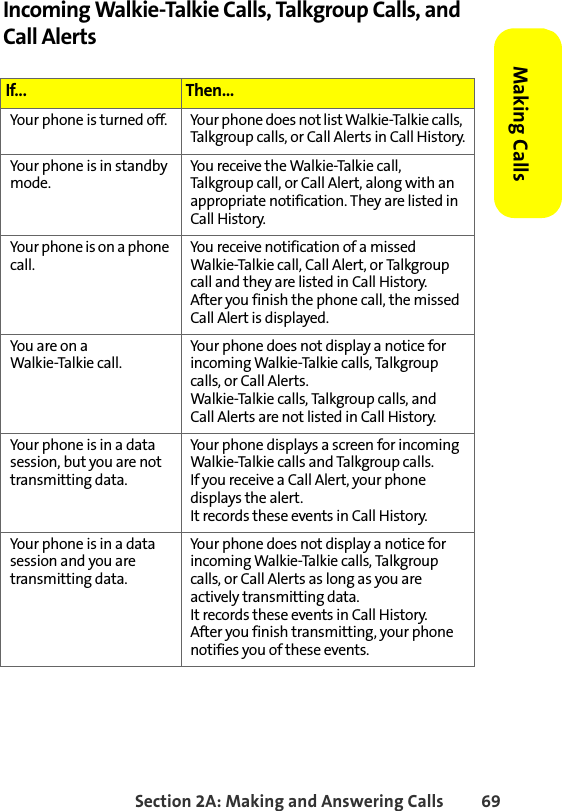
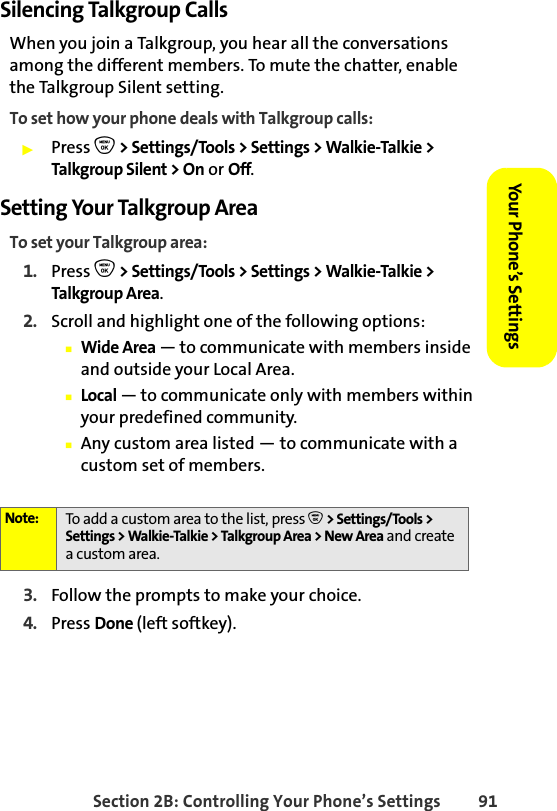
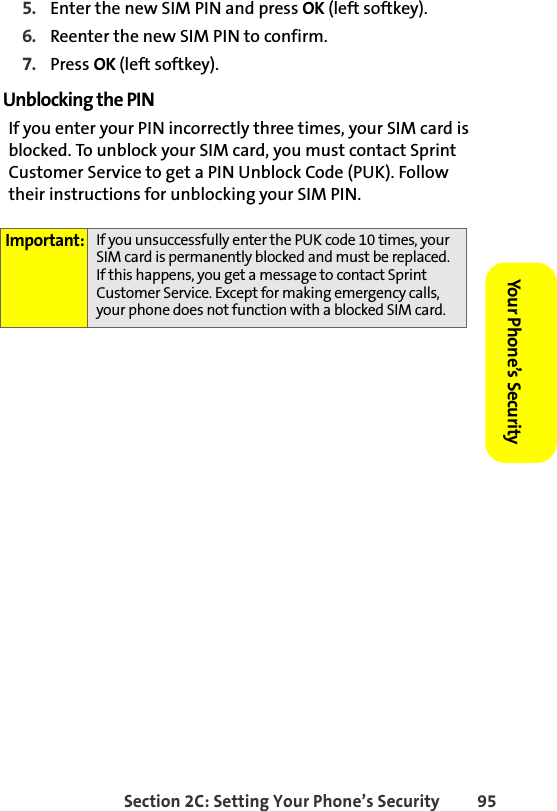
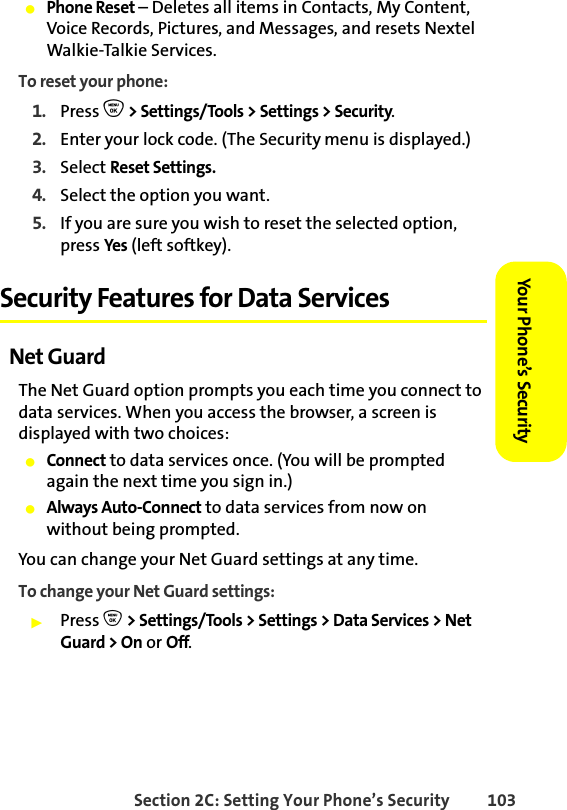
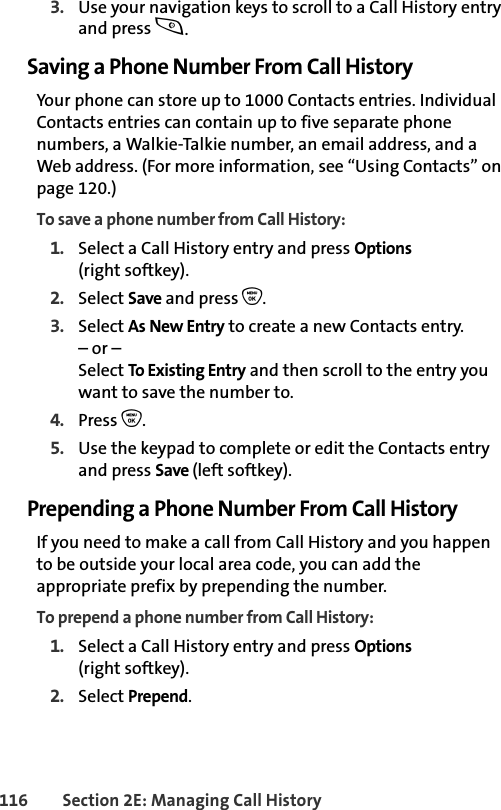
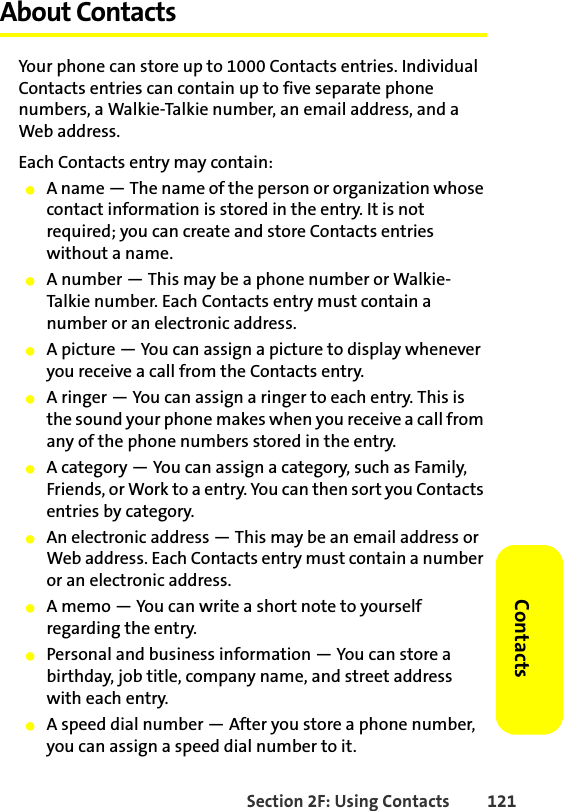
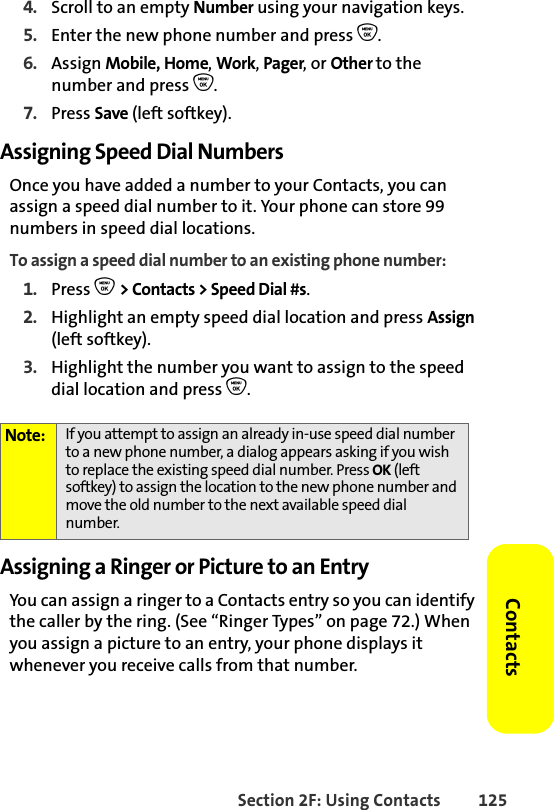
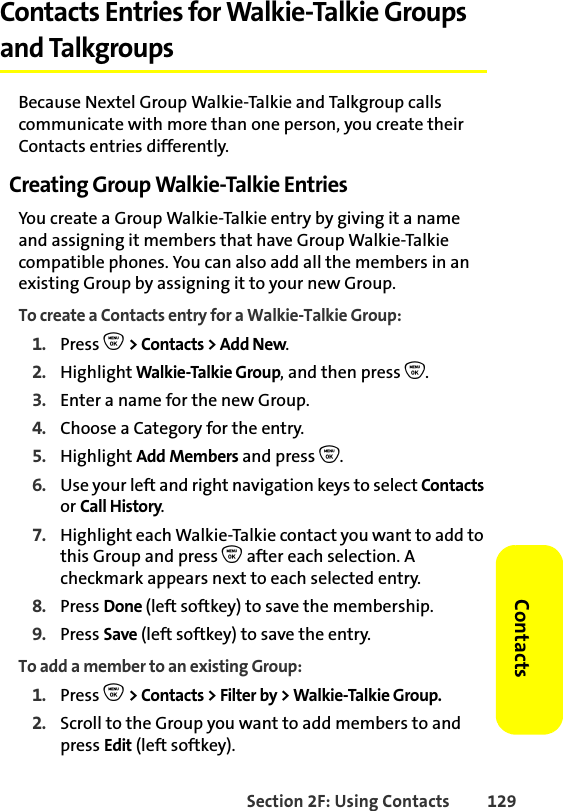
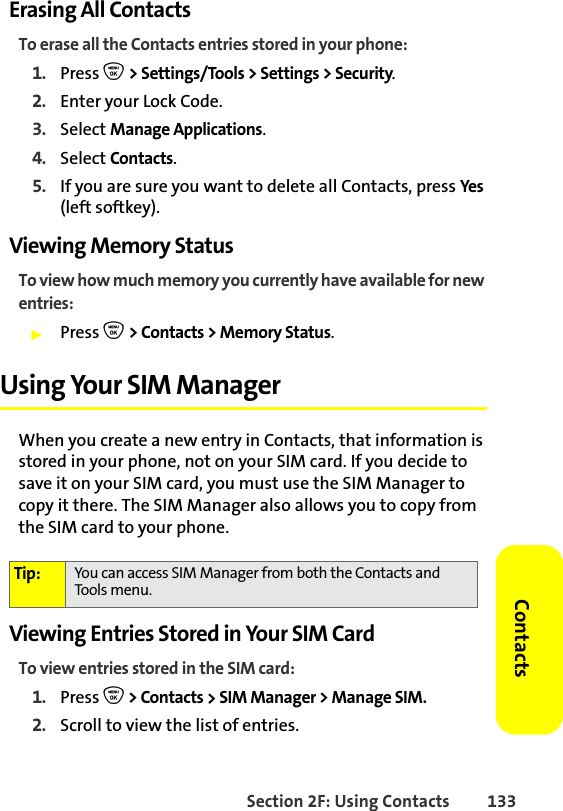
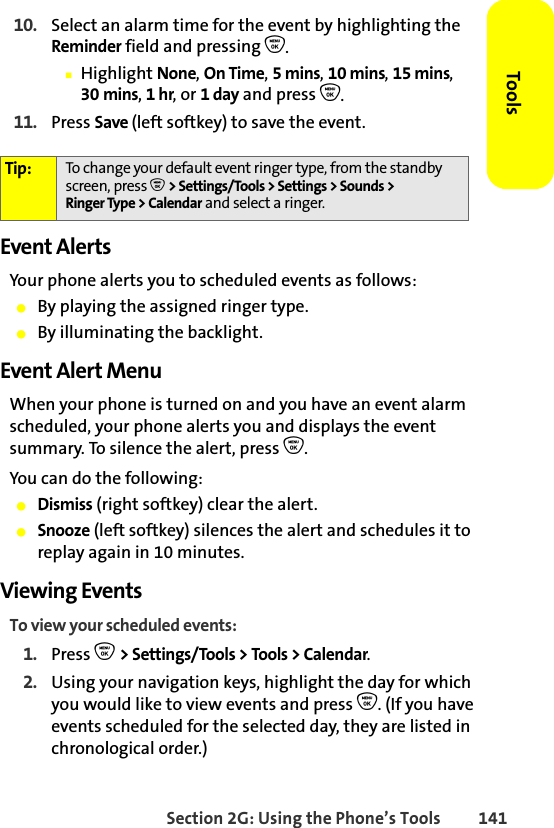
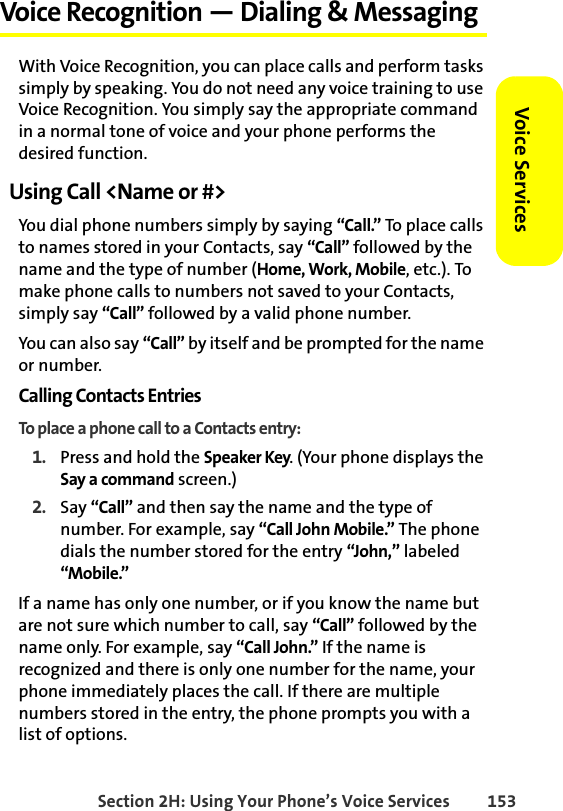
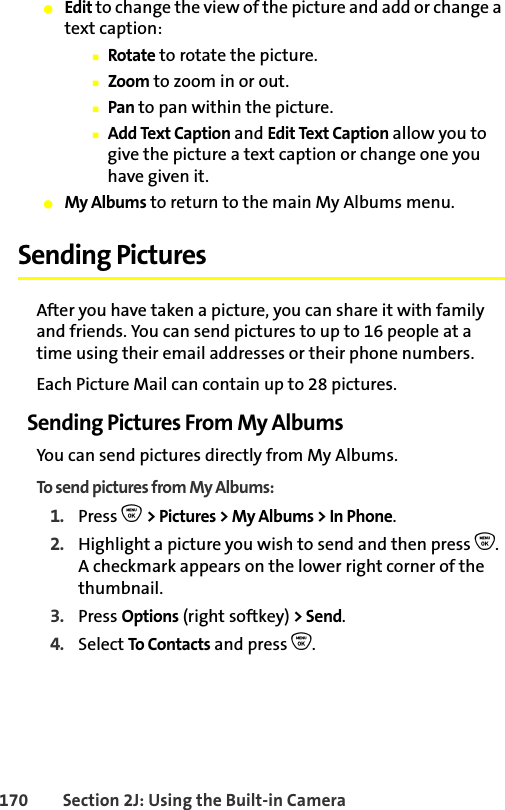
![90 Section 2B: Controlling Your Phone’s SettingsNextel Walkie-Talkie SettingsYour phone offers you ways to manage your Nextel Walkie-Talkie calls. You may want to consider these options.䢇One Touch Walkie-Talkie lets you quickly access frequently used functions with a press of the Walkie-Talkie button.䢇Talkgroup Silent controls whether you hear active Talkgroup calls.䢇Talkgroup Area lets you define your Talkgroup area.Enabling One Touch Walkie-TalkieTo enable One Touch Walkie-Talkie:1. Press O > Settings/Tools > Settings > Walkie-Talkie > One Touch W-T.2. Select Enable by pressing O. (The Enable check box may already be selected.)3. Highlight Assign To, press O, and then select one of these options.䡲Last Call allows you to call the last Walkie-Talkie call you made.䡲W-T Contacts takes you to the Walkie-Talkie Contacts list.䡲Call History takes you to the Walkie-Talkie list in Call History.䡲Assigned Number allows you call a specific number. (You are prompted to enter the number if you choose this option. You can also press Browse [right softkey] and select Contacts or Call History to select a number to assign.)4. Press Done (left softkey).](https://usermanual.wiki/Motorola-Solutions/89FT7019.users-manual/User-Guide-814660-Page-104.png)
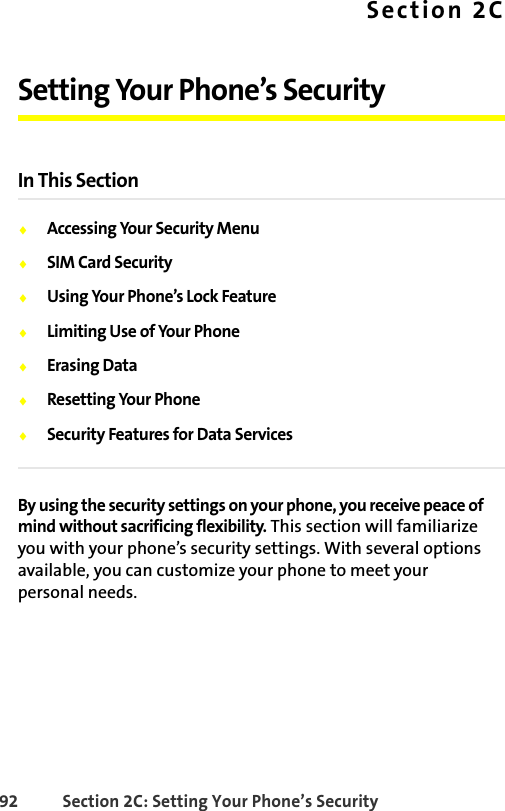
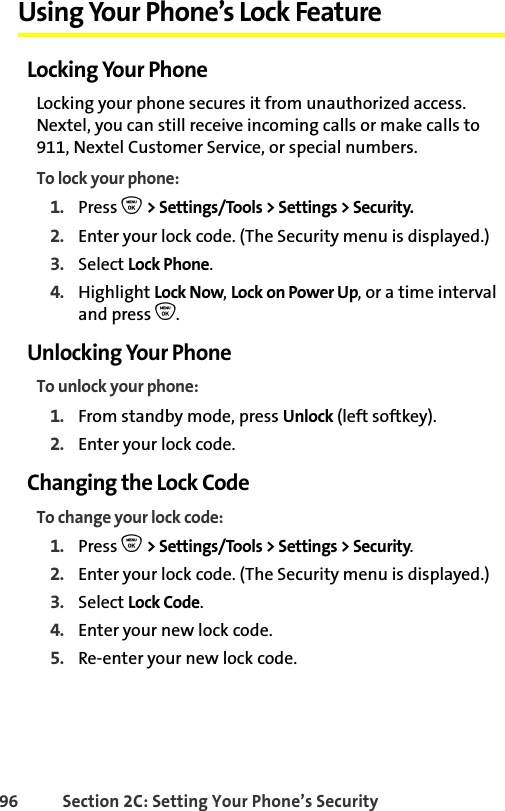
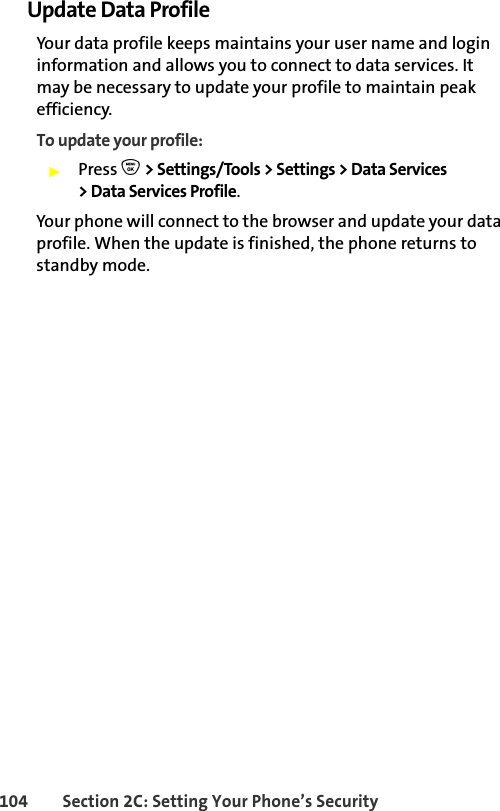


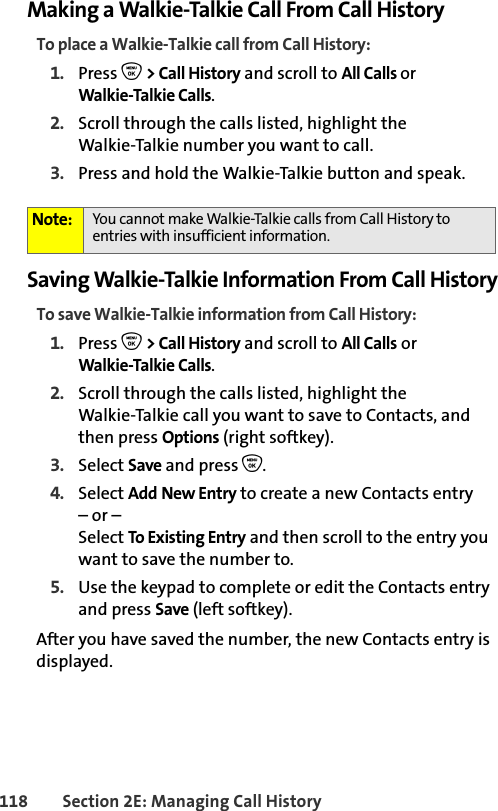
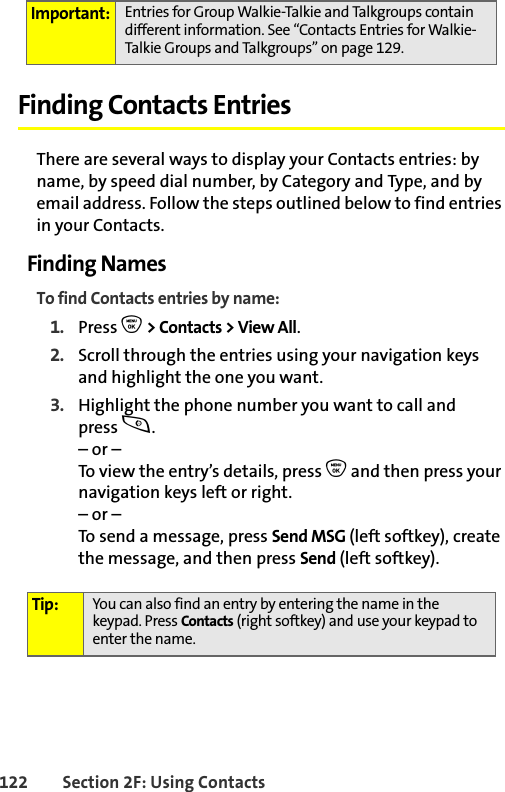
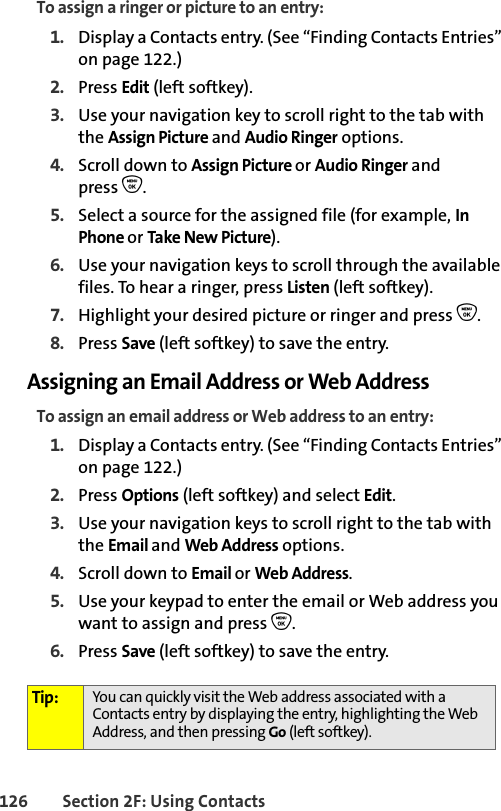
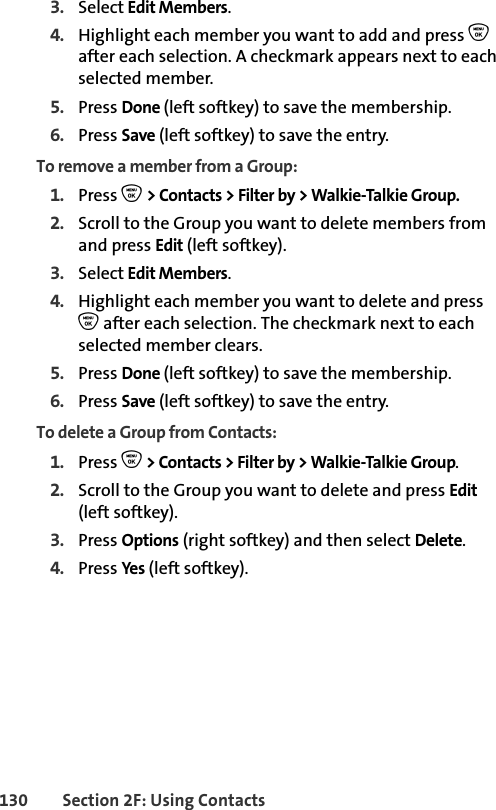
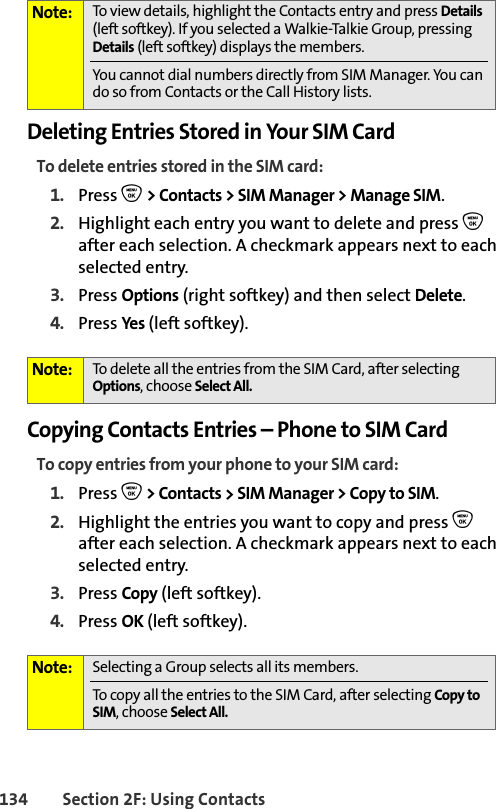
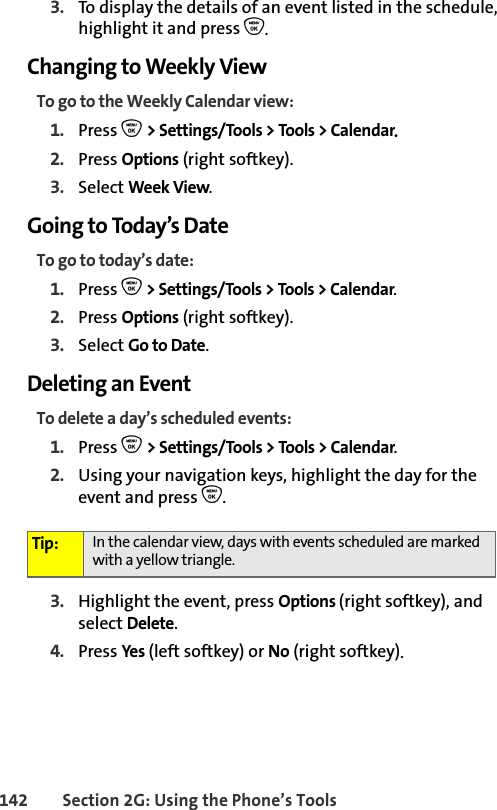
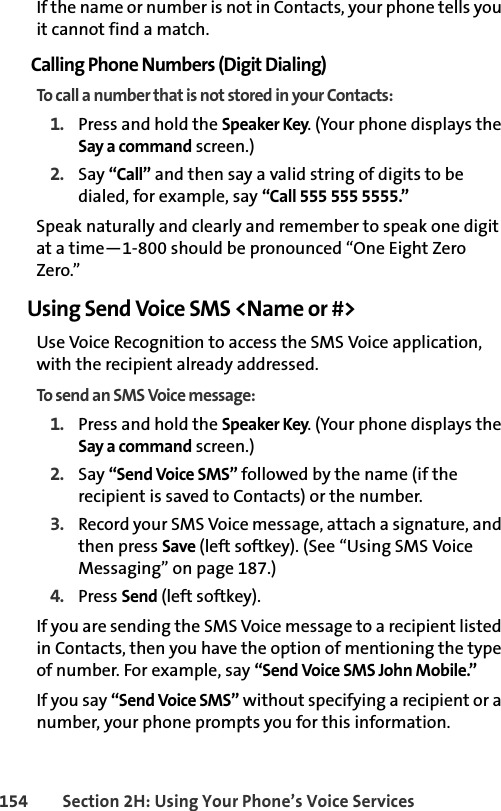

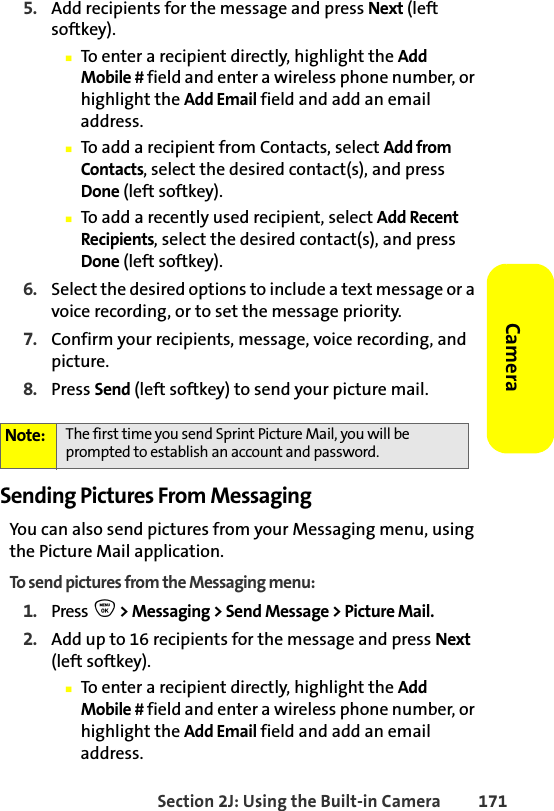


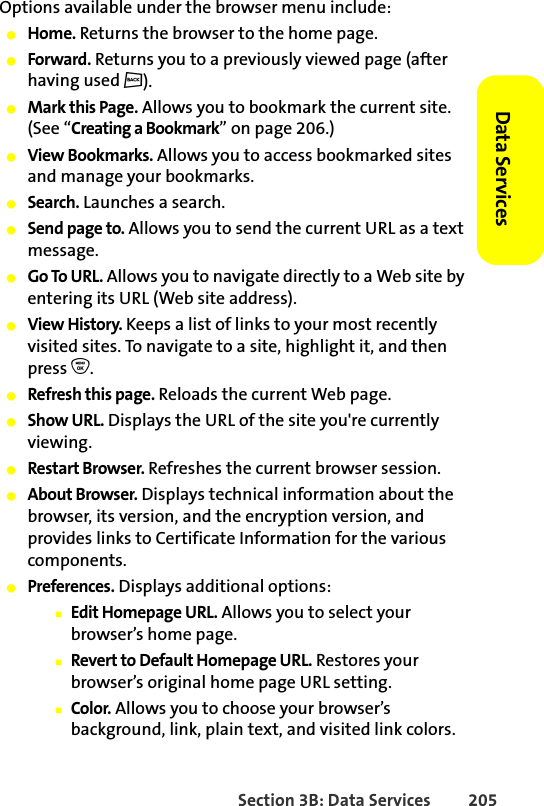
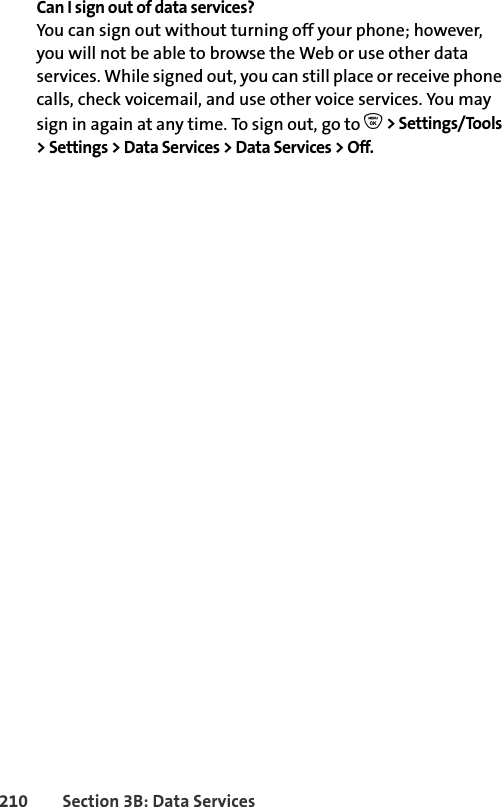
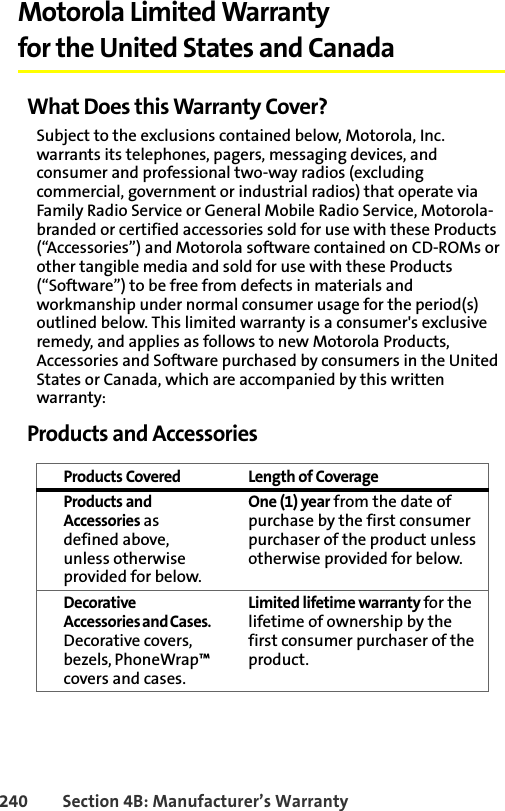
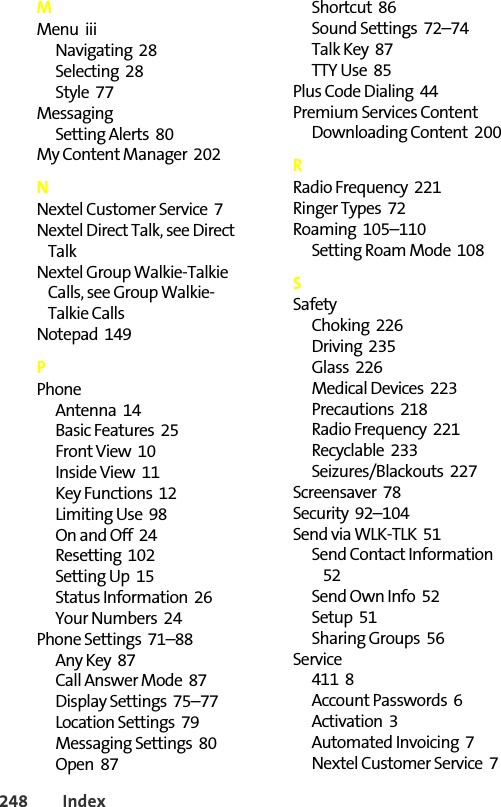
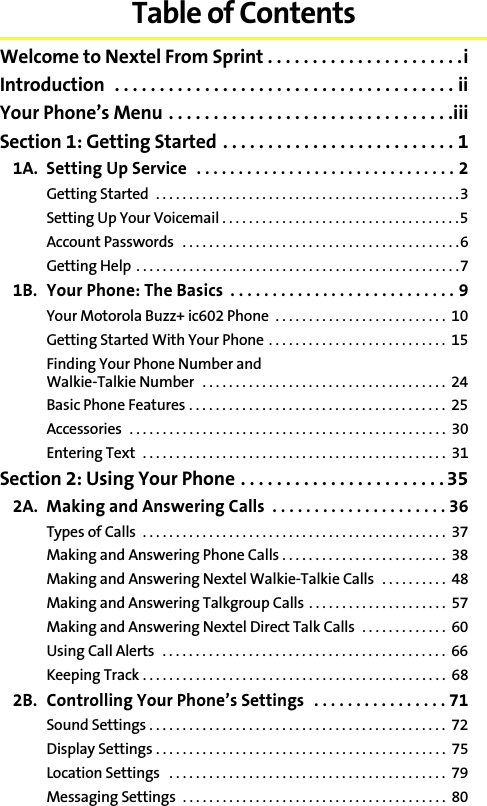
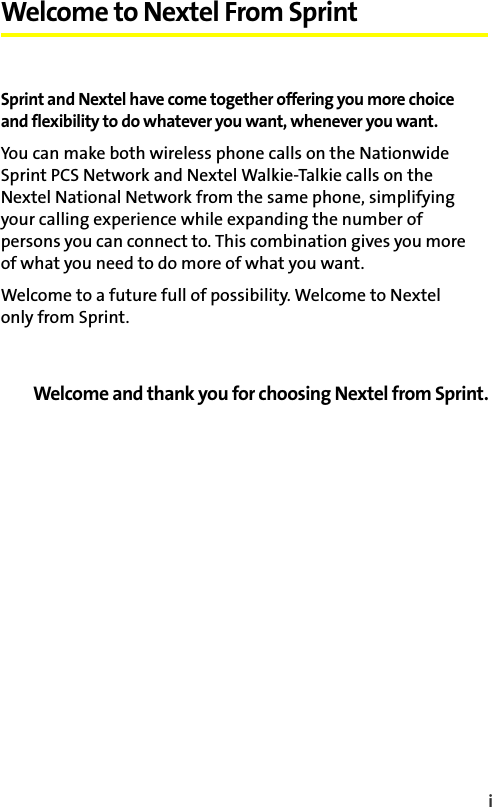
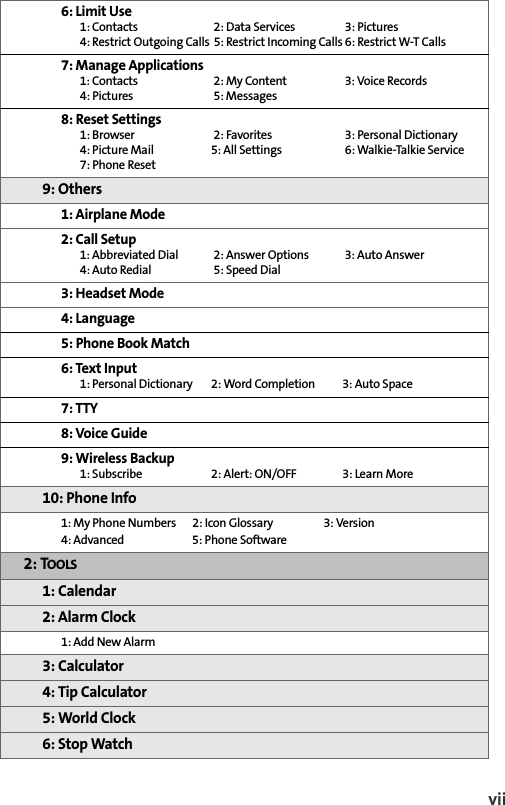
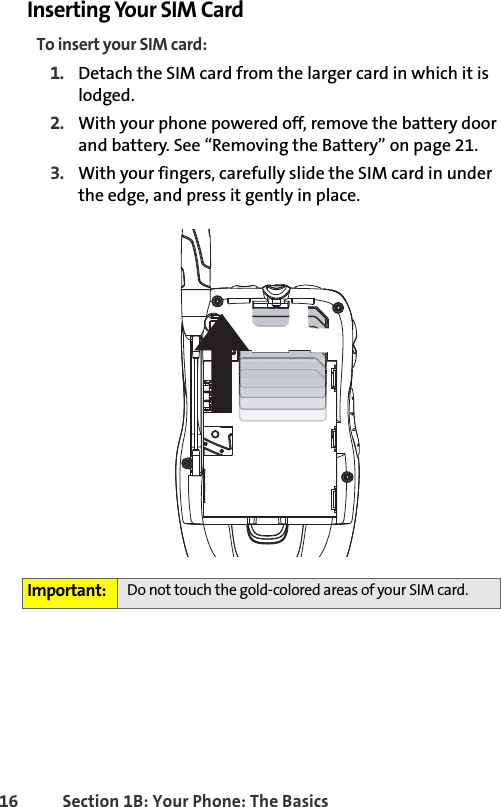
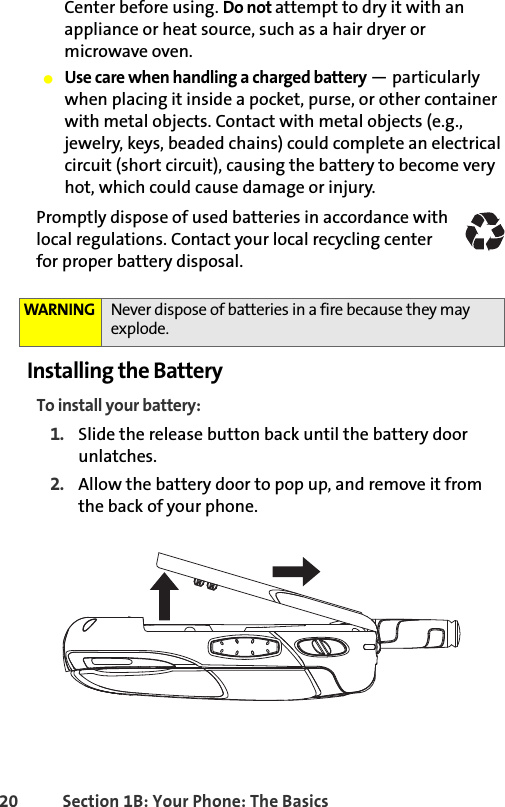
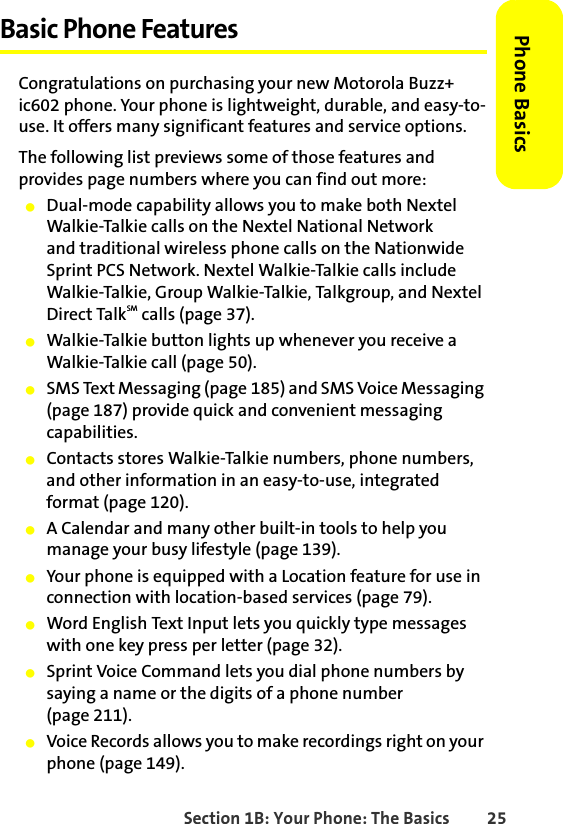
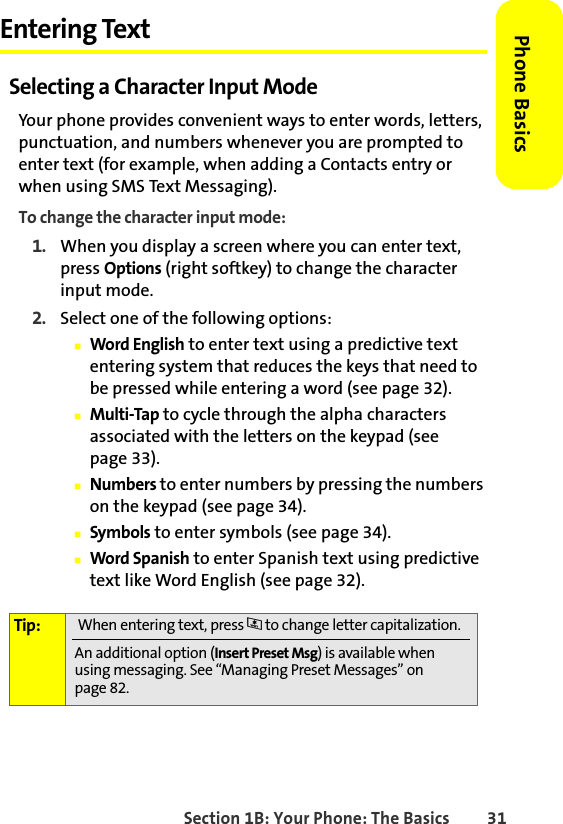
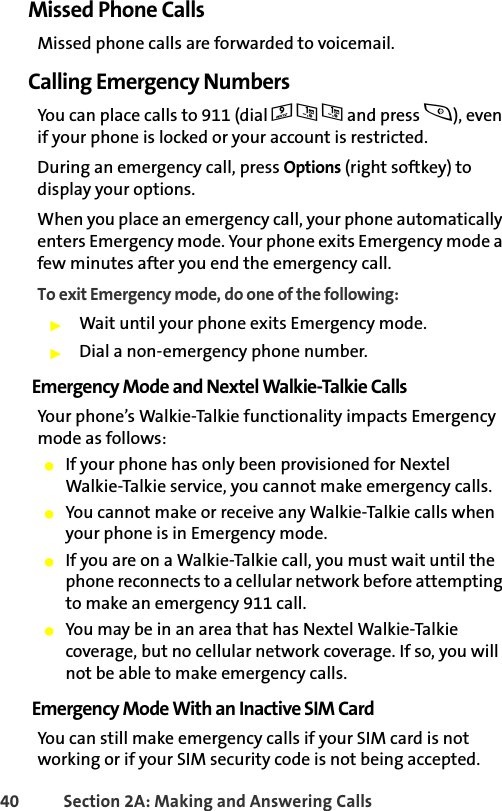
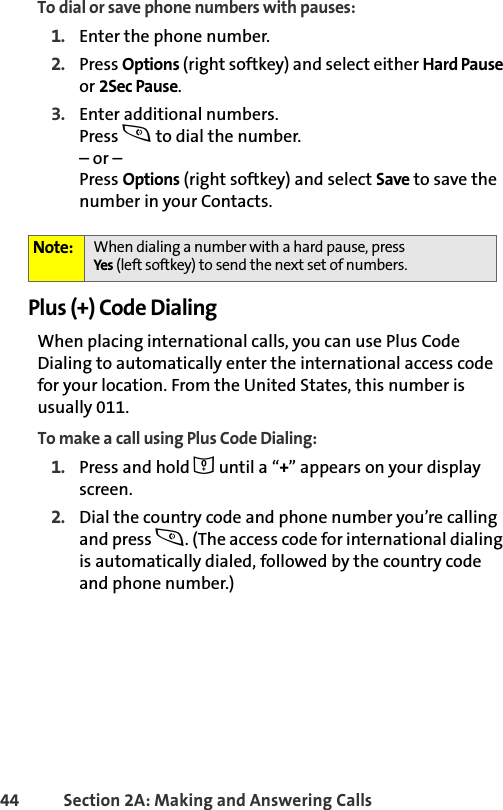
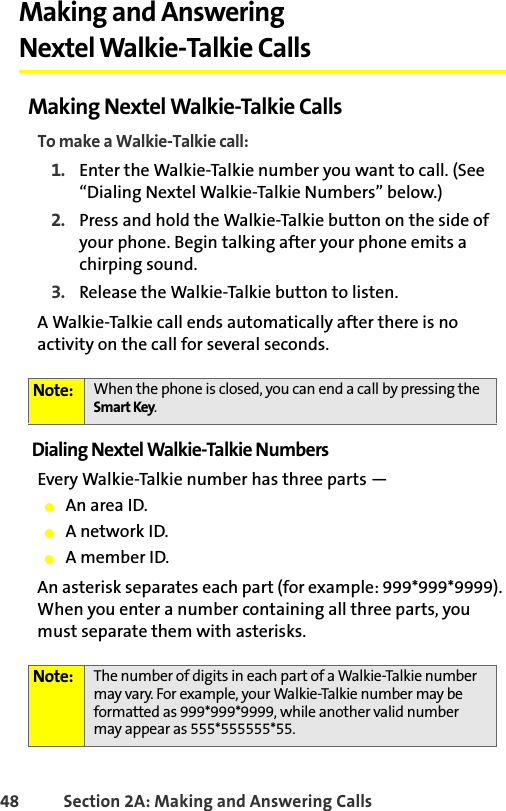
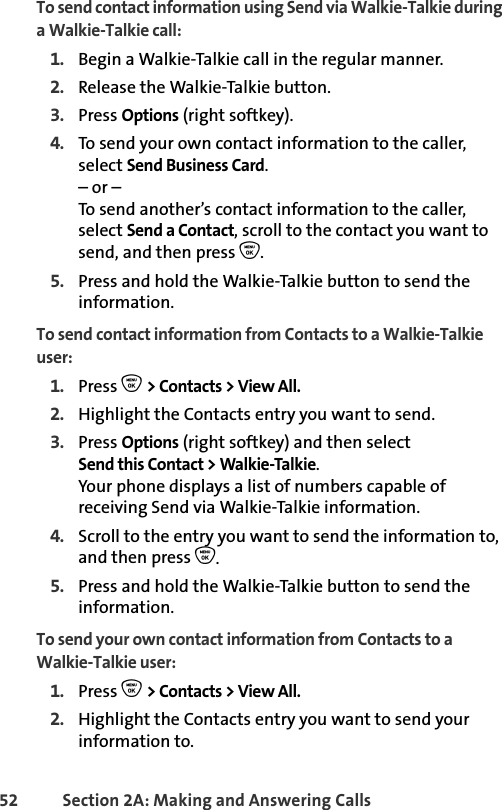
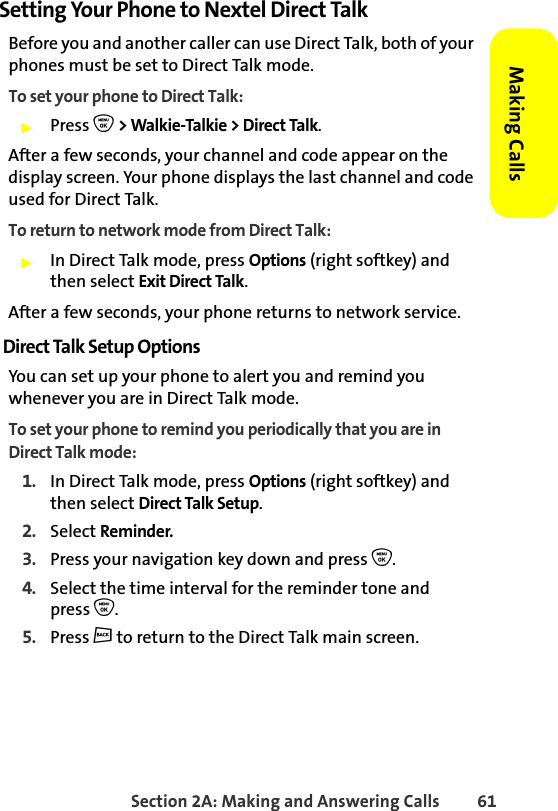
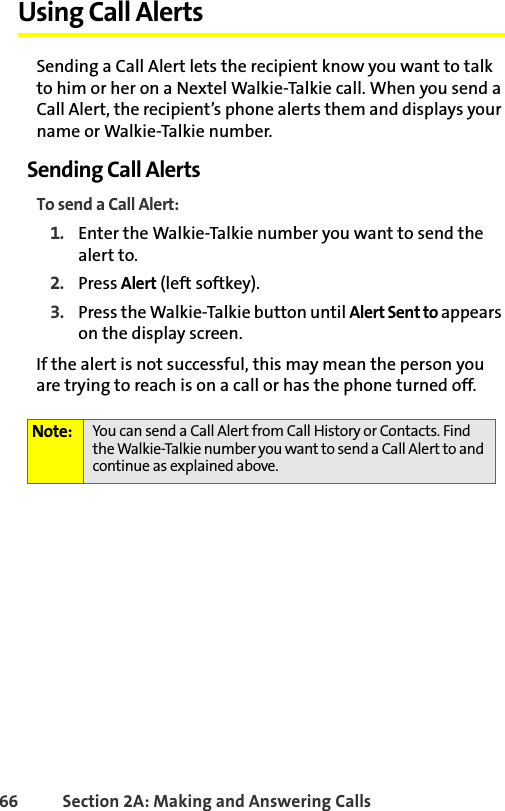
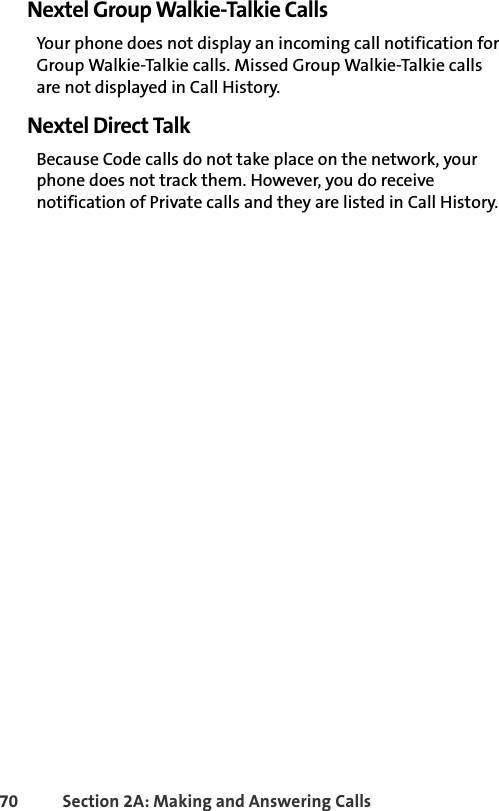
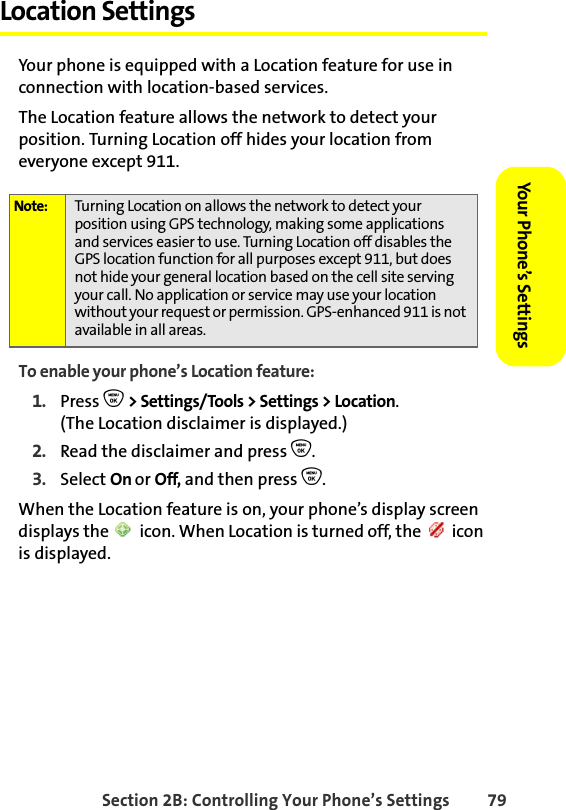
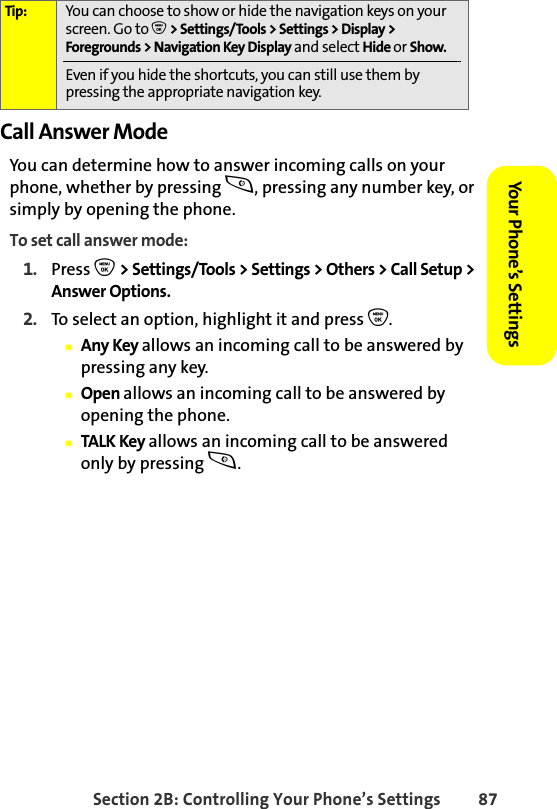
![198 Section 3B: Data ServicesTo use softkeys:䊳Press the button directly below the softkey you want to use. (If an additional pop-up menu appears when you press the softkey button, select the menu items using your keypad [if they’re numbered] or by highlighting the option and pressing O.)ScrollingAs with other parts of your phone's menu, you'll have to scroll up and down to see everything on some Web sites.To scroll line by line through Web sites:䊳Press the navigation key up and down.To scroll page by page through Web sites:䊳Press the volume buttons on the side of the phone.SelectingOnce you've learned how to use softkeys and scroll, you can start navigating the Web.To select onscreen items:䊳Use the navigation key to highlight the desired item, then press the desired softkey button (or press O).Links, which appear as underlined text, allow you to jump to Web pages, select special functions, or even place phone calls. To select links:䊳Highlight the link and press the appropriate softkey. Tip: If the items on a page are numbered, you can use your keypad (number keys) to select an item.](https://usermanual.wiki/Motorola-Solutions/89FT7019.users-manual/User-Guide-814660-Page-212.png)

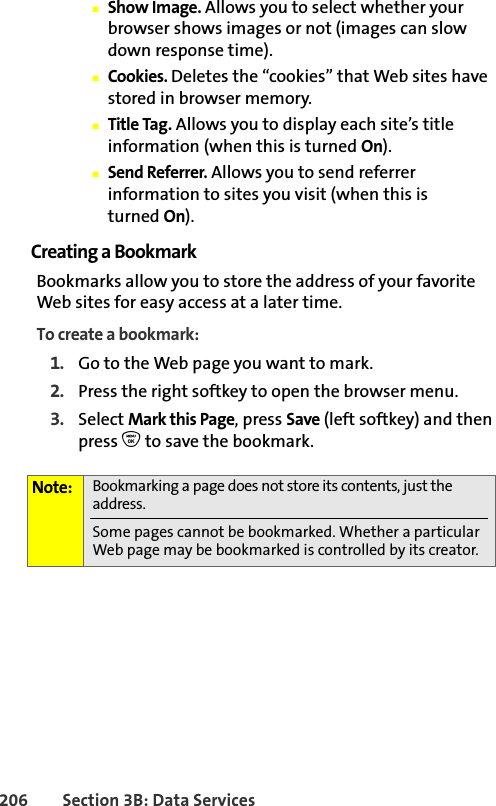
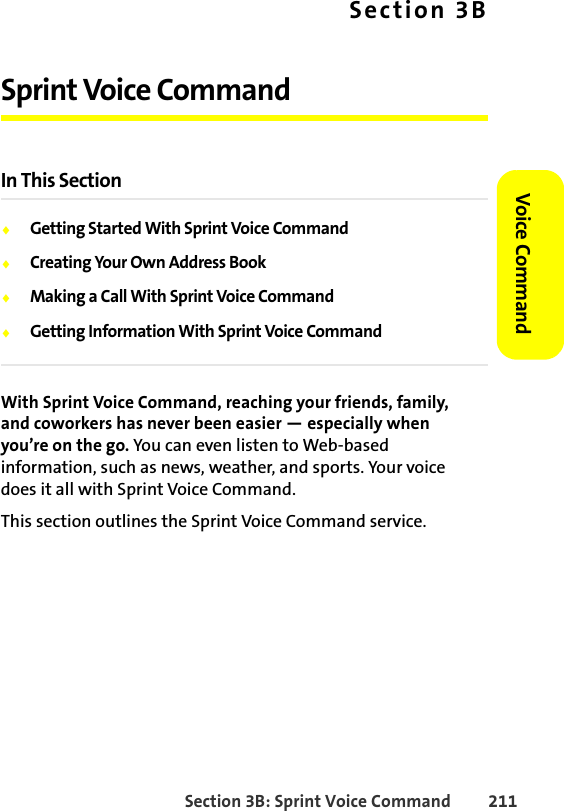
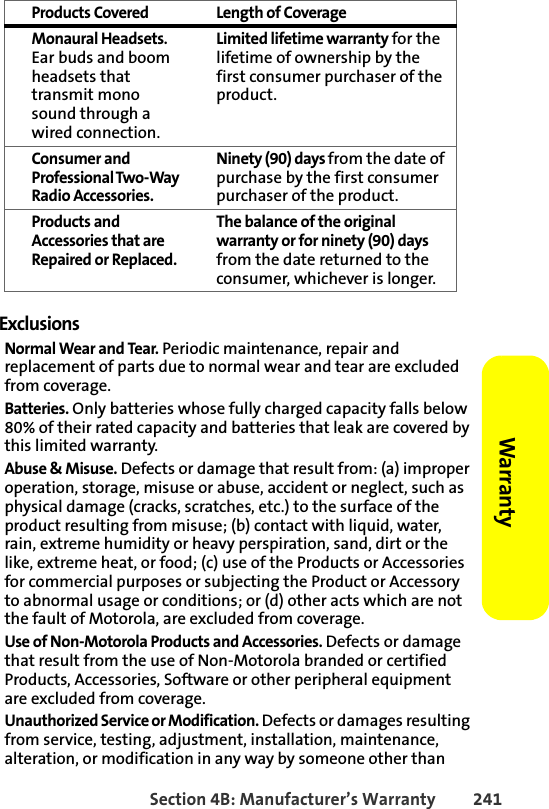
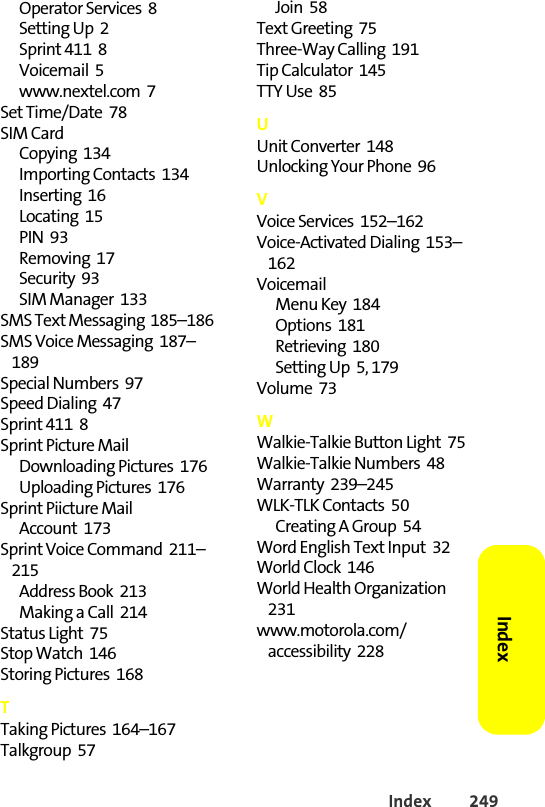
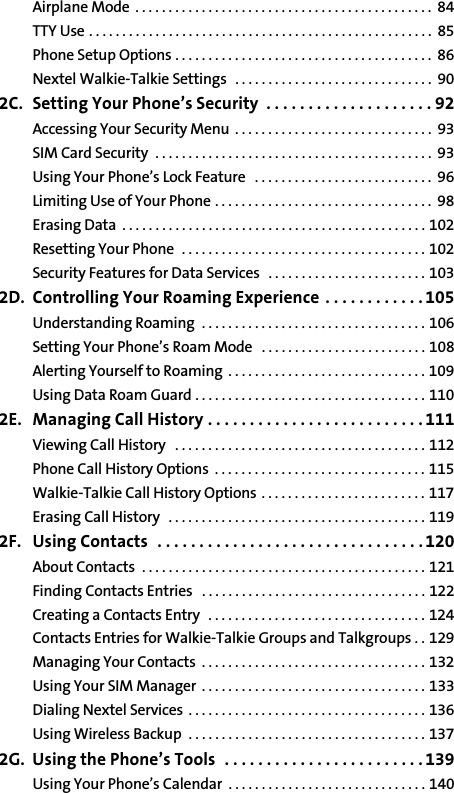
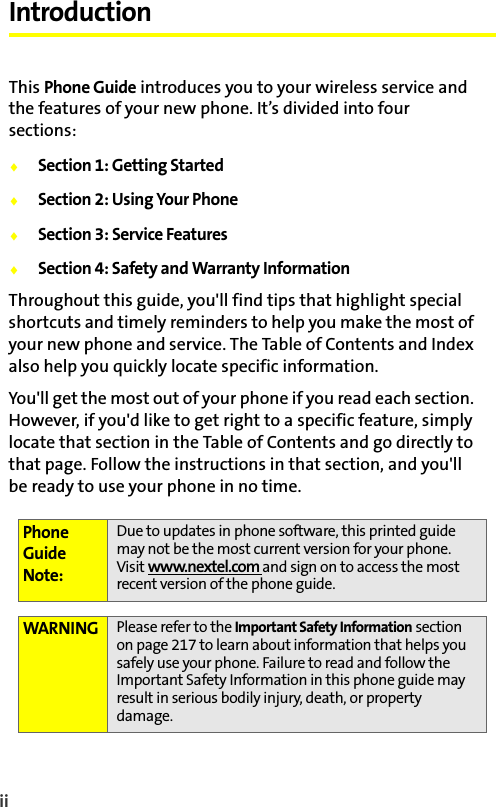
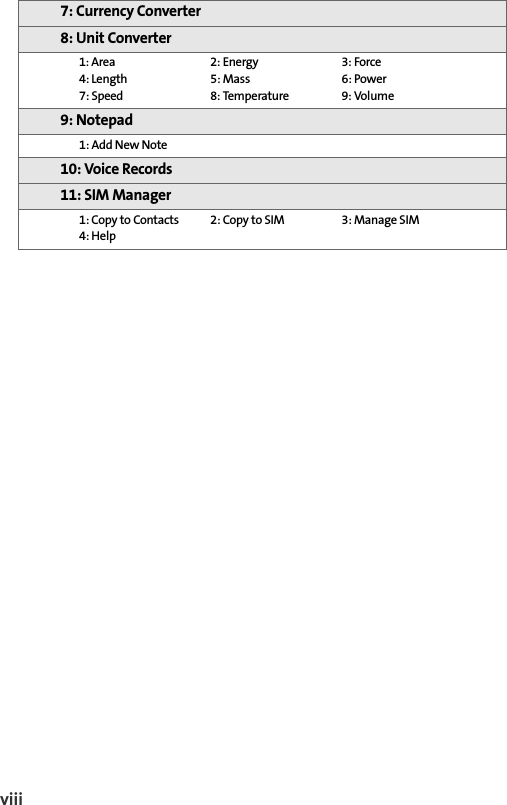
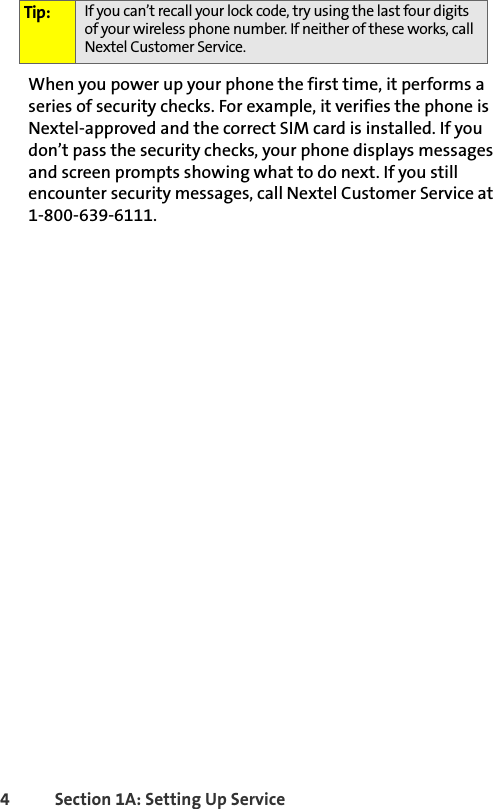
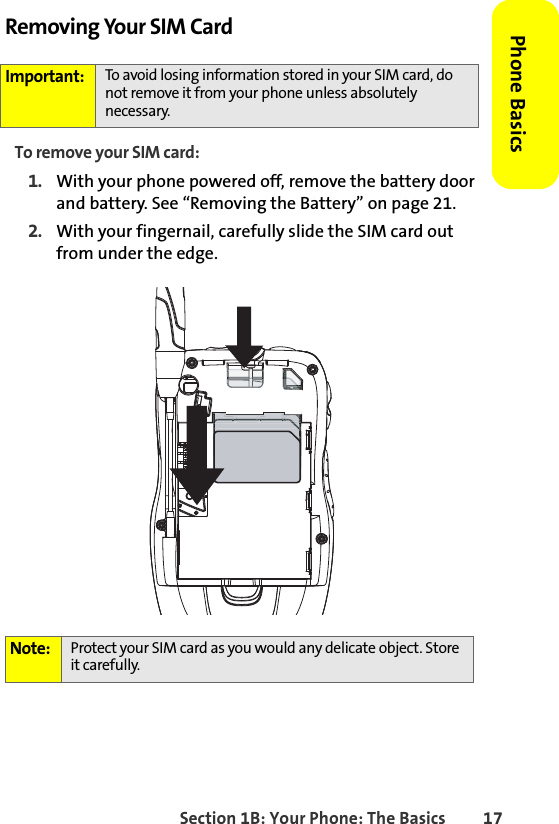
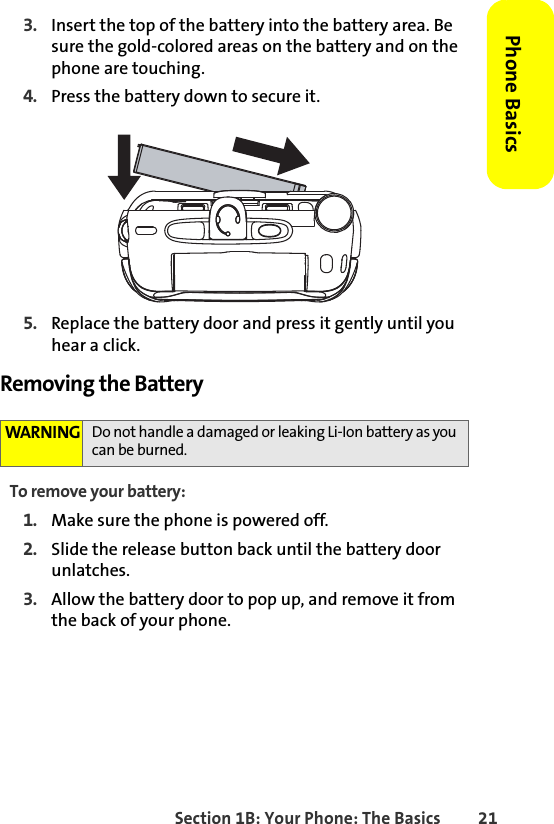
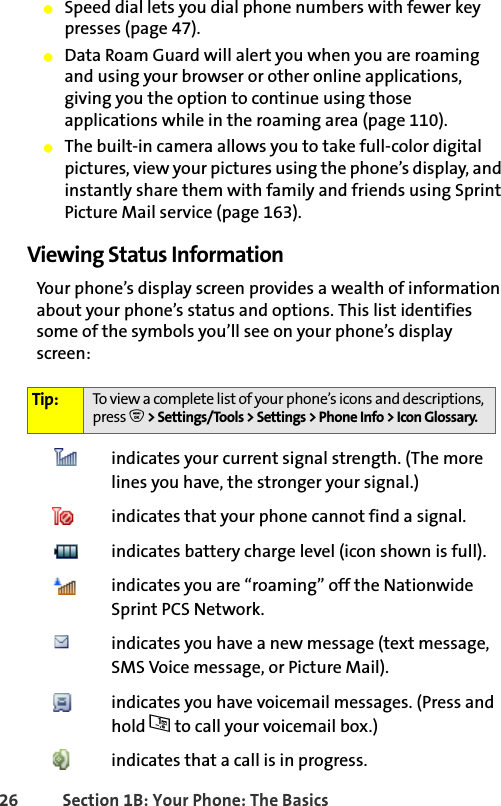
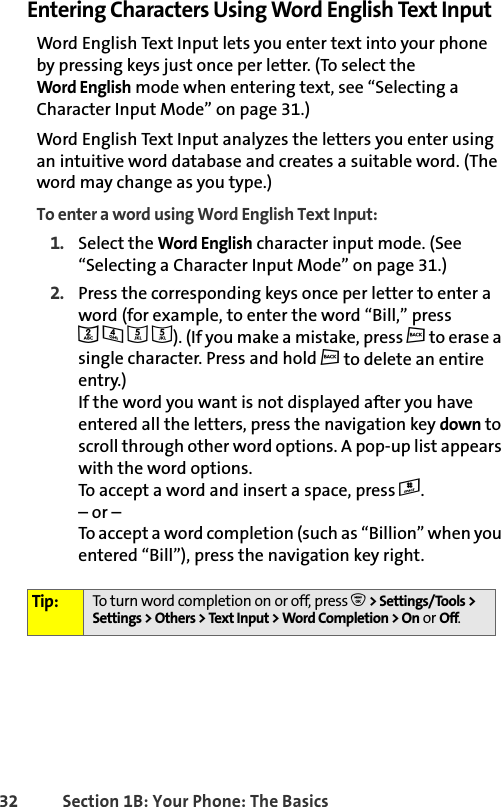
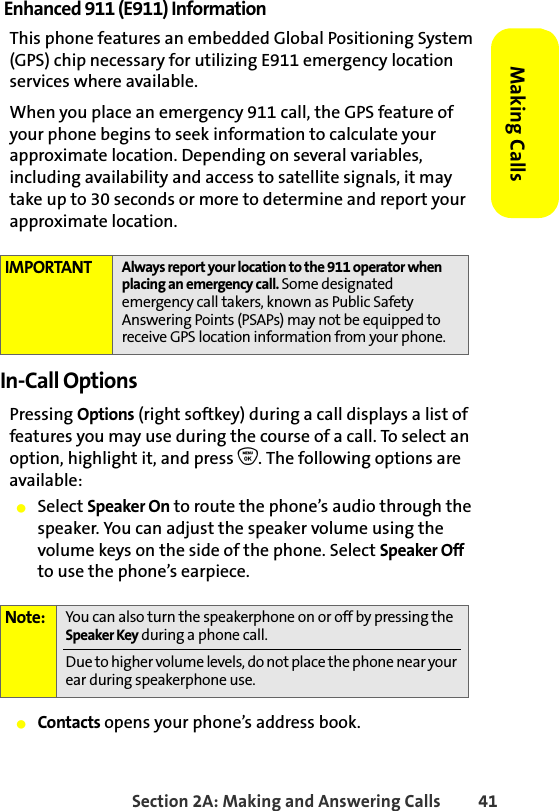
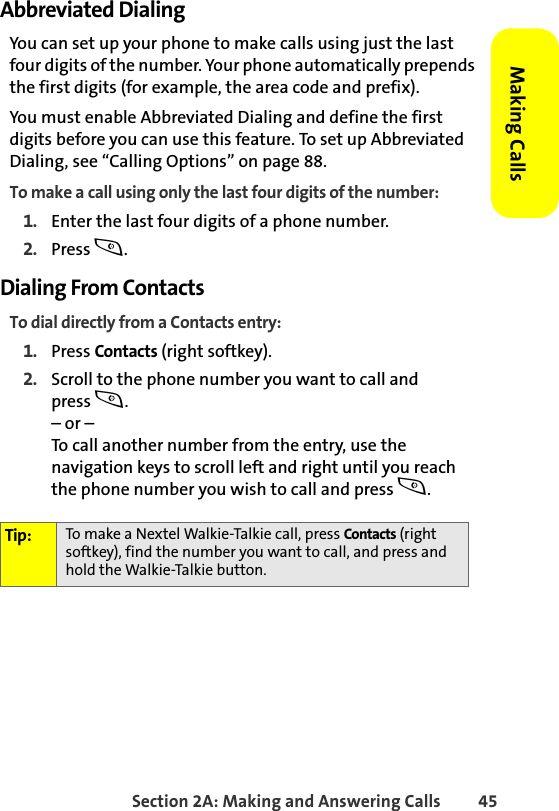
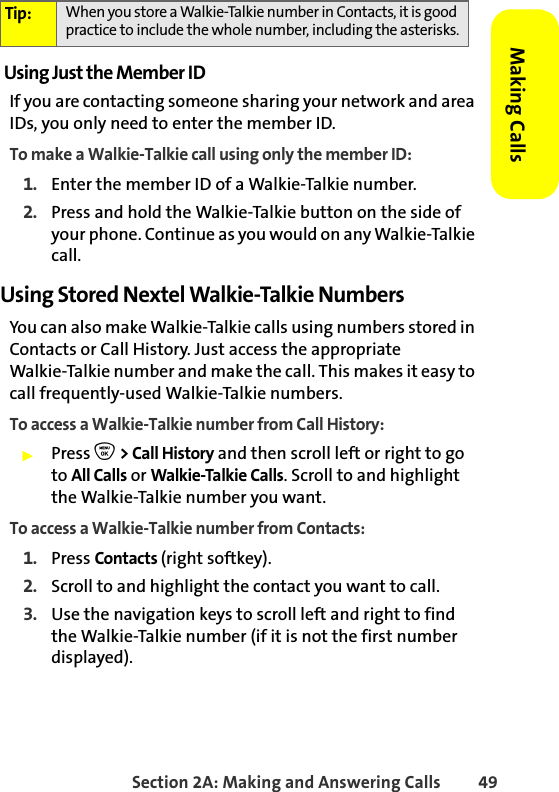
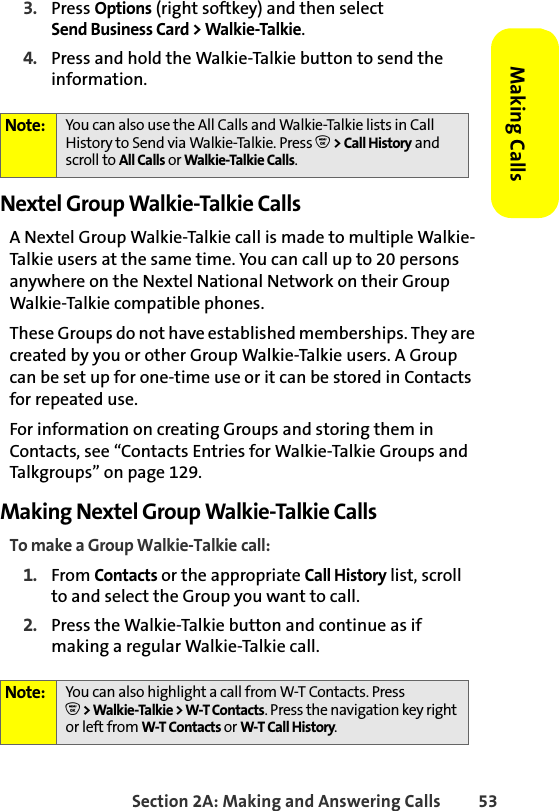
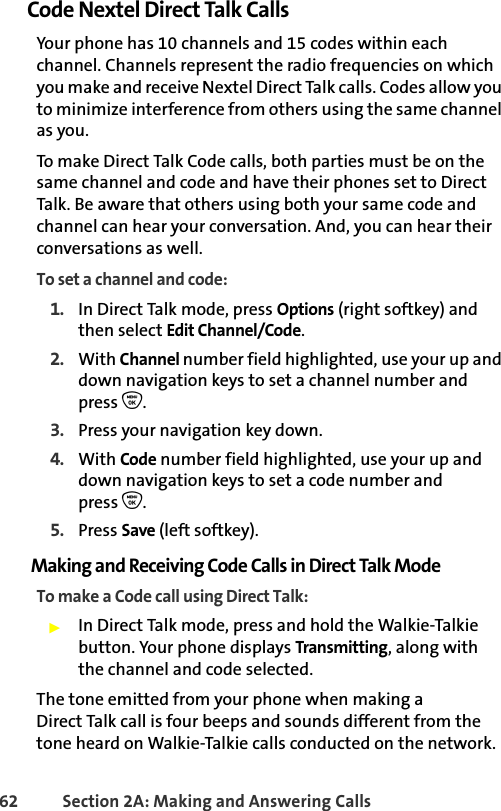
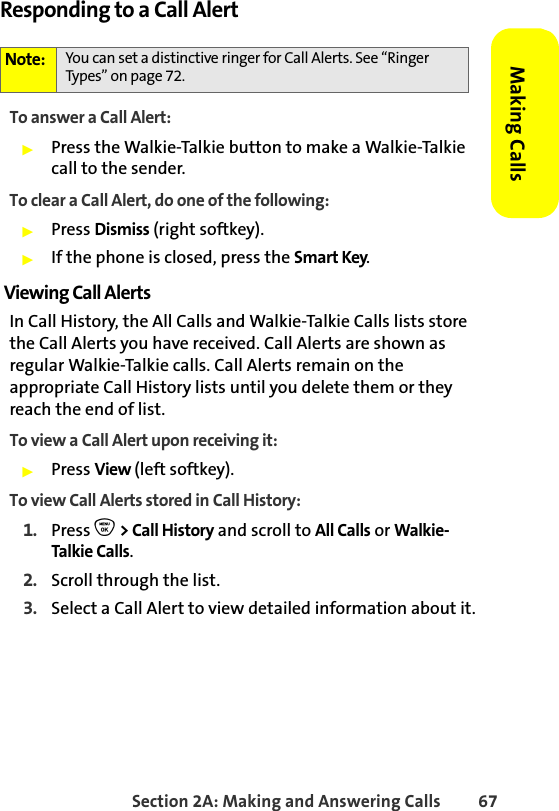
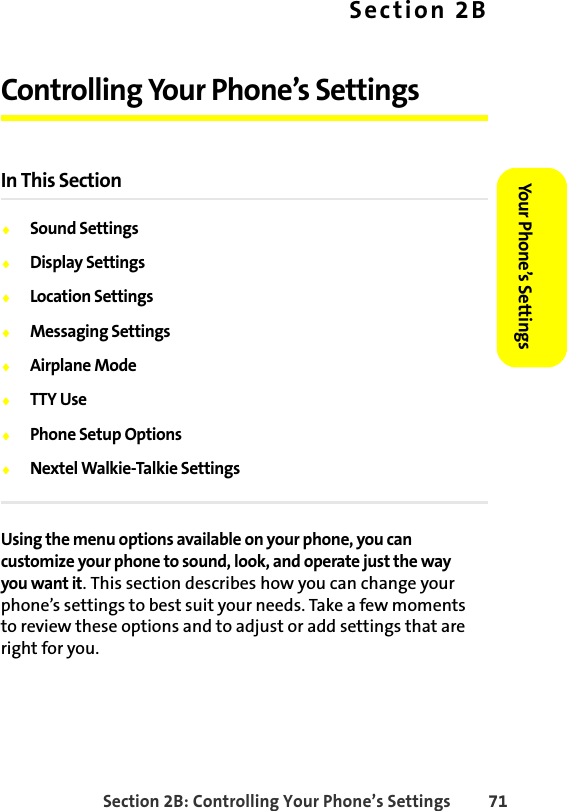
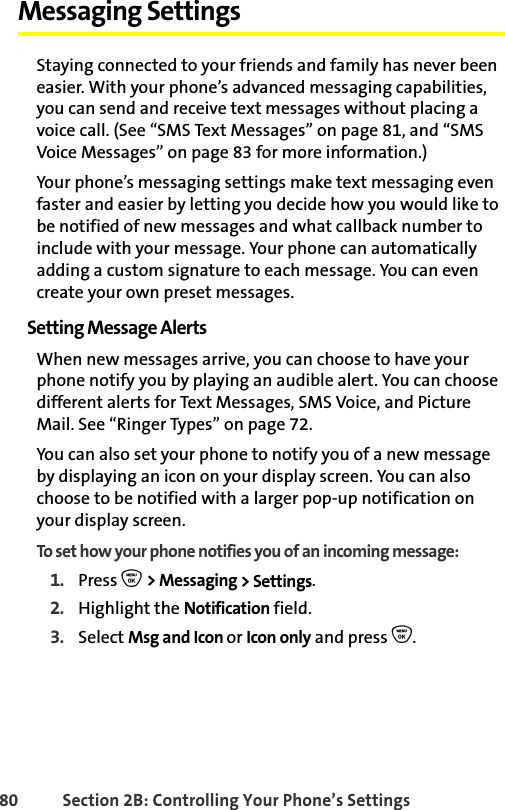
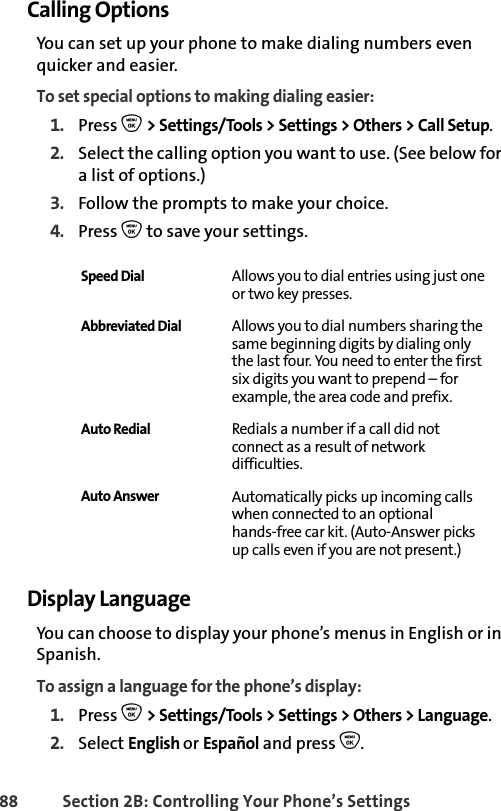
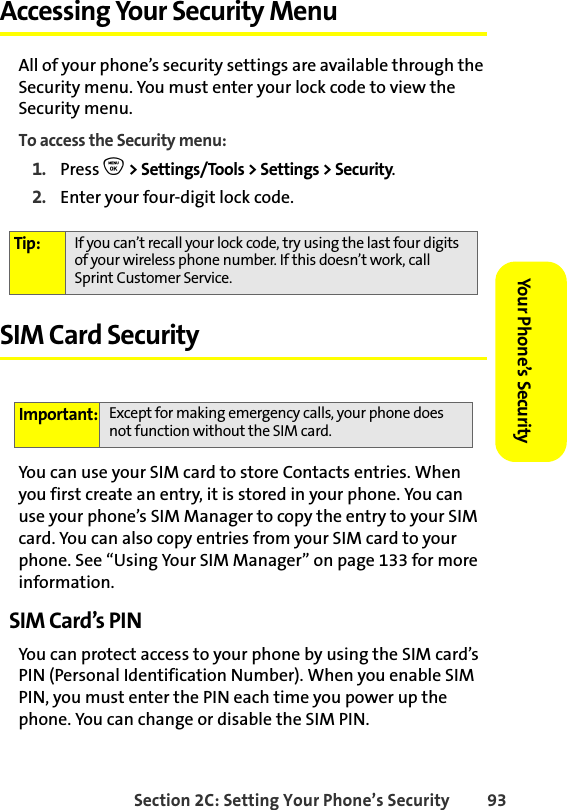
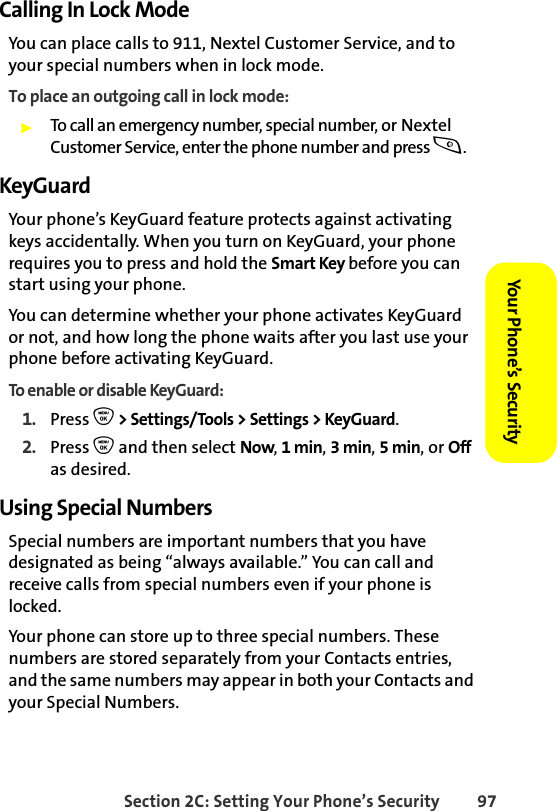
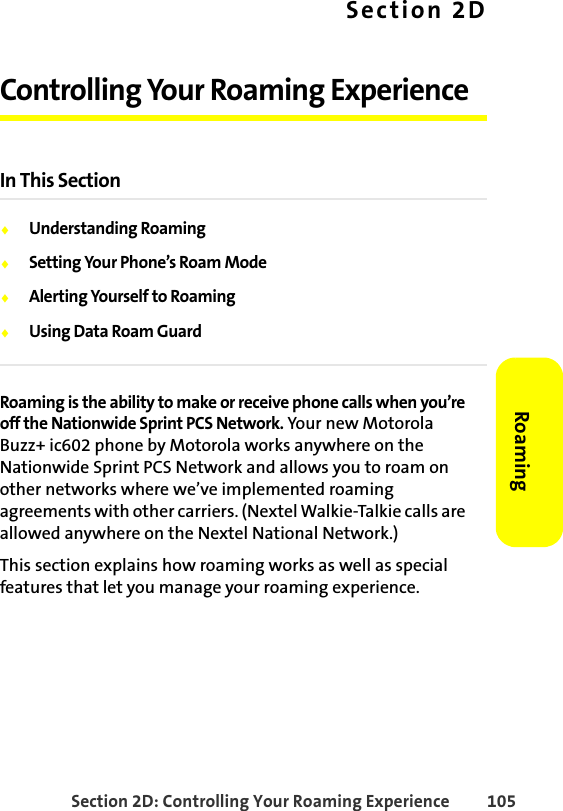
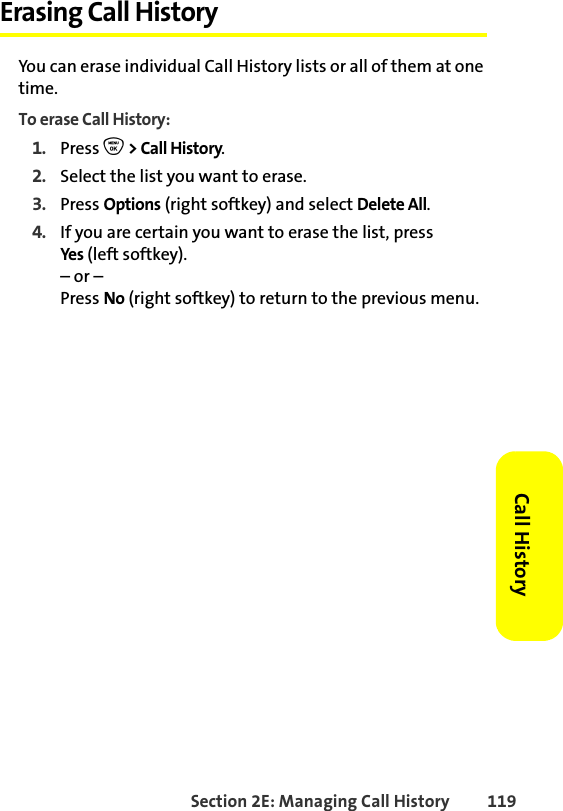
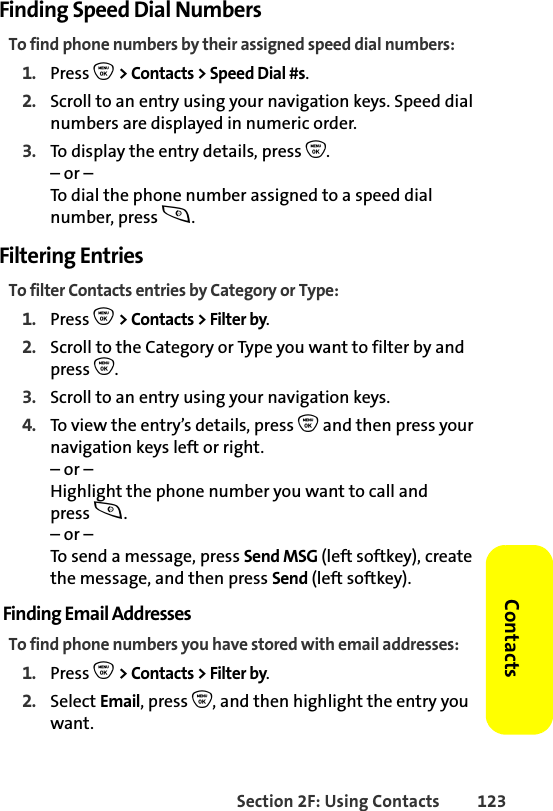
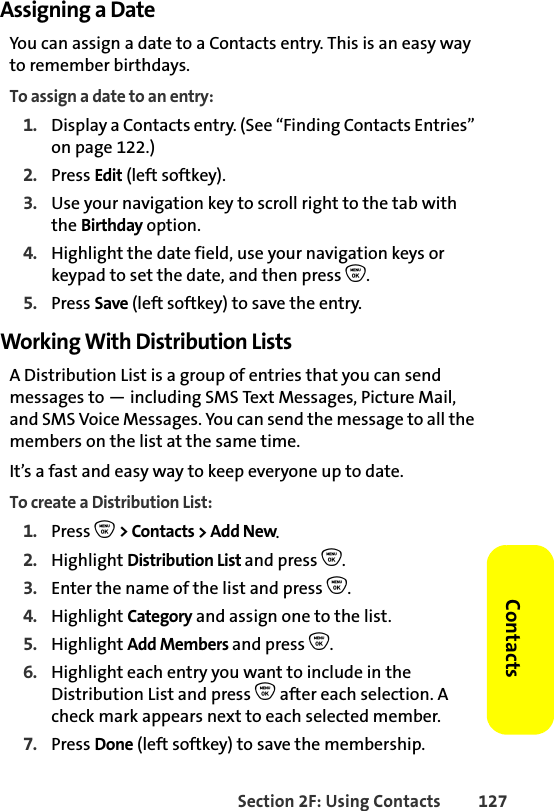
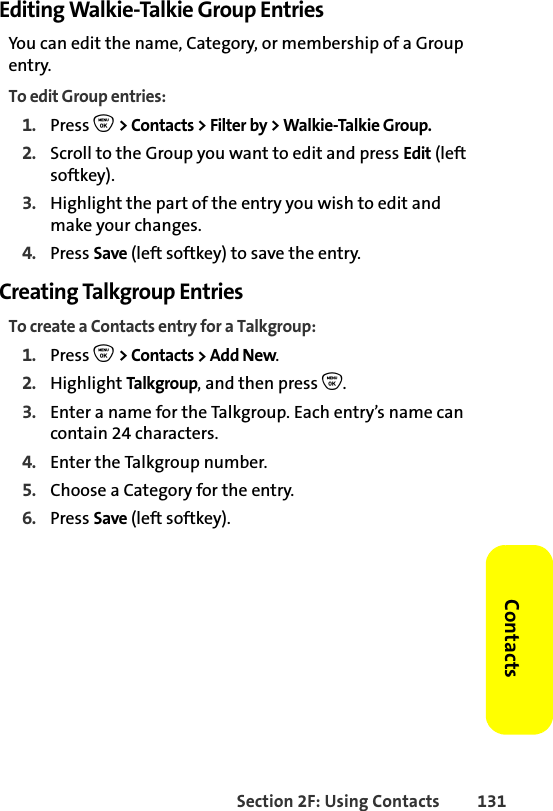
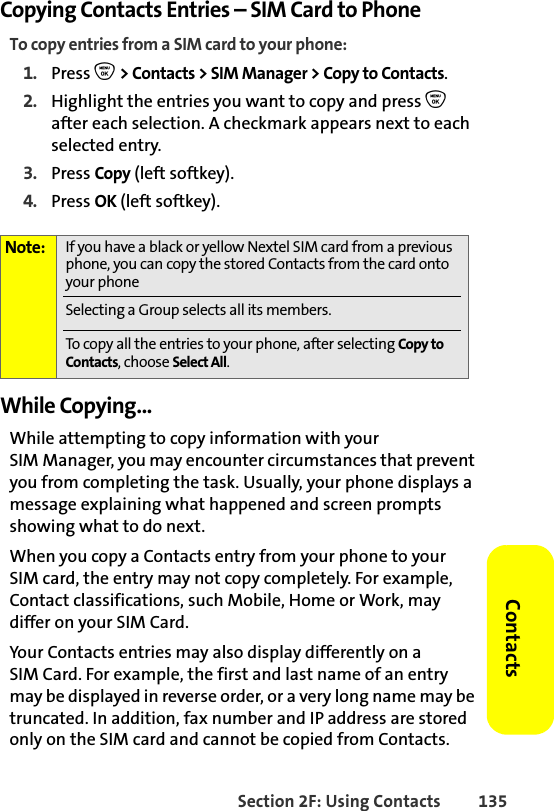
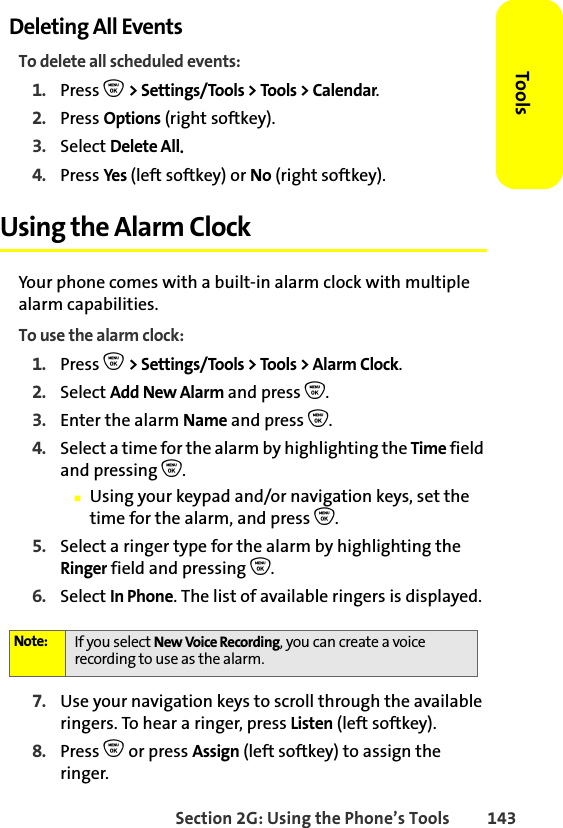
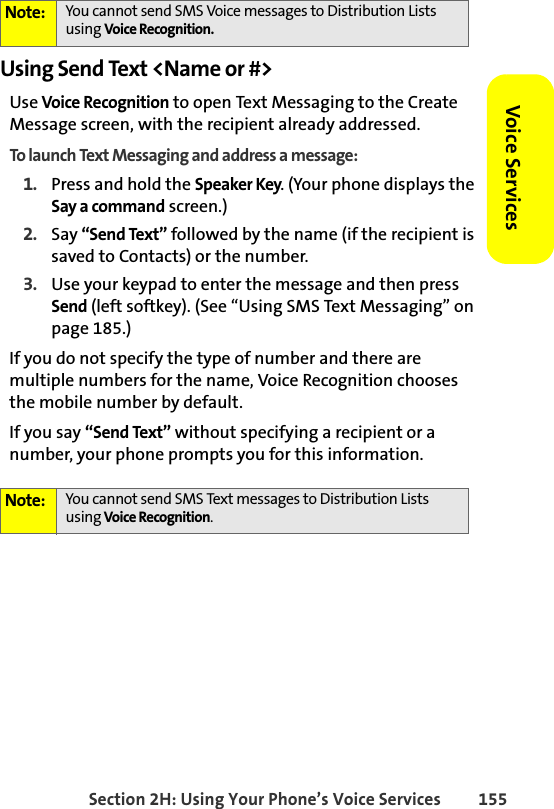
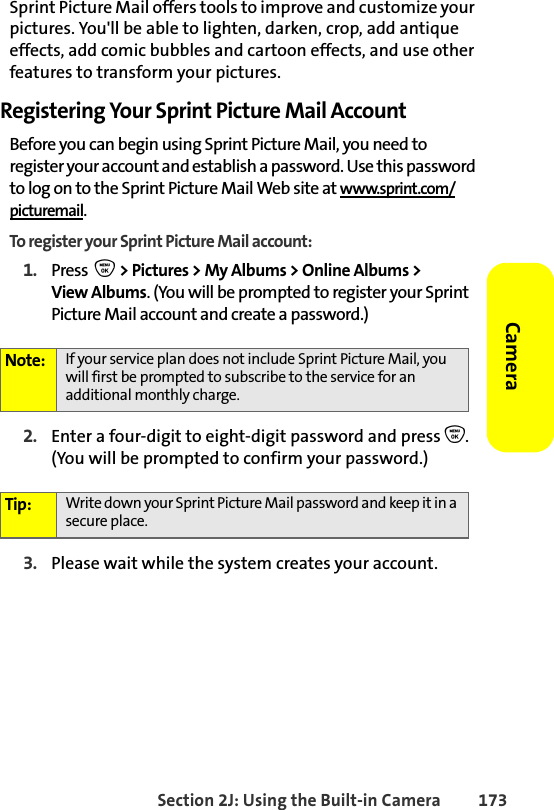
![202 Section 3B: Data ServicesUsing My Content ManagerWhether you purchase your Premium Services content from your phone or from your online account management page at www.nextel.com, all of your purchases are stored in My Content Manager and may be downloaded to your phone from there.My Content Manager is a storage area on the Nationwide Sprint PCS Network that is assigned specifically to your account. It allows you to store all of your Premium Service downloadable files. The files remain in My Content Manager until their license terms have expired – even after you have downloaded the content to your phone. This provides you with a convenient place to access information about your downloaded files without having to store the information in your phone’s memory.To access My Content Manager from the Web:䊳From the home page, select Downloads > My Content Manager. (A list of your purchased items is displayed.)To download purchased content from My Content Manager:1. From the My Content Manager display (see above), highlight the item you wish to download and press O. (The information page for the selected item is displayed.)2. Scroll to highlight Download and press O. (The item downloads automatically. When the New Download screen appears, the item has been successfully downloaded to your phone.)3. Select an option to continue:Tip: You can also access My Content Manager through the phone’s main menu. Press O > My Content > [Games, Ringers, Screen Savers, or Applications] > My Content Manager. The browser starts and takes you to the corresponding content.](https://usermanual.wiki/Motorola-Solutions/89FT7019.users-manual/User-Guide-814660-Page-216.png)