Motorola Solutions 89FT7606 ML900 Notebook PC w/ Wireless Radio Modem User Manual ML900 0
Motorola Solutions, Inc. ML900 Notebook PC w/ Wireless Radio Modem ML900 0
Contents
- 1. Users Manual Part 1
- 2. Users Manual Part 2
- 3. Users Manual Part 3
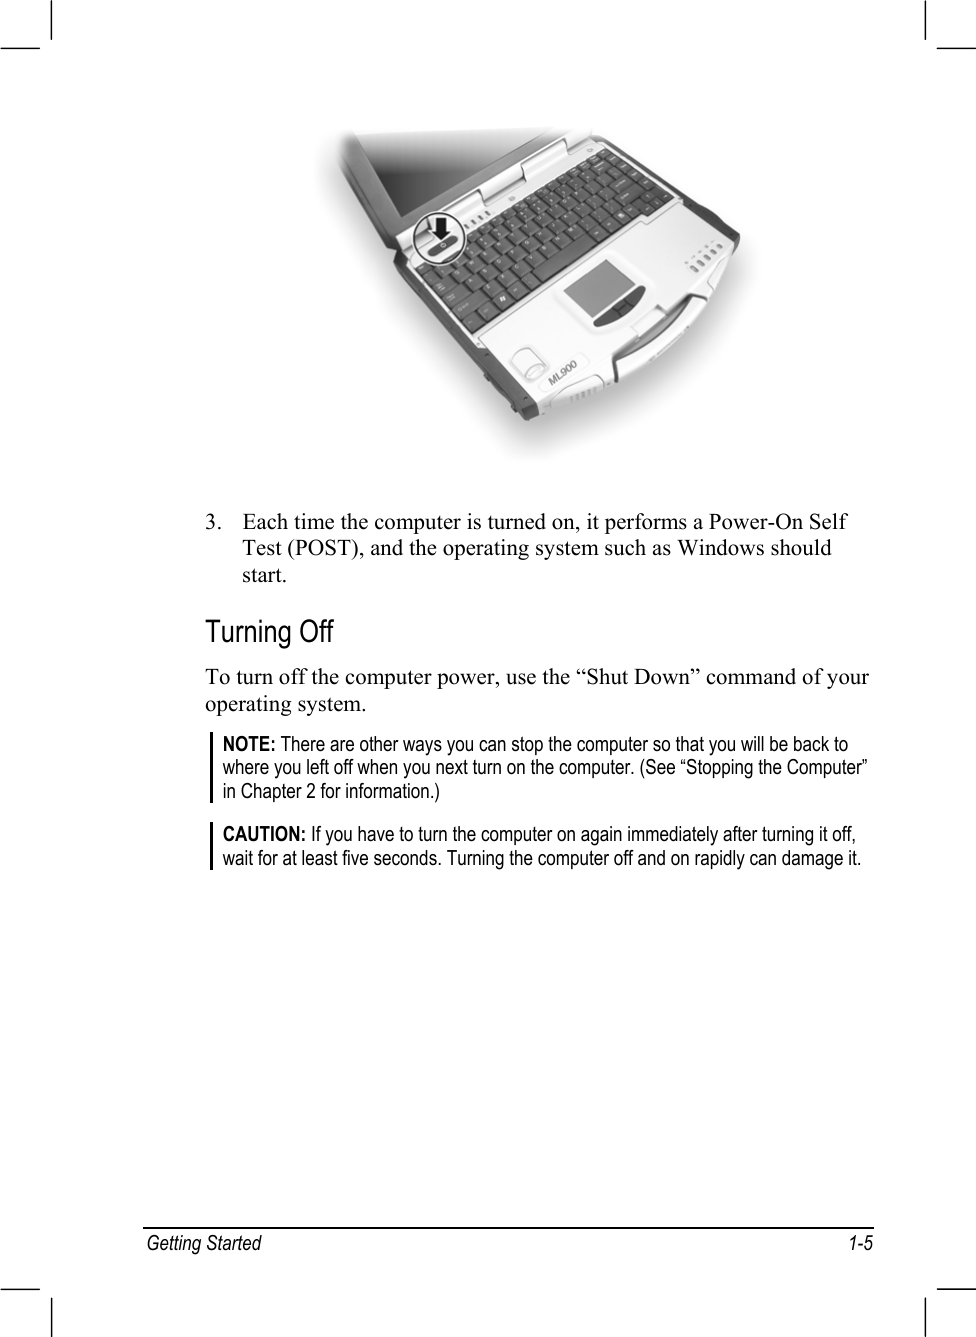
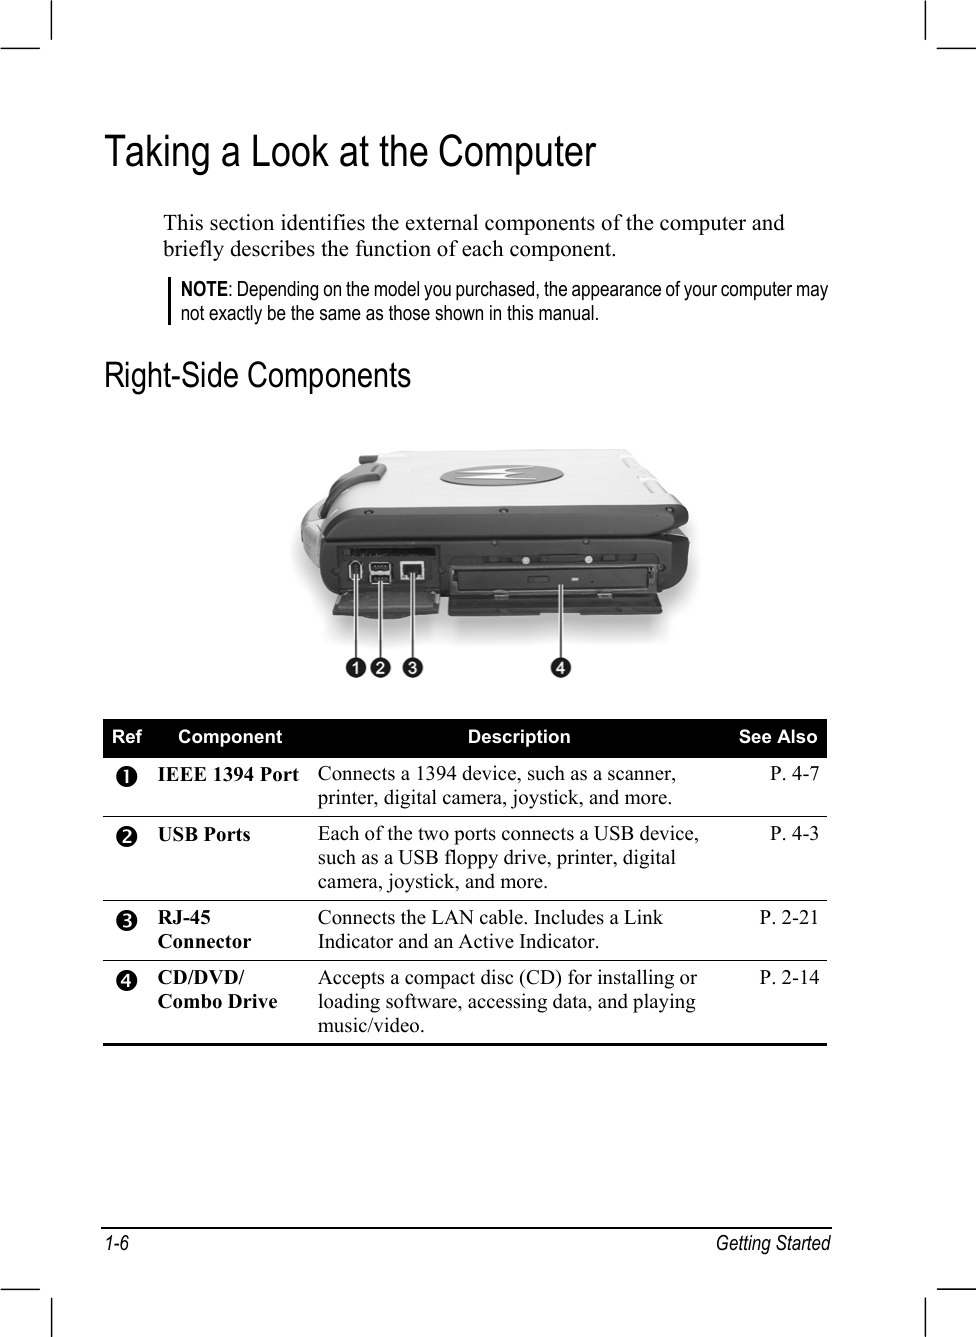
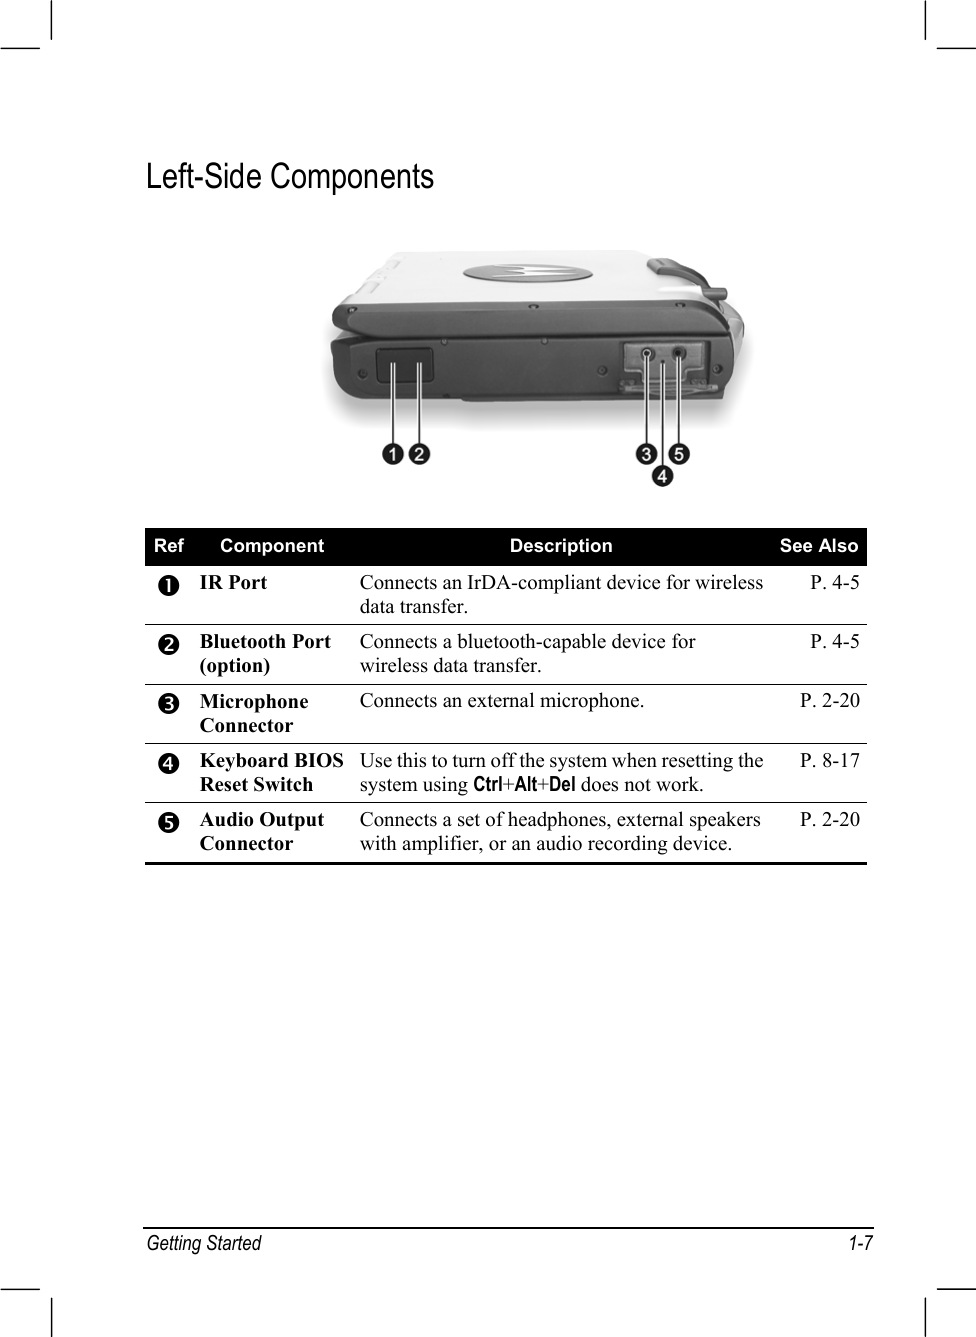
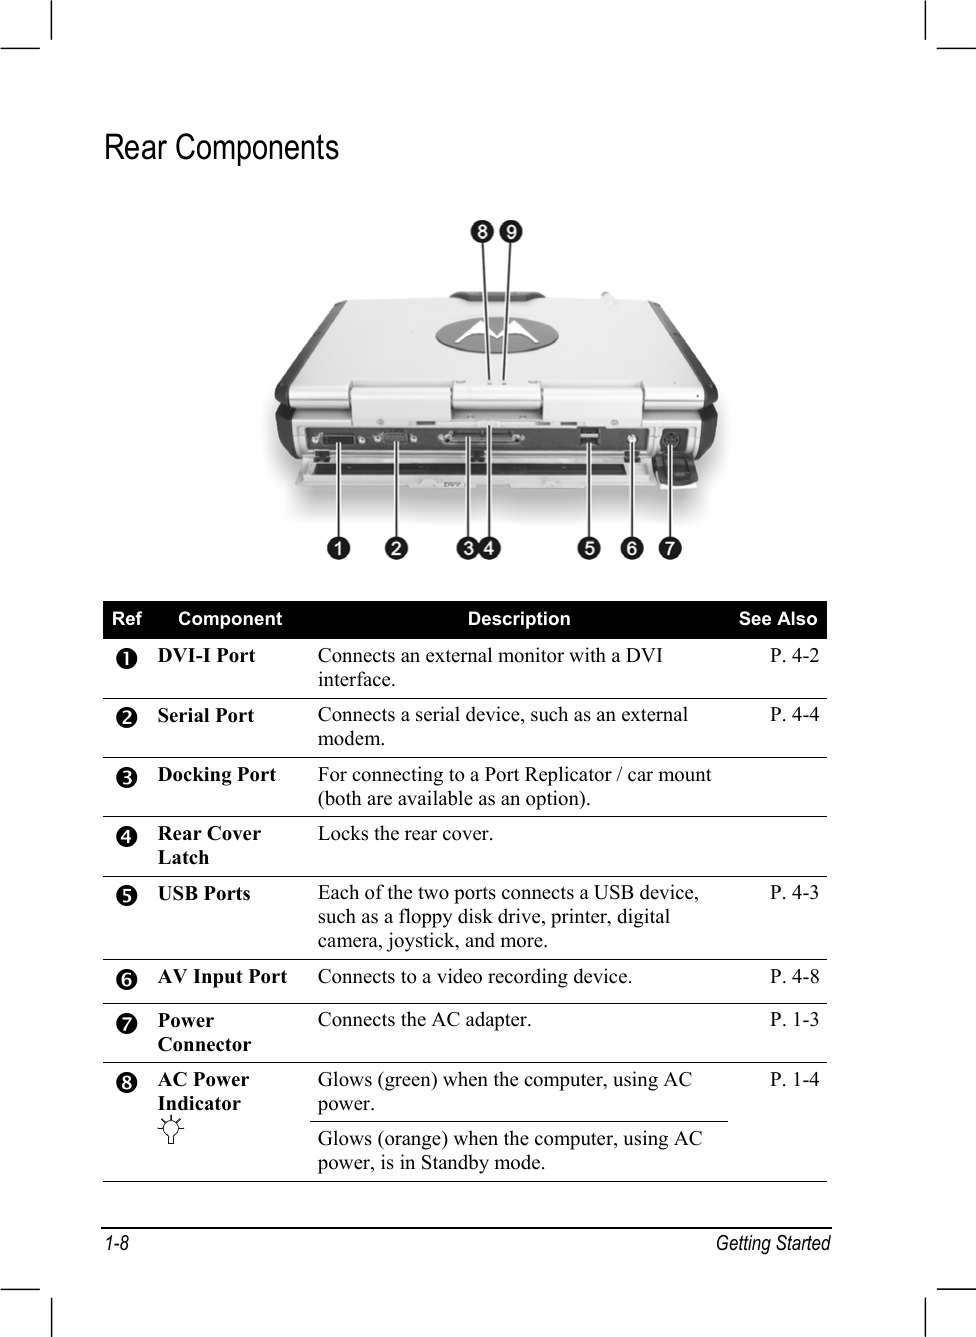
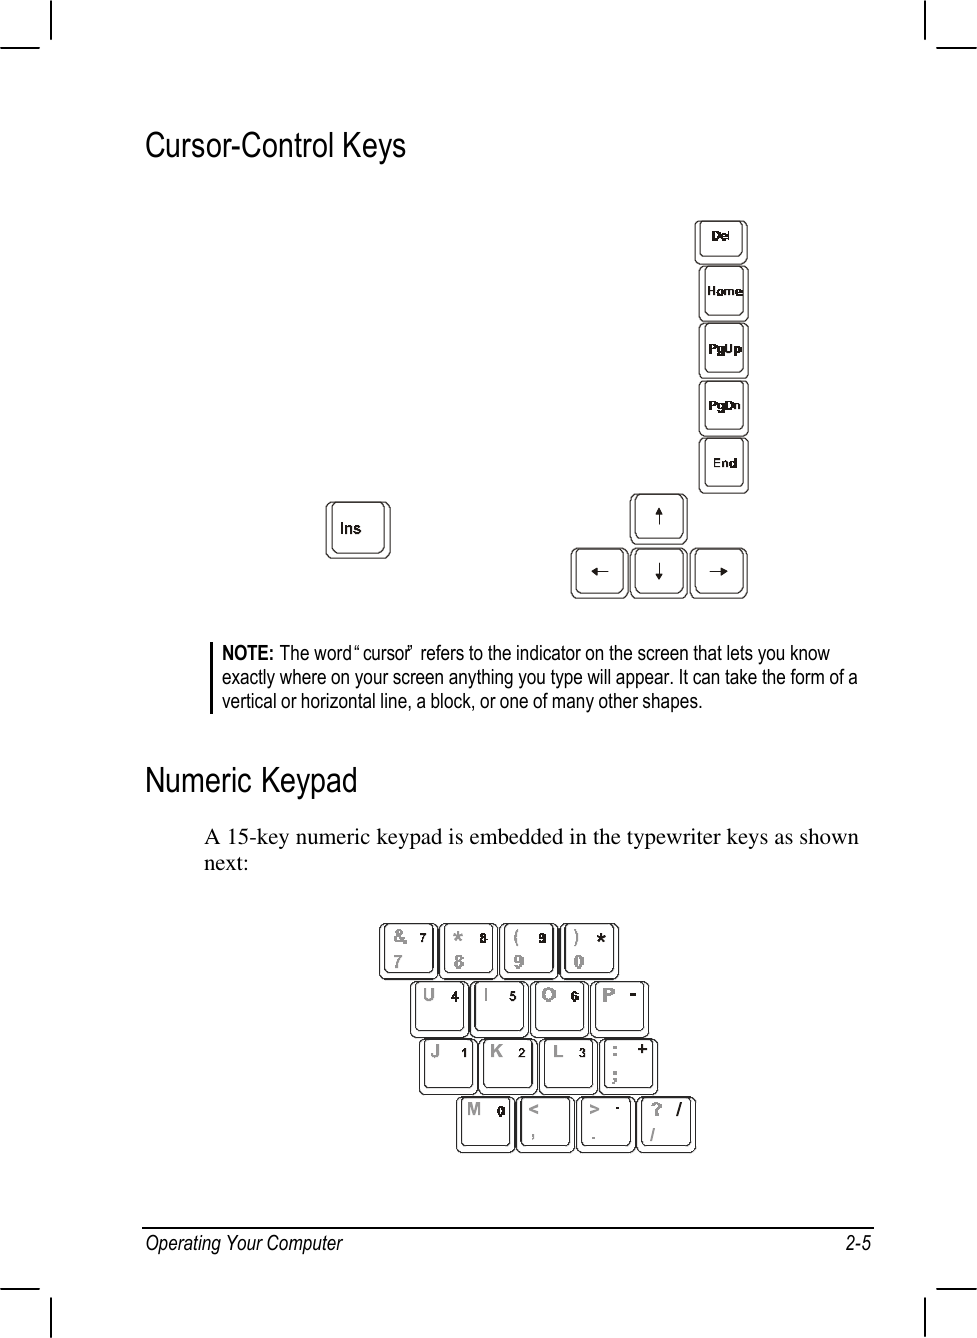
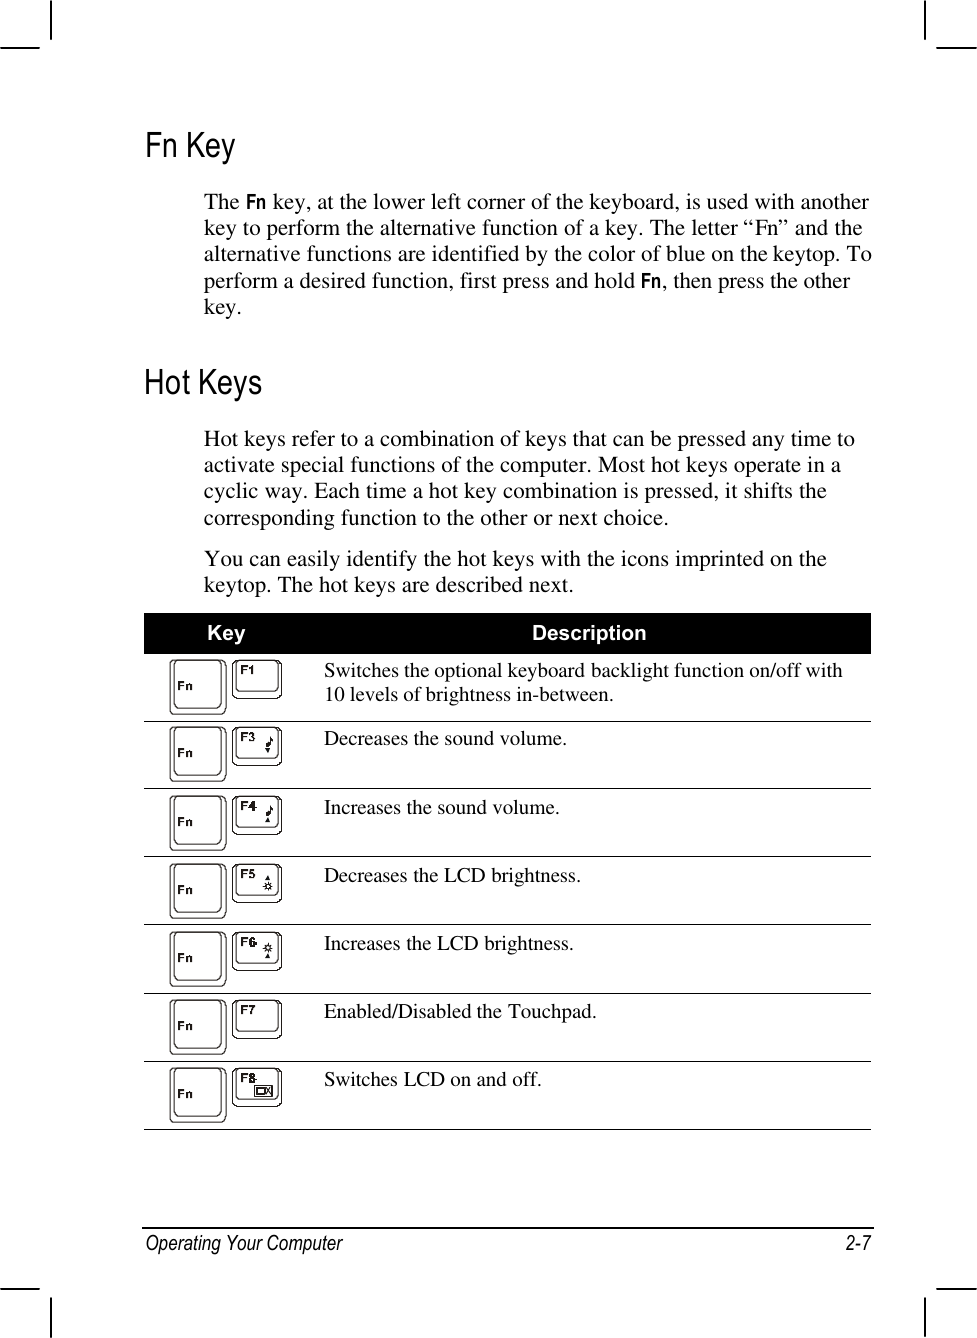
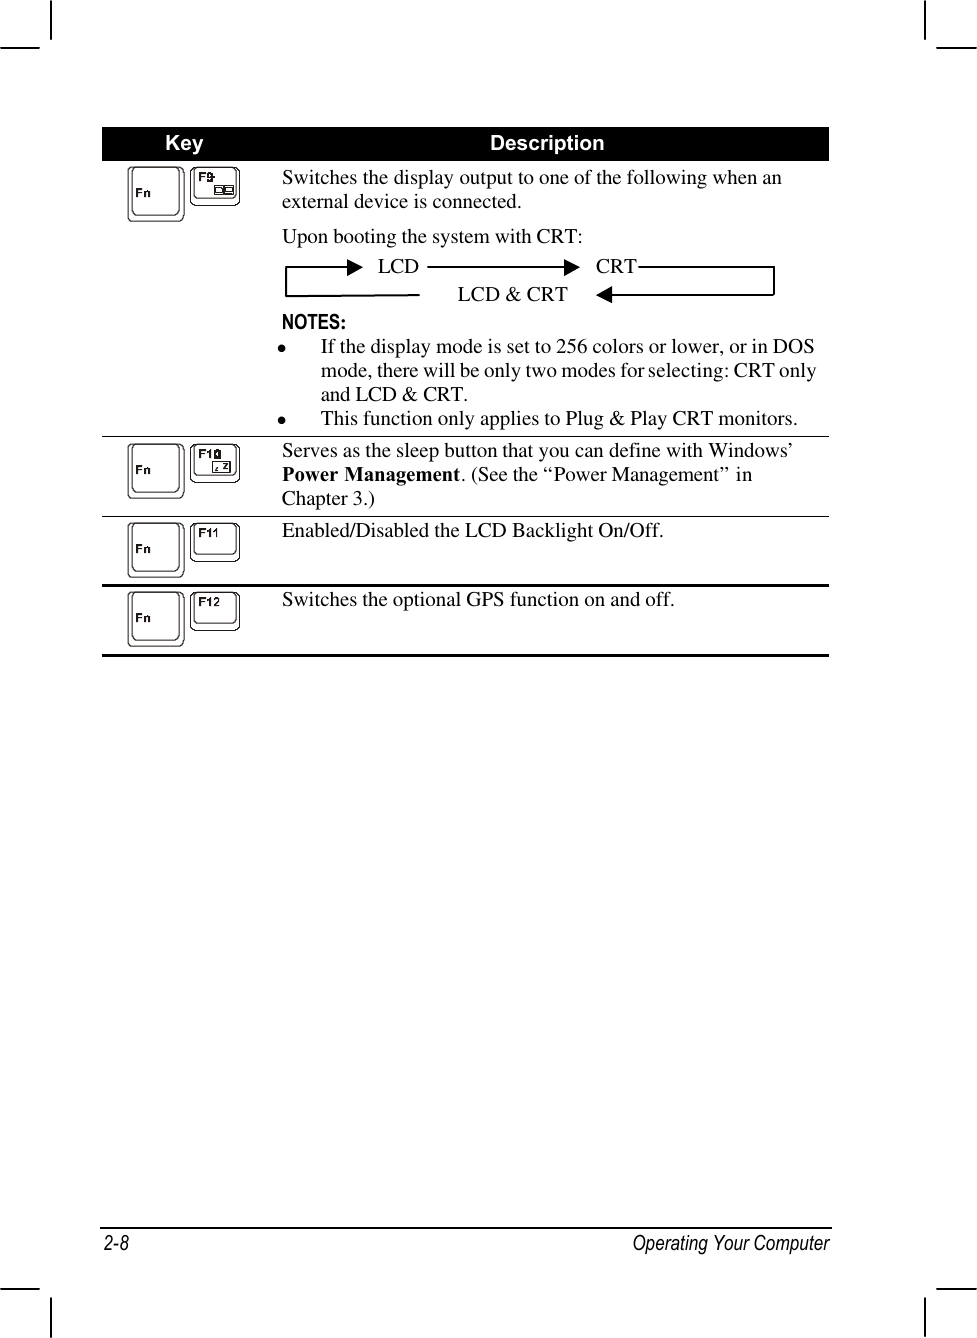
Users Manual Part 1