Motorola Solutions 89FT7606 ML900 Notebook PC w/ Wireless Radio Modem User Manual ML900 0
Motorola Solutions, Inc. ML900 Notebook PC w/ Wireless Radio Modem ML900 0
Contents
- 1. Users Manual Part 1
- 2. Users Manual Part 2
- 3. Users Manual Part 3
Users Manual Part 3

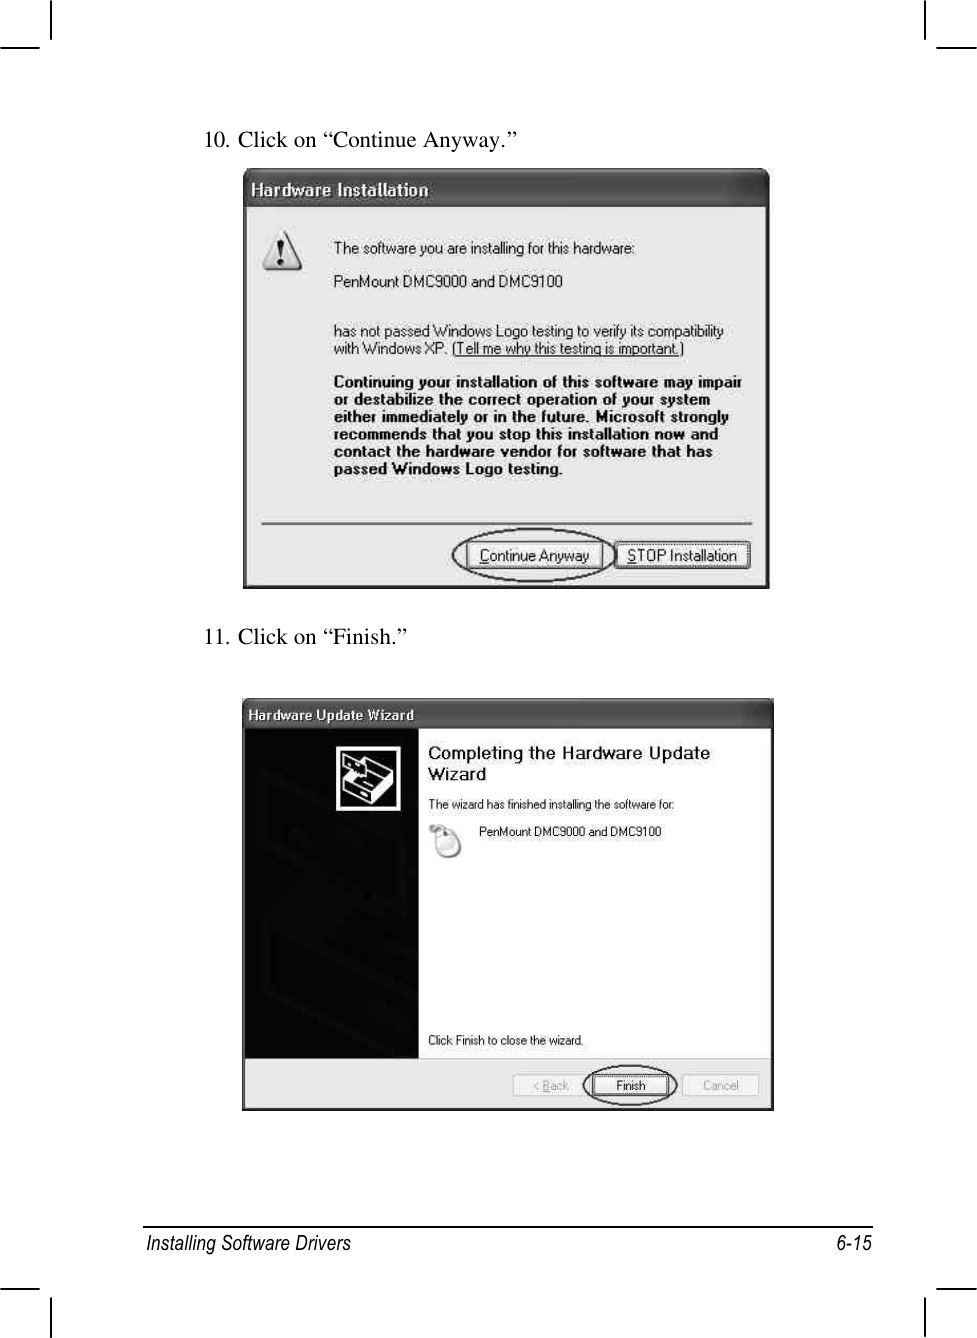
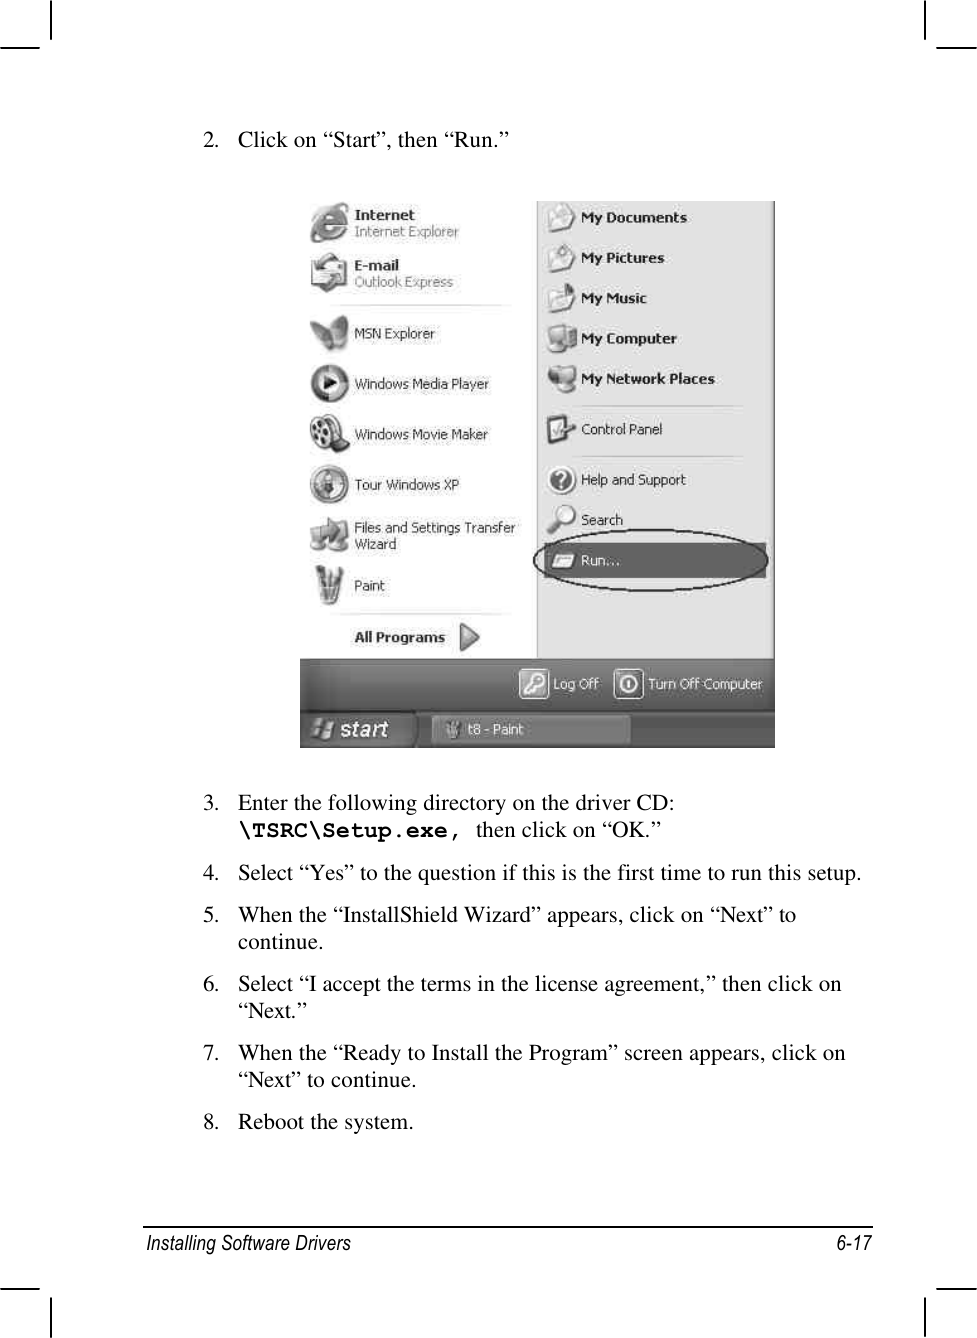
![6-14 Installing Software Drivers8. Click on “Reinstall Driver.”9. When the “Hardware Update Wizard” appears, select “Install thesoftware automatically [Recommended],” then click on “Next.”](https://usermanual.wiki/Motorola-Solutions/89FT7606.Users-Manual-Part-3/User-Guide-406207-Page-10.png)