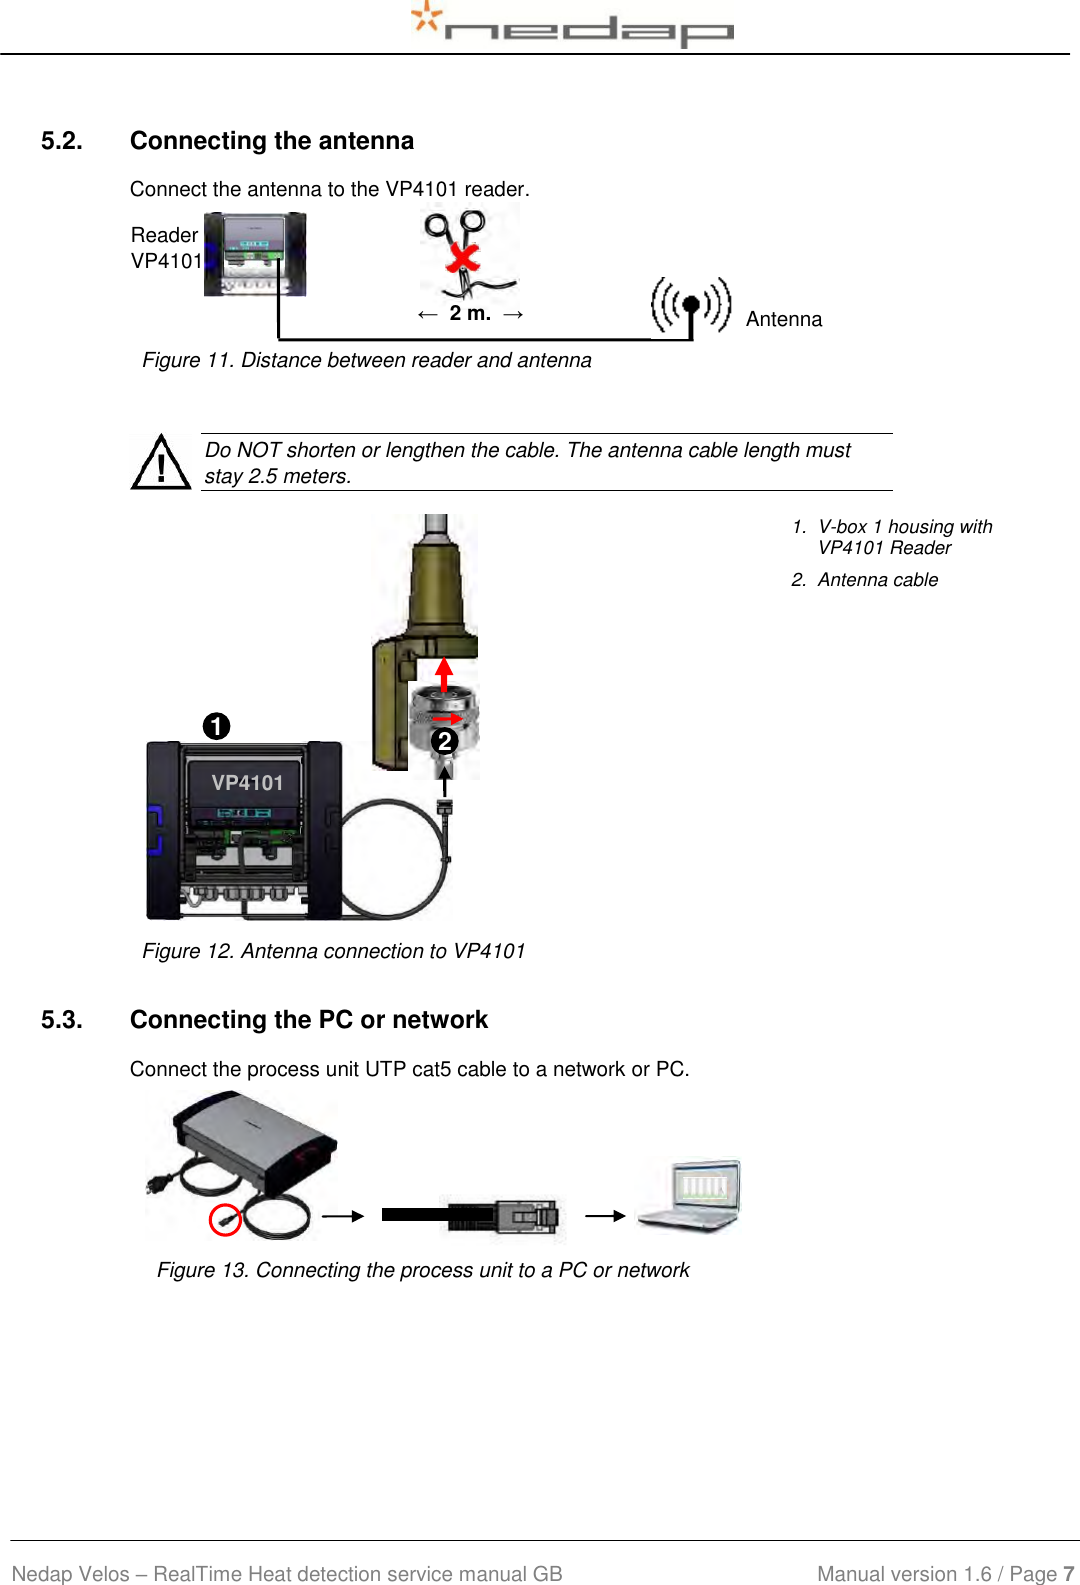
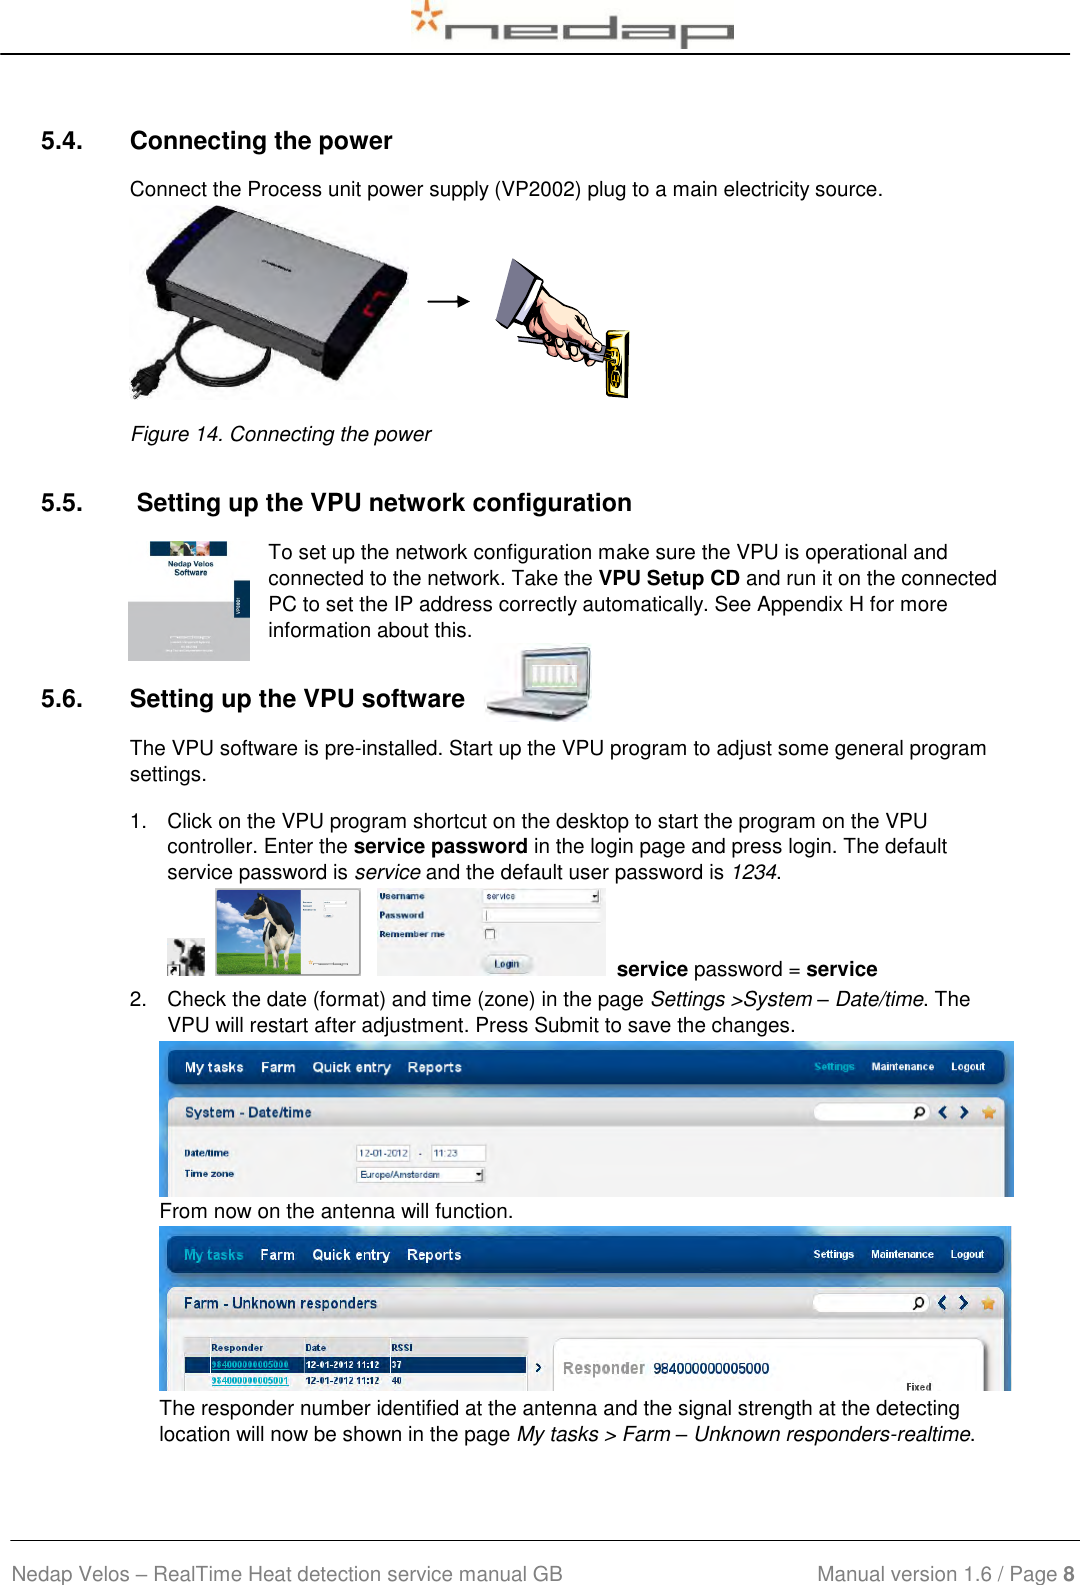
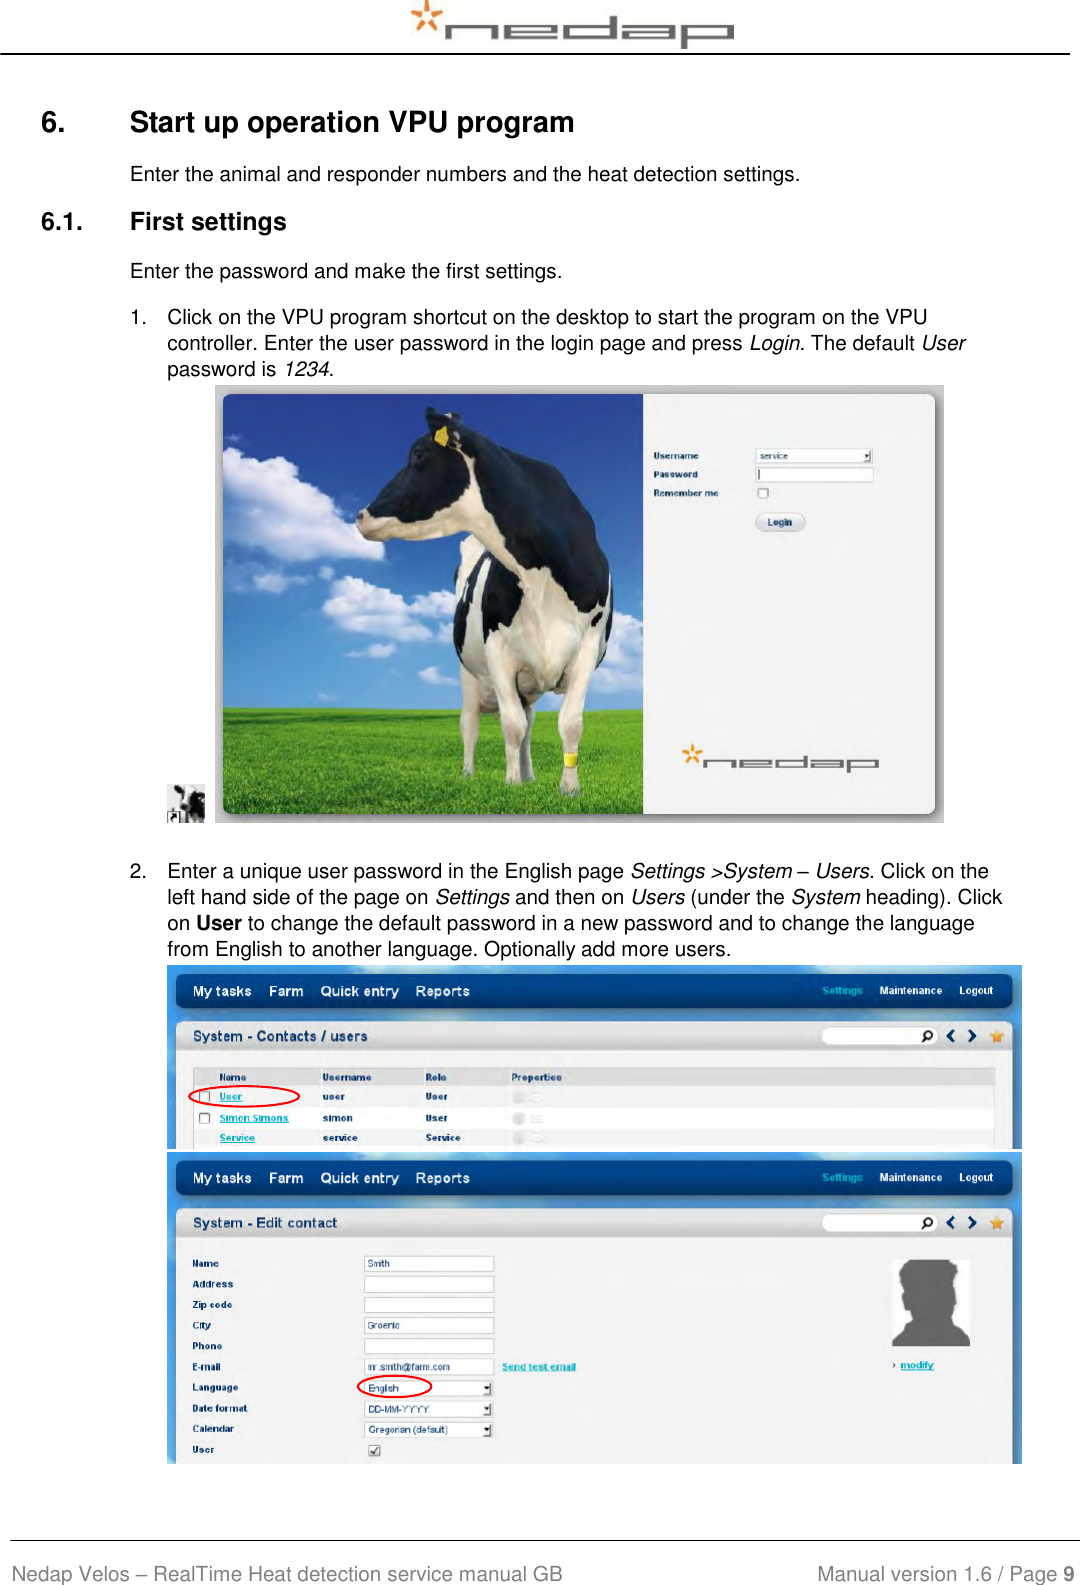
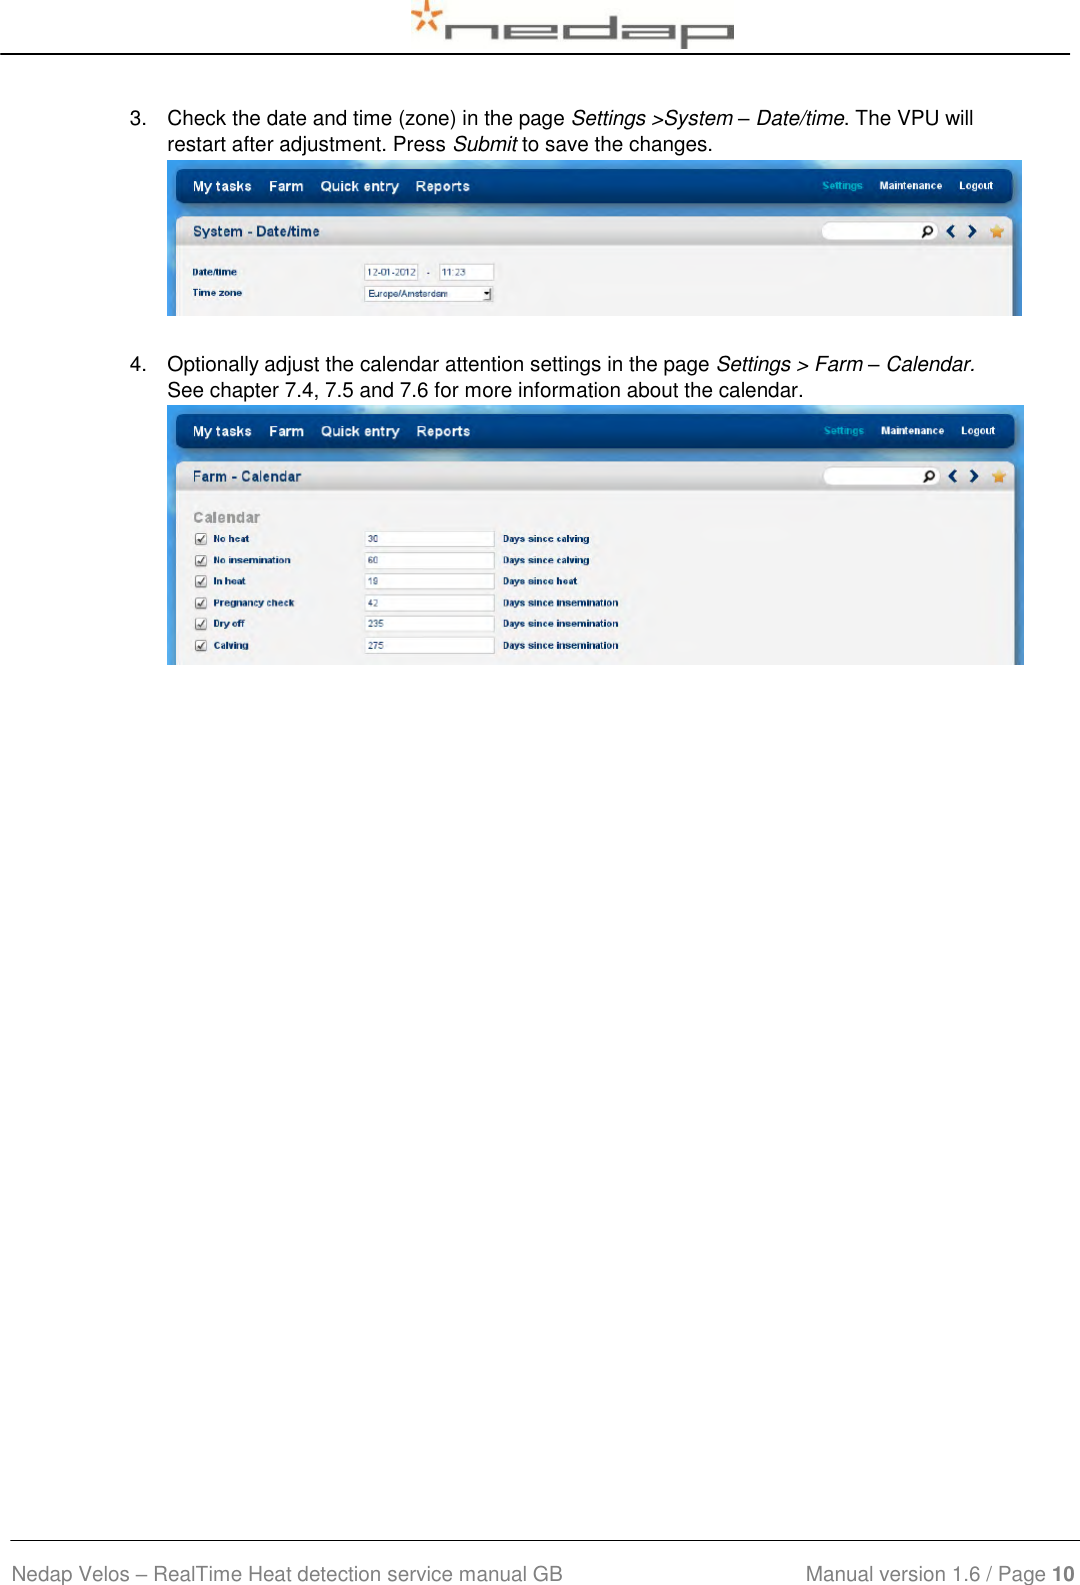
Nedap N V RTLACTN Neck Tag Act RT User Manual Installation Manual sow feed station
N. V. Nederlandsche Apparatenfabriek NEDAP Neck Tag Act RT Installation Manual sow feed station
UserManual.wiki
>
Nedap N V
>
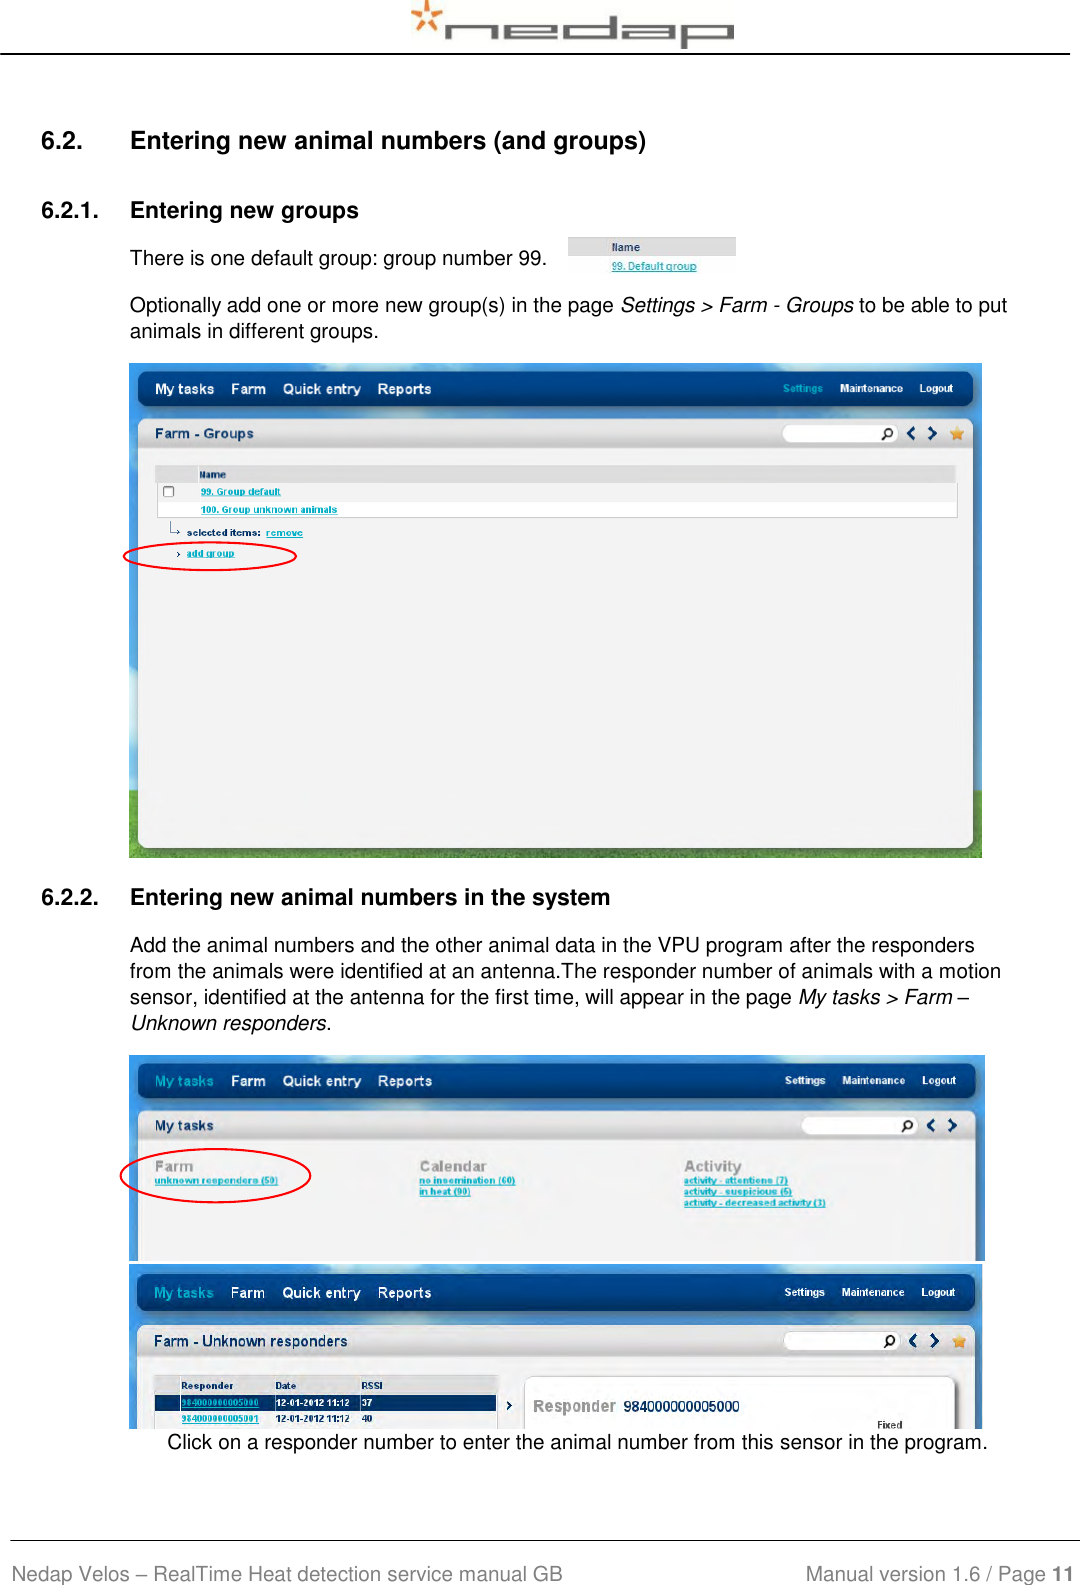
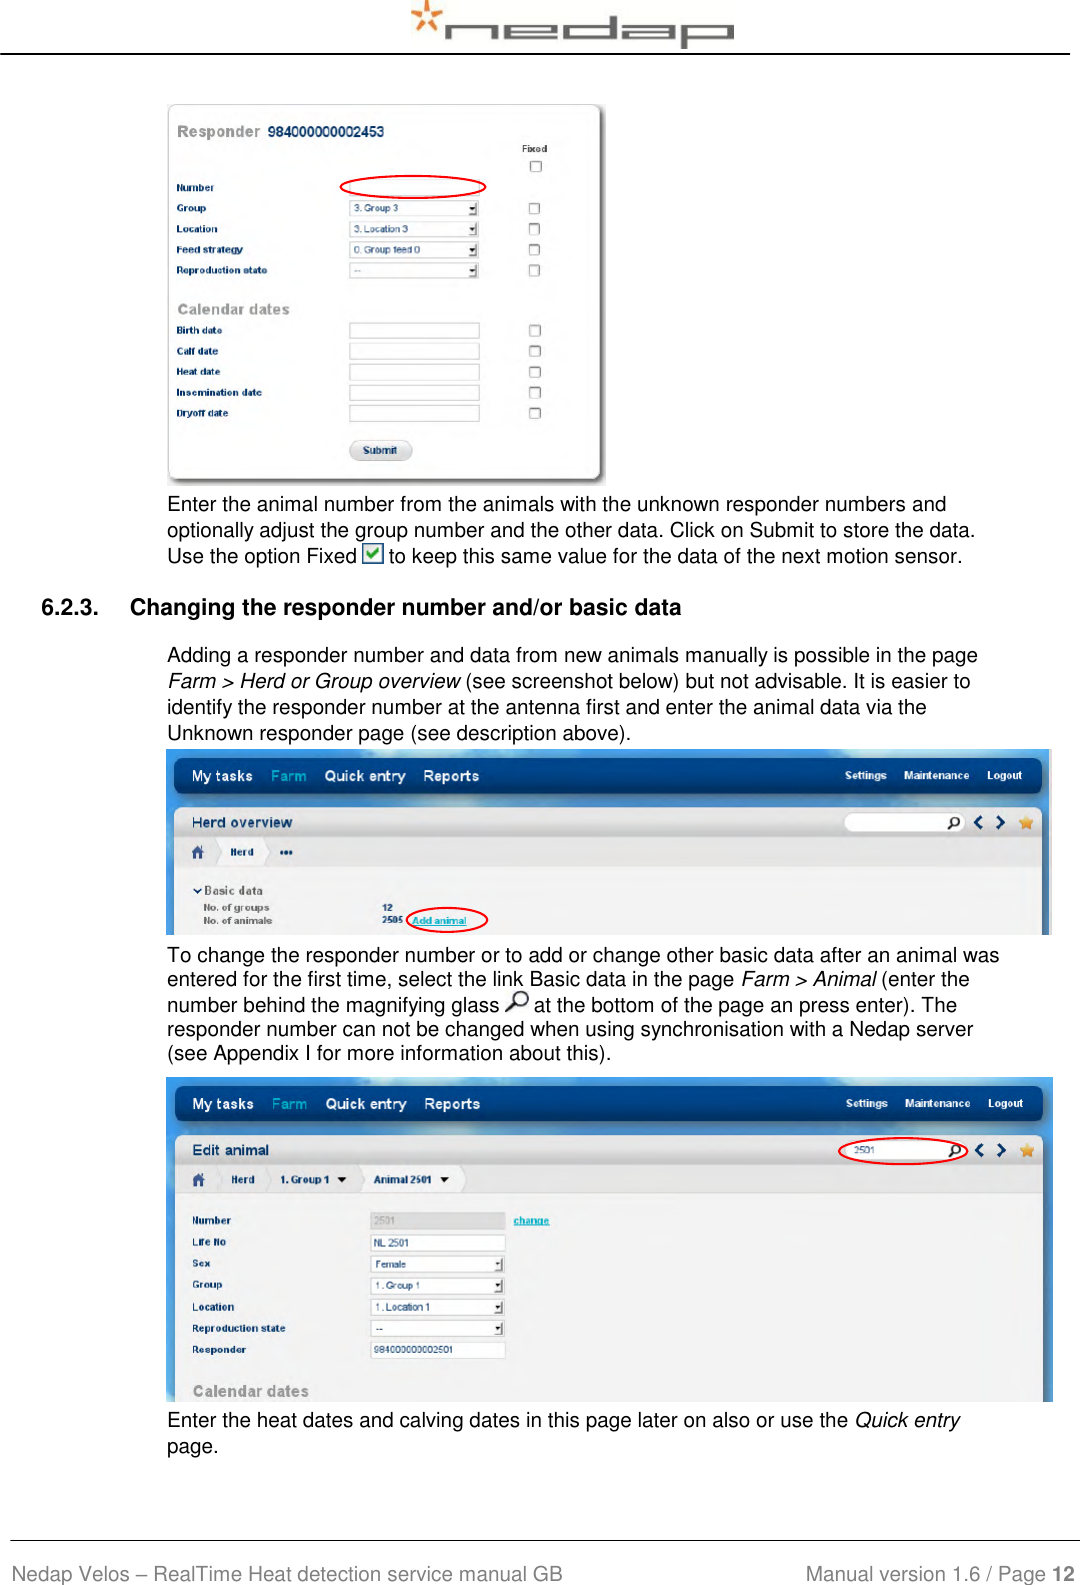
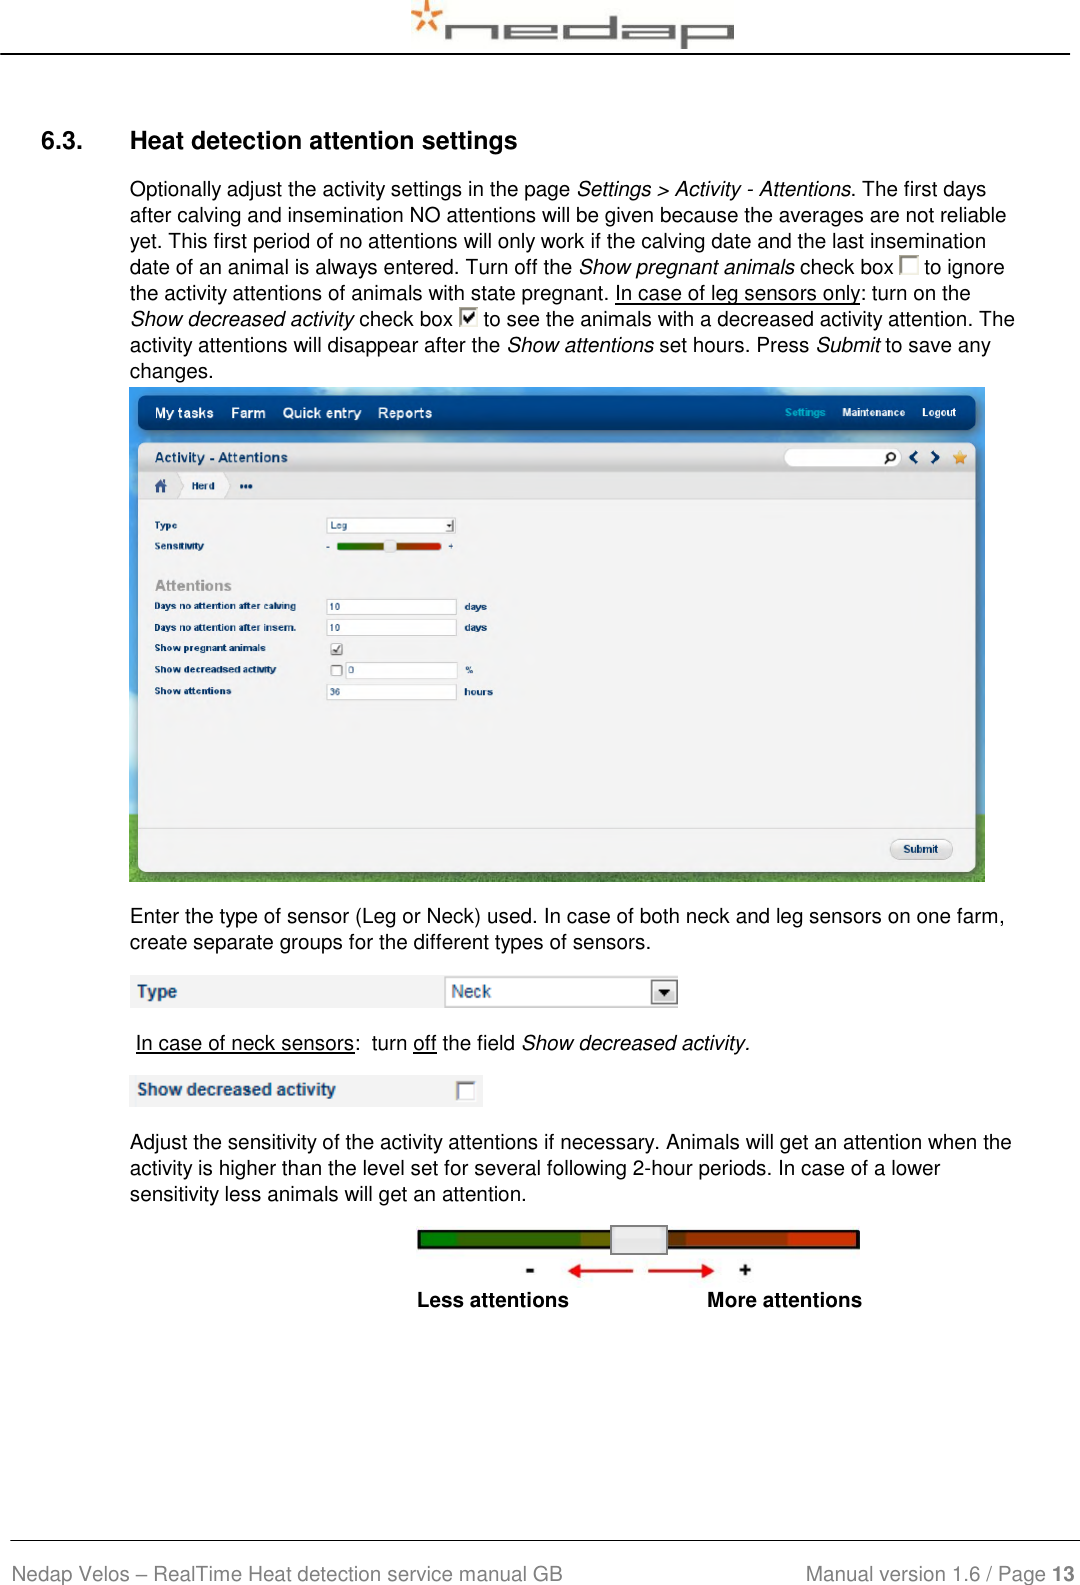
RTLACTN User Manual
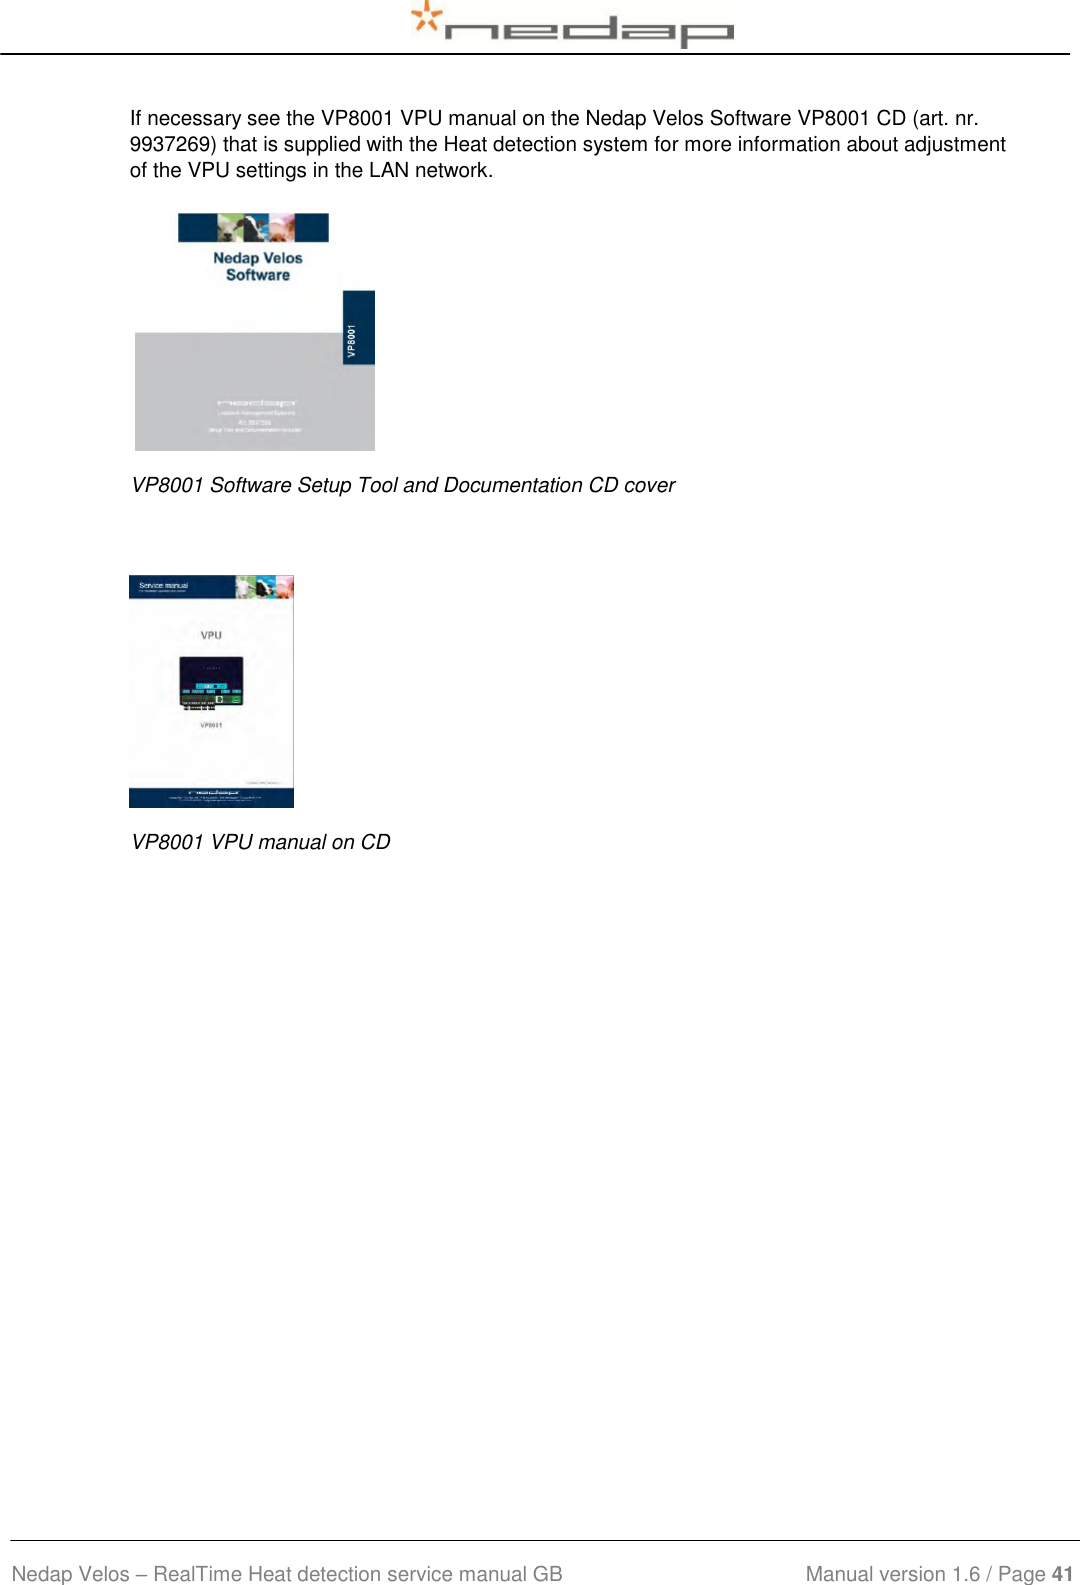
14_PS1912 RealTime Heat detection service manual GB v1.7 CGDRTLACTN
Navigation menu
Upload a User Manual
Namespaces
Wiki Guide
HTML
PDF
Info
Views
User Manual
Discussion / Help
Navigation