NetView Technologies NI-1300 NETVUE II User Manual USER MANAUL
NetView Technologies (Shenzhen) Co., Ltd. NETVUE II USER MANAUL
Users Manual
User’s Manual
NETVUE II
Model Number: NI-1300, NI-1301, NI-1302
NetView Technologies keeps the right of the document updated with the new service
offer or the service change
Version:1.2
1
Basic installation
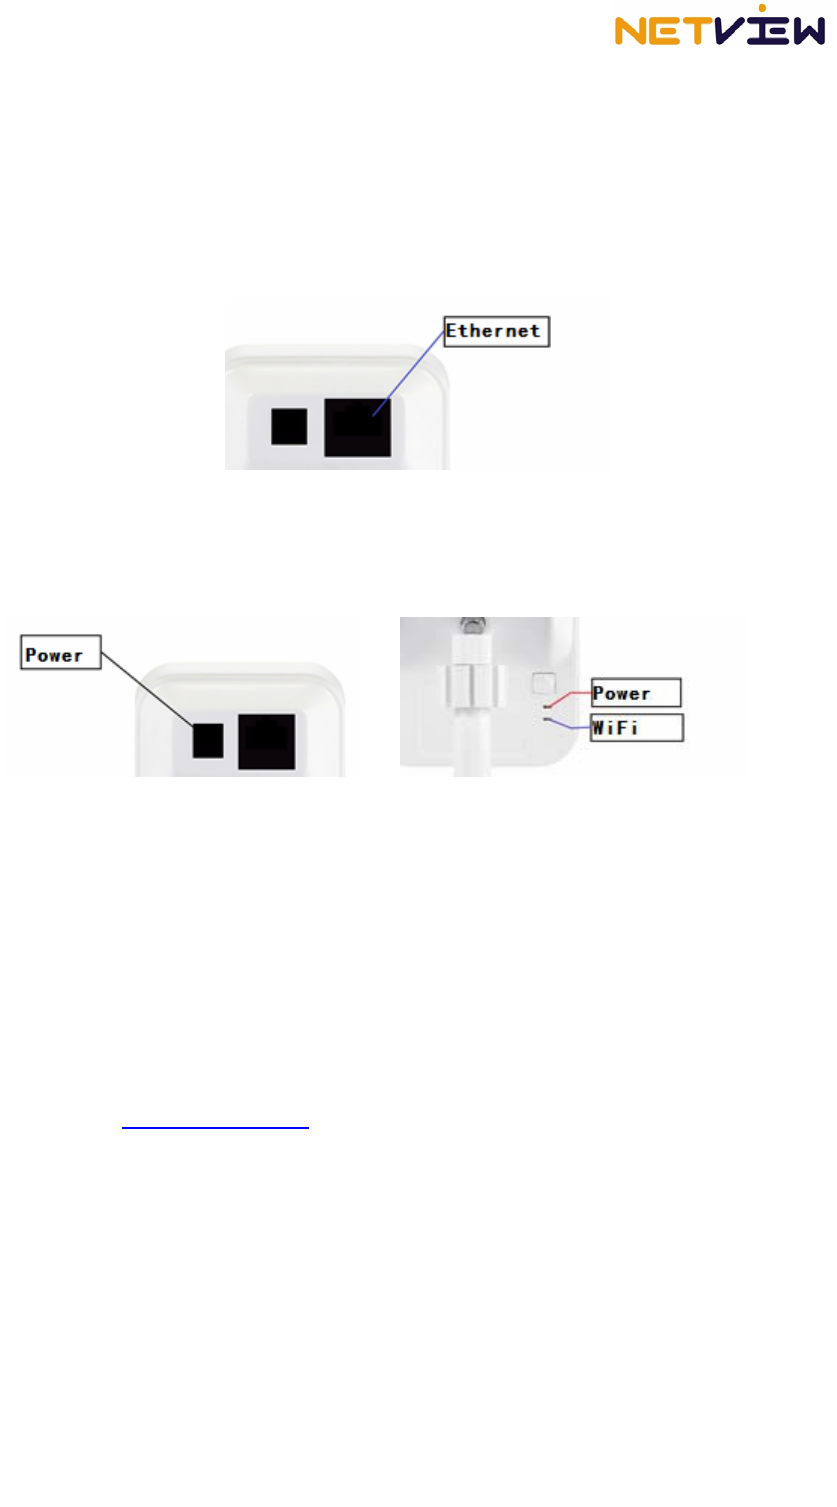
1. Plug in the included Ethernet cable to the Ethernet port on the backside of the camera
and connect it to the Ethernet port (Not WAN port) of the router, so as to access internet.
(Note: DHCP service of the router must be available. You can check the DHCP service by
a computer. The computer can automatically obtain IP address if the DHCP service is
available. If not, please refer to User’s Manual of the router on how to set up DHCP.)
2. Plug in the included power adapter to the DC input port on the backside of the camera
and connect it to an AC power outlet (Before connecting power, please check whether the
power adapter and the power outlet are in good condition.). The camera is well powered if
the Power indicator on the camera’s back panel stays lit in red.
Note: The Status indicator stays lit in green when
the camera is working well.
After the basic installation, now you can choose to use or set the NetVue II
camera by PC, iPhone, iPad, iPod touch, or android phone and tablet PC. Please
refer to the specific instruction below accordingly. Some helpful tips are given only
in the Part I below and not repeated in other two parts.
Part I. Operate NetVue II camera by PC
1. Login to the website
Enter www.mynetvue.com in the address bar with a browser and come to camera’s
login interface. You are able to manage your camera by this web system.
2. Register for a user account
On the login interface, click Sign Up for free and enter user register interface.
Complete your register by following the prompt. Please fill with your correct information
and read carefully the NetView Terms of Use. (Note: Email is required for password
regain. Please ensure it correct.)
Important note: One camera which has been in one user account can’t be added
to use by another account at the same time, unless the camera has been deleted
from this user account. Do remember the username which keeps the camera,
and the register email.

2
3. Add camera
After login, now click Add New Camera on the page of my camera in the user
control center. In the popup window enter the camera’s ID in the bar Camera ID (This
ID No. is a unique identity of the camera which is marked on the label of camera’s back
panel or package of the camera), then give the camera your favorite name in the bar
Camera Name (allow digits, letters and underline). Click Submit button to finish this
step. Finally, the added camera is displayed in the list of My cameras. (Note: The
camera can be successfully added when the Status indicator on camera’s back panel
stays lit in green.)
4. Plugin installation
Please ensure your computer has contained Java and Flash. If not, please download
them from relative websites or the Download Software page on this website, and install
them.
5. View video
In the camera list of My cameras, Sharing with me and the Multi-screen, click an
online camera (the camera with green words and play button) and its video will display.
The multi-screen enables 4 cameras to display at the same time. (Browser: IE7+, Firefox
5.0+, Chrome 13.0+, Safari 3.2+, 360 official 4.0+ etc.. Don’t use compatible mode while
using IE7+.)
6. Playback and Download
On the page of a displaying camera, click Playback button to shift to the page of
video playback and download. On this page, you can select the time slot when you want
to playback and download video.
To use these two functions, please insert a piece of Micro SD card in the card slot of
camera to keep the video data. Max 32G Micro SD card is enabled, roughly for a
24hours-by-7days duty cycle recording. Smaller Micro SD card will allow shorter
recording.
Clock of recorded video refers to GMT (Greenwich Mean Time).
7. Share
Share with friends: On the page of a displaying camera, click Share button. In the
dialog box enter the username of the receiver with whom you want to share this camera.
Click share to finish. (The username of the receiver is a username registered on this
camera system by the receiver.)
8. WiFi configuration
On the page of a displaying camera, click Camera Settings to enter interface of WiFi
and firmware settings. The system will automatically search for available WiFi and
information of the firmware version. When a WiFi list is enabled, please select your WiFi,
and enter its password and submit. Then follow the actual prompt to finish the procedure.
The prompt may ask you to unplug Ethernet cable after 15seconds, and then wait
for 3-5 minutes for the camera to get online and workable to play. If it fails, please plug in
Ethernet cable and reconfigure WiFi again.
3
9. Delete camera
You can delete your camera from your user account. On the page of My cameras list,
move the mouse to the top right corner of the camera icon, then click the button X when it
appears. You can re-add the camera by the same steps as above if you want it again.
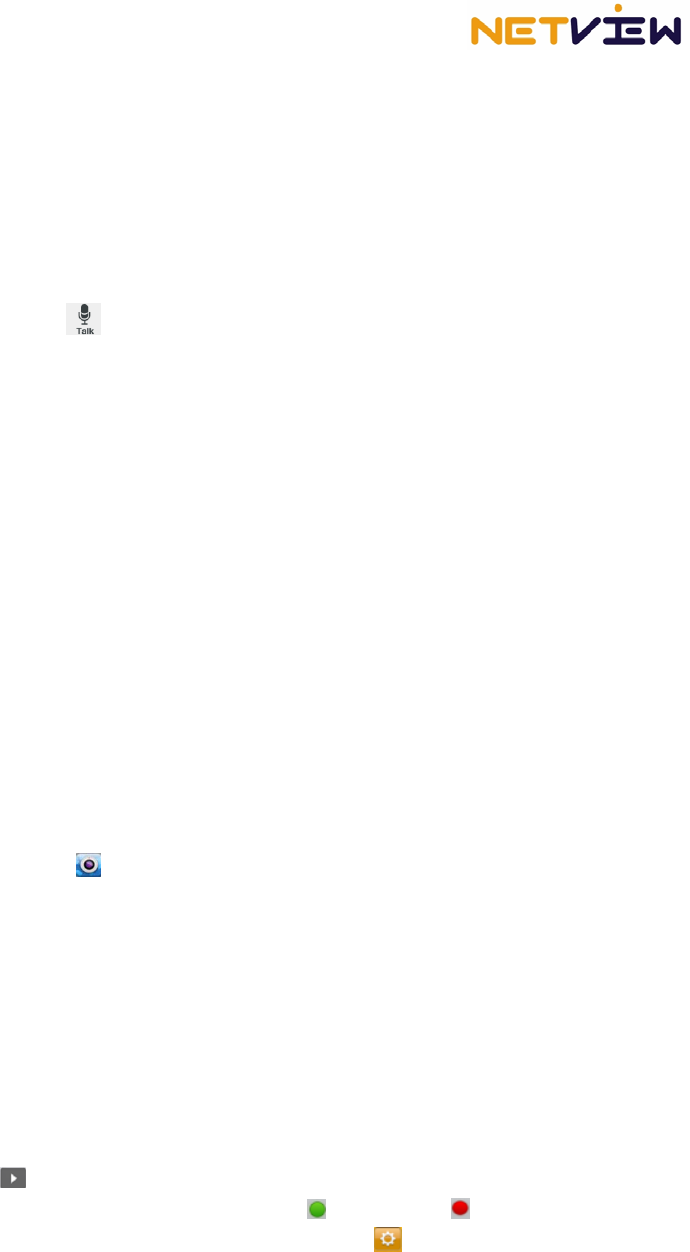
10. Two-way audio
Click the talk icon , the camera side can hear your voice after you speak close to
the microphone at your computer. Other users who receive your camera by Share function,
will only hear the voice from the camera side, and can’t hear your voice at computer.
11. Night vision
The camera will automatically shift to night vision mode on condition of low light, so
that you can see clear video when it’s at night. The image will be black & white when this
night vision function works.
12. Other functions
There are other functions like revoke camera, rename camera, remove shared
camera, change password, and retrieve password etc. Please refer to specific operation
on more detailed manual.
Part II. Operate NetVue II camera by iPhone, iPad and iPod touch
At the beginning, please download MyNetVue APP from App store by your iPhone,
iPad or iPod touch, and install it.
1. Start: Click the icon of this APP and begin to use.
2. Register: On the interface of the APP, click Sign Up to register for your user account.
Email address will be used to retrieve password in case it’s lost, please make sure it’s
valid and correct. Meanwhile, please write down or remember well your username and
password.
3. Login: Enter your username and password and click Login.
4. Add camera: On the page of My camera, click the Add button in the top right corner.
Then input camera ID by scanning the QR code of the camera or manually inputting
the serial numbers. Give a name to the camera. Click next step and finish.
5. Watch video: Click the camera in My camera list or Friends’ cam, and then click the
play button to watch video. (Note: Only when the camera is online can it be played.
The camera is online if its dot icon is in green , offline in red .)
6. WiFi configuration: Please click the settings icon in the top right corner on the
page of playing video, and click Configure WiFi. When the WiFi list is enabled, select
your WiFi and enter its password. Then click Confirm to configure.
There will be prompt that appears to instruct you, to unplug Ethernet cable after
15seconds, and then wait for 3-5 minutes for the camera to get online and workable
to play. If it fails, please plug in Ethernet cable and reconfigure WiFi again.
7. Delete camera: Scribe a line across the camera in My camera list, click the Delete
button that appears, then the camera will be deleted.
4
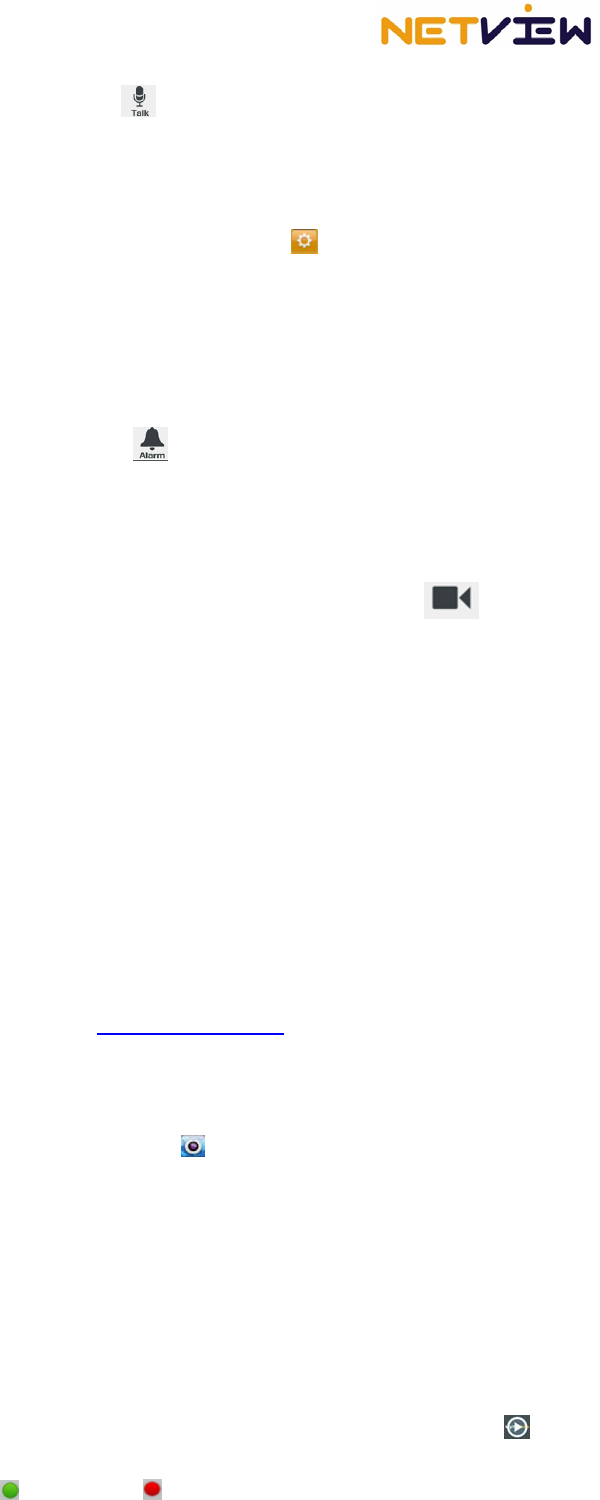
8. Two-way audio: Click the talk icon , the camera side can hear your voice after you
speak close to the microphone at your iOS devices. Other users who receive your
camera by Share function, will only hear the voice from the camera side, and can’t hear
your voice at iOS devices.
9. Motion detection and alert: Click the settings icon in the top right corner on the
page of playing video, and you can enable or disable the motion detection and push
notification. When the motion detection and push notification are enabled, your mobile
device which last activated your mynetvue account will receive alert by push
notification immediately when an object passes/enters/exits the area before the
camera. After that, if you would like to view the captured image, please login your
account, and click the Alarm button on the page of playing video.
10. Night vision: The camera will automatically shift to night vision mode on condition of
low light, so that you can see clear video when it’s at night. The image will be black &
white when this night vision function works.
11. Record: When playing the video of a camera, you can click the button below
the video to start recording a video clip (with audio). Click this button again when you
want to finish recording. Then you are able to save, upload or share this video clip.
12. Replay: Click this Replay button on the page of playing video, you will be able to
review the video(with audio) recorded on Micro SD card you put in the camera. You
can select the time slot to start and finish reviewing
. 13. Other functions: There are other functions like revoke camera, rename camera,
remove shared camera, change password, and retrieve password etc. Please refer to
specific operation on more detailed manual.
Part III. Operate NetVue II camera by Android phone and tablet PC
At first, please download application software MyNetVue to install on your phone and
tablet PC. You can search and find it on Google Play Store, or Download Software/
Mynetvue Android apk at webpage www.mynetvue.com ).
1. Software setup:
A ) Find the MyNetVue.apk software you have downloaded on your phone.
B ) Click install button to enter installation interface and automatically install it.
2. Use the software: Click the software icon and enter the login interface.
3. Register: On the login interface, click Sign Up, and follow the indication to finish. Email
address will be used to retrieve password in case it’s lost, please make sure it’s valid
and correct. Meanwhile, please write down or remember well your username and
password.
4. Add camera: On the My cams interface click Add button in the top right corner. Then
input camera ID by scanning the QR code of the camera or manually inputting the
serial numbers. Give a name to the camera. Click next step and finish.
5. Watch video: On the interface of My cams or Friend cams, select an online camera
from the camera list to enter live streaming video page. Click play button to see
video. (Note: Only when the camera is online can it be played. The camera is online if
its dot icon is in green , offline in red .)
5
6. WiFi configuration: Please click the settings icon in the top right corner on the
page of playing video, and click Configure WiFi. When the WiFi list is enabled, select
your WiFi and enter its password. Then click Confirm to configure.
There will be prompt that appears to instruct you, to unplug Ethernet cable after
15seconds, and then wait for 3-5 minutes for the camera to get online and workable
to play. If it fails, please plug in Ethernet cable and reconfigure WiFi again.
7. Delete camera: Keep touching the camera in the My Cam list for 3secs, then the
prompt appears asking you whether to delete the camera or not. Click Delete to
remove the camera.
8. Two-way audio: Click the talk icon , the camera side can hear your voice after you
speak close to the microphone at your android devices. Other users who receive your
camera by Share function, will only hear the voice from the camera side, and can’t hear
your voice at android devices.
9. Motion detection and alert: Click the settings icon in the top right corner on the
page of playing video, and you can enable or disable the motion detection and push
notification. When the motion detection and push notification are enabled, your mobile
device which last activated your mynetvue account will receive alert by push
notification immediately when an object passes/enters/exits the area before the
camera. After that, if you would like to view the captured image, please login your
account, and click the Alarm button on the page of playing video.
10. Night vision: The camera will automatically shift to night vision mode on condition of
low light, so that you can see clear video when it’s at night. The image will be black &
white when this night vision function works.
11. Record: When playing the video of a camera, you can click the button below
the video to start recording a video clip (with audio). Click this button again when you
want to finish recording. Then you are able to save, upload or share this video clip.
12. Replay: Click this Replay button on the page of playing video, you will be able to
review the video(with audio) recorded on Micro SD card you put in the camera. You
can select the time slot to start and finish reviewing.
13. Other functions: There are other functions like revoke camera, rename camera,
remove shared camera, change password, and retrieve password etc. Please refer to
specific operation on more detailed manual.

6
14. FCC STATEMENT
1. This device complies with Part 15 of the FCC Rules. Operation is subject to the
following two conditions:
(1) This device may not cause harmful interference, and
(2) This device must accept any interference received, including interference that may
cause undesired operation.
2. Changes or modifications not expressly approved by the party responsible for
compliance could void the user's authority to operate the equipment.
NOTE: This equipment has been tested and found to comply with the limits for a Class B
digital device, pursuant to Part 15 of the FCC Rules. These limits are designed to provide
reasonable protection against harmful interference in a residential installation.
This equipment generates uses and can radiate radio frequency energy and, if not
installed and used in accordance with the instructions, may cause harmful interference to
radio communications. However, there is no guarantee that interference will not occur in a
particular installation. If this equipment does cause harmful interference to radio or
television reception, which can be determined by turning the equipment off and on, the
user is encouraged to try to correct the interference by one or more of the following
measures:
Reorient or relocate the receiving antenna.
Increase the separation between the equipment and receiver.
Connect the equipment into an outlet on a circuit different from that to which the
receiver is connected.
Consult the dealer or an experienced radio/TV technician for help.
FCC Radiation Exposure Statement
This equipment complies with FCC radiation exposure limits set forth for an uncontrolled
environment. This equipment should be installed and operated with minimum distance
20cm between the radiator & your body