Northfield Telecommunications d b a Advanced Wireless Communications TB208 FM UHF PTT RADIO TRANSCEIVER User Manual TB208USL OWNER S MANUAL
Northfield Telecommunications, Inc. d/b/a Advanced Wireless Communications FM UHF PTT RADIO TRANSCEIVER TB208USL OWNER S MANUAL
Contents
- 1. USERS MANUAL
- 2. OWNERS MANUAL
OWNERS MANUAL

Version: 1, Issue Date: July 20, 2007 Page 1 of 10
MODEL: TB208USL
USER MANUAL
CONTENTS
Introduction ………………………………………………………………………………………………………2
Getting Acquainted………………………………………………………………………………………………2
1. Contents of Pack ...................................................................................... ………………………2
2. Radio View............................................................................................... ………………………....2
Safety and Care Instructions ................................................................................ ……………………....4
1. Safety Precautions.................................................................................... .. ………………………4
2. Caring for this Product ................................................................................ ……………………....4
3. Caution ....................................................................................................... ……………………….4
Getting Started .................................................................................. …………..... ………………………4
1. Installing/Removing the Battery …………………………………………….………………………….4
2. Installing Belt Clip ....................................................................................... ………………………5
3.
Installing Earphone……………………………………………………..
………………………
6
Features and Operation……………………………………………………………….. ……………………....6
1. Turn the unit ON/OFF ................................................................................. ………………………6
2. Volume Adjustment.................................................................................. ………………………....6
3. Keypad Lock .............................................................................................. ……………………….6
4. Reset .......................................................................................................... ………………………7
5.
Talk to another Transceiver .................................................................
…………………….
7
6.
Select a Channel or CTCSS/DCS .. ........................................................
………………………
7
Auxiliary Functions…………………………………………………………………….. ………………………8
Troubleshooting .................................................................................................... ………………………8
Specifications ....................................................................................................... ……………………....9
About AWC............................................................................................................ ……………………….9
Appendix
............................................................................................................ ……………………….10
Version: 1, Issue Date: July 20, 2007 Page 2 of 10
INTRODUCTION
Thank you for selecting TB208 as your product of choice. This product is a portable, easy-to-use two-way
radio transceiver that you can use to contact your family and friends at shopping malls, amusement parks,
sporting events, beaches, forests and so on. You can also use it as a vital communications tool in a
neighborhood watch.
The transceiver has Max 16 and CTCSS (Continuous Tone Coded Squelch System) or DCS codes. CTCSS
has 38 channels and DCS has 83 codes.
If someone else is using the same channel as you, you can select another channel or use the CTCSS feature.
Talk with another person if you are both tuned to the same channel and/or CTCSS code.
Please note that the use of this item is subject to applicable regulations of the country where used.
GETTING ACQUAINTED
1. CONTENTS OF PACK
1. Transceiver
2. Earphone
3. Desktop charger
4. 4.2V/1050mA Li-on Battery pack.
5. Power adapter
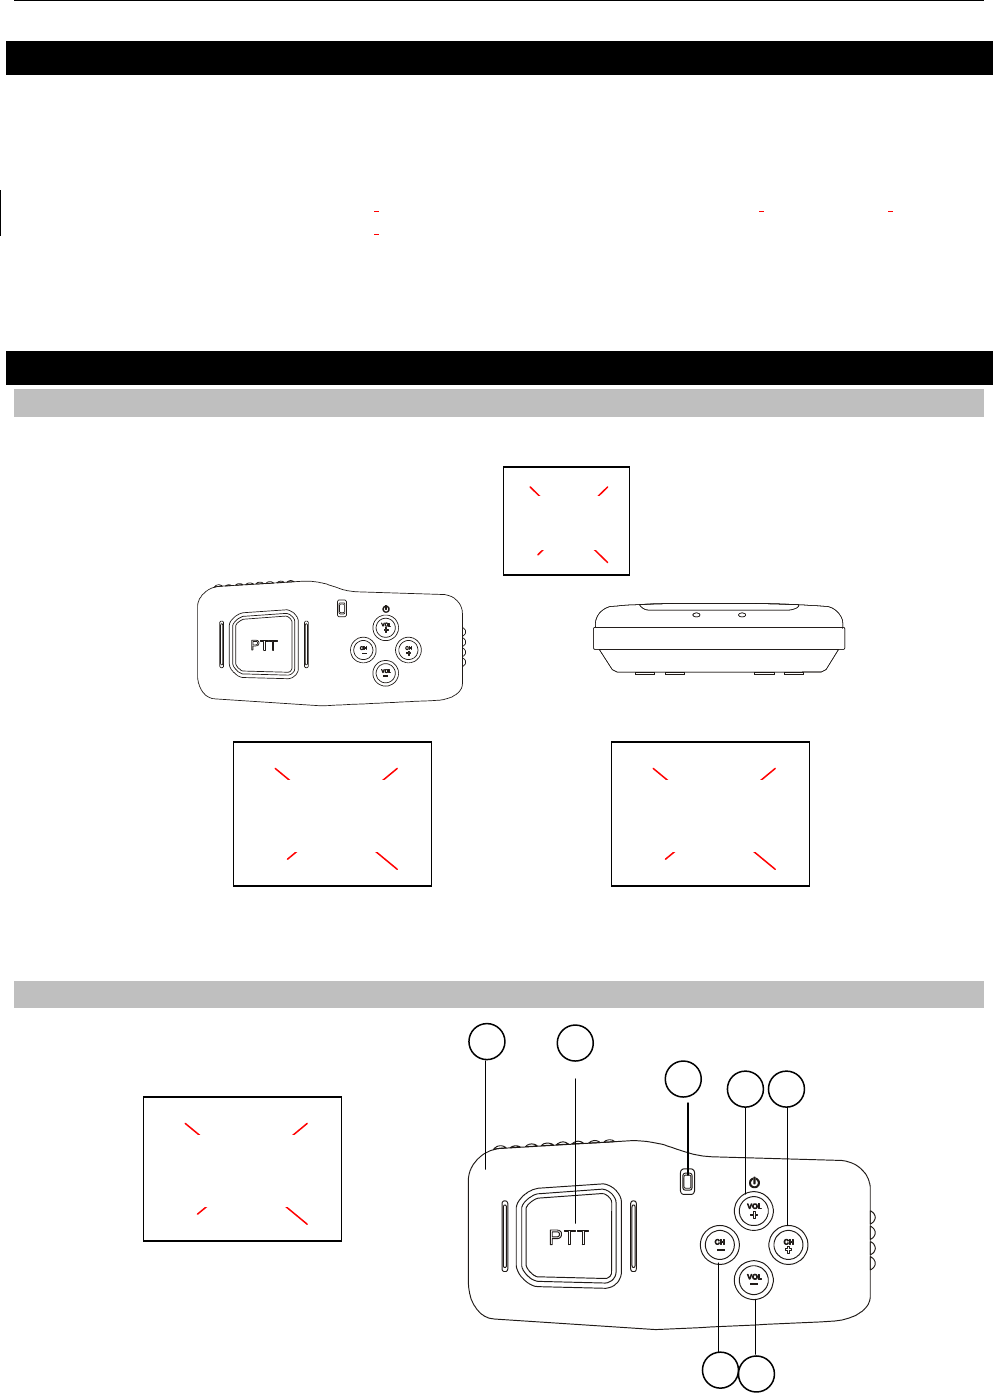
2. TRANSCEIVER RADIO VIEW
Drawing of
Earphone
Drawing of
Power adaptor
Drawing
of Batt
.
TOP View of
Radio unit
1
2
6
4
7
5
3
Version: 1, Issue Date: July 20, 2007 Page 3 of 10
O
Front View:
1. Antenna build-in
Used to transmit/receive signals
2. LED indicator
Following table indicates LED indication and corresponding radio status
Radio status LED indication (normal voltage)
LED indication (Low voltage)
Transmitting Red LED
Receiving busy Green LED
Receiving standby Green LED slowly flashes
(5s:0.1s)
Red LED flash (1s:0.1s)
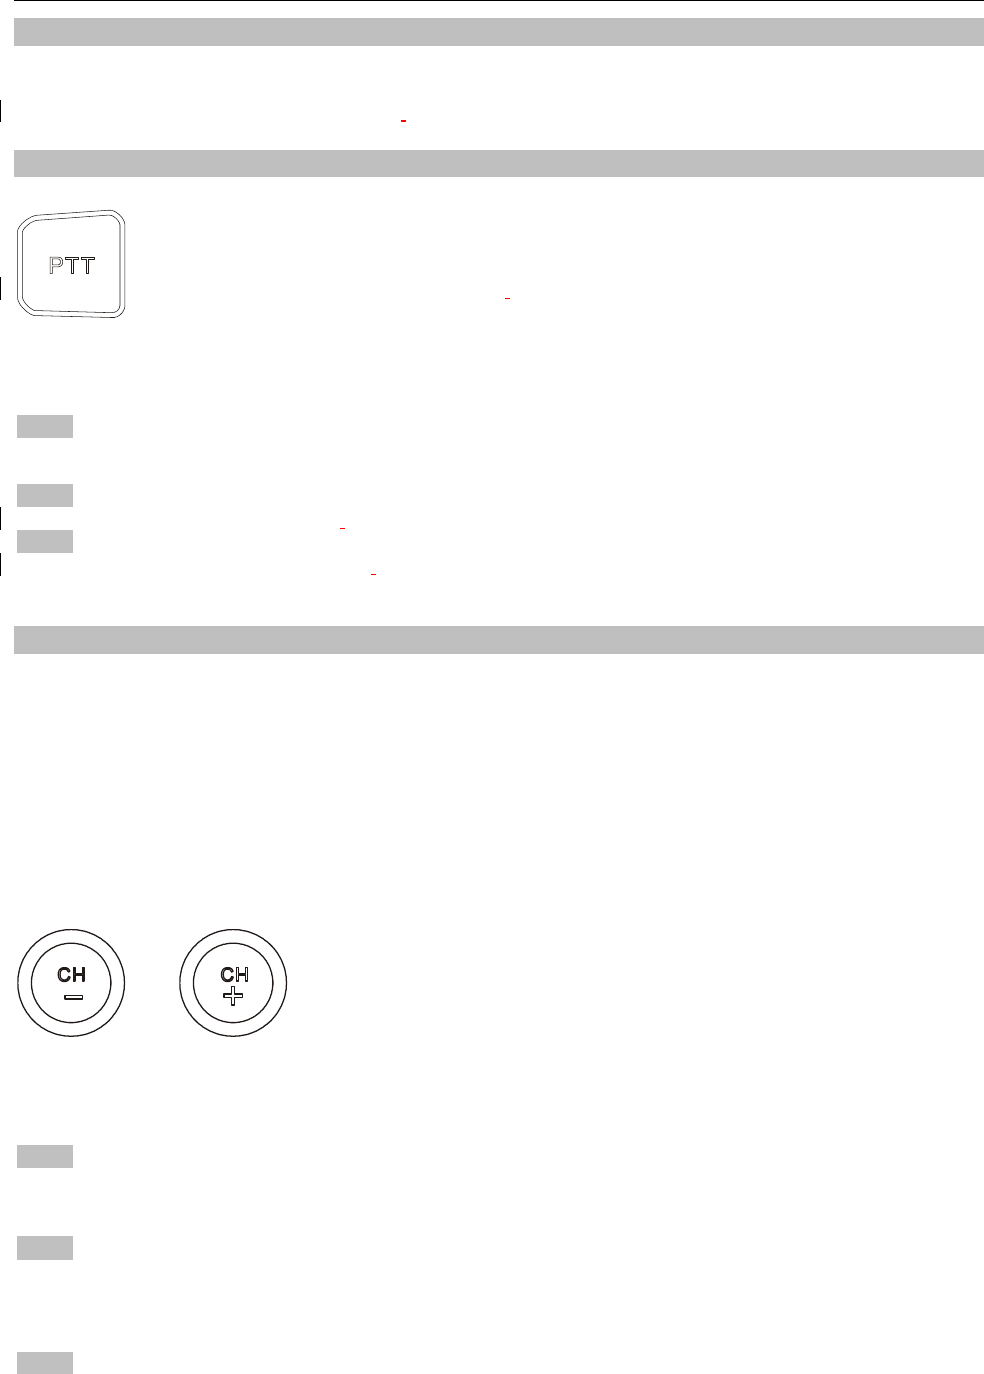
3. PTT (Push to talk) Button
Press and hold PTT, radio operates in transmit mode. Release PTT, radio returns to receive mode
4. VOL UP/Power Button
Press and hold more than 3 seconds, Turn the unit On /Off While radio power on, press button to
increase volume
5. VOL DOWN Button
Press button to decrease volume
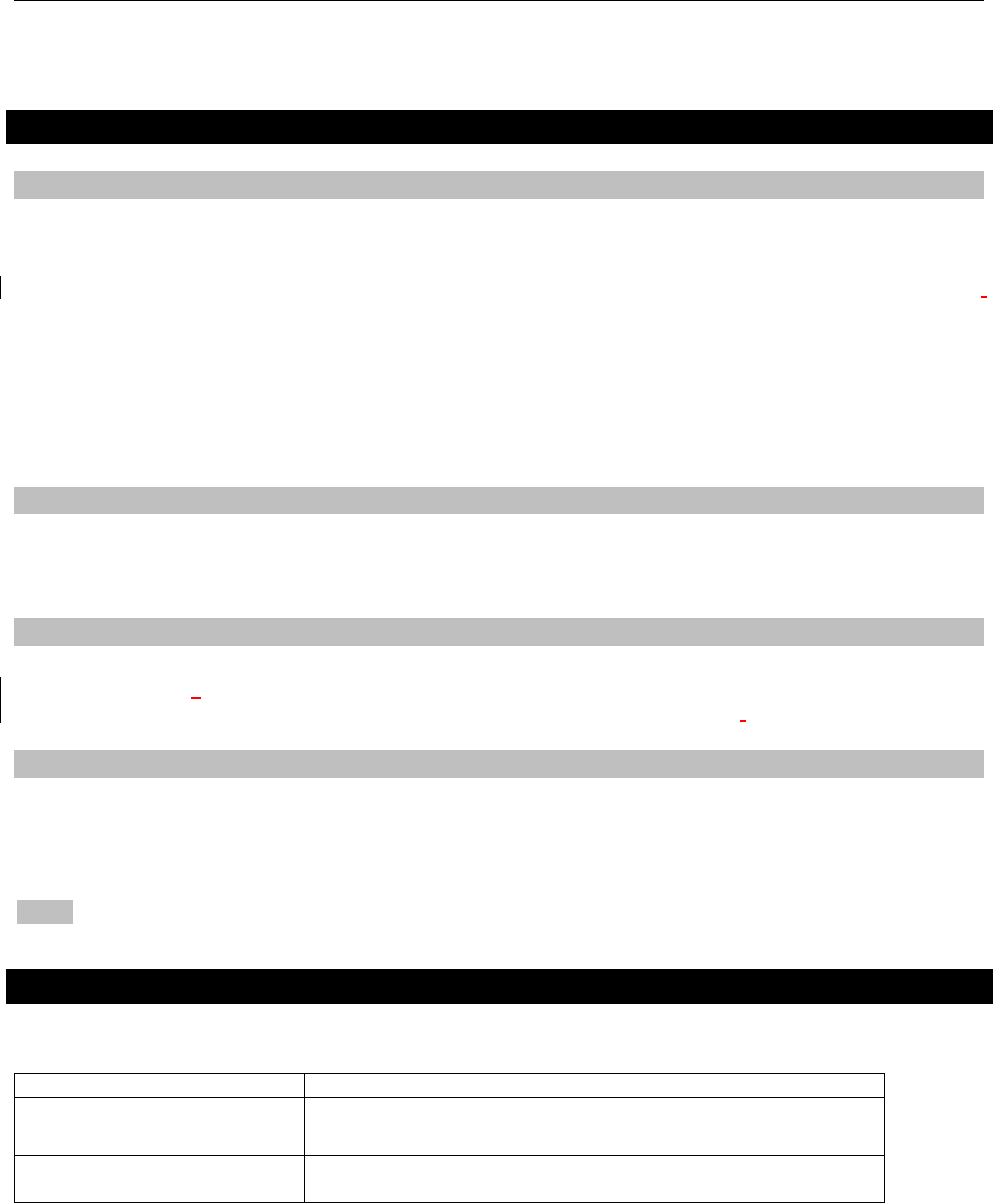
6. CH UP Button
Press to increase channel no.
7. CH DOWN Button
Press to decrease channel no.
Back View:
1. Battery door
battery compartment
2. Battery pack
Lithium 4.2V /1050mAH rechargeable battery pack.
3. Belt Clip
Used to clip the radio on your belt
Top View:
1. Earphone Jack
Earphone can be connected for hands-free communication
2. D2.5mm Jack
Used for ext. speaker
Version: 1, Issue Date: July 20, 2007 Page 4 of 10
SAFETY AND CARE INSTRUCTIONS
1. SAFETY PRECAUTIONS
Please observe the following safety precautions when setting up and using this product.
• Heat sources – Keep the product away from heat sources such as radiators, stoves, heaters, and
other heat-generating products.
• Water and moisture – Do not use the product in or near water or in high moisture areas such as a
bathroom. Indoor use only.
2. CARING FOR THIS PRODUCT
To ensure you receive the maximum benefit from using this product, please observe the following guidelines.
• Cleaning – Use a damp cloth. Do not use liquid cleaning agents, benzene, thinner, or aerosols.
• Repair – Do not attempt to repair the product or modify the circuitry by yourself. Contact the retailer
or a qualified repairman if the product requires servicing. Only use replacement parts that are
recommended by the manufacturer.
3. CAUTION
• To avoid risk of fire or injury, do not attempt to charge non-rechargeable batteries. Please turn off the
unit while charging.
• Replace only batteries with the same or equivalent type recommended by the manufacturer.
• Please dispose of old, defective batteries in an environmentally friendly manner in accordance with
the relevant legislation.
• See additional battery warnings in the “Power” section of the user manual.
• Do not dispose this product as unsorted municipal waste. Collection of such waste separately for
special treatment is necessary.
• No naked flames, such as lighted candles, should be placed near the apparatus.
• To reduce the risk of electric shock, do not expose this application to rain or moisture.
GETTING STARTED
1. INSTALLING/REMOVING THE BATTERY
To insert the battery:
1. Slide the battery door open.
2. Insert the lithium battery into the battery compartment, making sure the polarities (+ and –) match.
3. Slide the back cover and clip into place.
WARNING There is a danger in which incorrectly placing the battery can cause an explosion. Always make
sure the radio is switched off before installing or changing the battery. Replace only with the same or
equipment type. Use ONLY with lithium 4.2V 1050mAH rechargeable battery. Contact your local retailer for
more information.
When the battery power is low, Red LED will flash, please charge it or replace it with a new one.
To charge the battery
Close the battery door
Slide the battery
door
Version: 1, Issue Date: July 20, 2007 Page 5 of 10
Charge the battery for 12 hours on the first charge. Subsequent charges should take 3 hours or less.
1. Plug the adaptor output into the socket on the back side of charger.
2. Plug the adaptor in the main.
3. The Desktop charger can charge both the radio and a separated battery.
4. LED indicates the charging condition: one for radio unit, and another for separated battery.
If there is no battery in cradle, LED is RED. While Radio unit or battery is placed into the cradle, the
LED will becomeGreen. After charging fully, the LED will become RED.
NOTE
1. To maintain the battery life of your radio it is recommended that you only charge the battery when needed.
Overcharging the battery will reduce performance.
2. Ensure that the unit is turned off before charging.
3. Remove batteries before storing your radio for extended periods. Batteries corrode over time and may
cause permanent damage to your radio.
4.Please use the specified power adaptor within the same rating.
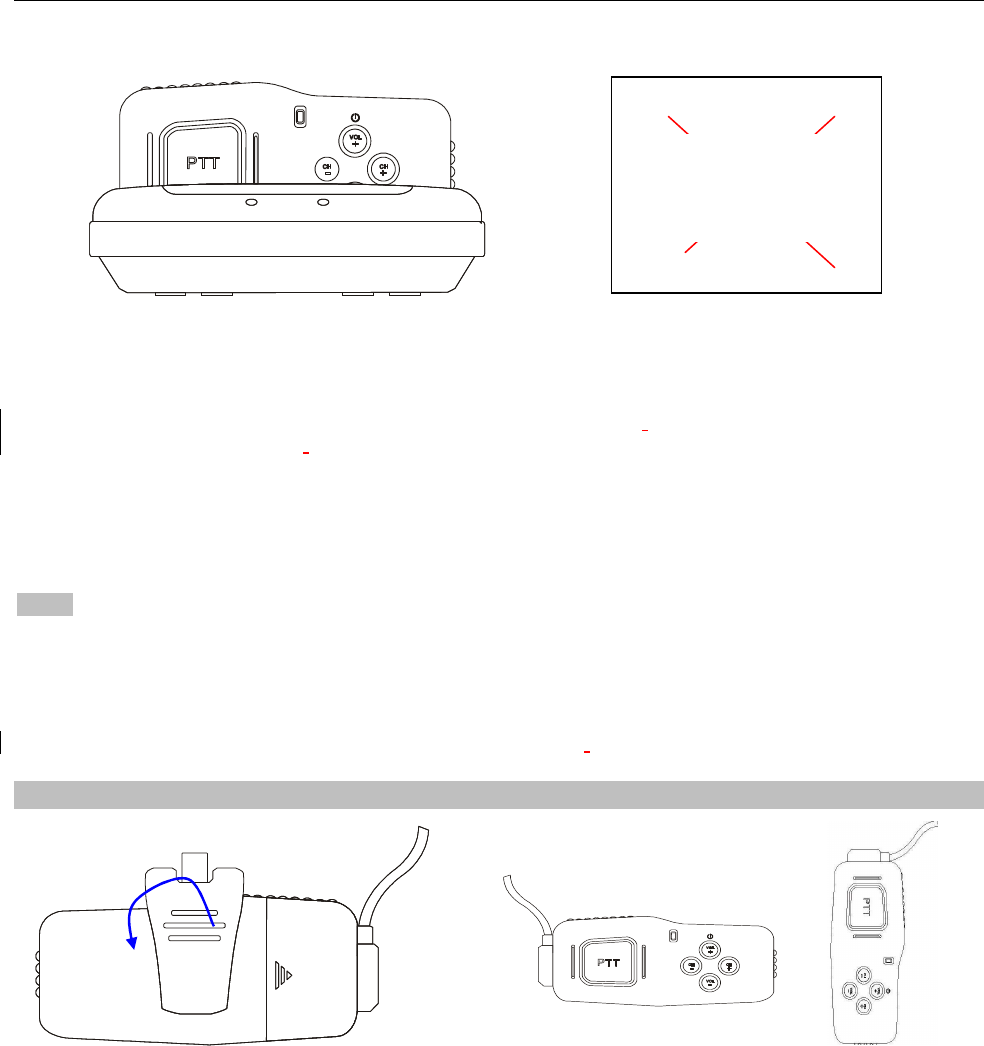
2. INSTALLING THE BELT CLIP
Rotate the clip to be suitable for Horizontal or Vertical mounting on the belt.
View of Separated Battery
charging
Version: 1, Issue Date: July 20, 2007 Page 6 of 10
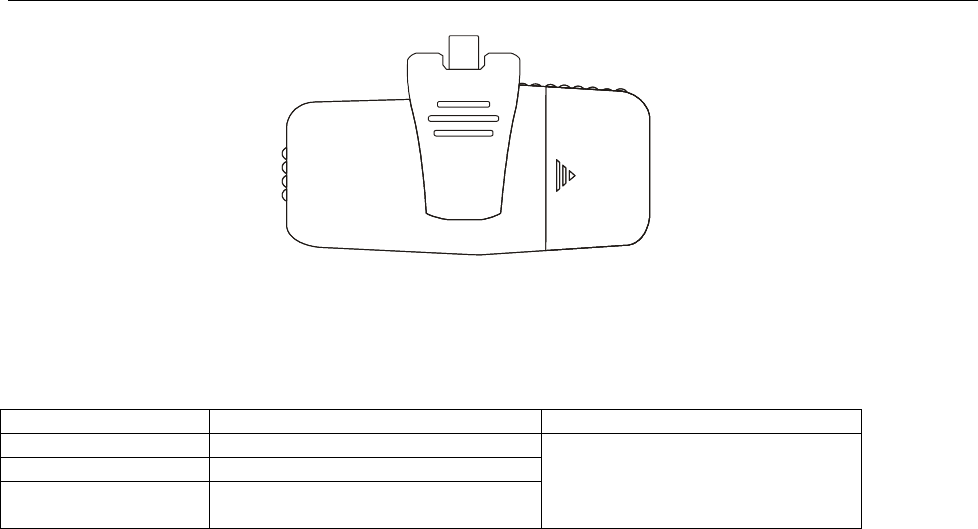
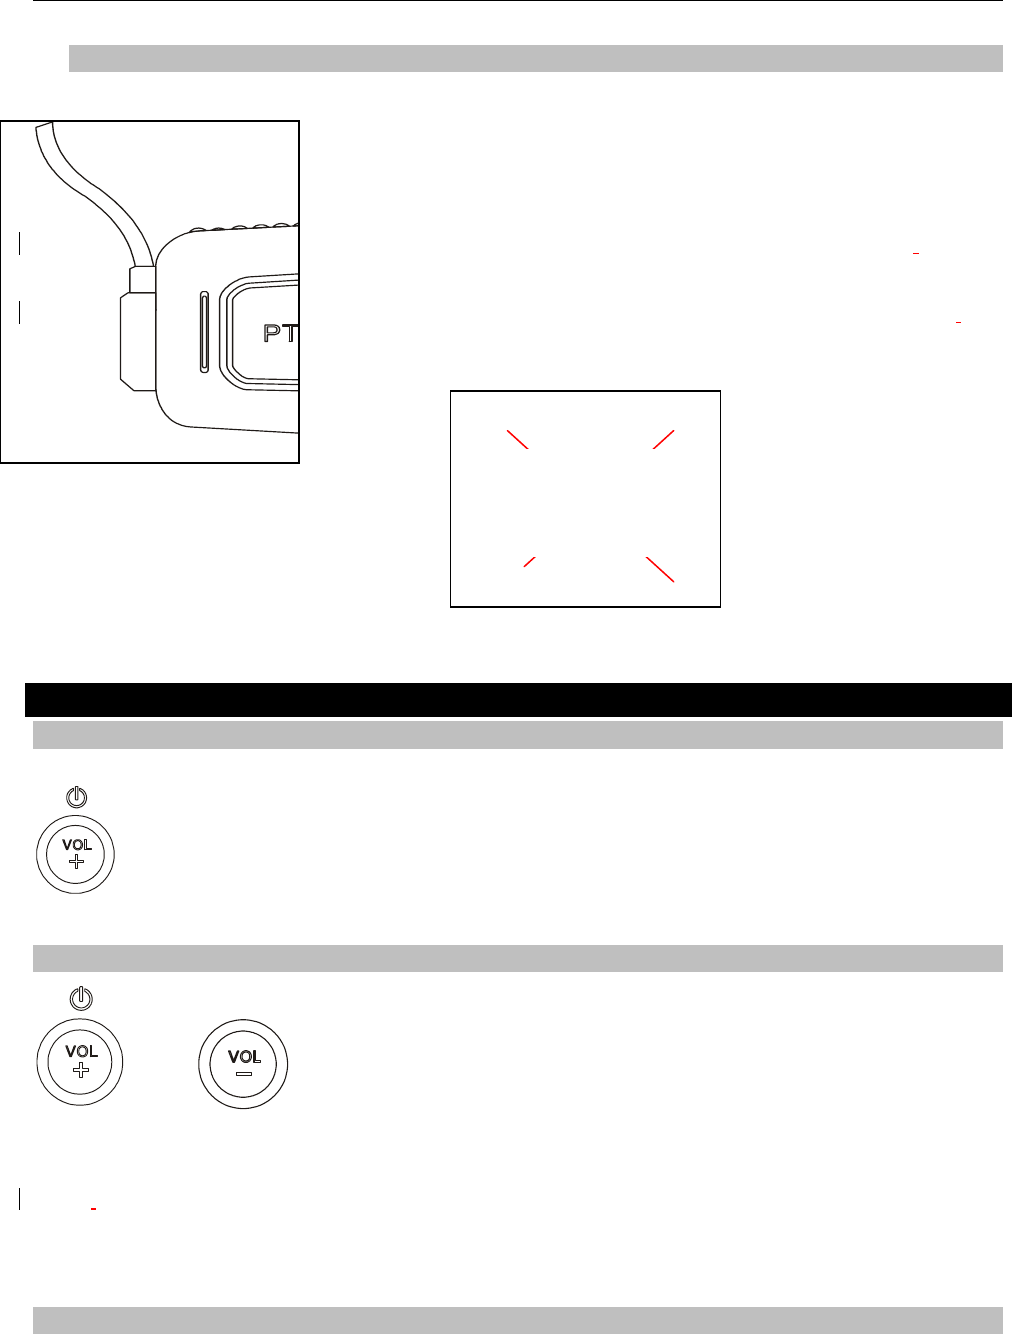
3. INSTALLING THE EARPHONE
Insert the earphone into the connection at the top of the radio. Tighten
the screws on the head to secure it.
There are microphone, speaker and PTT buttons on the earphone.
FEATURES AND OPERATION
1. TURN THE UNIT ON / OFF
(Before using radio, please confirm earphone cable had been connected to the radio.)
Press and hold VOLUME UP (more than 3 seconds) until you hear “Power on”, and the Green LED
light appears
Press and hold VOUME UP again (more than 3 seconds) until you hear “Power off”, the
radio will be powered off
2. VOLUME ADJUSTMENT
To change the volume level:
Press VOL + or VOL - to increase or decrease volume. Every time button is pressed, you will hear one “beep”
sound.
(The volume level setting can be programmed by PC)
3.KEYPAD LOCK
Drawing of Earphone
Version: 1, Issue Date: July 20, 2007 Page 7 of 10
4. RESET
Remove the battery pack for two minutes and insert it again. Any preferred setting will be cleared, the radio
will be in initial condition with default values.
5. TALK TO ANOTHER TRANSCEIVER
1. To make a call, press and hold PTT button, then speak into the microphone using your
normal speaking voice.
While transmitting, LED becomes RED.
2. When finished speaking, release the PTT button to allow other radios to respond.The radio will
automatically switch to receive mode.
Once you have received voices from other radio(s), LED will become constant Green, otherwise green LED
will flash in intervals.
NOTE You can only communicate with another transceiver that is on the same channel and using the same
CTCSS/DCS code as your radio.
NOTE For best transmission speak about 3-4 cm away from the microphone and after pressing PTT button,
leave a short pause before speaking.
NOTE When the battery voltage becomes too low, transmitting stops and red LED flashes. Please refer to
auxiliary function “Low Battery Warning”.
6. SELECT A CHANNEL OR CTCSS/DCS
The transmitter and receiver must be on the same channel using the same CTCSS code in order for you to
communicate with another party.
This feature allows you to utilize a less often-used range of CTCSS codes within a main channel to avoid
congestion on the main channel and filter out unwanted noise and static. There are 38 CTCSS codes for each
main channel.
IMPORTANT: The channels must be programmed, using the PC software provided, before using the
device / transmitter for the first time. Only then will the user be able to choose between the available
channels.
To select channels
Press CH+ or CH- to change channels.
To check transmitter and receiver are using the same channel:
Press PTT button. The other party should hear a distortion noise.
NOTE
The noise can be loud. Please place earphone a certain distance away from ear when checking to
avoid discomfort.
NOTE
By pressing CH+ or CH- button once, a voice prompt will indicate which channel is currently being
used, e.g., “one, two,…”.
By pressing CH+ or CH- button again, you will Increase or Decrease the channel. Voice prompts will
indicate the new channel set.
NOTE To communicate with other units that do not have CTCSS code capability, switch your unit to the same
channel and set the CTCSS code to“0”.
Version: 1, Issue Date: July 20, 2007 Page 8 of 10
Any setting of the channel and CTCSS/DCS ref. to the PC programming
AUXILIARY FUNCTIONS
TIME-OUT TIMER (TOT)
Time-out Timer is to prevent the use of the same channel for too long and the radio from energy waste due to
continued transmission.
If the radio continuously transmits signals for a period over the preset limit (set by your dealer, max time is 5
minutes), the transceiver will stop transmitting and a beep will sound. To stop the tone, release the PTT button.
Press the PTT button again to resume transmission.
Battery Save
This function minimizes the amount of power used when a signal is not being received and no operations are
being performed (no keys are being pressed).
While the channel is not busy and no operation performed for 10 seconds, Battery Save turns ON. When a
signal is received or an operation is performed, Battery Save turns OFF.
LOW BATTERY WARNING
Low Battery Warning alerts you when the battery needs to be recharged.
While transmitting, if power of the battery goes below a pre-determined value, the red light will flash, a tone
sound, and the radio will stop transmitting. Please replace or recharge the battery.
MONITOR
The squelch circuit on the radio automatically mutes the speaker when there are no signals, eliminating
background noise. Press and hold "CH UP" key to manually deactivate the squelch mechanism. This
operation is especially useful for adjusting volume level or receiving a weak signal.
CTCSS & DCS
Some channels may have pre-programmed CTCSS/DCS tones. A CTCSS/DCS tone is a sub-audible signal,
which allows you to ignore (not hear) calls from other parties using the same channel.
When you receive a signal that has a tone different from the one set up in your radio, you will not hear the
signal. Likewise, signals that you transmit will only be heard by parties whose CTCSS/DCS tone matches the
tone set up in your radio.
NOTE Although using channels set up with CTCSS/DCS tones enable you to avoid hearing those unwanted
calls, it does not mean your calls will be private.
TROUBLESHOOTING
See below for some common problems and their remedies. DO NOT attempt any repairs yourself. This will
invalidate your warranty.
PROBLEM POSSIBLE CAUSES / REMEDIES
Can’t turn the radio on ● Check the battery is correctly installed and has been fully
charged
Can’t communicate with other
radios
● Check the channel and CTCSS code

Version: 1, Issue Date: July 20, 2007 Page 9 of 10
SPECIFICATIONS
Operation frequency: 450-470 MHz
Channels: 16 Max. (setting by PC programming)
CTCSS/DCS codes: 38 CTCSS/ 83 DCS
Modulation: FM (Narrow/Wide deviation)
Sensitivity: -119 dBm ( -6 dBuV emf)
Noise Squech: Auto (setting by PC programming)
Audio output power: > 100 mW
Audio distortion: < 7 %
Rx signal to noise ratio: > 30 dB
Tx RF output power: 1W (Hi) / 400mW (Low)
Current drain while Receiving: < 150 mA
Current drain while Transmitting: < 1.2A (Hi) / 800 mA (Low)
Current drain at Standby saving on/off: < 20/50 mA
Charge current: 450 mA
Power supply: 4.2V / 1050mAH Li-ion battery
Low voltage indication: 2.8 ~ 3.2 V
Dimensions (HxWxD): 115x53x29 mm (4.5x2.1x1.1 inch)
Weight (without batteries): 100 grams (2.5 oz)
About AWC
AWC Information
Warranty information
FCC Compliance
This equipment has been tested and found to comply with the limits for a Class B digital device, pursuant to
part 15 of the FCC Rules. These limits are designed to provide reasonable protection against harmful
interference in a residential installation. This equipment generates, uses and can radiate radio frequency
energy and, if not installed and used in accordance with the instructions, may cause harmful interference to
radio communications. However, there is no guarantee that interference will not occur in a particular
installation. If this equipment does cause harmful interference to radio or television reception which can be
determined by turning the equipment off and on, the user is encouraged to try to correct the interference by
one or more of the following measures:
. Reorient or relocate the receiving antenna.
. Increase the separation between the equipment and receiver.
. Connect the equipment into an outlet on a circuit different from that to which the receiver is connected.
. Consult the dealer or an experienced radio/TV technician for help.
FCC Requirement
Your radio must be properly licensed by the Federal Communications Commission prior to use. Your dealer
can assist you in meeting these requirements. Your dealer will program each radio with your authorized
frequencies, signaling codes, etc., and will be there to meet your communications needs as your system
expands.

Version: 1, Issue Date: July 20, 2007 Page 10 of 10
Appendix
Frequency Chart
Model: TB208USL
Serial Number:
FRS Suggested Business Band
FREQUENCY (MHz) FREQUENCY (MHz)
CH
TX RX MODE
REMARK
CH
TX RX MODE
REMARK
CH2 462.5875
462.5875
CH1 450.025
450.025
Lo
CH3 462.6125
462.6125
CH2 460.025
460.025
CH4 462.6375
462.6375
CH3 460.125
460.125
CH5 462.6625
462.6625
CH4 465.125
465.125
CH6 462.6875
462.6875
CH5 469.9875
469.9875
Hi
CH7 462.7125
462.7125
CH8 467.5625
467.5625
CH9 467.5875
467.5875
CH10 467.6125
467.6125
CH11 467.6375
467.6375
CH12 467.6625
467.6625
CH13 467.6875
467.6875
CH14 467.7125
467.7125