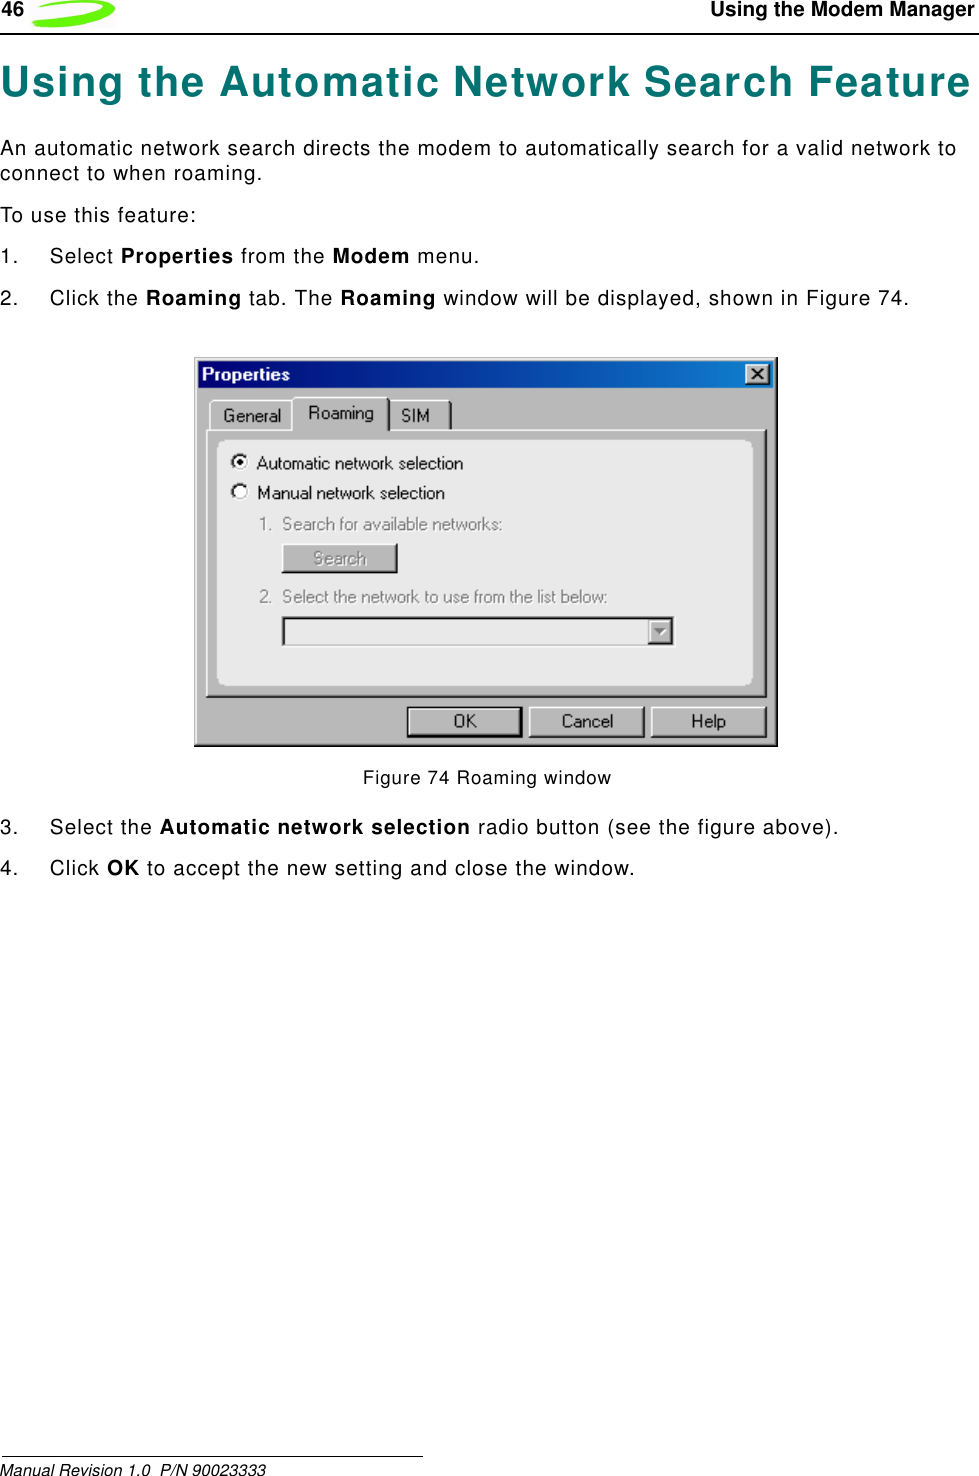
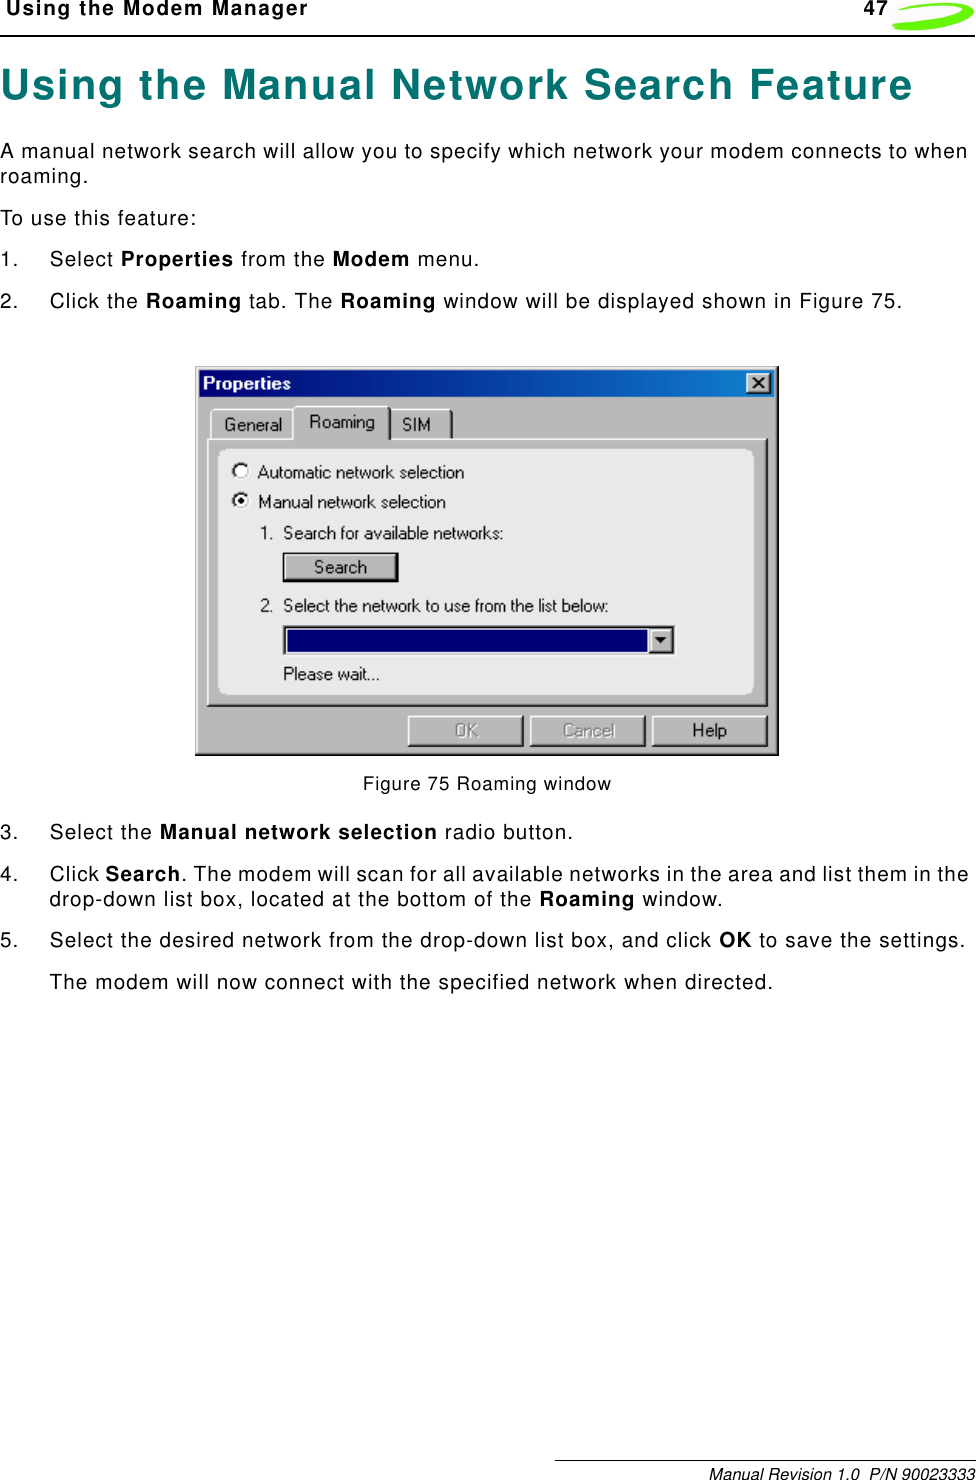
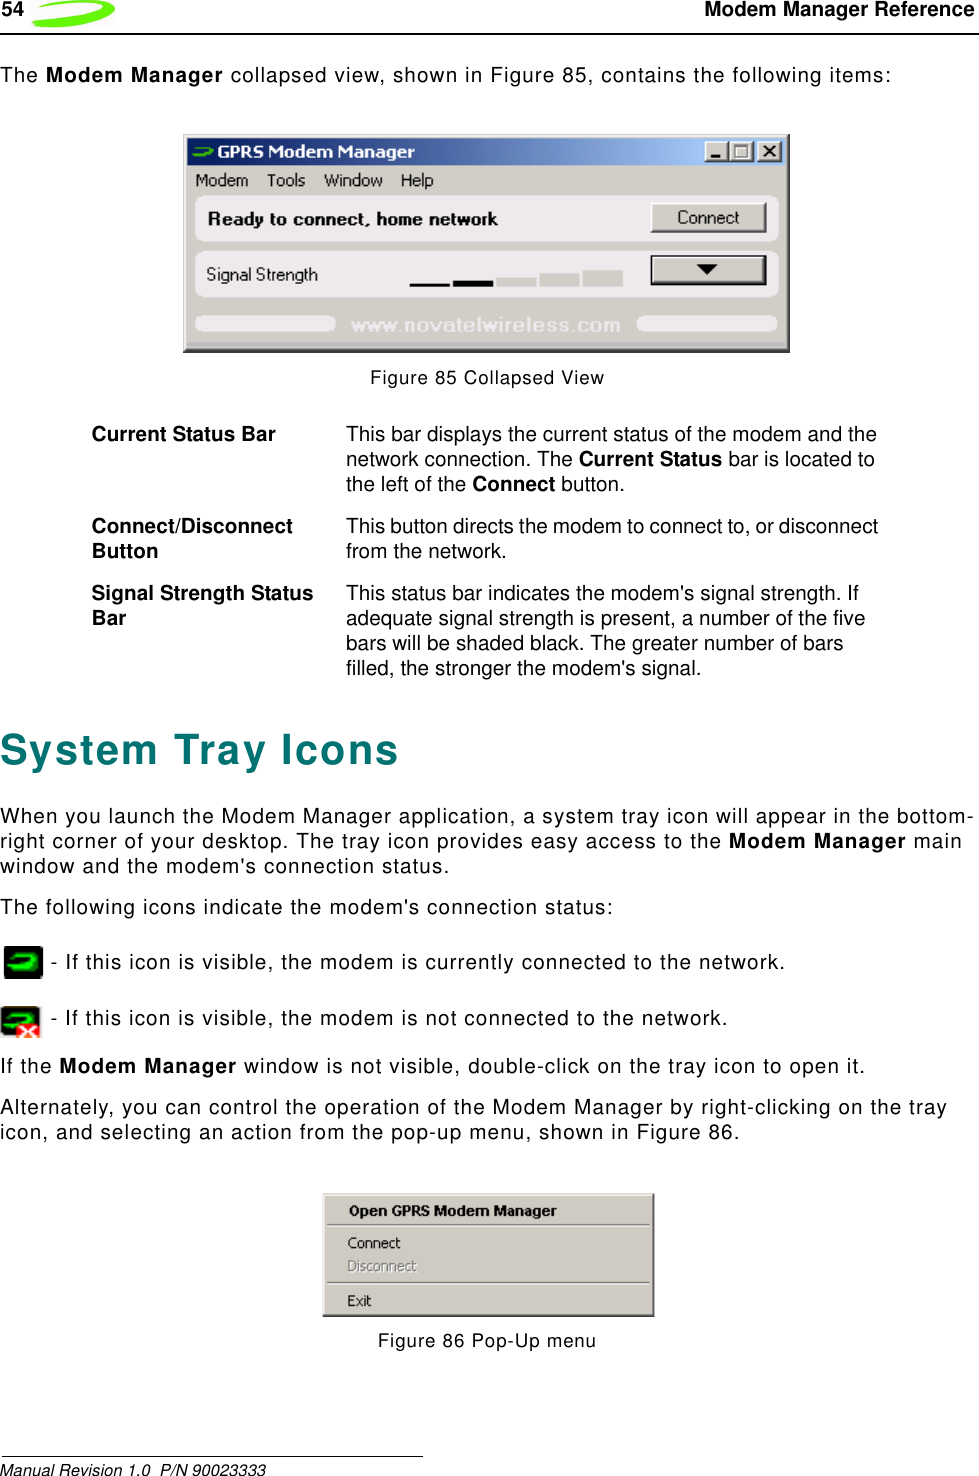
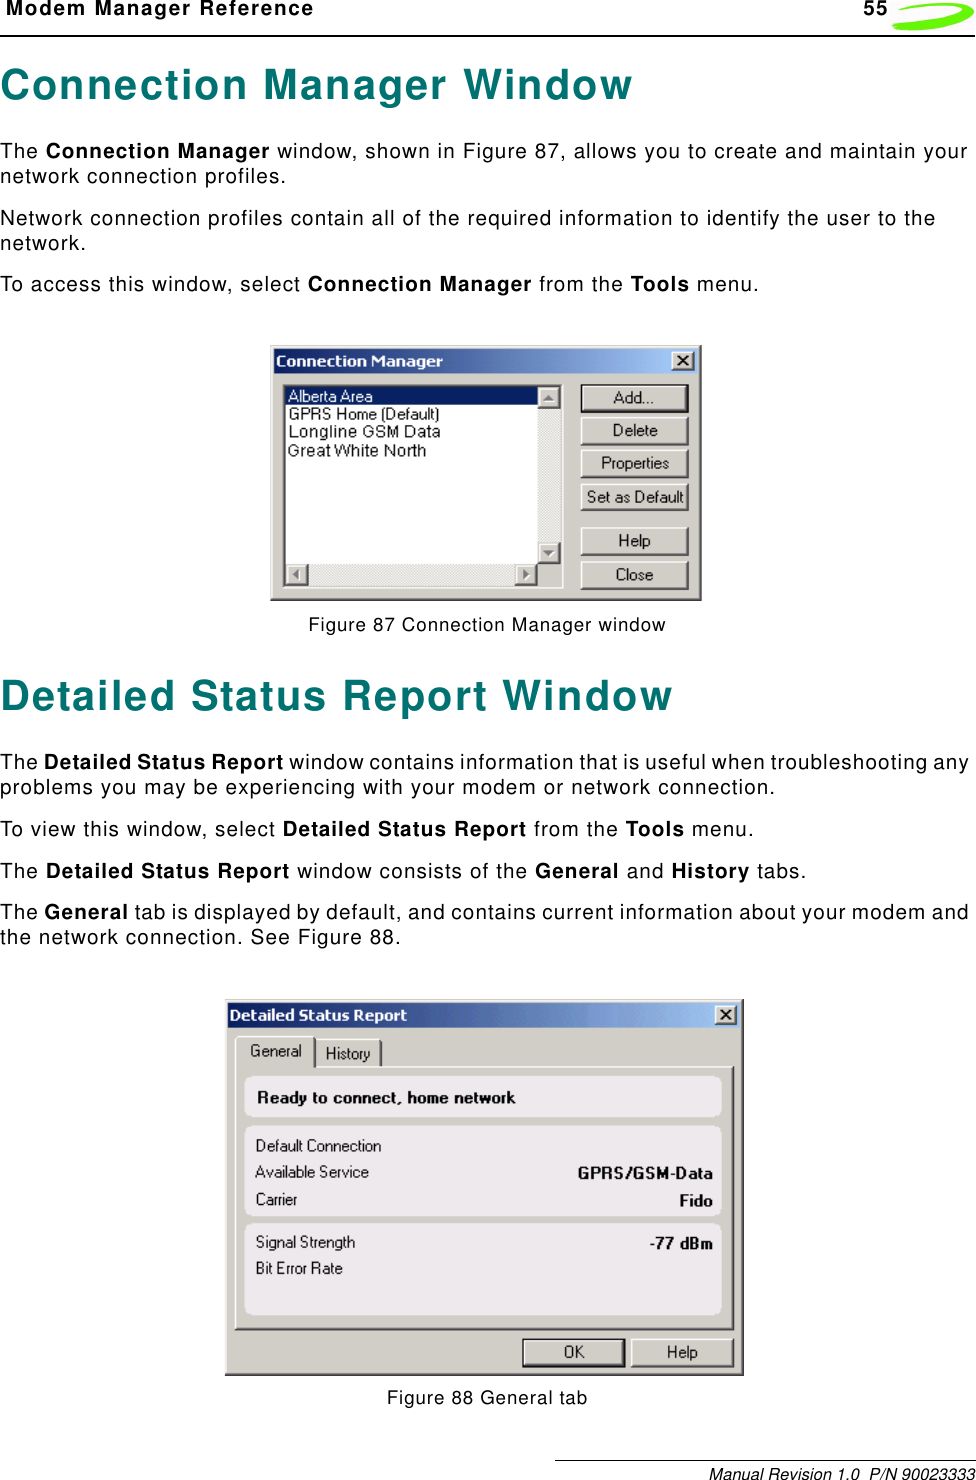
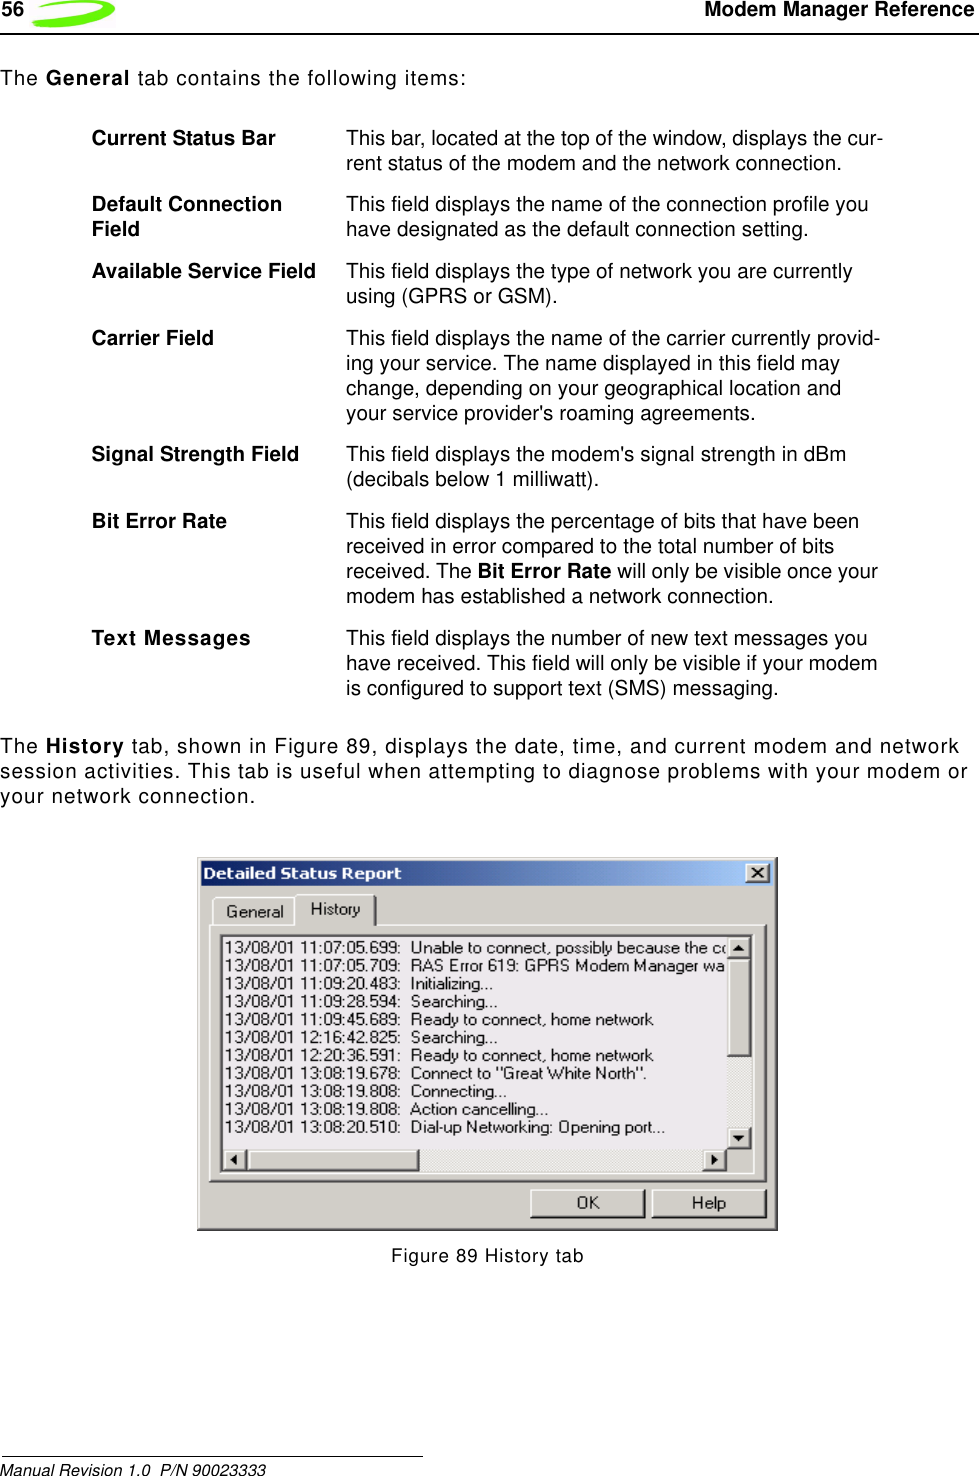
Novatel Wireless NRM-MG301 Merlin G301 PCMCIA card for GSM/GPRS PCS User Manual Merlin GPRS Generic
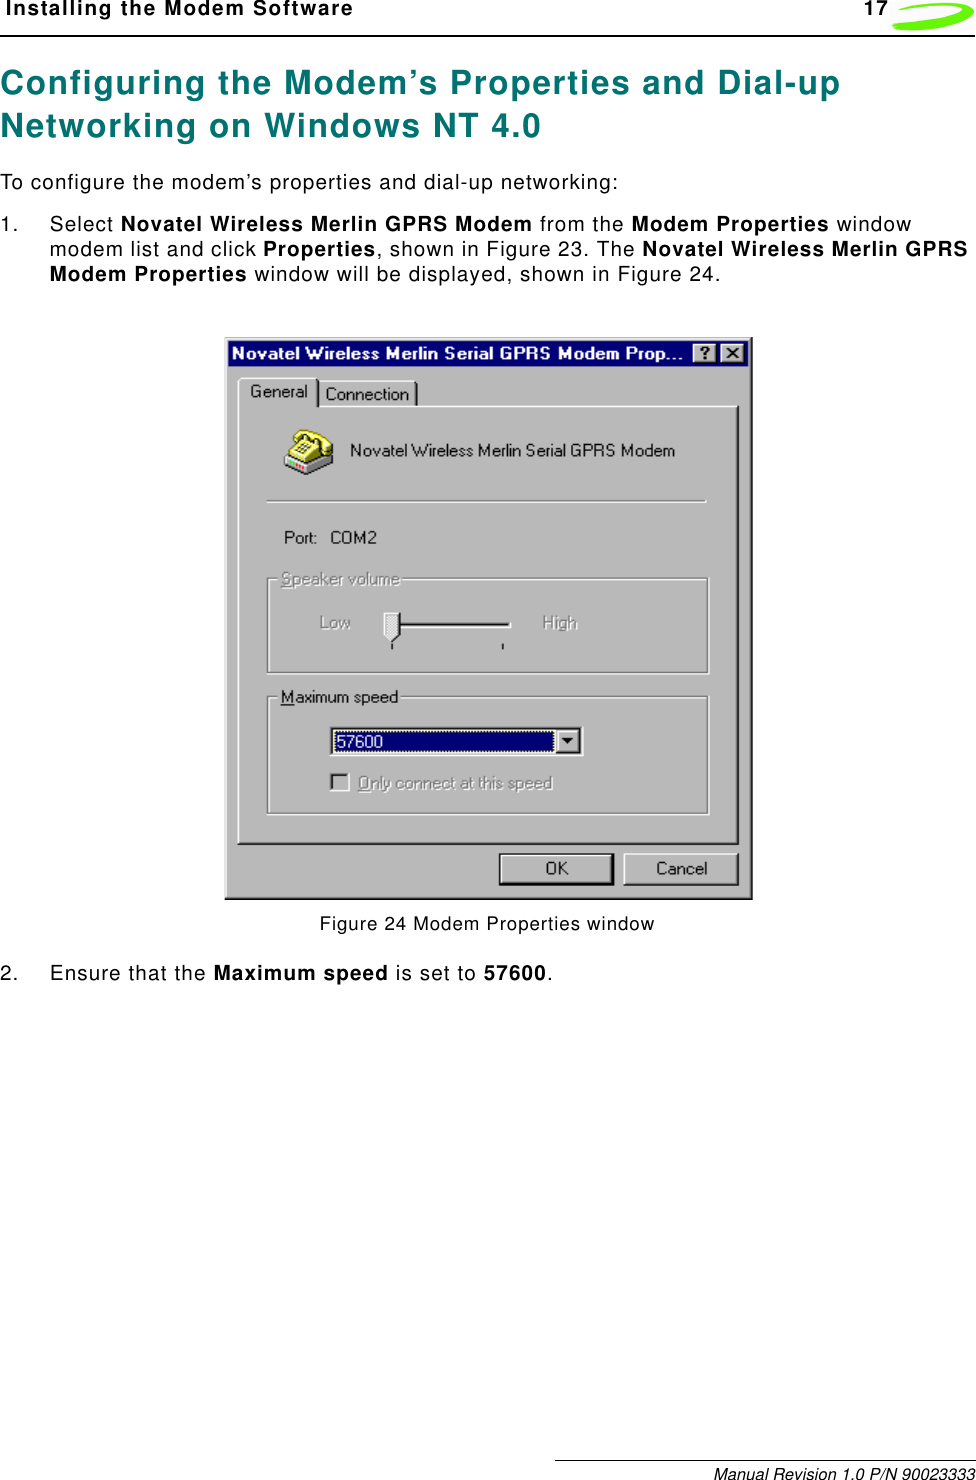
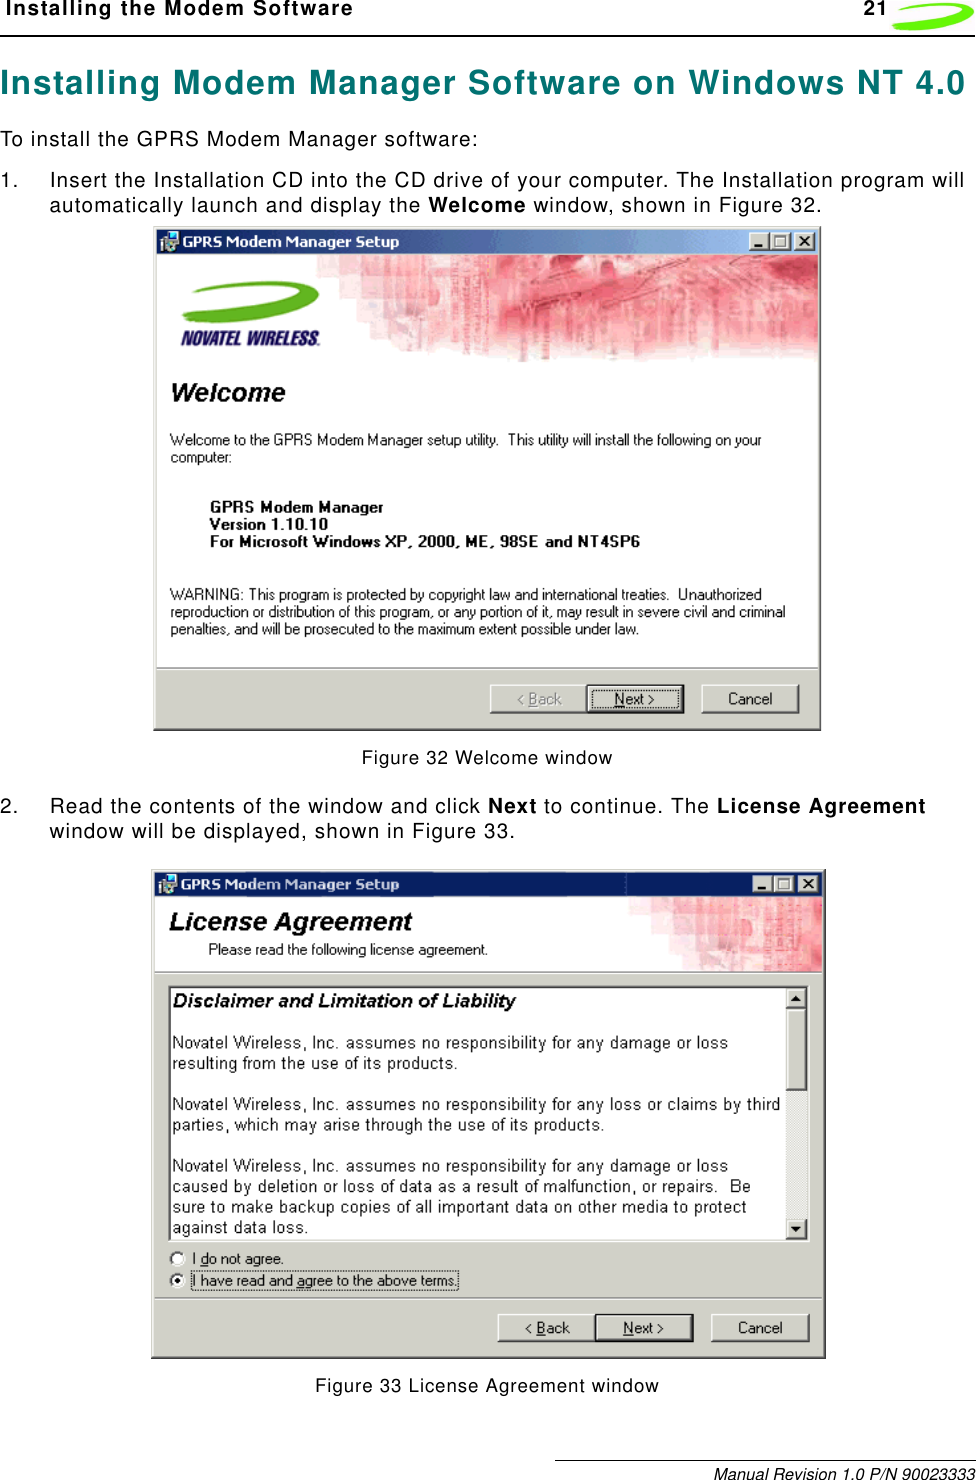
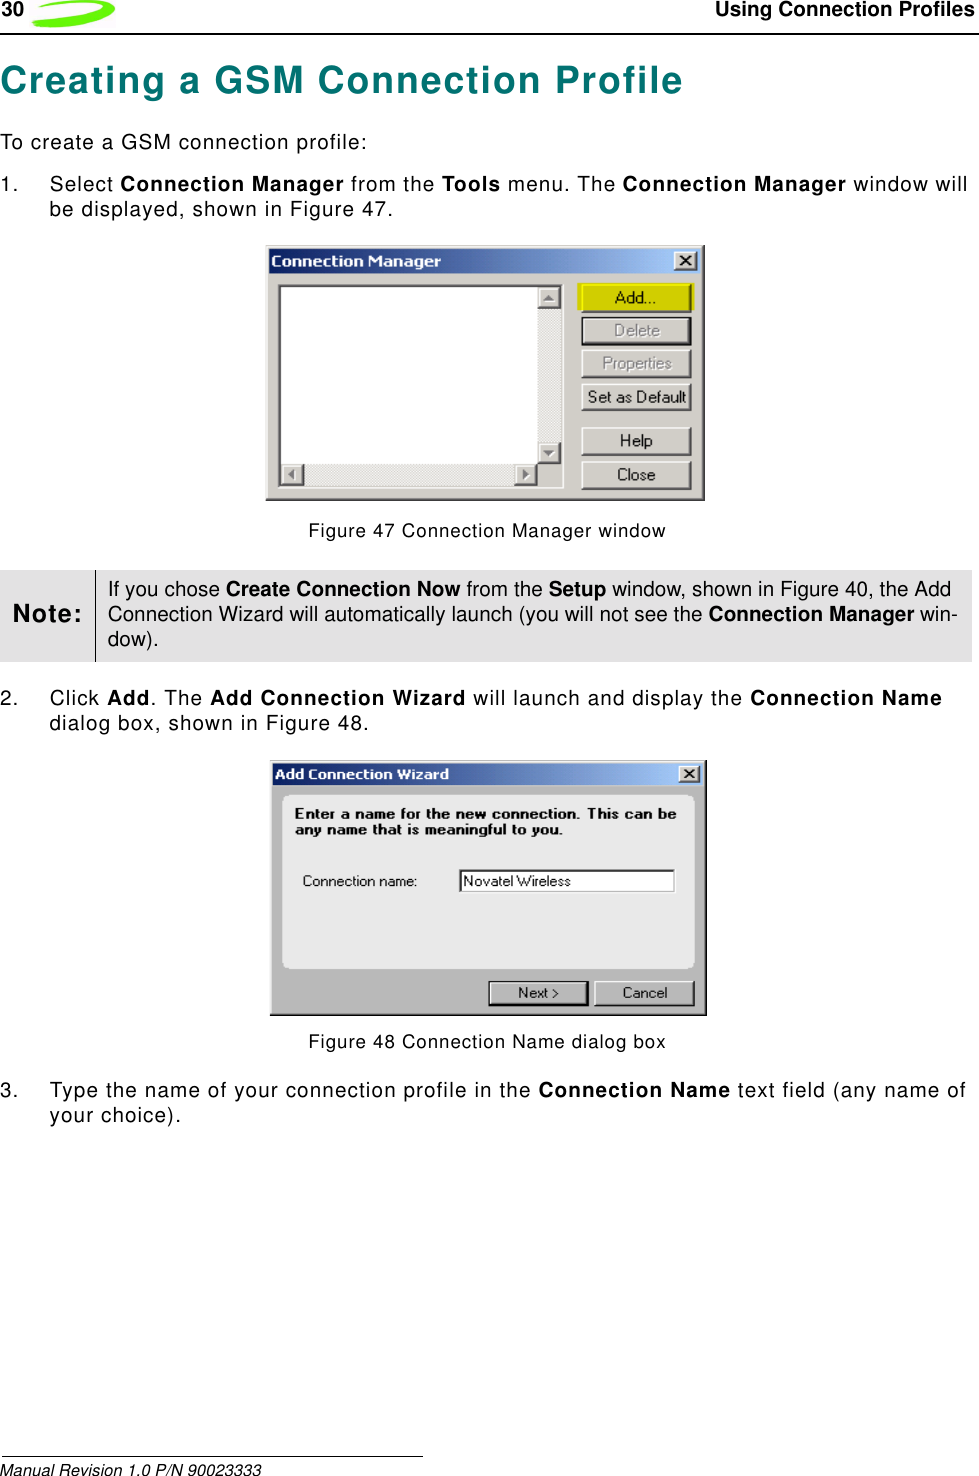
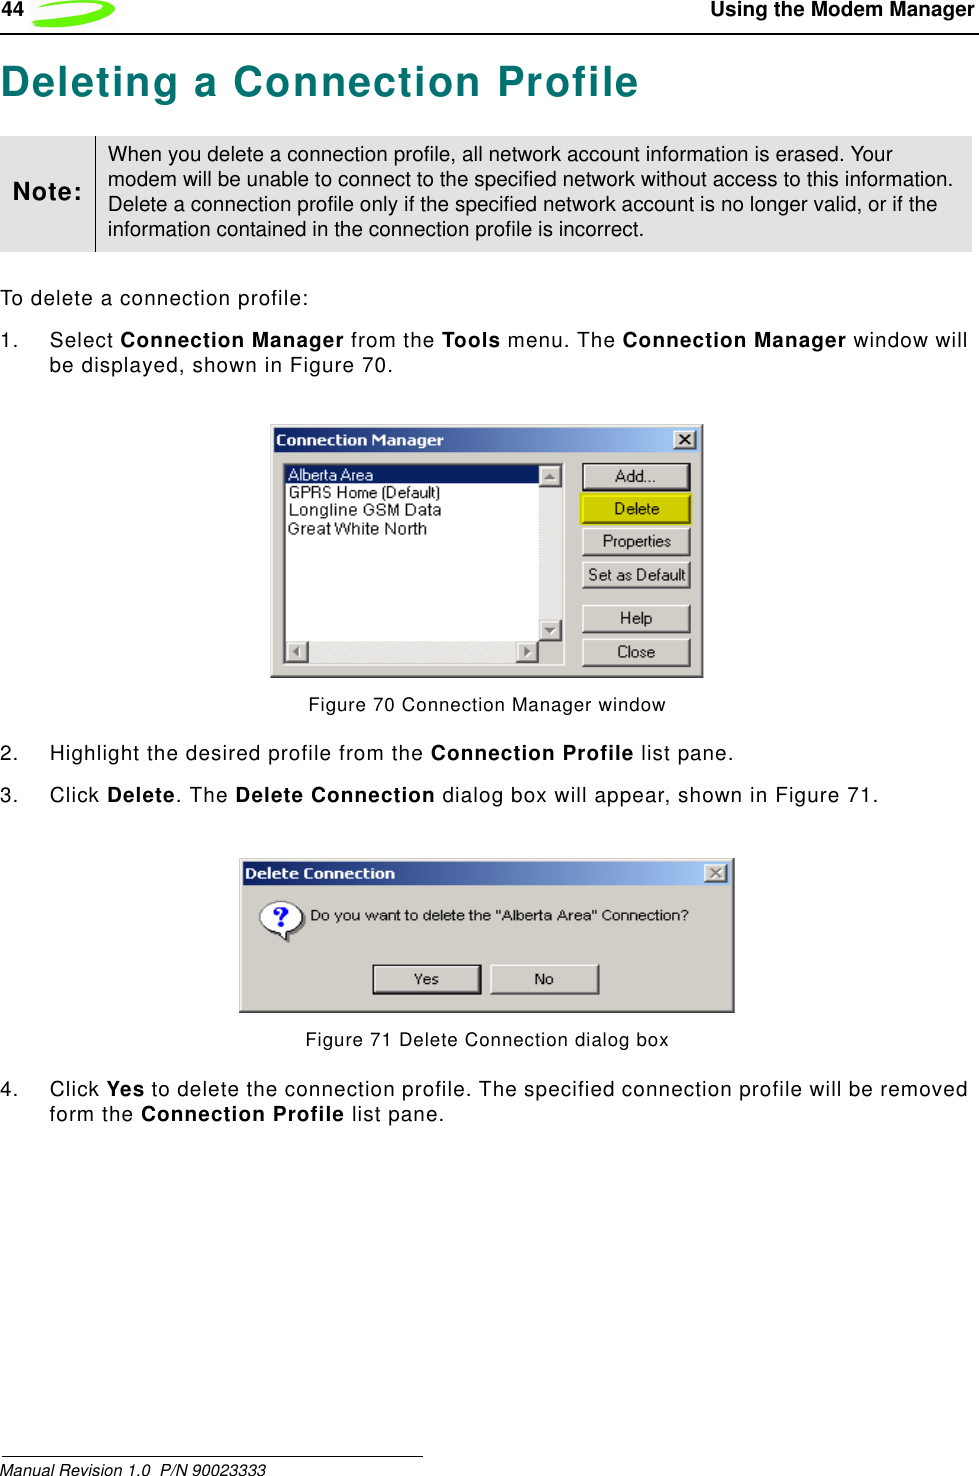
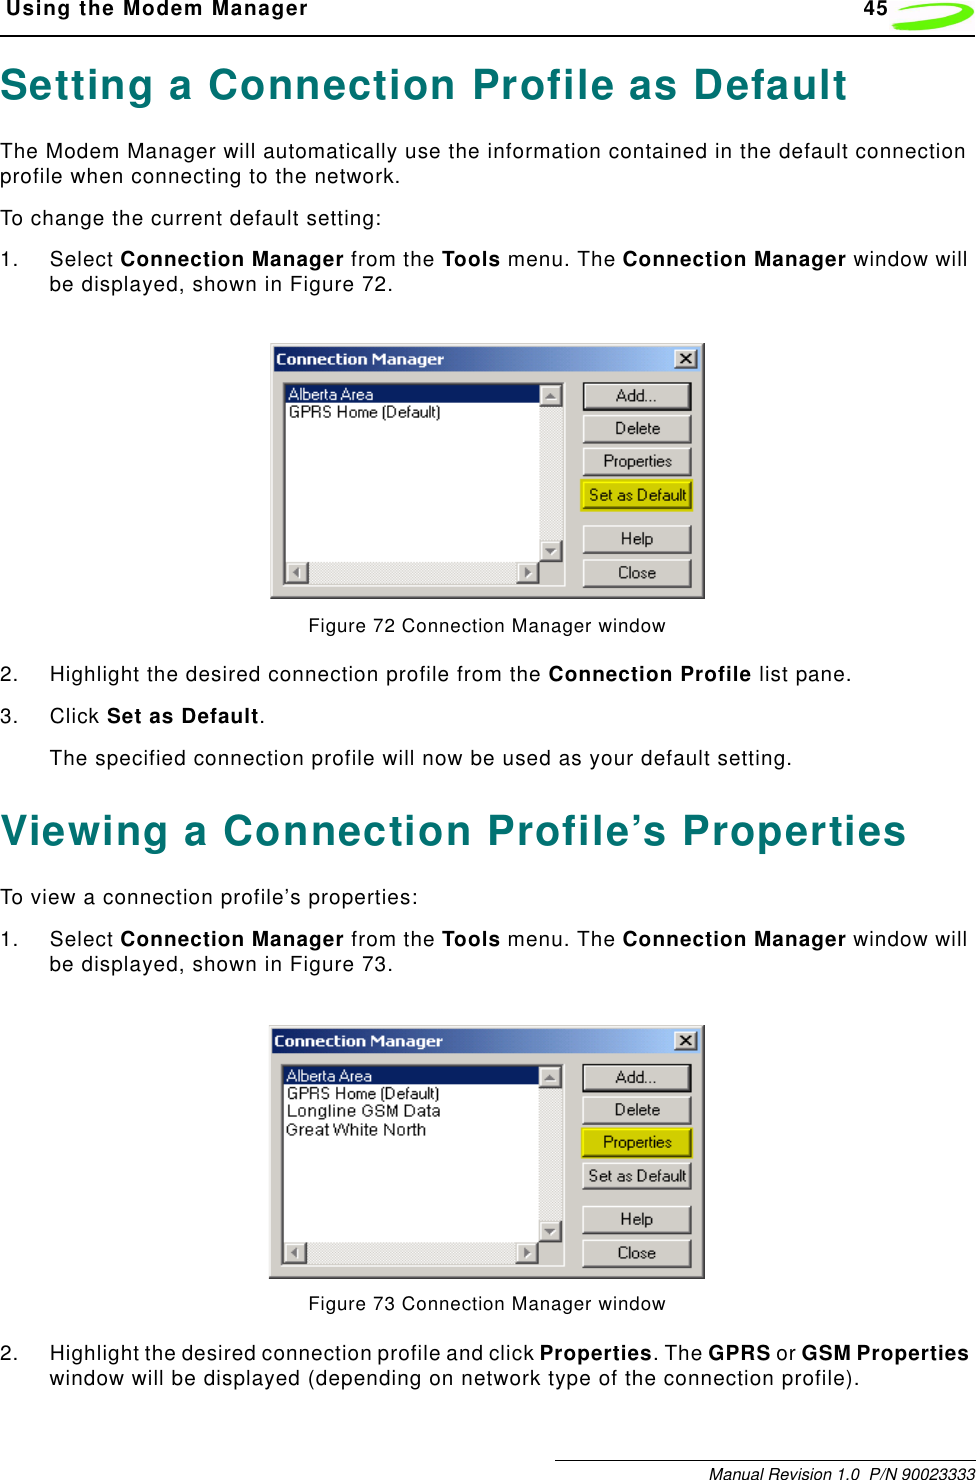
Novatel Wireless, Inc. Merlin G301 PCMCIA card for GSM/GPRS PCS Merlin GPRS Generic
Contents
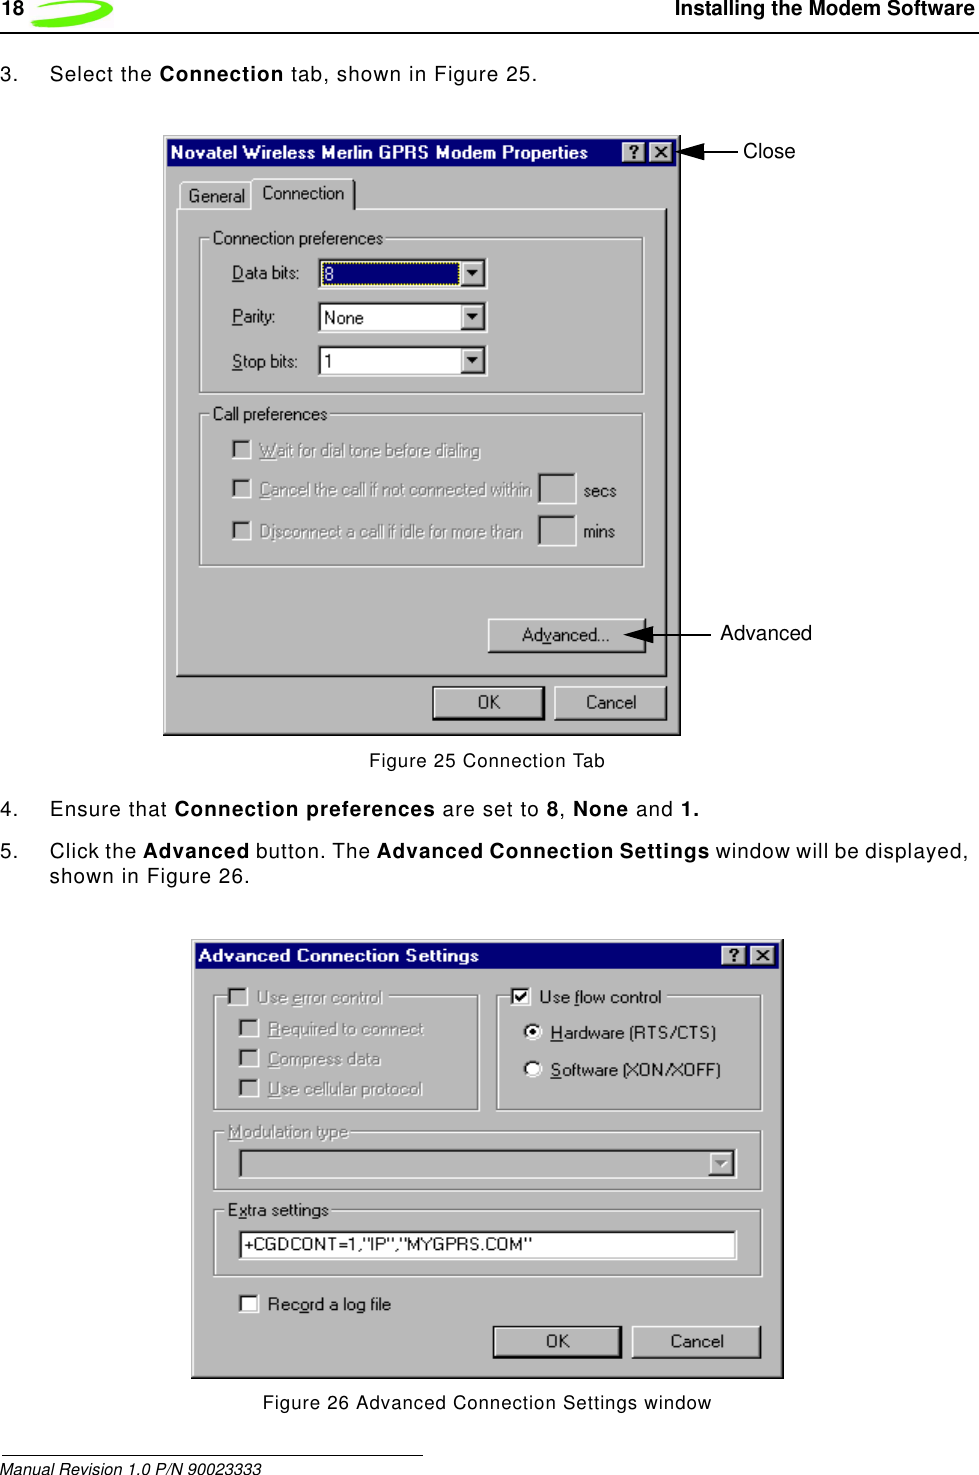
- 1. users manual
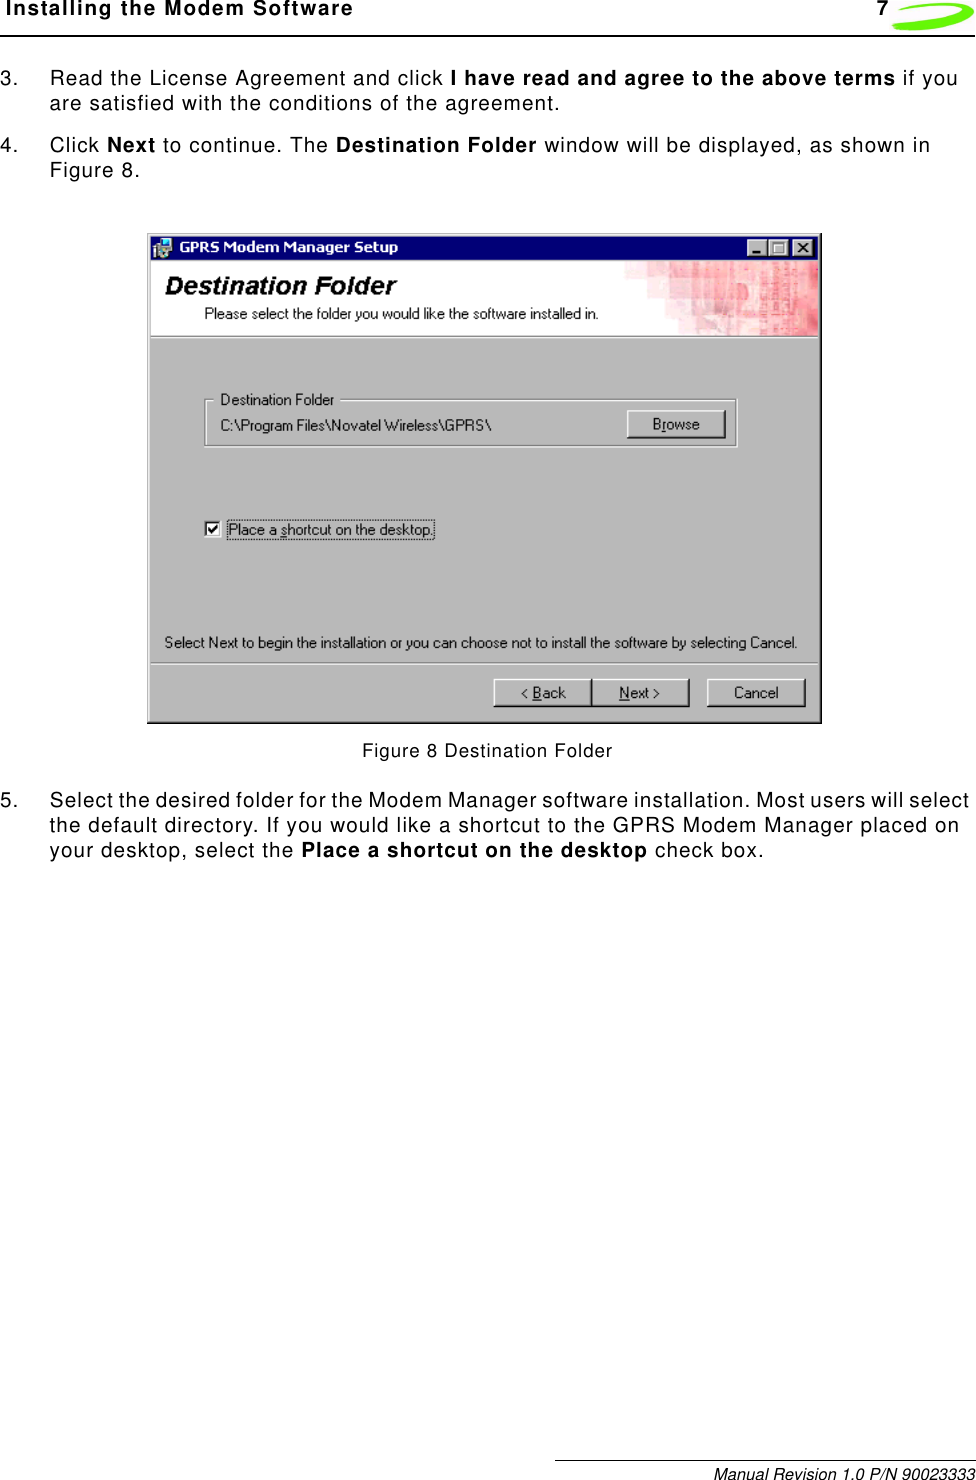
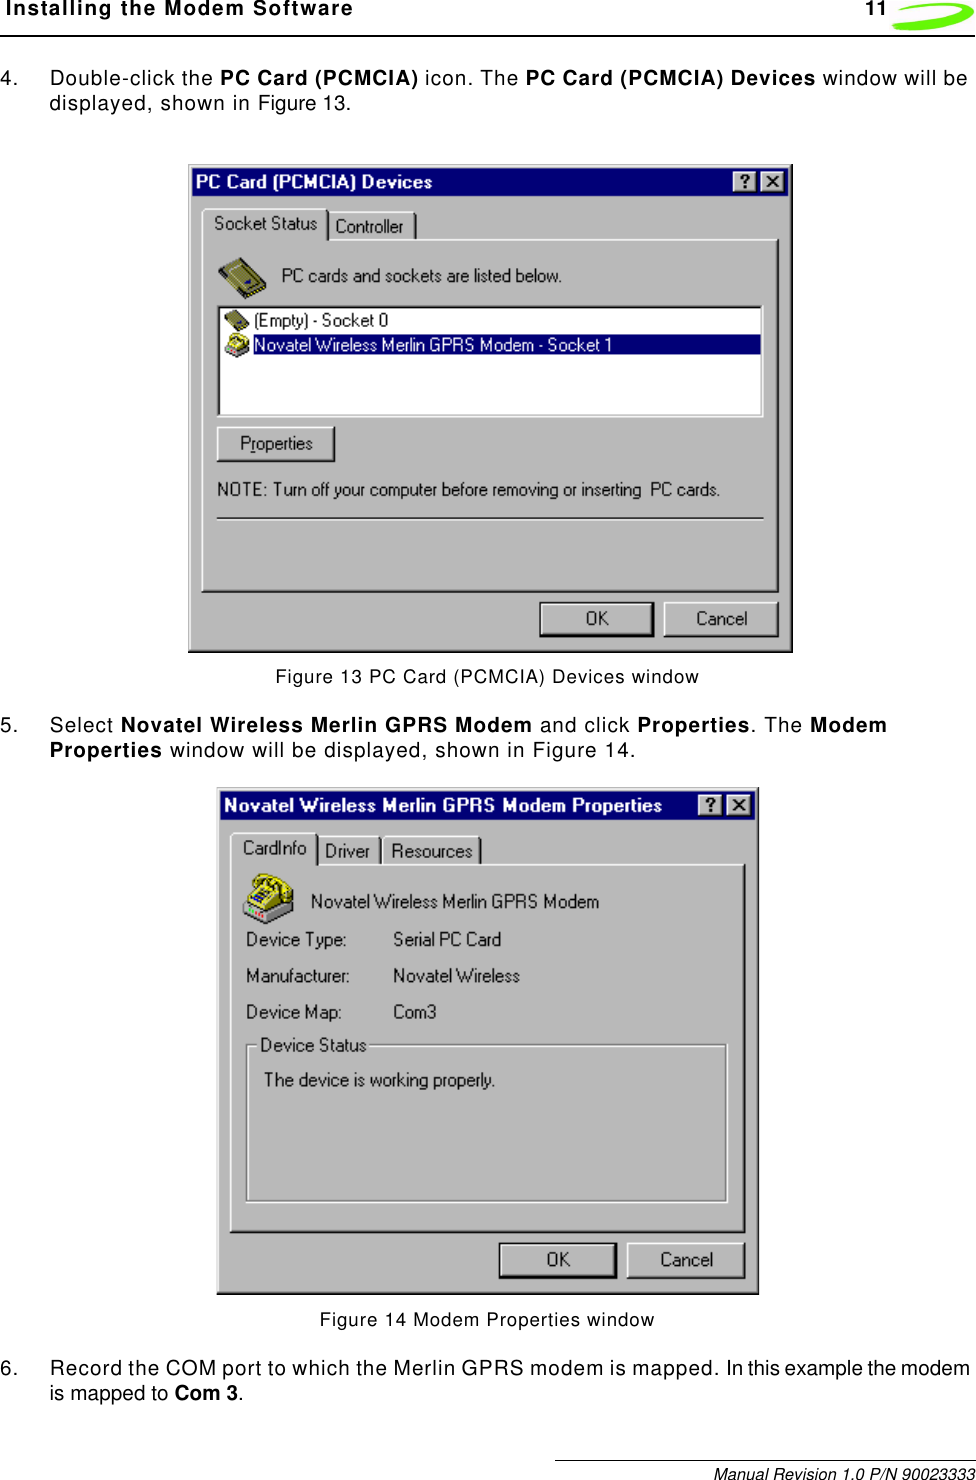
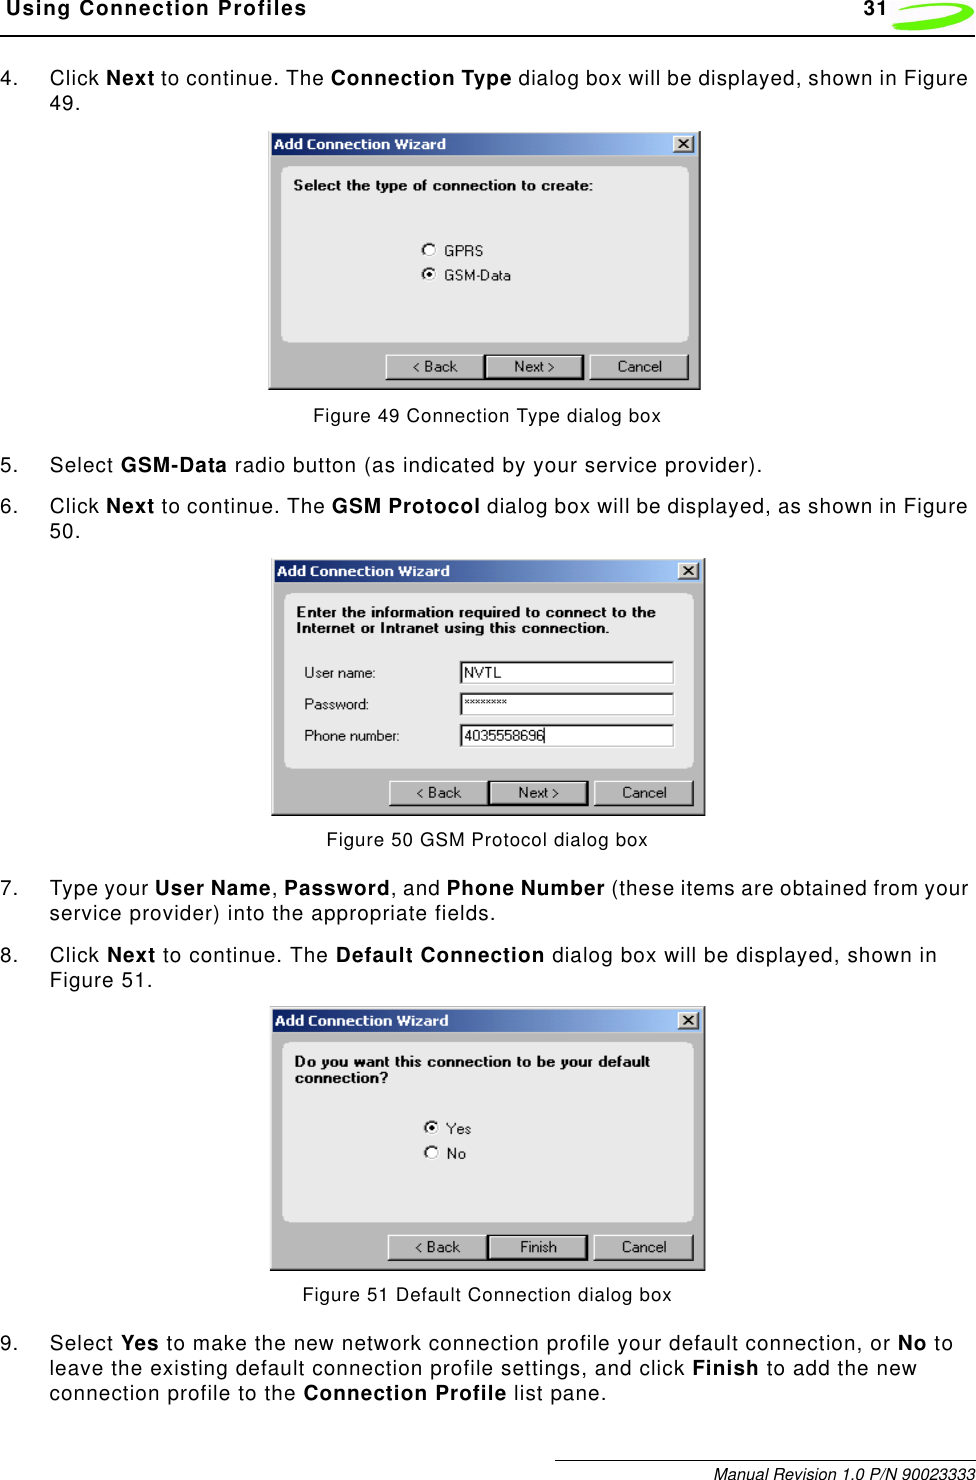
- 2. Replacement manual
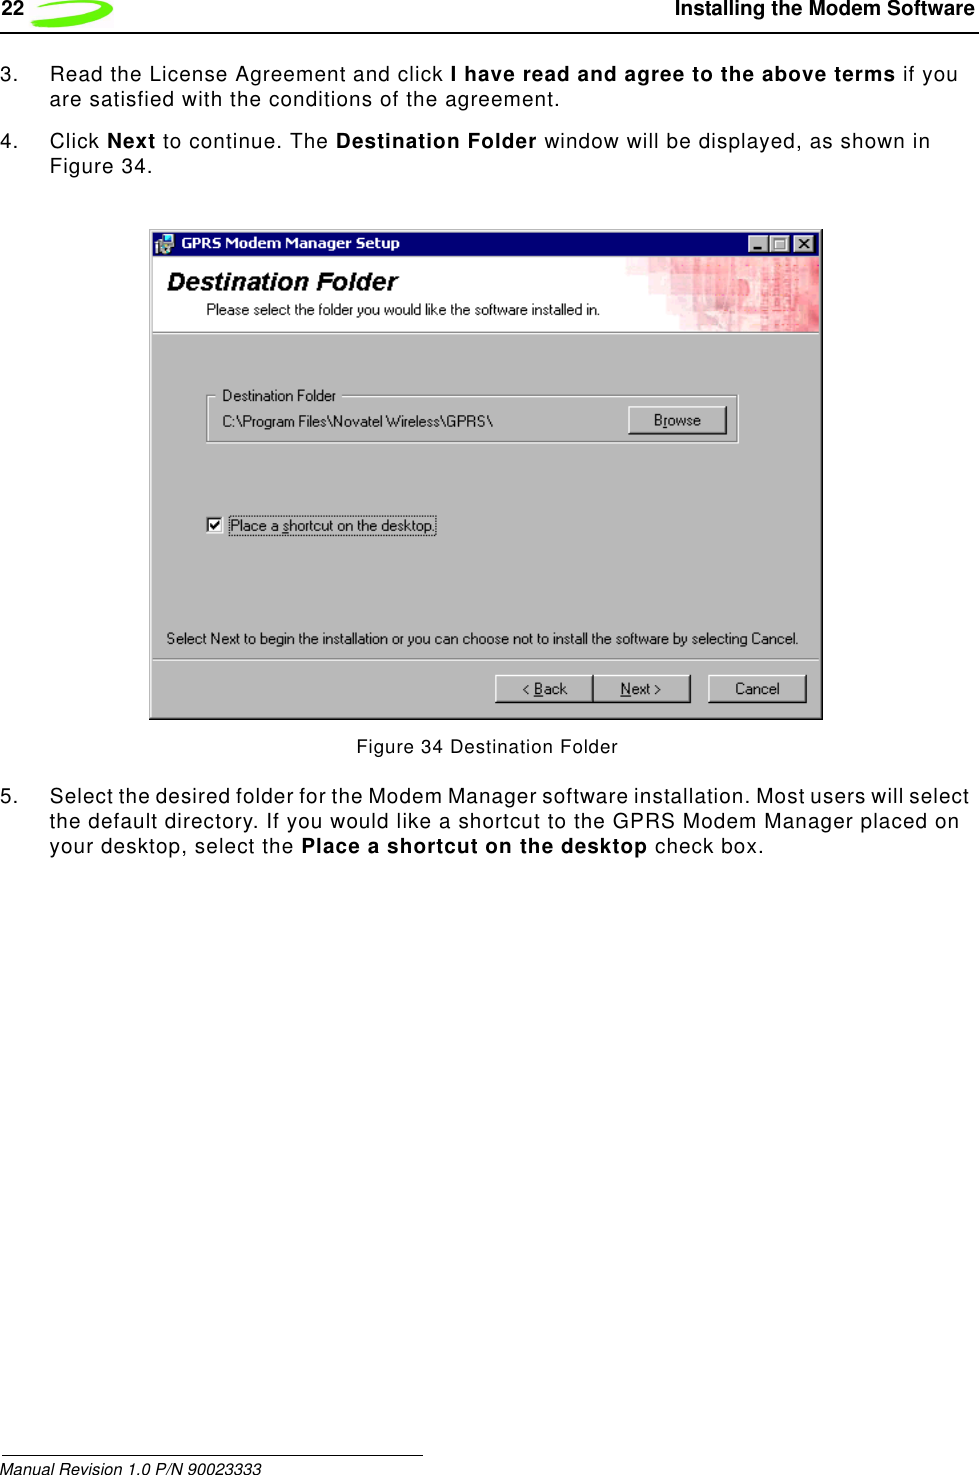
- 3. Updated Users Manual
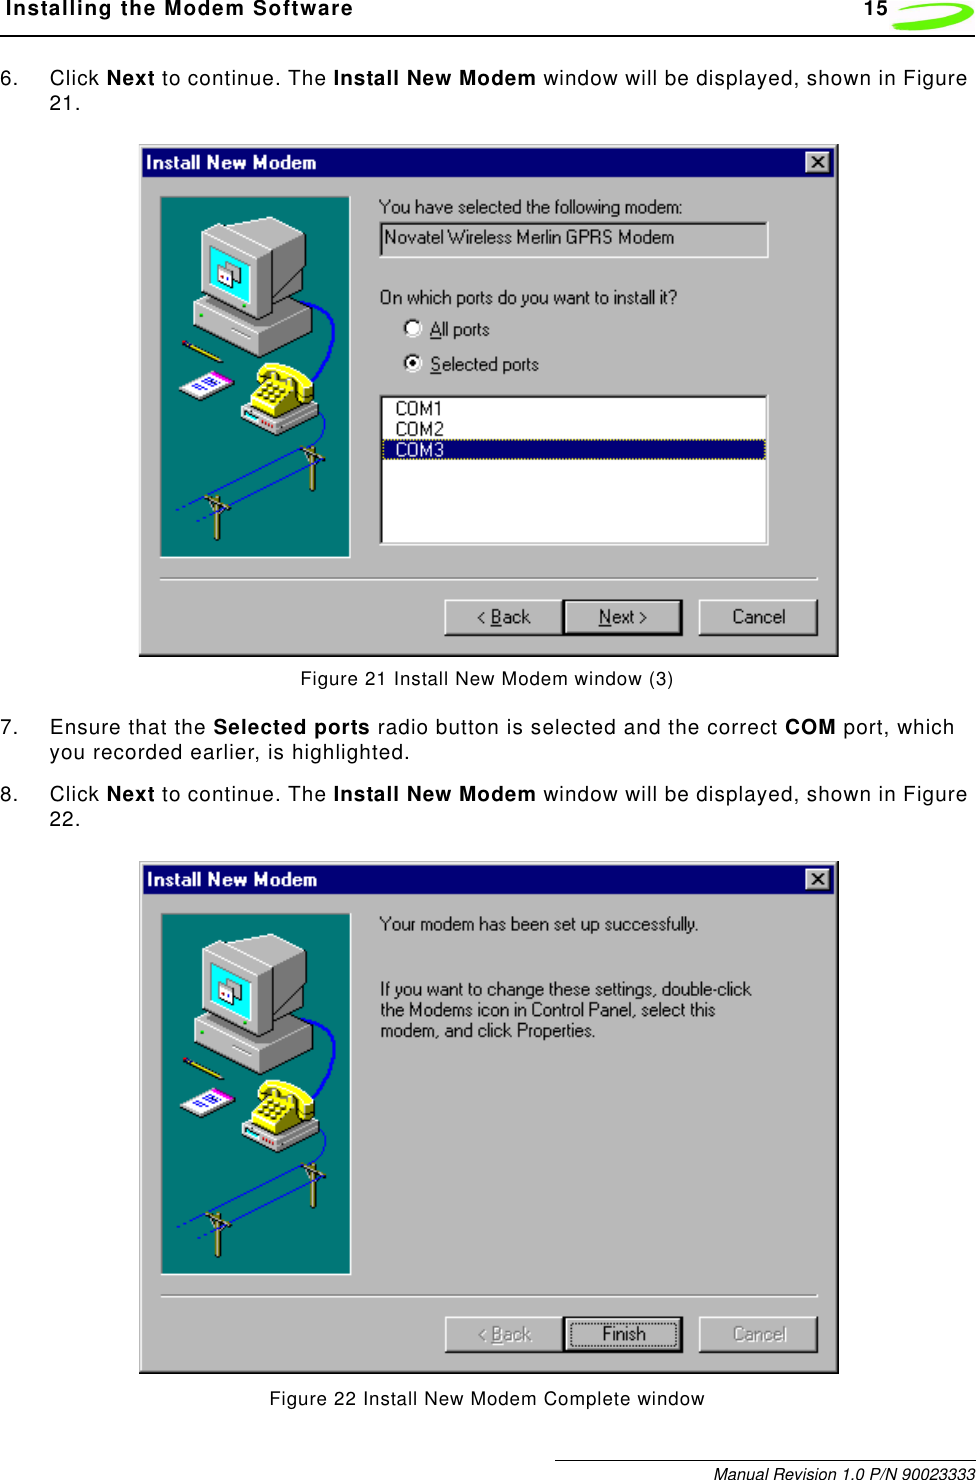
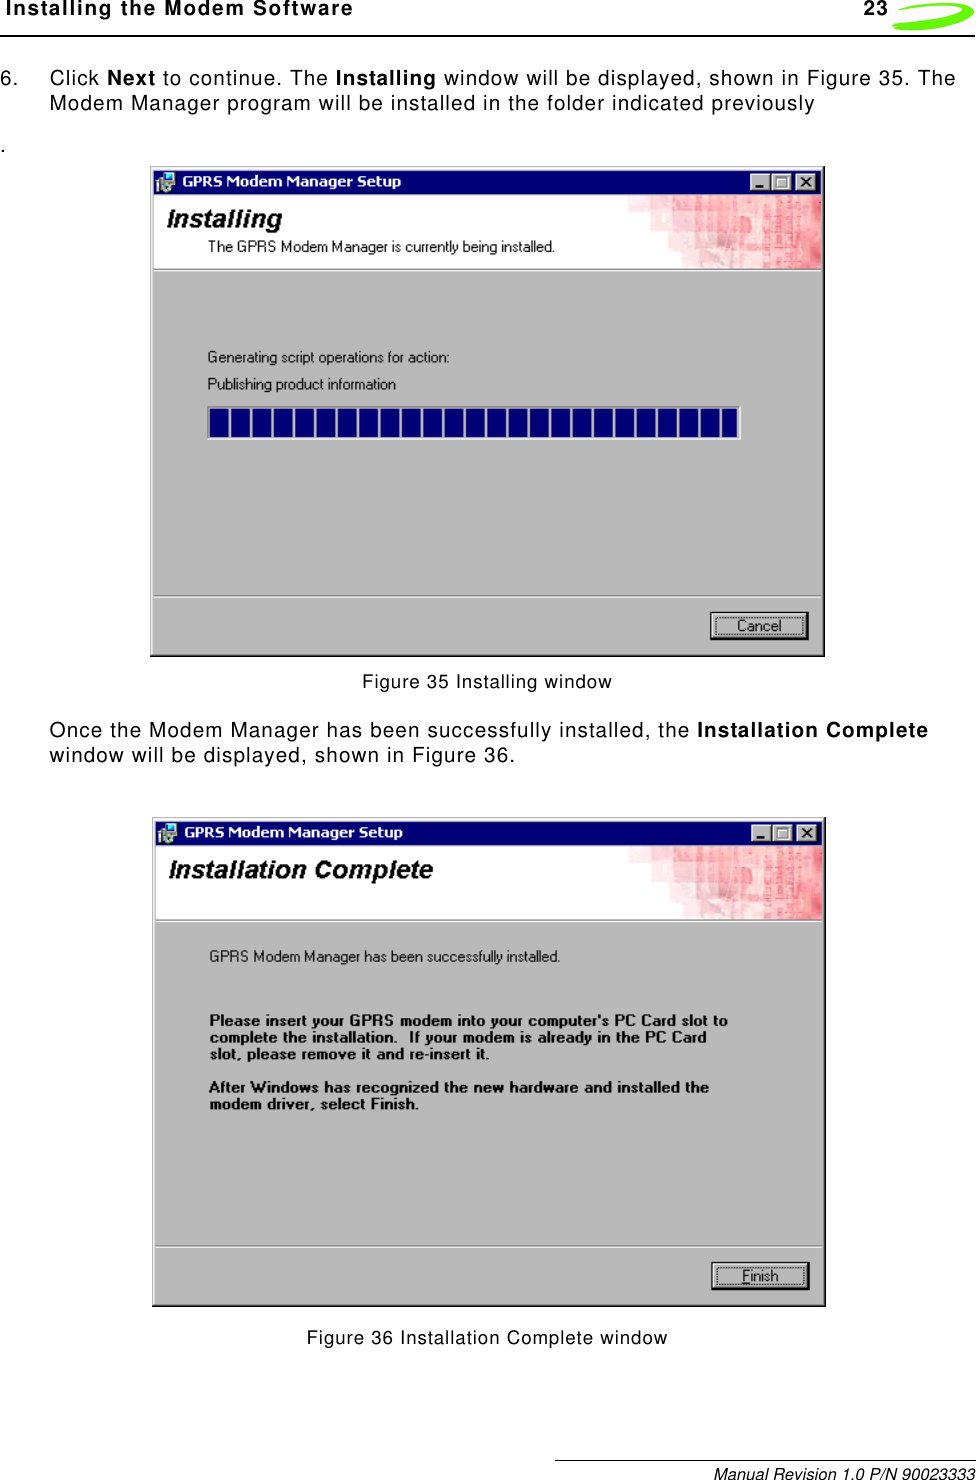
users manual